|
|
Post by wolseley on Jan 30, 2017 0:08:10 GMT
When you have applied VTP top coat can you paint the car the body colour you want?
|
|
|
|
Post by Penguin45 on Jan 30, 2017 0:21:02 GMT
It'll take being Shutzed or undersealed over (which is the intention) but I wouldn't use it as a base coat with a view to using any sort of body colour. None of the use shown in the previous work will be visible, which is why I used it. But - tough stuff for keeping the rust out.
Chris.
|
|
|
|
Post by wolseley on Jan 30, 2017 0:27:46 GMT
It'll take being Shutzed or undersealed over (which is the intention) but I wouldn't use it as a base coat with a view to using any sort of body colour. None of the use shown in the previous work will be visible, which is why I used it. But - tough stuff for keeping the rust out. Chris. Is Shutzing any good I have heard off some people who don't really think it's that good plus it dries out also? |
|
|
|
Post by peppib on Jan 30, 2017 8:06:23 GMT
It'll take being Shutzed or undersealed over (which is the intention) but I wouldn't use it as a base coat with a view to using any sort of body colour. None of the use shown in the previous work will be visible, which is why I used it. But - tough stuff for keeping the rust out. Chris. Is Shutzing any good I have heard off some people who don't really think it's that good plus it dries out also? Like everything, depends on the care taken during application. Drive in on a wet day, spray the stuff on, then out again and it won't be much good. Mo was done last week. Into garage, heaters underneath for a few (5) hours to make sure she was dry, application of seam sealer onto warm metal, overnight to dry, Shutz applied and left for 24 hours before taking out of the garage. Should last out my lifetime. My Moggy was done like that and was almost as good as new when I sold it 8 years later. A Merc I had, the garage did a hash job and 2 years later she failed her MOT on rust that should have been prevented by the Shutz and had to be scrapped. The Schutz takes body colour paint well if you don't want the black under the wings visible. can't find a photo at the moment of under wing, but this shows coverage on the rear interior of a Moggy Traveller I did 10 years ago. Memories of when I COULD actually DO SOMETHING for myself   |
|
|
|
Post by Penguin45 on Feb 1, 2017 18:22:08 GMT
The unauthorised hole has been eleiminated. 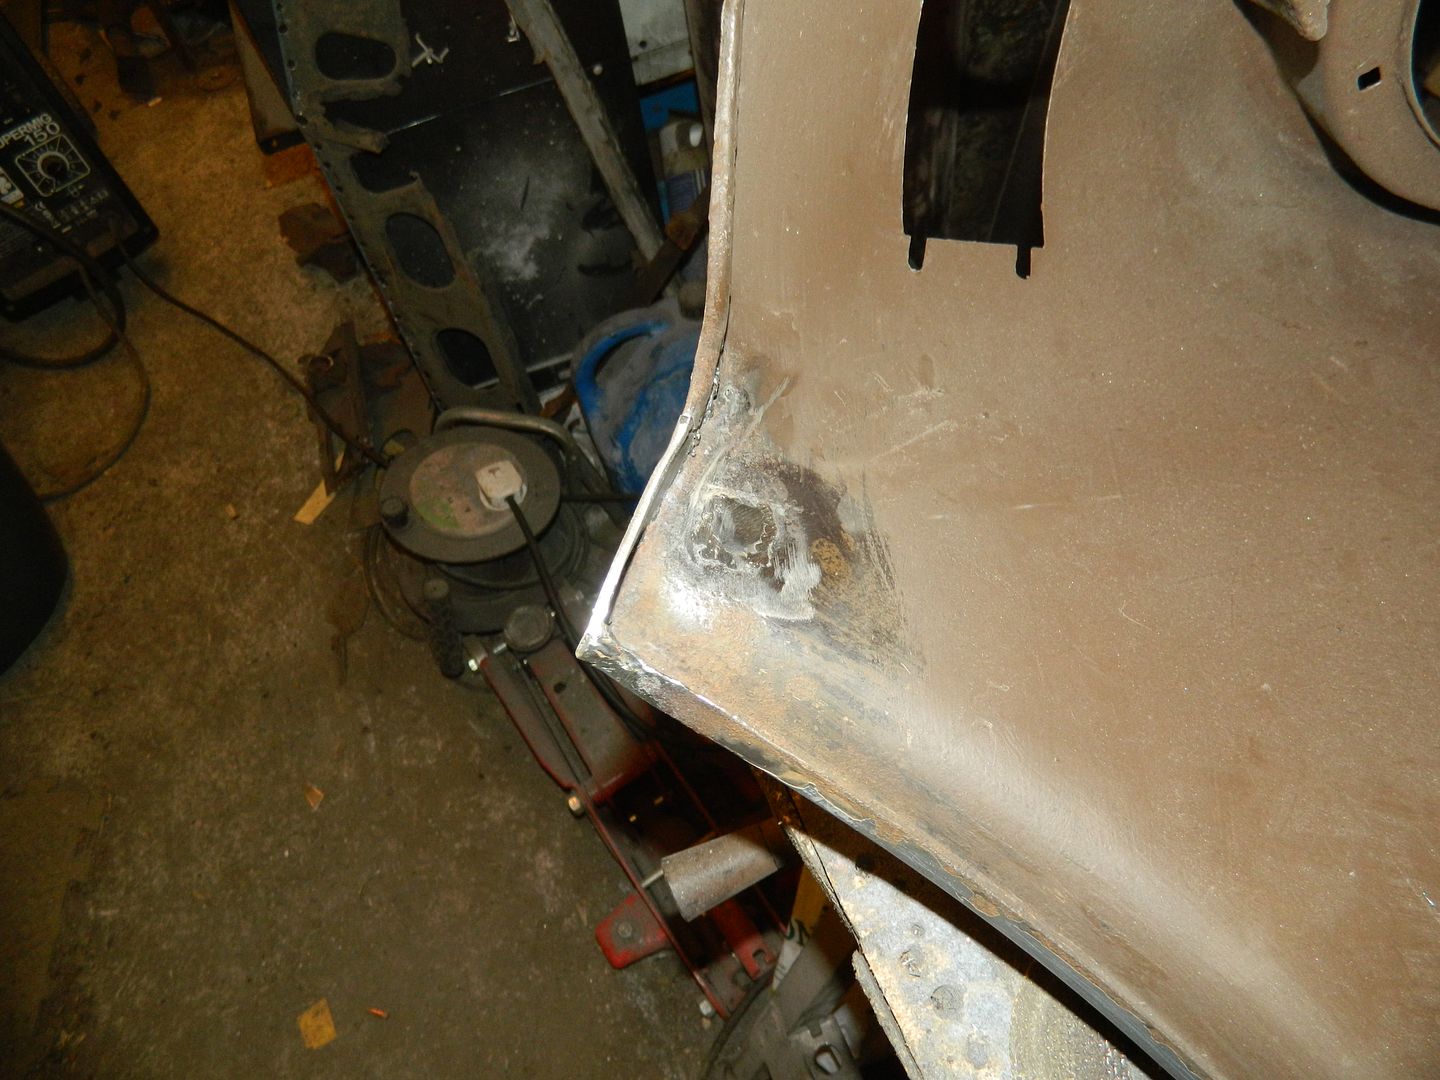 Circular weld - they don't distort. 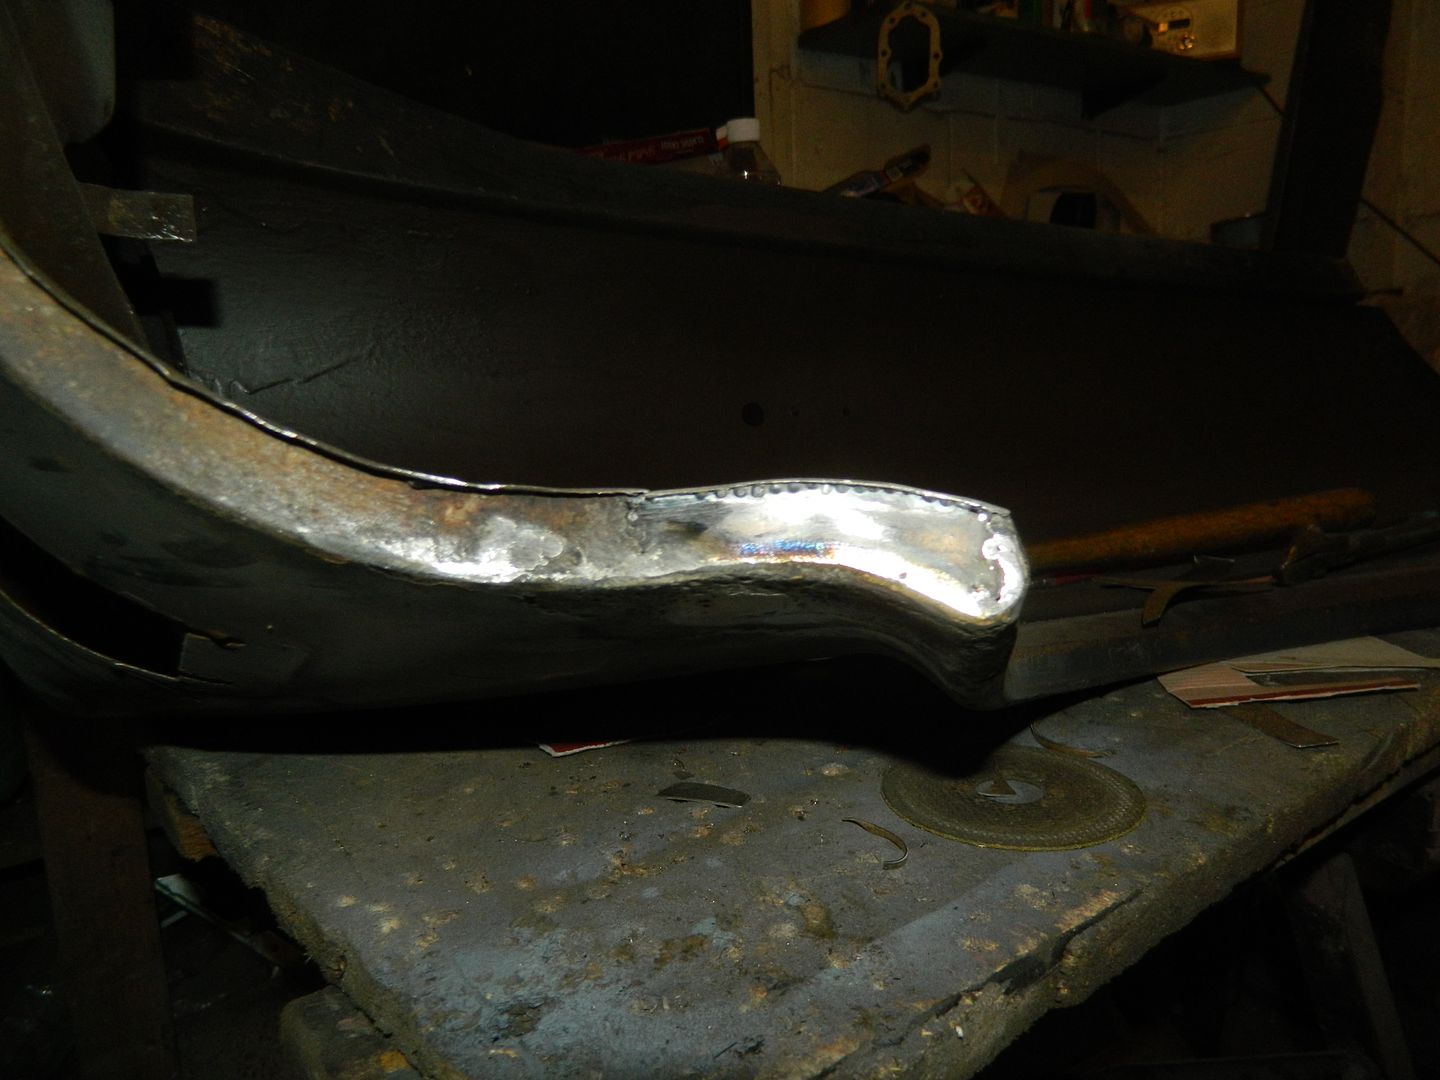 Flange below hole repaired. 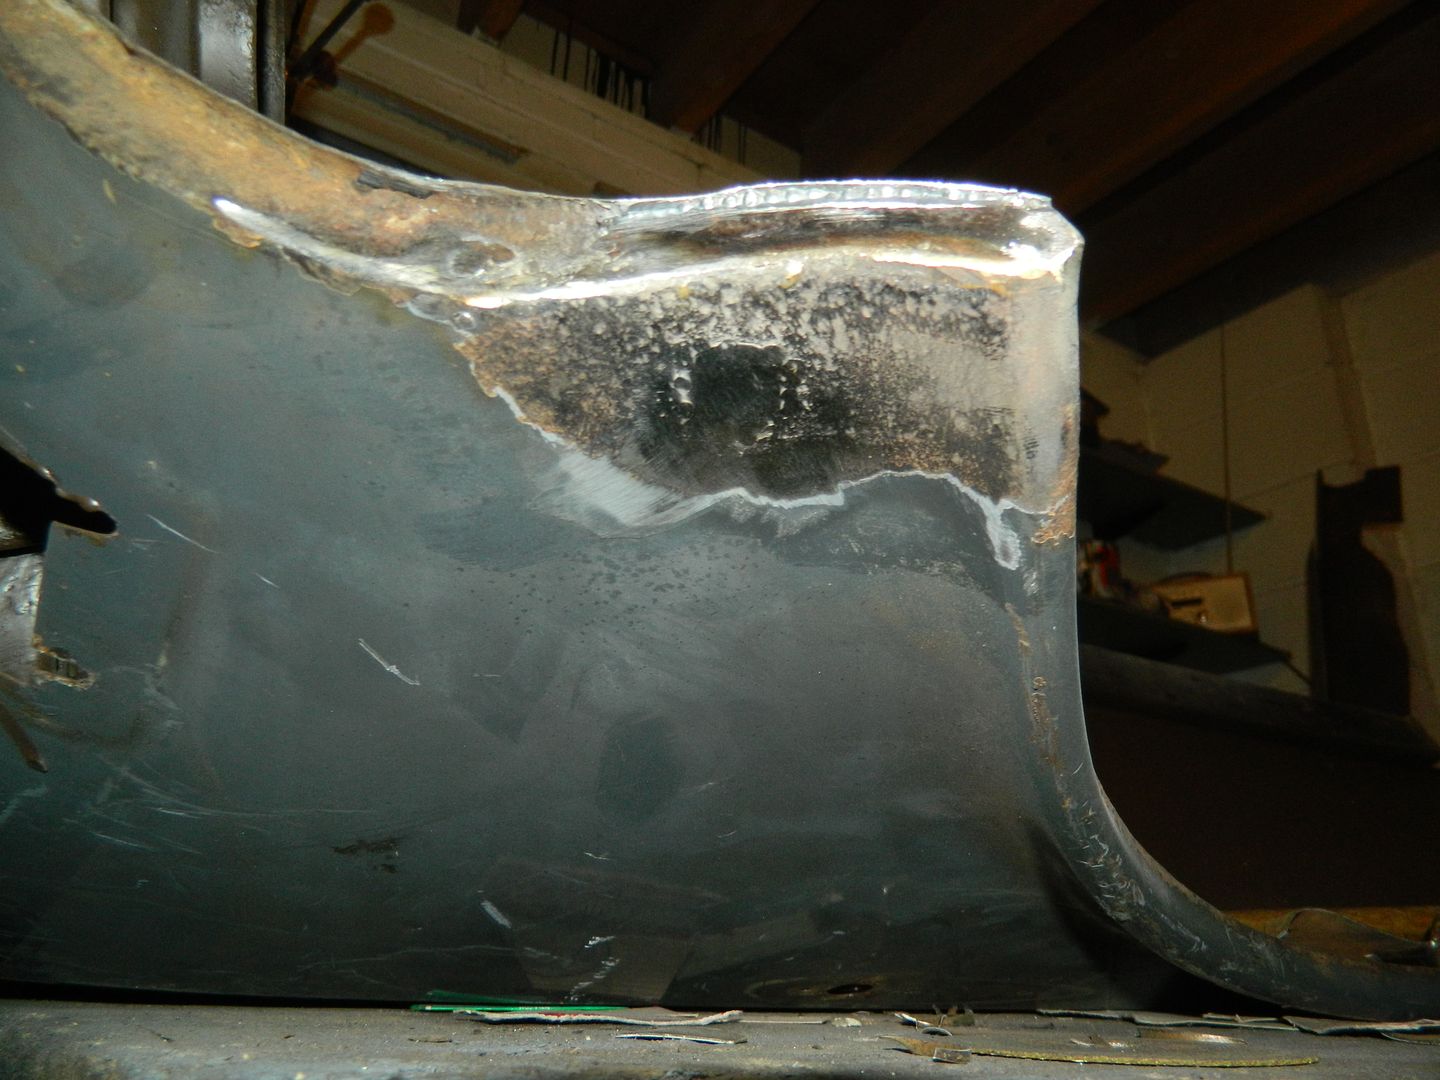 Outside view - almost invisible. 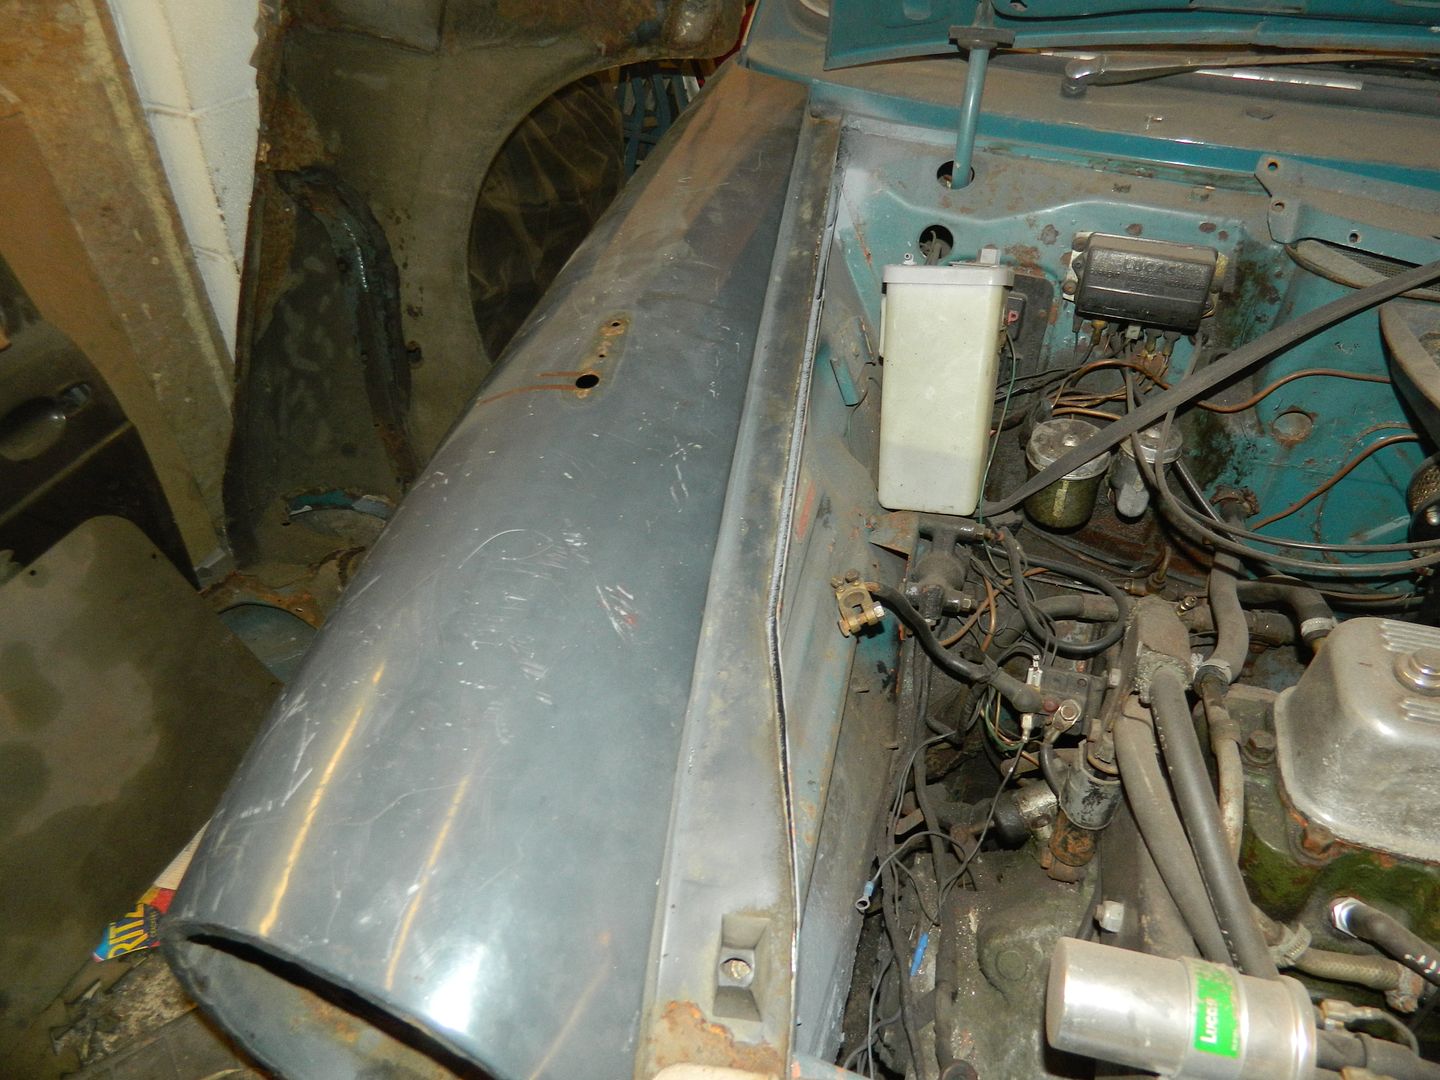 Offered onto car. Top flange has a bit of a twist along its length and the front panel will need to be persuaded inward slightly. Overall not too bad for a first fit. Chris. |
|
|
|
Post by Penguin45 on Feb 2, 2017 20:21:37 GMT
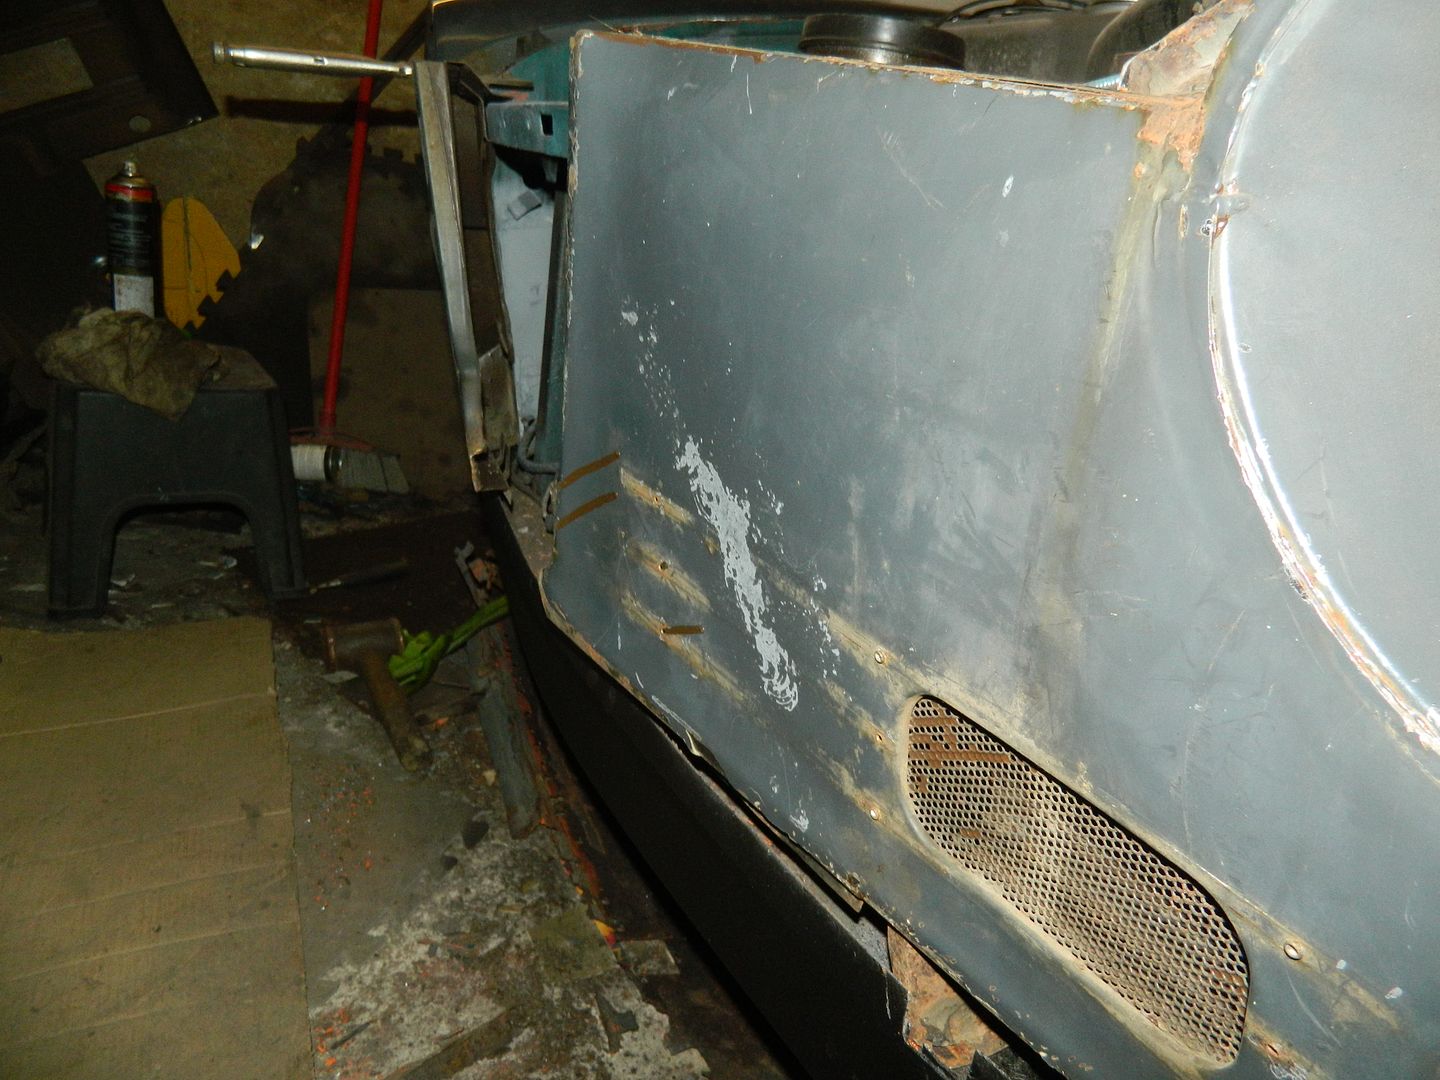 Bit of panel beating has got the crease out of the front panel. Slow and steady got there. I suspect that a slight skim of filler may still be required. 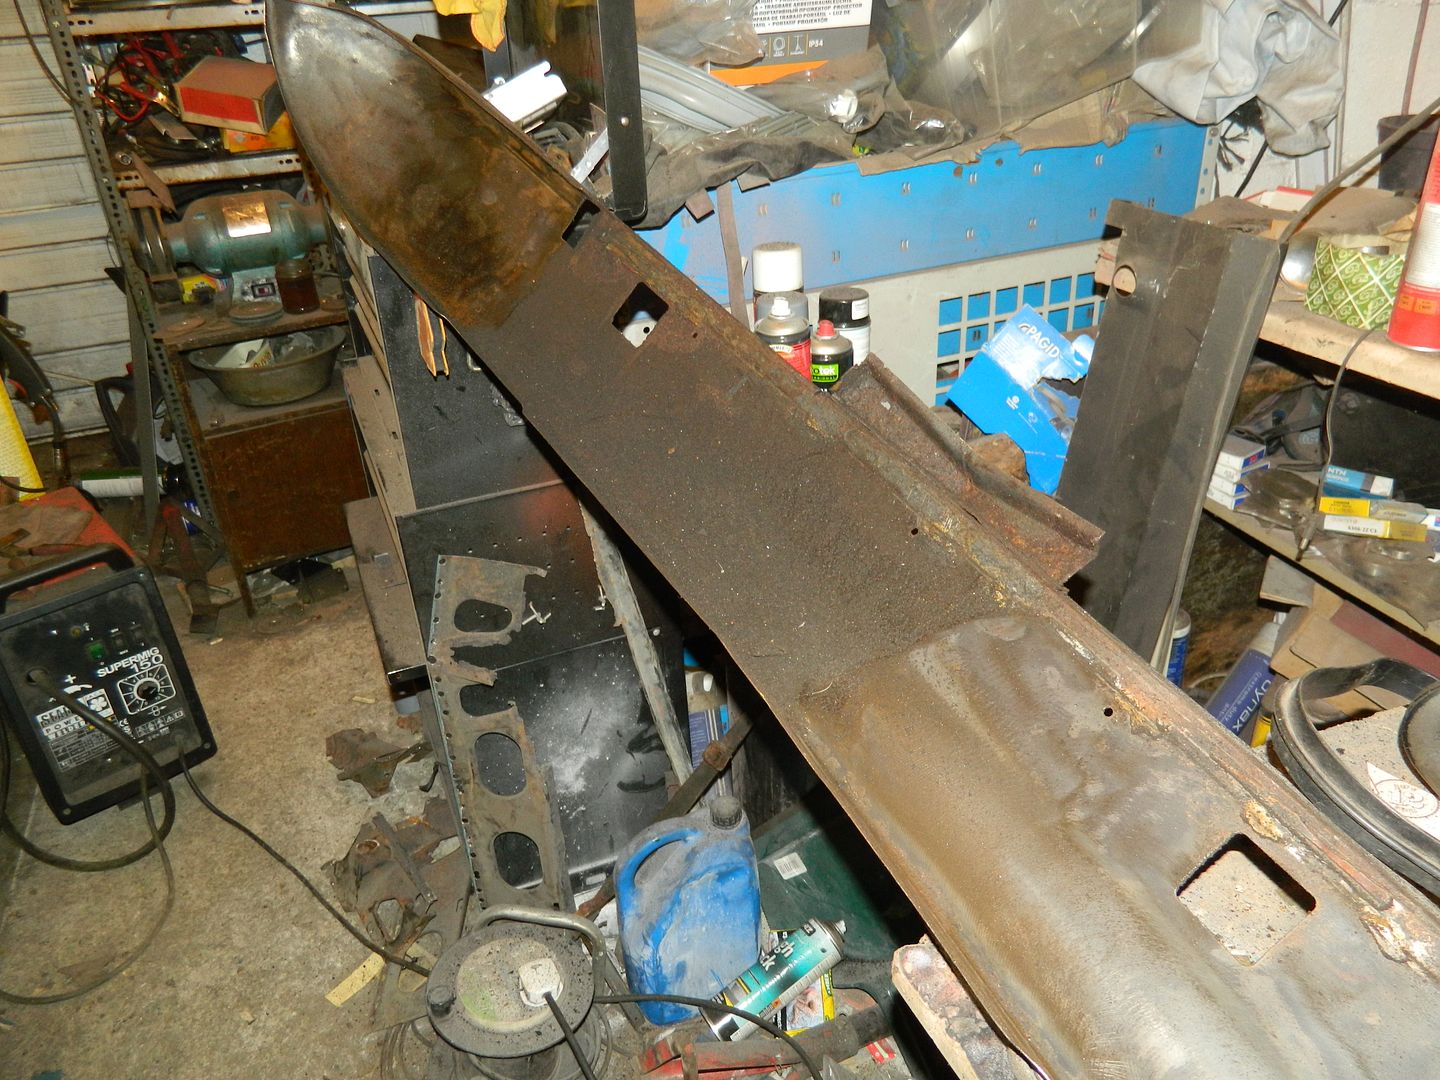 Onto the valance. Several hours spent chasing out the old filler, braze and general mucky goo it was covered in. 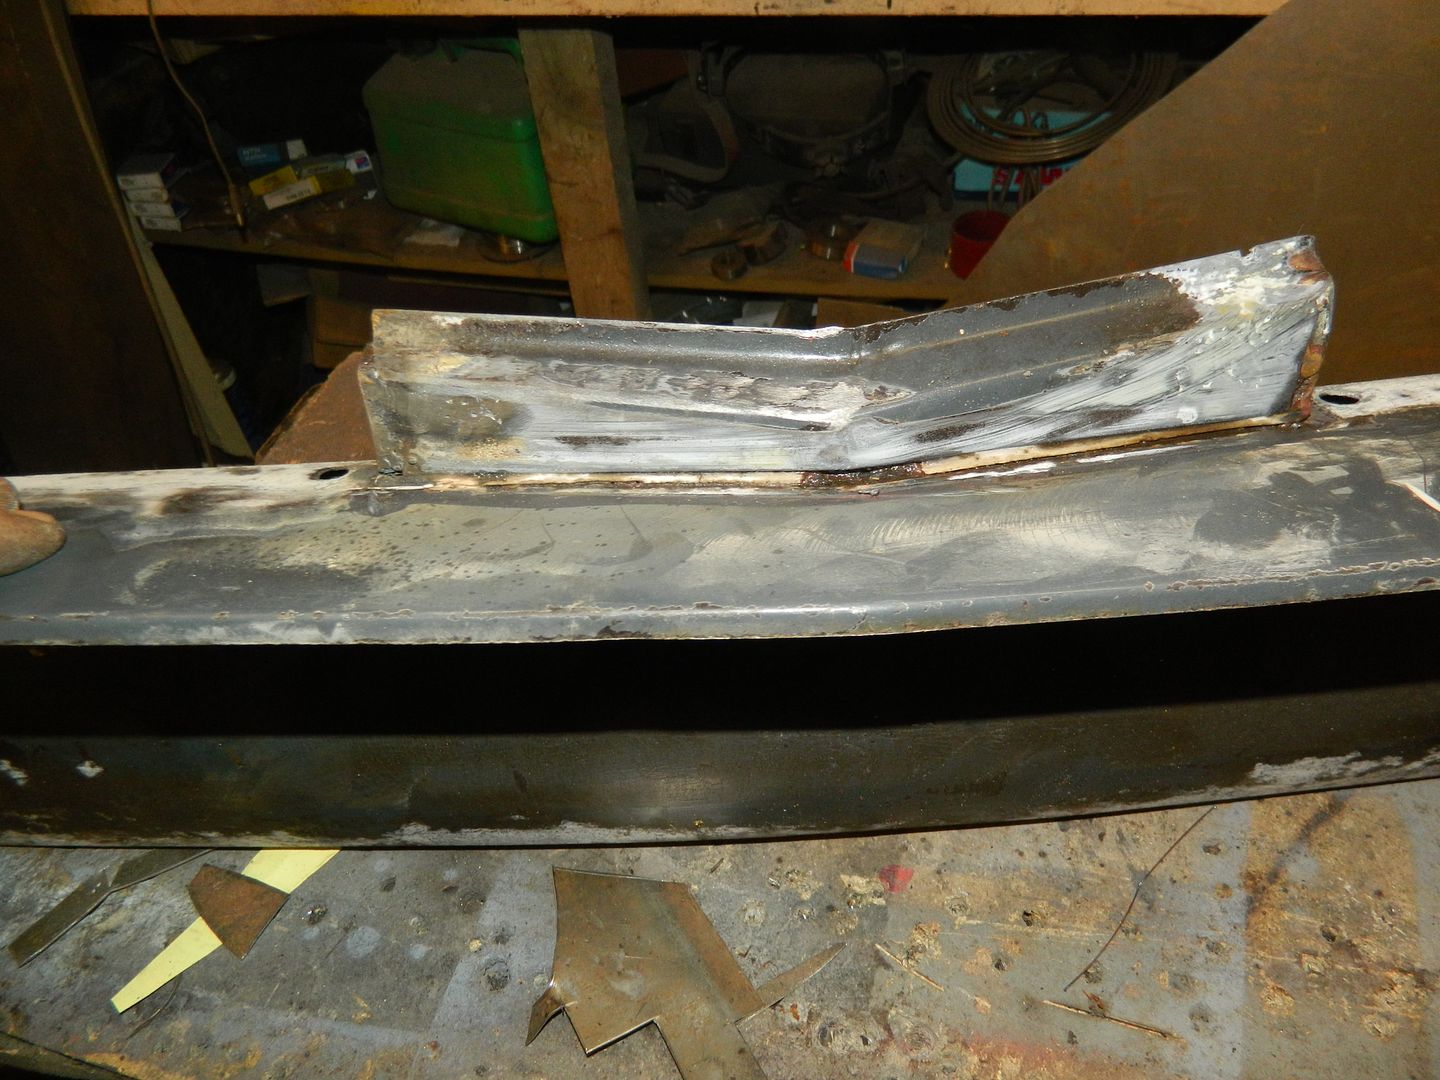 Sticky up bit for the bottom of the grill has had pin-holing sorted out and a new flange piece welded to the end. Everything then plastered with rust convertor. 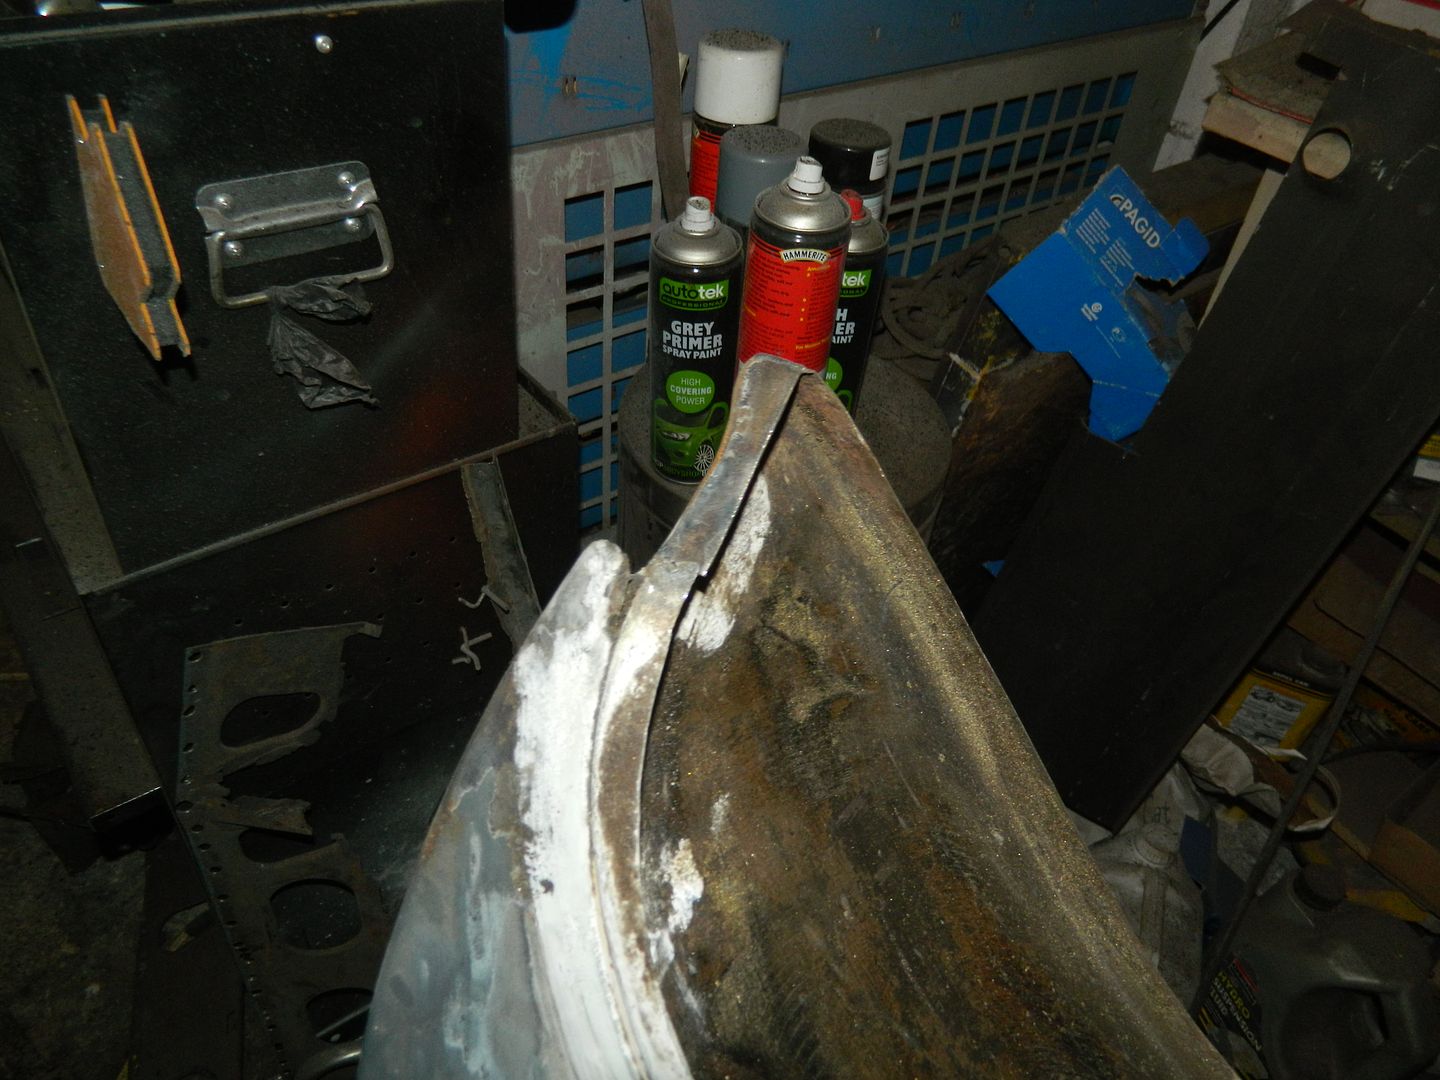 End flange repaired. Then it was degreaser, panel wipe and a lick of etch primer. It's now ready to offer up to the car and I can start working out how to tie it all together. Chris. |
|
|
|
Post by Penguin45 on Feb 5, 2017 19:19:00 GMT
Started fitting wings. 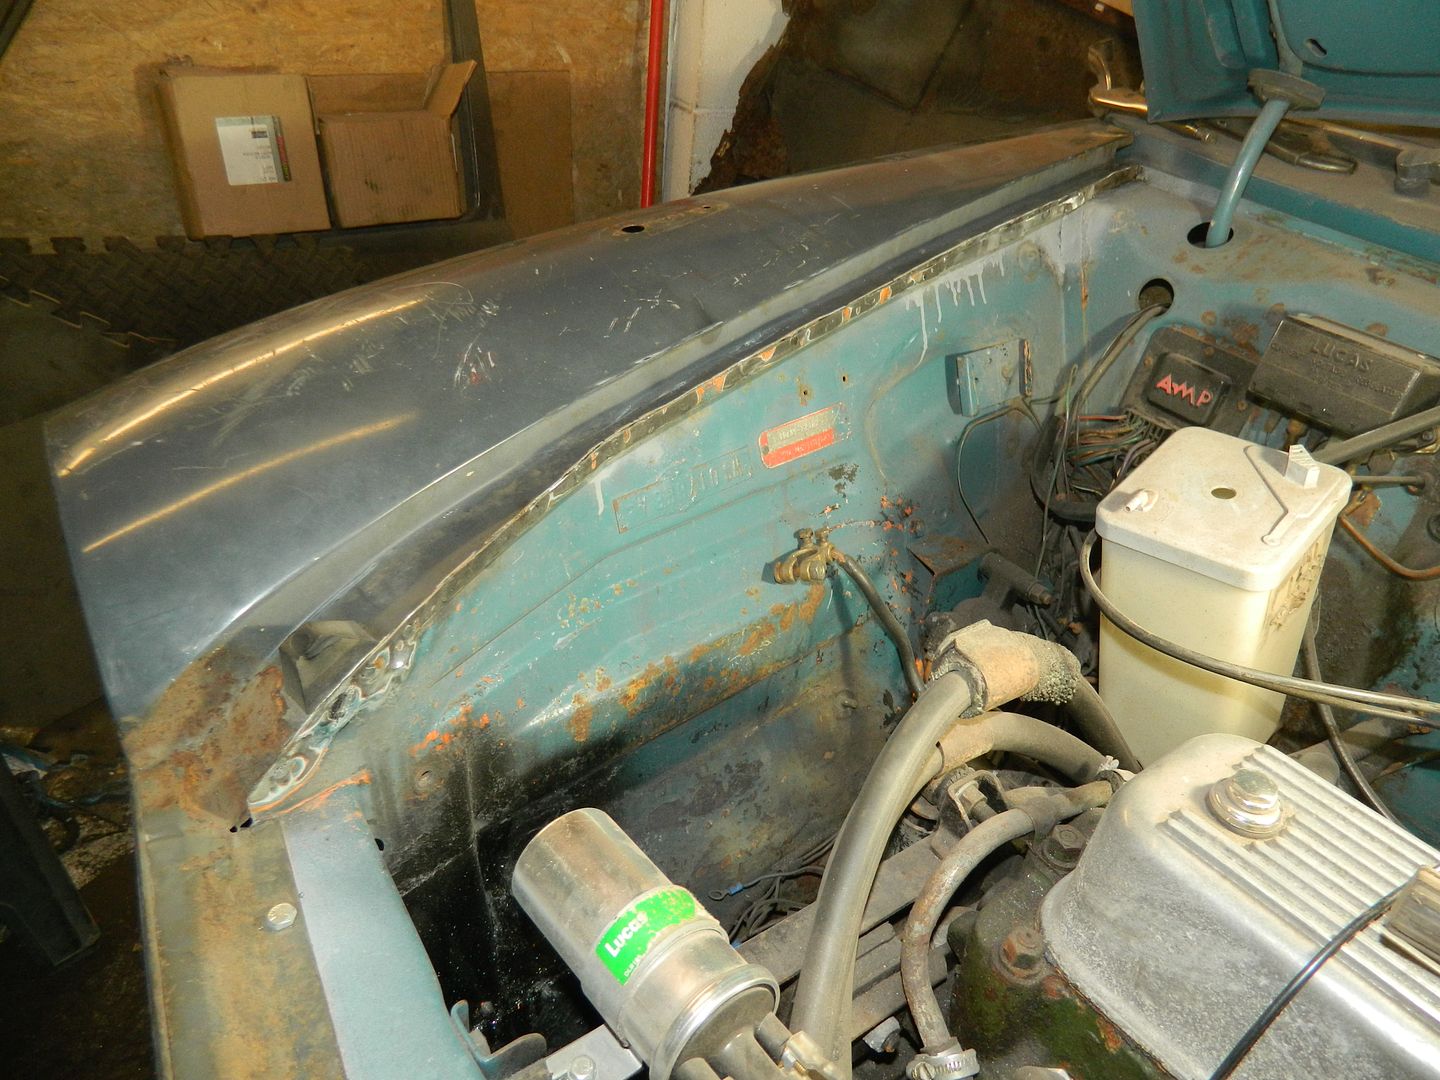 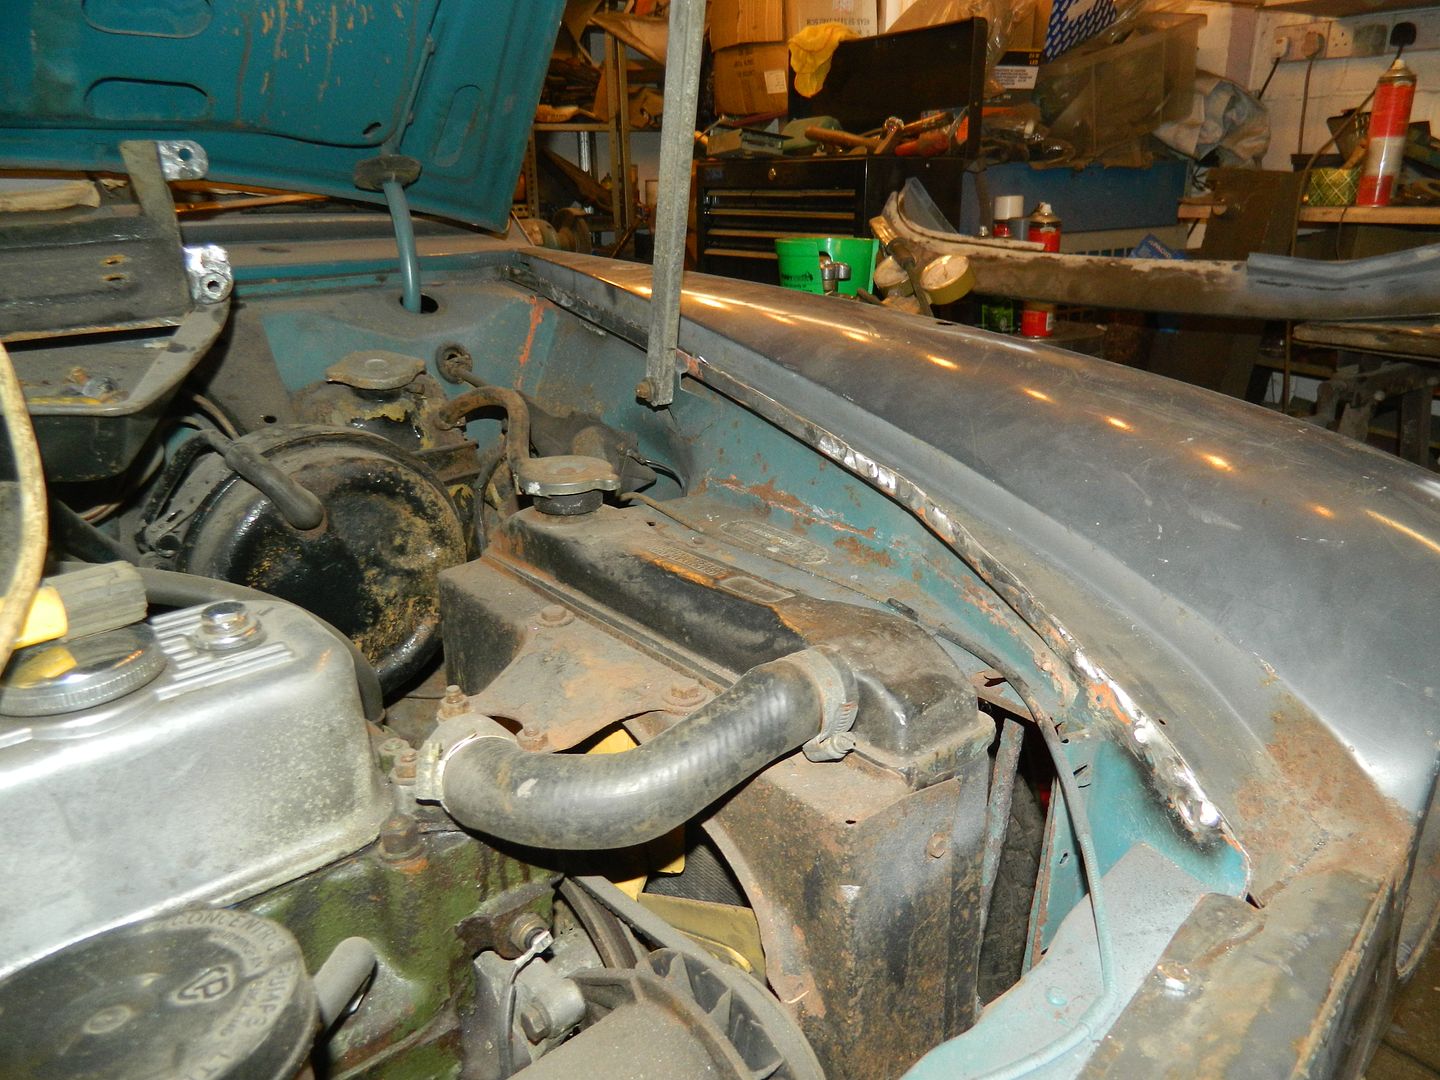 Top flange welded home both sides. 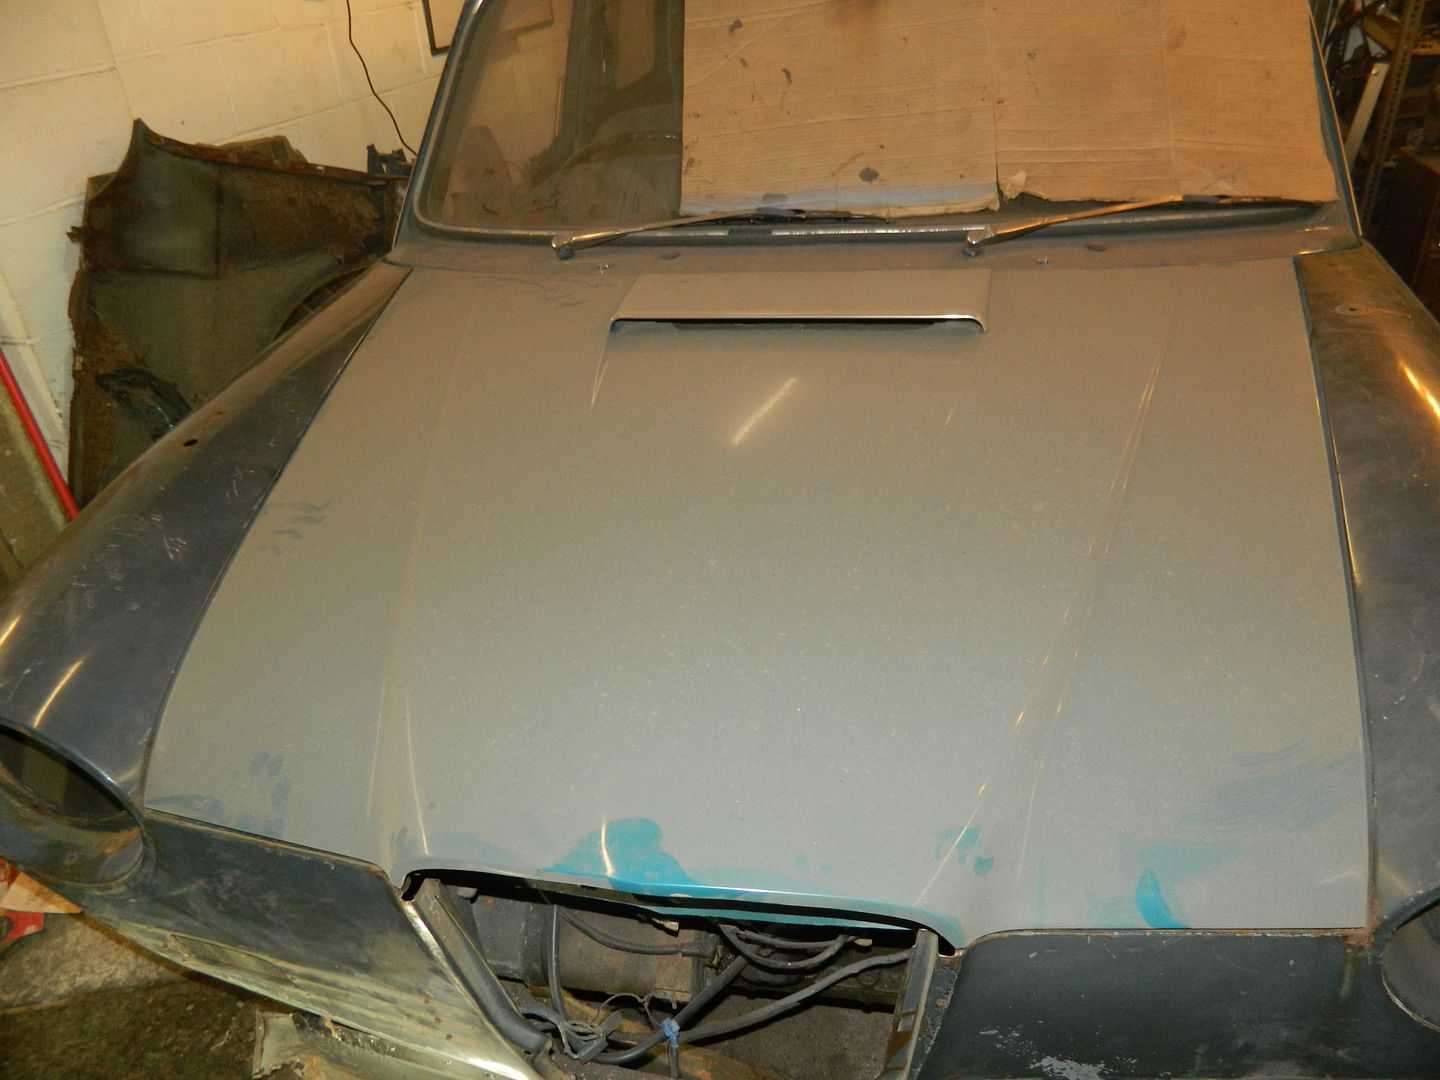 This is why the bonnet was left on - allows an alignment check, which is pretty good front to rear. 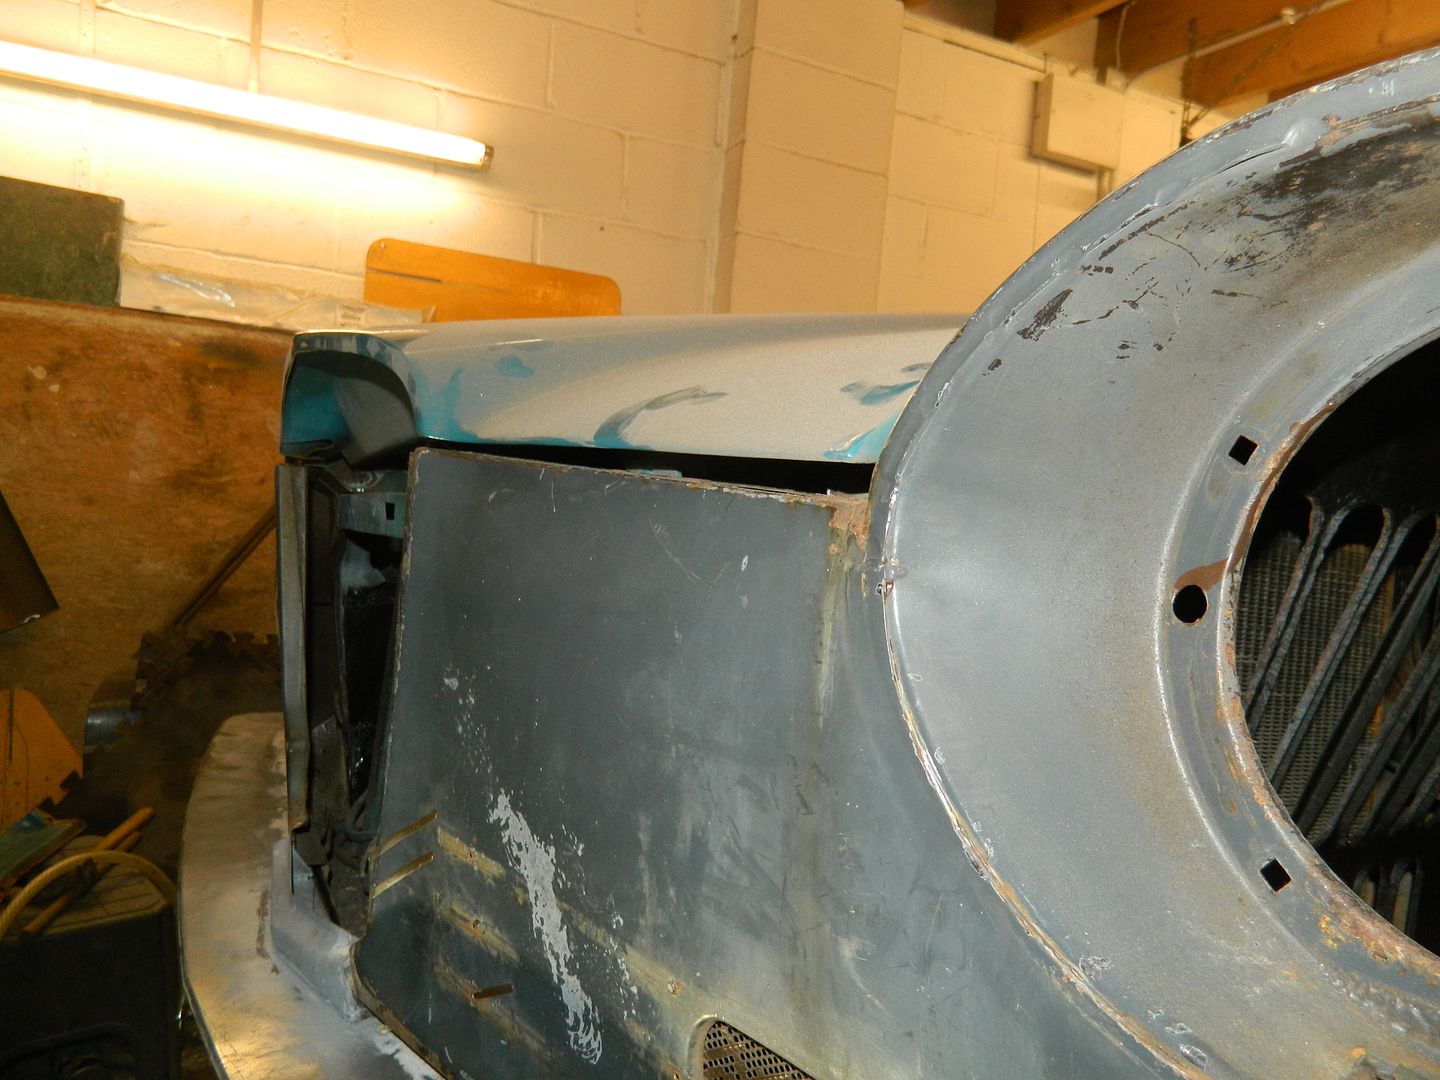 Front panels need to come down and inwards toward the centre - note crooked gap under bonnet. 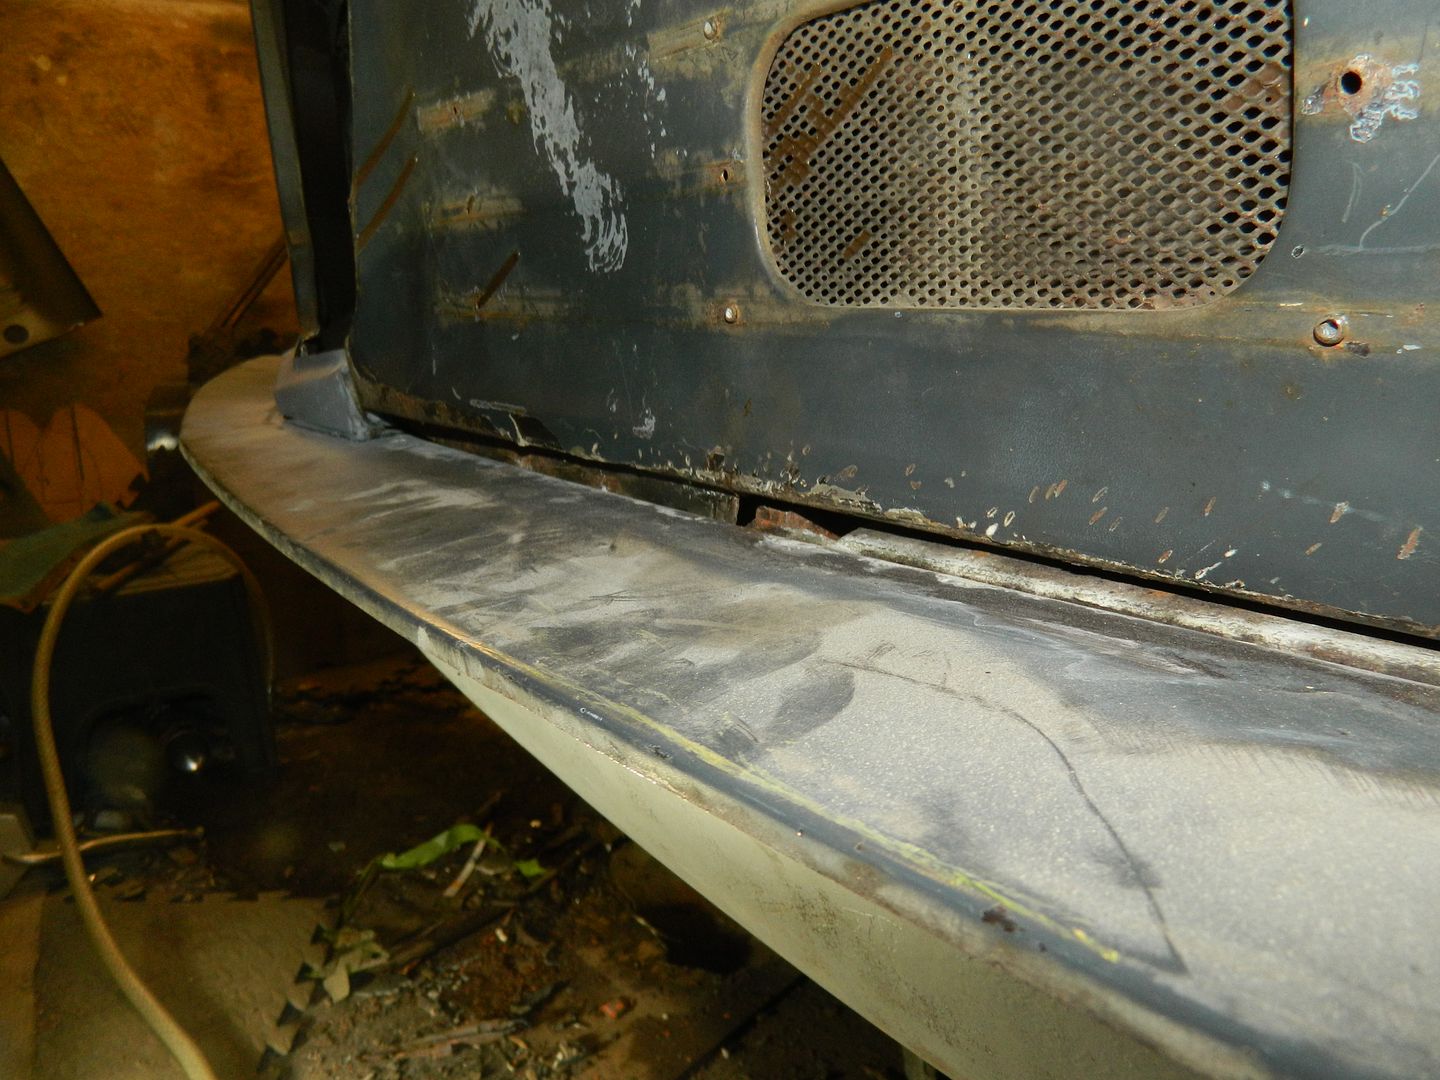 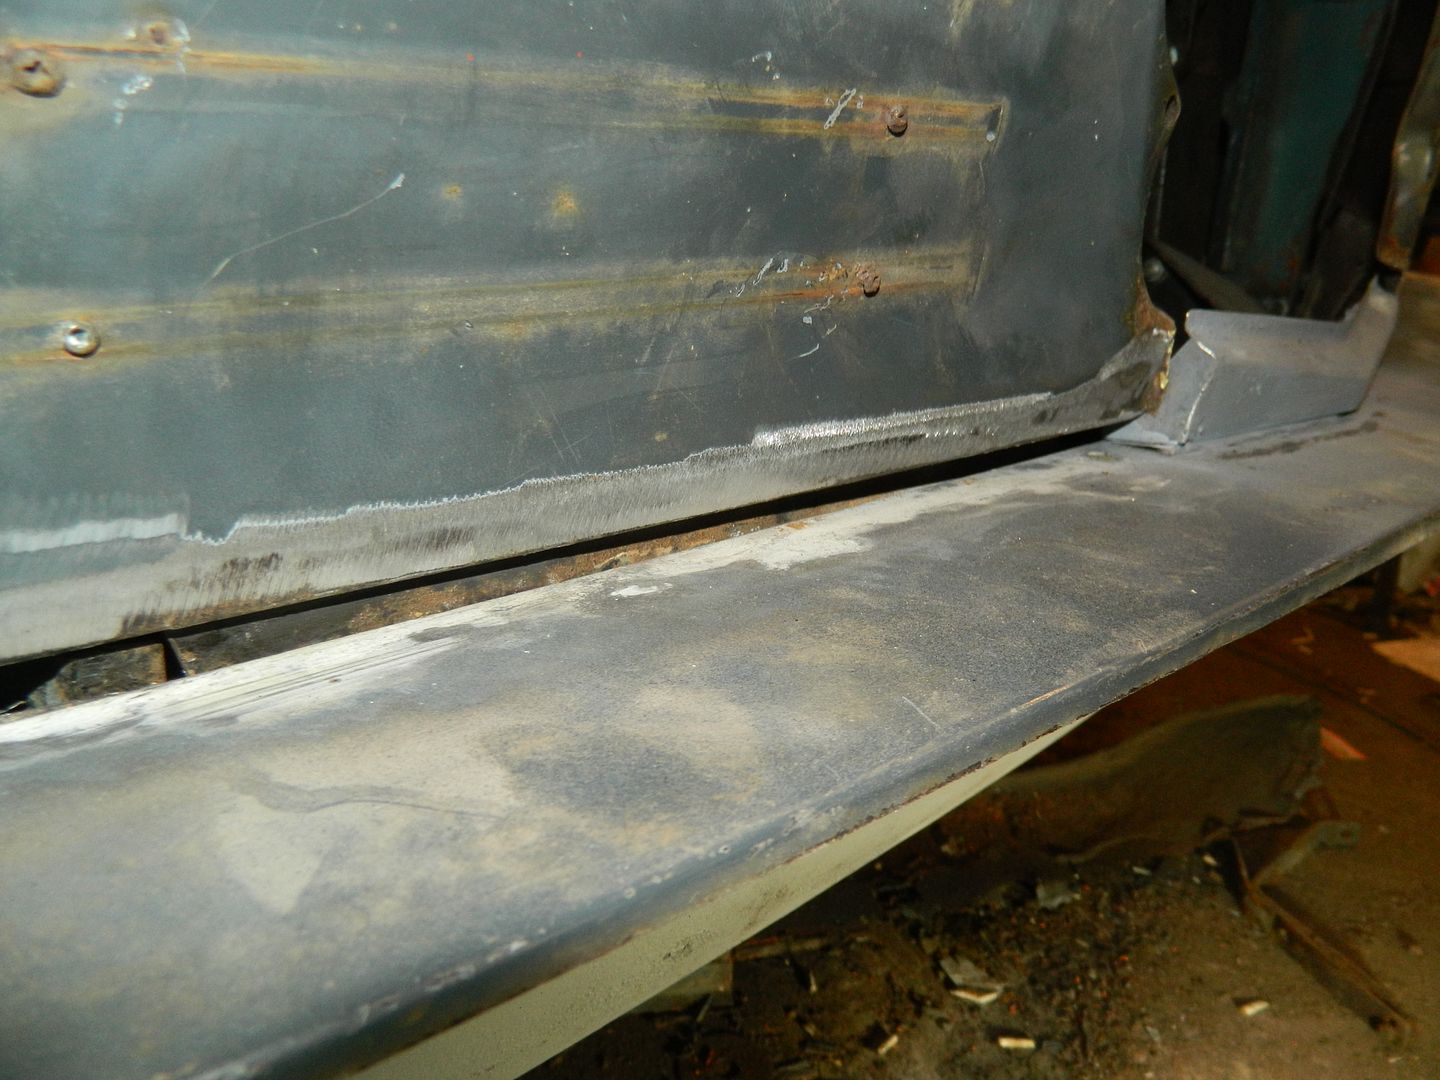 And gap between the shelf and the front panel bottoms. The "bow" across the valance is too great as well, as the centre section doesn't meet flush to the cross member. So, fair bit of juggling, pushing and bending to do to get it to all line up. 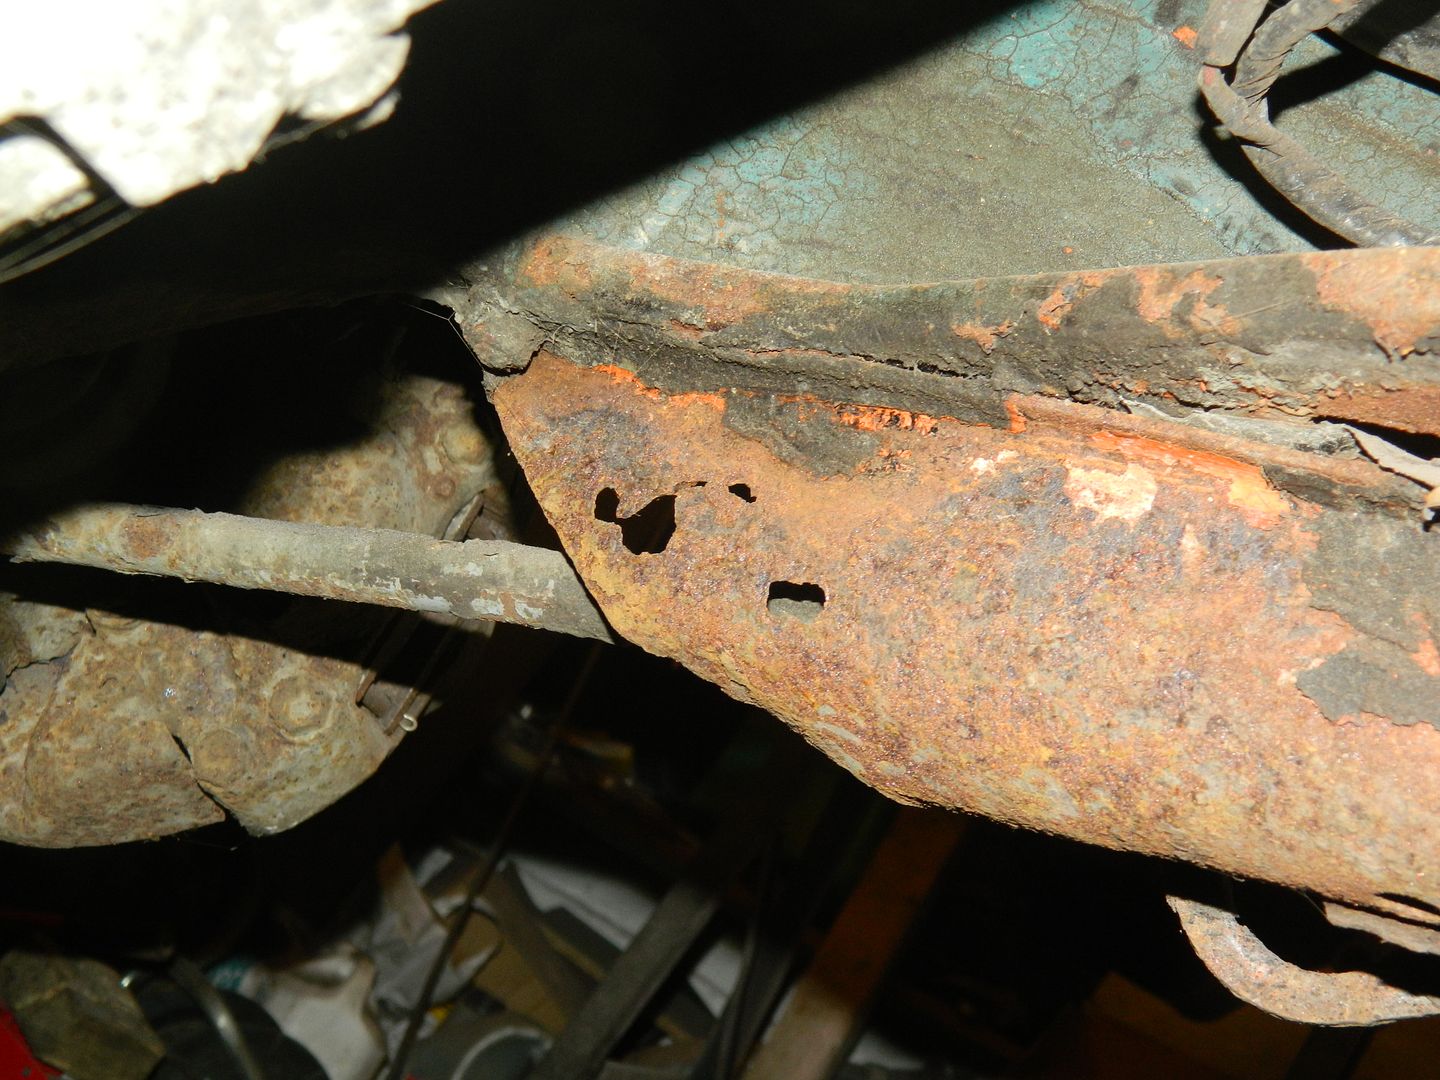 This is why I suggested Phil might like to pick up replacement tie-bar housings. Nasty bit of rot. Chris. |
|
|
|
PFV729H
Feb 5, 2017 20:17:20 GMT
via mobile
Post by phil900i on Feb 5, 2017 20:17:20 GMT
Great stuff Chris! I'm a lot more mobile again now so I'm going to get those new housings cleaned up and painted this week! Was the area they fit to sound? Would it be ok if I popped up to see you again later in the week?
|
|
|
|
Post by Penguin45 on Feb 6, 2017 23:53:20 GMT
Yup, flanges on the chassis rails and cross member look good. The corner panel should clean up OK.
The front valance now more or less fits. Most of yesterdays problems were due to the arrangement of clamps preventing everything pushing home. I now need to work out where to put some holes for plug welding it all together. Quite happy.
Chris.
|
|
|
|
Post by Penguin45 on Feb 7, 2017 23:57:51 GMT
The battle continues. Releasing the clamps holding the valance to the wings allows the valance panel to swing in somewhat, but it still doesn't sit "right" on the cross member. 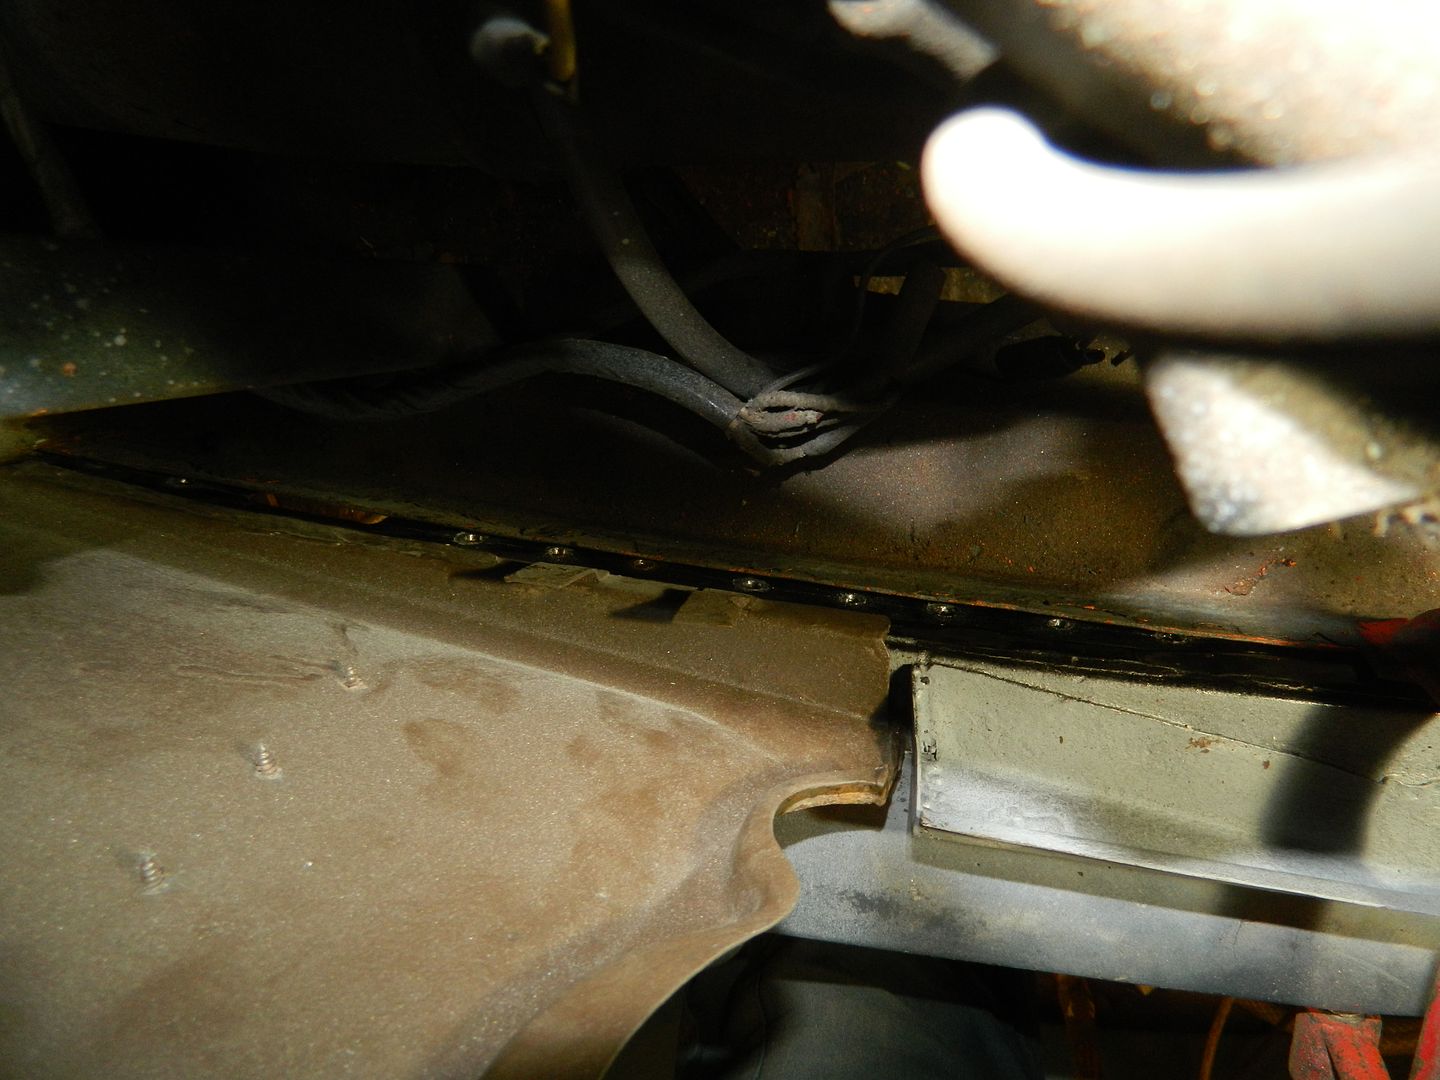 Looking downwards inside the front panel you can see the line of holes for the plug welding. The gap is over ¼", so impossible to weld. Big clamps next - see if it can be drawn into place. Chris. |
|
|
|
Post by Penguin45 on Feb 10, 2017 0:27:25 GMT
Valance is mostly on. Nearside corner has been a pig and needed a skim of filler to get the last bit of alignment right. Phil's coming over Friday with the centre strut and the grill. The bottom bit where the grill lines up seems to be in the wrong place, so this wiil help me get it into the right place. Bolt the back of the wings down, fit the front doors and then she's finished.
Chris.
|
|
|
|
Post by Penguin45 on Feb 13, 2017 20:31:36 GMT
Removed the little centre panel where the bottom of the grill sits. Front panels now secured home. 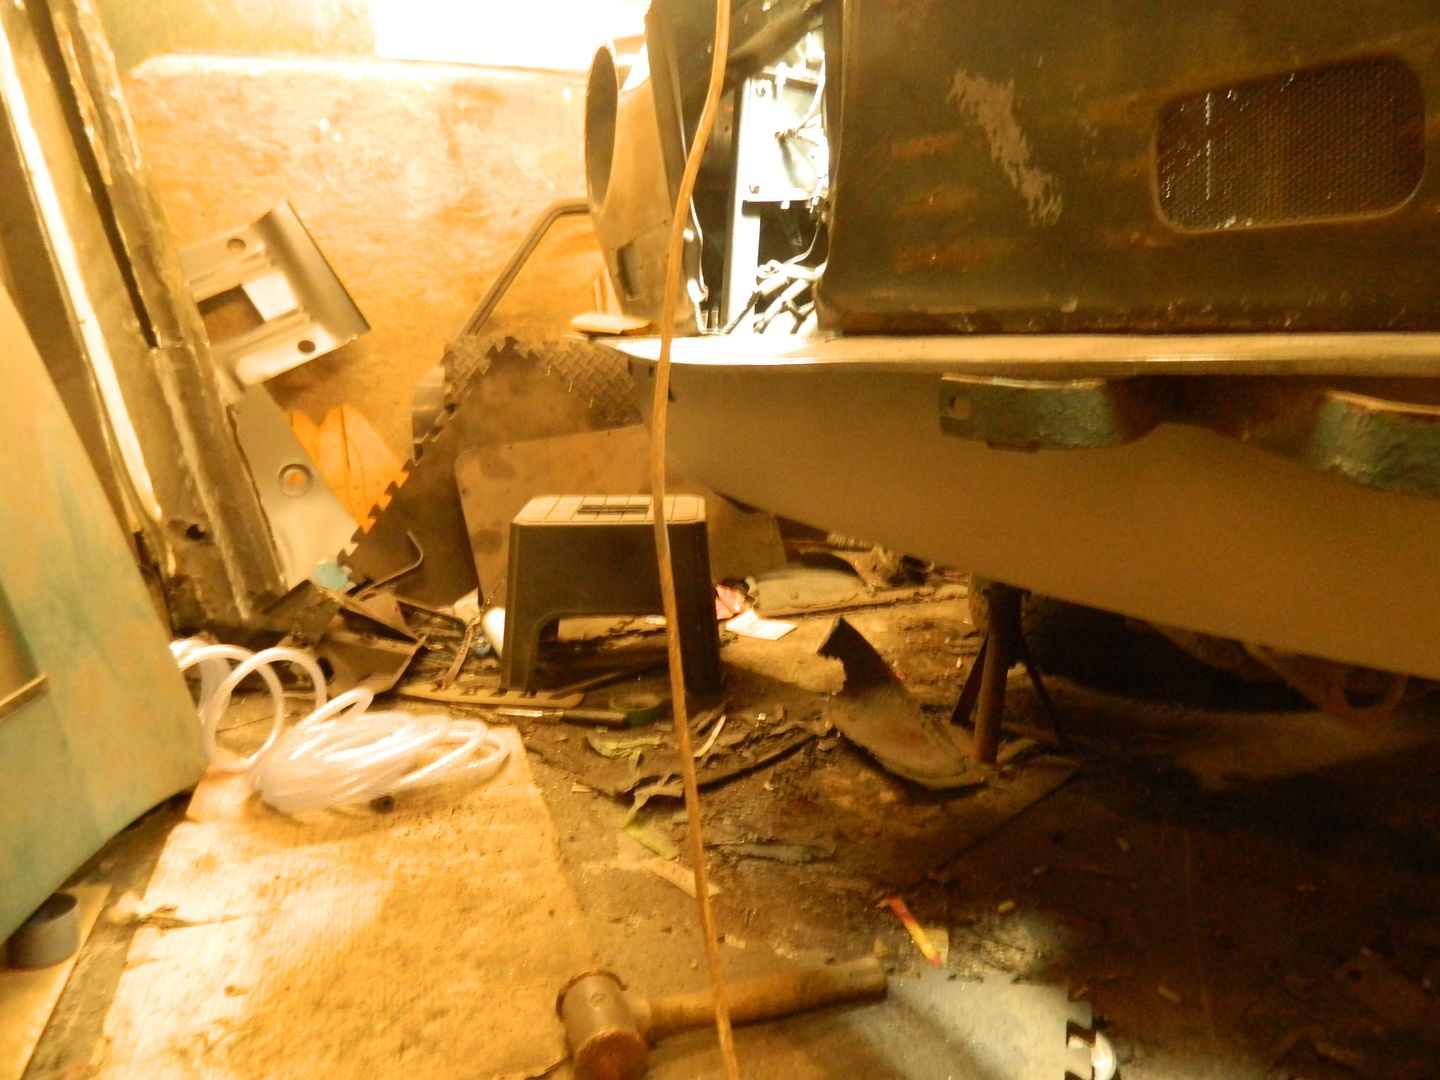 Gaps closed up pretty well. 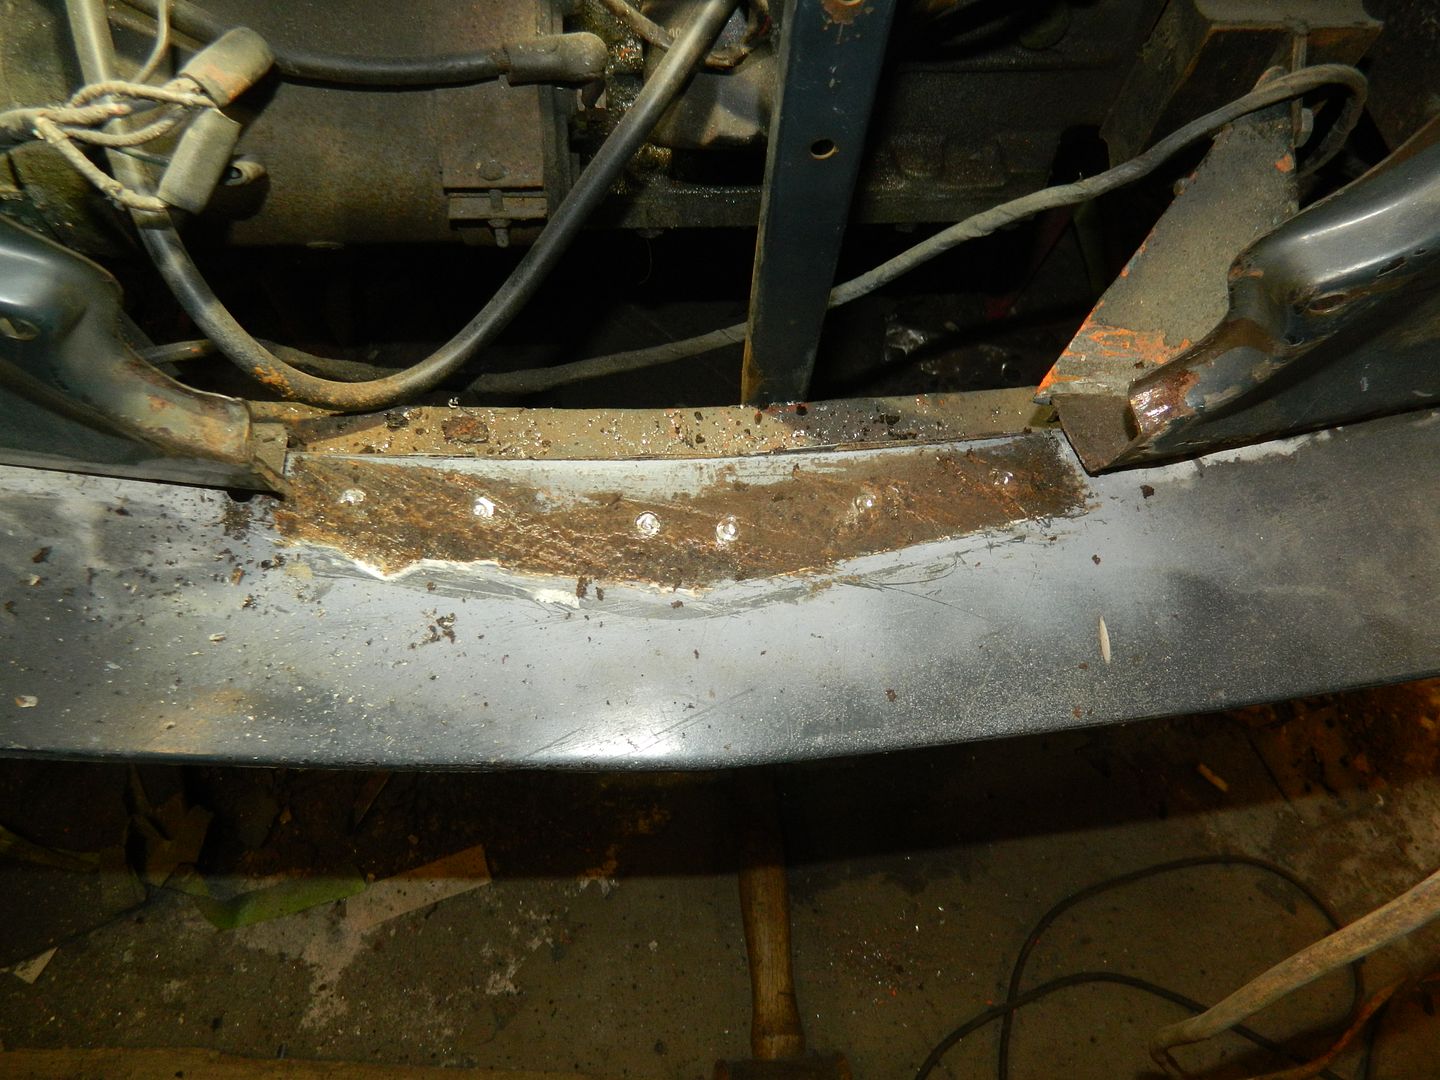 Quite glad I took it off - surface rust. All buzzed off and treated now. 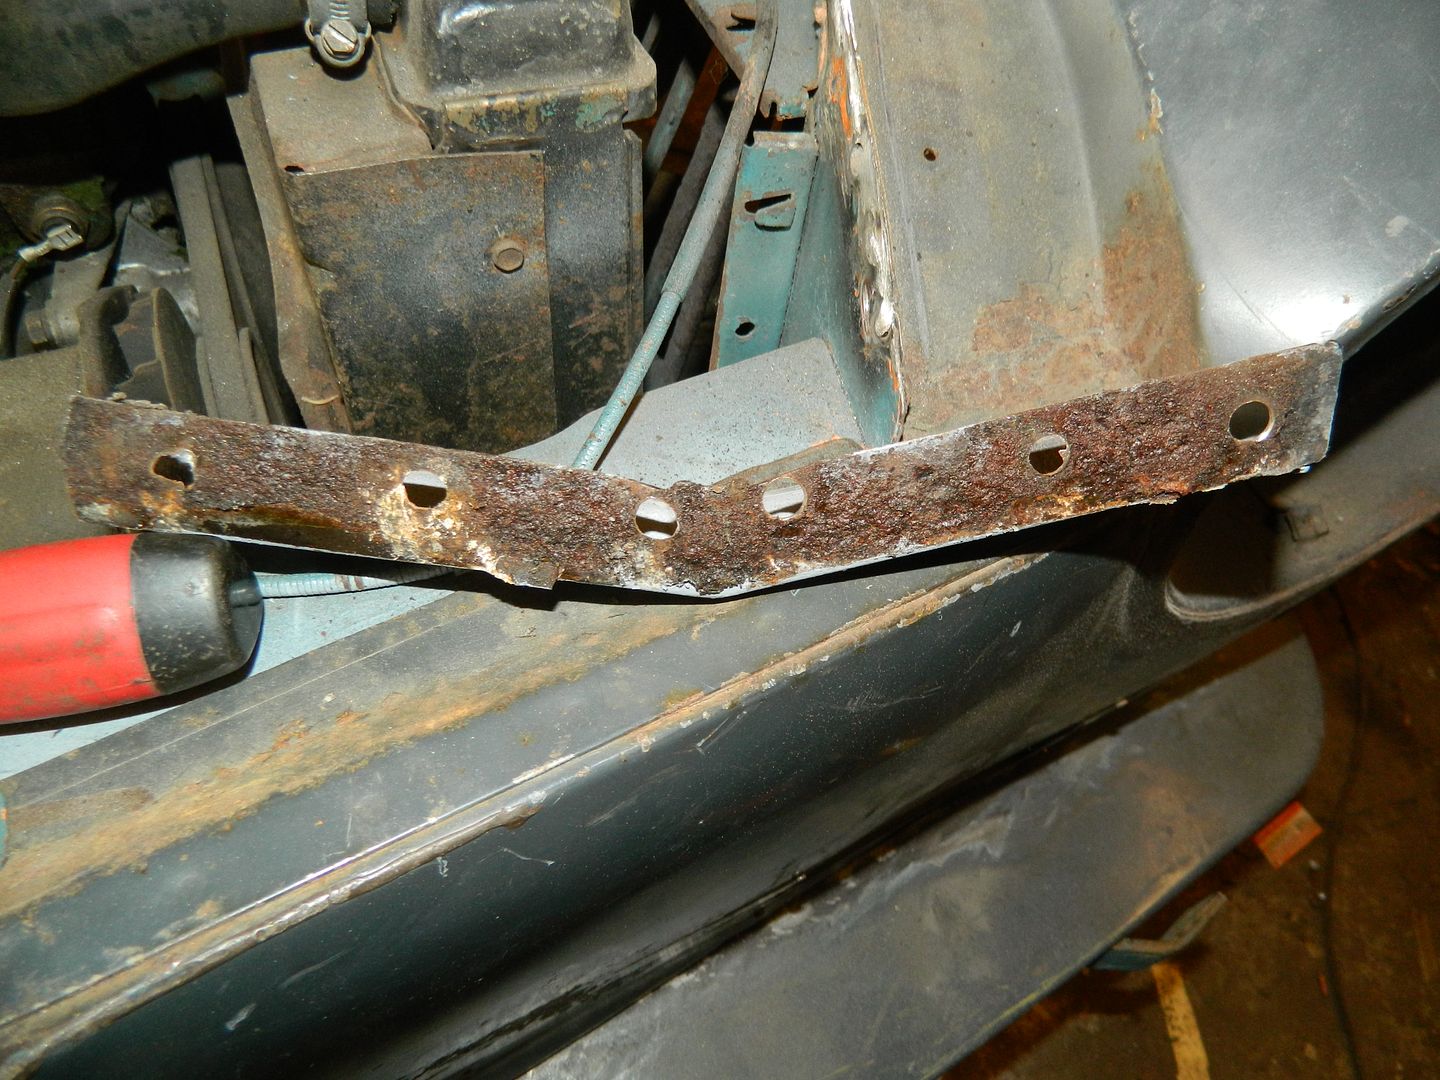 Same on the bottom of the centre panel. 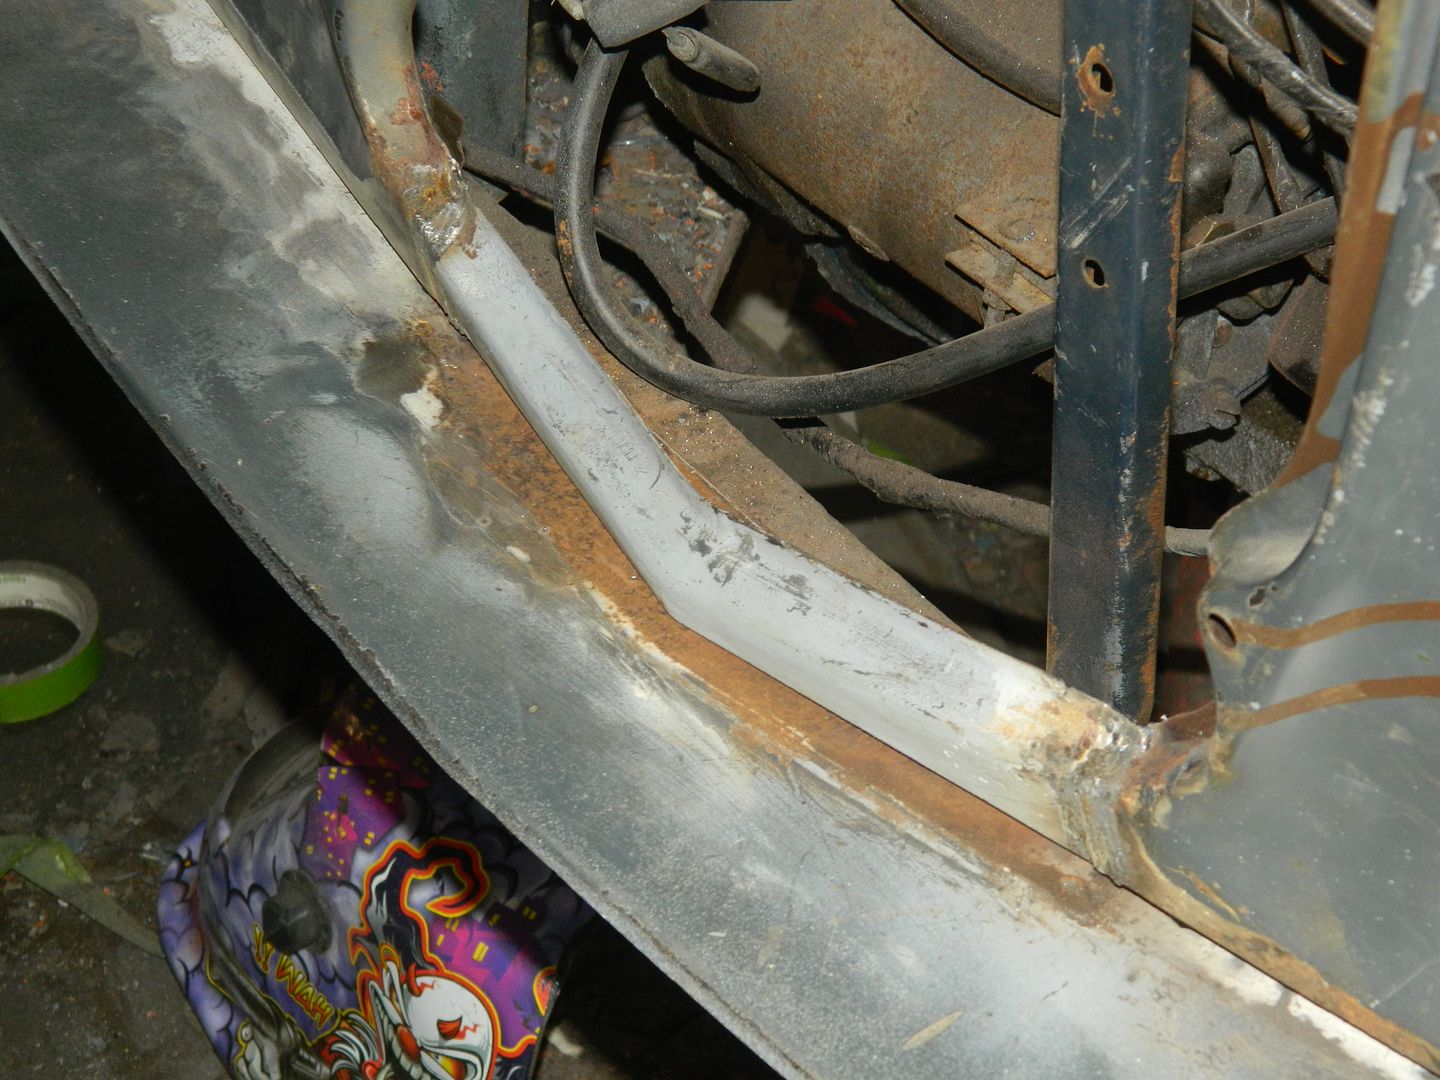 Refitted. Couple of extra fillets welded in. Alignment not bad, grill fits nicely. That bottom bit will finish up invisible when it's all assembled. 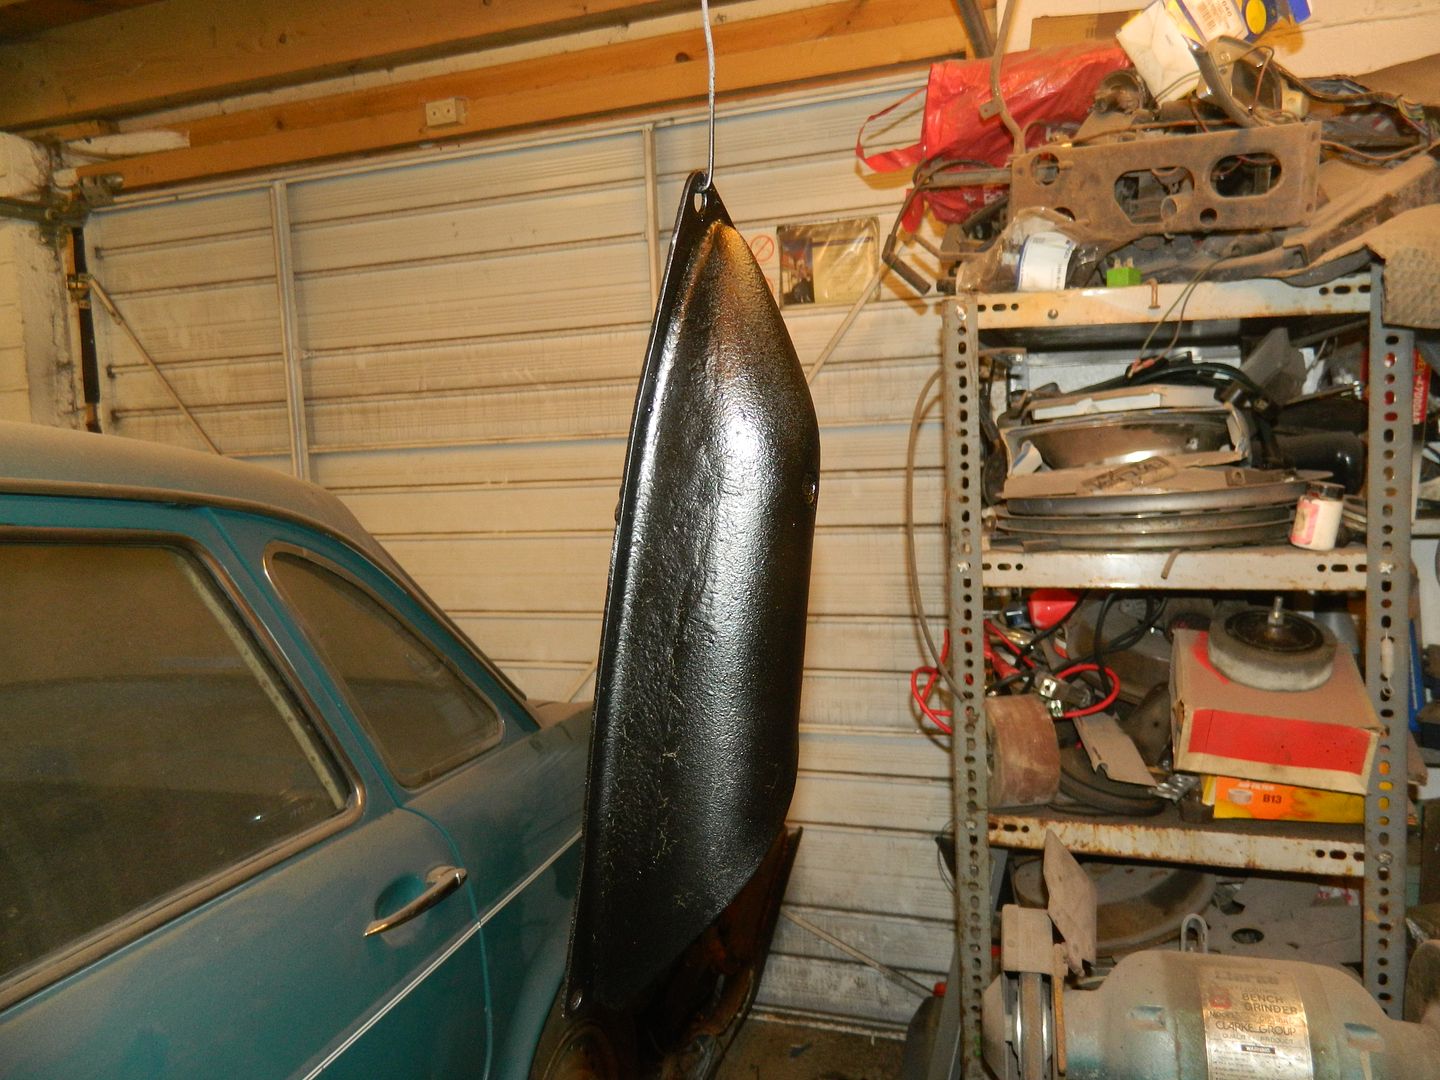 Replacement tie-bar housing stripped, treated, primed and painted. Much nicer than the one on the car. Chris. |
|
|
|
Post by Penguin45 on Feb 20, 2017 11:44:16 GMT
This is progressing, albeit rather more slowly than I would wish. Problem has been the temperature making the use of filler somewhat problematical. The o/s of the valance is now fully attached to the wing, so structurallly, that's it. 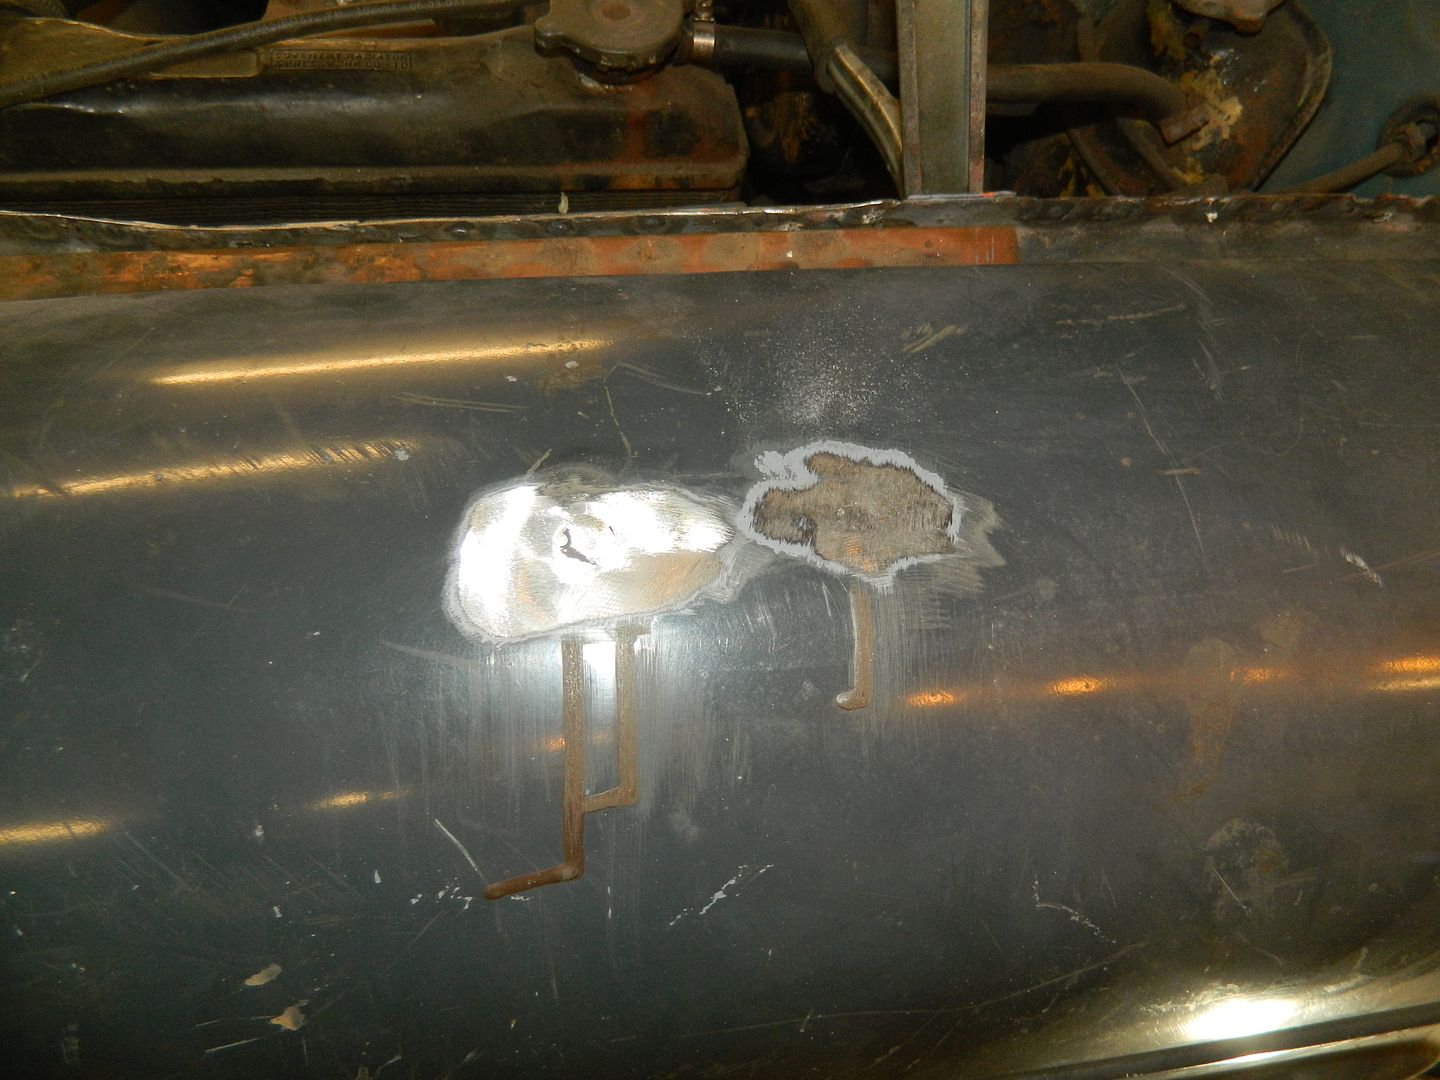 Wing mirror holes filled in on n/s wing. 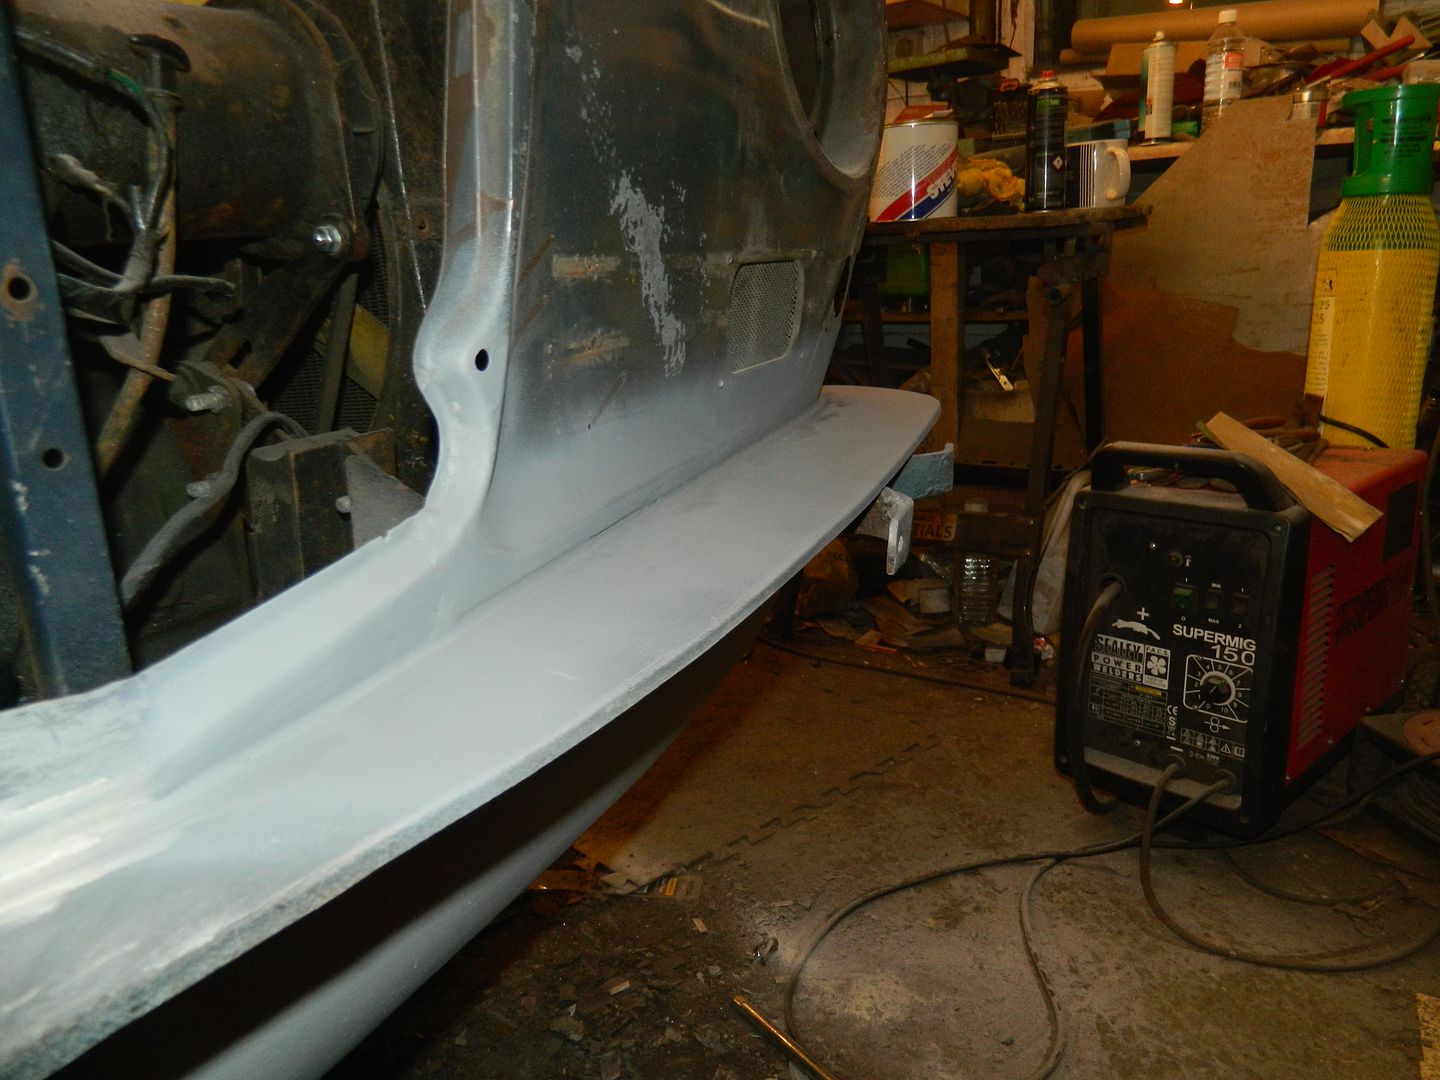 Joint across front panels and valance top filled, flatted and primed. I don't know if this is correct or not, but I consider sealing that gap crucial to keeping water (and hence rust) out of the valance and front cross member. Other half has been done and I'll see about flatting that back later. Chris. |
|
wolseley1800
Member
  
Posts: 127
Attribute: The Voice of Doom!
|
Post by wolseley1800 on Feb 20, 2017 13:37:36 GMT
"Other half has been done and I'll see about flatting that back later." Oo-eer missus  |
|
|
|
Post by Penguin45 on Feb 25, 2017 21:13:04 GMT
Sorry, not updated this much. Not really much to see, to be honest! It's down to the details and the fiddly little buts of filler and stuff.
Wing mirror holes on the o/s wing have been filled and flatted. Front panel has been skimmed and flatted back. Tie-bar housingn is fitted - the gussett plate was stripped, treated and painted at the same time. Little bit of pitting, but nothing serious. N/s wing is bolted down and tacked underneath. Frrnt door can go on tomorrow, then she can be turned round for the same on the o/s.
If it all goes to plan, she'll be finished tomorrow evening.
Chris.
|
|


