|
|
Post by Penguin45 on Jan 22, 2017 1:08:06 GMT
Heh! I'm getting round to the view that they all basically rust in the same places, then you get cars with rust of "Special Interest", just to keep you on your toes... That said, after the Red Dog, I'll believe anything!
Chris.
|
|
|
|
Post by Penguin45 on Jan 22, 2017 16:30:41 GMT
Inner wing finished. 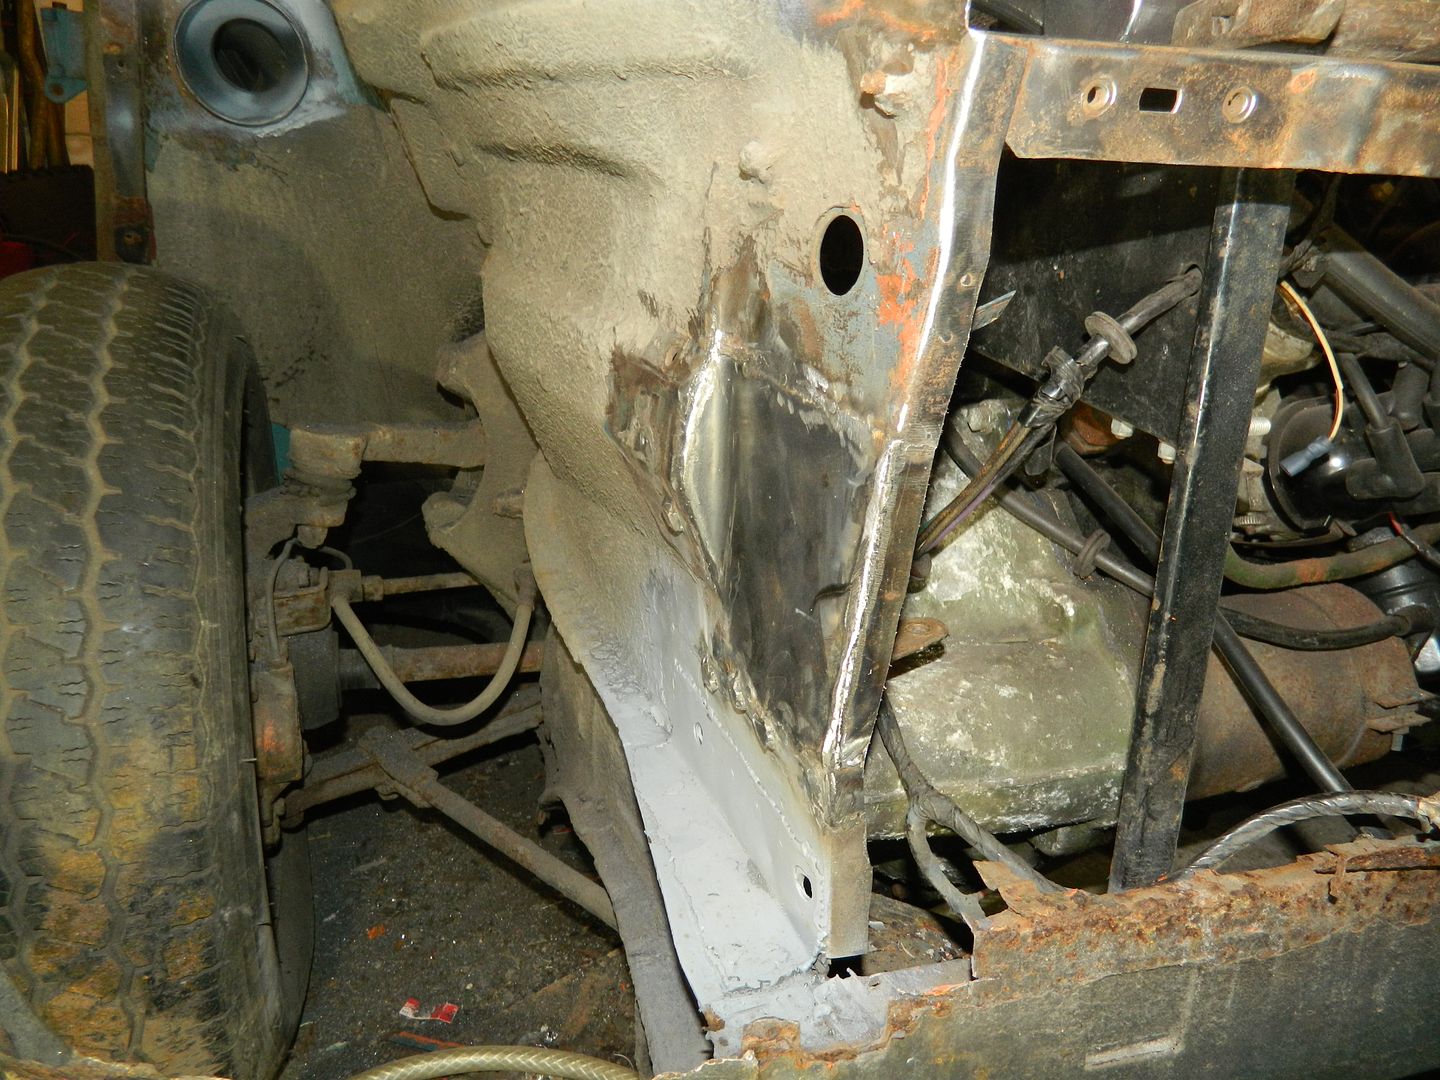 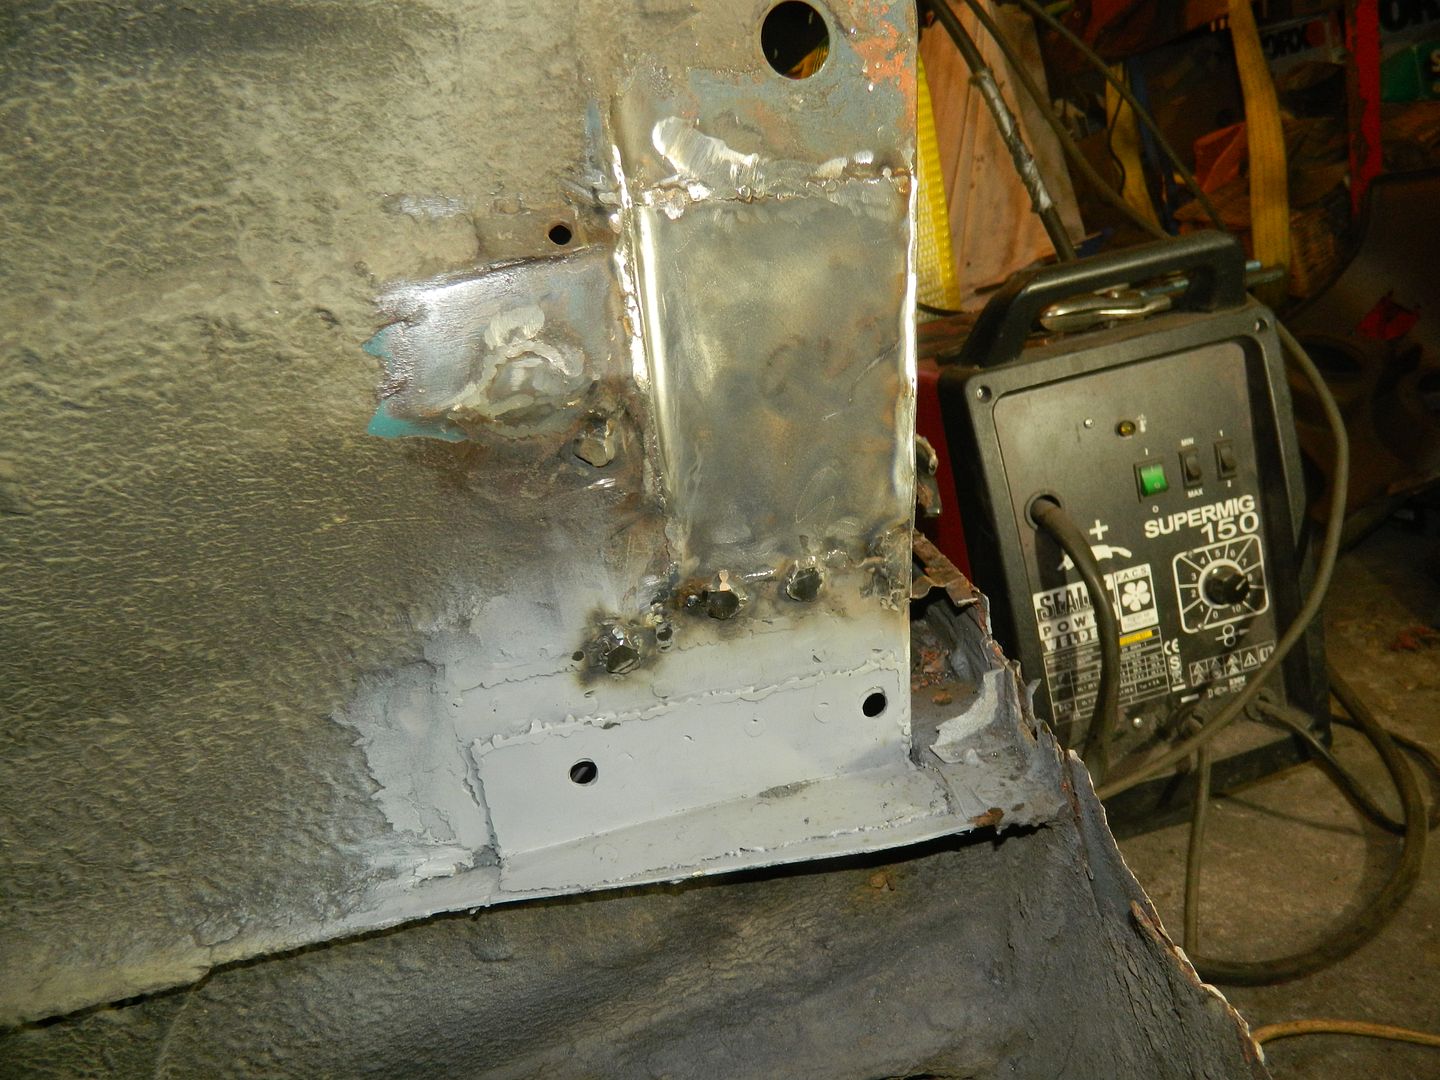 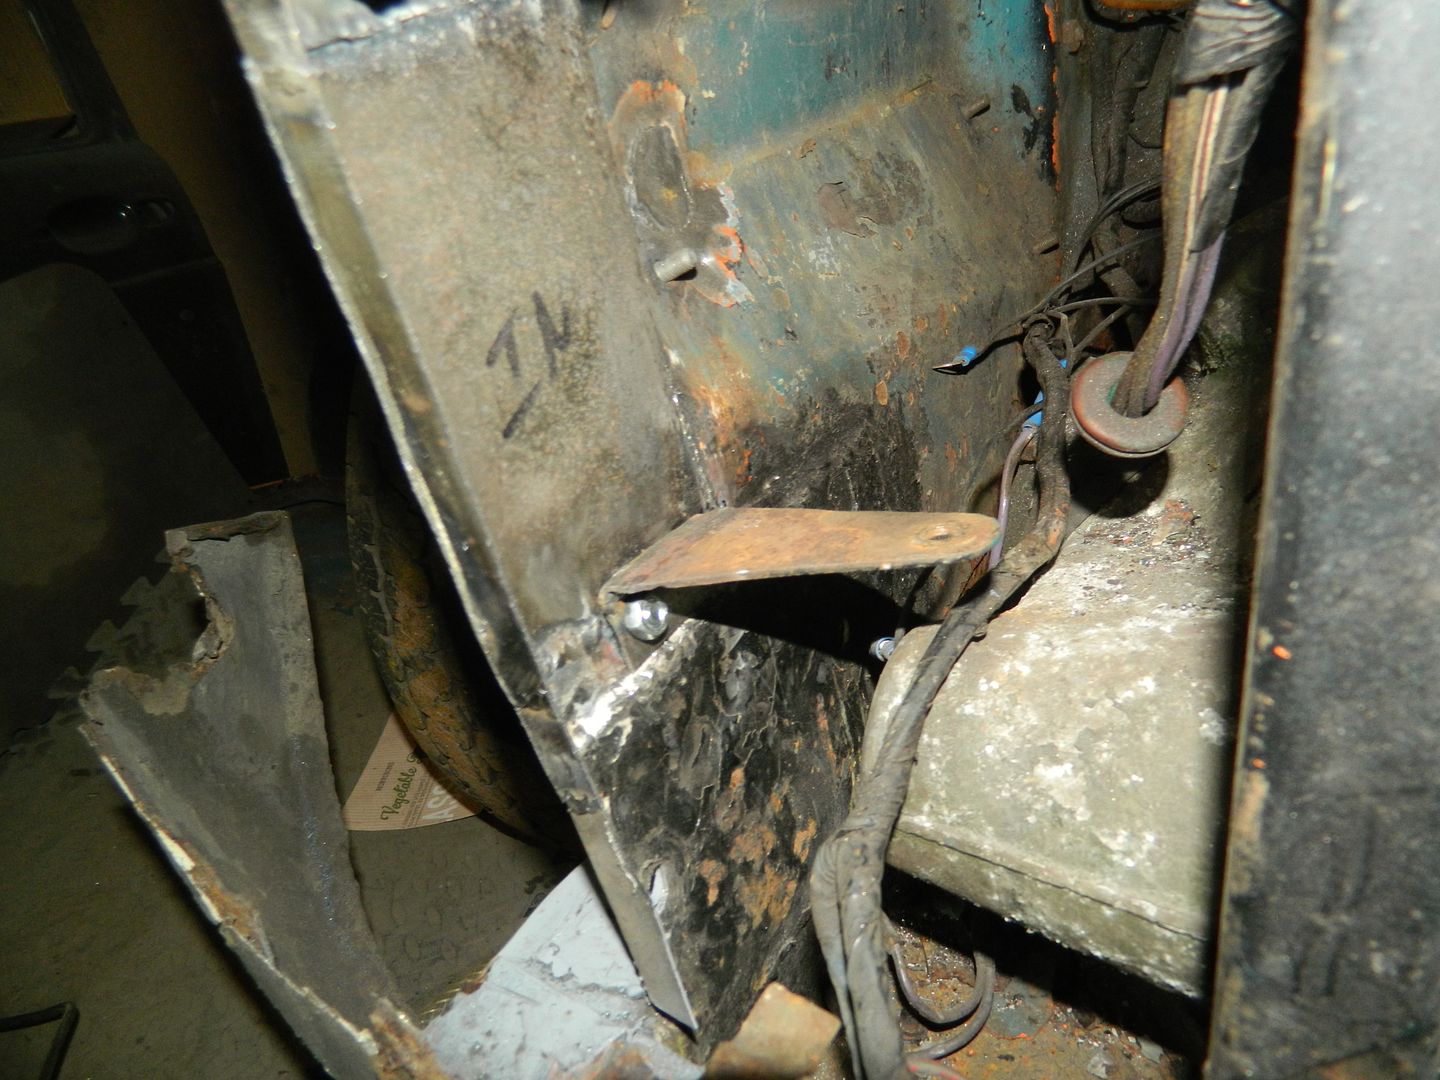 Pleased with that - tricky panel to make and fit. All butt welded. Horn bracket repaired and refitted properly. Studs for horn bracket and battery tray welded home. Chris. |
|
|
|
Post by Penguin45 on Jan 23, 2017 19:36:34 GMT
Took the other wing off. 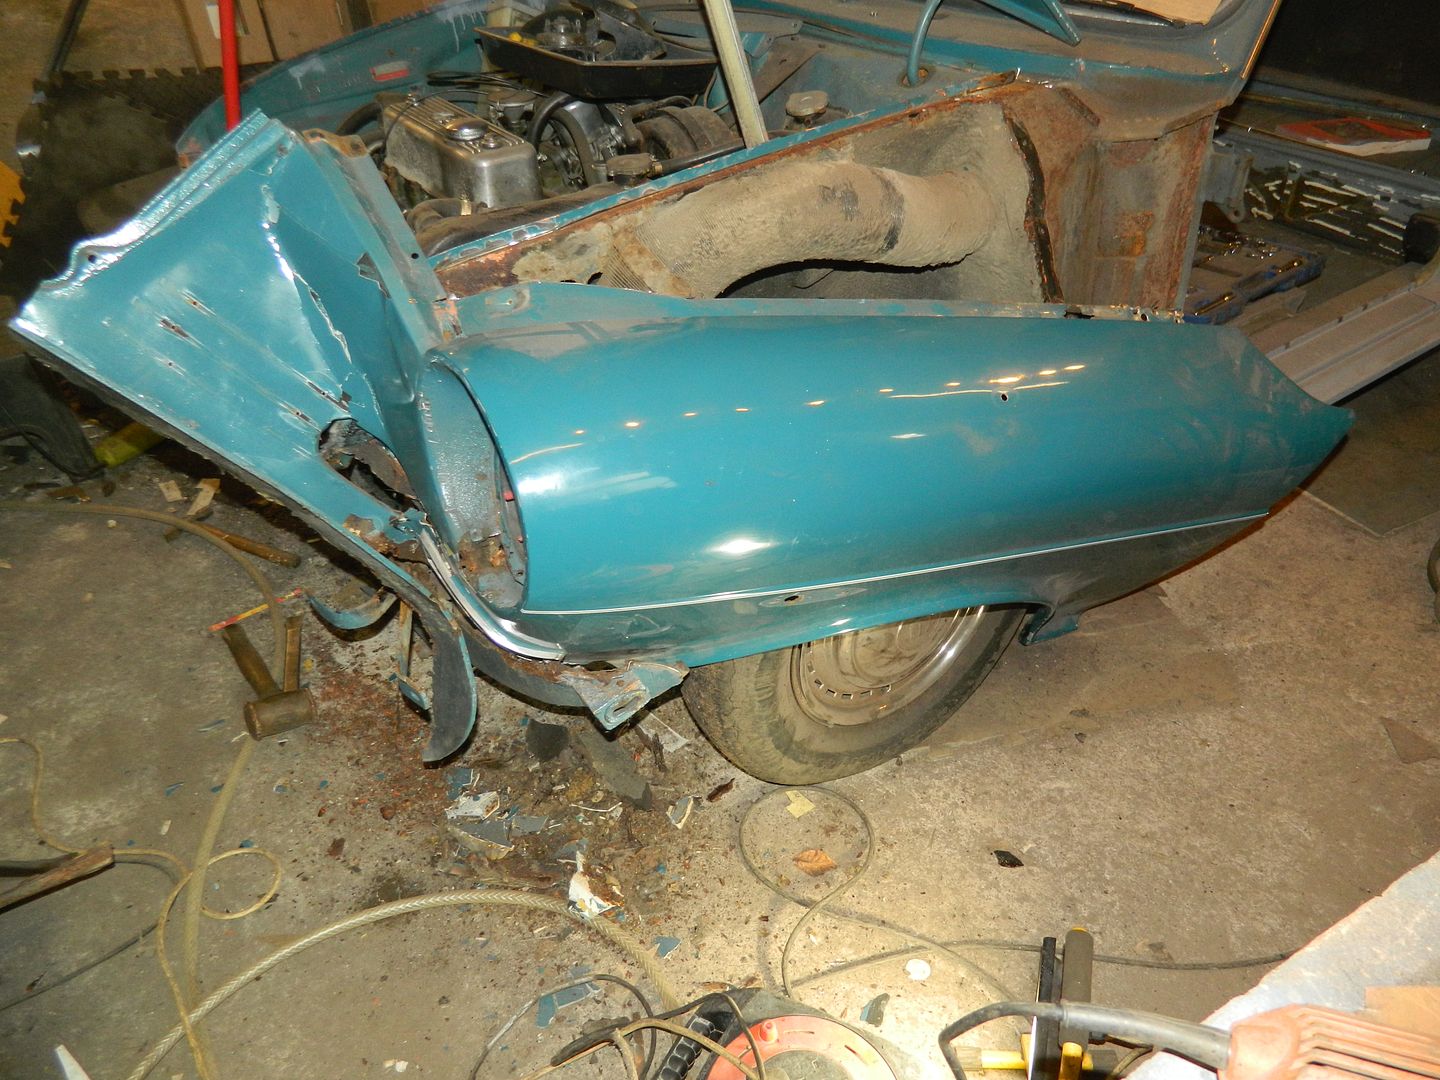 This one put up a fight. 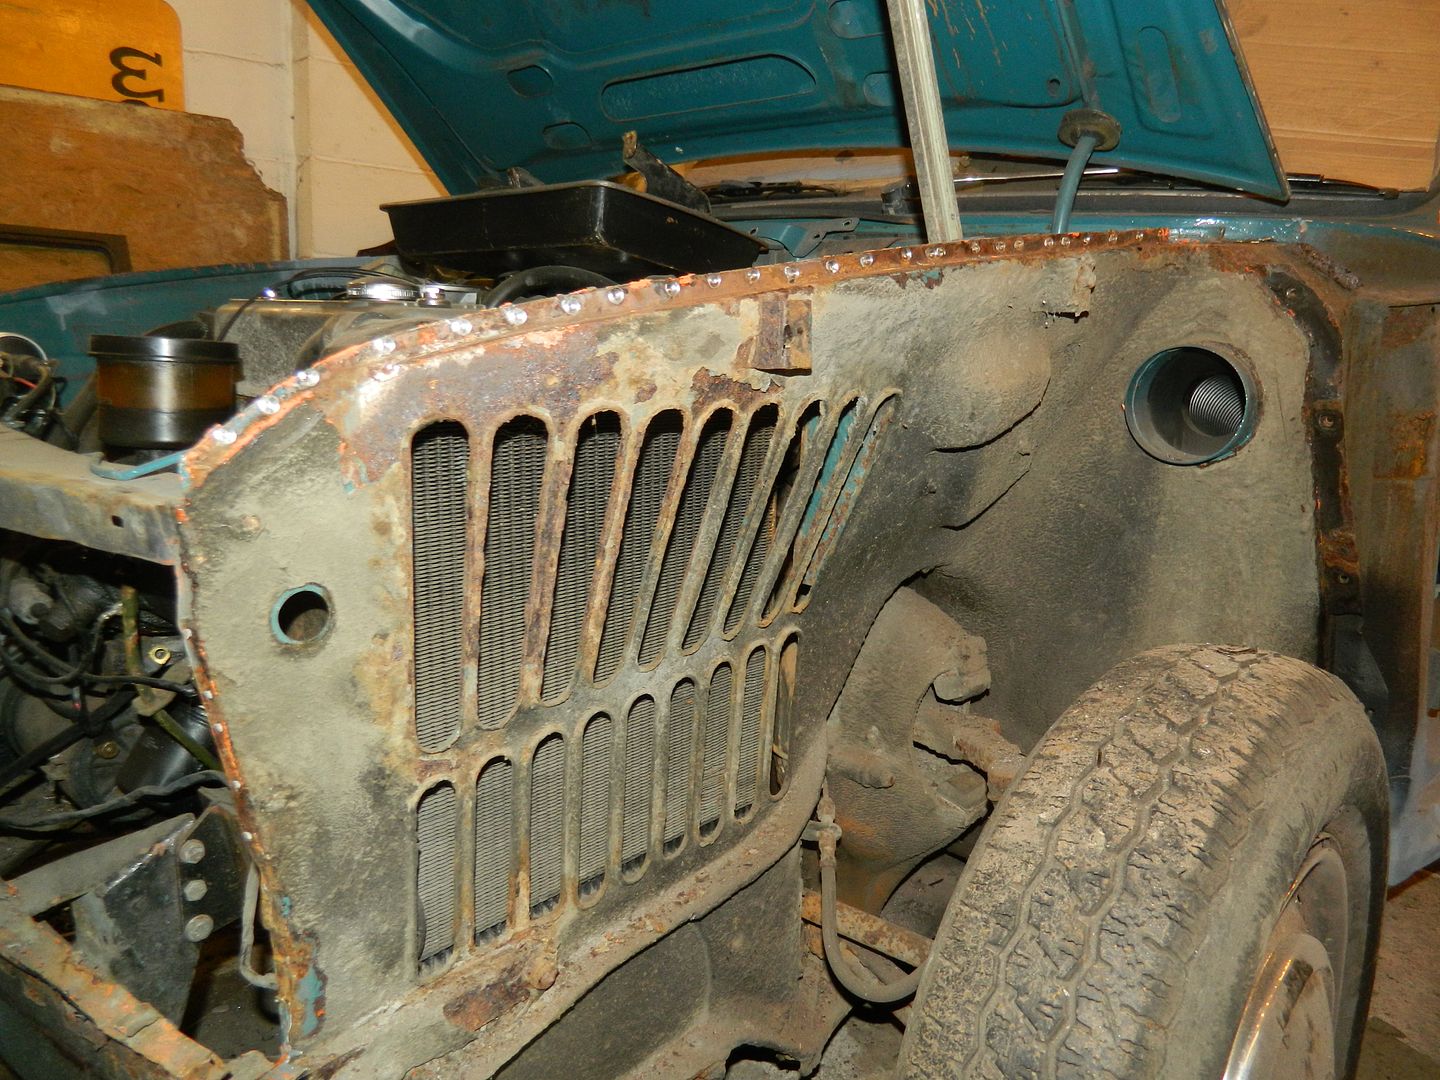 Plenty of surface rust and flaky underseal. 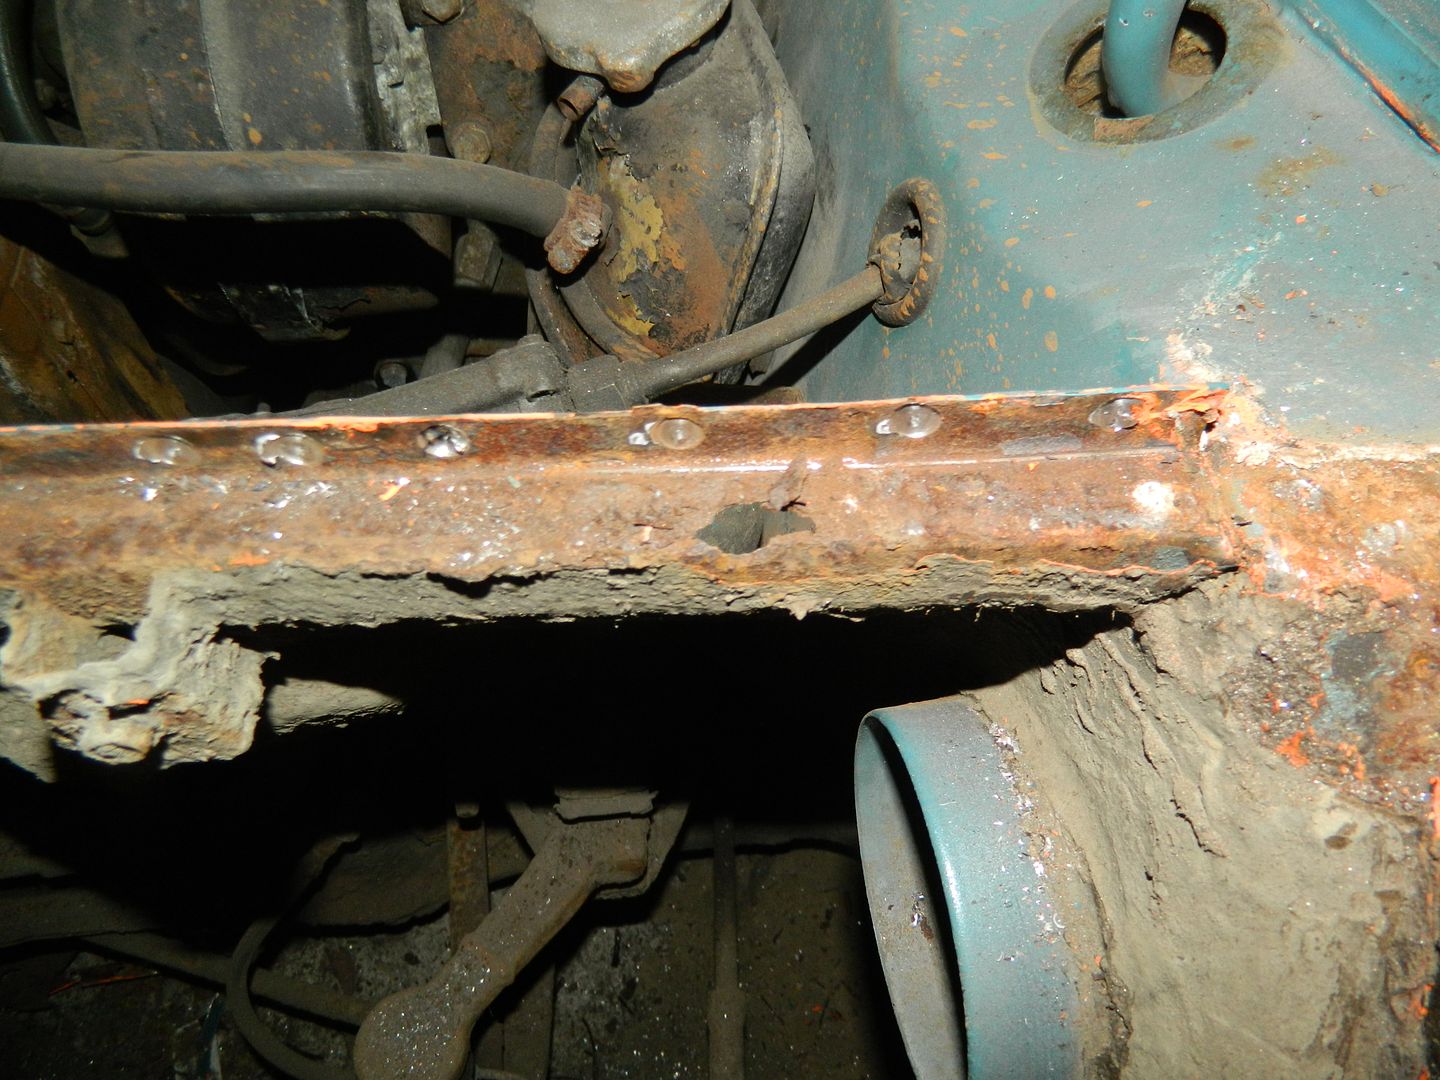 Damage to top flange. 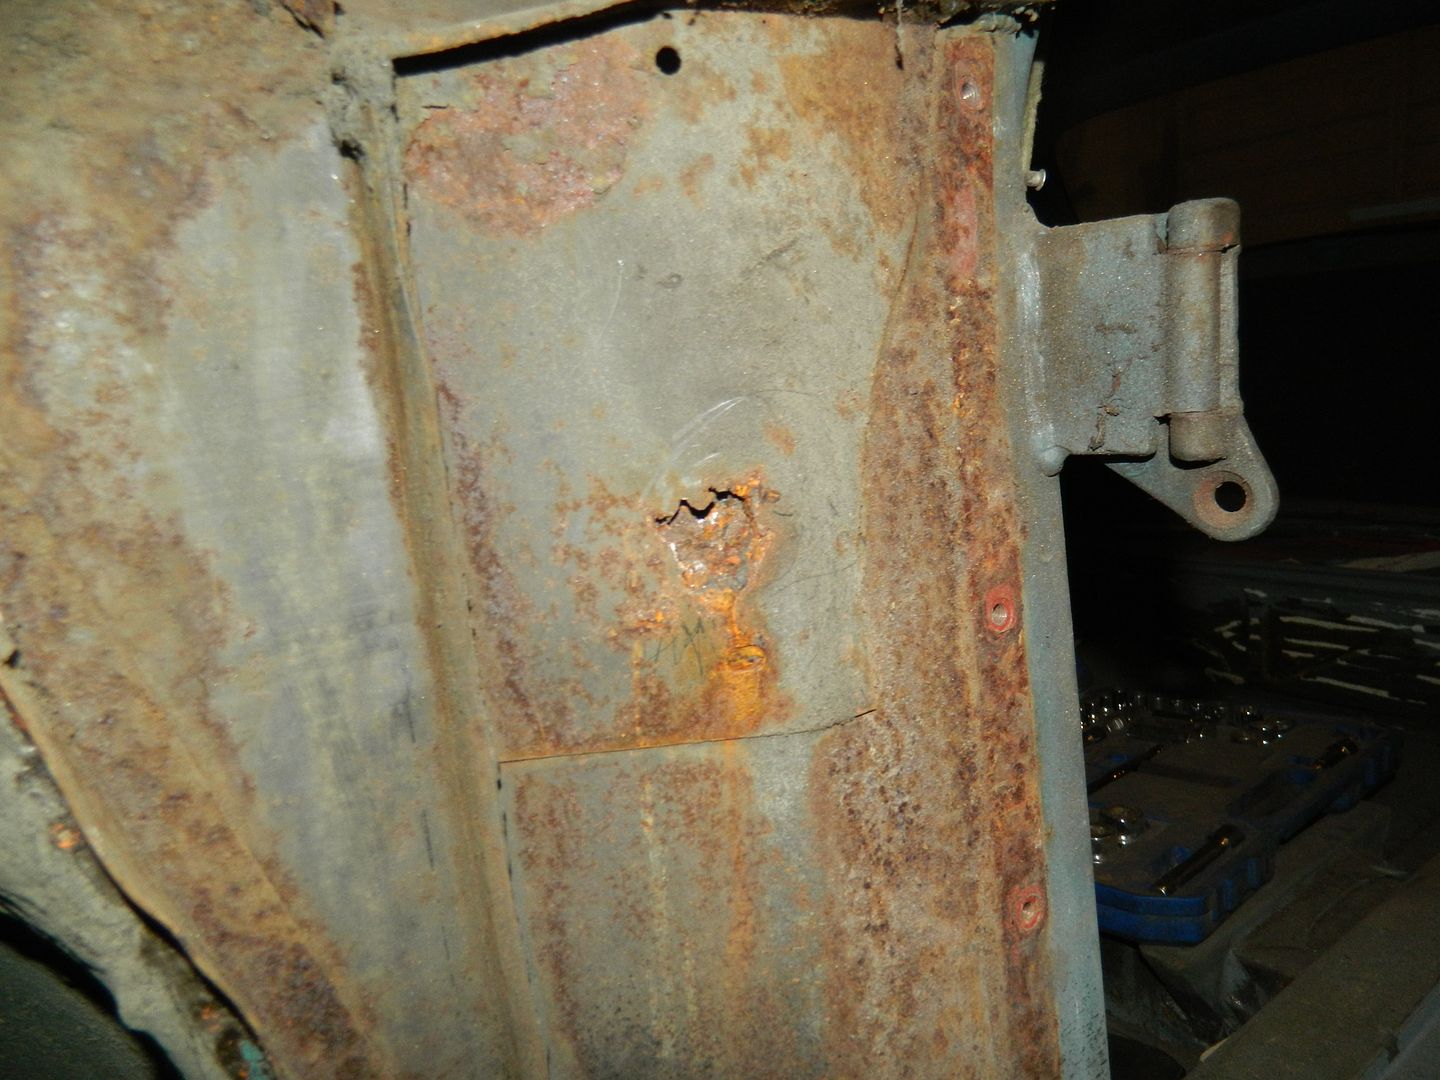 "A" post. Don't like the look of that. 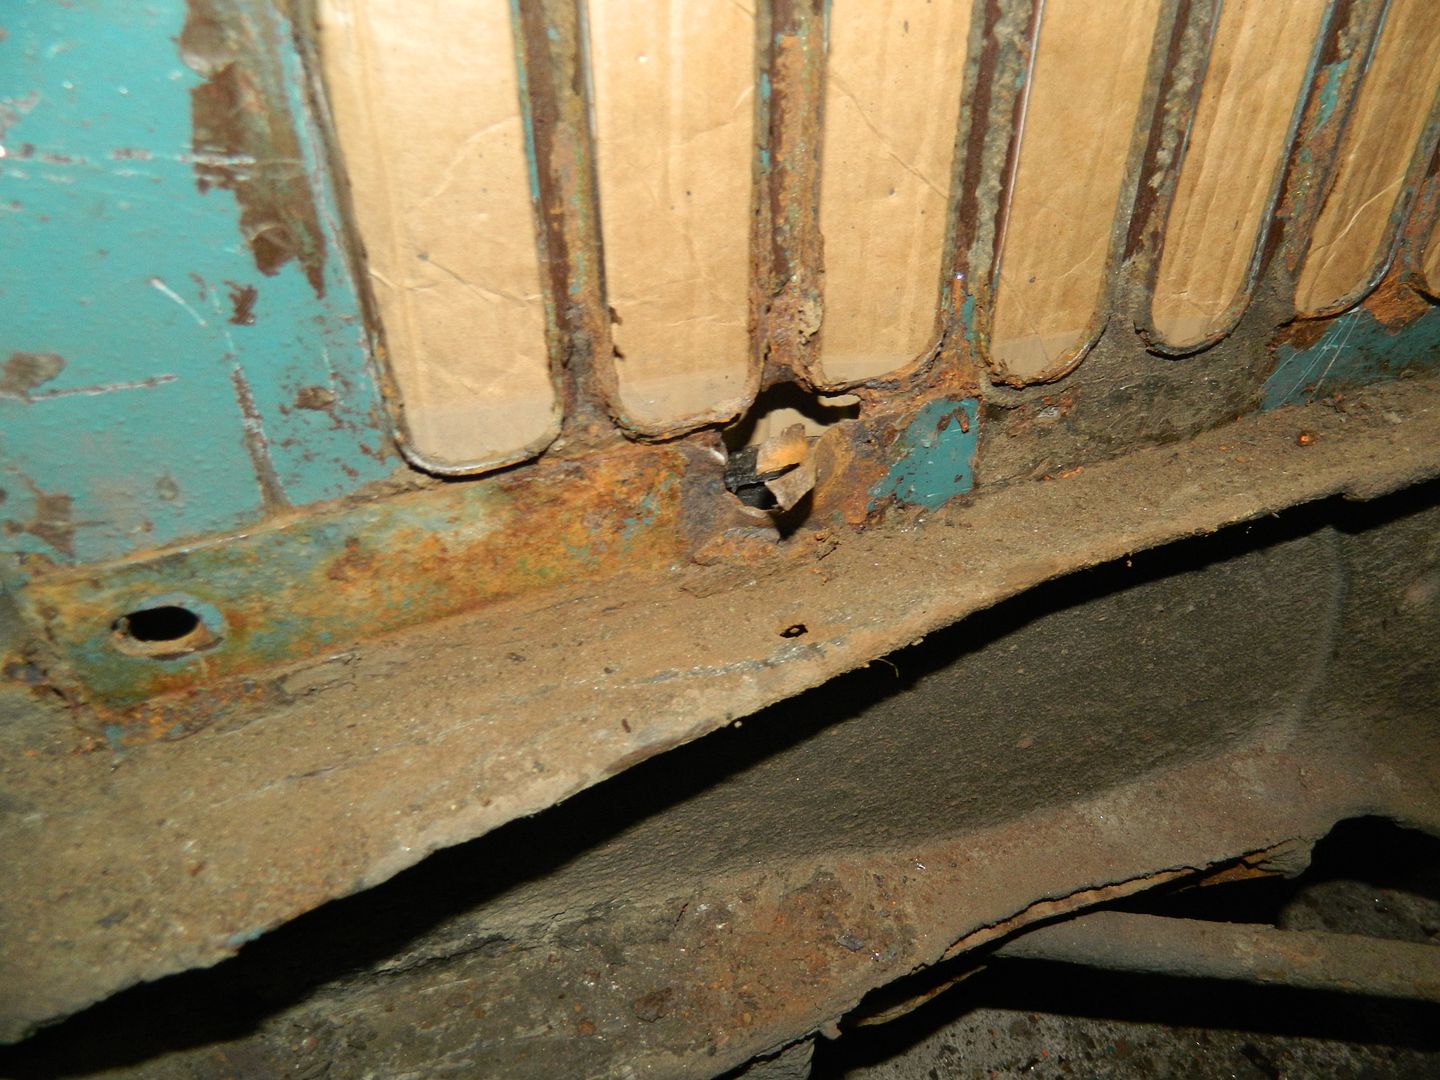 Area around rear bumper iron bolt rotten. You can make out the original "L" section which reinforces the bottom edge. 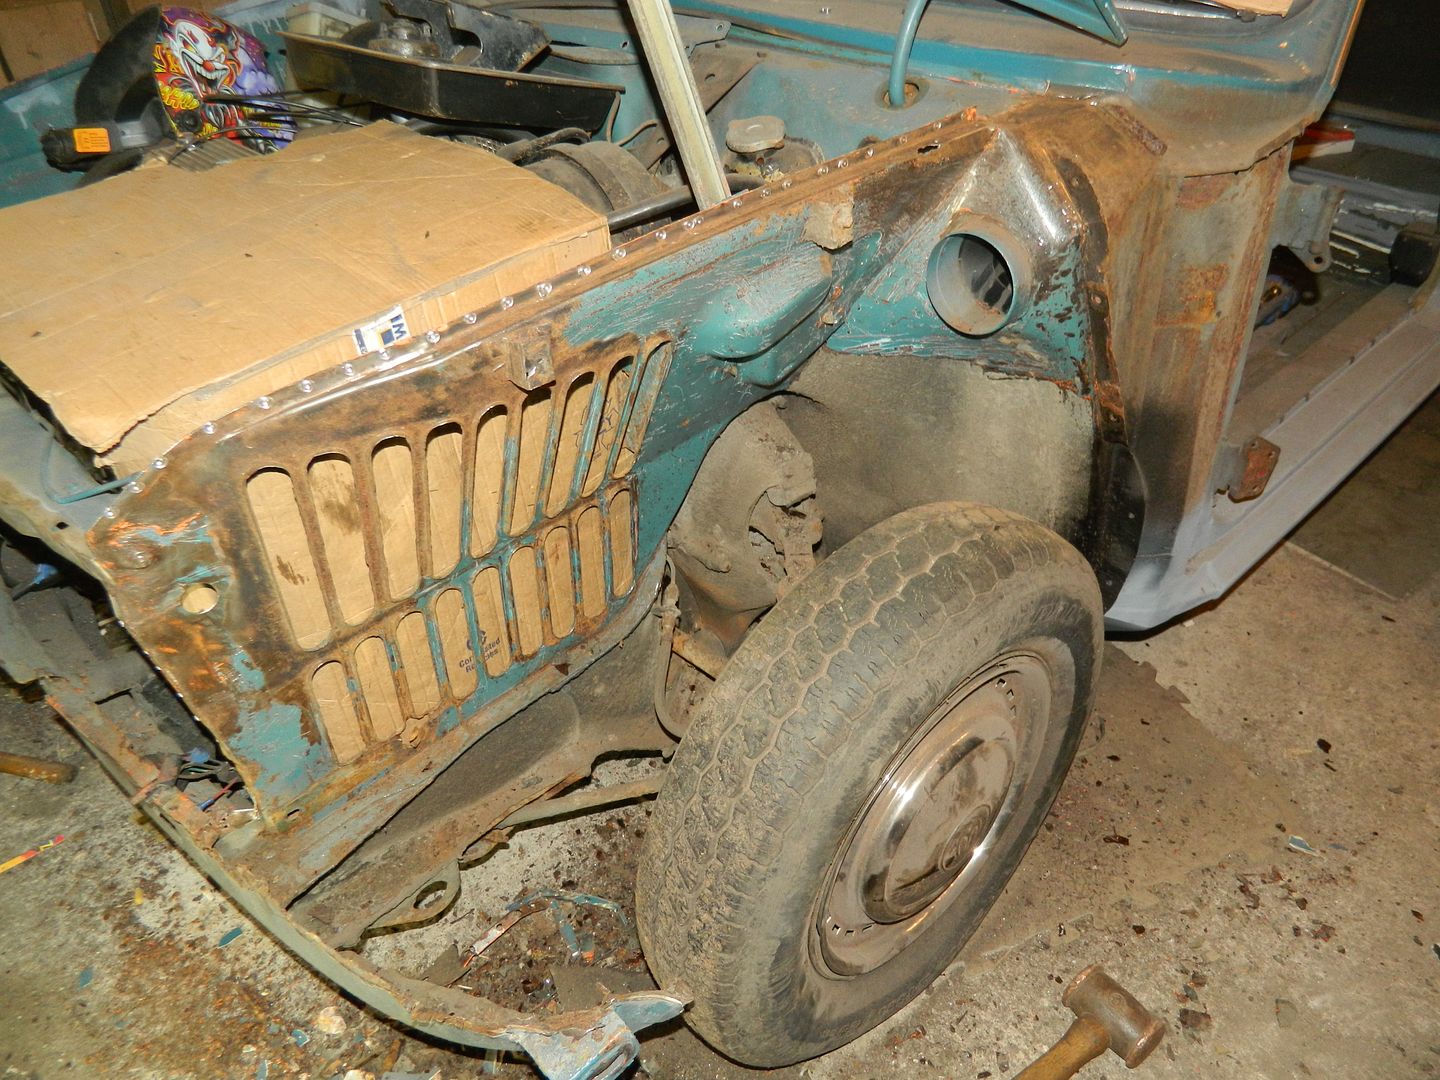 Two hours of scraping later and no new horrors found. Inner wing top sound, ventilators sound, front of inner wing sound. Good.  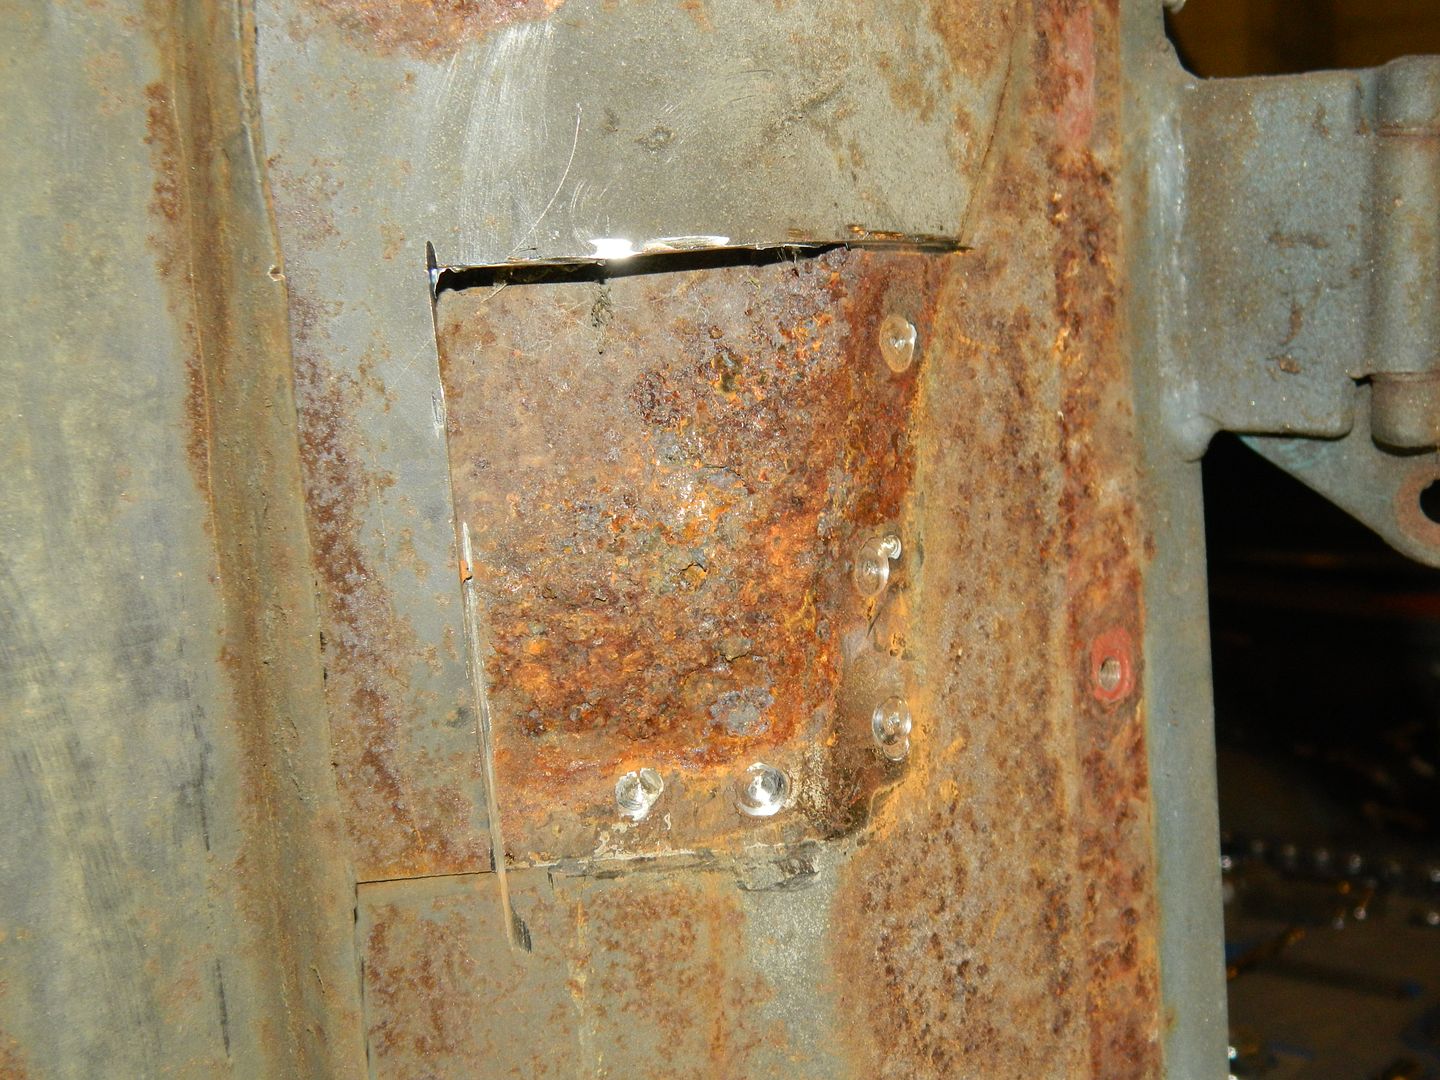 Outer layer of "A" post cut away. Not as bad as I was expecting. 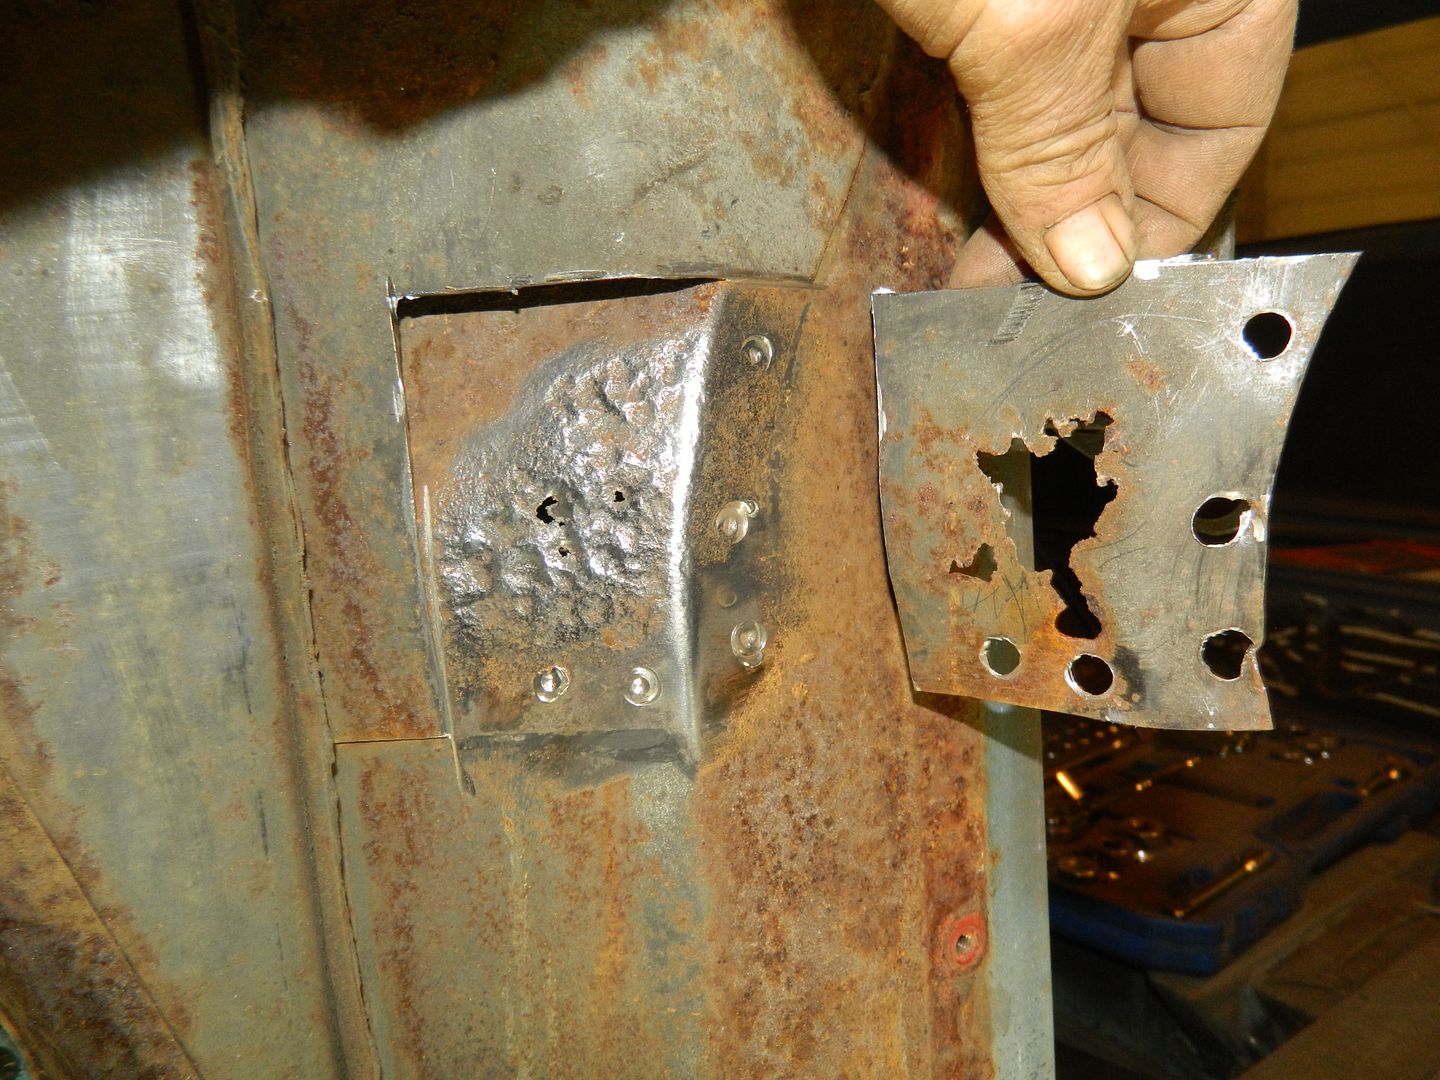 And after the attack of the wire wheel. Bit of welding required. So, nothing too horrible, just a couple of different problems. Chris. |
|
|
|
Post by Penguin45 on Jan 24, 2017 19:03:53 GMT
"A" post sorted. 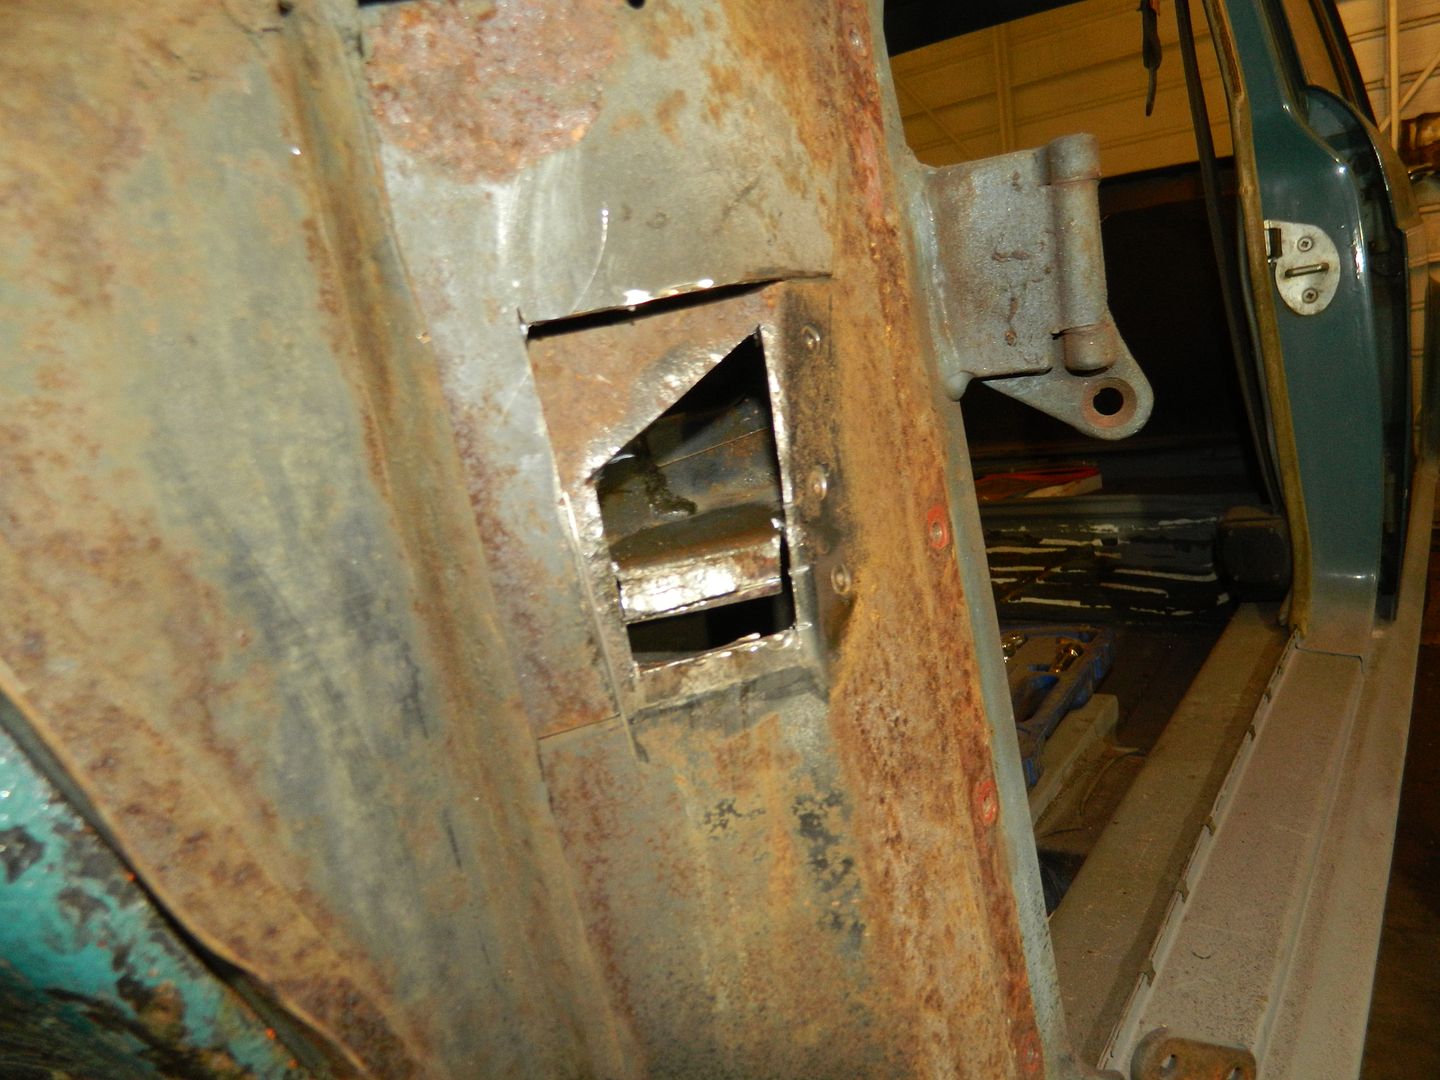 Rotten inner piece cut away, revealing shelf and flange inside. 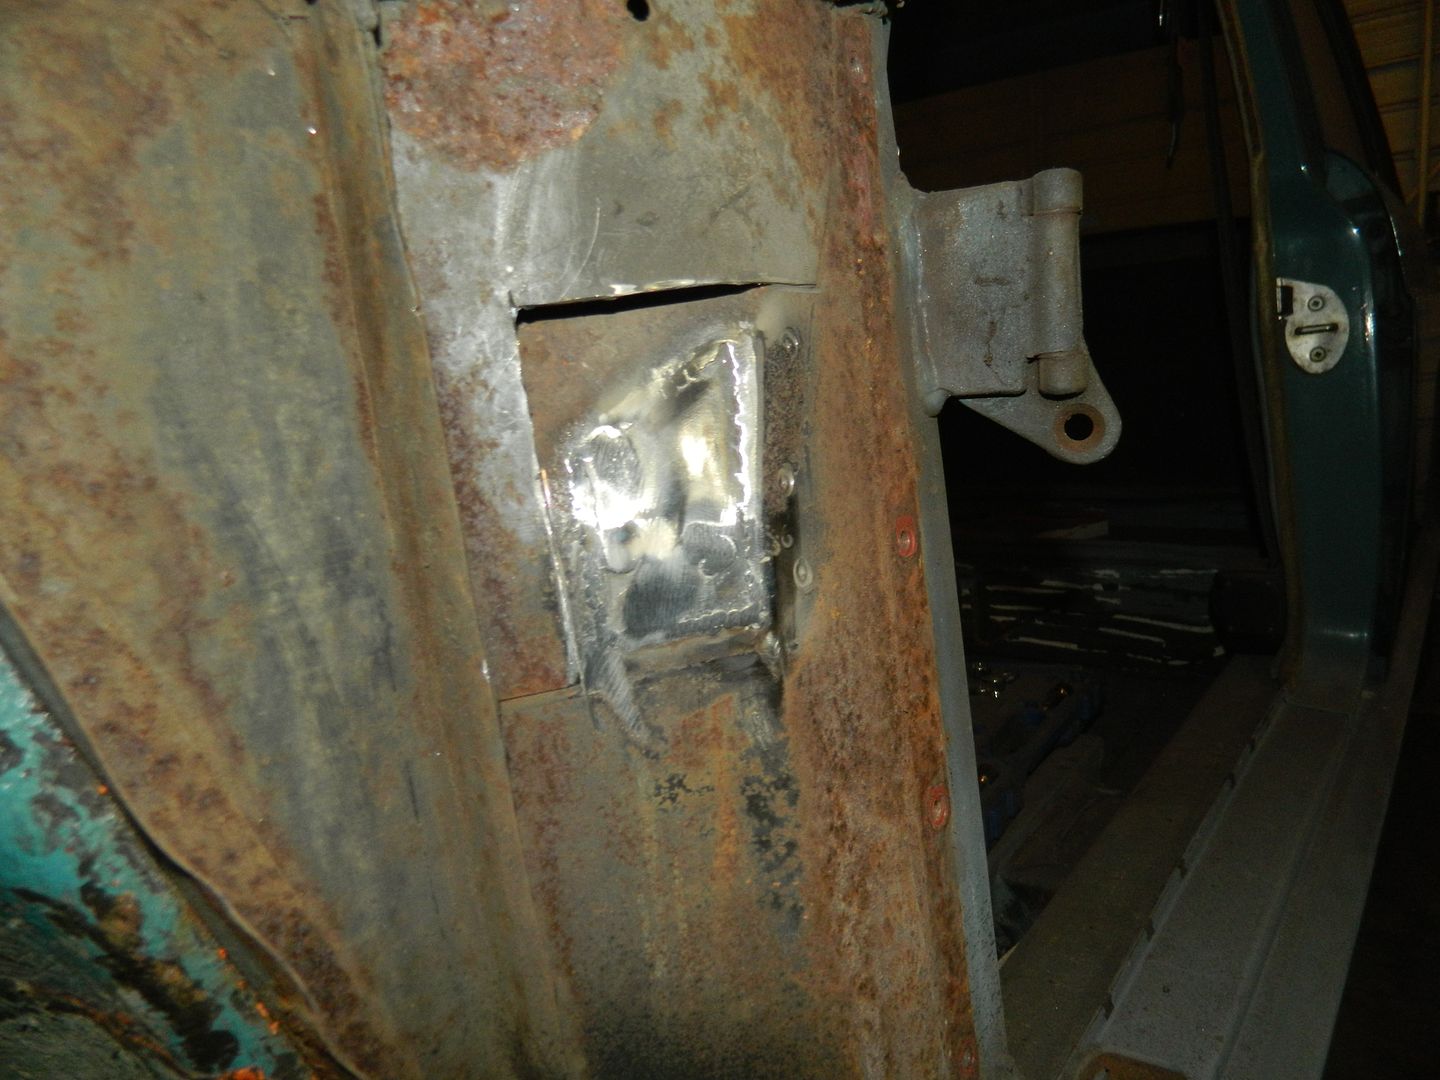 New bit welded home - couple of plug welds into the flange for strength. 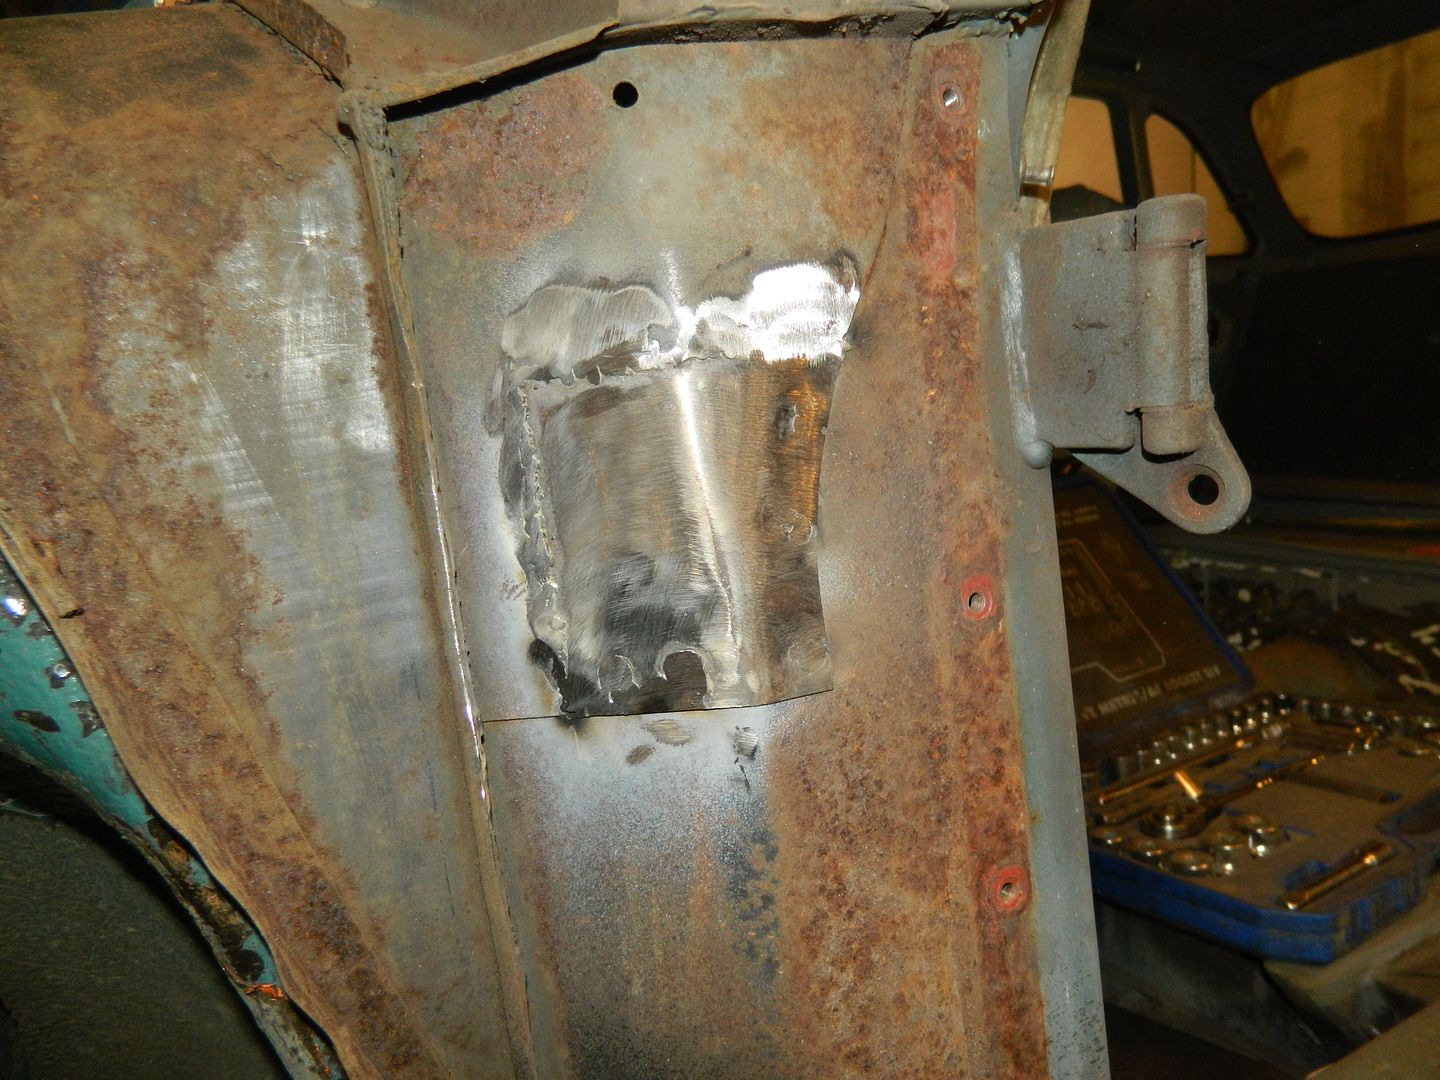 Outer piece welded home. 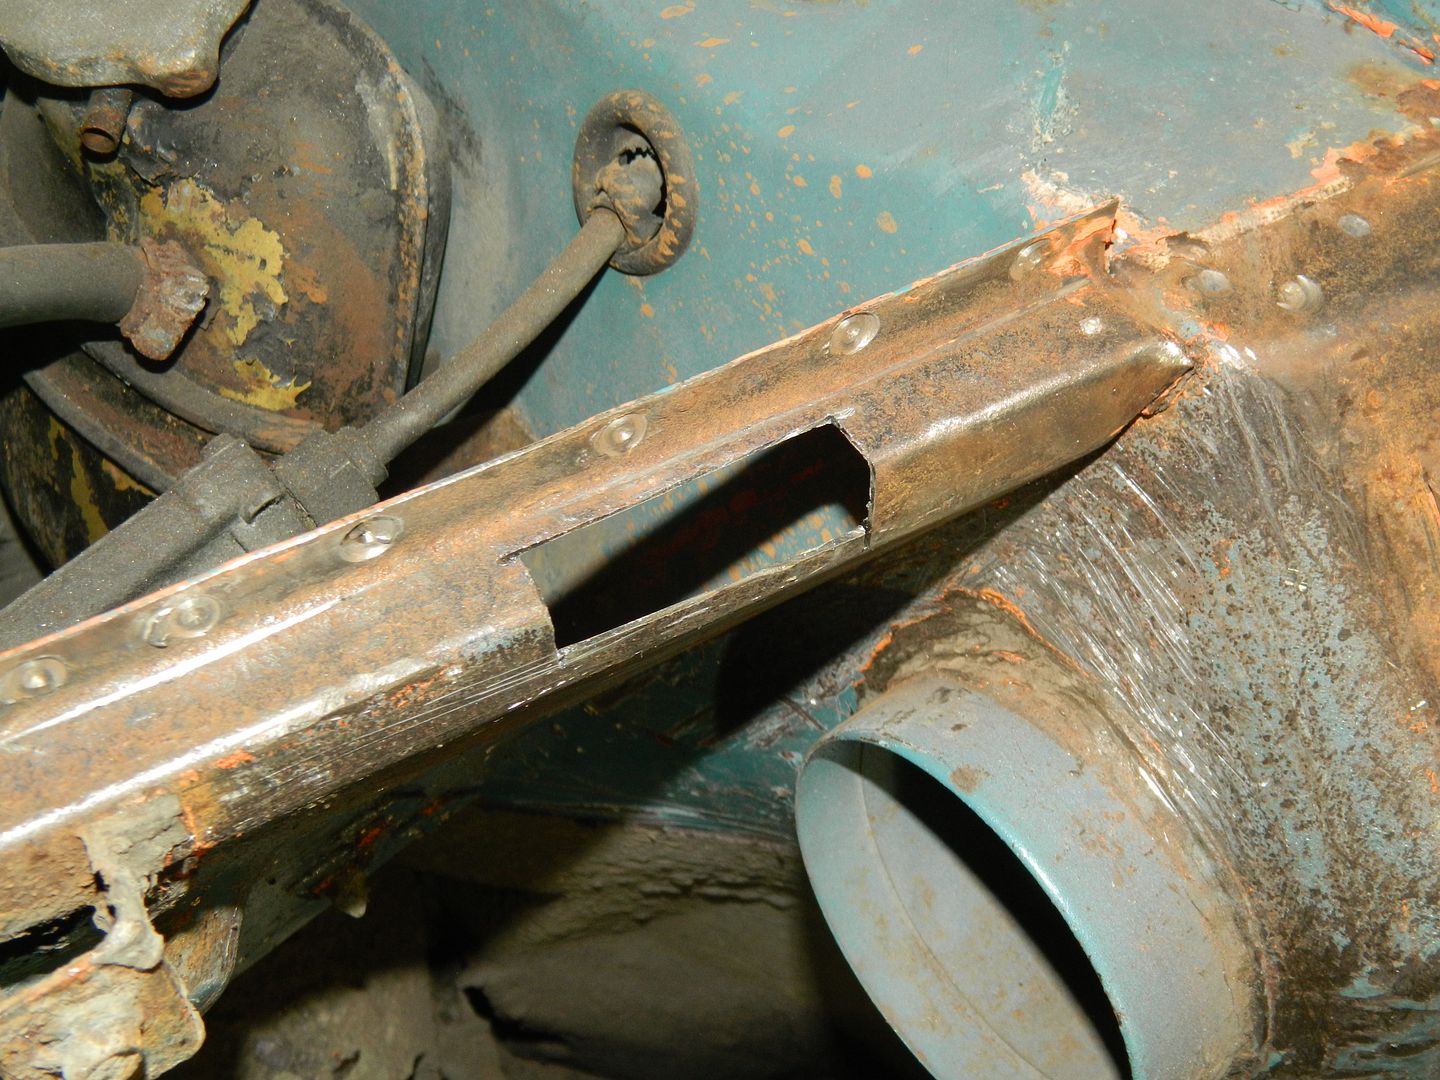 Grotty bit of top flange cut away. 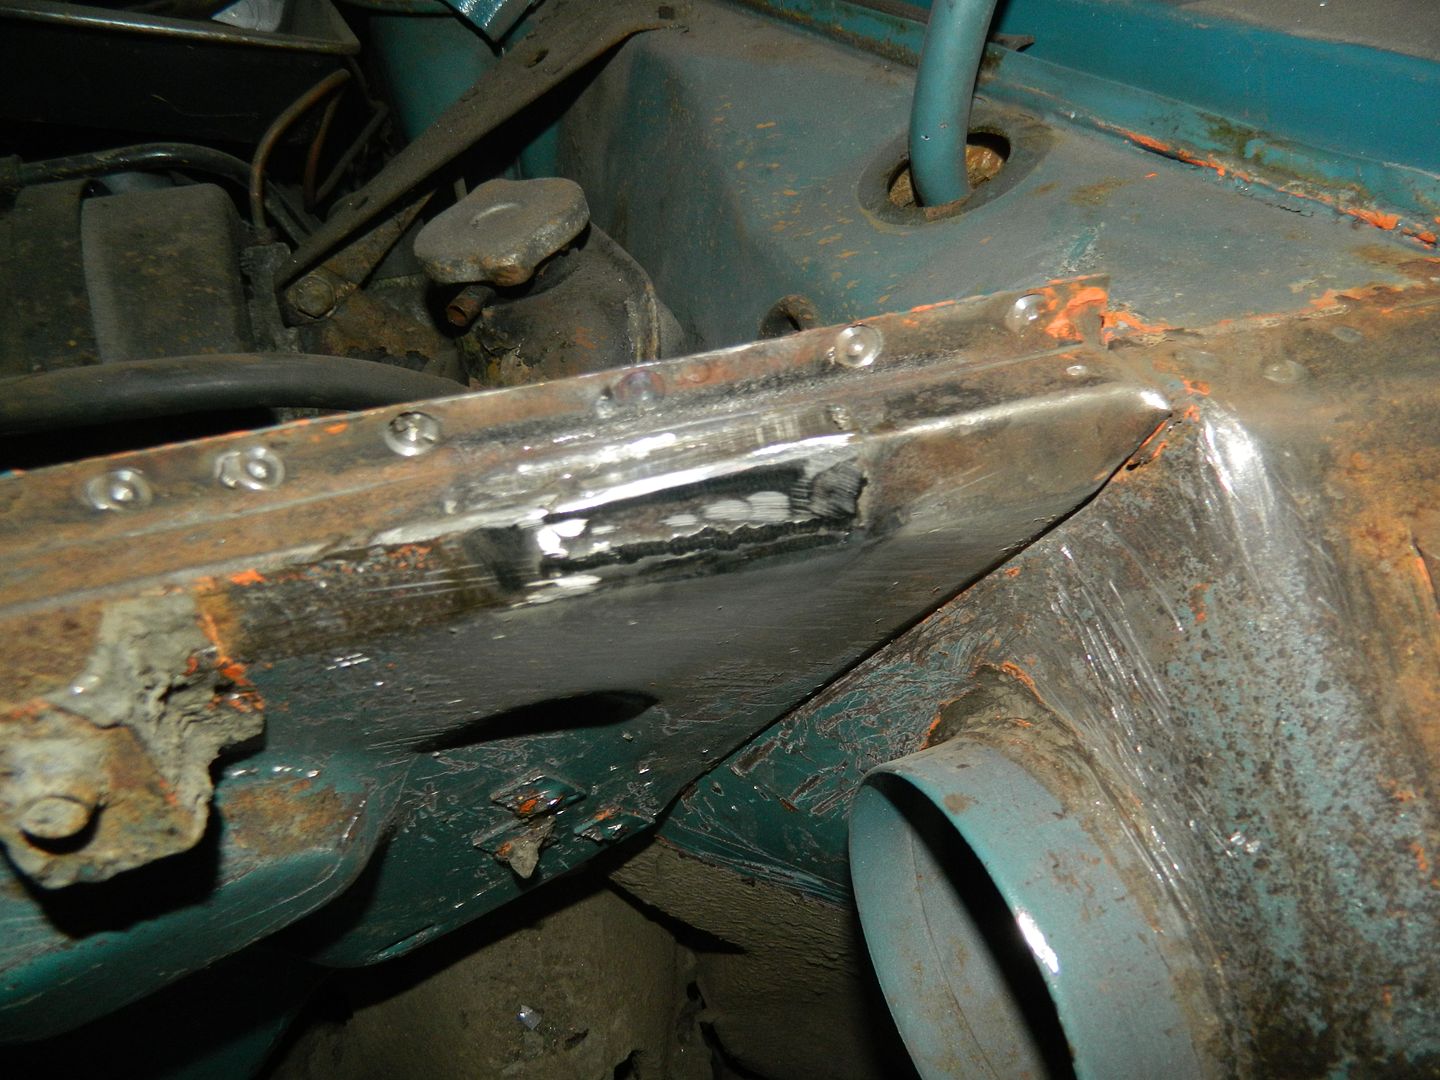 And replaced. Chris. |
|
|
|
Post by Penguin45 on Jan 25, 2017 18:50:51 GMT
First part of the repair at the bottom of the grill carried out. 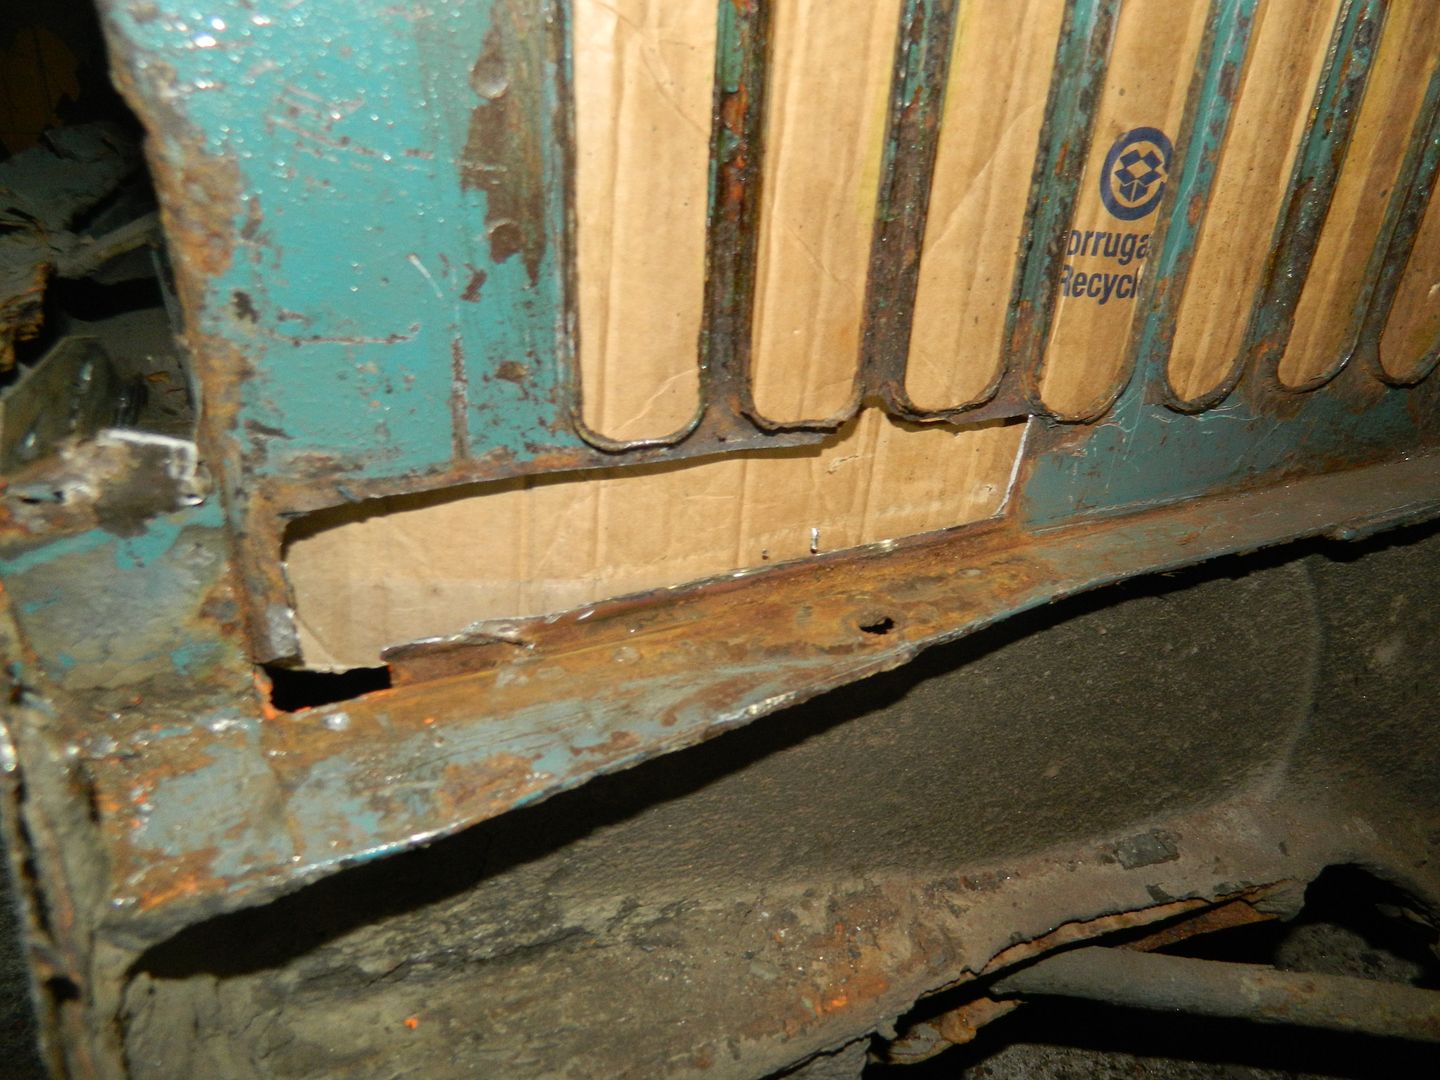 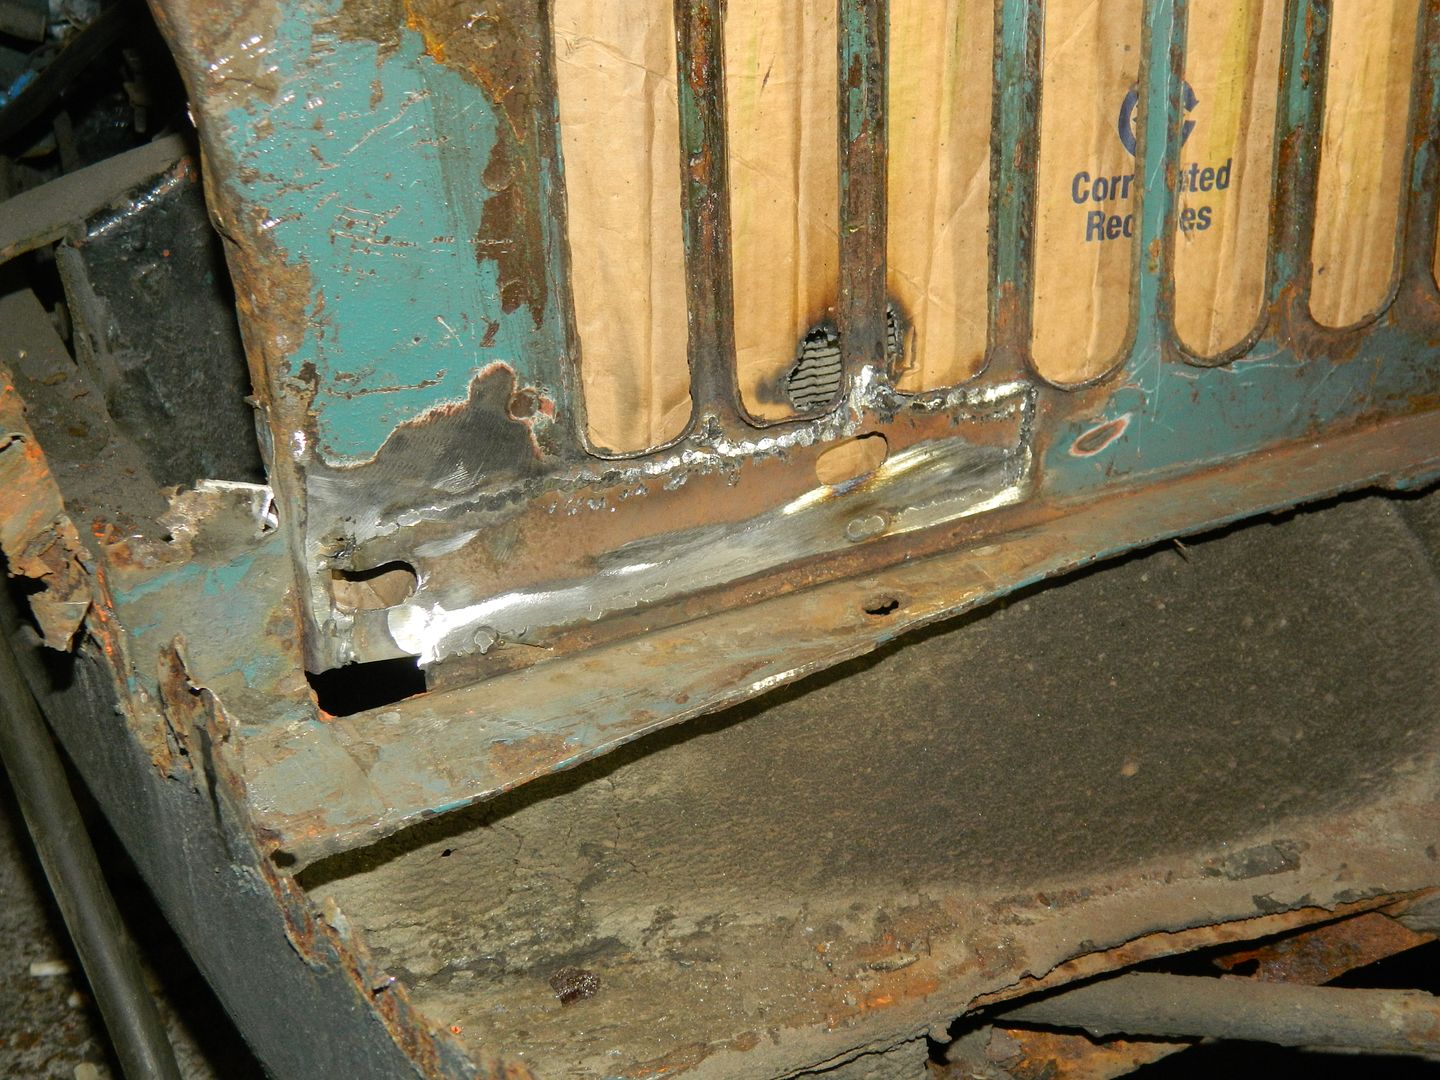 That's the inner panel. Original bit was pretty rotten behind the "L" panel. Scary stuff - there is very little clearance between the inner wing and the radiator to safely wield a slitting disc and a die grinder. I'll make up the reinforcing "L" panel tomorrow and get that home and that should be it for this side. Then the valance. Chris. |
|
|
|
Post by andrewa on Jan 25, 2017 21:54:44 GMT
Impressive stuff as always - we've had freezing fog down here all week so far - hope you have a decent heater in that there garage of yours?
|
|
|
|
Post by snoopy11 on Jan 26, 2017 17:50:36 GMT
|
|
|
|
PFV729H
Jan 26, 2017 17:52:24 GMT
via mobile
Post by phil900i on Jan 26, 2017 17:52:24 GMT
It's great being able to watch the progress from here Chris! Really got my enthusiasm back for the car now. Had the op Friday and I'm already hobbling about well. Found a petrol generator at work I can borrow for a while so I'll be able to have a go at spraying the sills and wings in my lockup when it's ready. Need to order some stuff from Ray soon too, a chap at the lockups sometimes goes and gets stuff off him.
|
|
|
|
Post by Penguin45 on Jan 26, 2017 19:24:32 GMT
Been mild all week until today - 0c all day. No heater, just keep active. I haven't actually set fire to the garage for quite a while now. Glad to hear you're mobile and in good spirits, Phil. Inner wing on this side now finished. 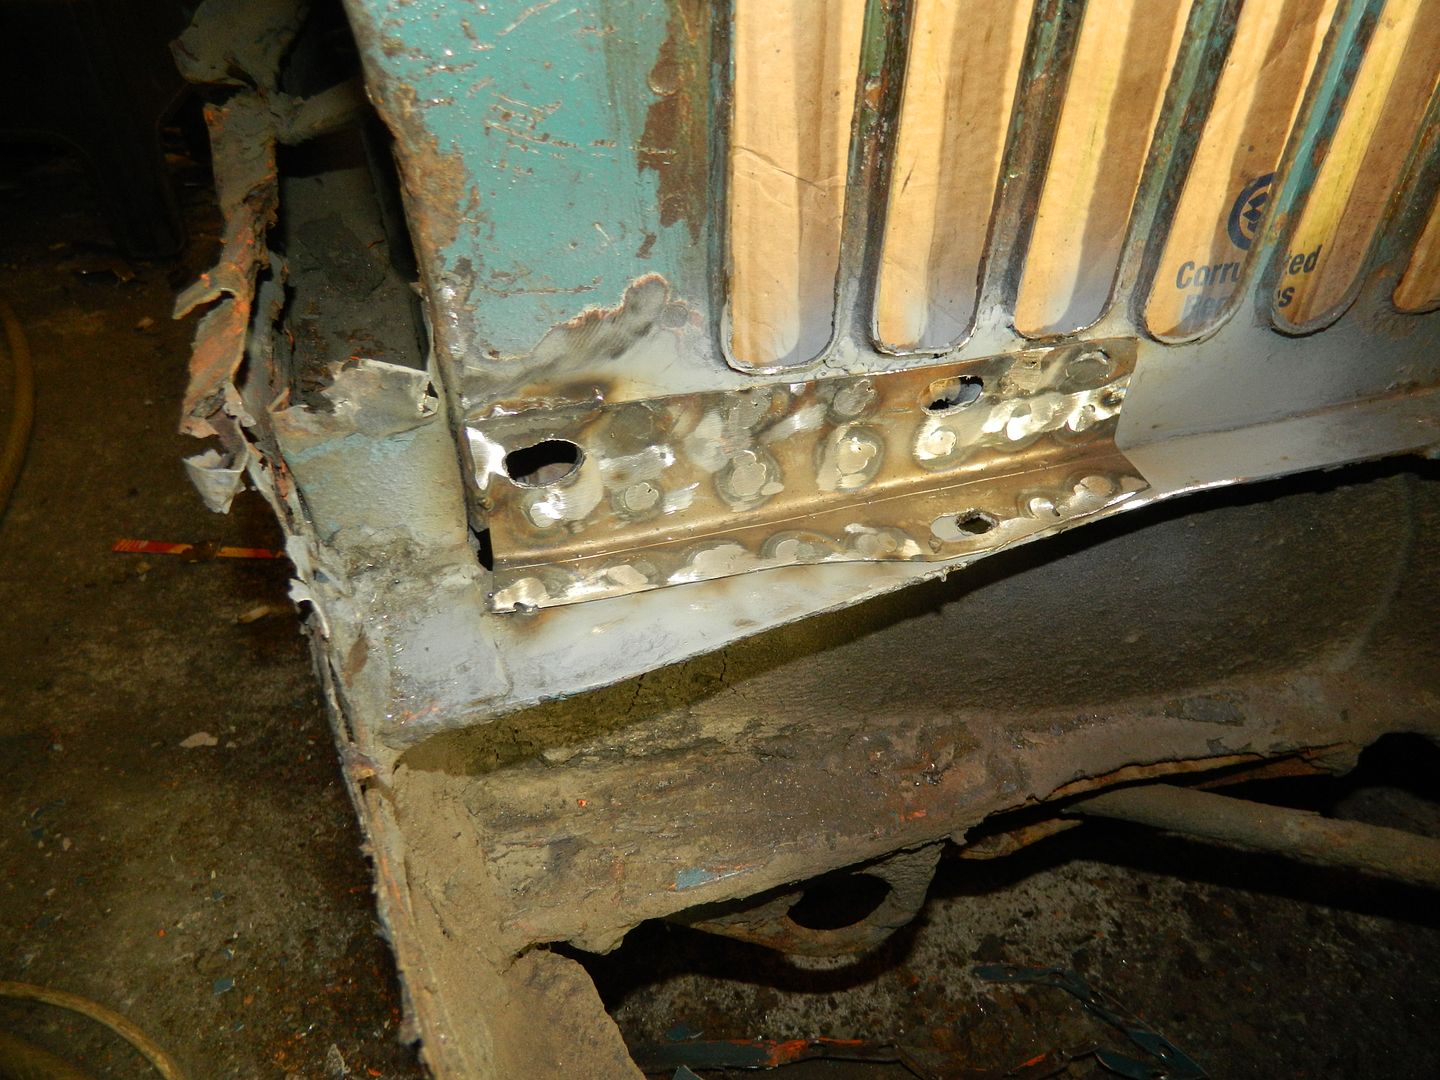 Reinforcing panel plug welded home and flatted back. Now shot with a bit of etch primer. Nothing for it - I'm going to have to deal with the valance. Wish me luck. Chris. |
|
|
|
Post by Penguin45 on Jan 28, 2017 14:52:22 GMT
It's off. 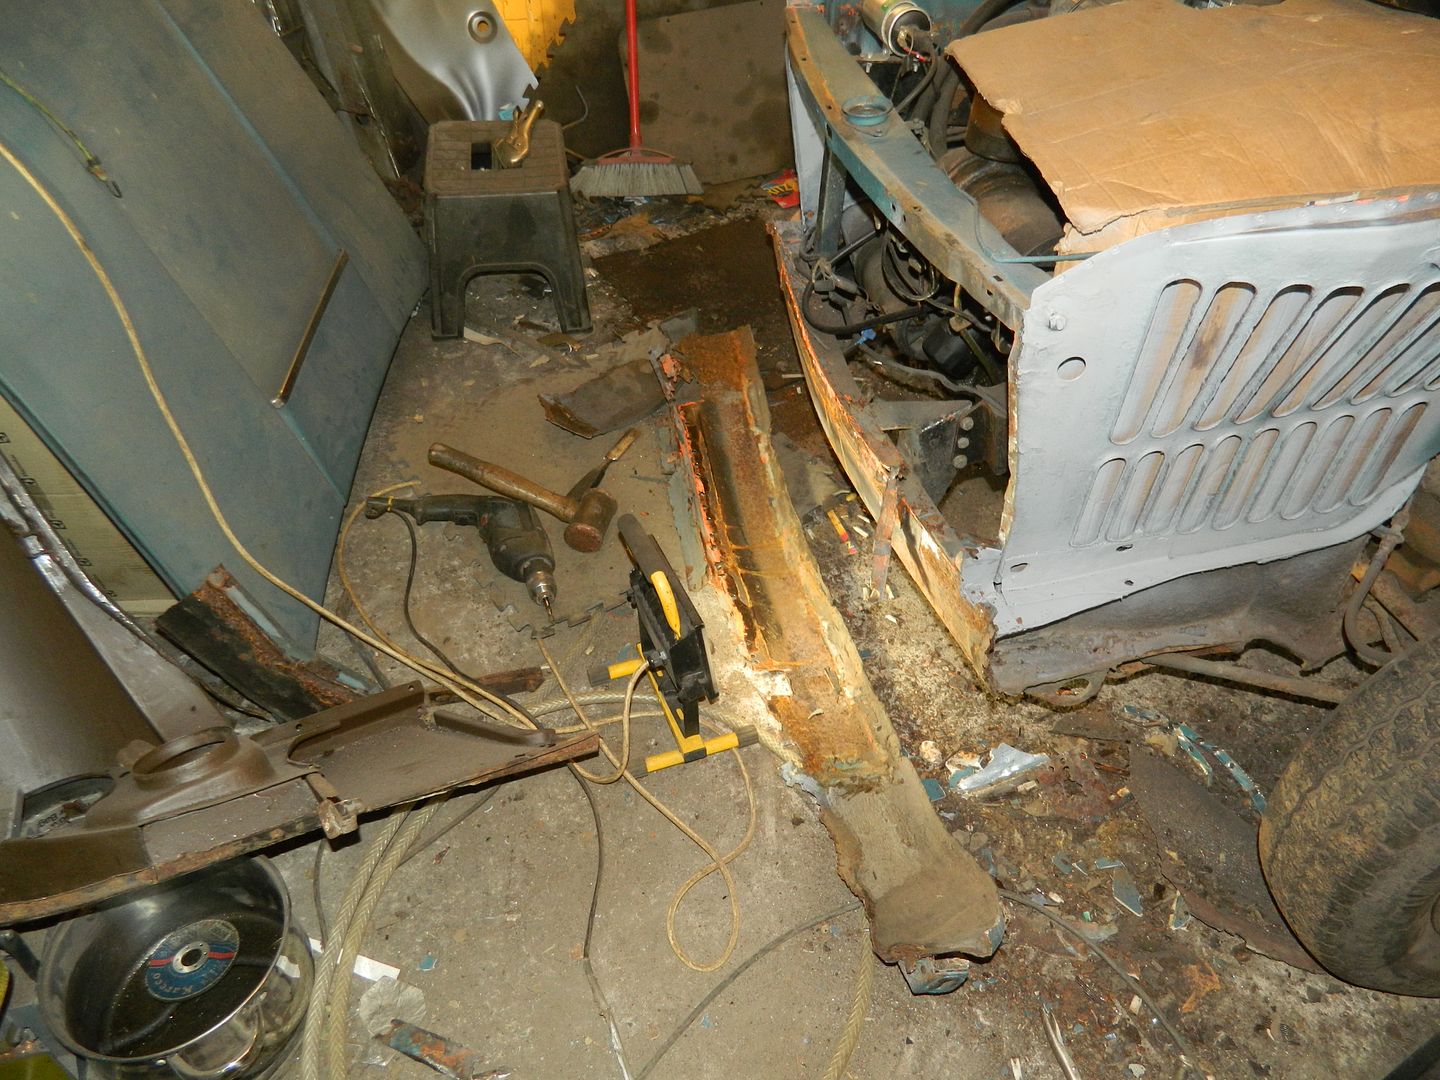 And the big box section behind is........... 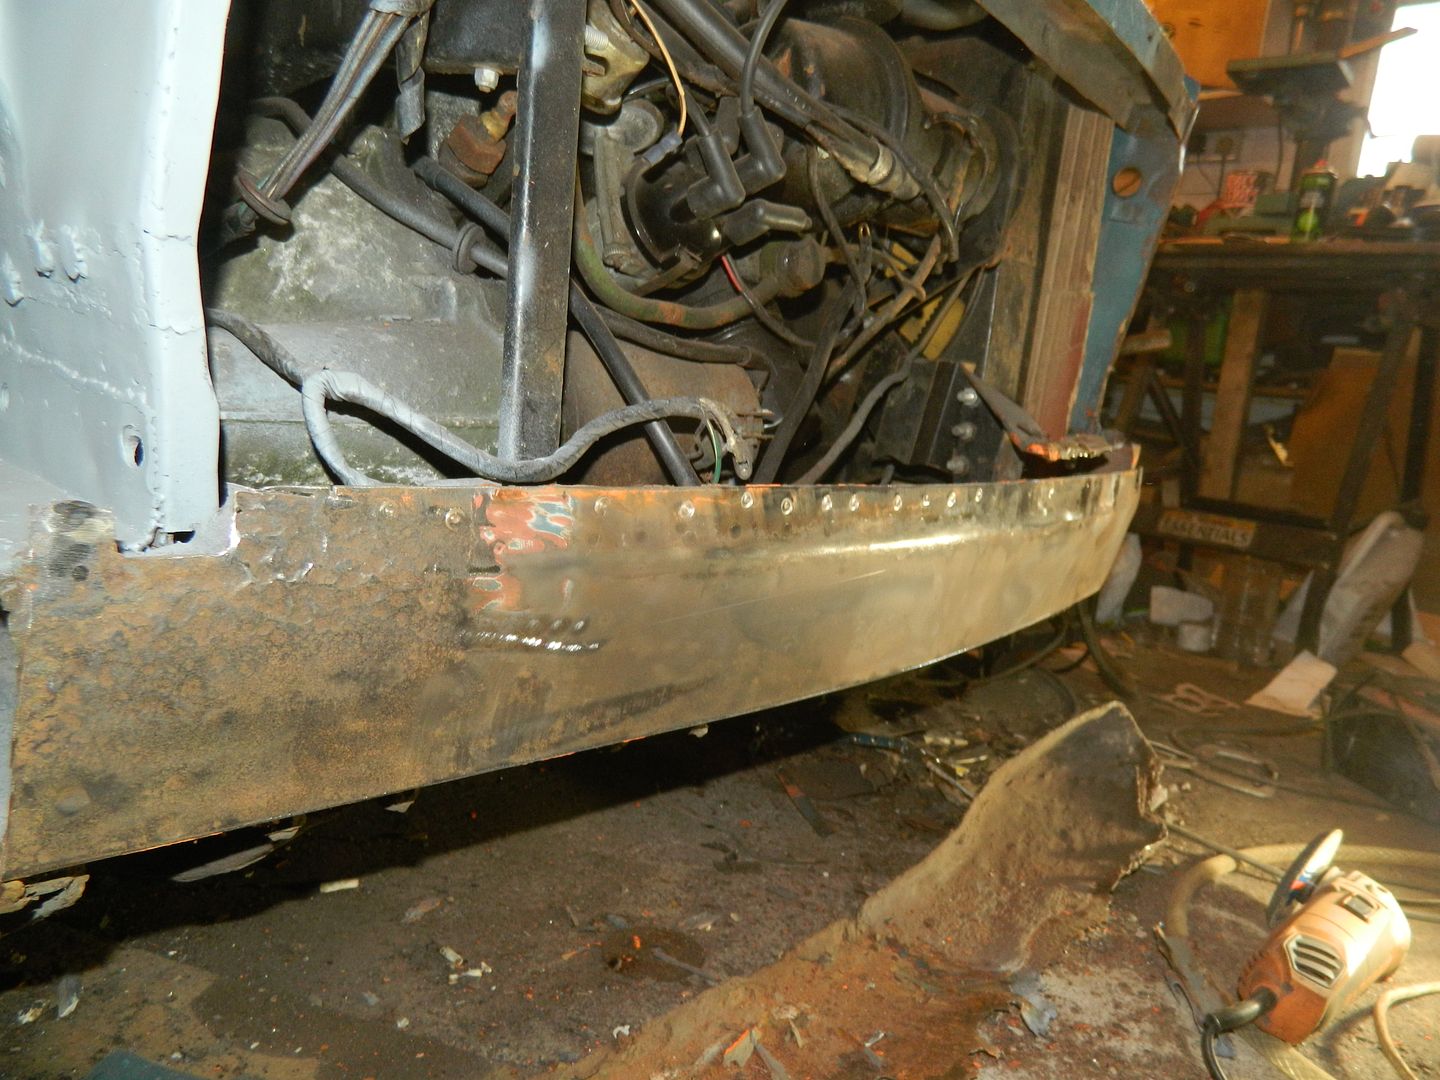 Almost mint! Result. Get that rust treated and painted next. Chris. |
|
|
|
Post by Penguin45 on Jan 28, 2017 17:52:55 GMT
"A" posts and box section cleaned up with the wire wheel, then plastered with rust converter. 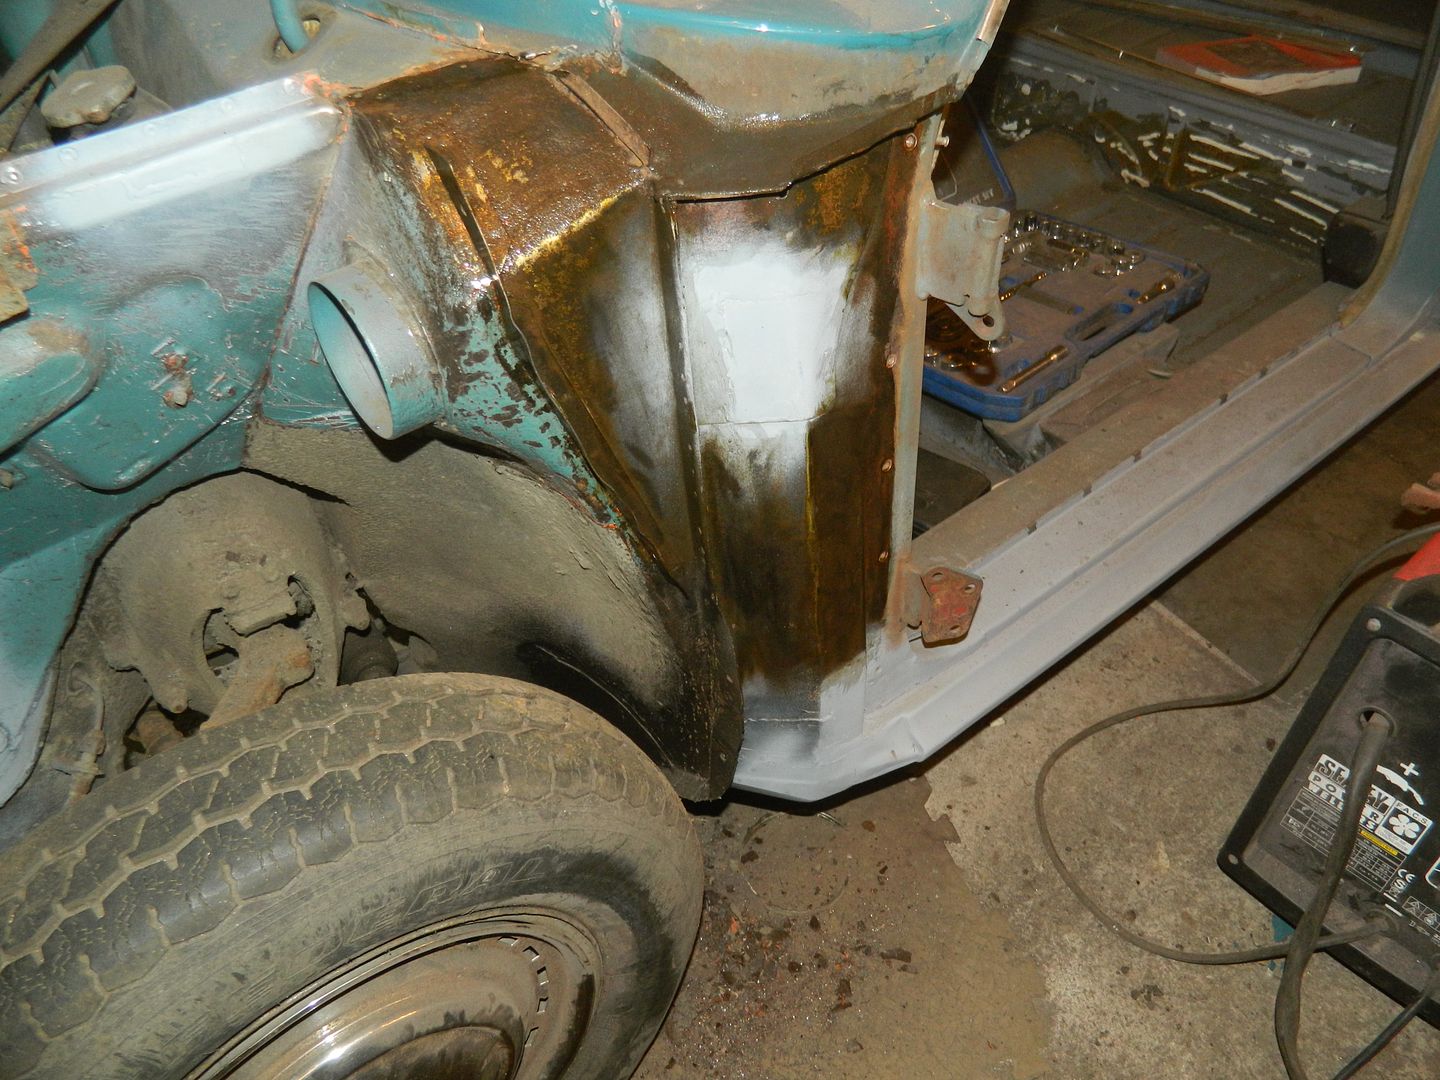 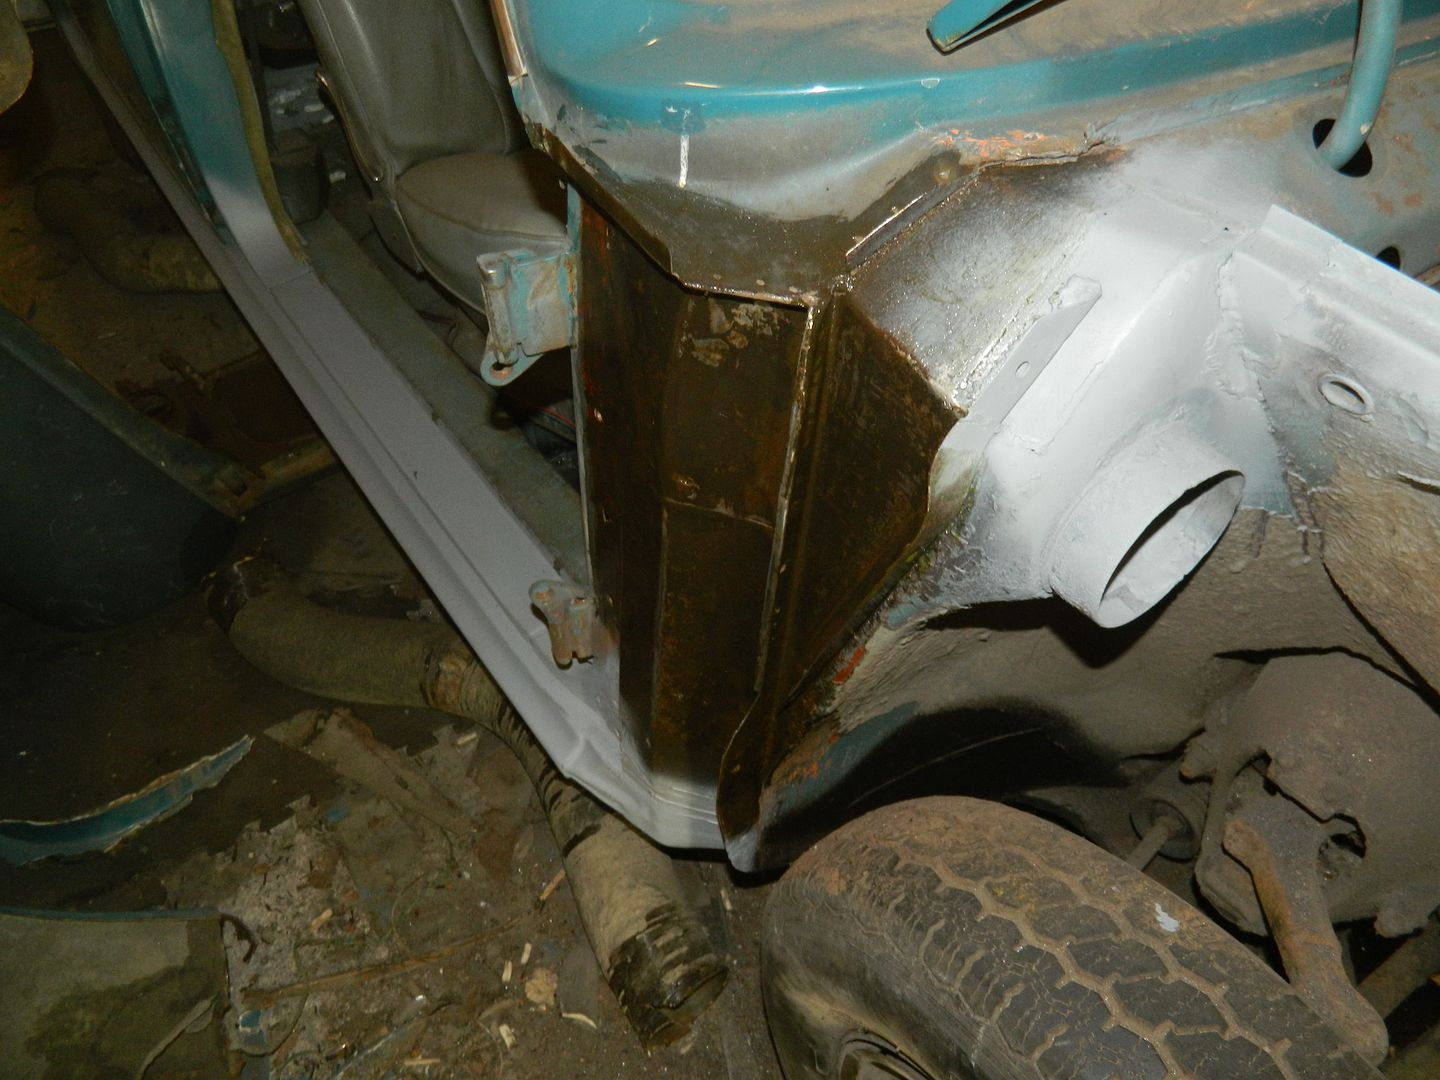 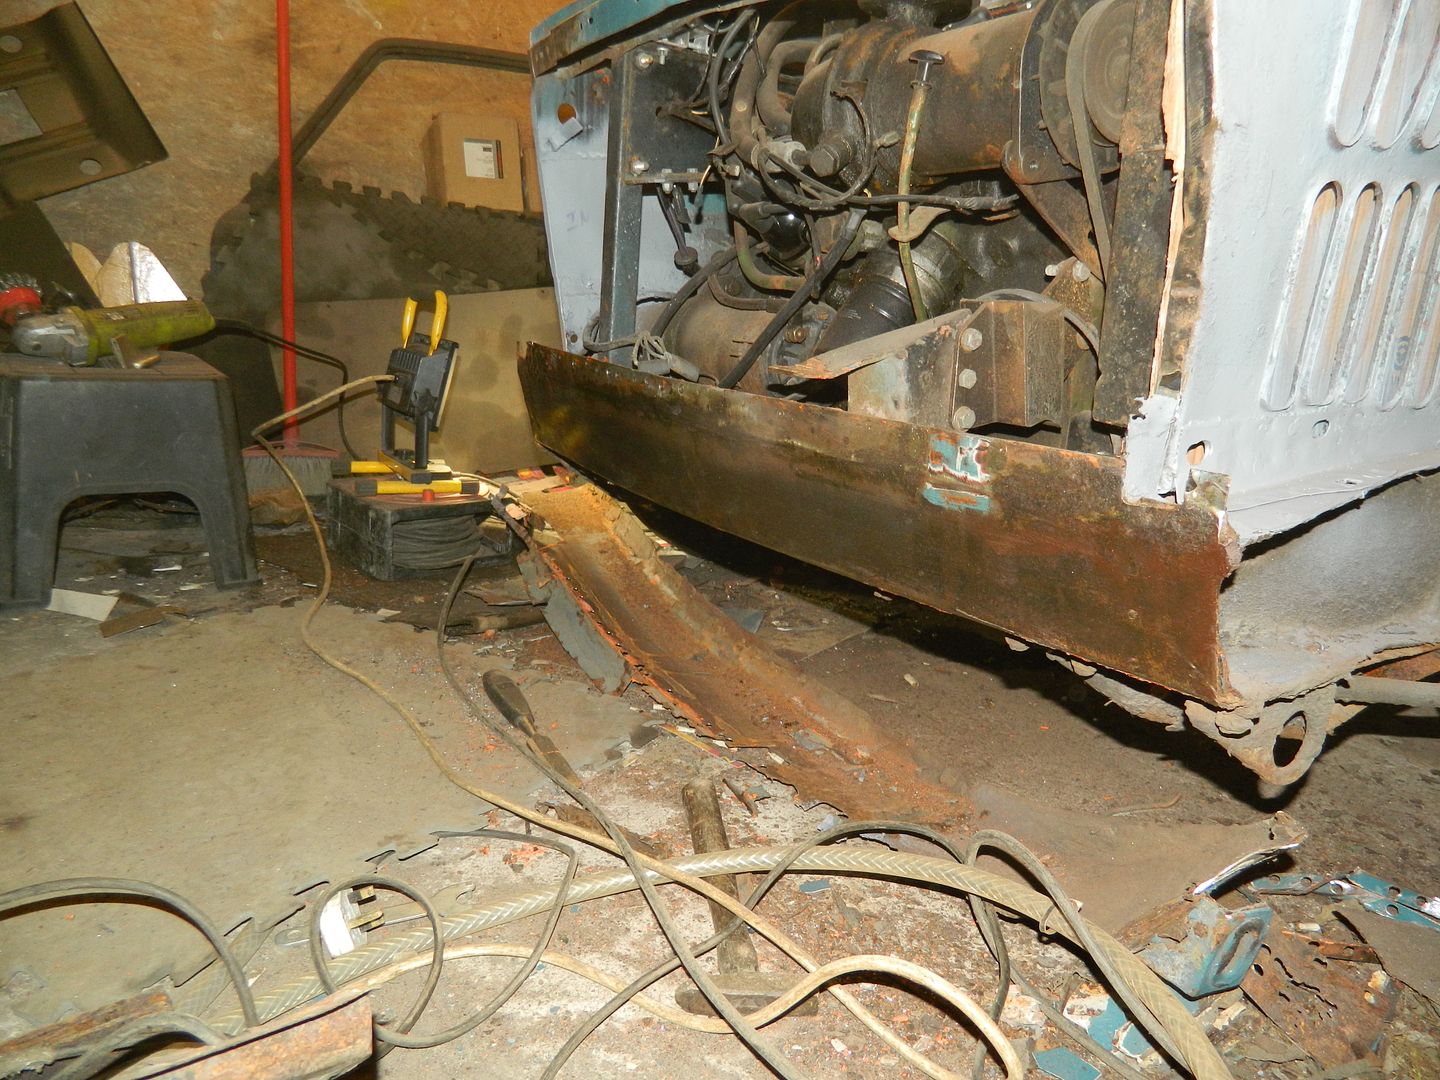 All turning black as it does the job. Slow to dry off due to low temperature. I'll probably leave it overnight. Chris. |
|
|
|
PFV729H
Jan 28, 2017 18:29:11 GMT
via mobile
Post by phil900i on Jan 28, 2017 18:29:11 GMT
Hey up! That's a result then.
I need to order some parts from Ray House. You know the massive oil leak from the gear linkage cables - do I need to replace the cables themselves or can you just replace the tubes they run inside of? I've not had a good look underneath at them.
|
|
|
|
Post by Penguin45 on Jan 28, 2017 19:23:53 GMT
Heat shrink tubing is the answer for the gear selector cables. Paul (Bullyboy) has done it on his car. Replace the "O" rings on each end at the same time and it should be oil tight. Then you can find all the other leaks......  Chris. |
|
|
|
PFV729H
Jan 28, 2017 20:18:23 GMT
via mobile
Post by phil900i on Jan 28, 2017 20:18:23 GMT
Ah right, I'll have to have a good nosy later on.
|
|
|
|
Post by Penguin45 on Jan 29, 2017 19:41:27 GMT
Getting towards some proper reassembly. Lots of seam sealer, primer and VTP spread about the place. Prep work started on the replacement wings. 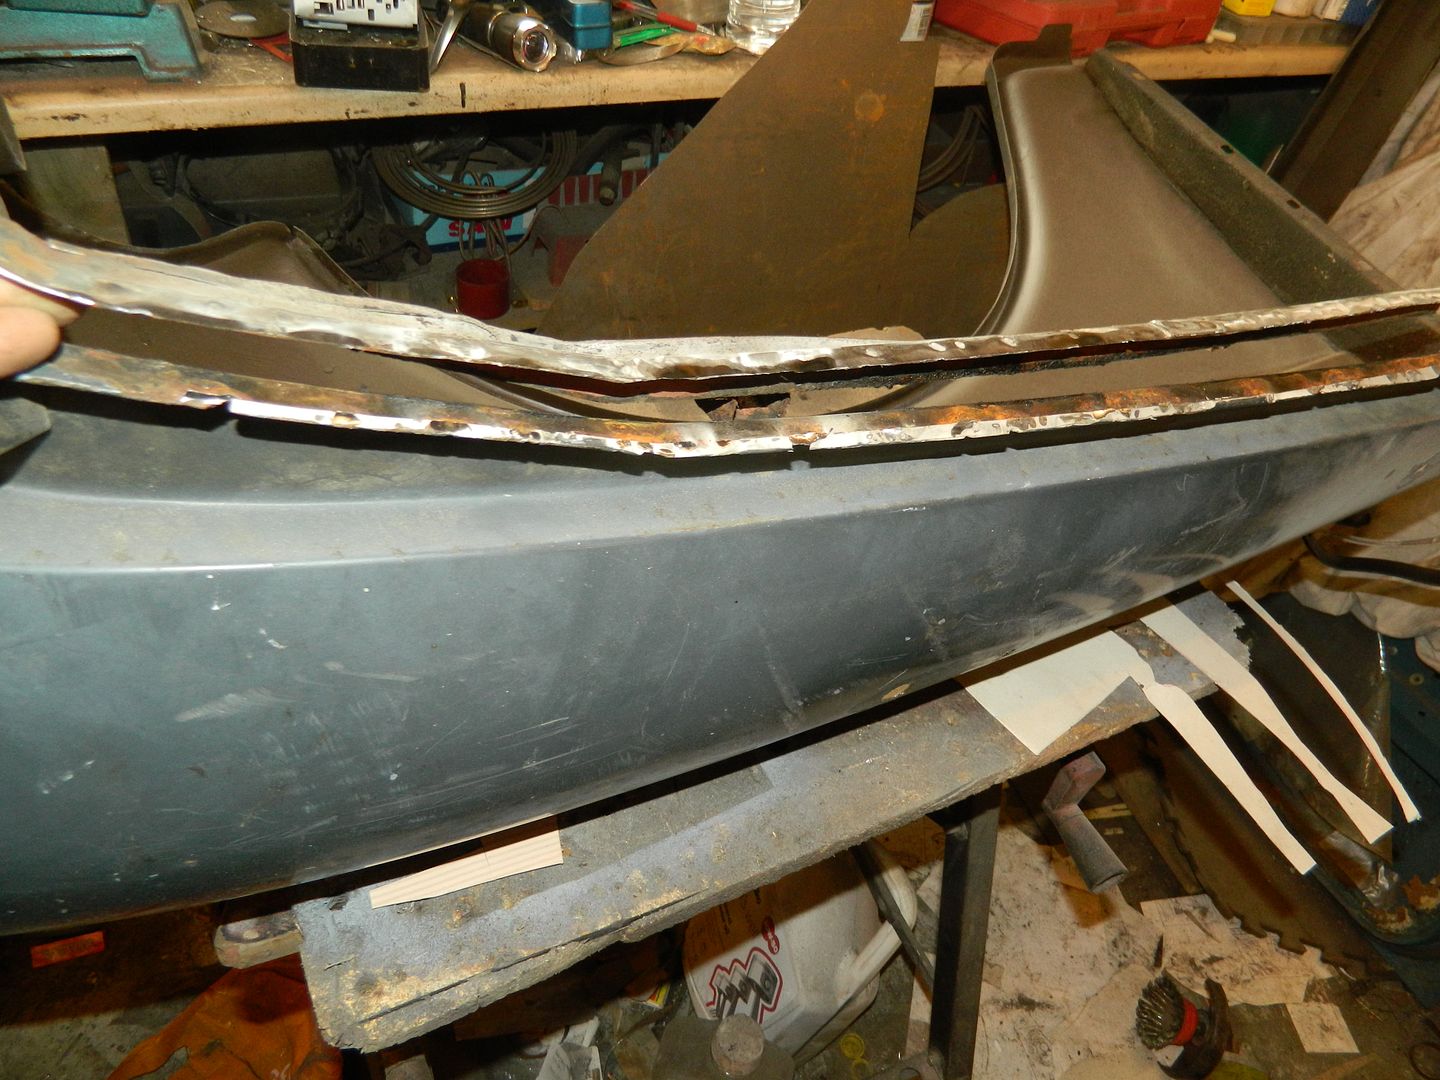 Remains of donor inner wing cut away. Edge then had to be extensively flatted back. 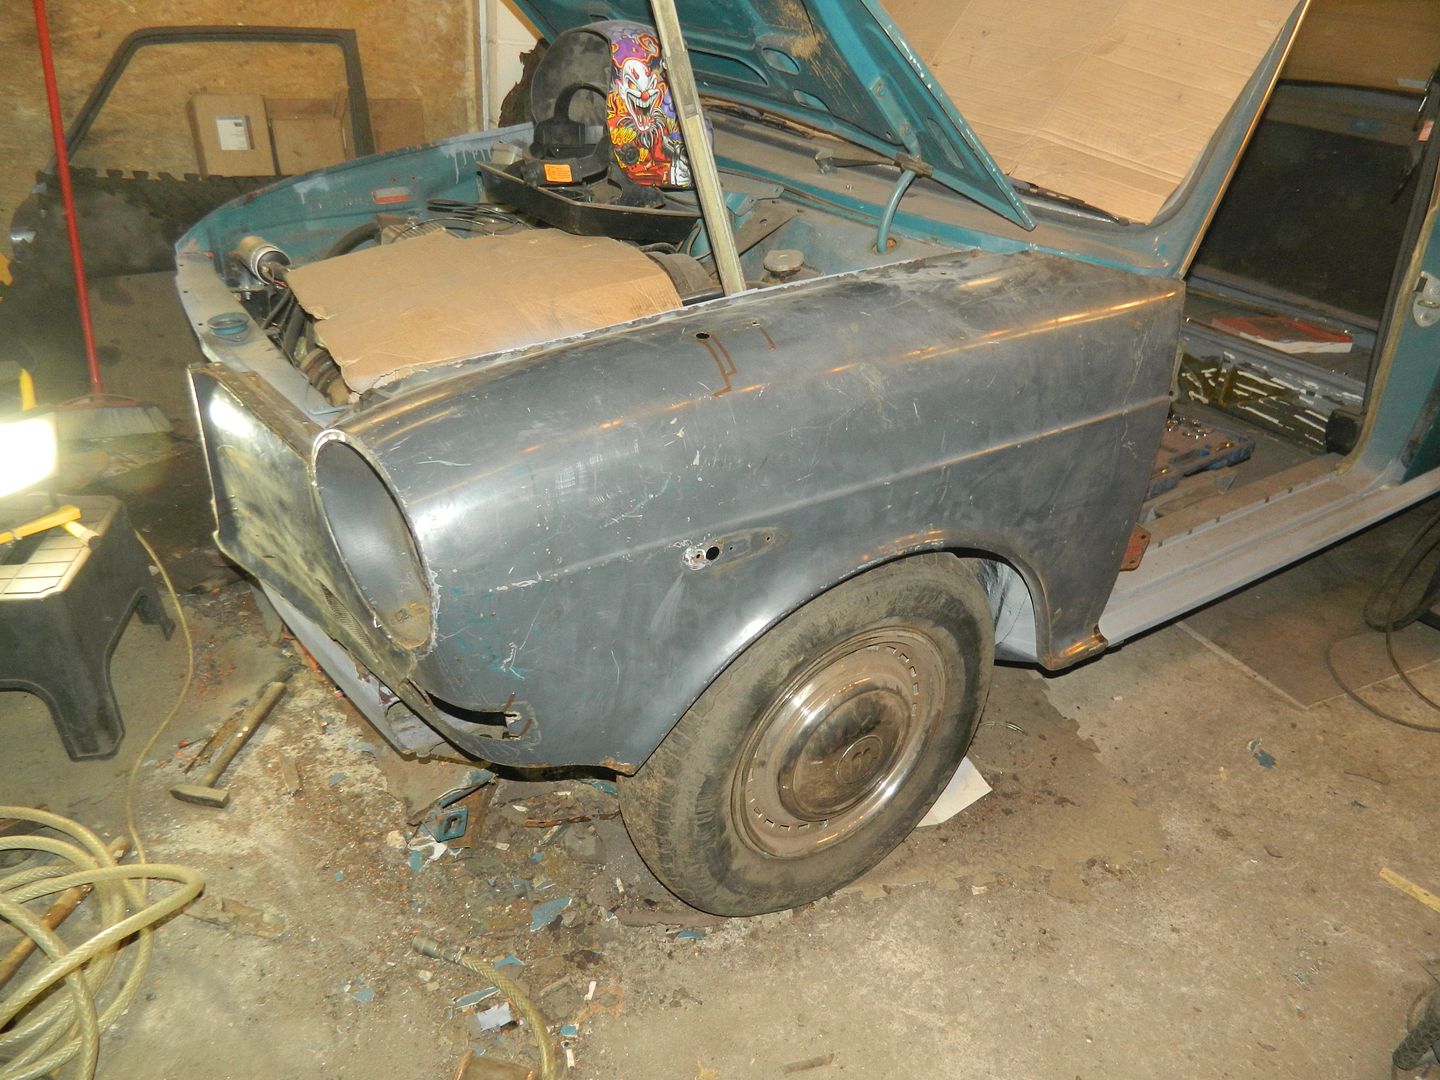 Little tempter - dropped into place for a look. Fit is currently shocking. 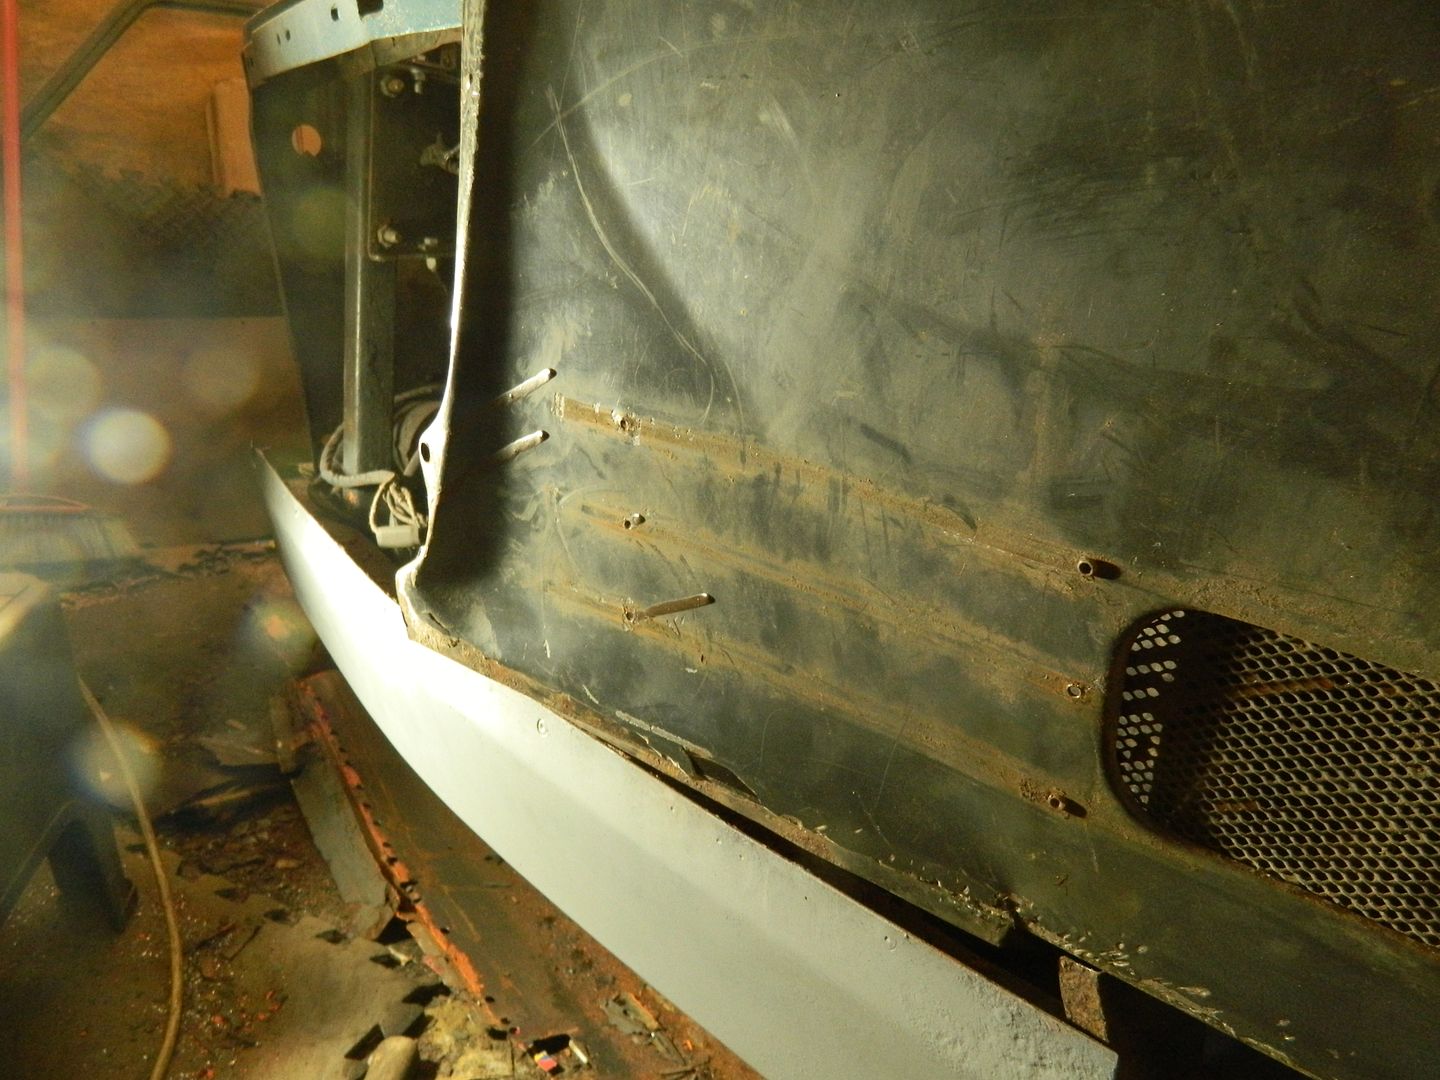 This is a problem. Panel has a diagonal crease, presumably from the removal process. Panel beating time. 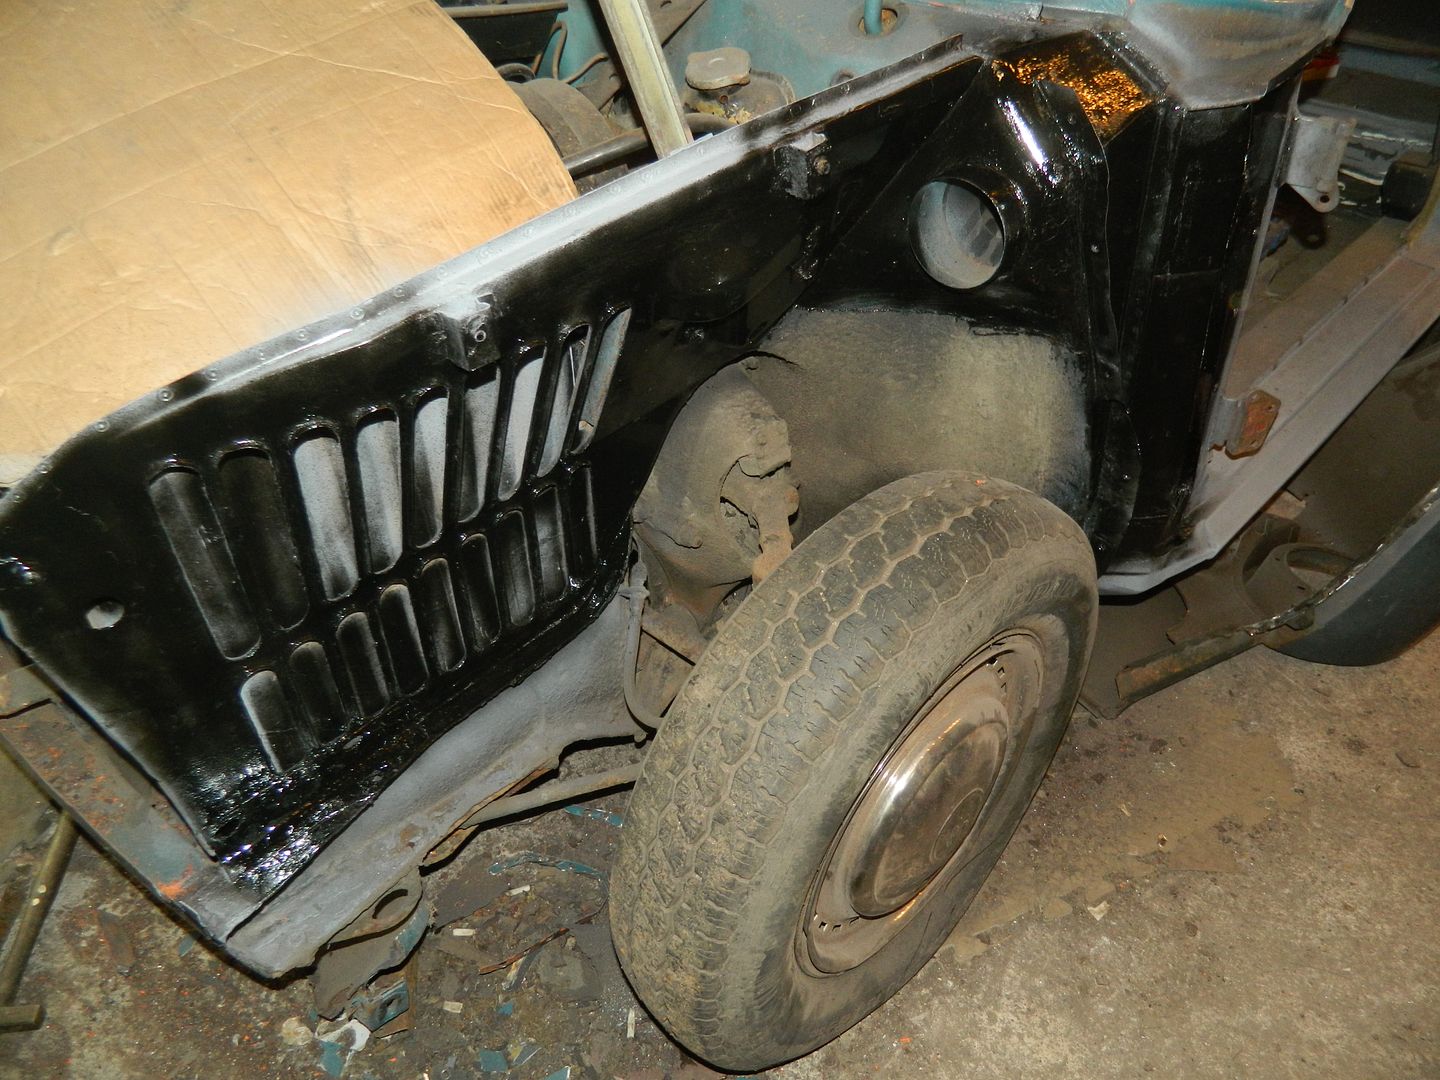 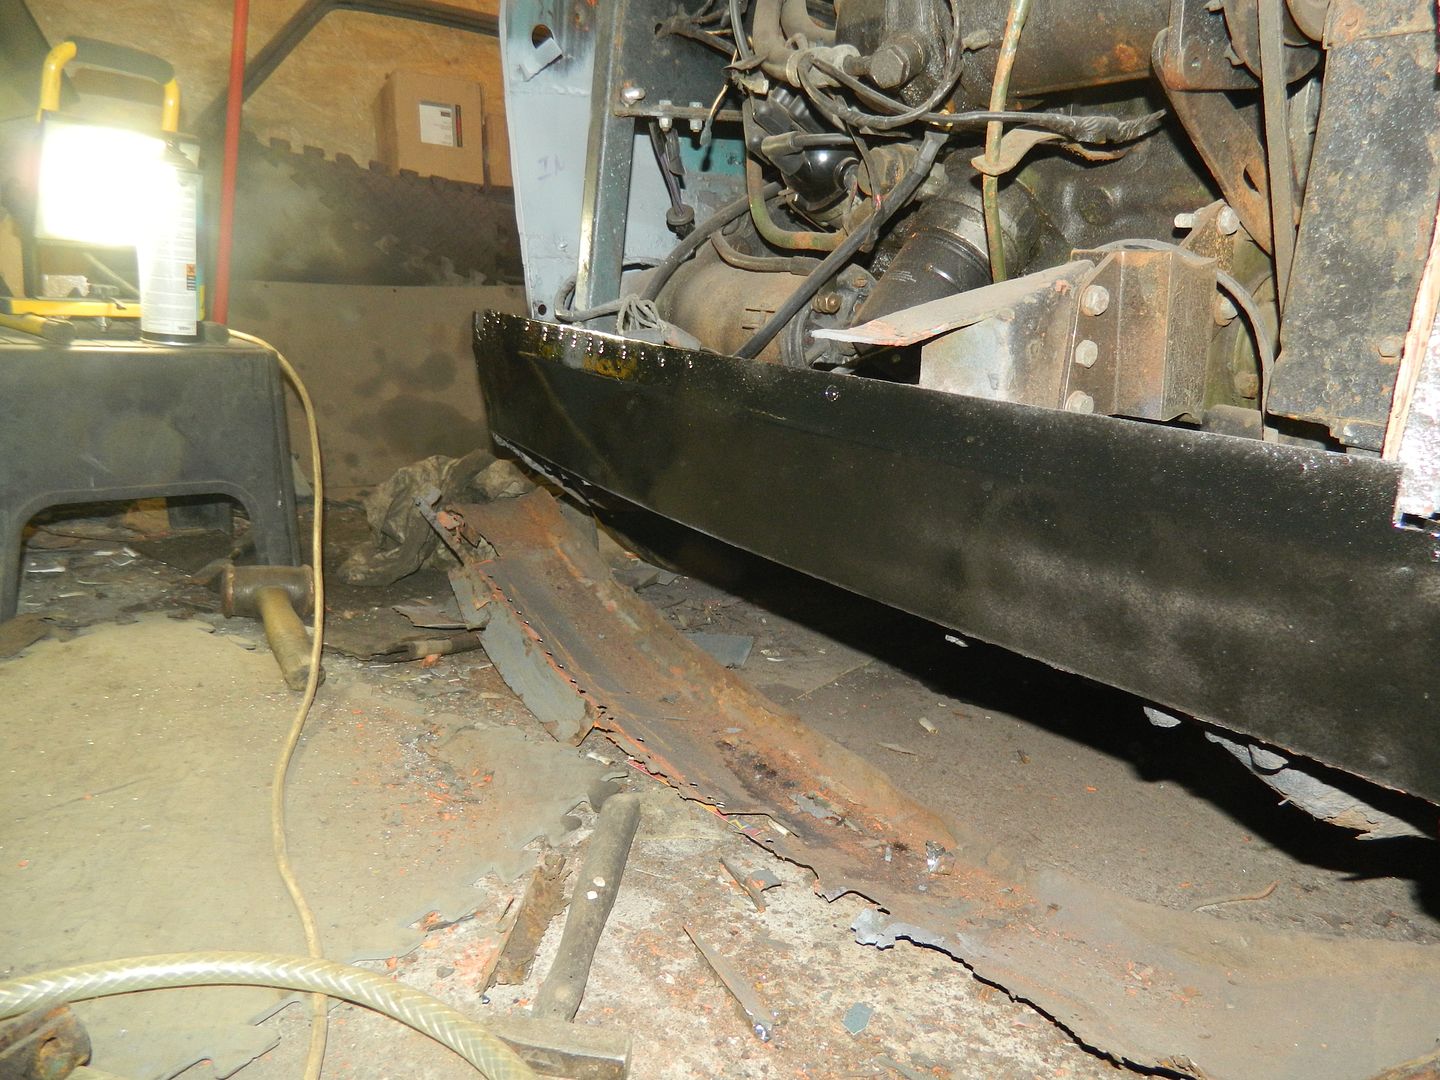 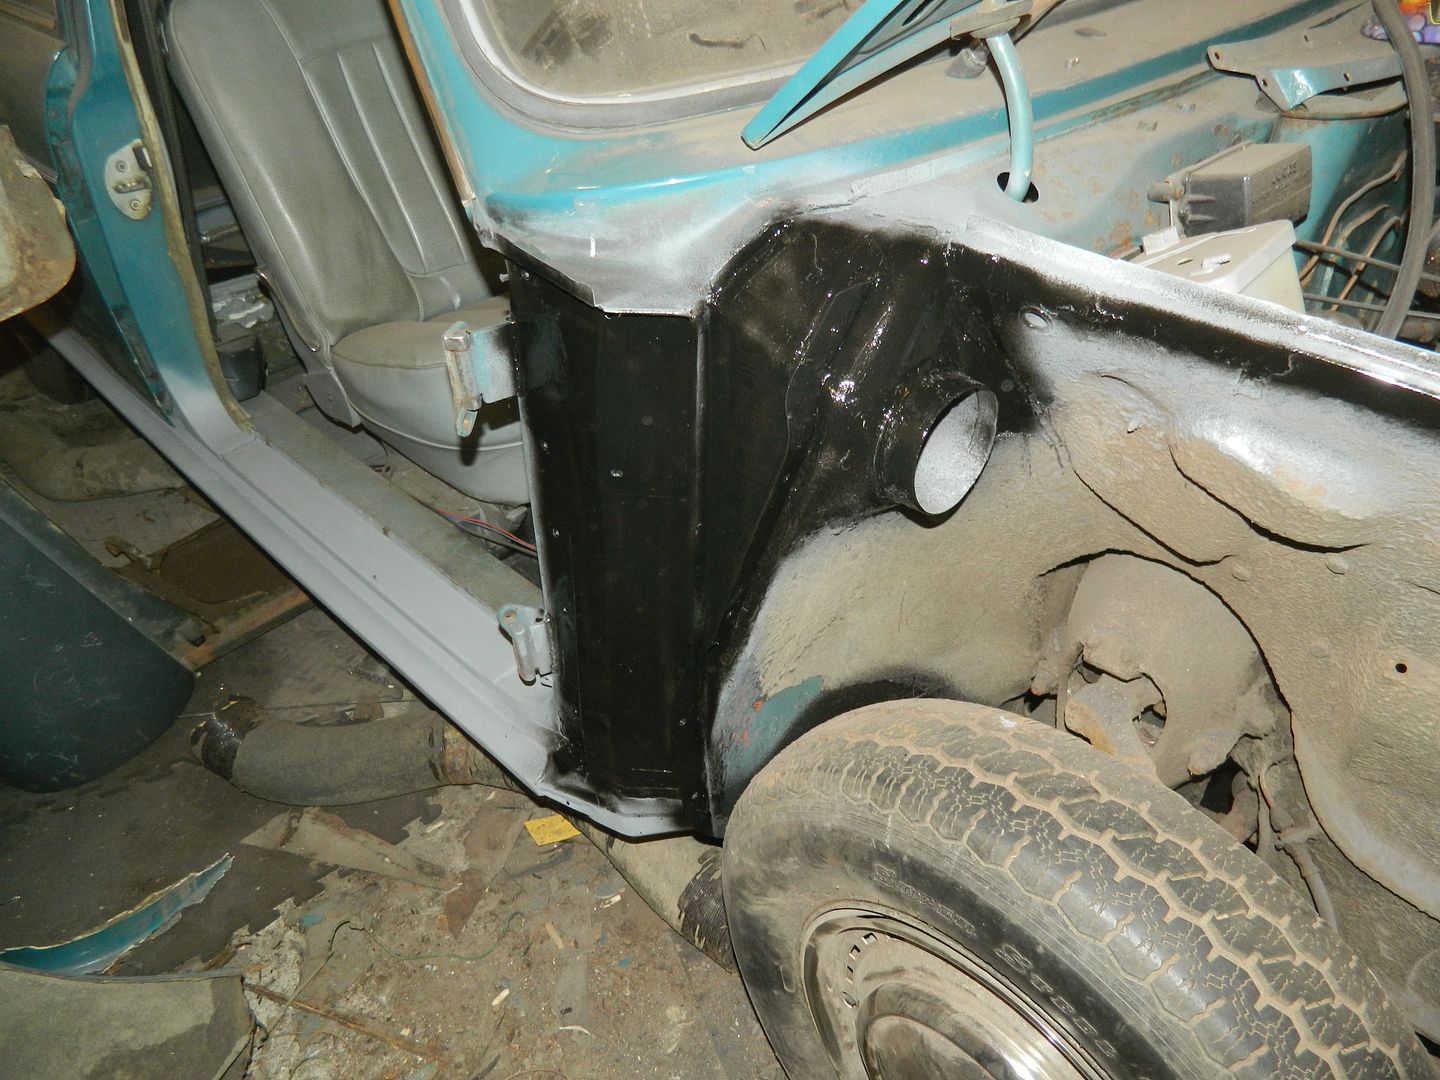 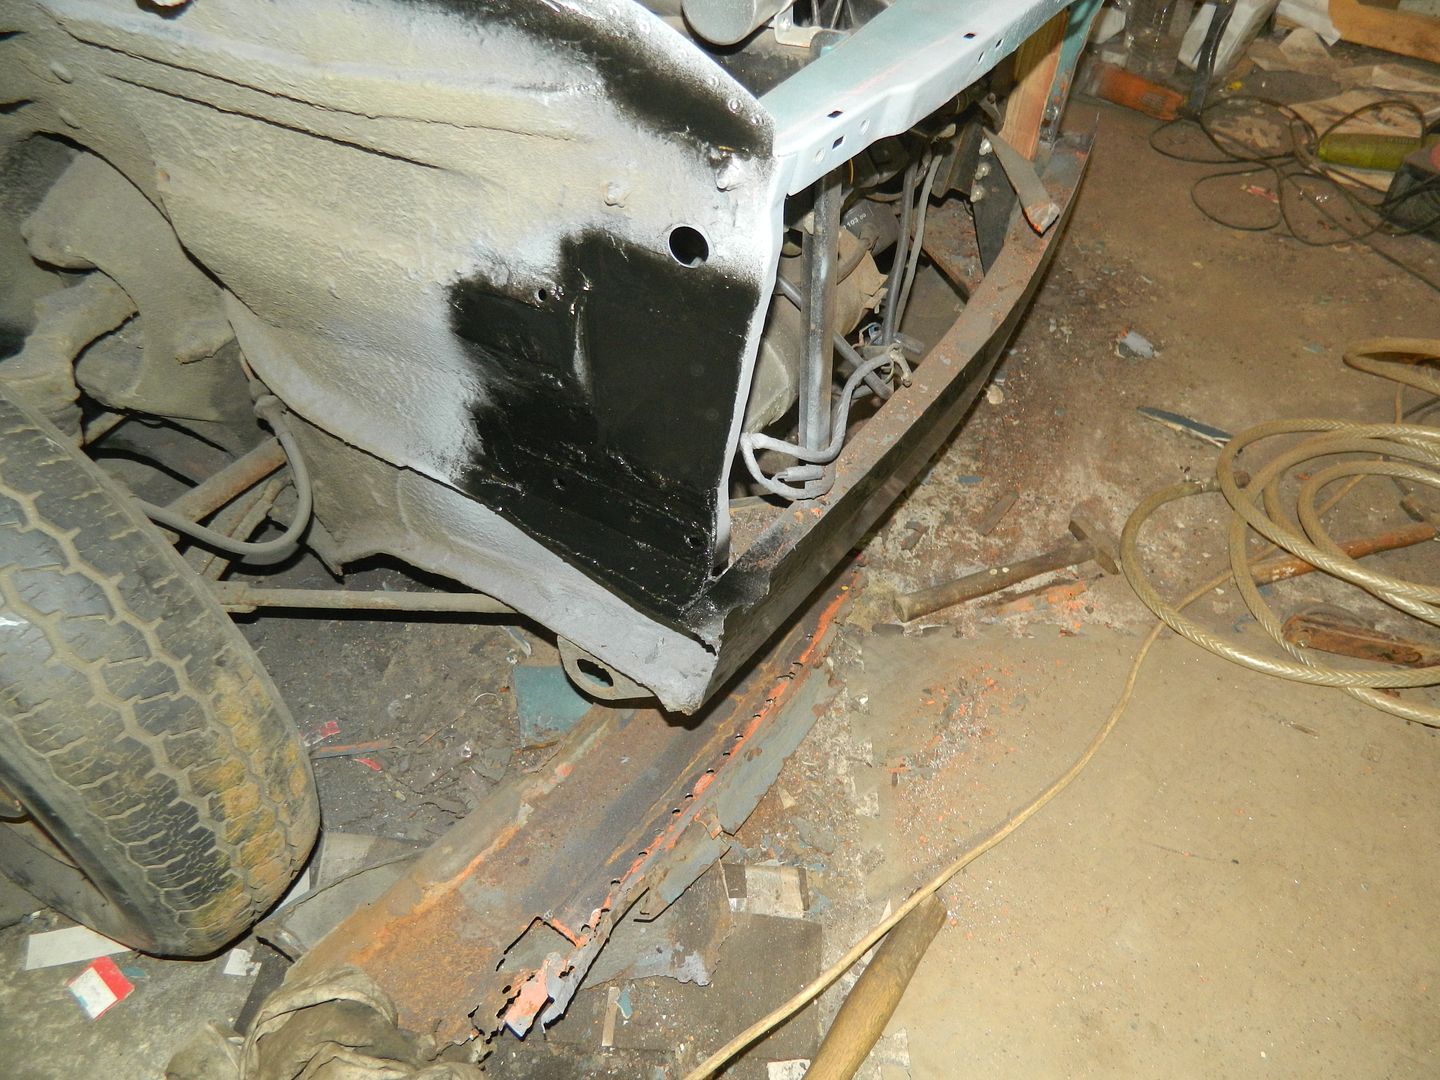 VTP top coat applied in all repaired and vulnerable areas. VTP is Simoniz Very Tough Paint. Good stuff. 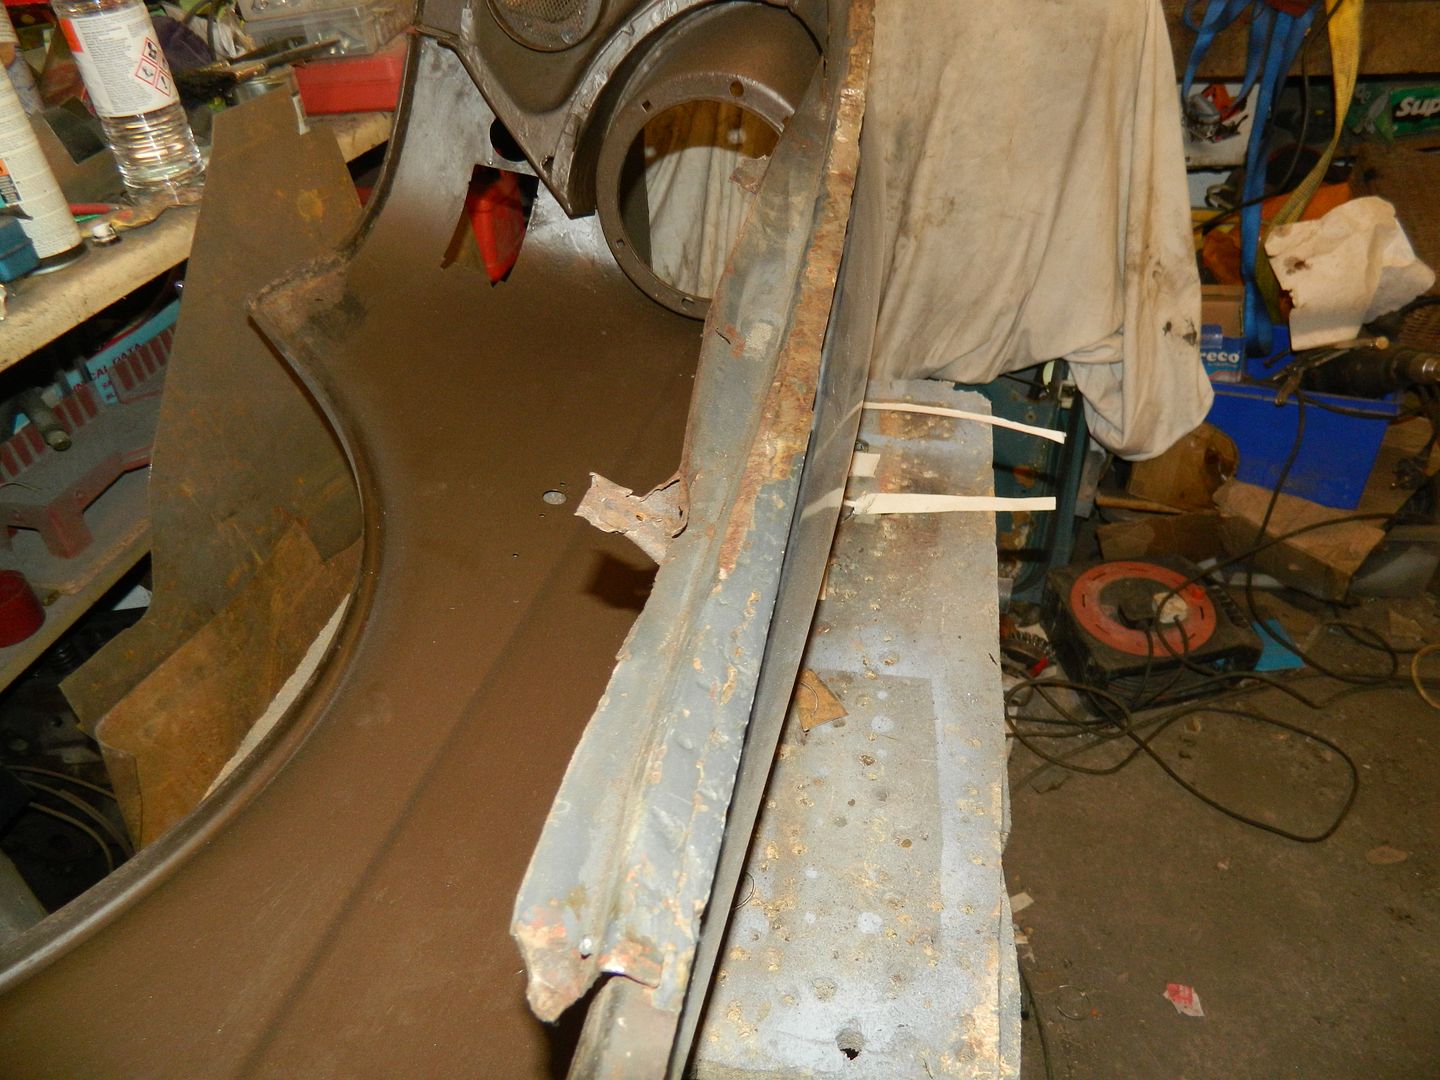 Getting to grips with the o/s wing. 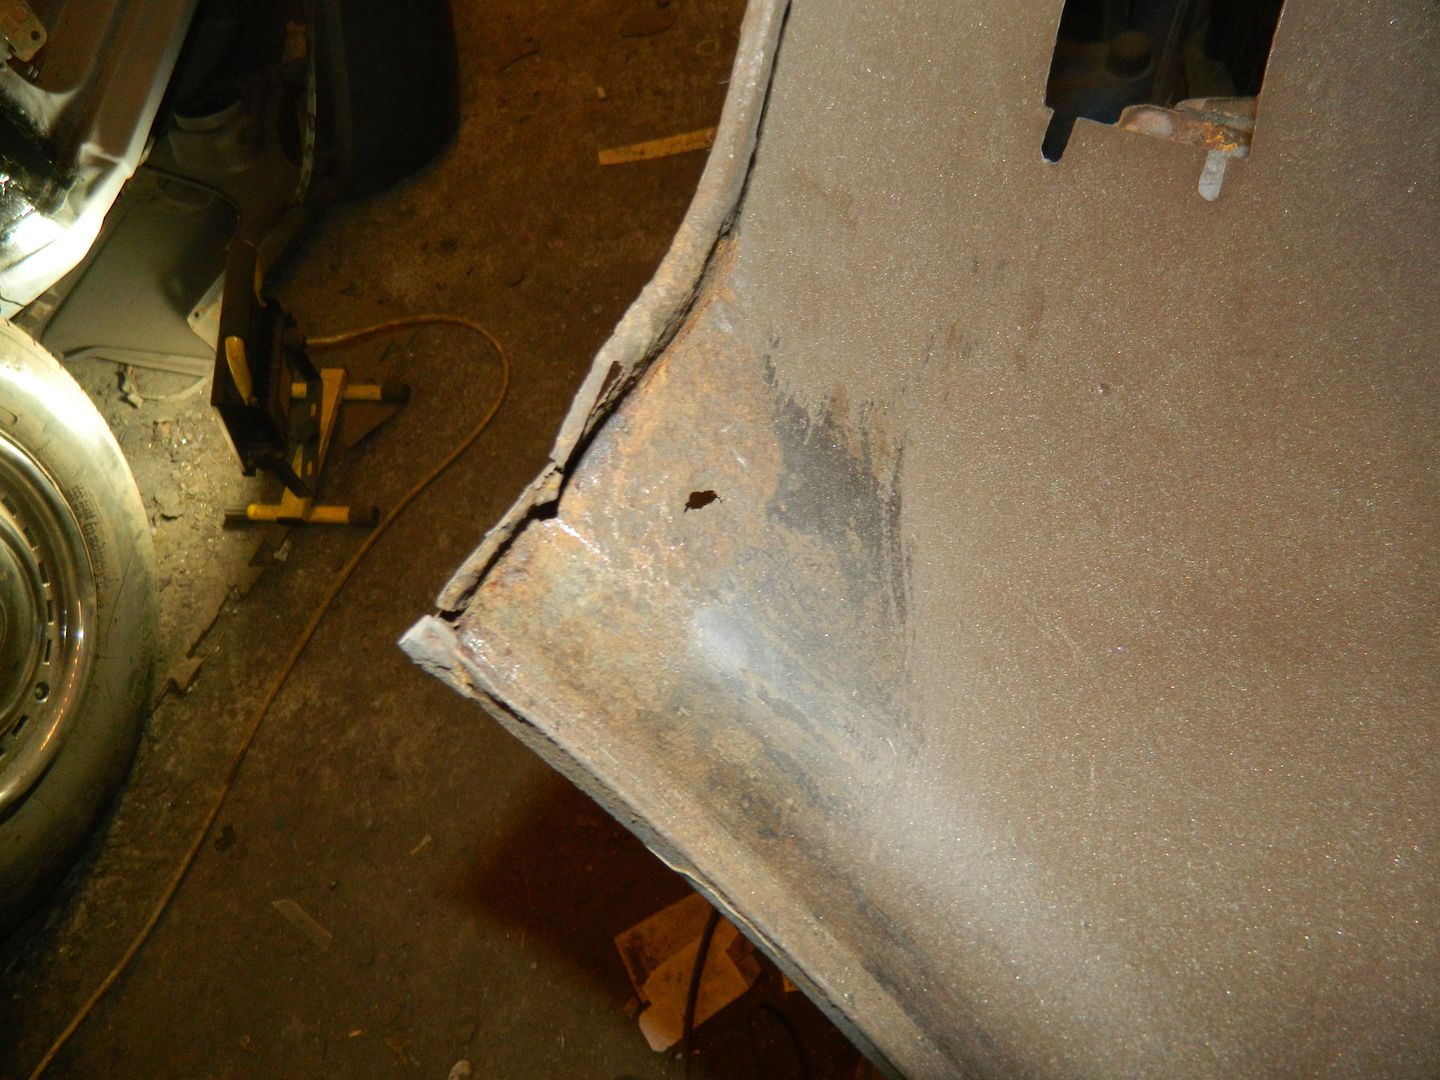 Unauthorised hole. That'll repair easily. So, all sorts of bits and pieces done today. Getting nearer to assembly time. Chris. |
|


