|
|
Post by Penguin45 on Nov 23, 2016 19:02:56 GMT
Byebye Mo - hello PFV. This is Phil9001's MkII Wolseley 18/85 and seems to have some of the usual problems, as well as some new ones. Sills both sides and floor repairs as required is the starting point, then front wings and valance to follow. Phil has kindly stripped the interior and the n/s side doors have come off without too much of a fight. Where to start? On the floor, of course. 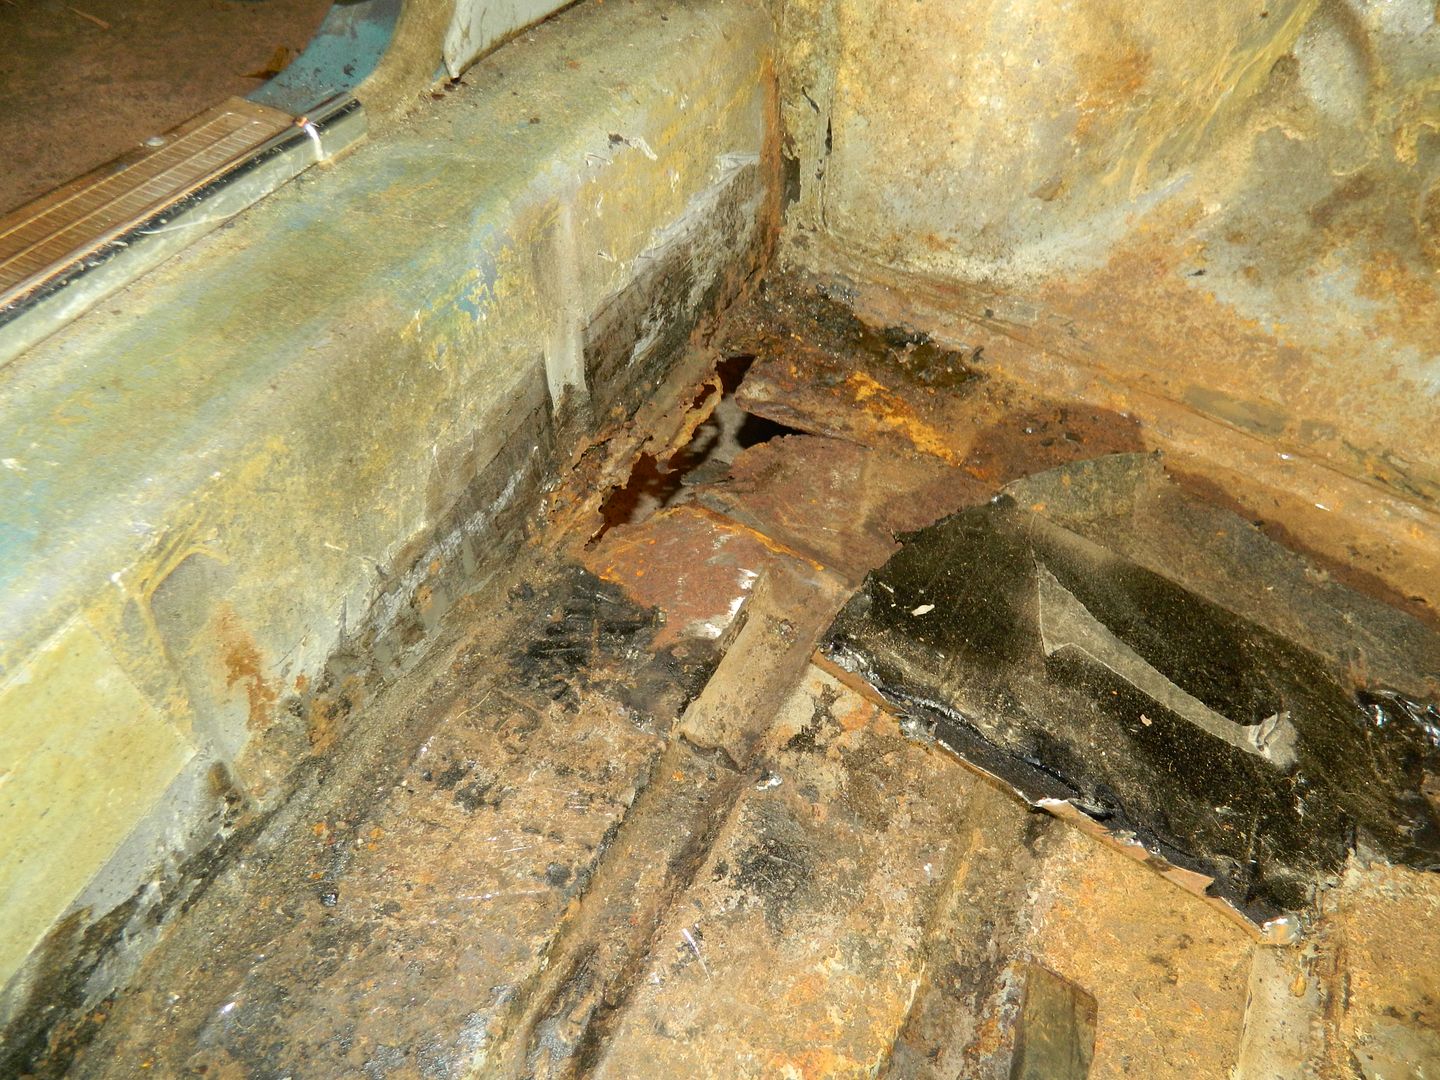 That big plate to trhe right was tacked over the hole with 12 gobs of weld. Didn't need the grinder as the chisel simply popped them off. 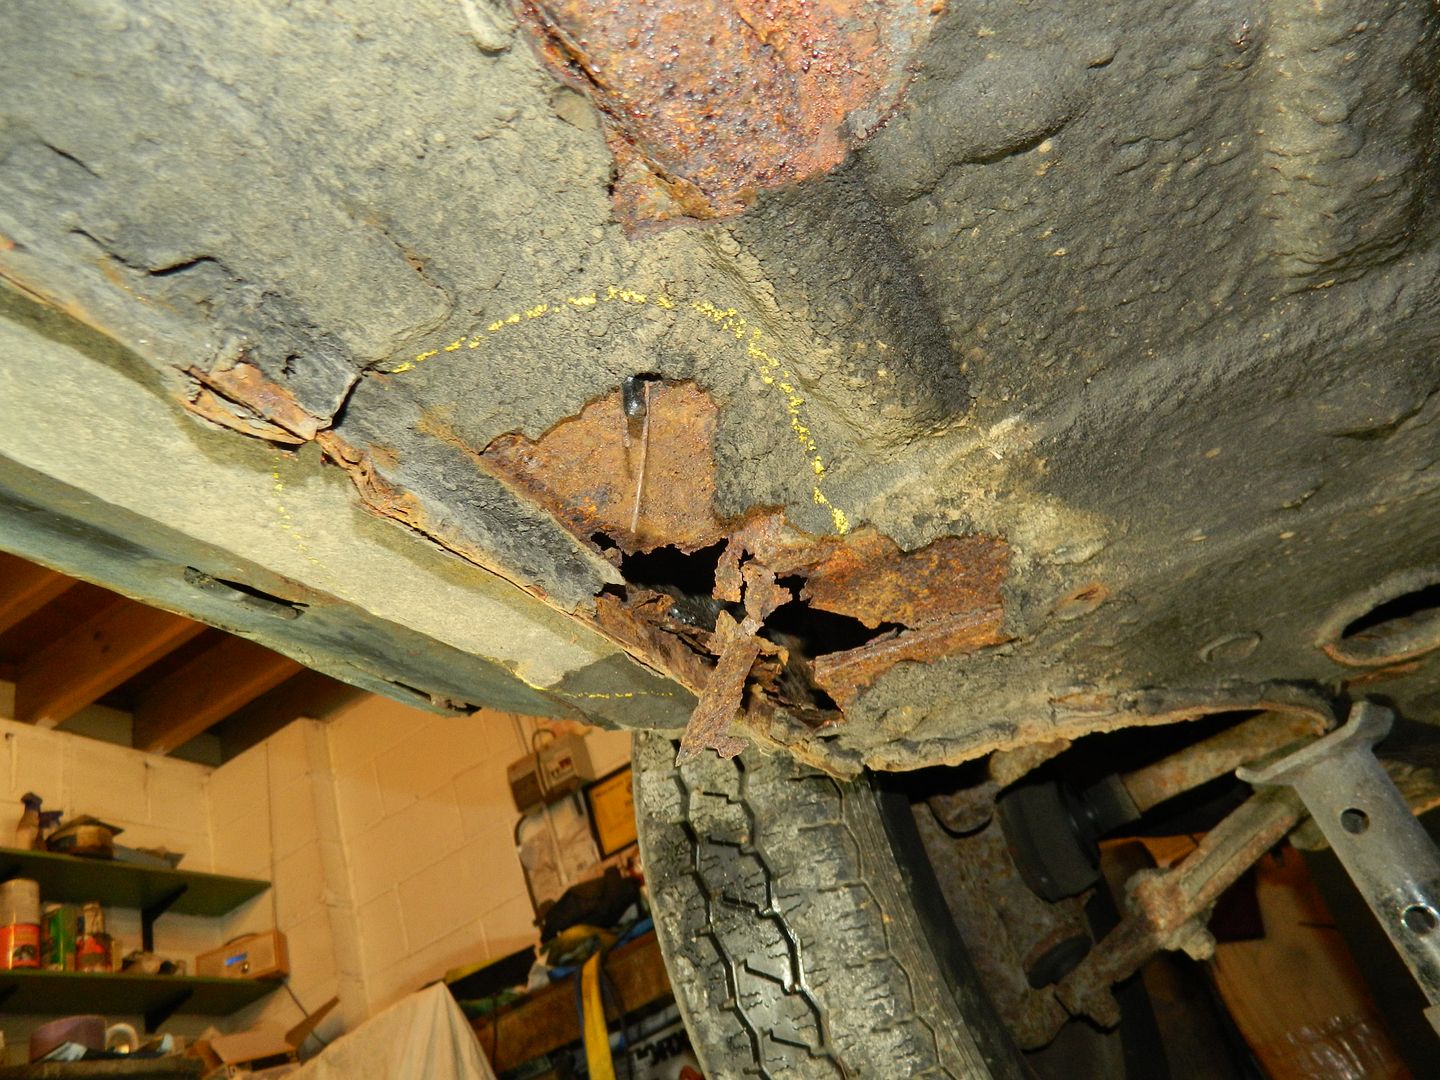 And underneath. Either the MoT tester didn't like it or a 5 year old's been playing with the chalk. The big chassis panel looks OK, so it's the floor panel, inner sill and lower flange which need sorting. Need to take the wire wheel across the floor to clear off the surface rust and see if anything else appears. Whilst I was crawling round the floor.... 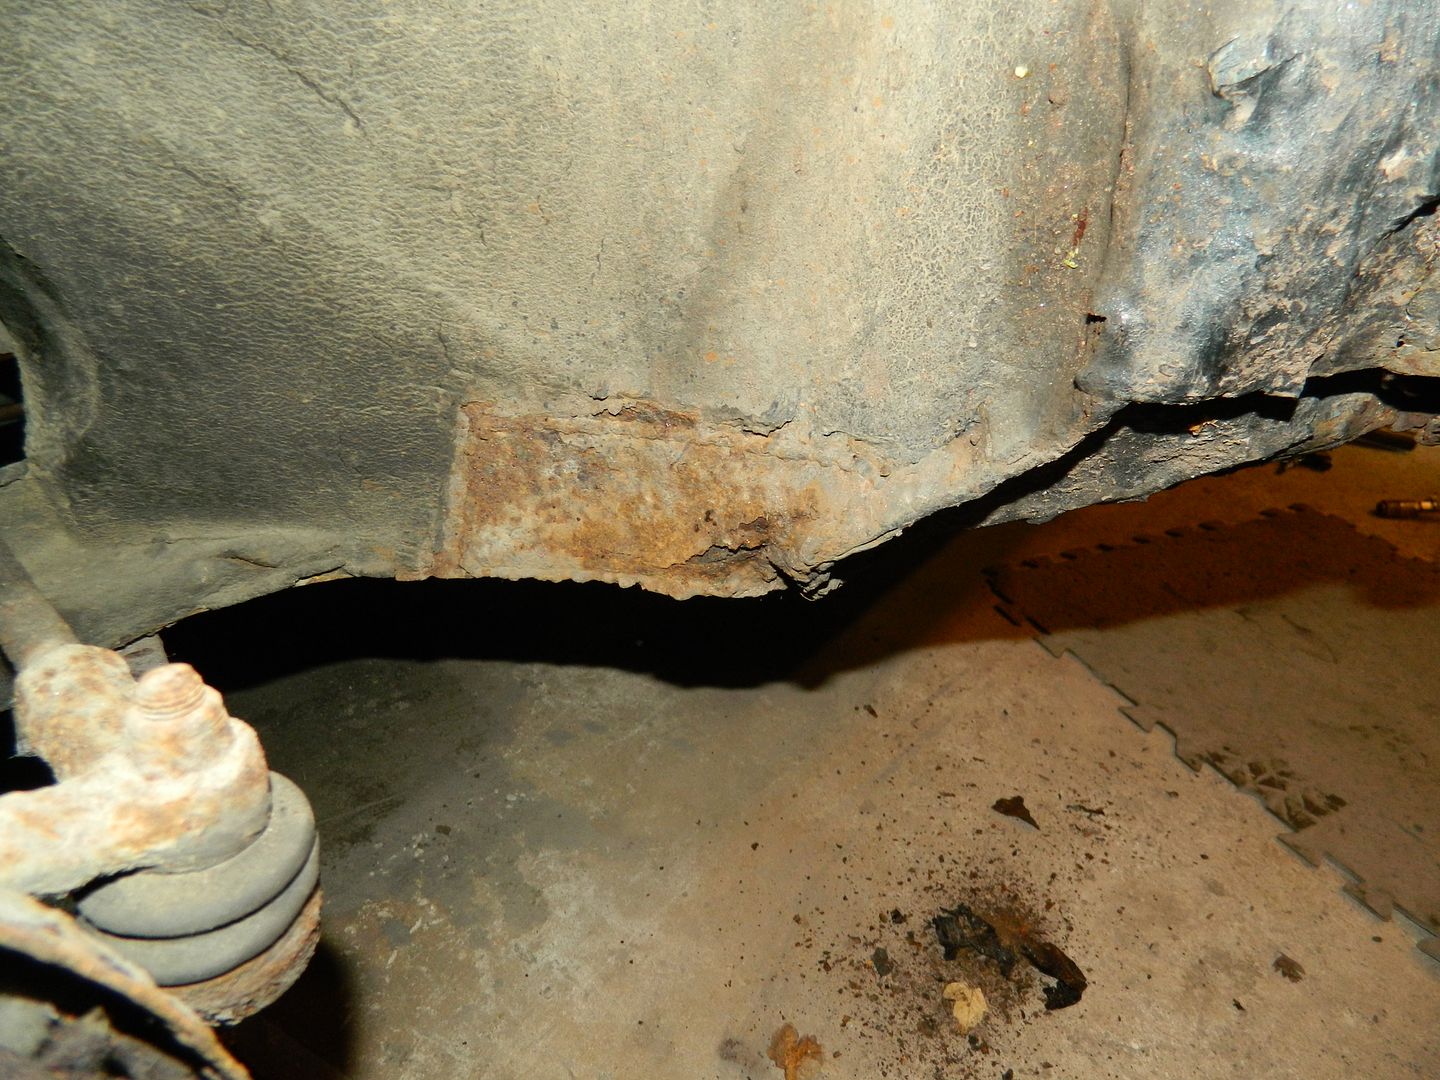 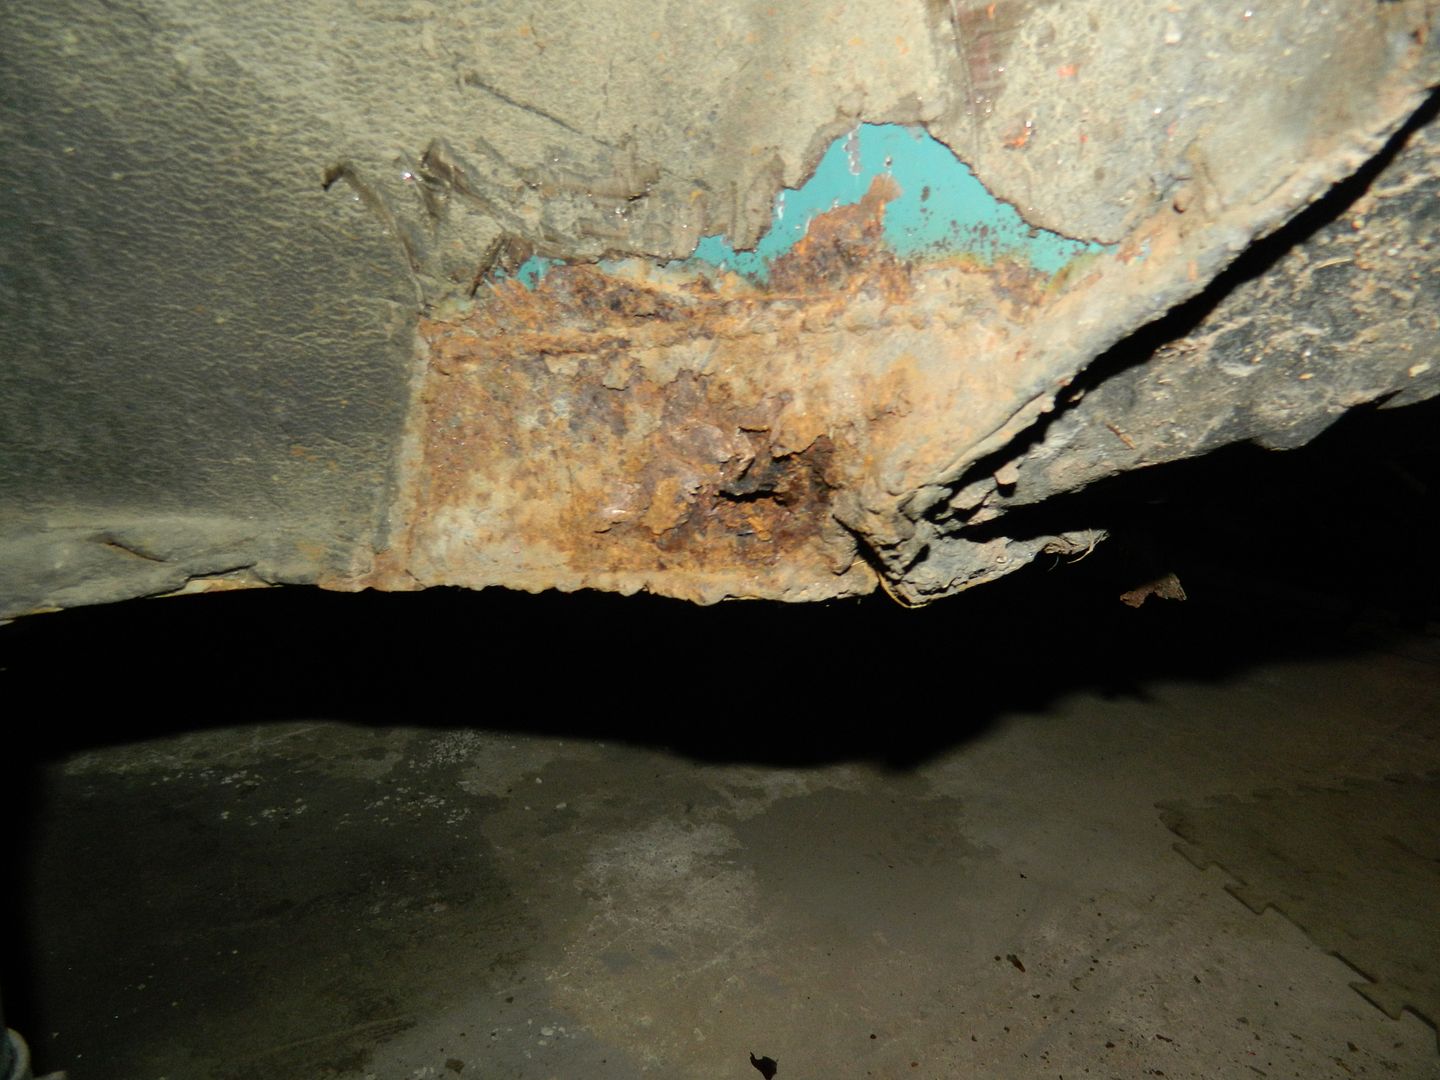 And after a little poke with the chisel. That's got to go. At a glance, the front wings look decent. 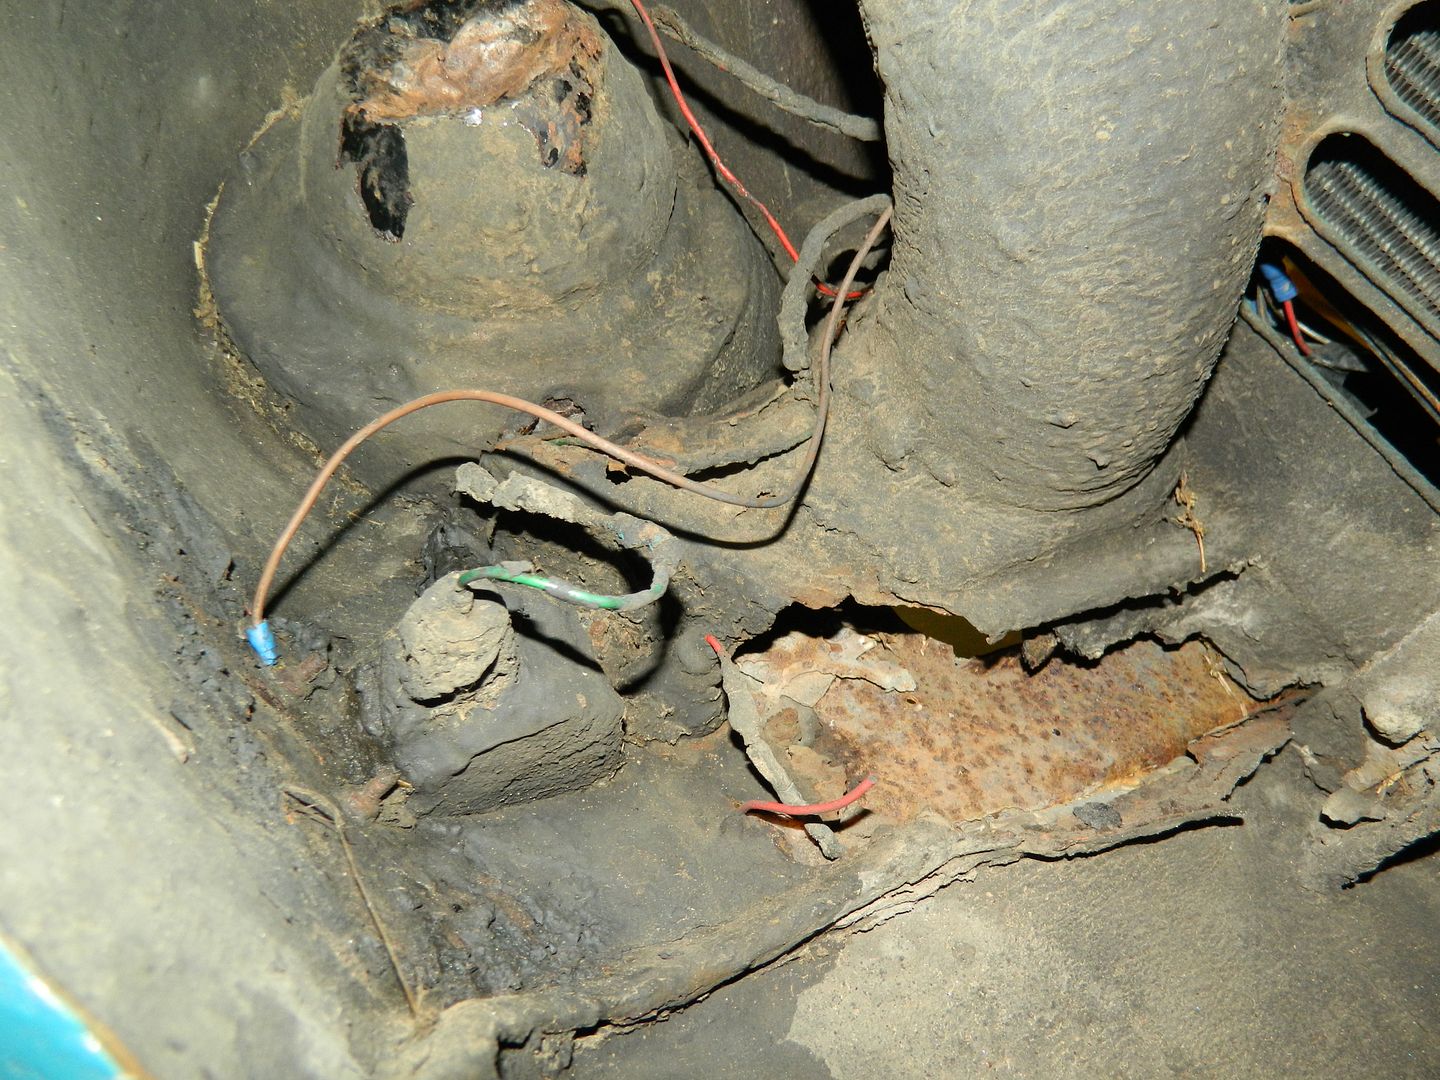 There's a lot of damage and a lot of filler. Chris. |
|
|
|
PFV729H
Nov 23, 2016 21:11:05 GMT
via mobile
Post by peppib on Nov 23, 2016 21:11:05 GMT
You must be getting very used to these now
Looking forward to another rescue unfolding
|
|
|
|
Post by phil900i on Nov 23, 2016 22:09:47 GMT
Oh, I'm glad the doors came off ok Chris! I couldn't move the screws and didn't want to knacker the heads so I just sprayed plusgas at them. I was really in two minds whether to sell the car as a project, glad I didn't now. I'm amazed it passed its last MOT when you look at the rot, the state of the top suspension joint rubbers etc and the brakes locking on. It'll be great following its progress, no rush though.
I'll get those wings cleaned up and pop them up to you soon. The Maxi is in for its mot on Saturday - hoping for no surprises from that!
|
|
|
|
Post by Penguin45 on Nov 24, 2016 17:51:00 GMT
She'll be fine, Phil.  Made a proper start on the floor today. 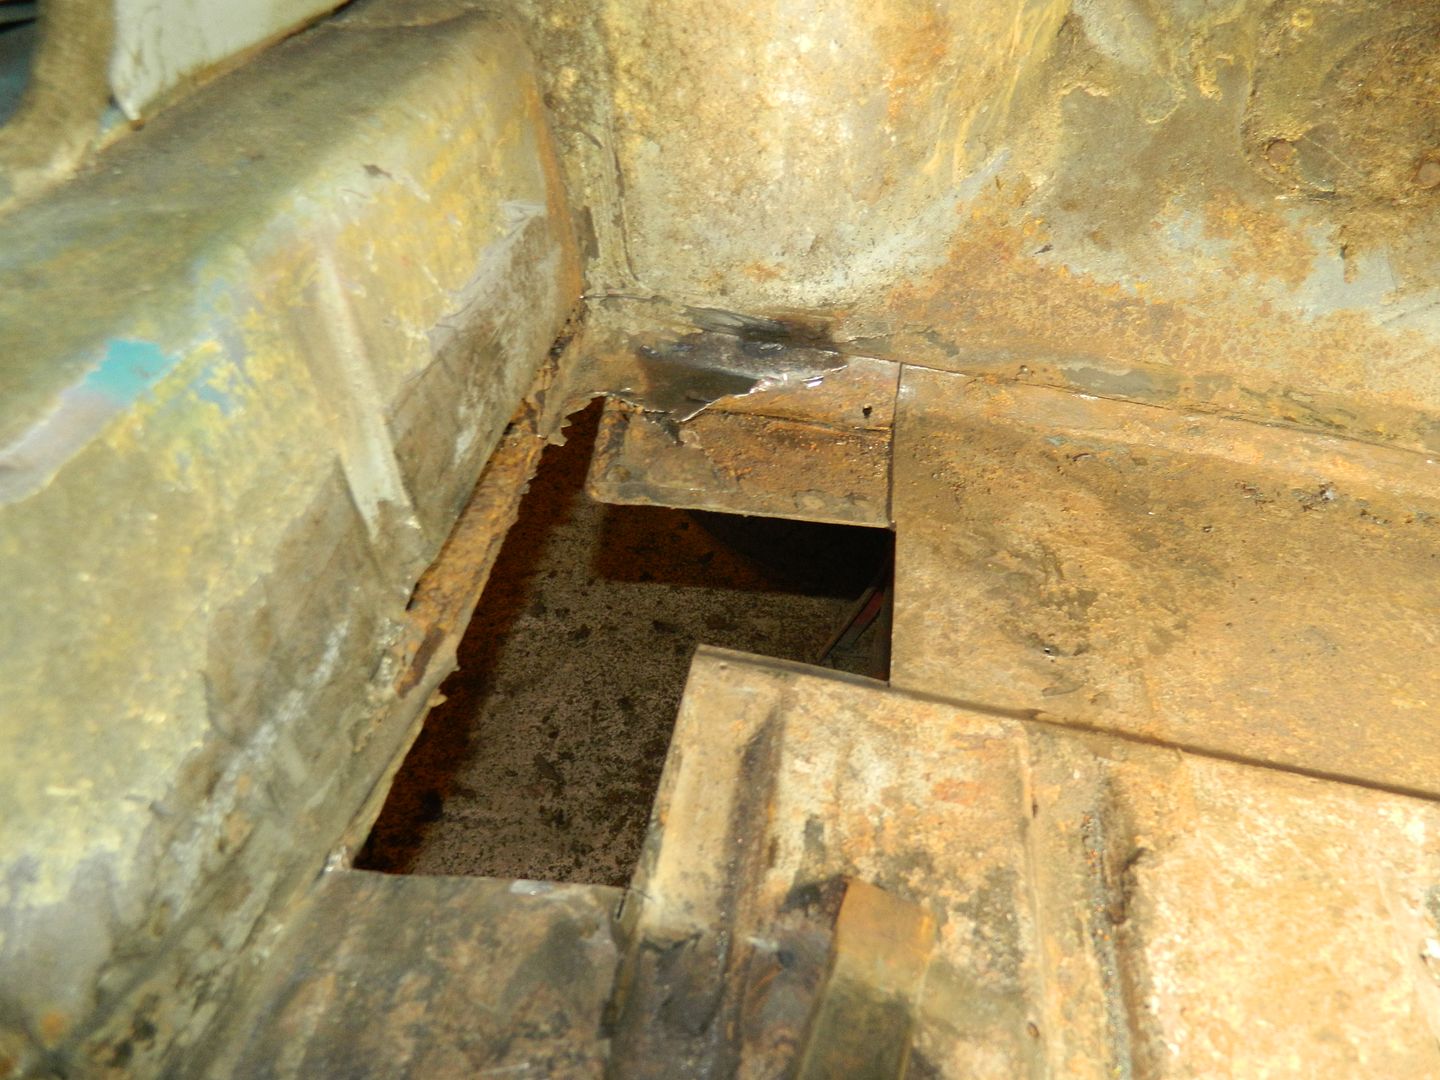 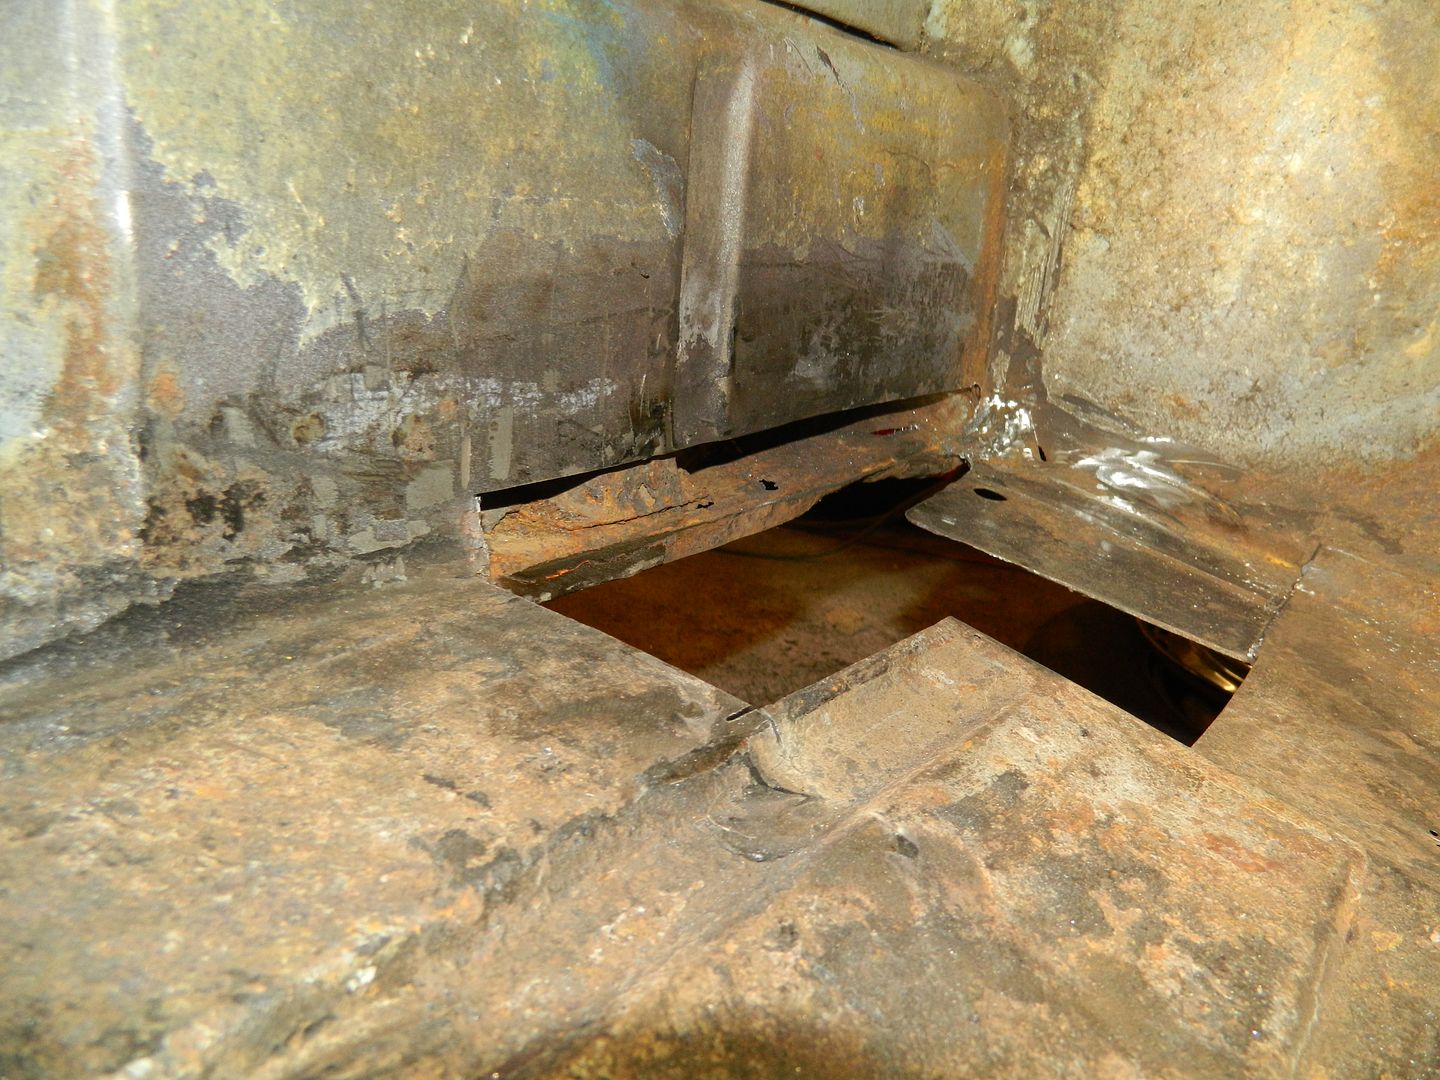 Holes get bigger before the get smaller.... As suspected, the chassis plate is fine, so it's the floor panel over it which has been cut and ground away, as well as about an inch up the inner sill. In the interest of strength, I'll repair the inner sill with a flange for the floor panels to mount to along the edge. Once the outer sill is off, I'll see about adding the drop down flange for the edge of the sill to mount to. As we have found out, this can rot ferociously. The car has been jacked on the floor panel at some point and it has buckled. I have knocked it down straightish for the moment, but it may need some more "adjustment" when I start offering up some metal. 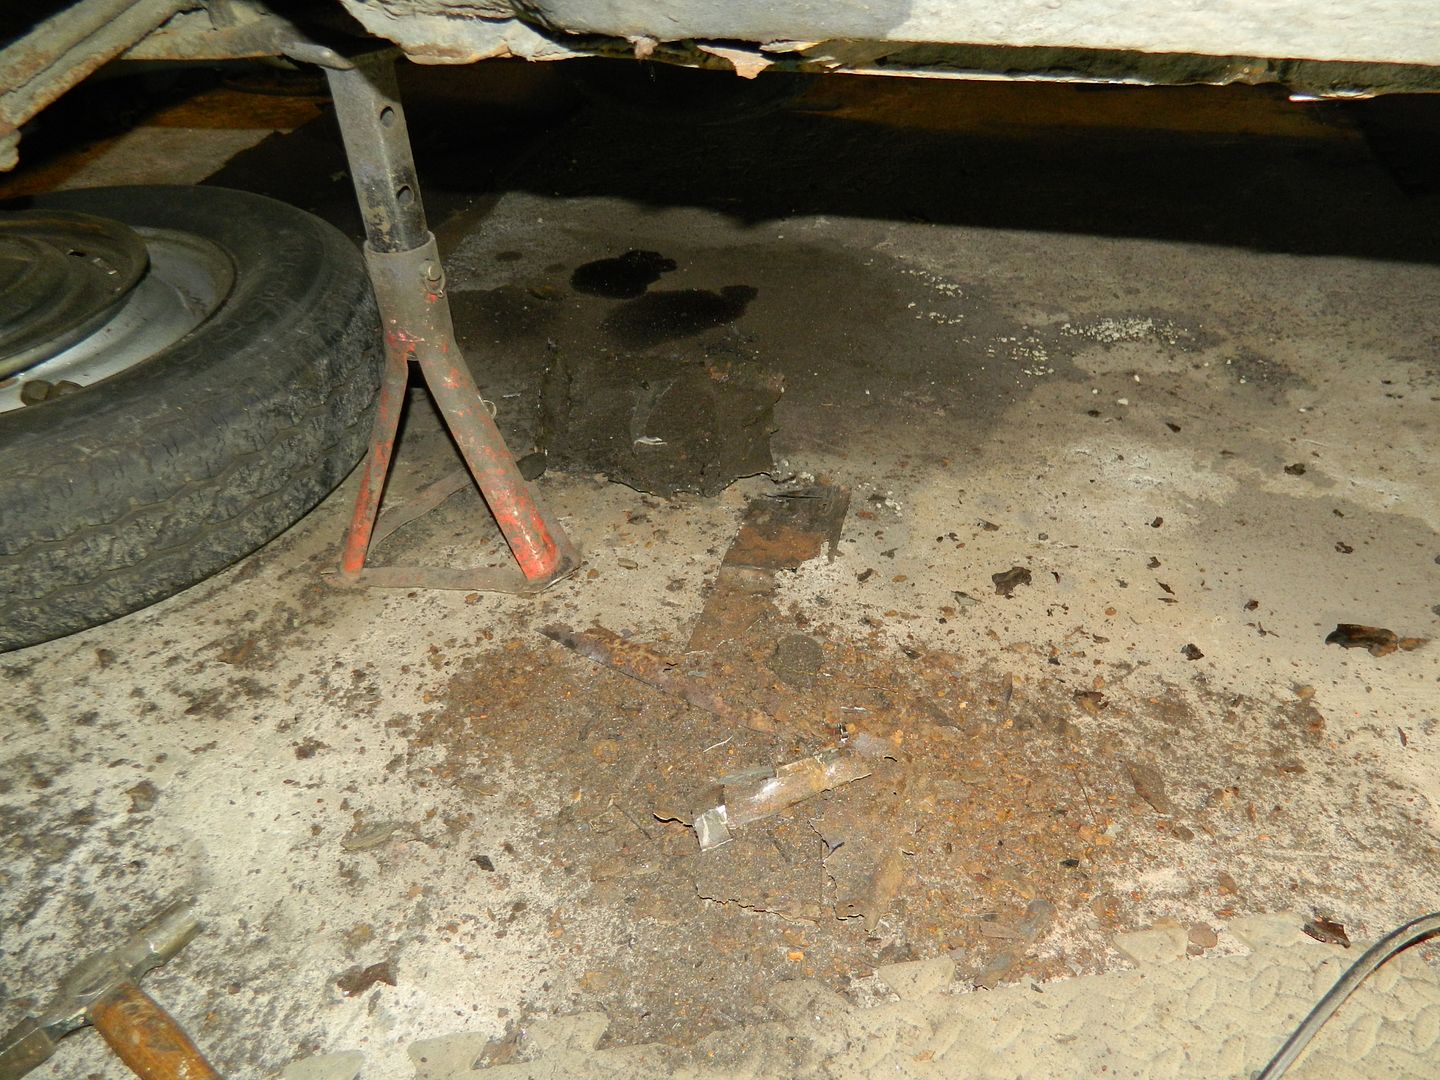 Ferrous oxide pile so far generated. A lot of that came out of the sills, so goodness knows what we'll find when they come off. That's it until Monday, I'm afraid. Trip to Cornwall this weekend for Dad's 90th birthday, so just a little bit important. Chris. |
|
|
|
PFV729H
Nov 24, 2016 20:44:23 GMT
via mobile
Post by phil900i on Nov 24, 2016 20:44:23 GMT
Have a good time! 90 , crikey!! Not been to Cornwall since I was about 12! Keep saying I'm going to go camping there but never seem to get round to it.
|
|
|
|
Post by Penguin45 on Nov 28, 2016 17:52:49 GMT
Right, back to it. 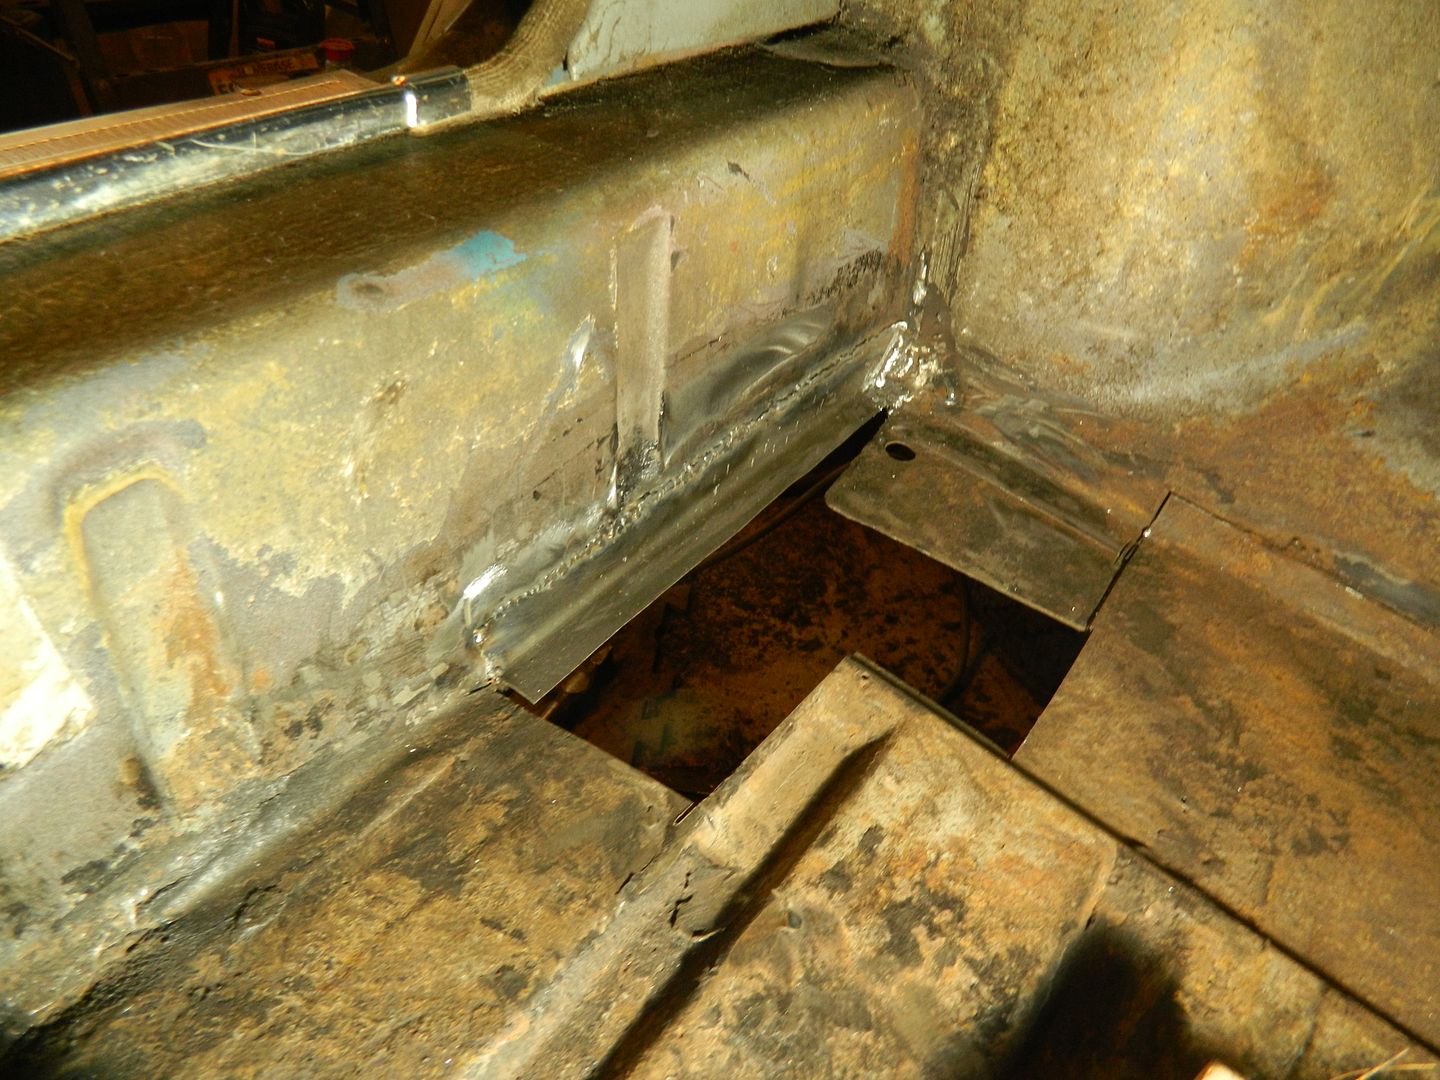 Inner sill repair let in. Flange at the bottom will add extra strength and rigidity. 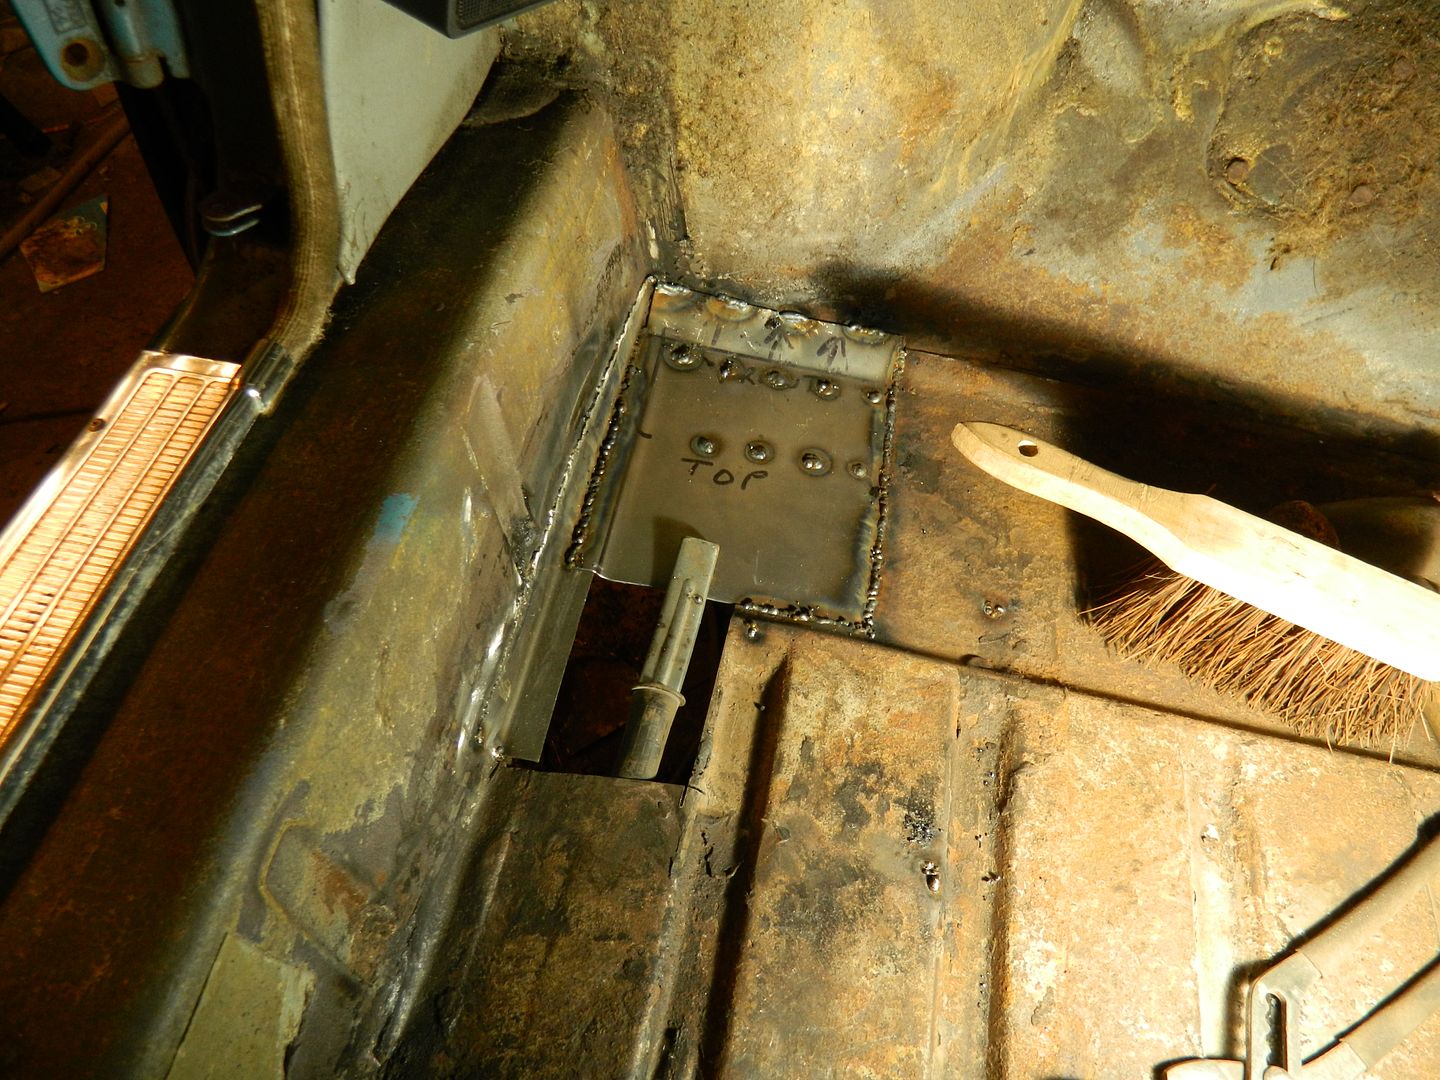 Front floor section let in. Plug welded to chassis plate, butt welded to floor section and lap welded to the flange. 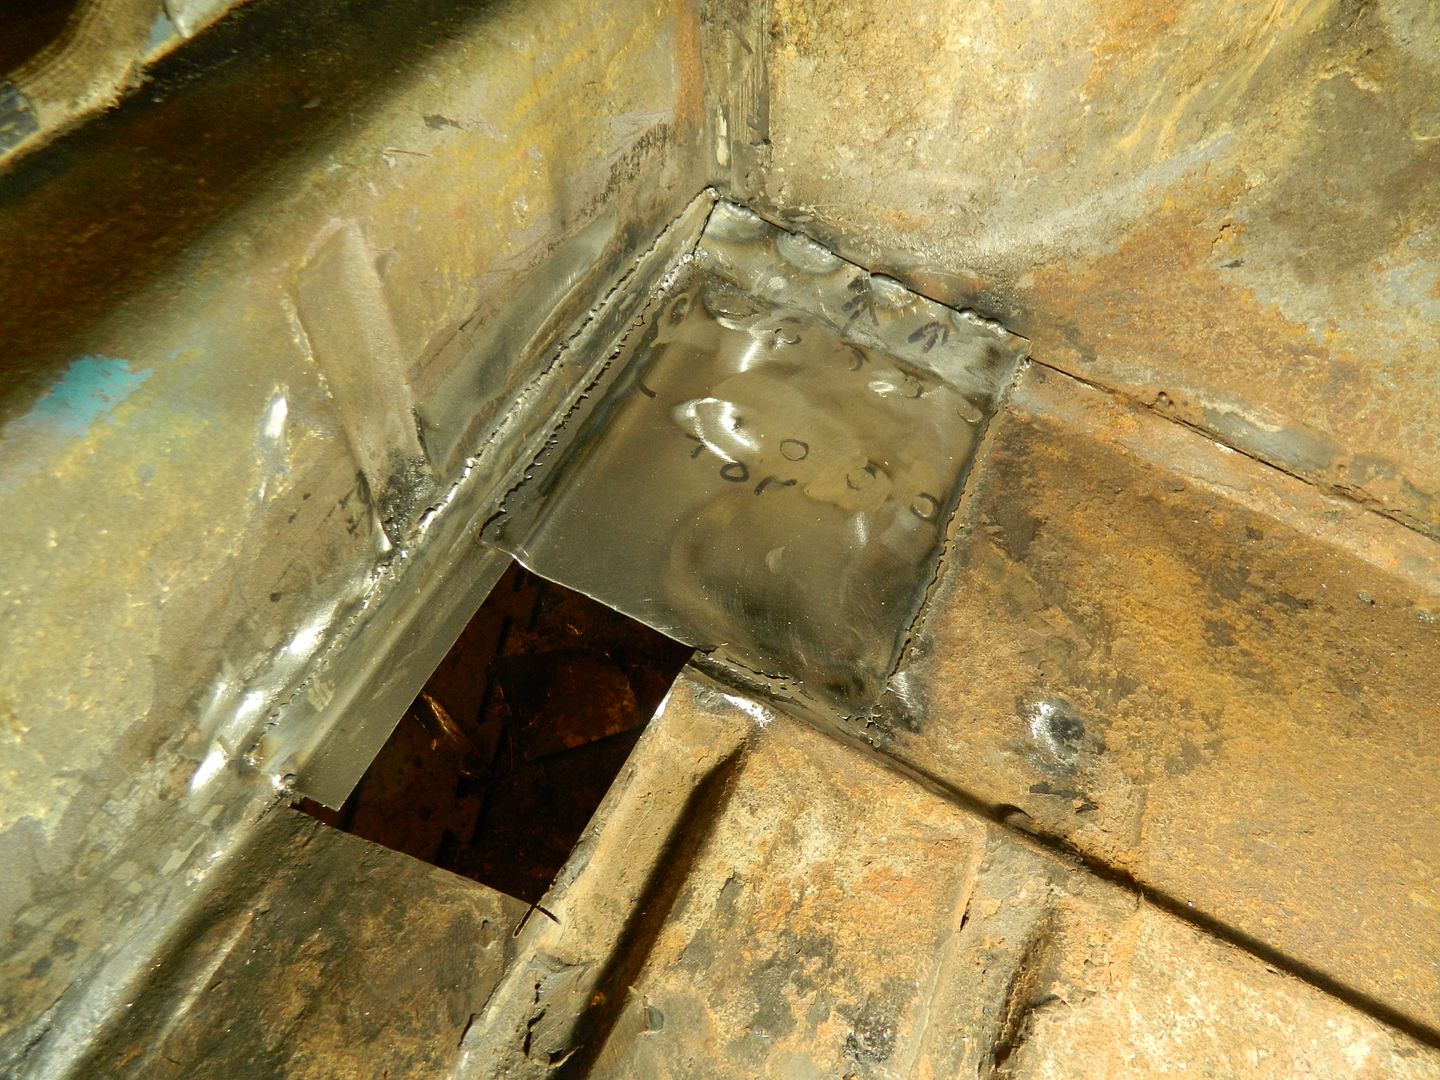 A little later after the first pass with the flap wheel. 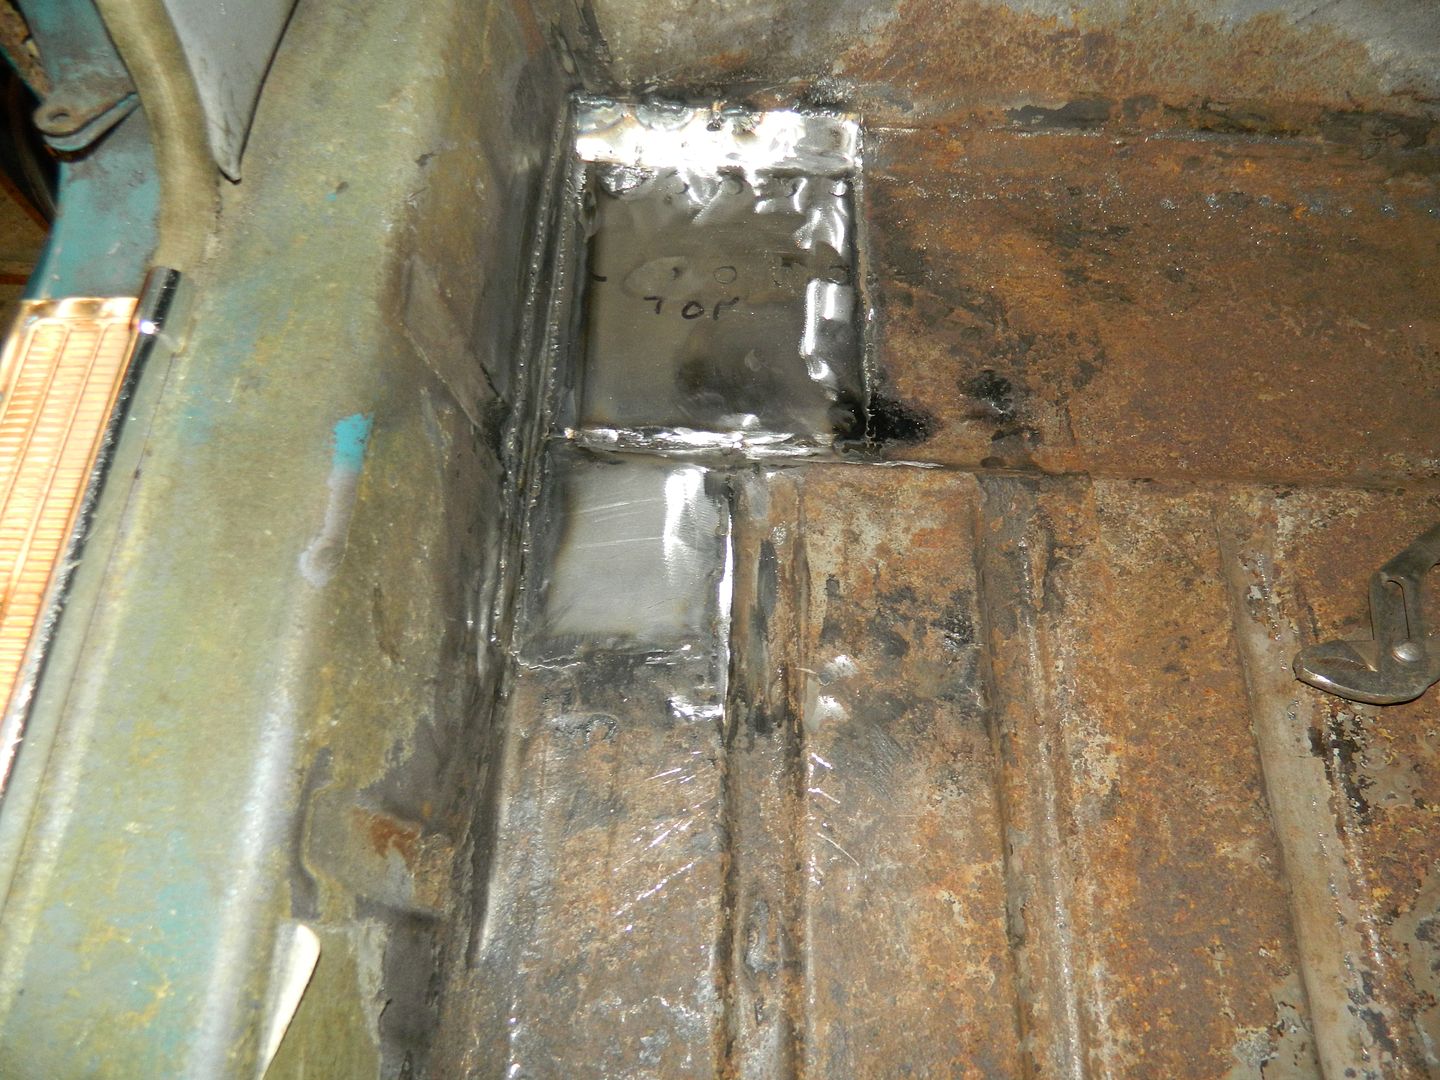 And completed. Rear section added with the step down to the front. All flatted back, pinholes shot, basically finished. Now that that's done, it ties the floor and chassis leg fully to the inner sill, so I'll be happier chopping the sills off with the full strength restored. Chris. |
|
|
|
Post by Penguin45 on Nov 29, 2016 18:45:35 GMT
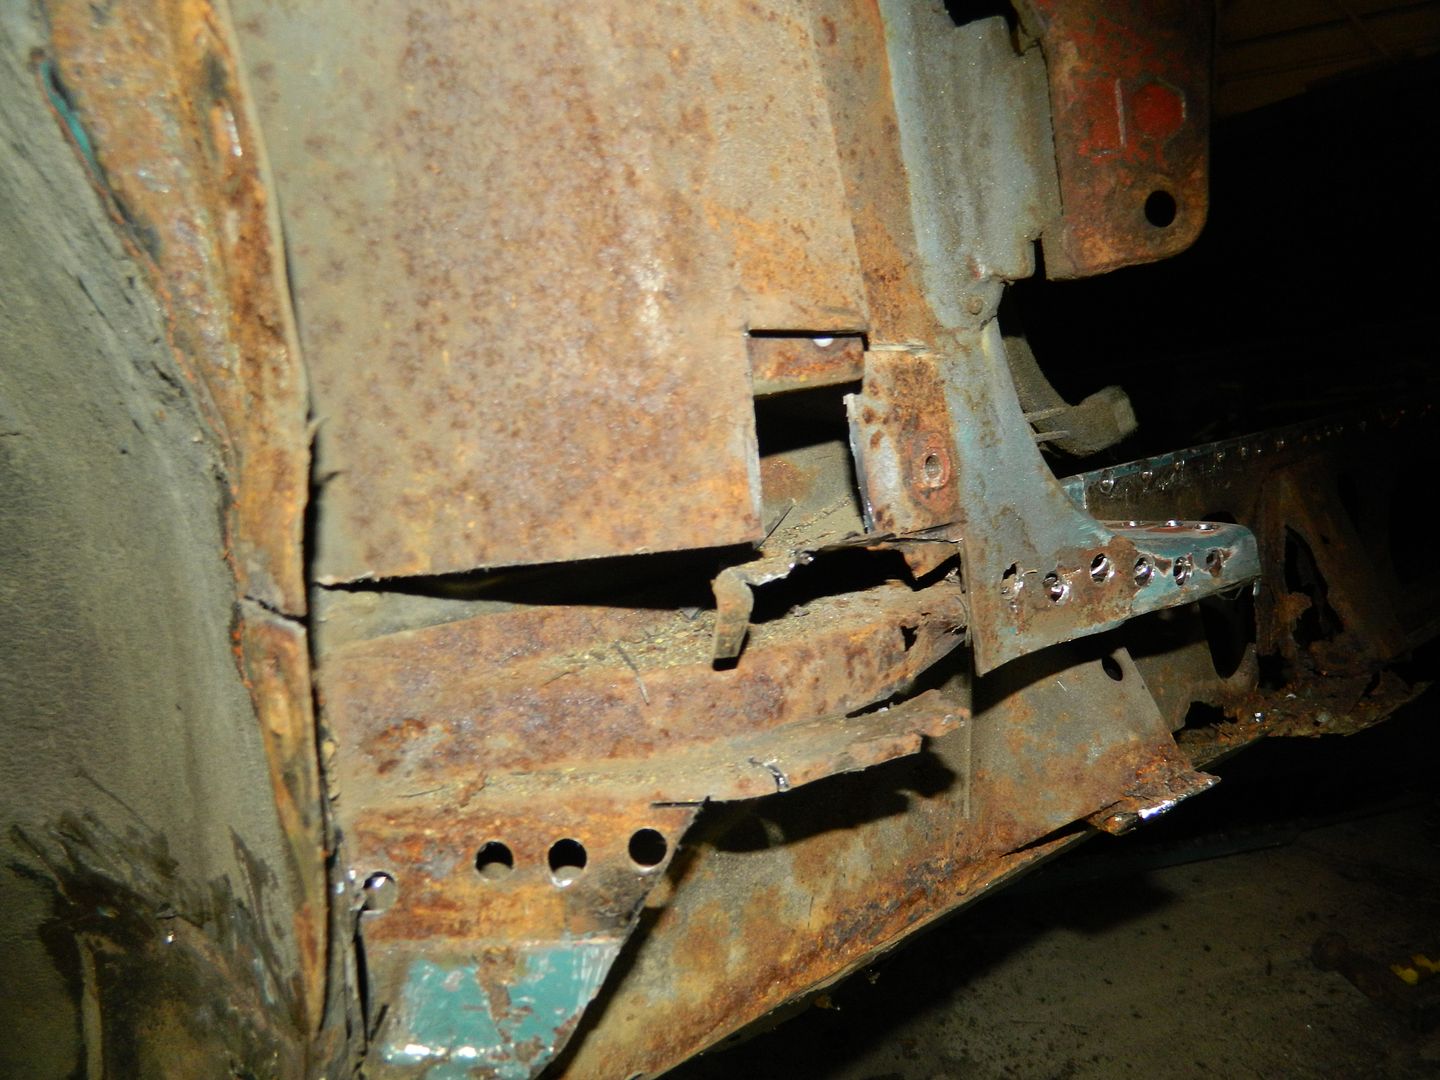
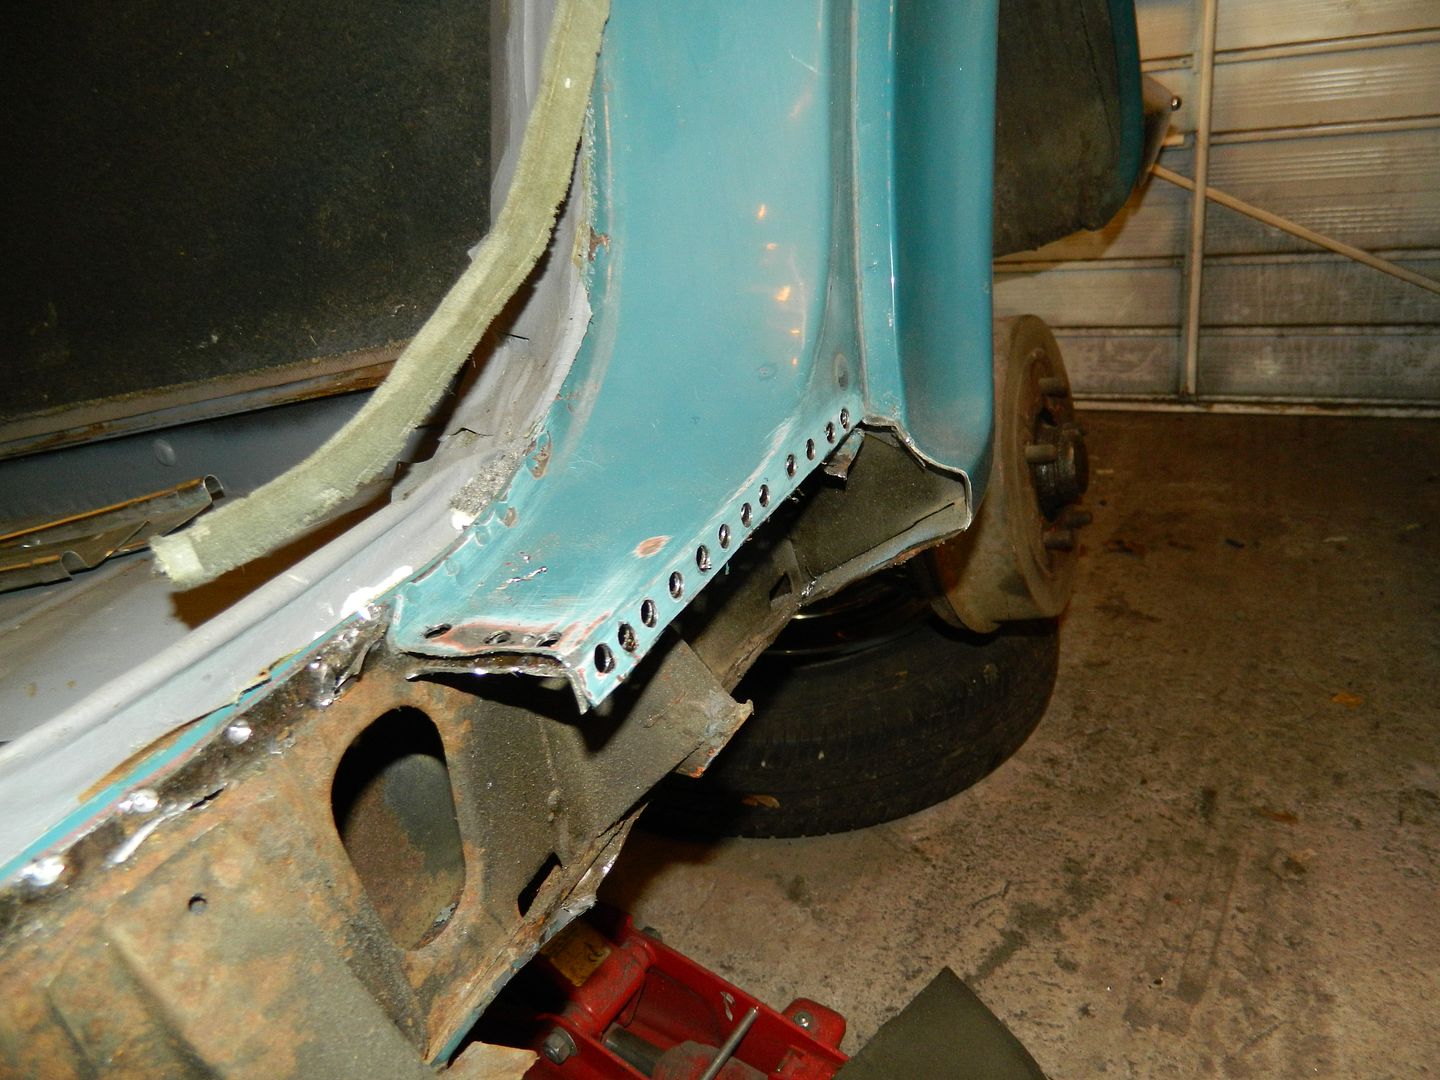
Deconstruction time. Let the spot weld drilling fest begin. 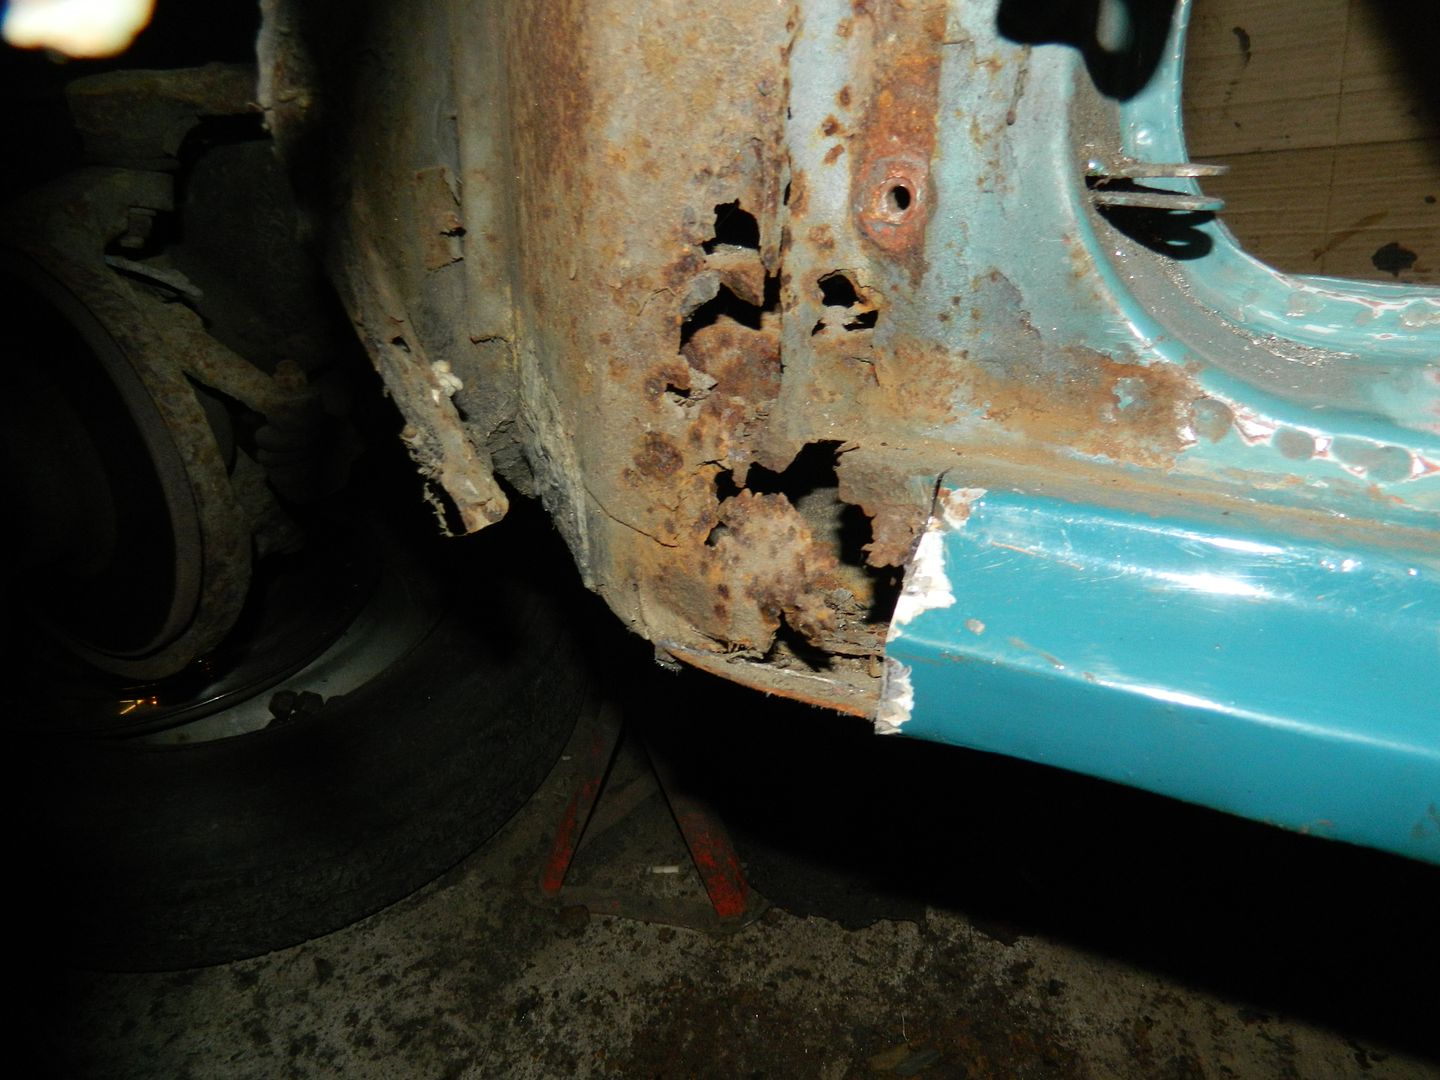 Front wing released, horrible mess at bottom of A post and into front of sill. 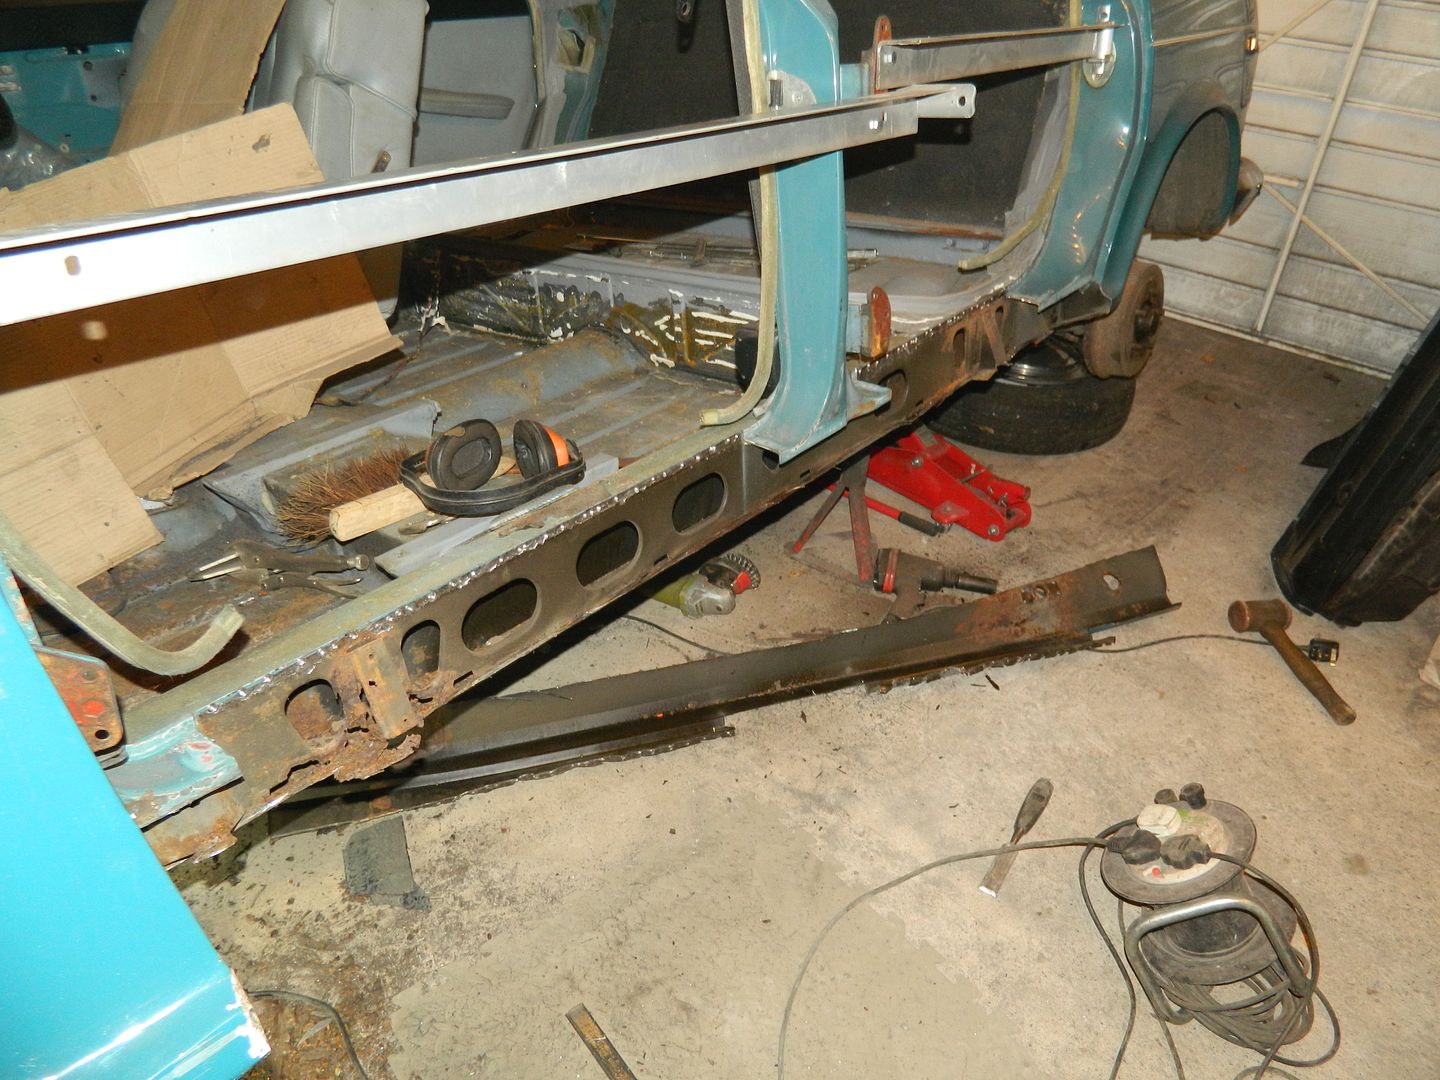 Bracing bars on, outer half of sill cut away. 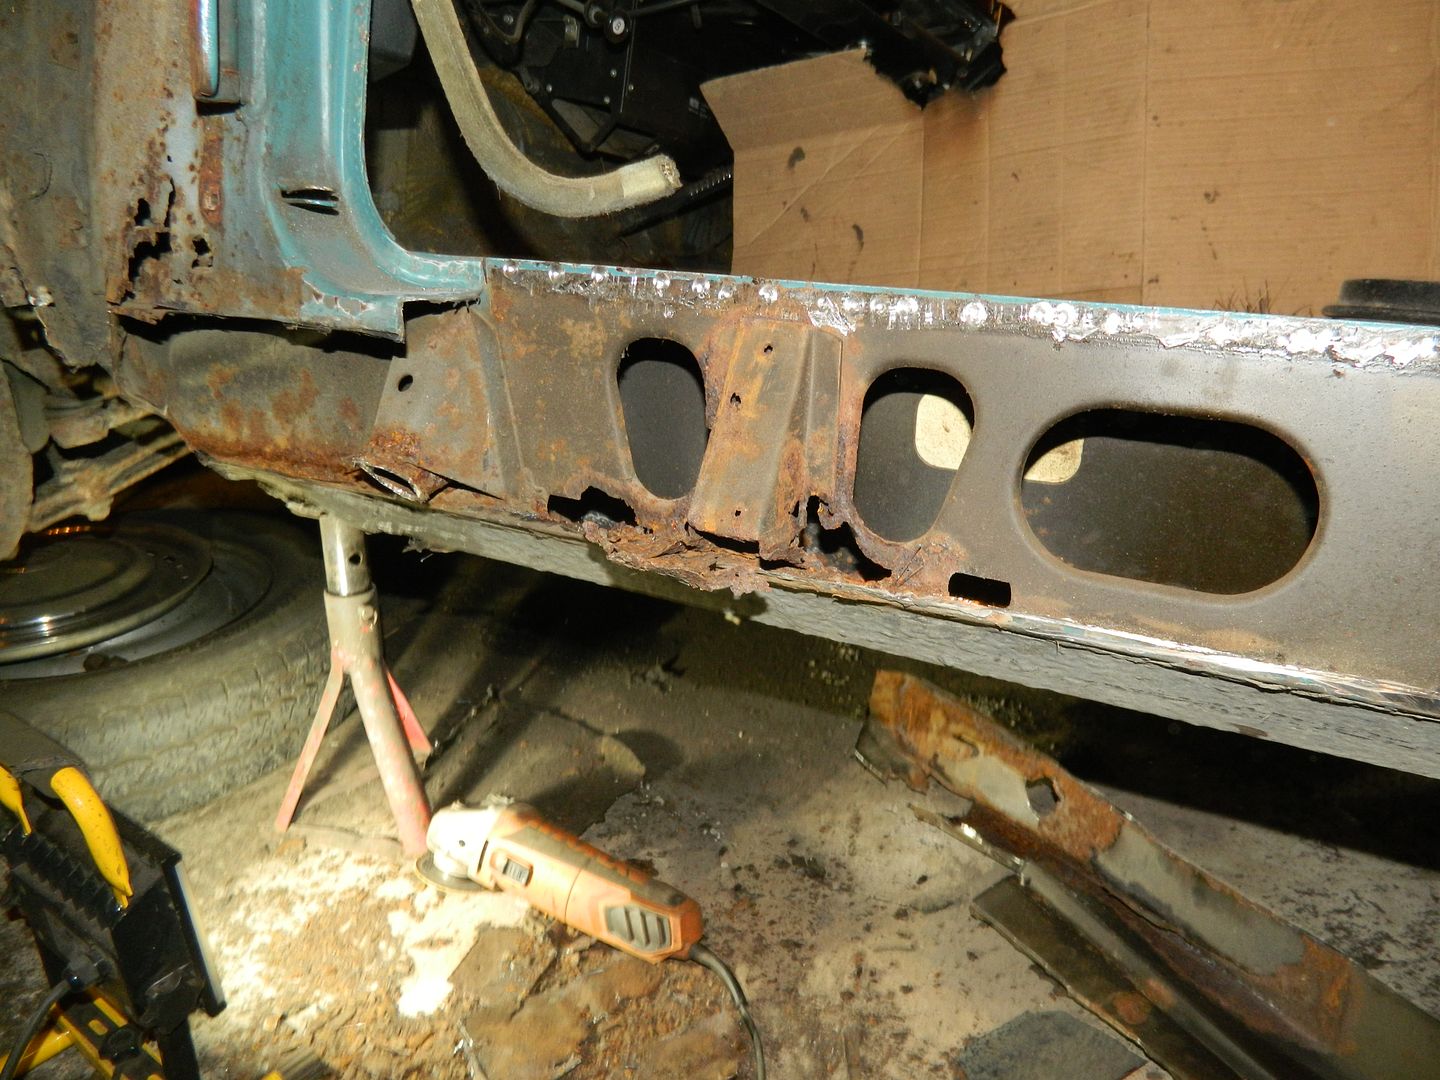 Front end of centre membrane beginning to fail, but not bad overall. Chris. |
|
|
|
PFV729H
Nov 29, 2016 23:02:52 GMT
via mobile
Post by phil900i on Nov 29, 2016 23:02:52 GMT
Yikes, that A post looks bad!
The Maxi passed the MOT thankfully! I'm going to waxoil it's sills from inside asap - don't want it going the same way as this. The last owner was pretty good about rust prevention though luckily.
|
|
|
|
Post by Penguin45 on Nov 30, 2016 23:56:35 GMT
They all do that, Sir.
Nothing to show for today's efforts - lots of holes. Been drilling out the spot welds for the concealed metal work, which has to be chiselled out before the new metal can be let in. Slow, boring, neccessary...
Chris.
|
|
|
|
Post by Penguin45 on Dec 1, 2016 18:26:16 GMT
|
|
|
|
Post by Penguin45 on Dec 4, 2016 18:54:57 GMT
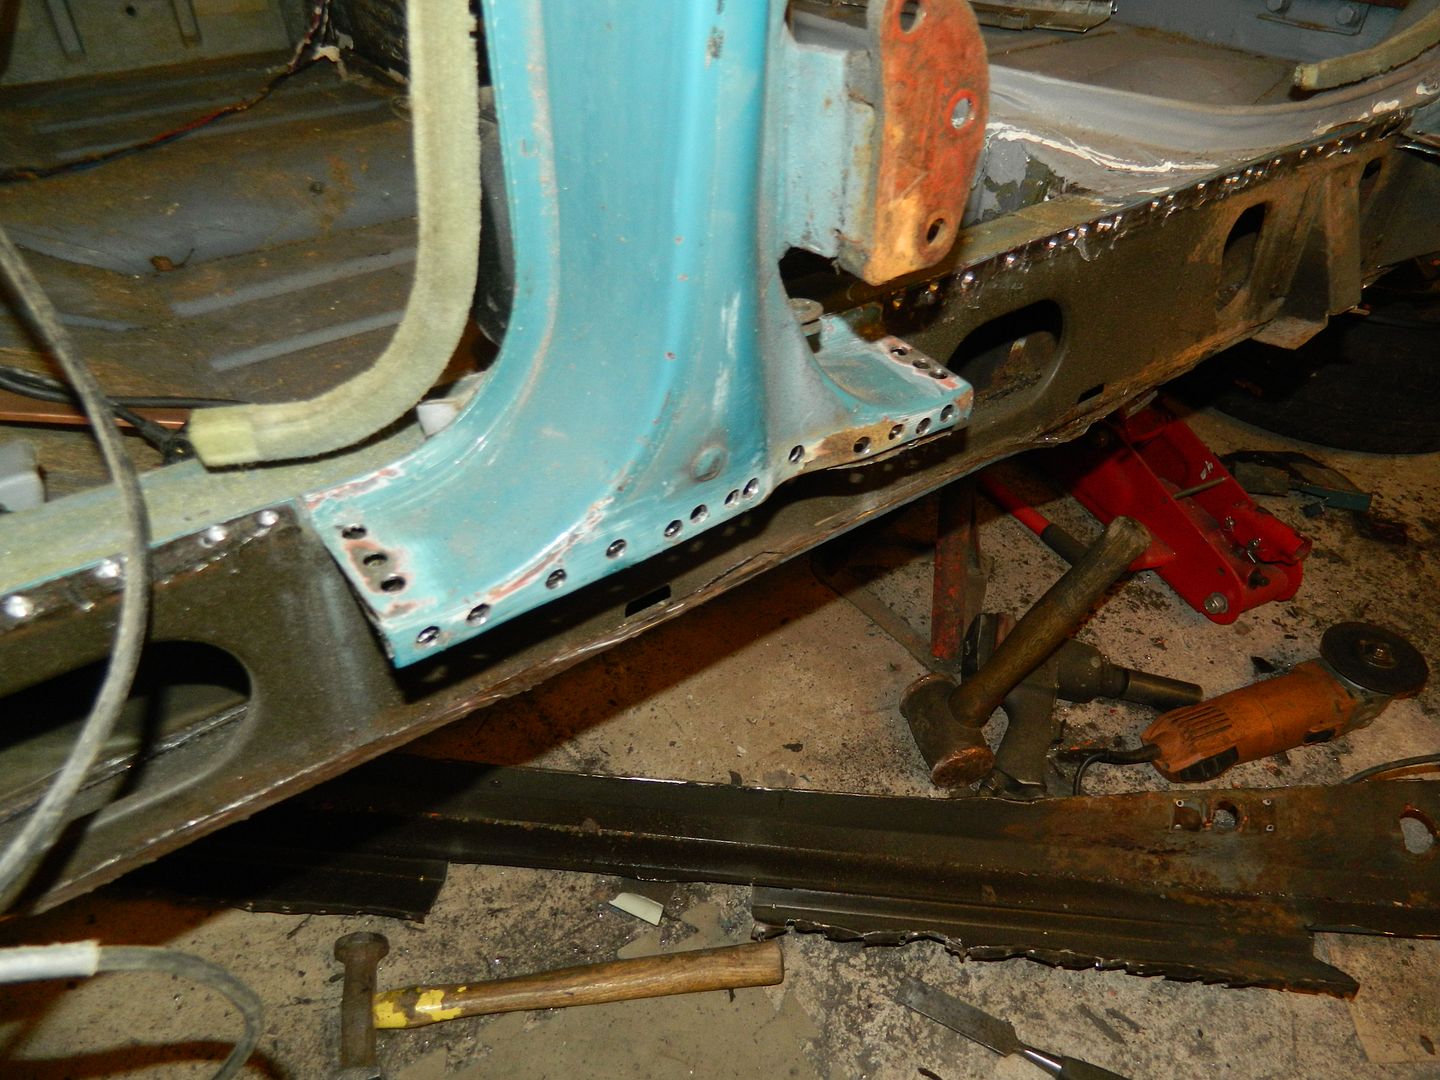
I've not been doing nothing! It's just been a complete cow getting the centre membrane off and clearing out the remains. Oh, Saturday is Princess 18-22 welding day in Preston, so that's my light relief. Anyway: 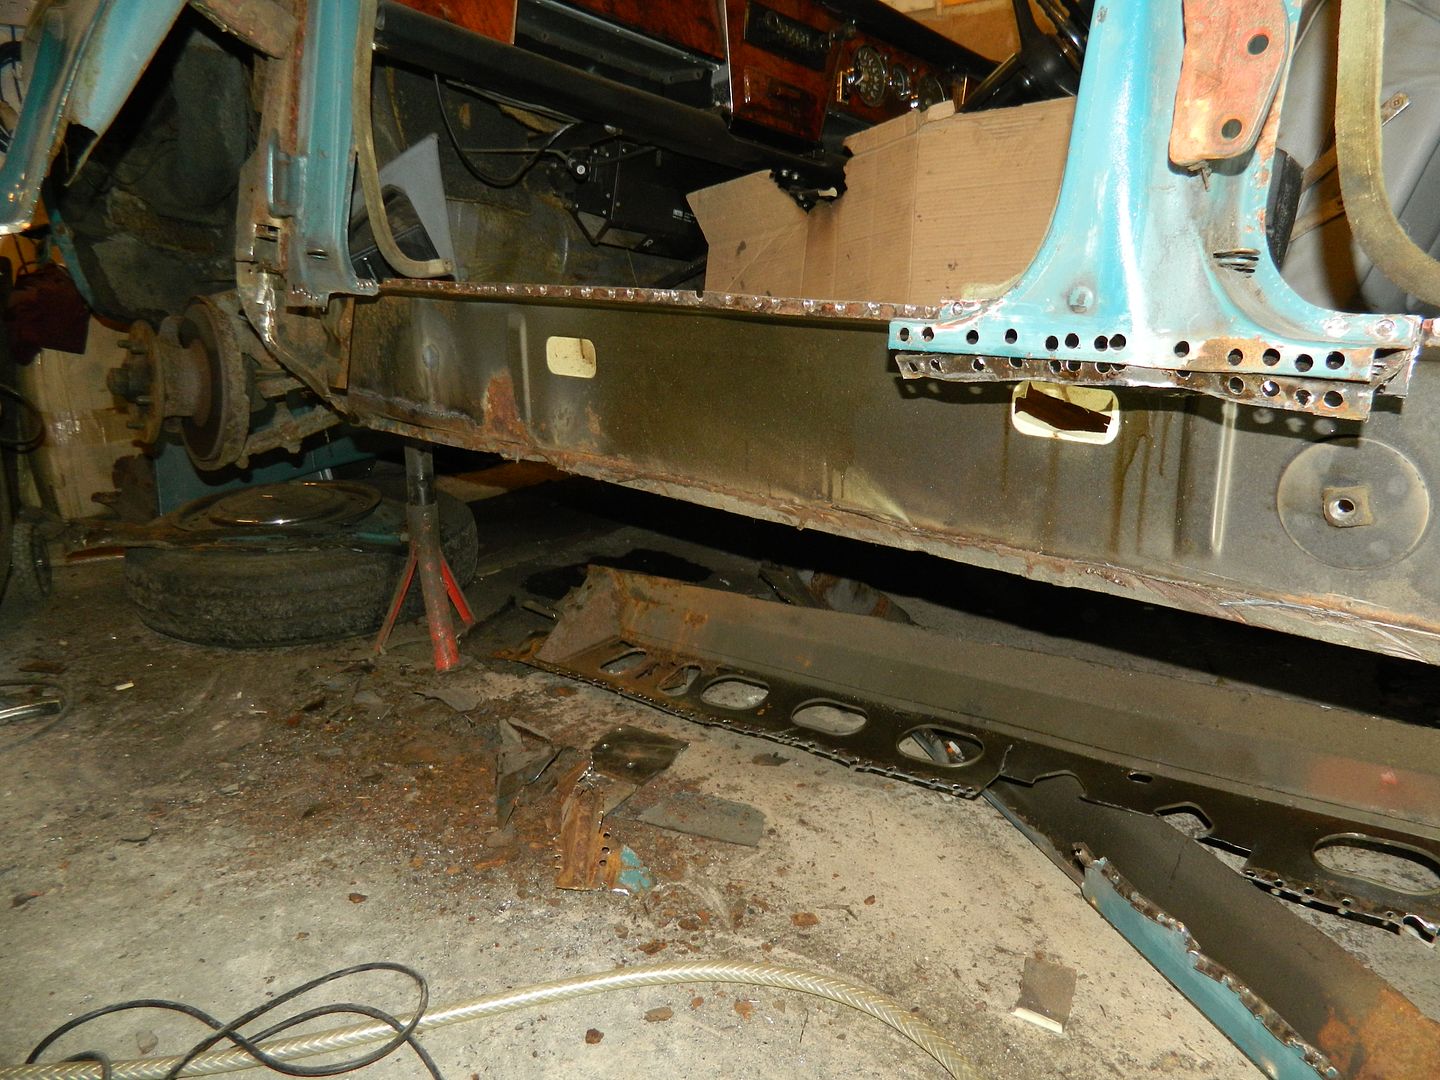 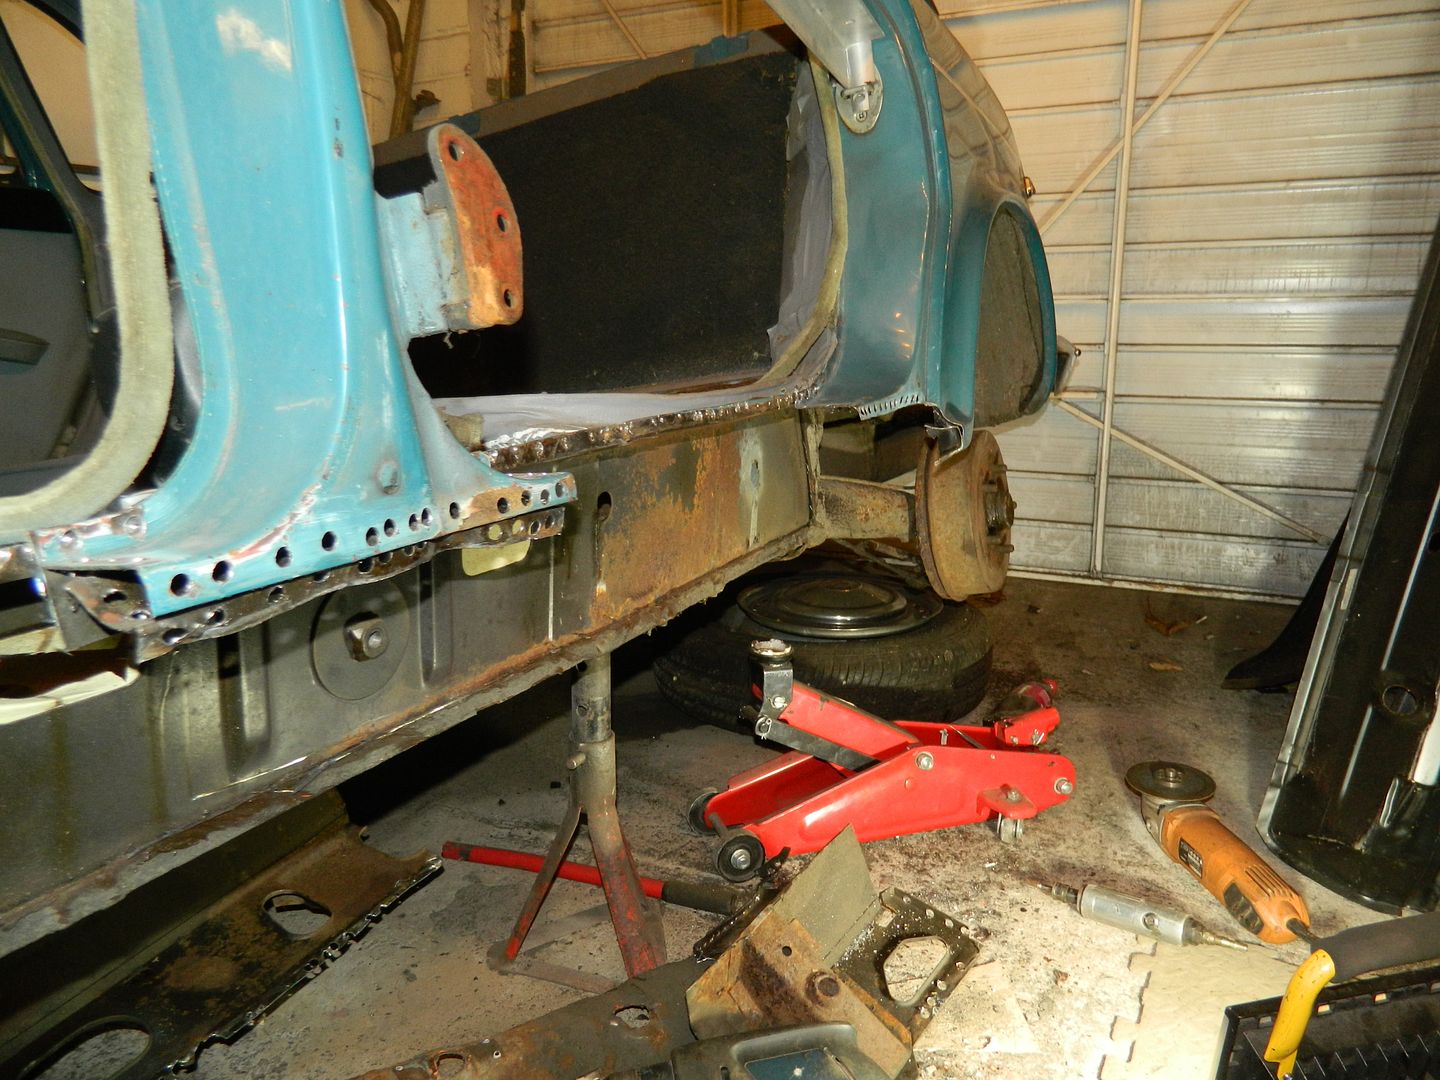 Just about everything is cleared out now. The inner sill is in excellent condition and just needs a wire brush over and a lick of paint. The bottom flange is variable. For the work involved, I think it's going to come off and be replaced. Oh, the remains dangling from the bottom of the "B" post finally gave in and came off about ten minutes after the picture was taken. So, new flange and the joy of making a right hand centre membrane into a left hand one to come. Chris. |
|
|
|
PFV729H
Dec 4, 2016 21:49:43 GMT
via mobile
Post by phil900i on Dec 4, 2016 21:49:43 GMT
Had I got two right hand centre membranes then? Great progress!
|
|
|
|
PFV729H
Dec 4, 2016 21:54:27 GMT
via mobile
Post by phil900i on Dec 4, 2016 21:54:27 GMT
It looks really complicated to the untrained eye, is this construction why the Landcrab was so strong?
I've started to strip the lights etc out of the replacement wings, should I paint rustproofing primer on the inside do you reckon? I know it will burn off a bit where the wings get welded on. Any recommendations? - I used Rustbeater on my Victor 101 and then Shultz.
|
|
|
|
Post by Penguin45 on Dec 5, 2016 21:24:25 GMT
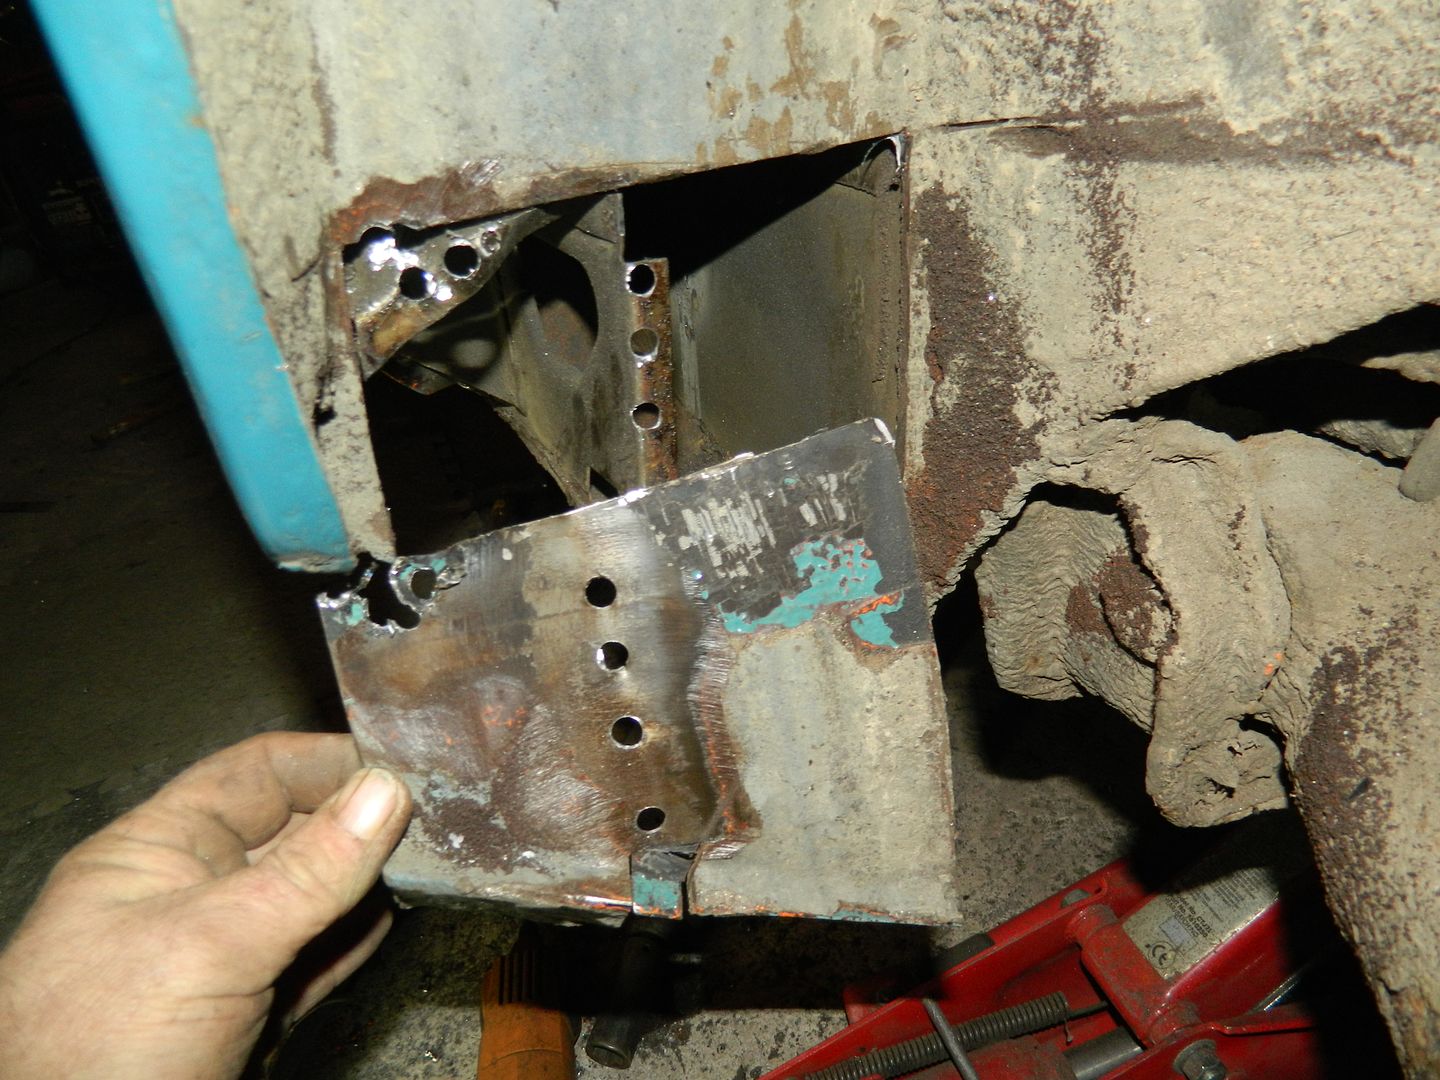
Yes, built like a battleship. The basic construction looks like trhis: 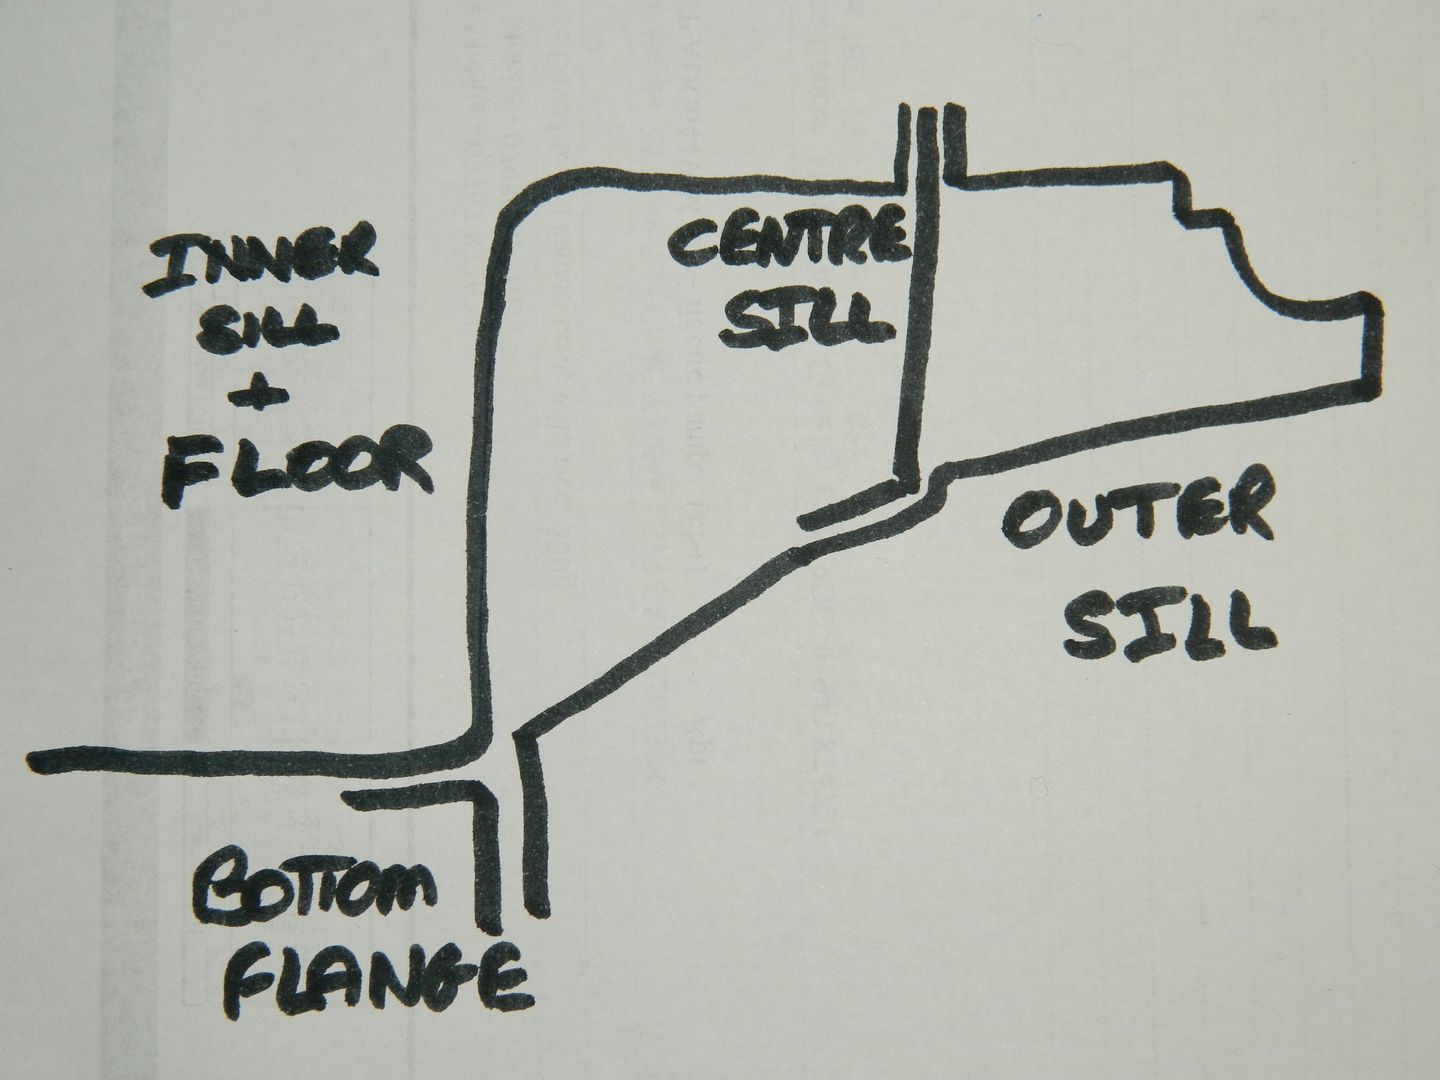 Excuse the quality of the sketch. So, floor and inner sill repaired to sort out the inboard section. Bottom flange fairly crucial, so replace that, then the centre and outer parts can go on. When you add the "tuck-unders" at the A, B and C posts being welded home it becomes immensely rigid. You can only get r/h centre sills, so.... 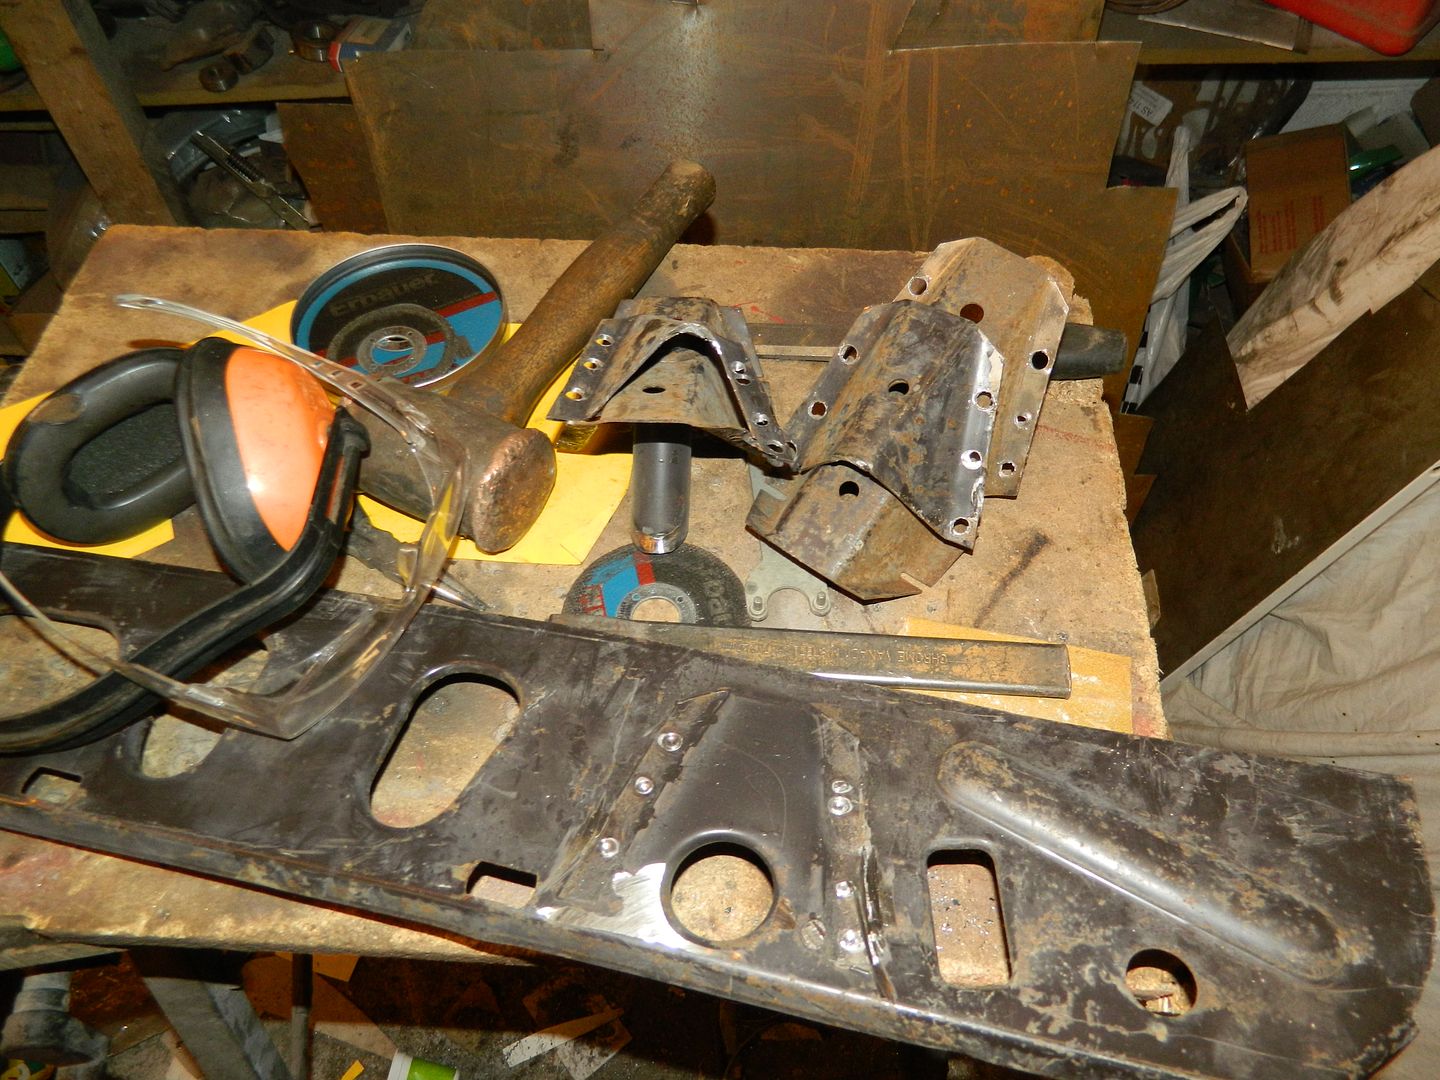 Jacking points drilled off. 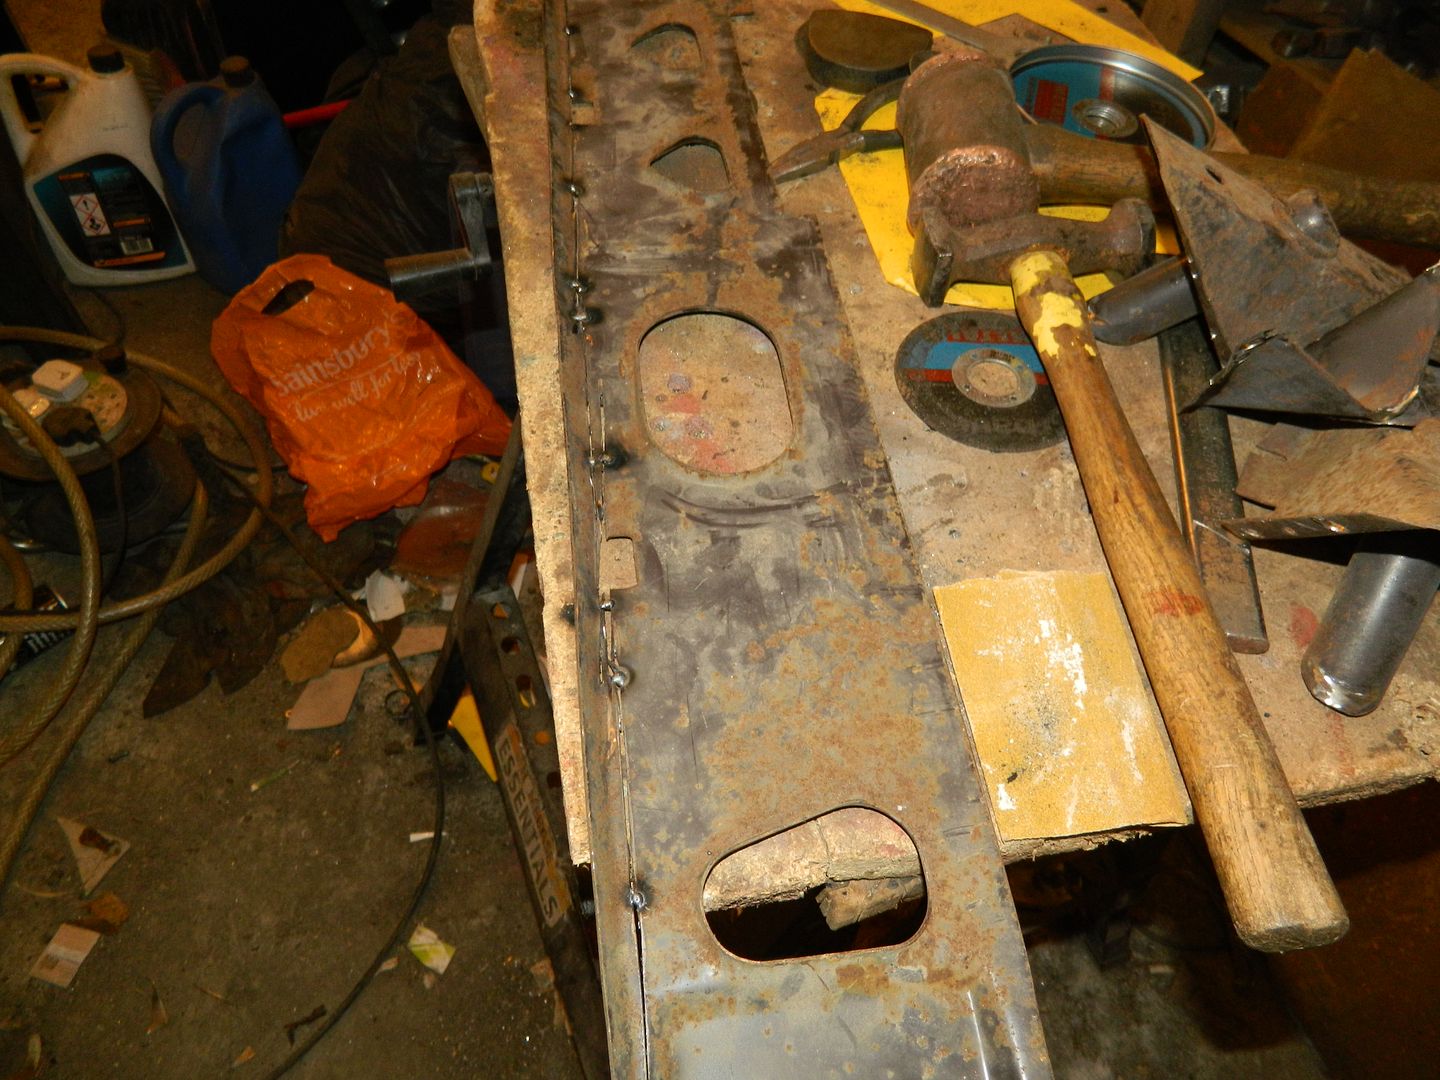 Bottom edge chopped off, reversed and tacked back on. Plenty of welding tomorrow. Yes, get some primer blown over the wings, even it just stops some flash rusting. Something with a high zinc content would be good - I like the U-Pol stuff. More tomorrow. Chris. |
|
|
|
Post by landcrabman on Dec 5, 2016 23:32:34 GMT
Deja vue chris but looking good not got much done on mine , just bits n bobs but every little helps .
|
|


 Made a proper start on the floor today.


