|
|
Post by Penguin45 on Dec 6, 2016 21:37:30 GMT
So long as it's creeping forward, Wayne. At least I'm in the garage - outside at this time of year is no fun. I've had better afternoons in the garage. Seven feet of butt welding completed without a single blow through. Dragged the sill out and offered the centre panel up to it. Didn't fit. Now paying proper attention, I realised that whilst I had cut off the bottom flange and welded it back on, I had failed to reverse it, so it was still pointing the wrong way. Thought the fit was a bit good. So, cut it all off and do it again properly. 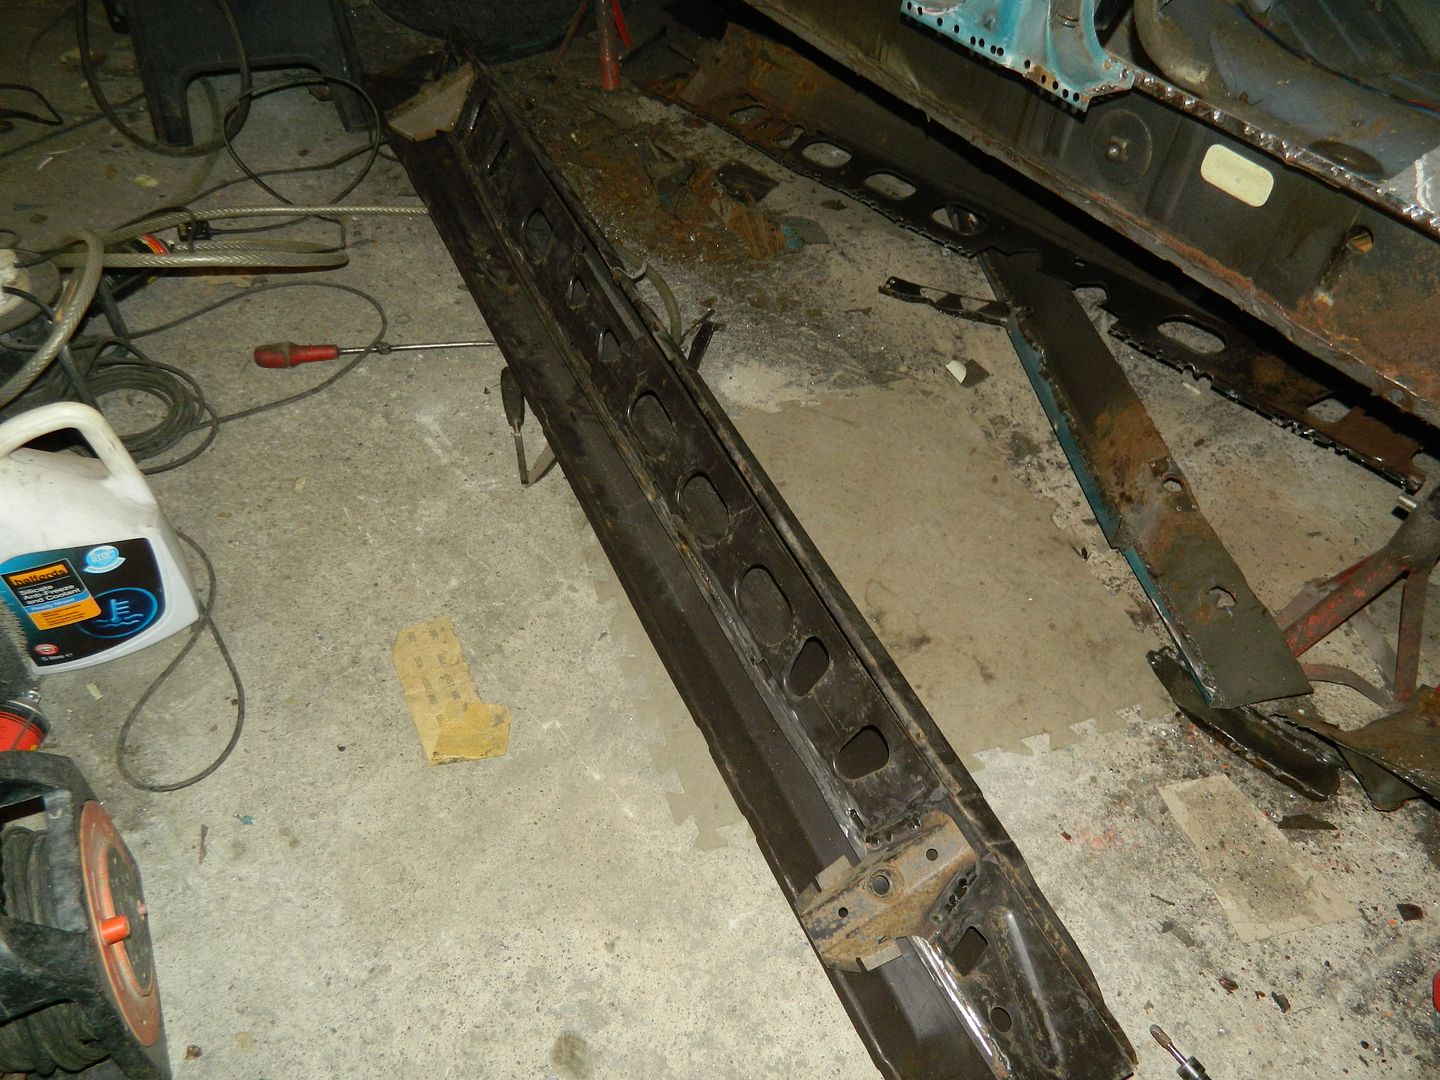 Pic shows the panel offered up in the outer sill - it fits! Yay! One jacking point refitted (the right way round). One more to do, then we can start some assembly. Chris. |
|
|
|
Post by Penguin45 on Dec 7, 2016 19:20:25 GMT
Hmm - we can start some reassembly when the bottom flange has been dealt with. That's now chopped off and the metal cleaned up. Couple of pinholes dealt with, loads of surface rust scrubbed off. Jacking point welded back to the centre section.
Tomorrow I'll fold up a new section of flange nad start getting it welded on. Gas bottle reading quite low, so will go as far I can. Trip to gas supplier on Friday, I suspect.
Chris.
|
|
|
|
Post by Penguin45 on Dec 8, 2016 19:29:52 GMT
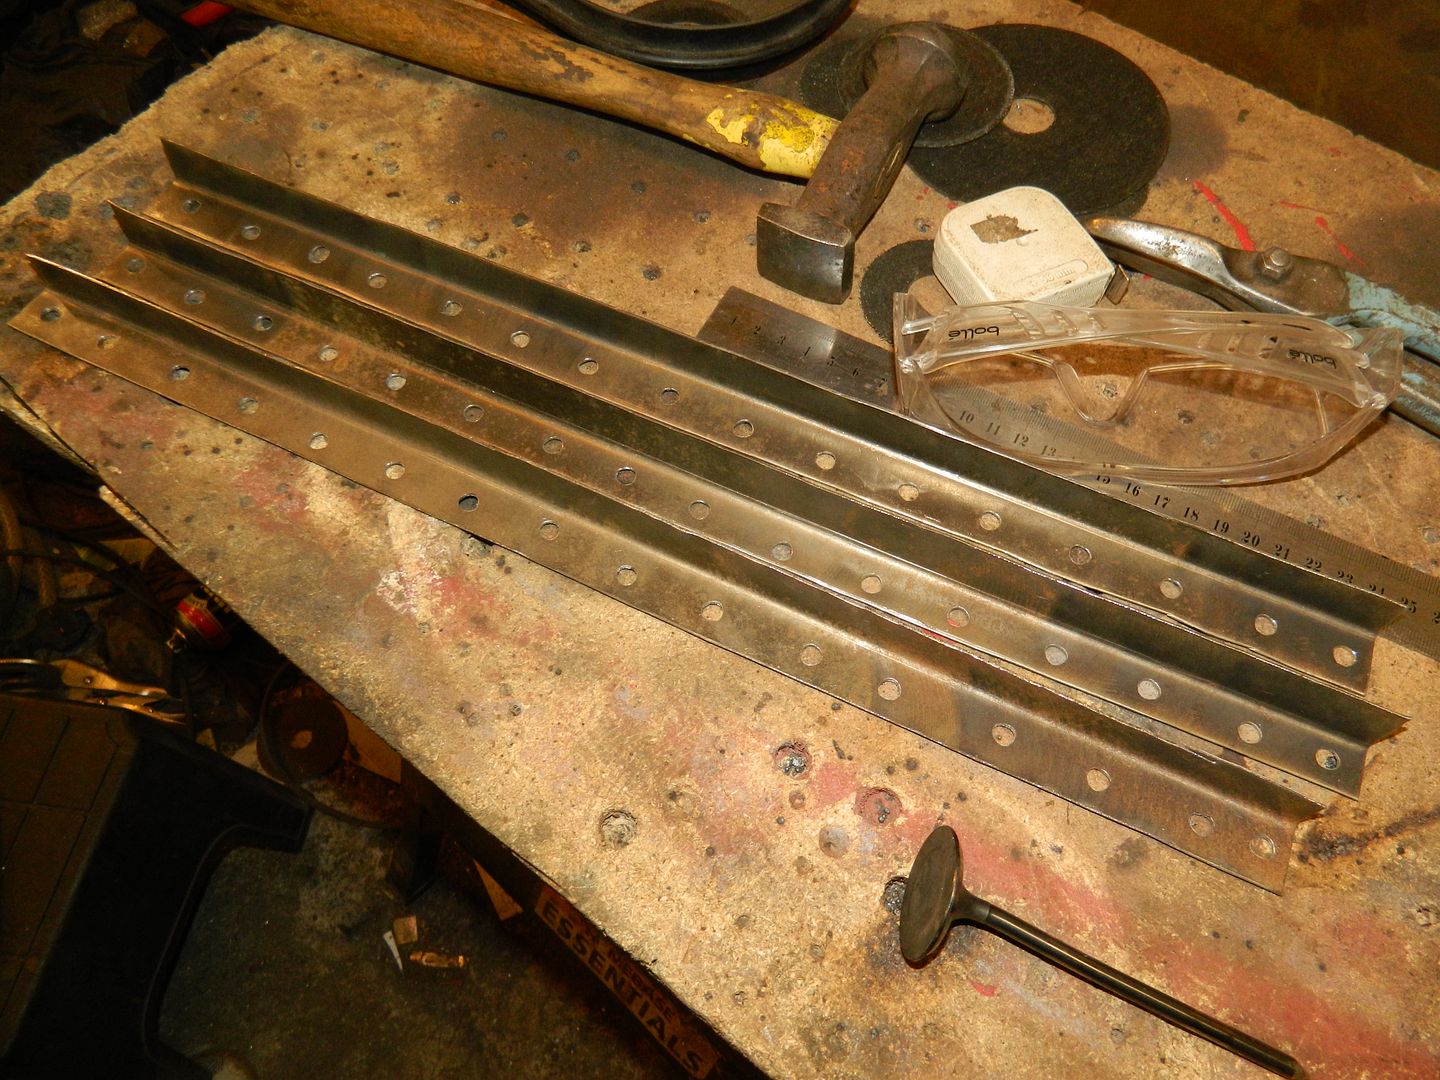 Flange sections made up. 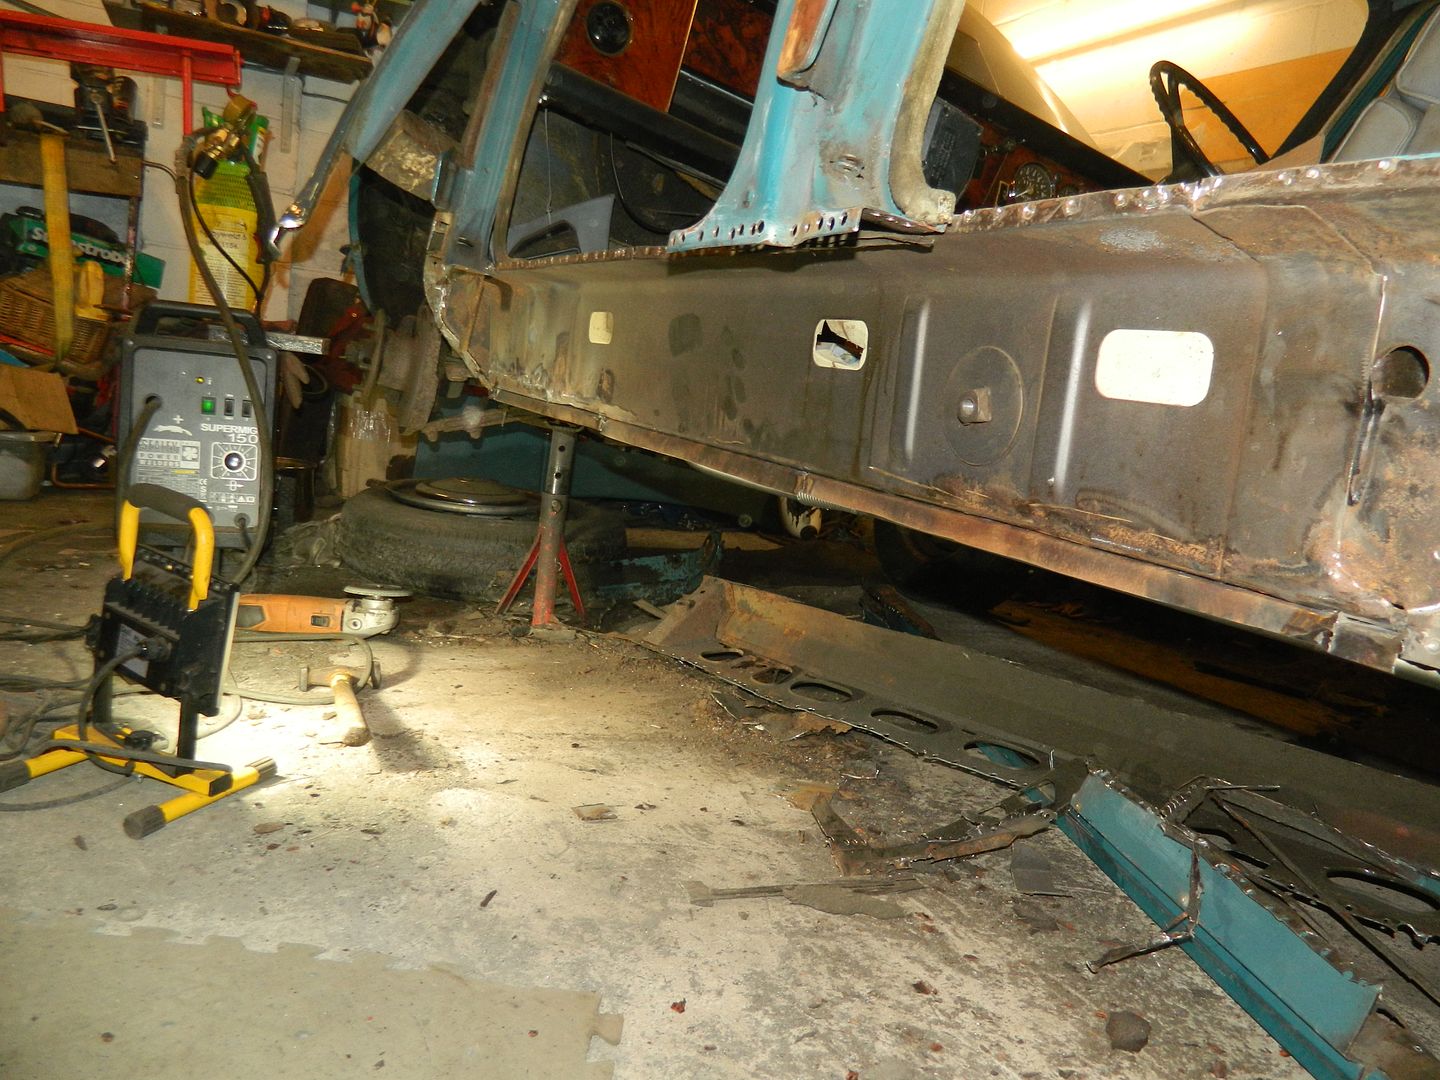 And welded home. Further to the centre membrane flange fiasco, I told my mate Mick (The Mustang). When he finished laughing he pointed out that he had access to an 8' folder at work. Off out to flat some plug welds. Chris. |
|
|
|
Post by Penguin45 on Dec 9, 2016 20:41:54 GMT
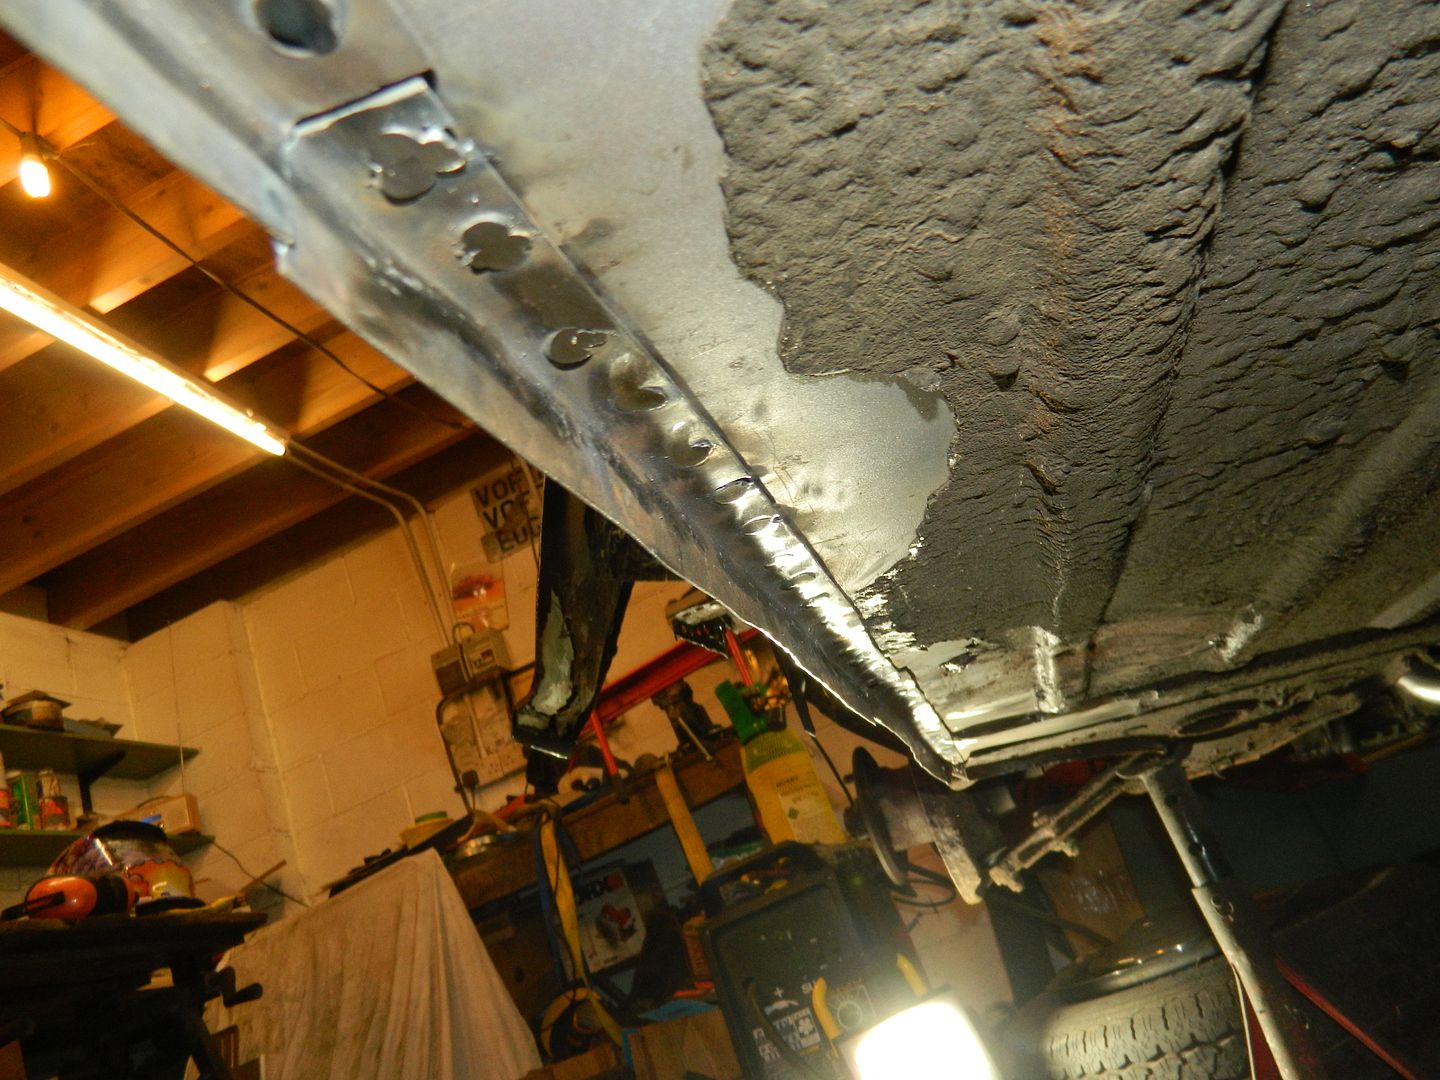 Plug welds flatted back underneath. 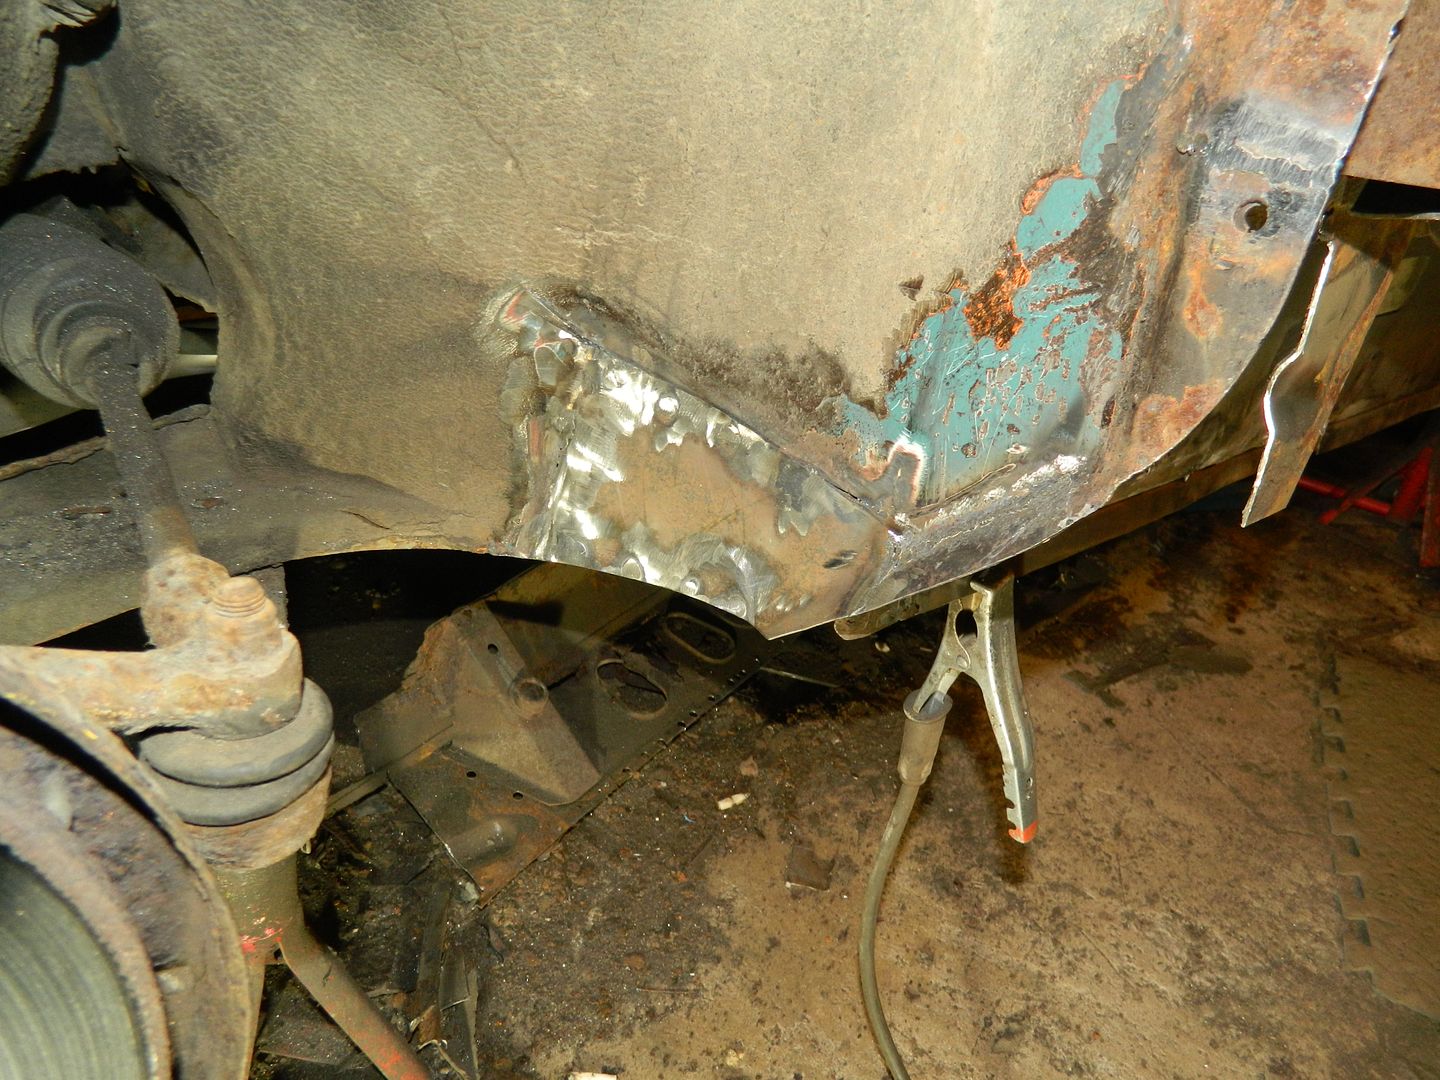 Wheel tub repair repaired. Bit of a cow working out how many previous repairs there had been. Got it all out eventually. Front lower flange for the sill to weld to replaced as well. Princess welding day tomorrow, so Sunday might see the new sill on. Chris. |
|
|
|
Post by Penguin45 on Dec 11, 2016 12:32:24 GMT
I still don't know what it does, but I managed to untangle it from the wreckage and stick it back on. 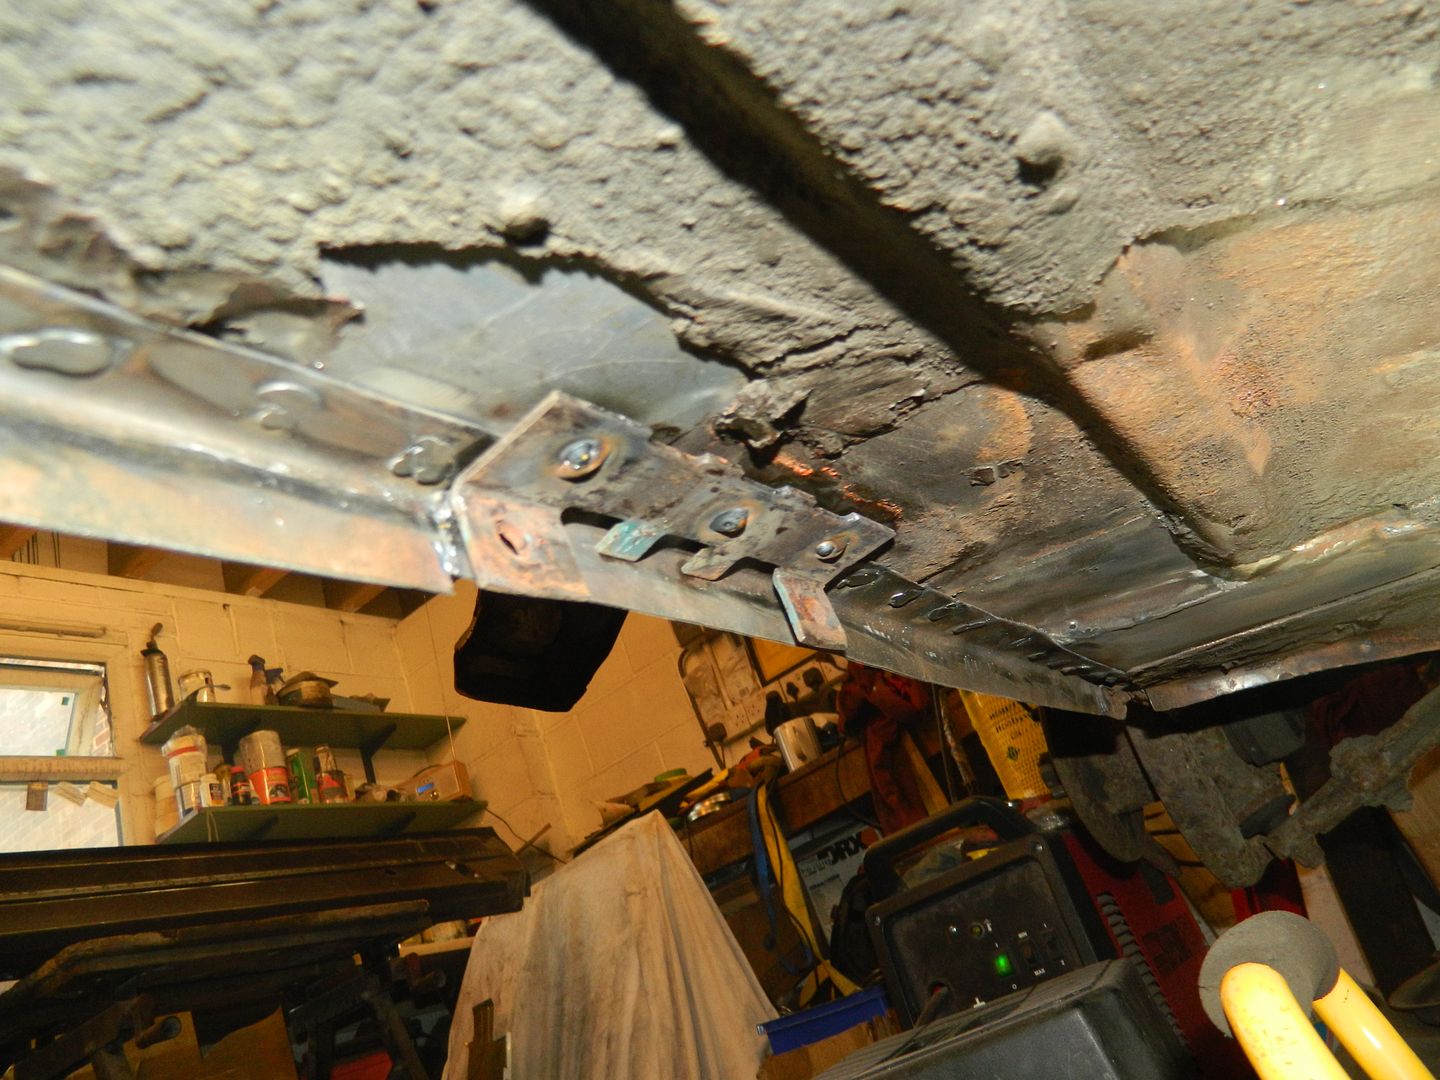 MIG really stands for Magic Instant Glue. Should have the sill on by this evening. Chris. |
|
|
|
Post by snoopy11 on Dec 11, 2016 16:20:17 GMT
I still don't know what it does, but I managed to untangle it from the wreckage and stick it back on. It's the waddyacallit. It's an integeral part if the thingamabob |
|
|
|
Post by Penguin45 on Dec 11, 2016 18:20:07 GMT
It's the waddyacallit. It's an integeral part if the thingamabob Ah - you mean a wosser. I have managed to get the sill correctly offered into place. It's been a complete and total cow. 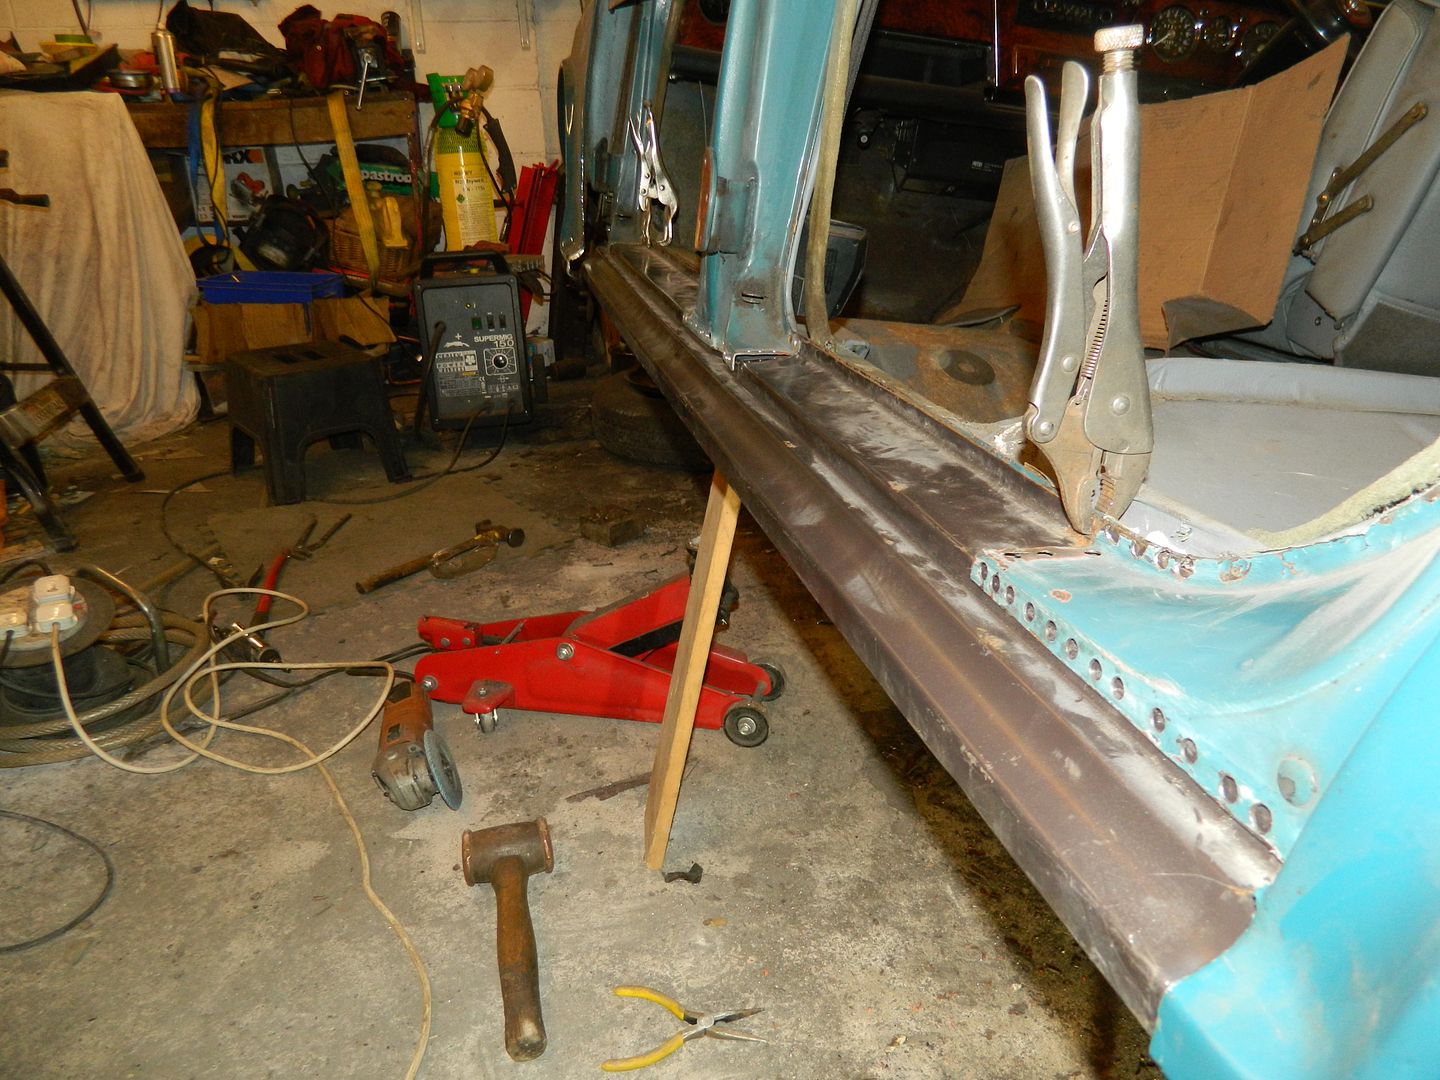 Key alignment is to the top of the inner sill and into the A, B and C post bottoms, which I have managed to do and you can see the clamps holding it in the correct place. Once you've got that, you need to get the alignment of the top outer edge under the post. 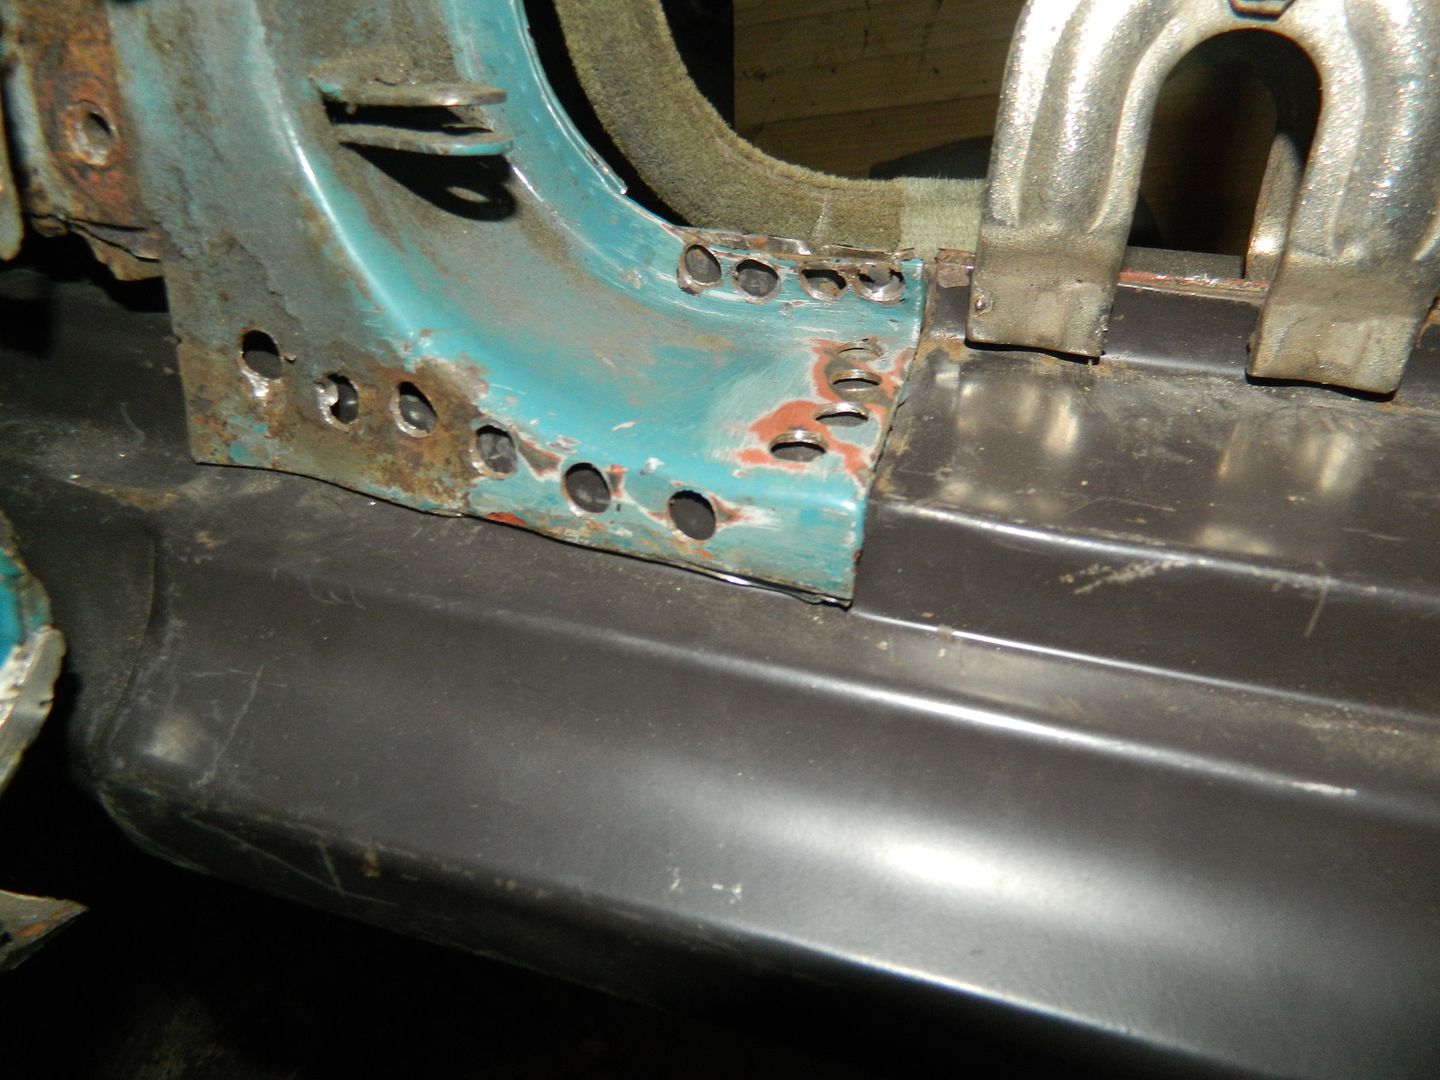 A post. This is excellent. Virtually no gap at the bottom and the plug welding holes align almost fully with the sill. 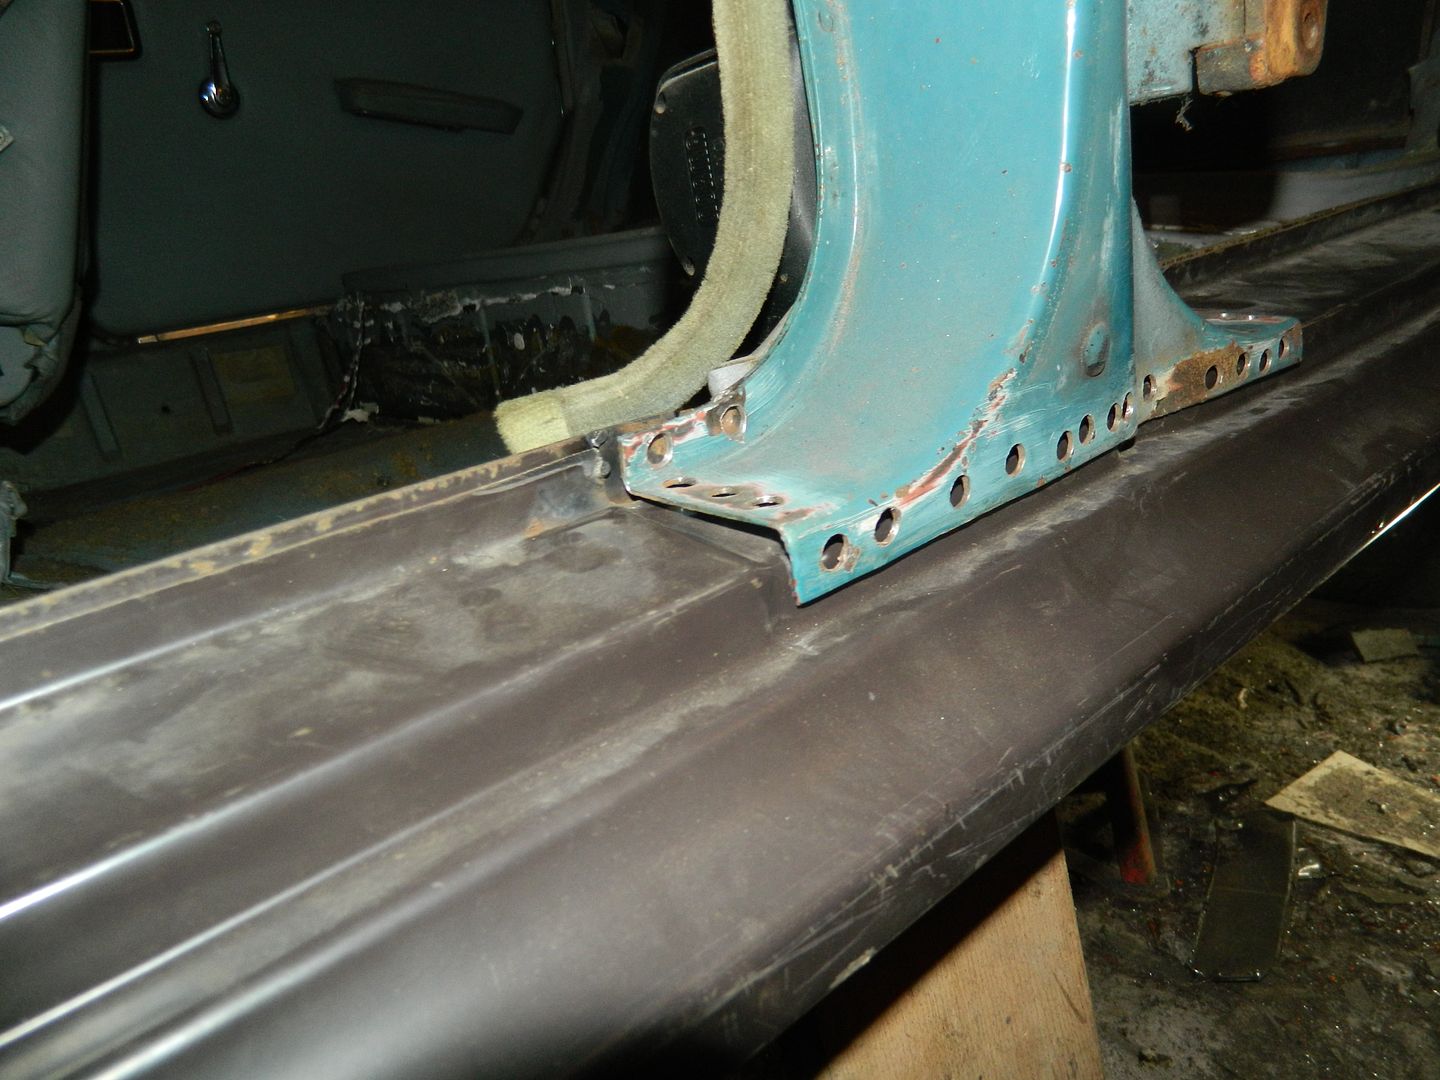 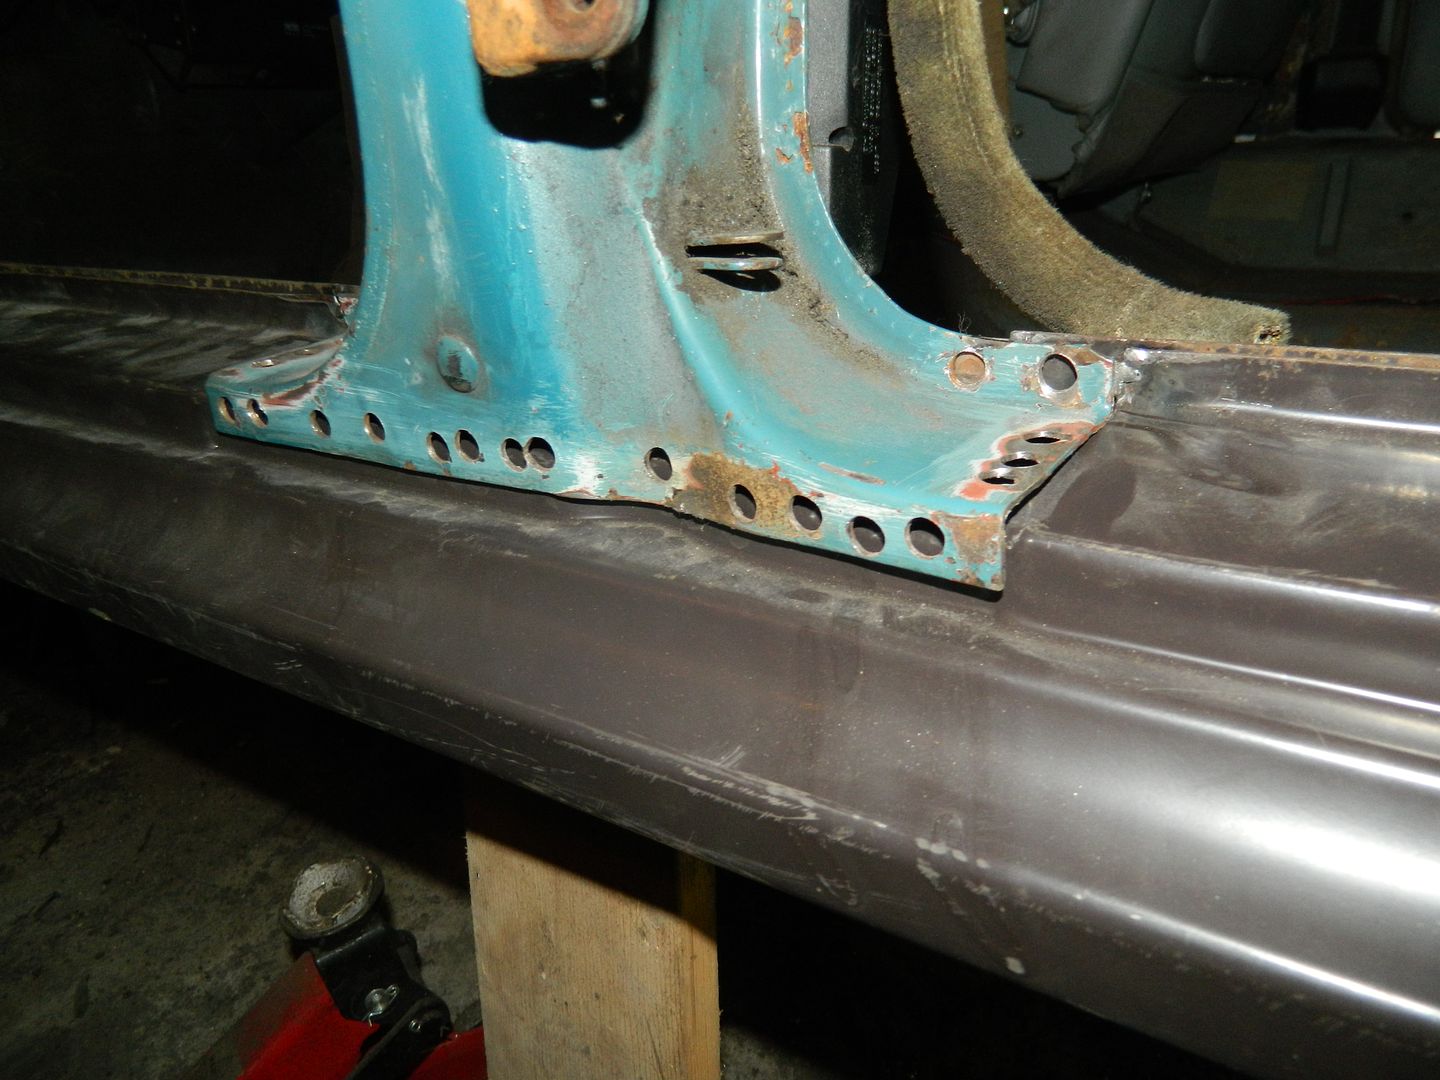 B post. Gap opened up along the outer edge. 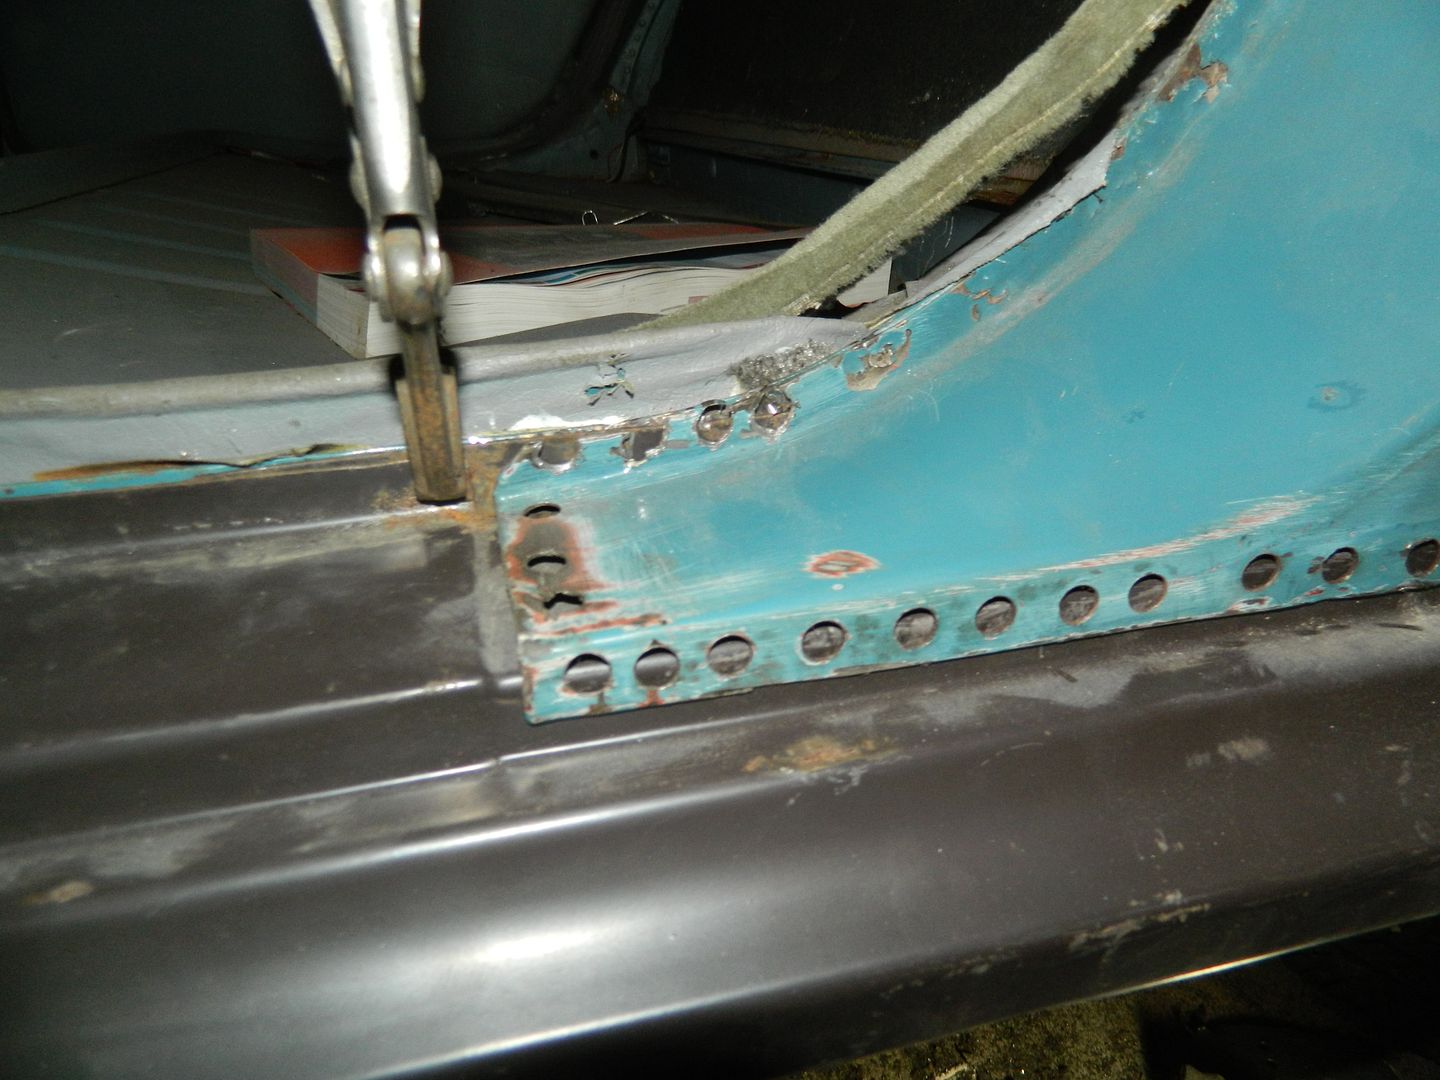 C post. Same problem. This means that there is a slight twist along the top of the panel. Damn nuisance. The plan at this point was to get a few tack welds done along the top edge and then get drilling for the plug welding. Still, I have a plan, which I will implement after dinner. Chris. |
|
|
|
Post by phil900i on Dec 11, 2016 20:25:23 GMT
Its great watching the progress like this. I've got the lights/ mirrors off the wings, waiting for Upol delivery so I can start cleaning them up and priming them inside next weekend. They seem really solid, the guy who took them off his car left a bit of inner wing attached on the top edge - shall I leave it on or have a go at getting it off? I know it needs to come off. Looks like it's spot welded.
|
|
|
|
Post by Penguin45 on Dec 12, 2016 19:50:15 GMT
Glad the wings are looking good. If it's just a naarrow strip remaining, leave it and I'll sort it. 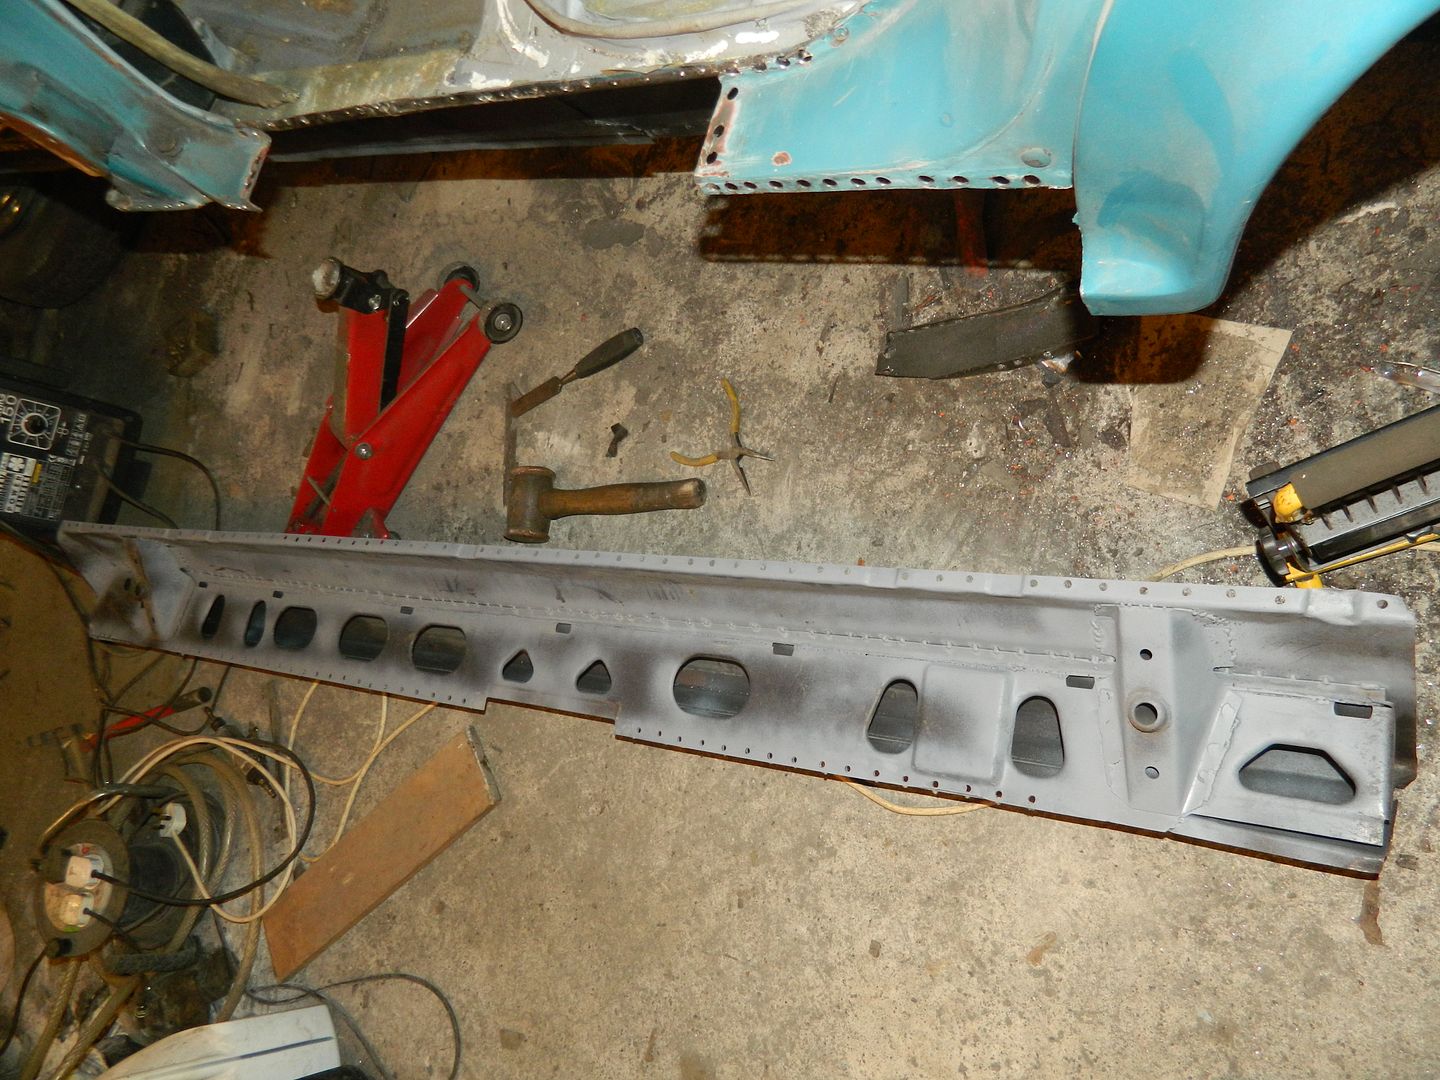 104 holes drilled, deburred followed by a lick of etch primer. 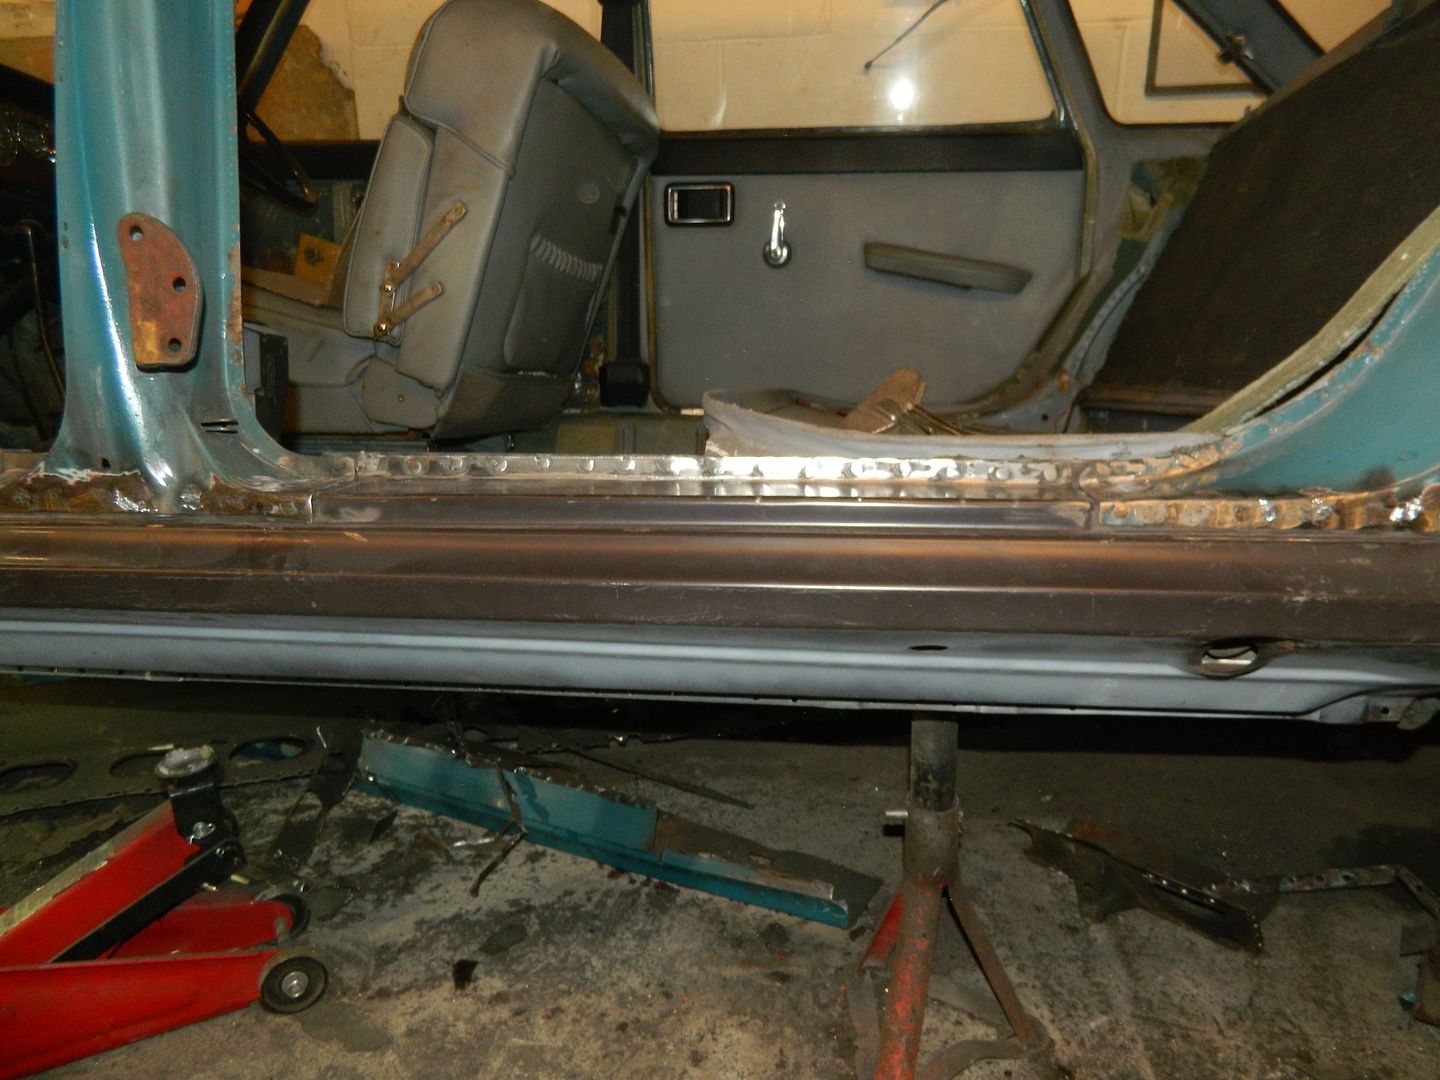 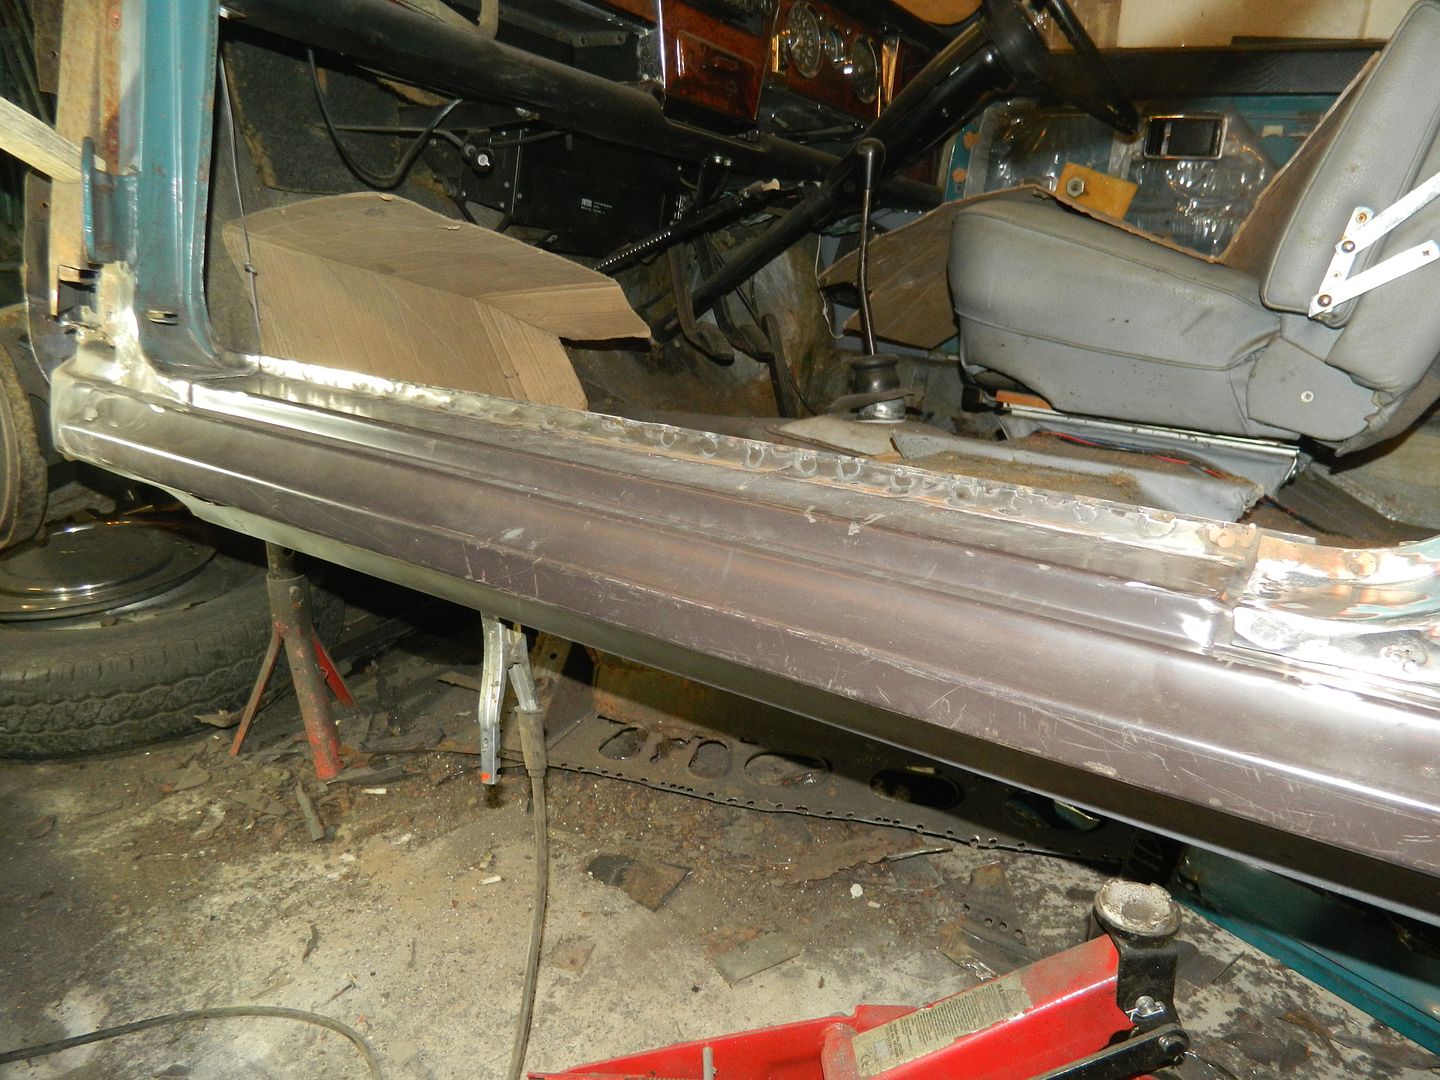 Top side of sill now welded home fully. It's had a quick wipe over with the flap wheel and I don't think it's going to fall off. 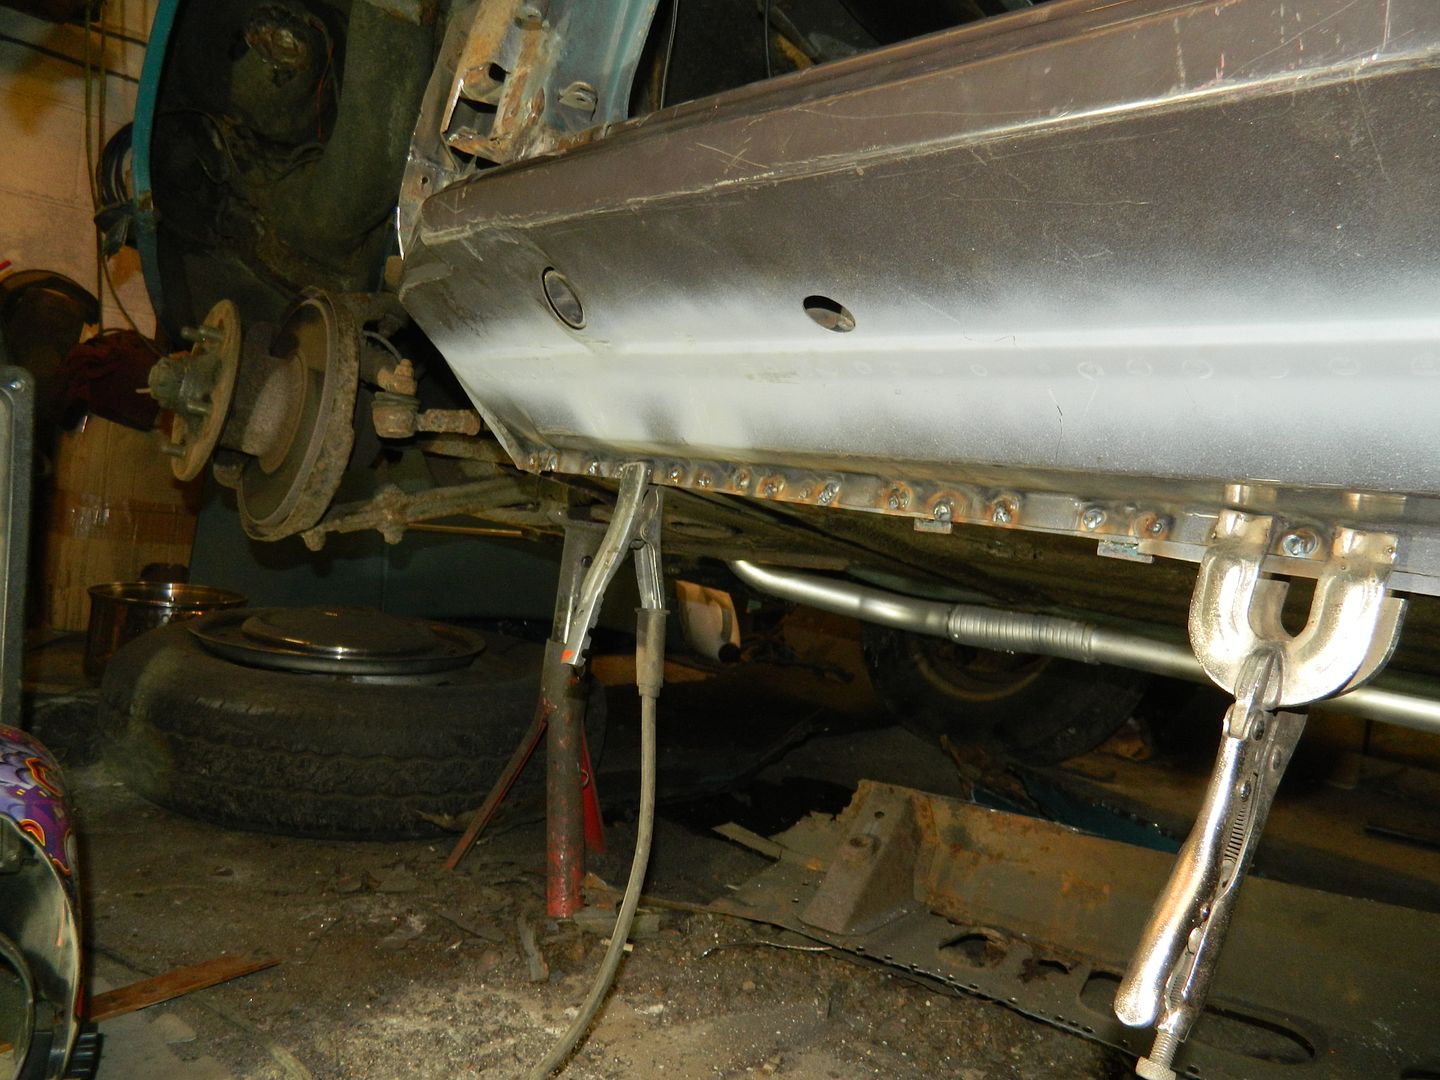 Got started along the bottom - another five feet to go. Chris. |
|
|
|
Post by Penguin45 on Dec 13, 2016 0:22:58 GMT
It's on. Did the other 5' after dinner as I wanted it to be complete today. Looks good and solid; bottom edge needs flatting back. It does show where the time goes - preparation. Actually welding it on properly (142 plug welds) has taken 6 hours.
Chris.
|
|
|
|
Post by peppib on Dec 13, 2016 8:09:21 GMT
Fantastic work as usual Chris.
It's a wonder you aren't welding in your sleep by now!
Dave
|
|
|
|
PFV729H
Dec 13, 2016 15:54:21 GMT
via mobile
Post by phil900i on Dec 13, 2016 15:54:21 GMT
Brilliant!
|
|
|
|
Post by Penguin45 on Dec 13, 2016 19:07:03 GMT
Cheers guys. 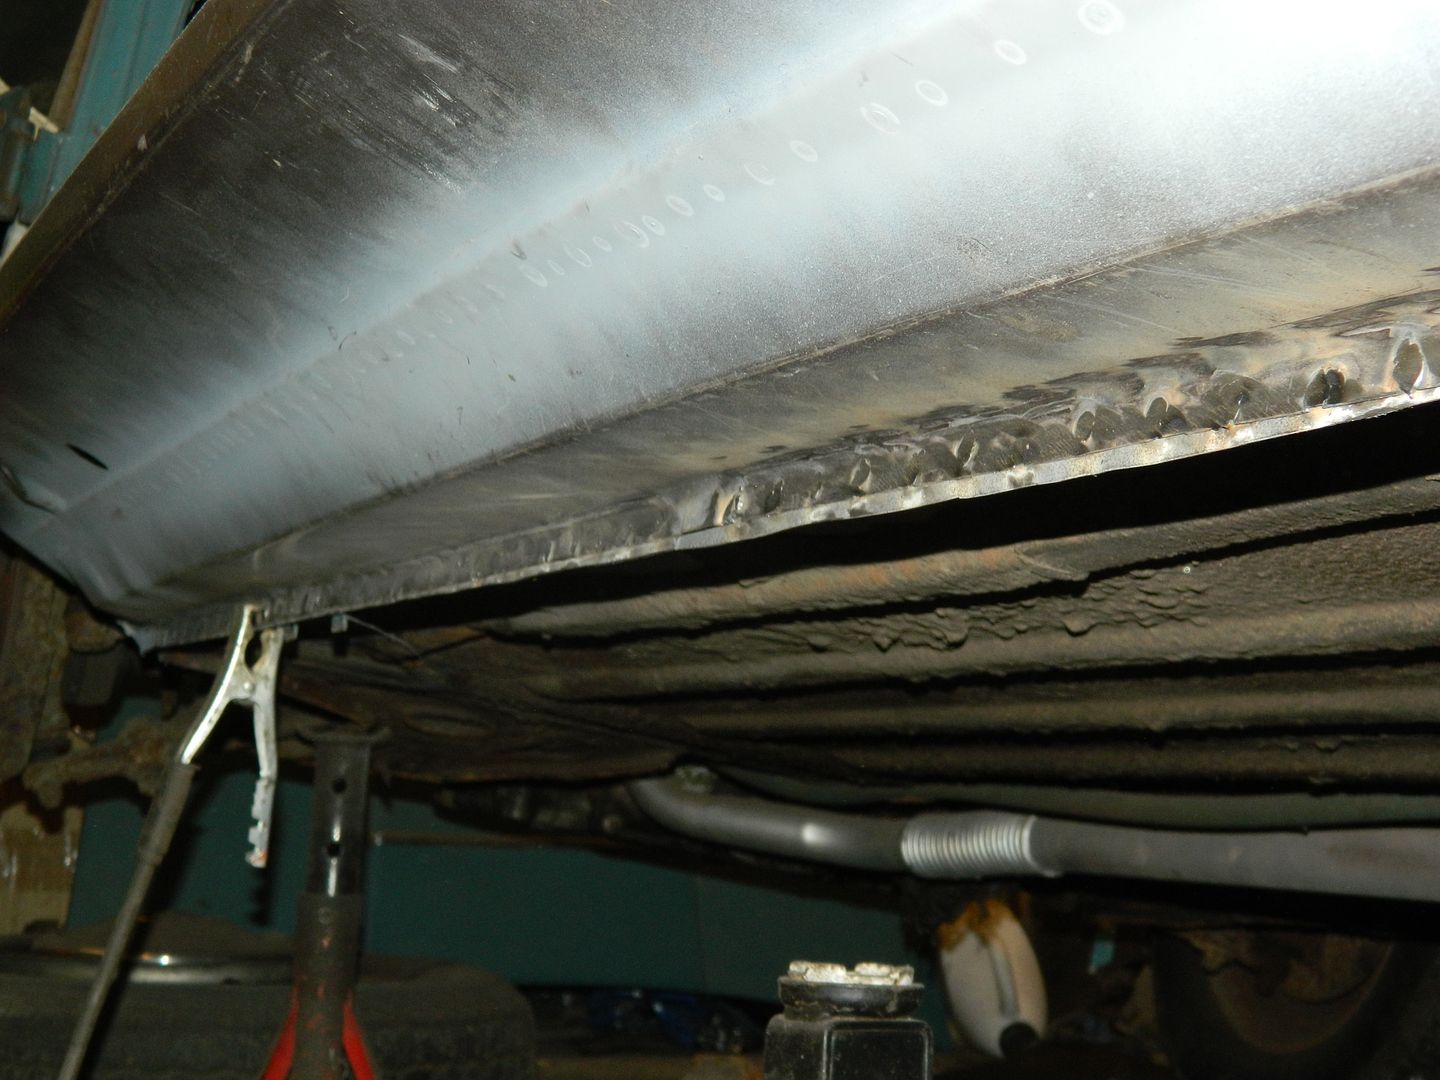 All tidied up along the bottom flange. 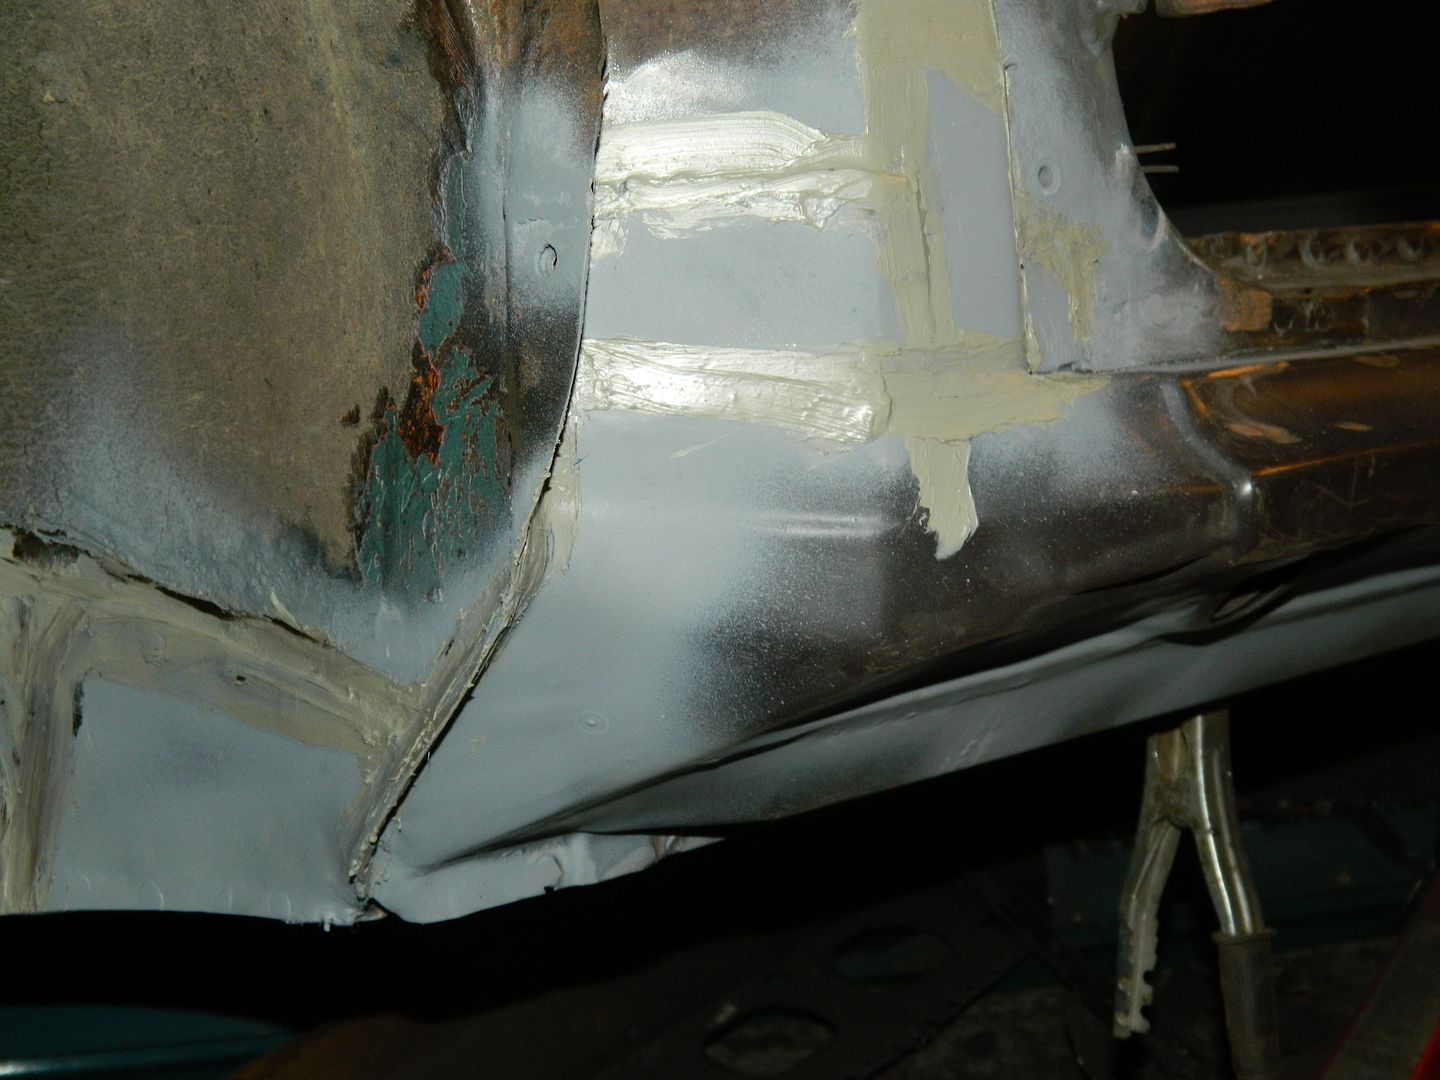 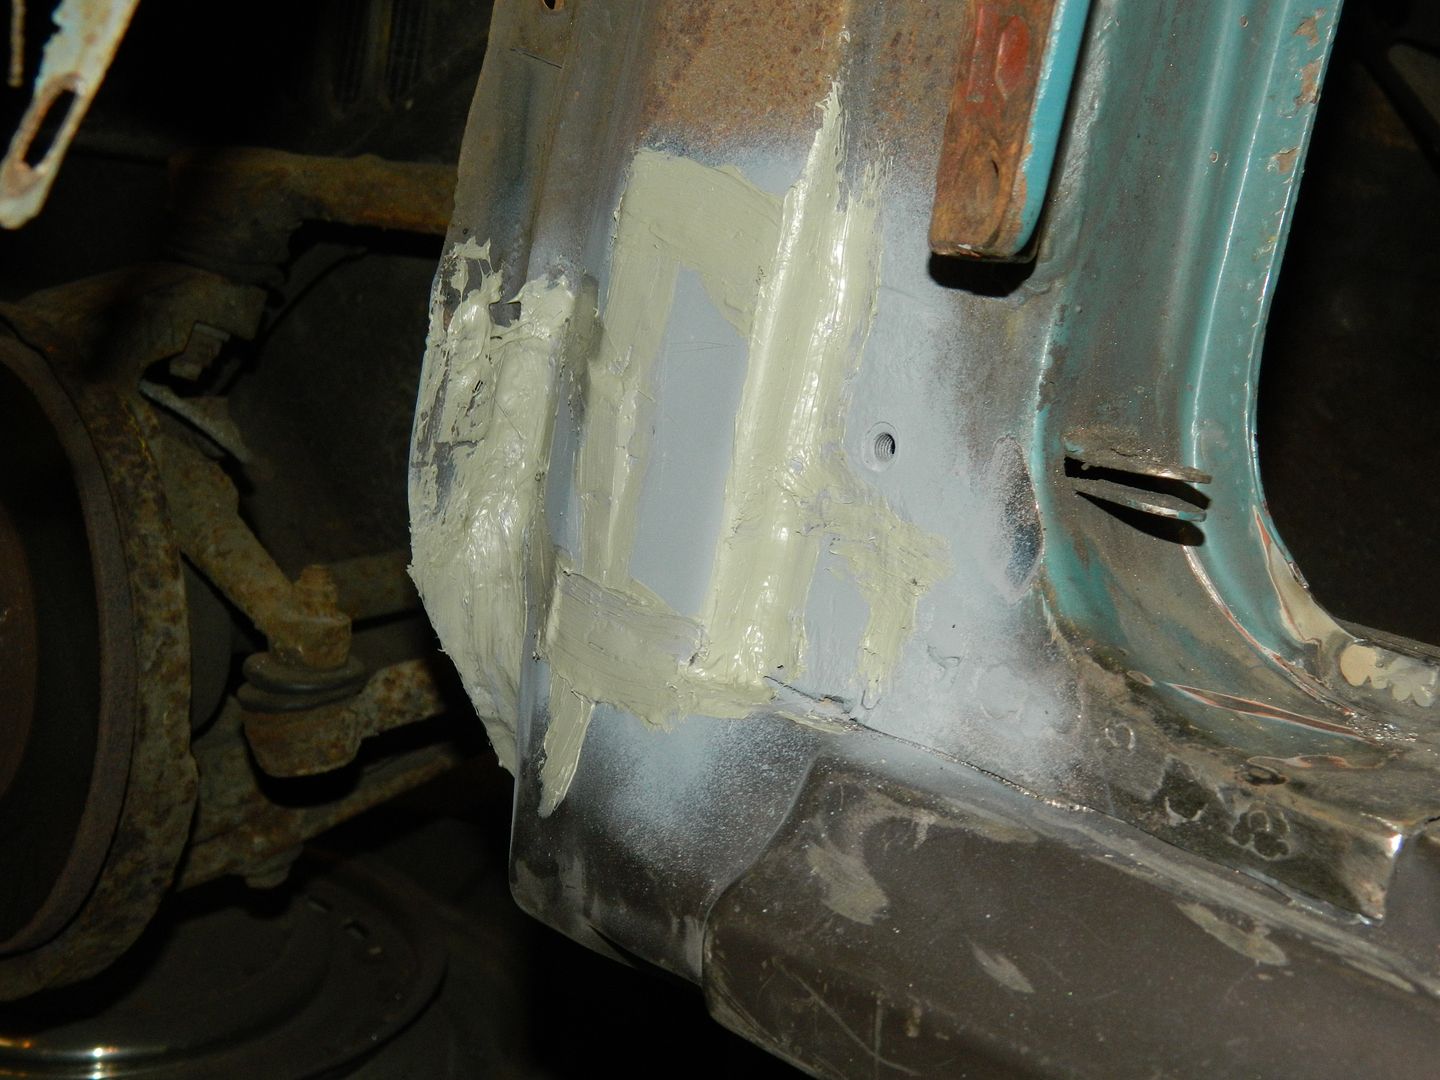 "A" post all back together. Bit of etch primer and seam sealer worked into all exposed joins. Closing panel in end of the sill and this side is done. Chris. |
|
|
|
Post by Penguin45 on Dec 13, 2016 21:13:40 GMT
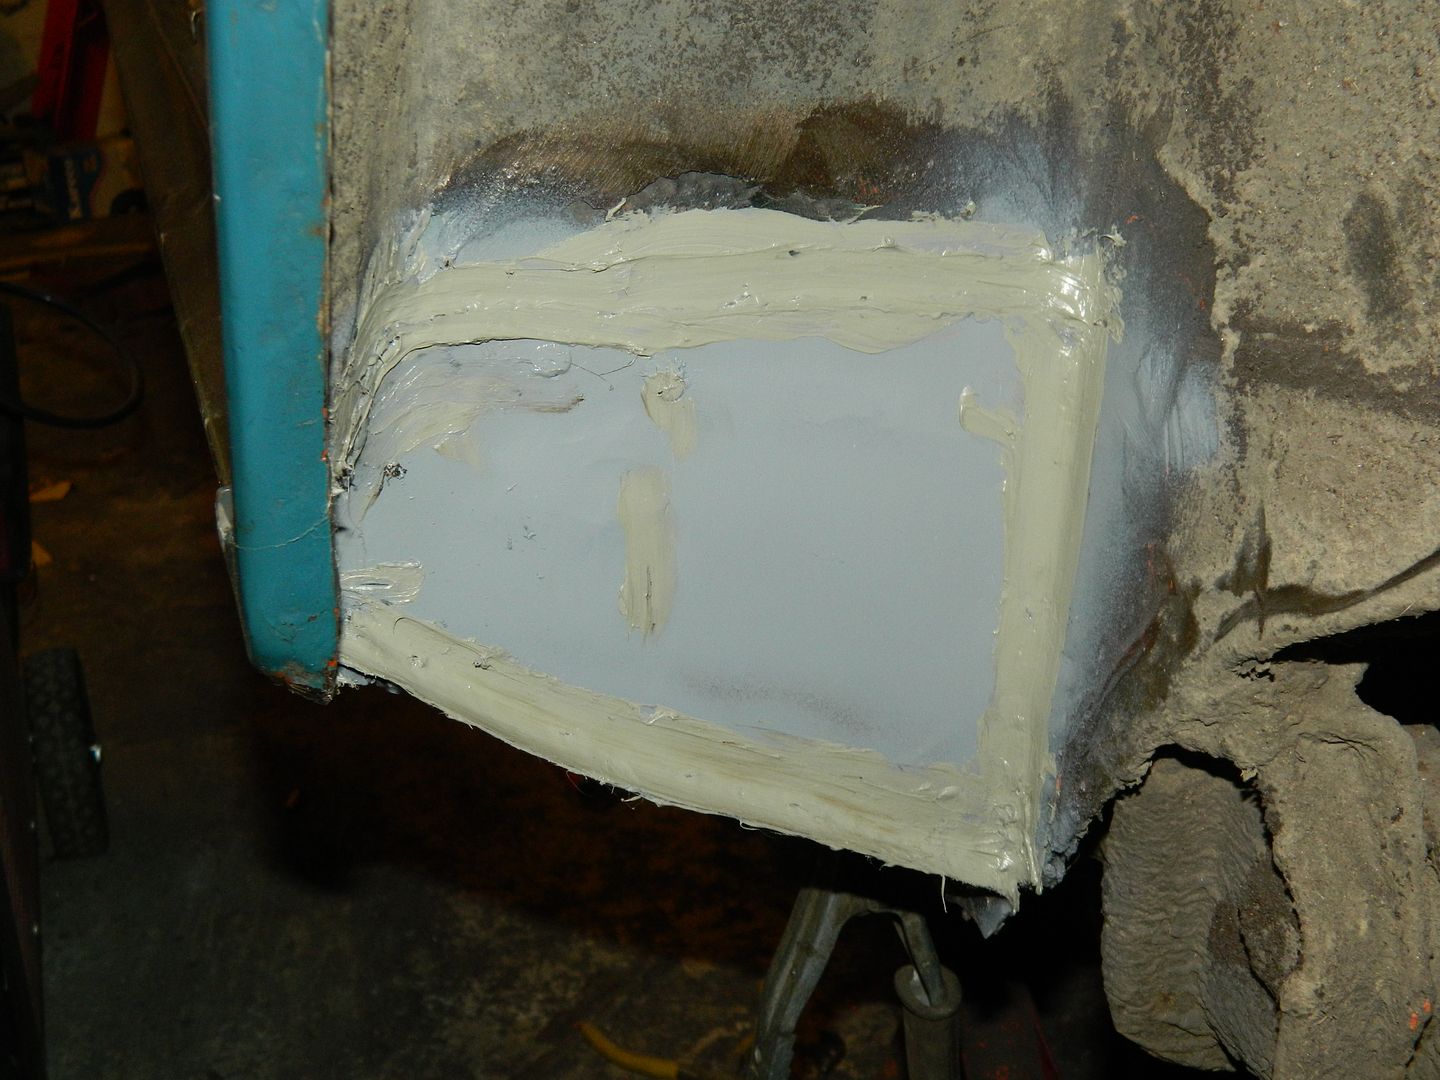 Closing panel in. Construction on this side finished. Bit of tidying up and paint and I can turn her round. Chris. |
|
|
|
Post by Penguin45 on Dec 15, 2016 0:22:17 GMT
So.... After the etch, you do the primer. After the orimer, you do some VTP as a top coat. I've done a few wipes of filler as well over the plug welds which would be visible. It just looks a bit better. 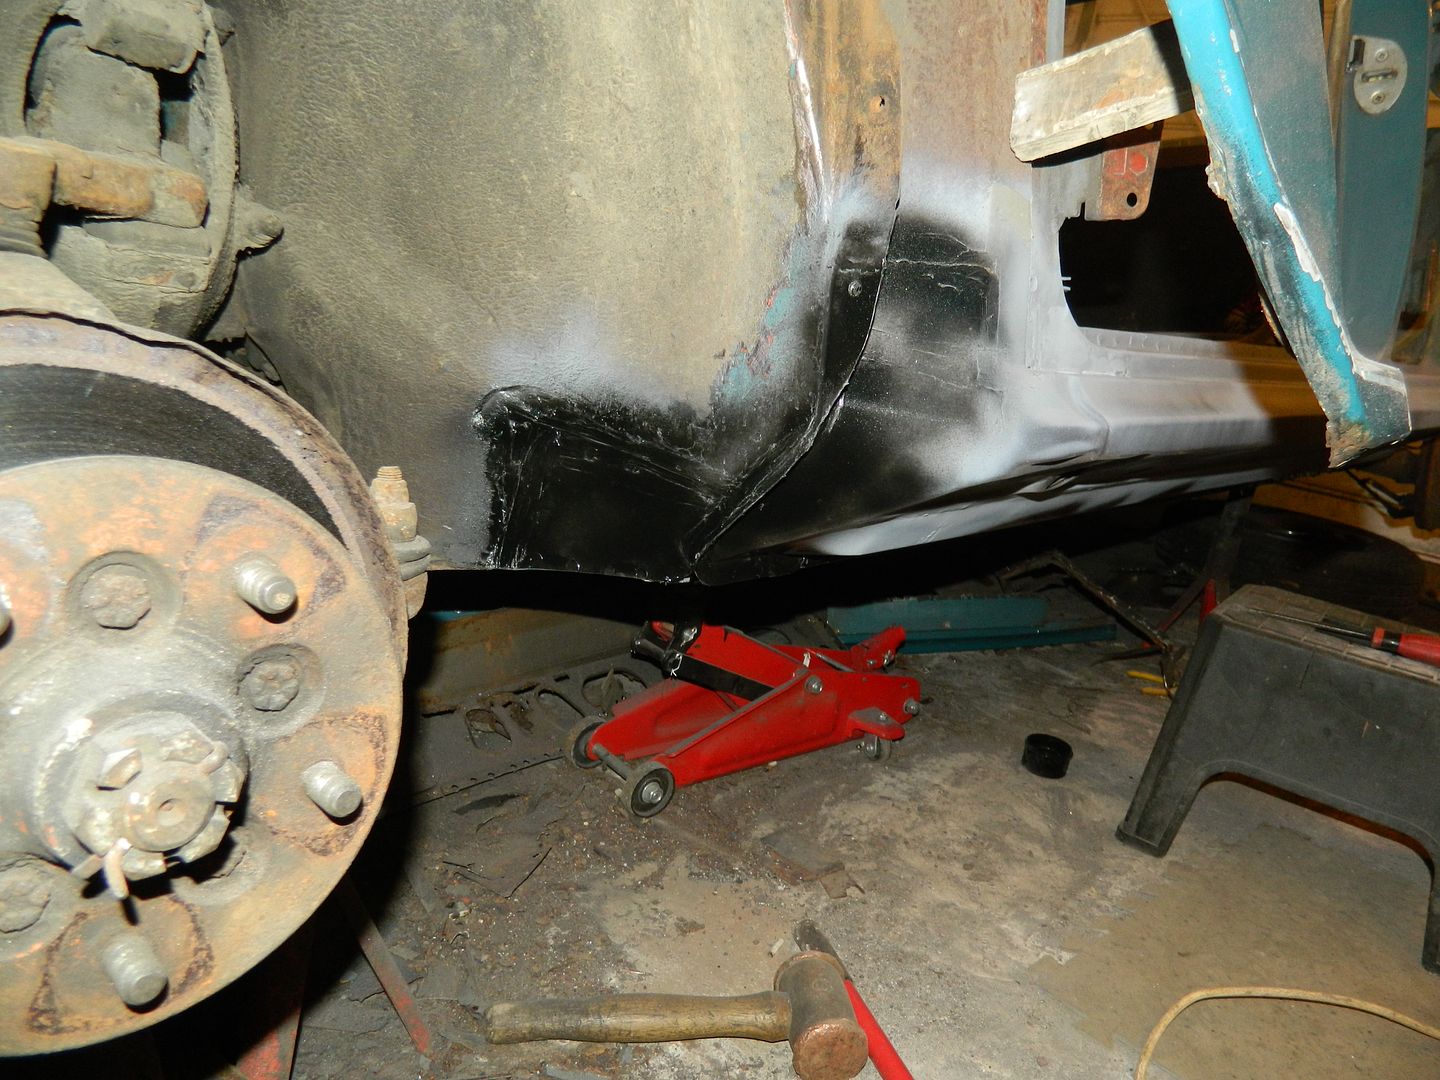 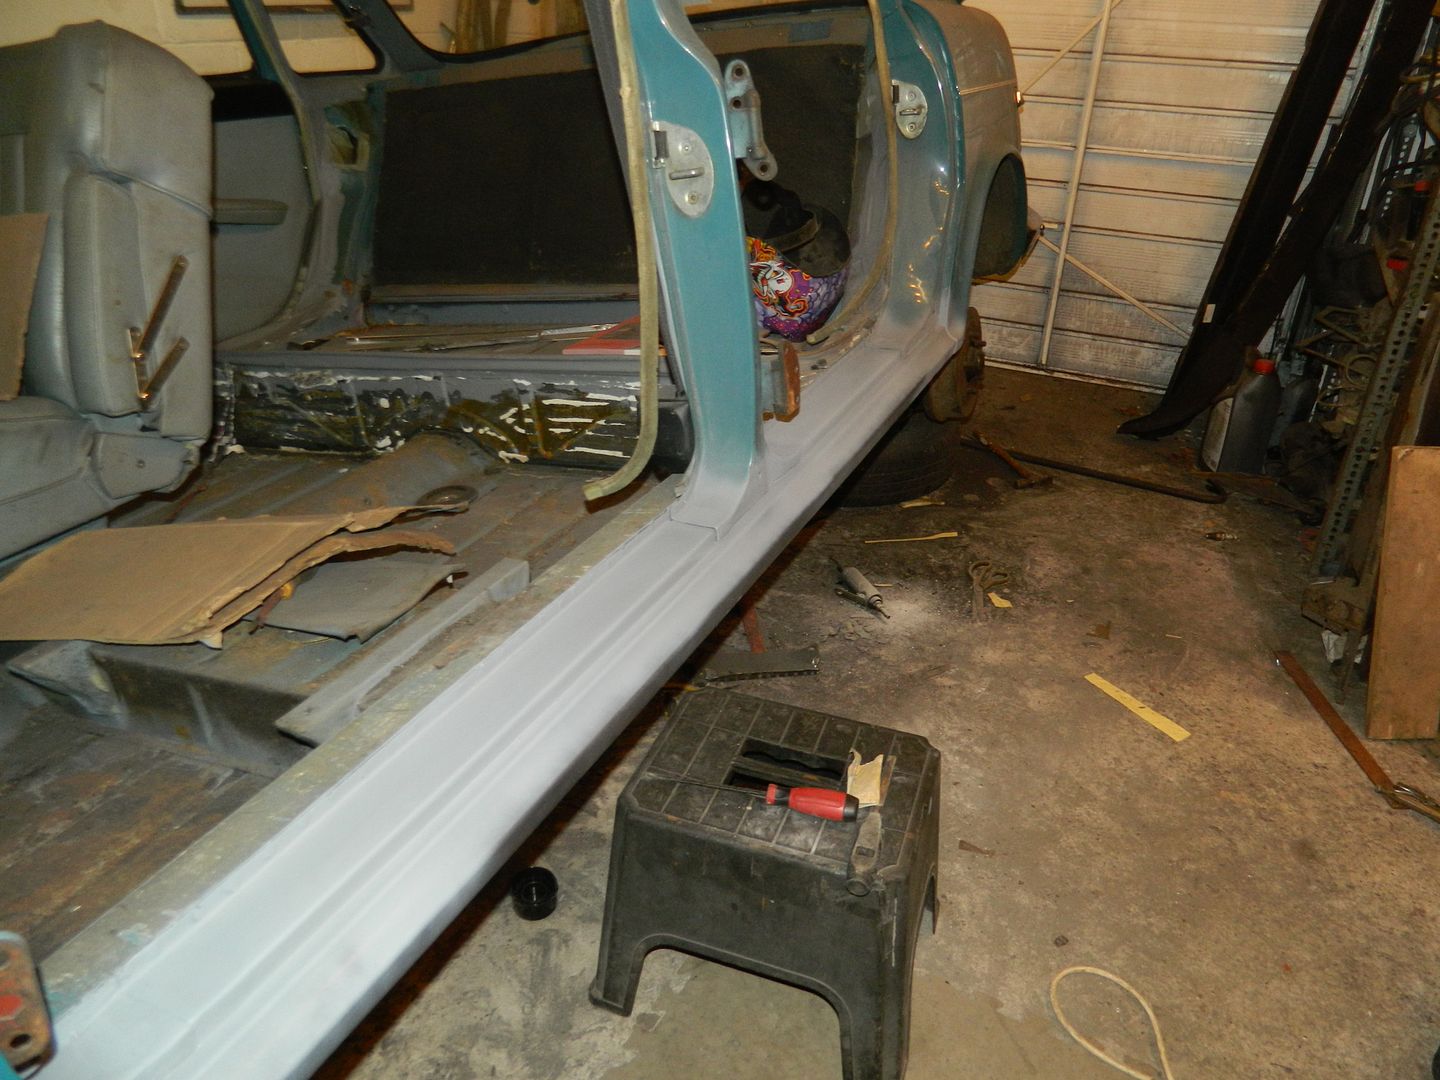 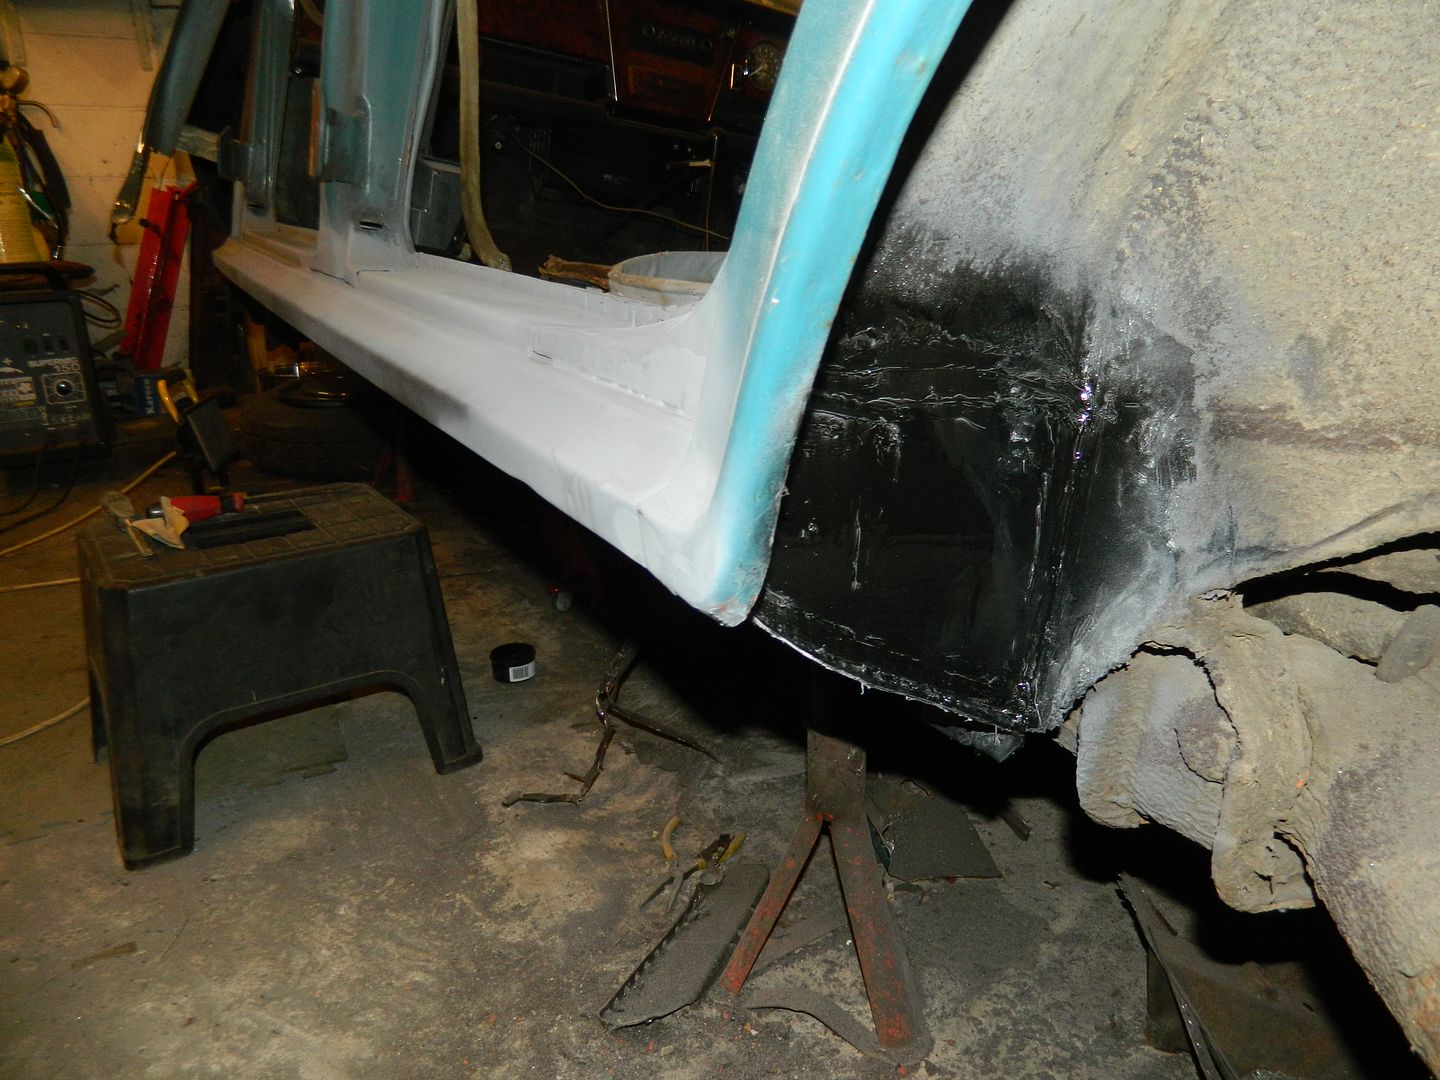 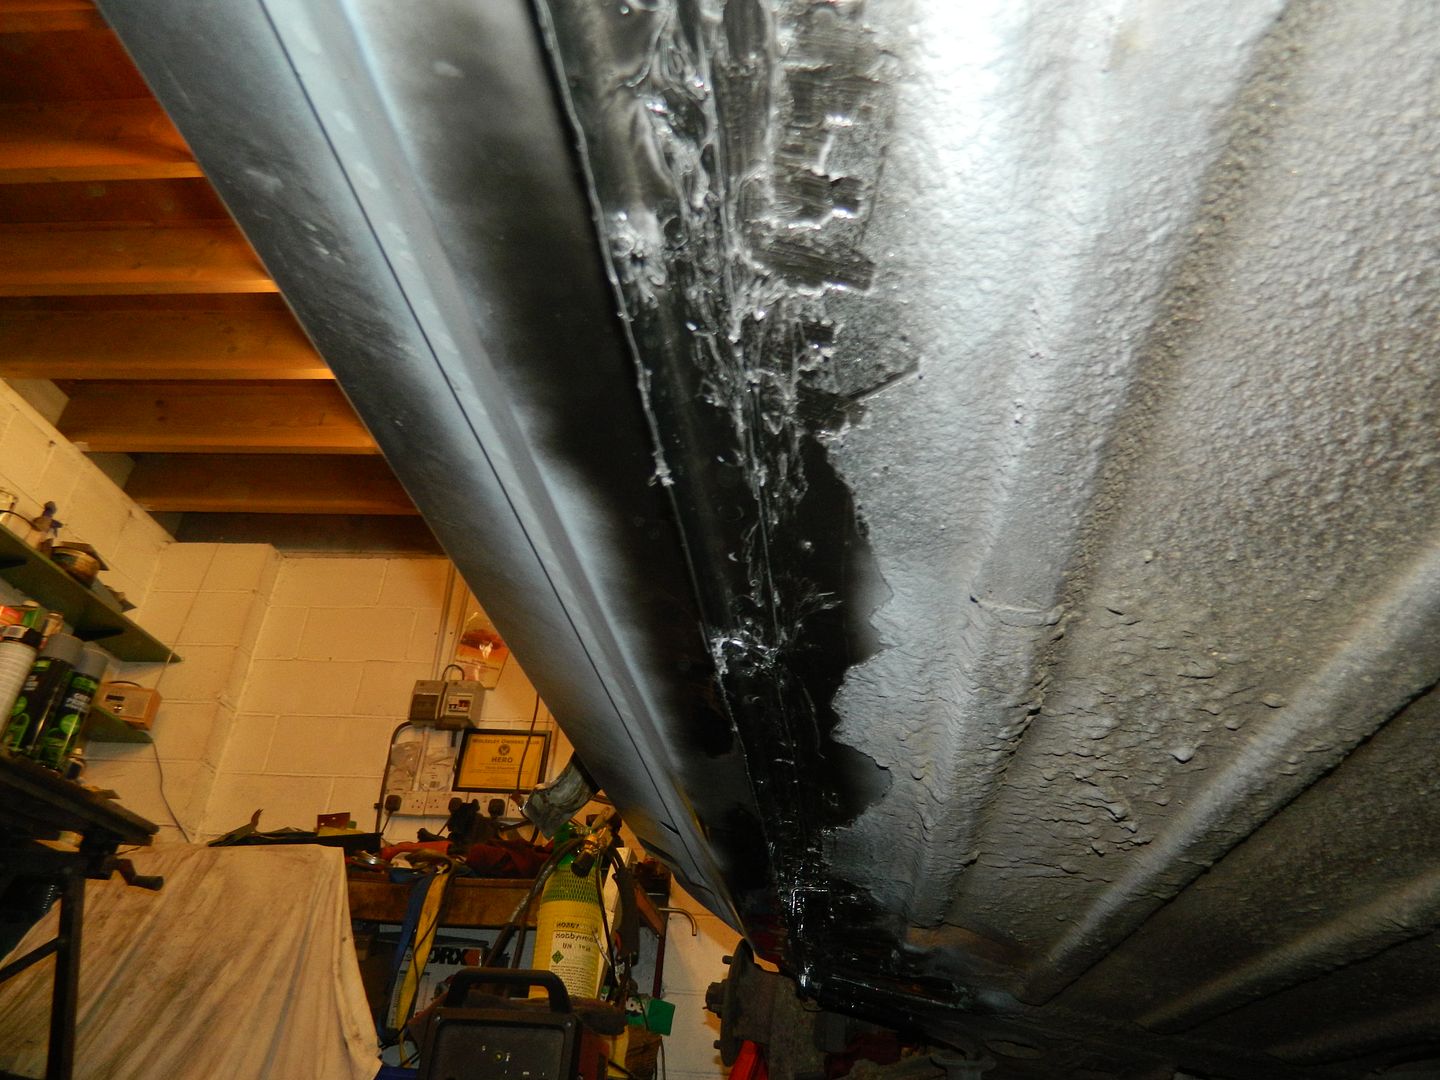 Hopefully it will dry fully overnight, then I can get some shutz and stone chip into the appropriate places and that's this side finished. Better put the doors back on. Chris. |
|


