|
|
Post by Penguin45 on Jan 5, 2017 0:13:16 GMT
Nice one, hope the price was right.
Seam sealer now applied in all the right places, lots more primer shot about the place and the first application of VTP. Also, filler swiped across a few visible areas. It is showing no signs of curing. Must be colder than I thought.
Chris.
|
|
|
|
PFV729H
Jan 5, 2017 13:10:08 GMT
via mobile
Post by phil900i on Jan 5, 2017 13:10:08 GMT
Hi, £25 for the spare wheel tray and both brackets. Not sure that's a bargain but at least they've got them. I'm hoping to get up your way about 1.30 or 2pm if that's ok? I'm going to try to get the wings in my Exeo first as it's a bit warmer in this weather, failing that it'll be the Maxi but going steady.
|
|
|
|
Post by Penguin45 on Jan 5, 2017 14:02:00 GMT
No problem, Phil. I'll ask MrsP to sort out a bite of lunch.
Chris.
|
|
|
|
PFV729H
Jan 5, 2017 23:35:00 GMT
via mobile
Post by phil900i on Jan 5, 2017 23:35:00 GMT
They fit in the Seat so I think I'll be in that! See you tomorrow,
|
|
|
|
Post by Penguin45 on Jan 6, 2017 21:14:02 GMT
Very nice to meet Phil this afternoon. Wings delivered and look very decent. So, last bit of the main body done this evening. 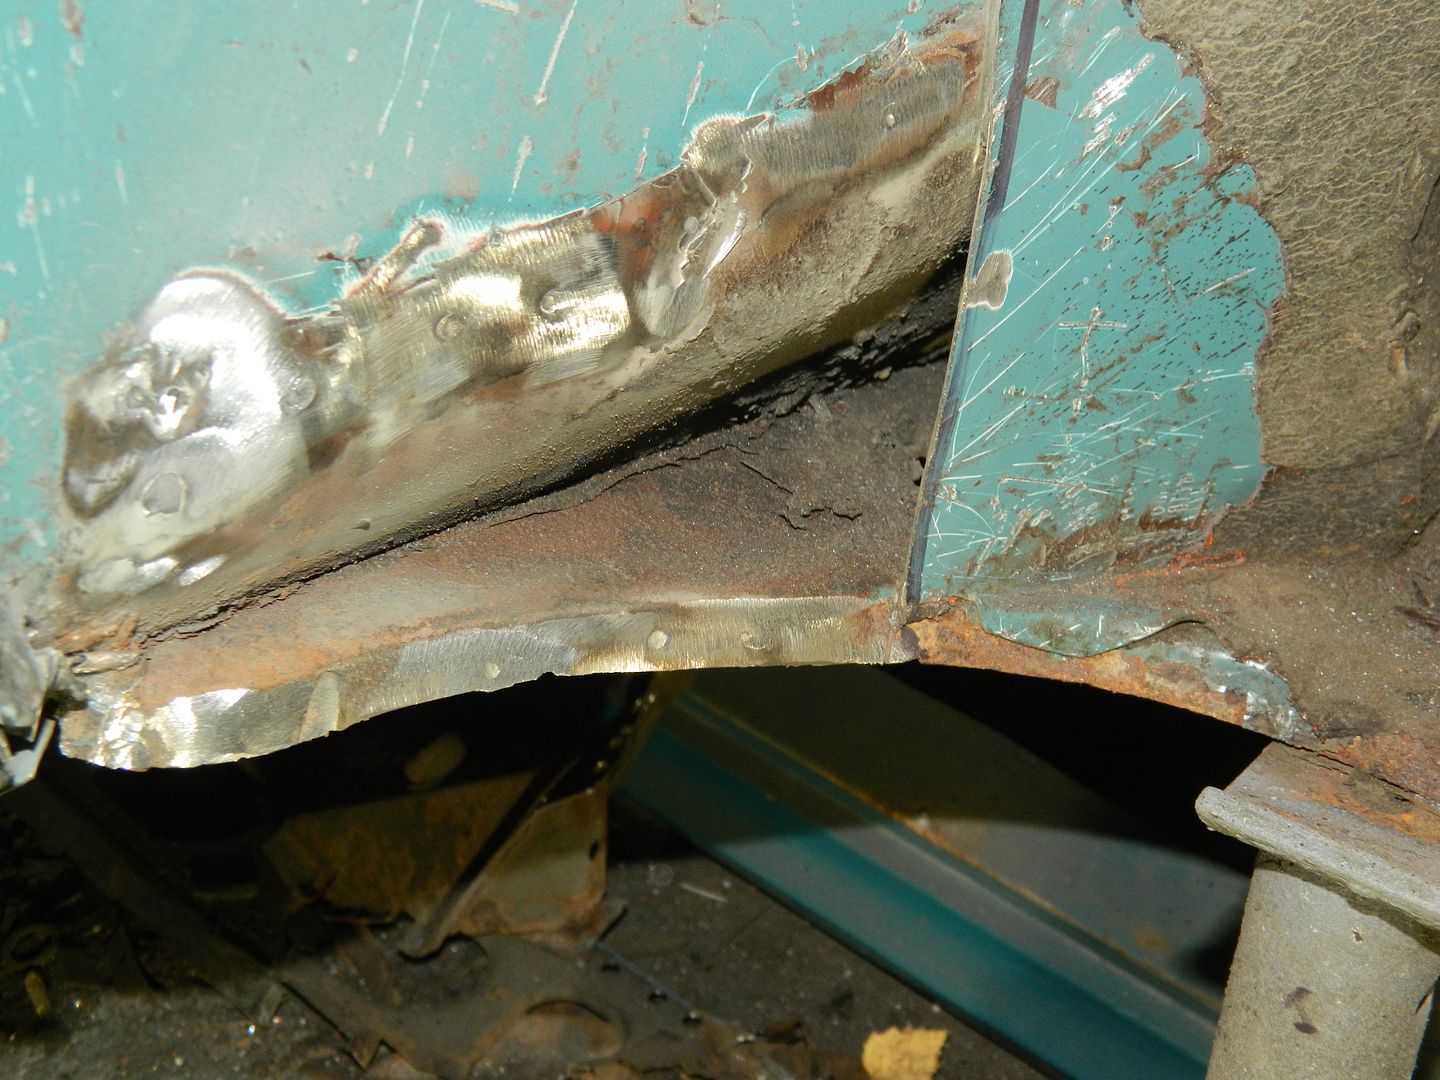 Back of the wheel tub cut away. This bit didn't look particularly rotten, but had some strange rippling, so we decided to get rid. That wasn't a bad call, as the panel was showing significant rust on the inside when cut out. 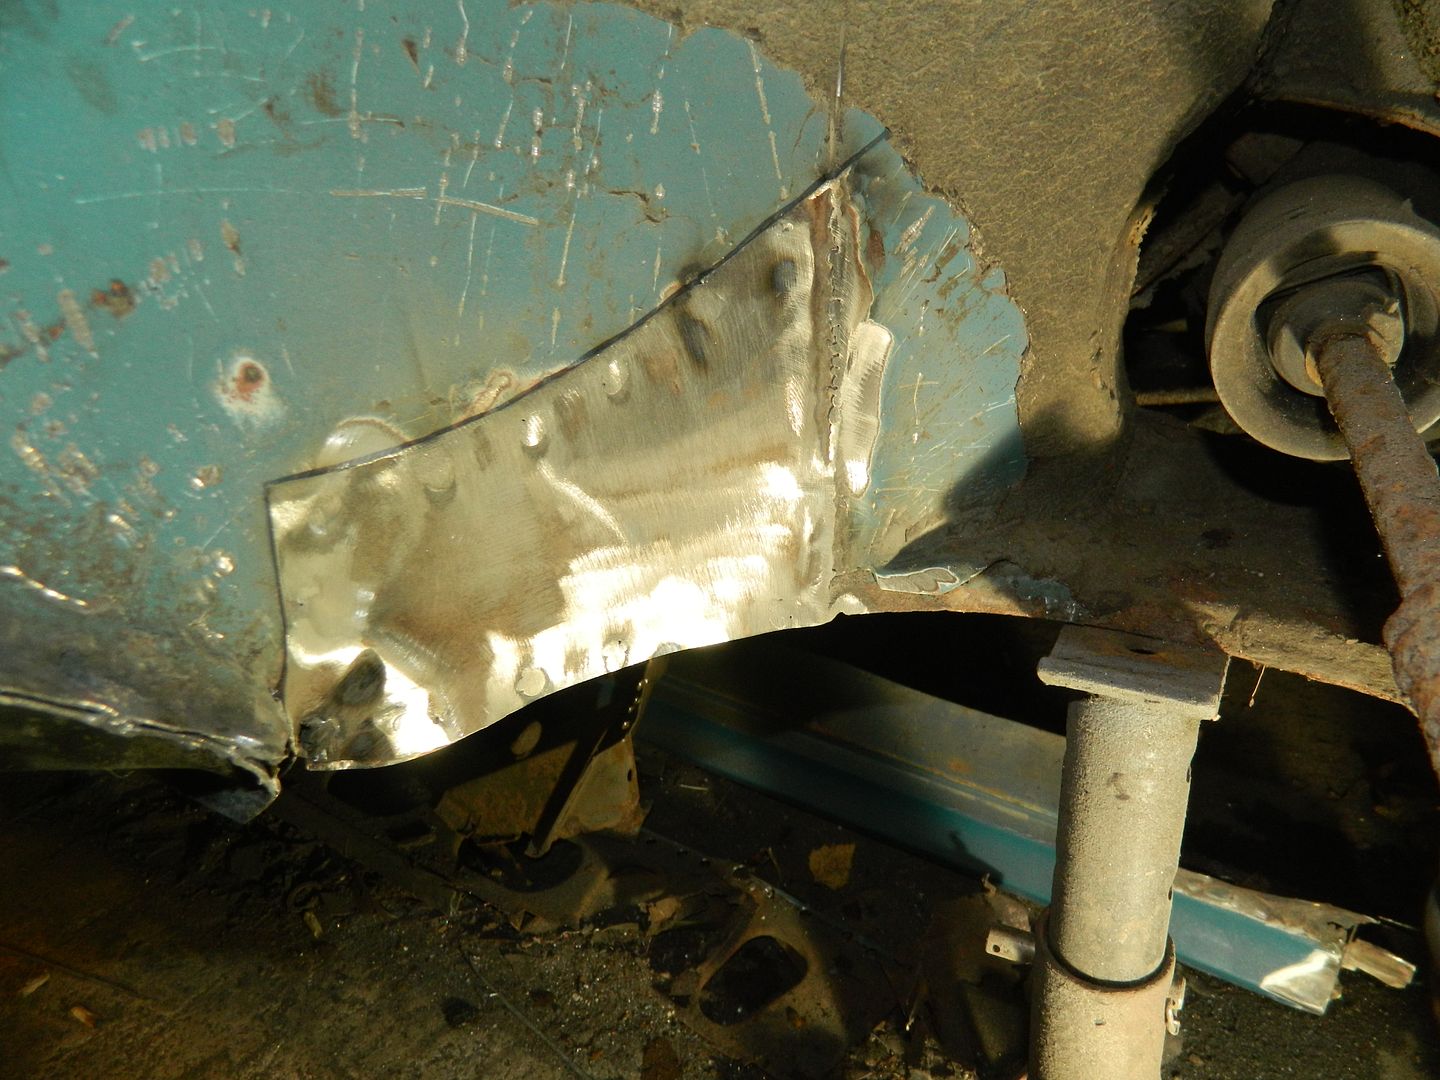 New panel welded home and flatted back. Now seam sealed, primed and painted. Chris. |
|
|
|
Post by Penguin45 on Jan 7, 2017 18:57:12 GMT
Underside of sill is now stonechipped, so that's the offside finished. Seat back in, wheels back on, rear door fitted. Drive her out briefly tomorrow and have a proper sweep up, then start dealing with the front.
Chris.
|
|
|
|
Post by Penguin45 on Jan 13, 2017 0:11:52 GMT
Sorry, folks. It's not happening this week. Absolutely bitter and energy levels are right down. I've given the front end a right good looking at though, and the plan is forming.
Chris.
|
|
|
|
PFV729H
Jan 13, 2017 12:25:14 GMT
via mobile
Post by phil900i on Jan 13, 2017 12:25:14 GMT
No worries Chris, it's perishing at the moment! There's absolutely no hurry at all on my account, I'll be out of action after 20/01 anyway for a few weeks. So impressed with it when I saw it last week  Take care!! |
|
|
|
Post by Penguin45 on Jan 15, 2017 19:57:11 GMT
Thanks for those kind words. Nice and mild today, so: 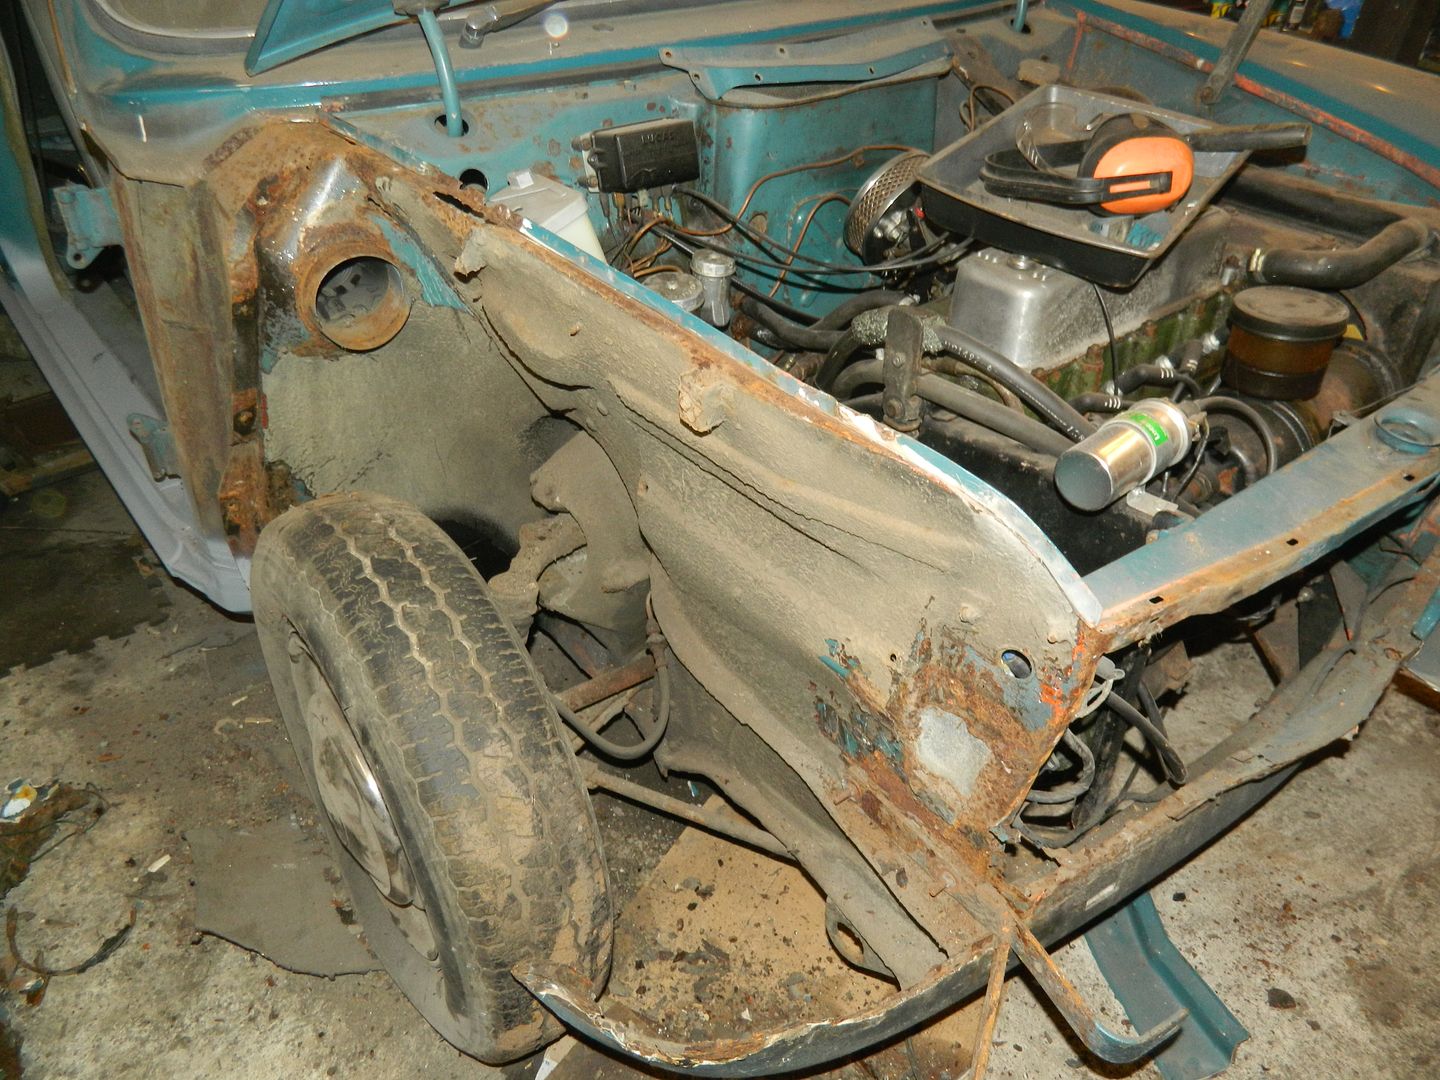 O/s wing off. Careful slit along the top edge, chisel to split the seam at the end of the inner wing and a cut to separate the front of the wing from the bottom of the grill aperture and off it came with the use of moderate force. 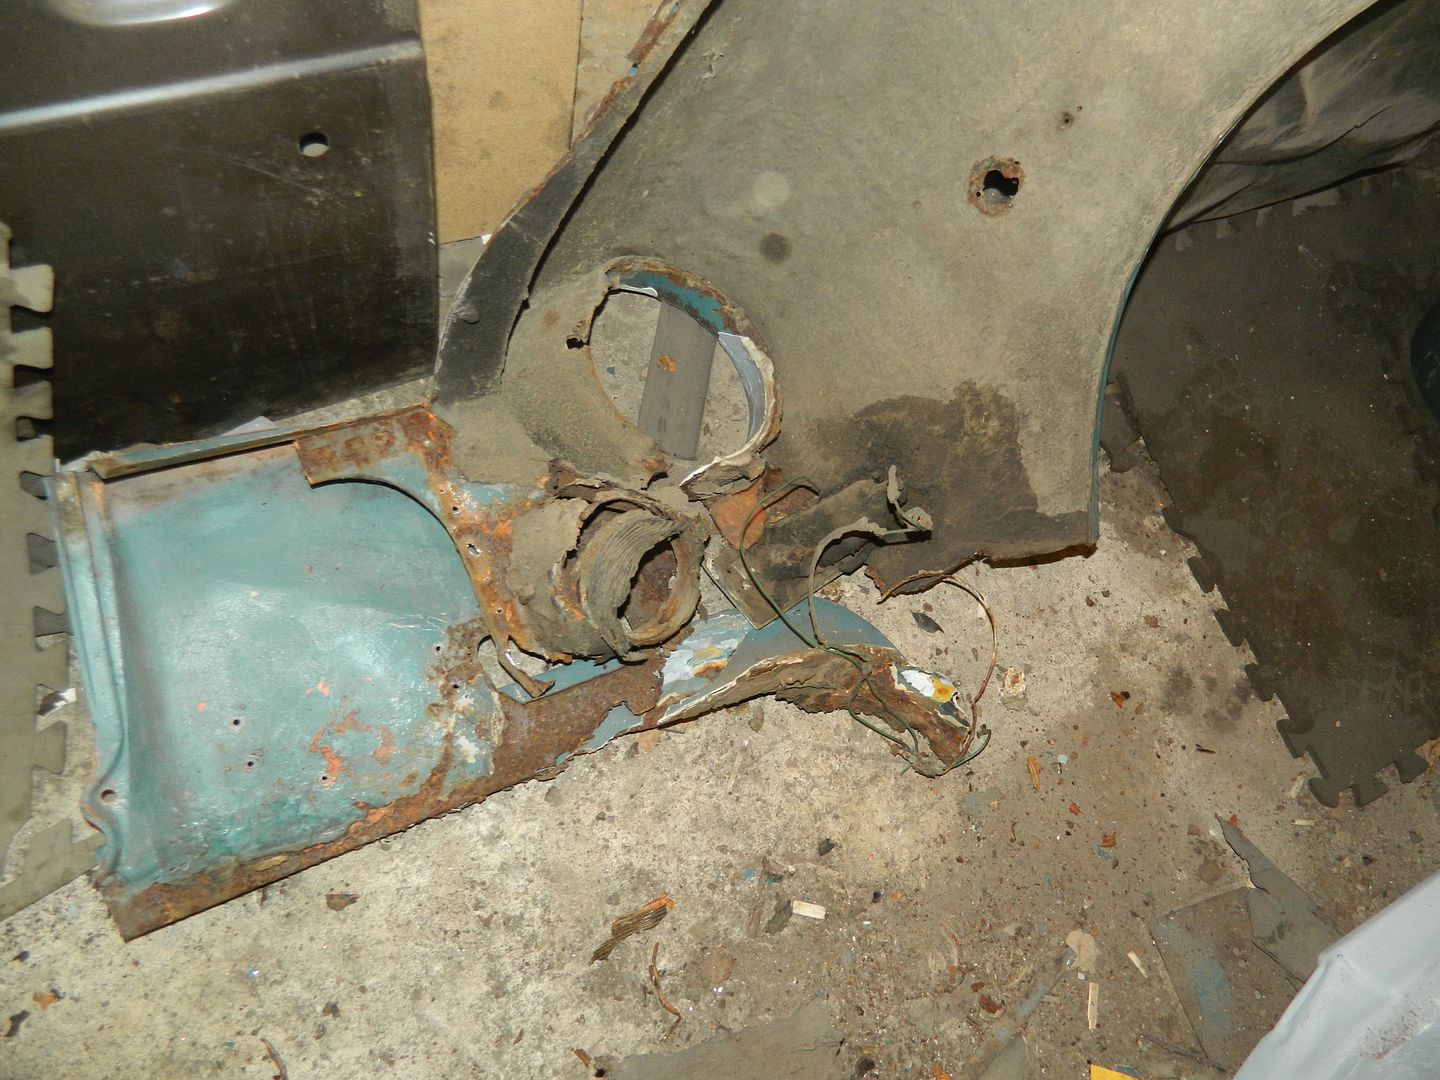 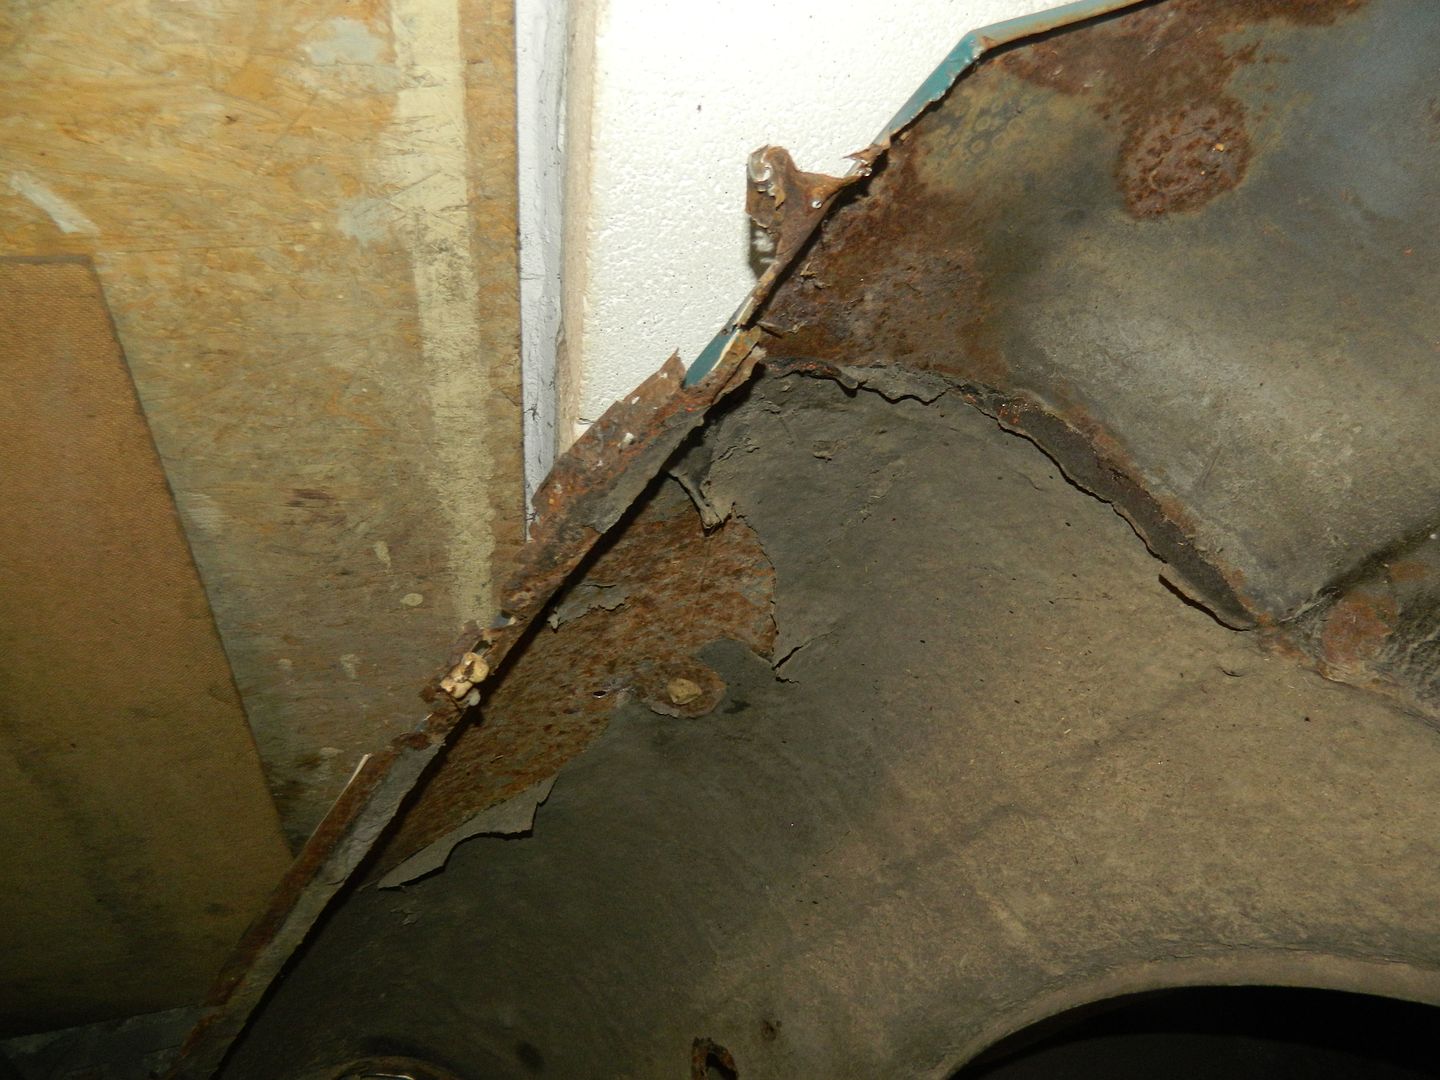 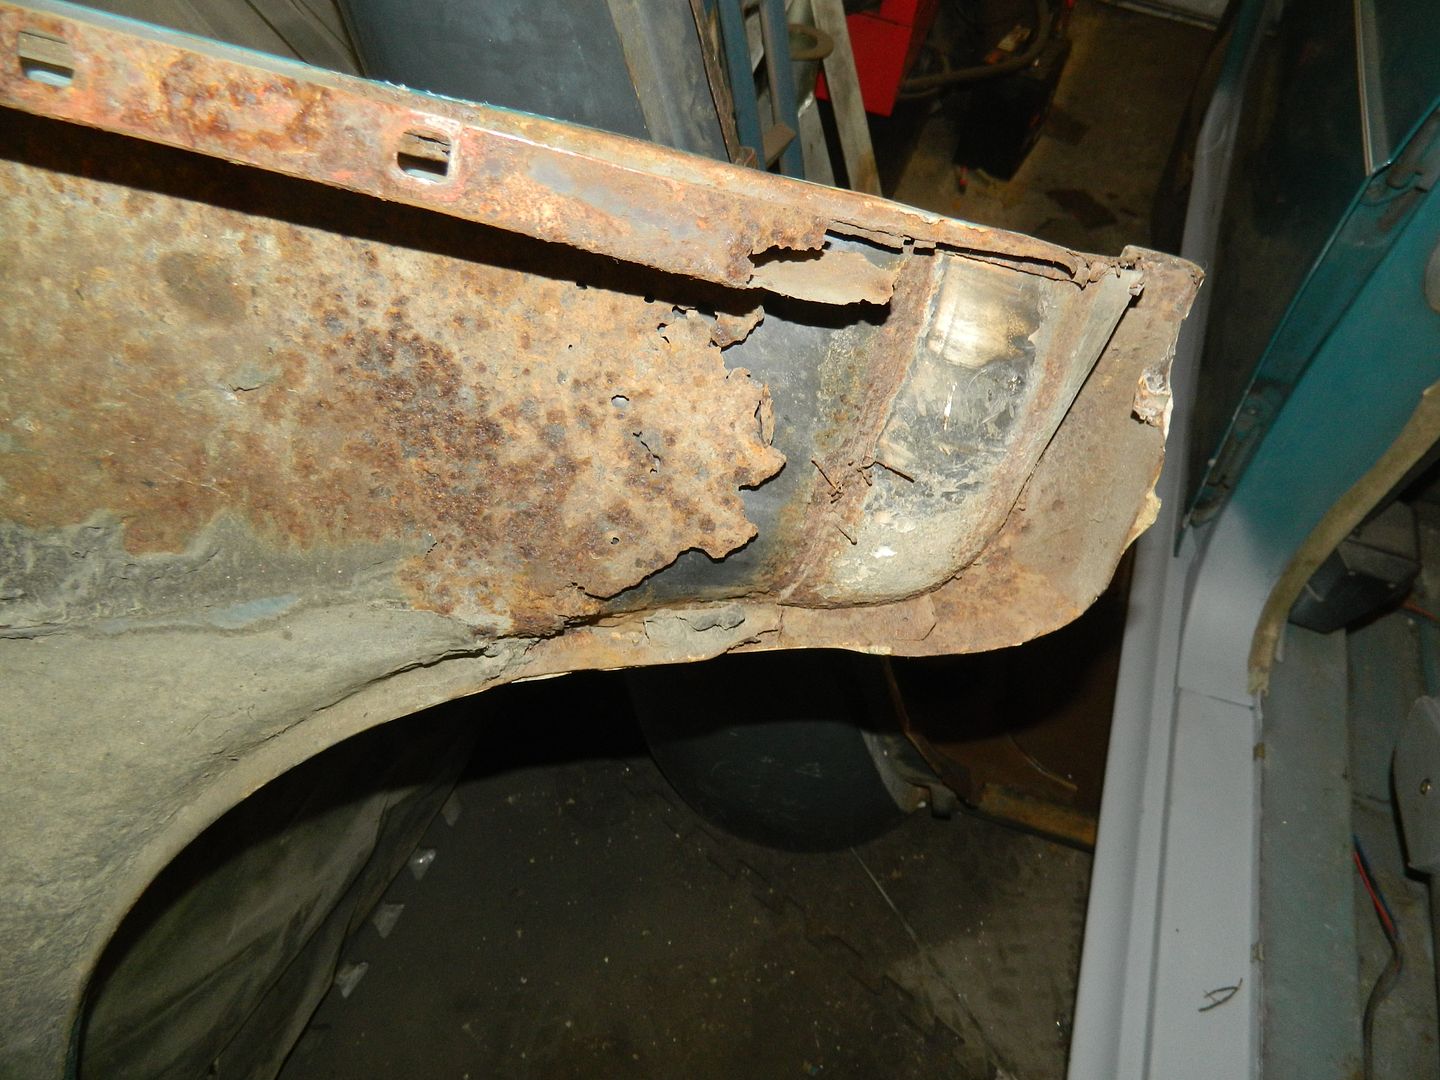 Wing is really in very poor condition. 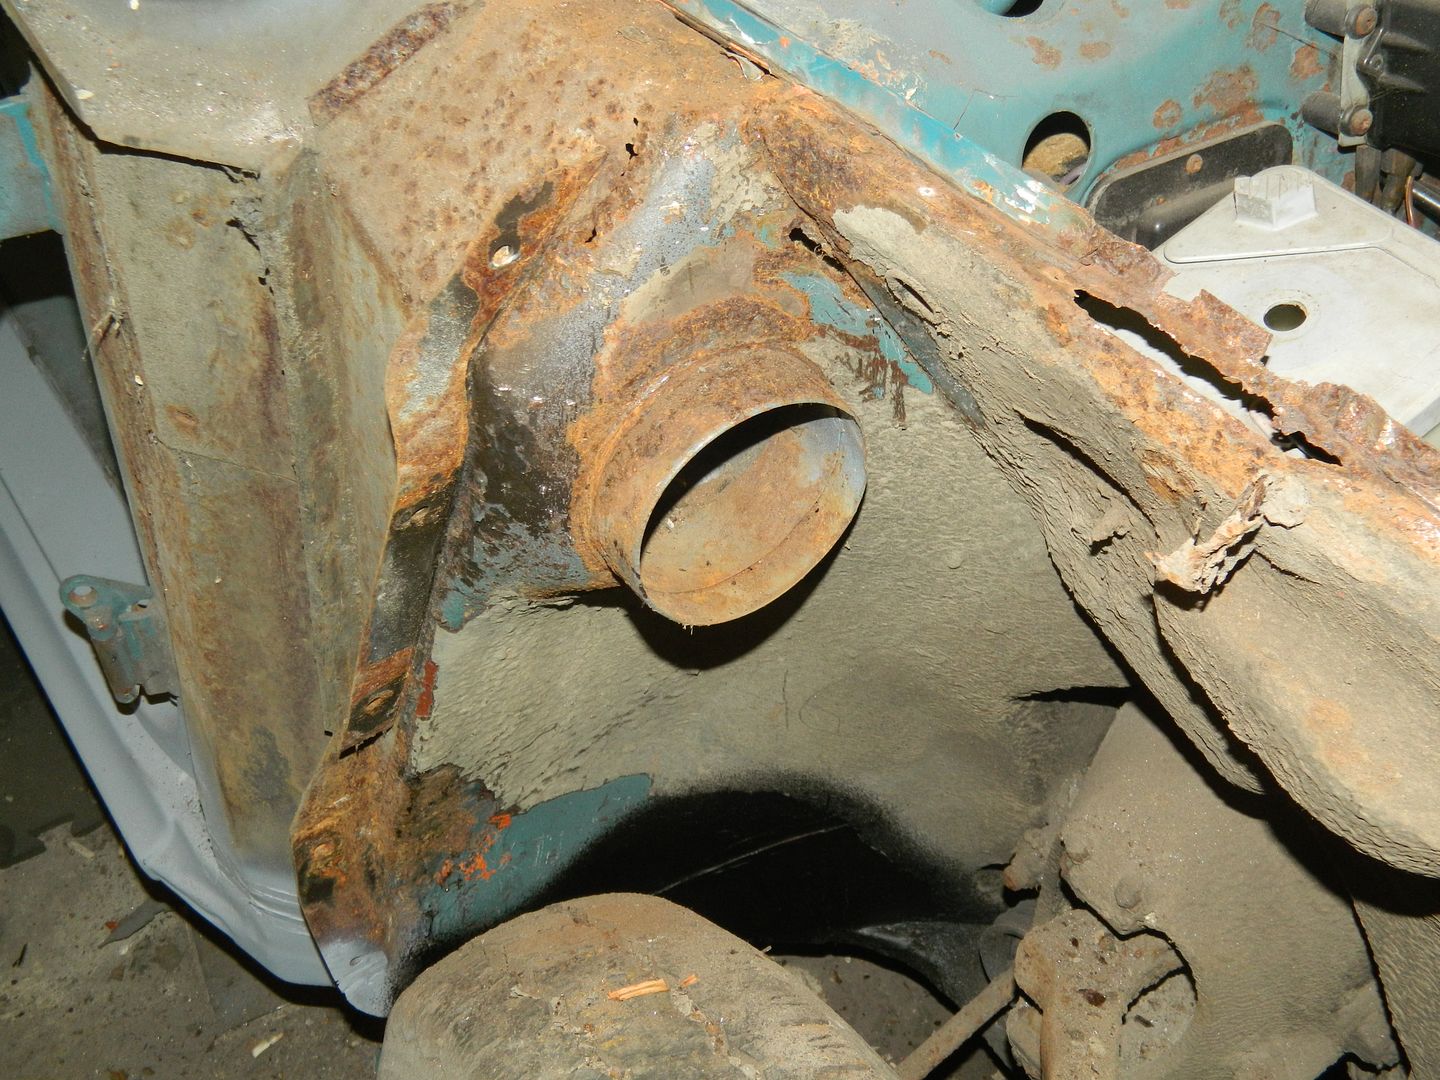 Top of the inner wing. 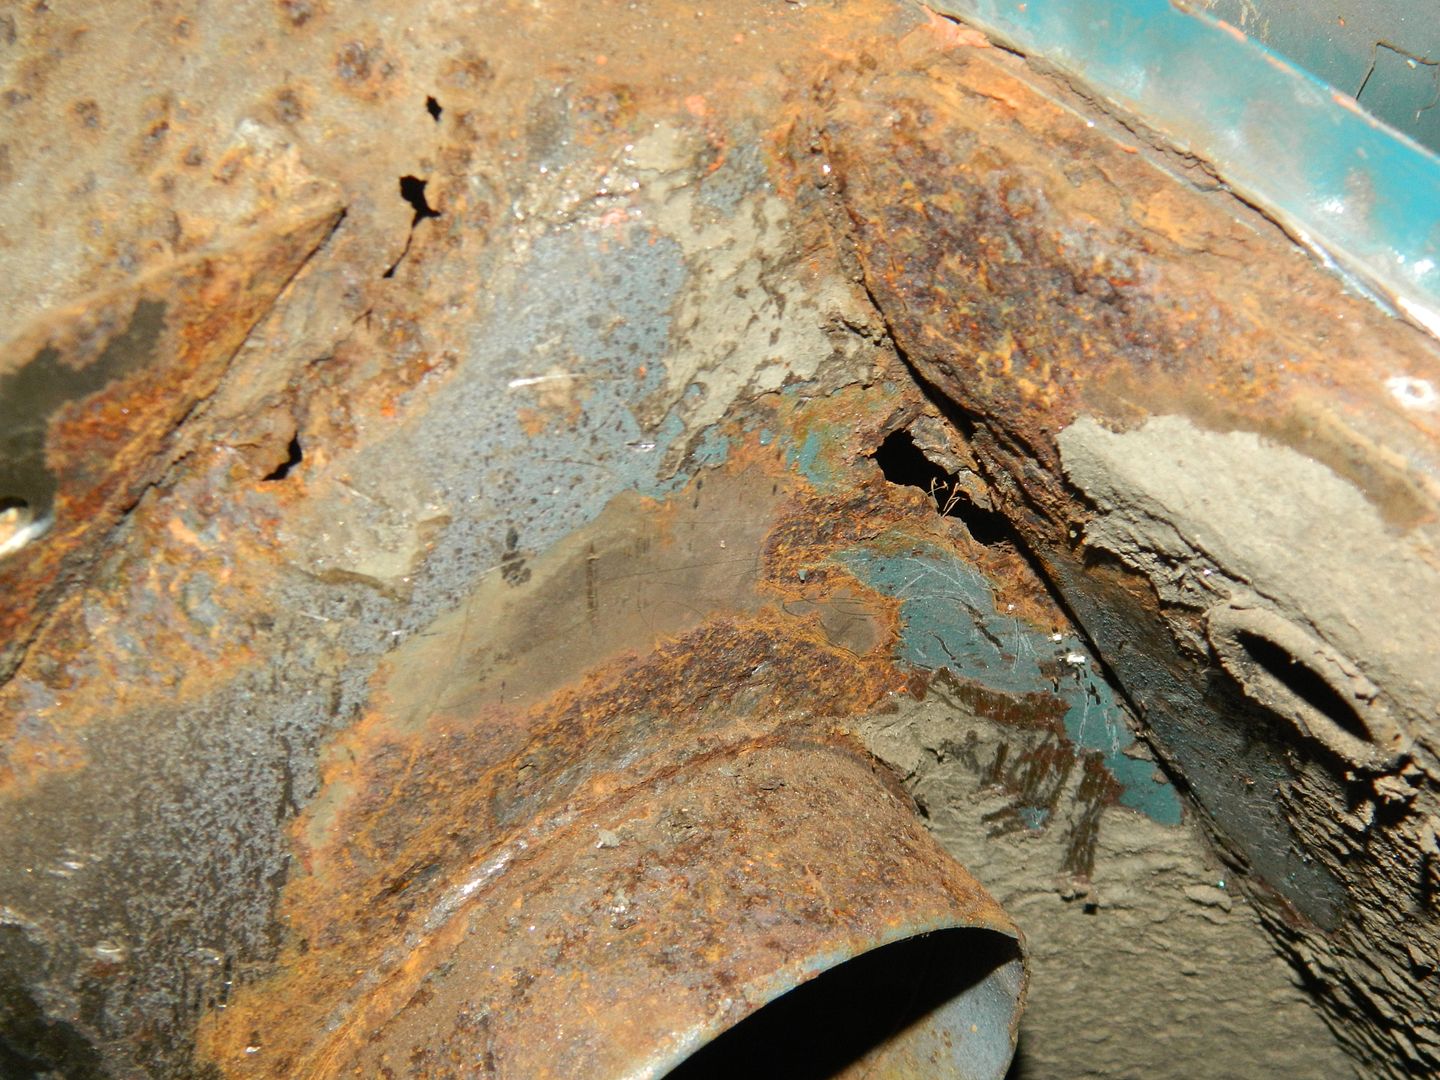 Closer - yup that's going to need some work. 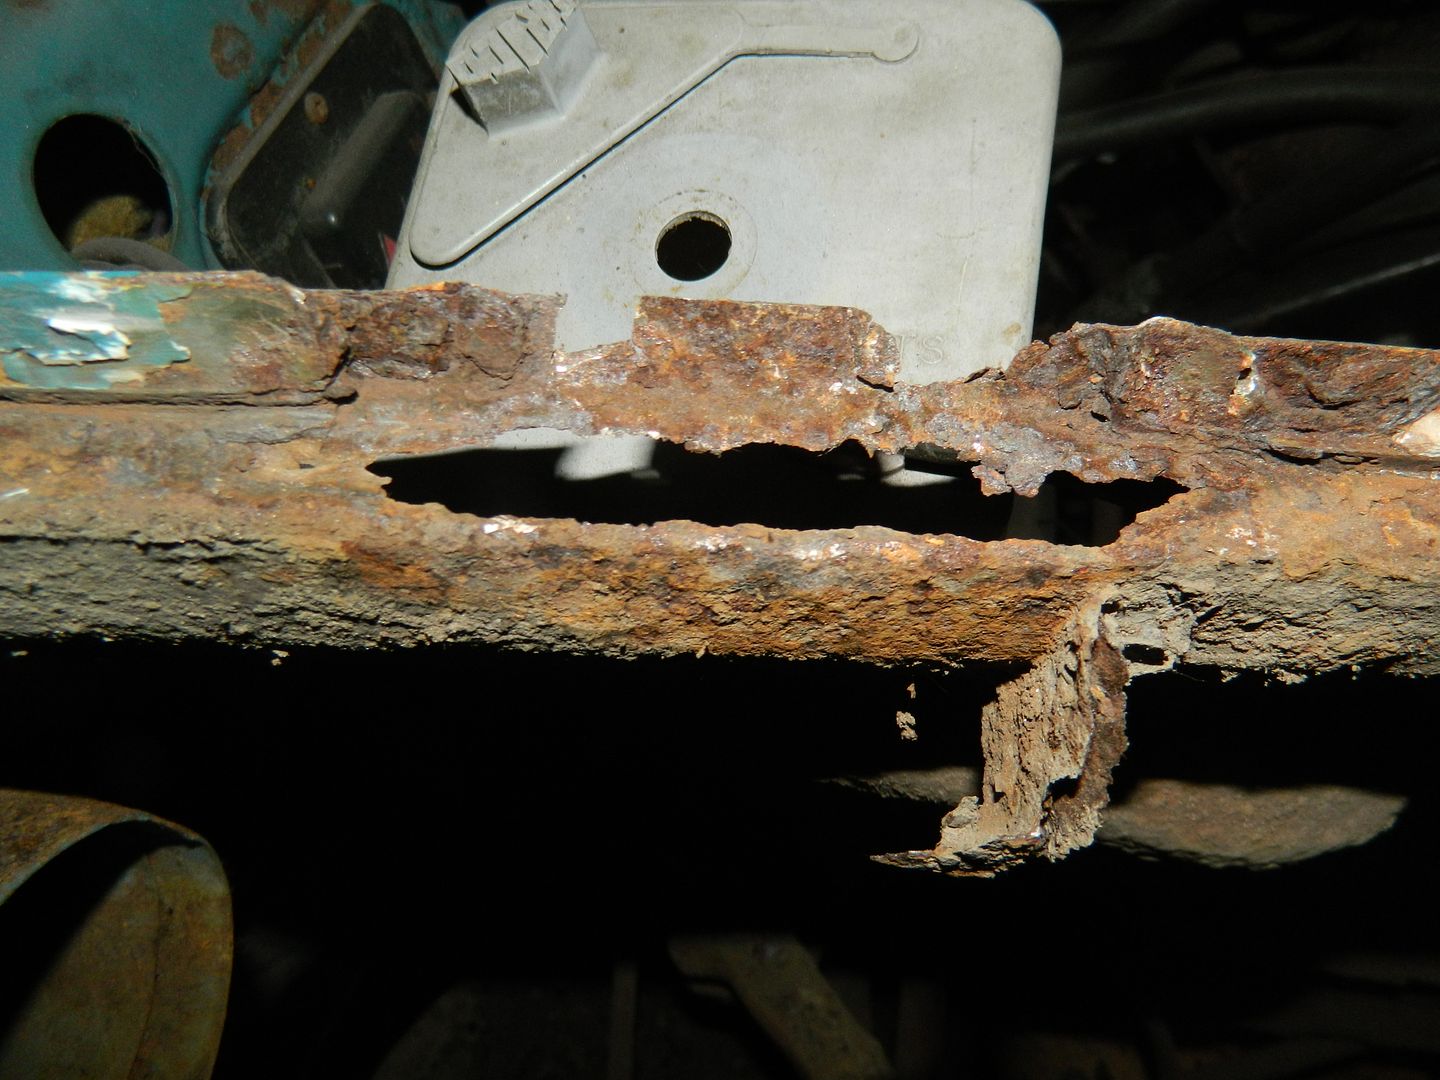 Section of top flange. Very horrible. 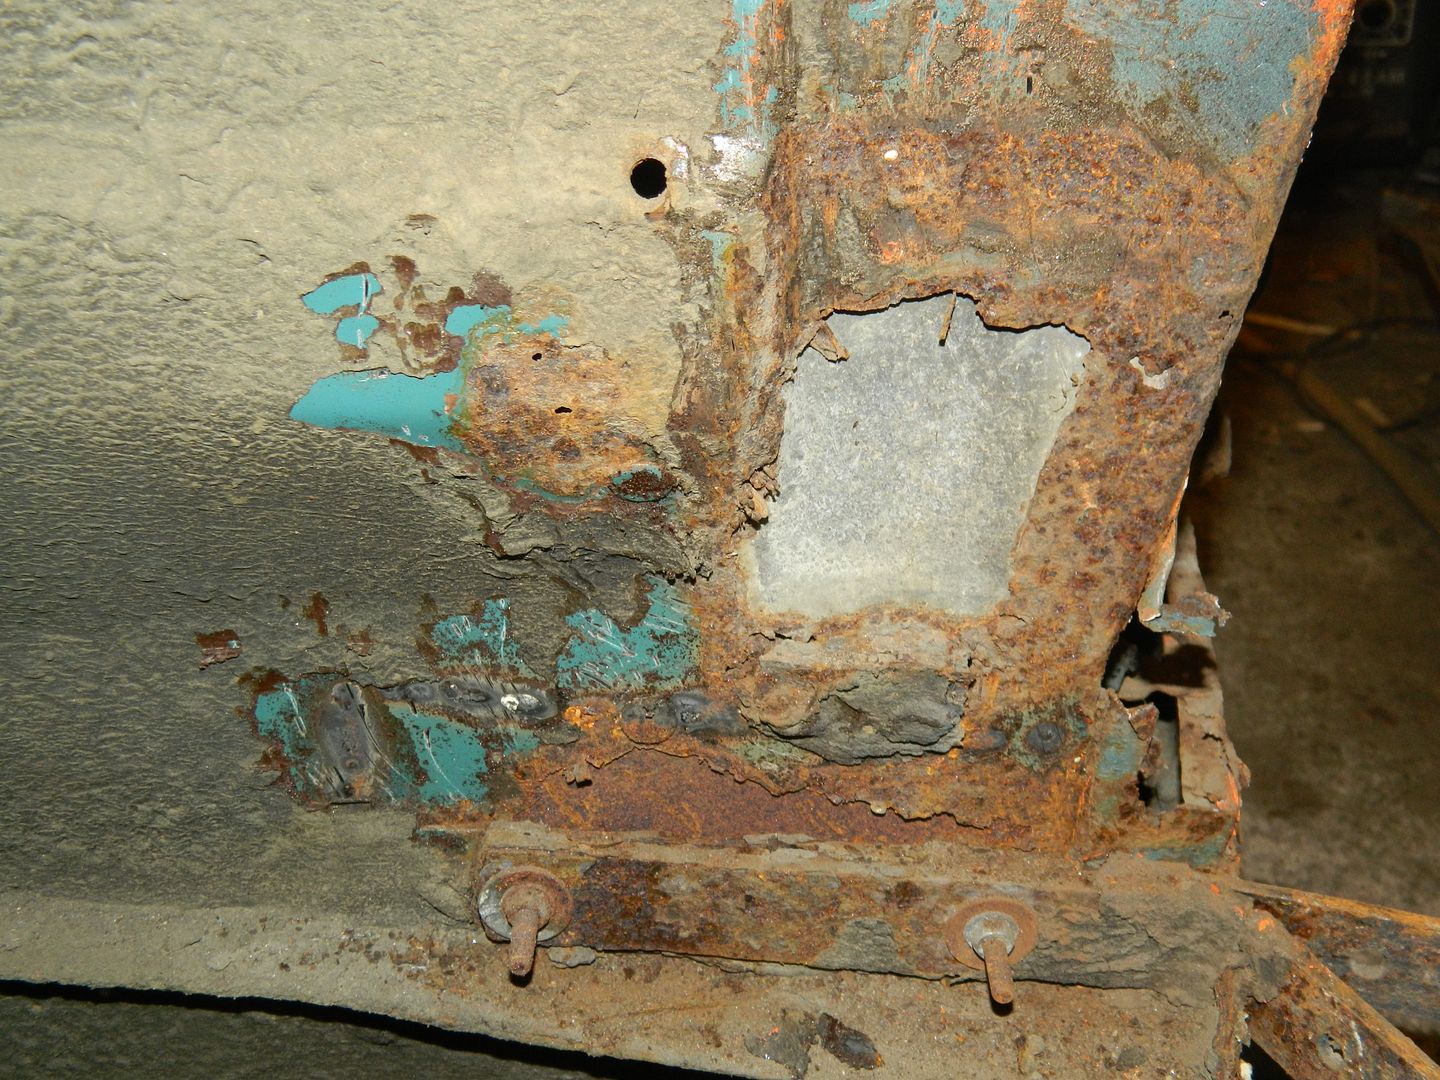 Front of inner wing. Two patches there. One's a bit of galvanised metal, with a plain steel patch below. They've been welded on the inside, but again, the rotten metal has not been fully eradicated. I think it's got to be cut away and redone properly. Chris. |
|
|
|
PFV729H
Jan 15, 2017 20:51:14 GMT
via mobile
Post by phil900i on Jan 15, 2017 20:51:14 GMT
Yikes! That's a bit holey!
|
|
|
|
Post by Penguin45 on Jan 16, 2017 0:03:03 GMT
The thing I don't get is that those two repairs in the inner wing must have been done from in the engine bay, therefore the engine must have been out; and they've been painted and colour matched - BUT - they haven't done anything in the wing to protect the new metal. Doesn't make any sense at all.
Bit at the top is a doddle, honest.
Chris.
|
|
|
|
Post by Penguin45 on Jan 17, 2017 21:29:52 GMT
Got the flange from the old wing drilled off. Started chopping out rot at the top. 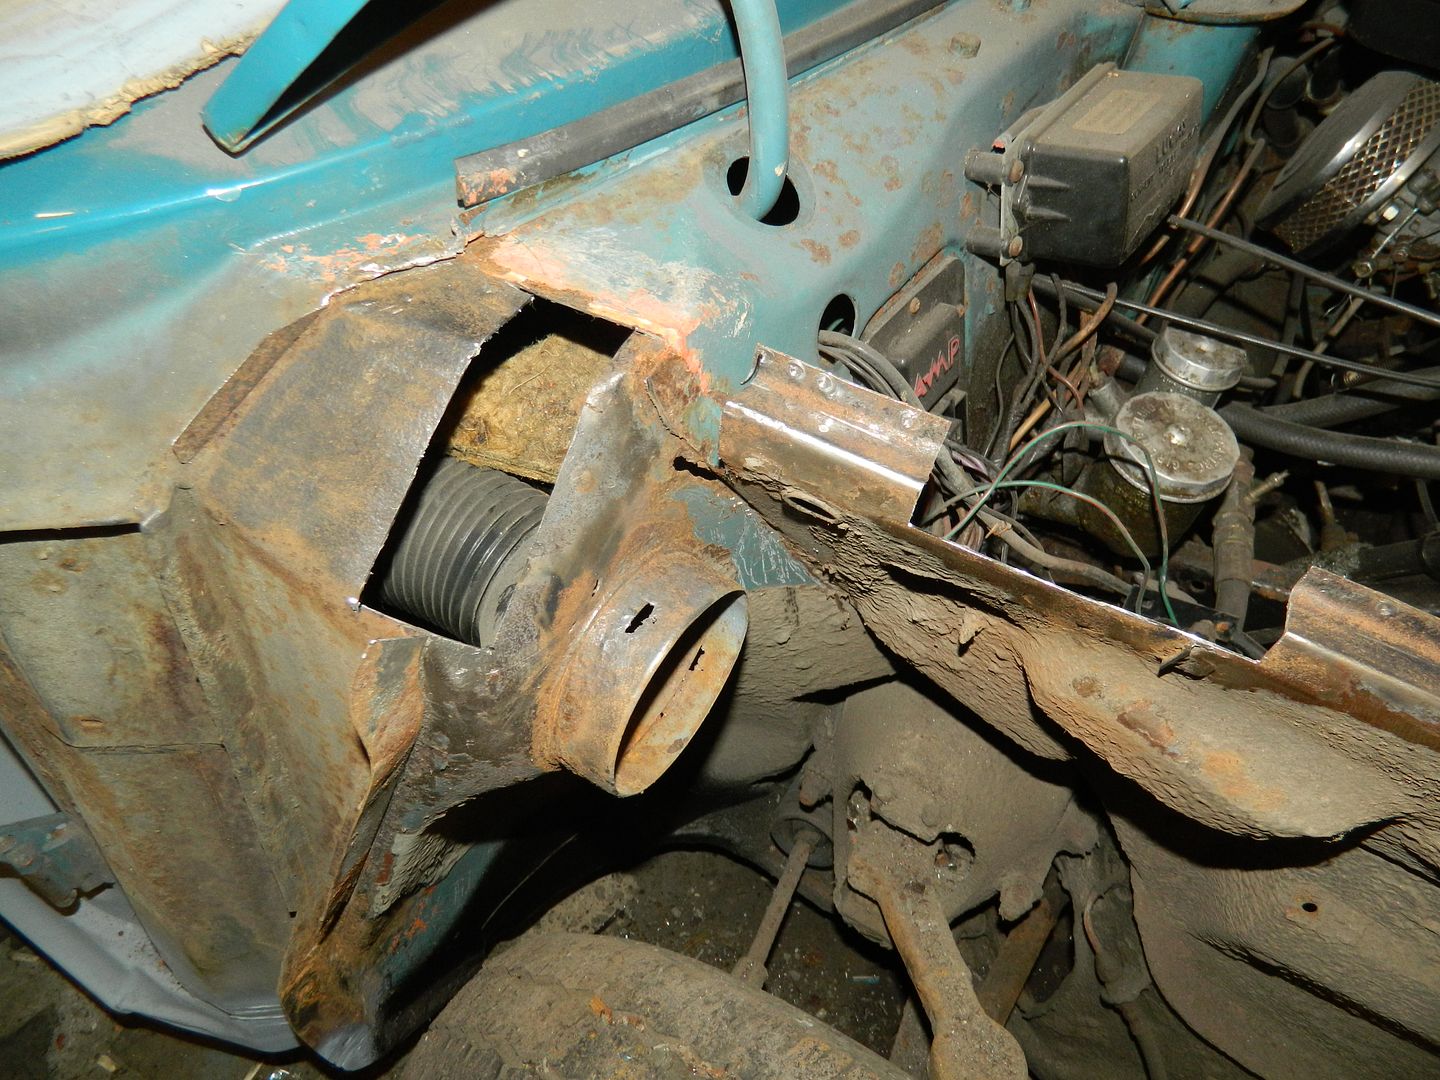 Chris. |
|
|
|
Post by Penguin45 on Jan 19, 2017 20:12:11 GMT
Top side now sorted. 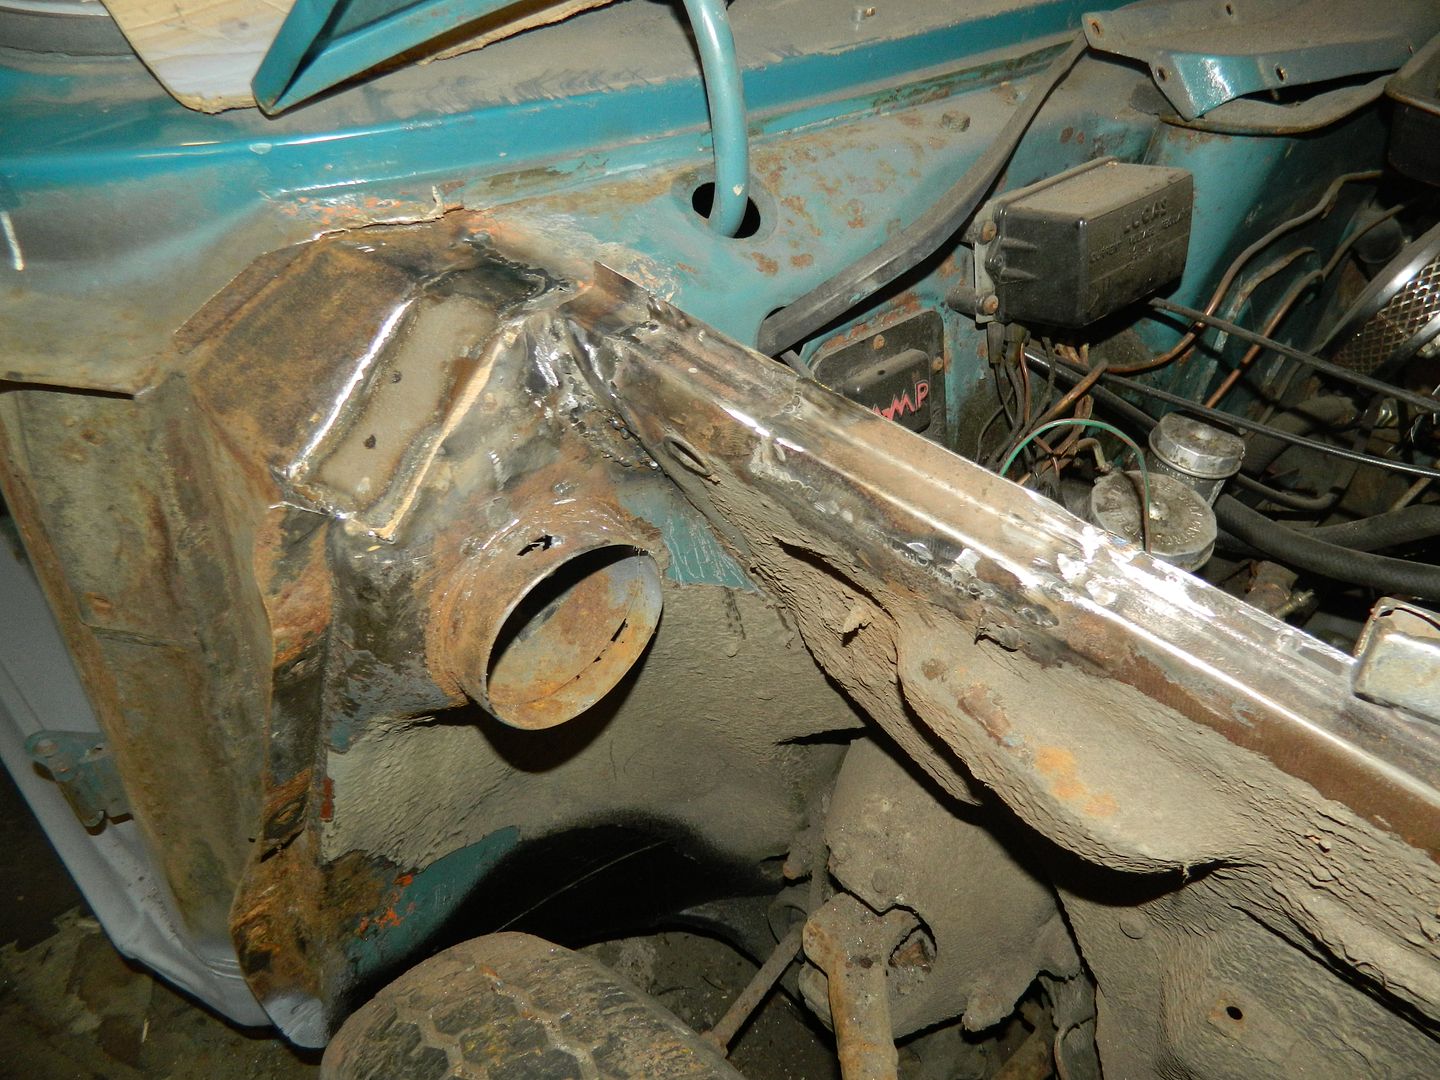 Quick flat over. Can't find the die grinder..... Chris. |
|
|
|
Post by Penguin45 on Jan 21, 2017 19:43:27 GMT
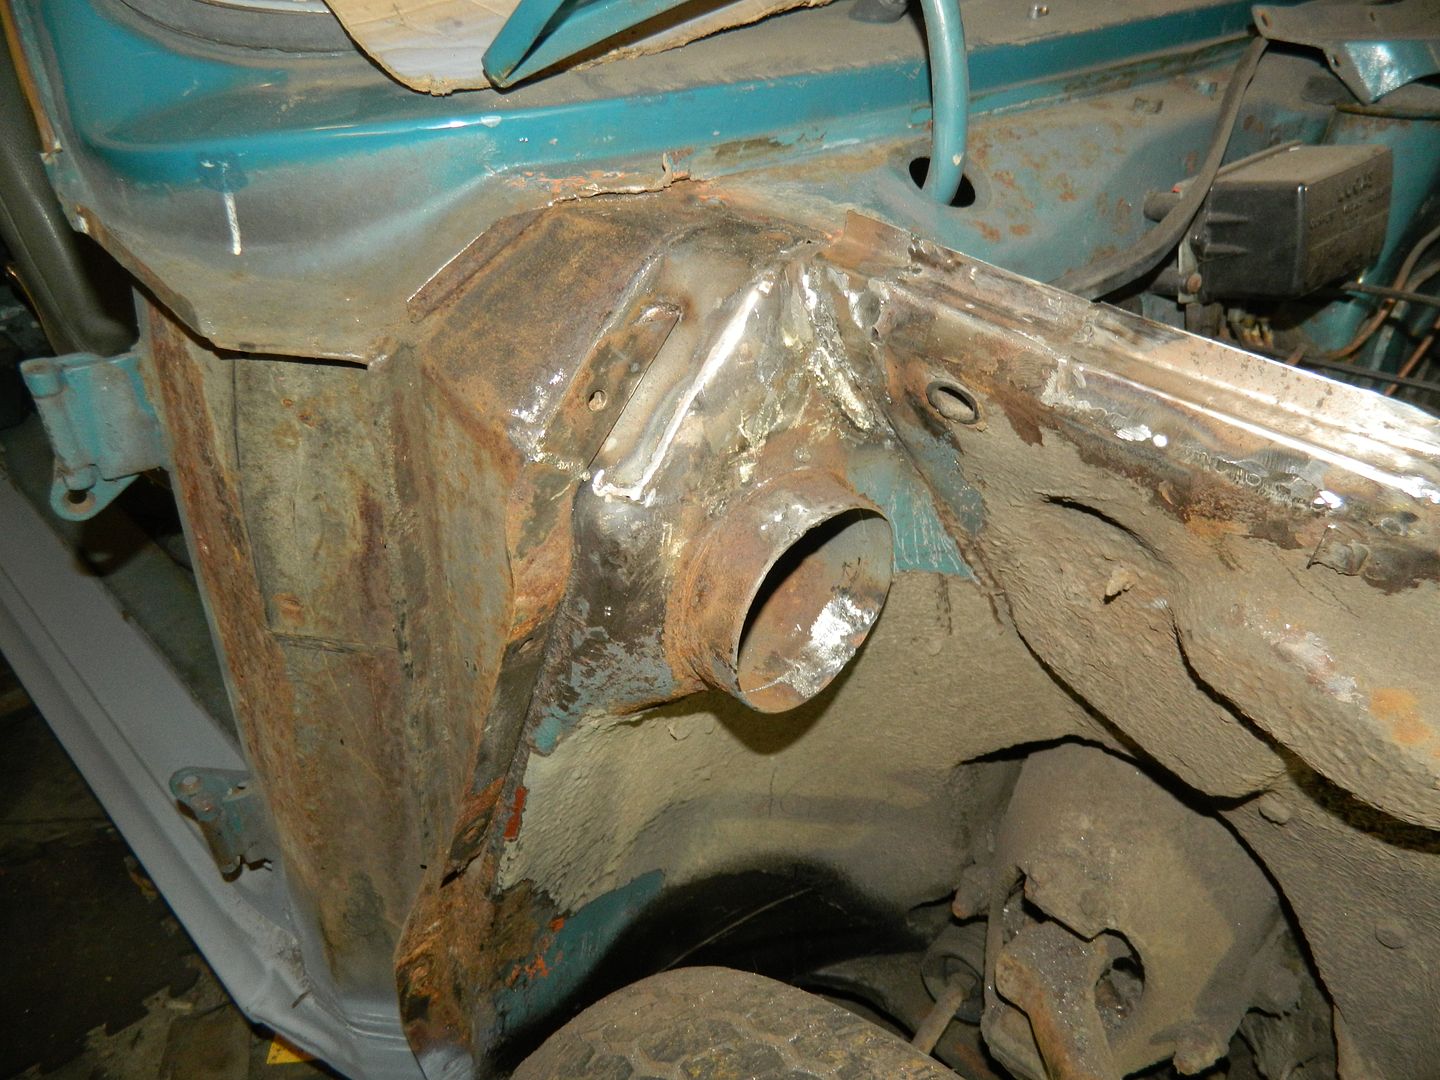 Finished up here. Even managed to do an invisible circle repair a bit further forward. In the end, there was nothing for it - deal with the front end. The top repair was simply cut away, complete with the front flange. The bottom repair has required a decision which I'm not entirely happy with. The panel was nicely painted in the engine bay, but not in the wing. A vigorous going over with the wire wheel started to reveal shiny metal on the repair piece. This offered it hope of survival, so the rotten original metal was carefully cut back to the weld line of the repair panel, the metal cleaned and treated and the bottom section of the flange was cut away. 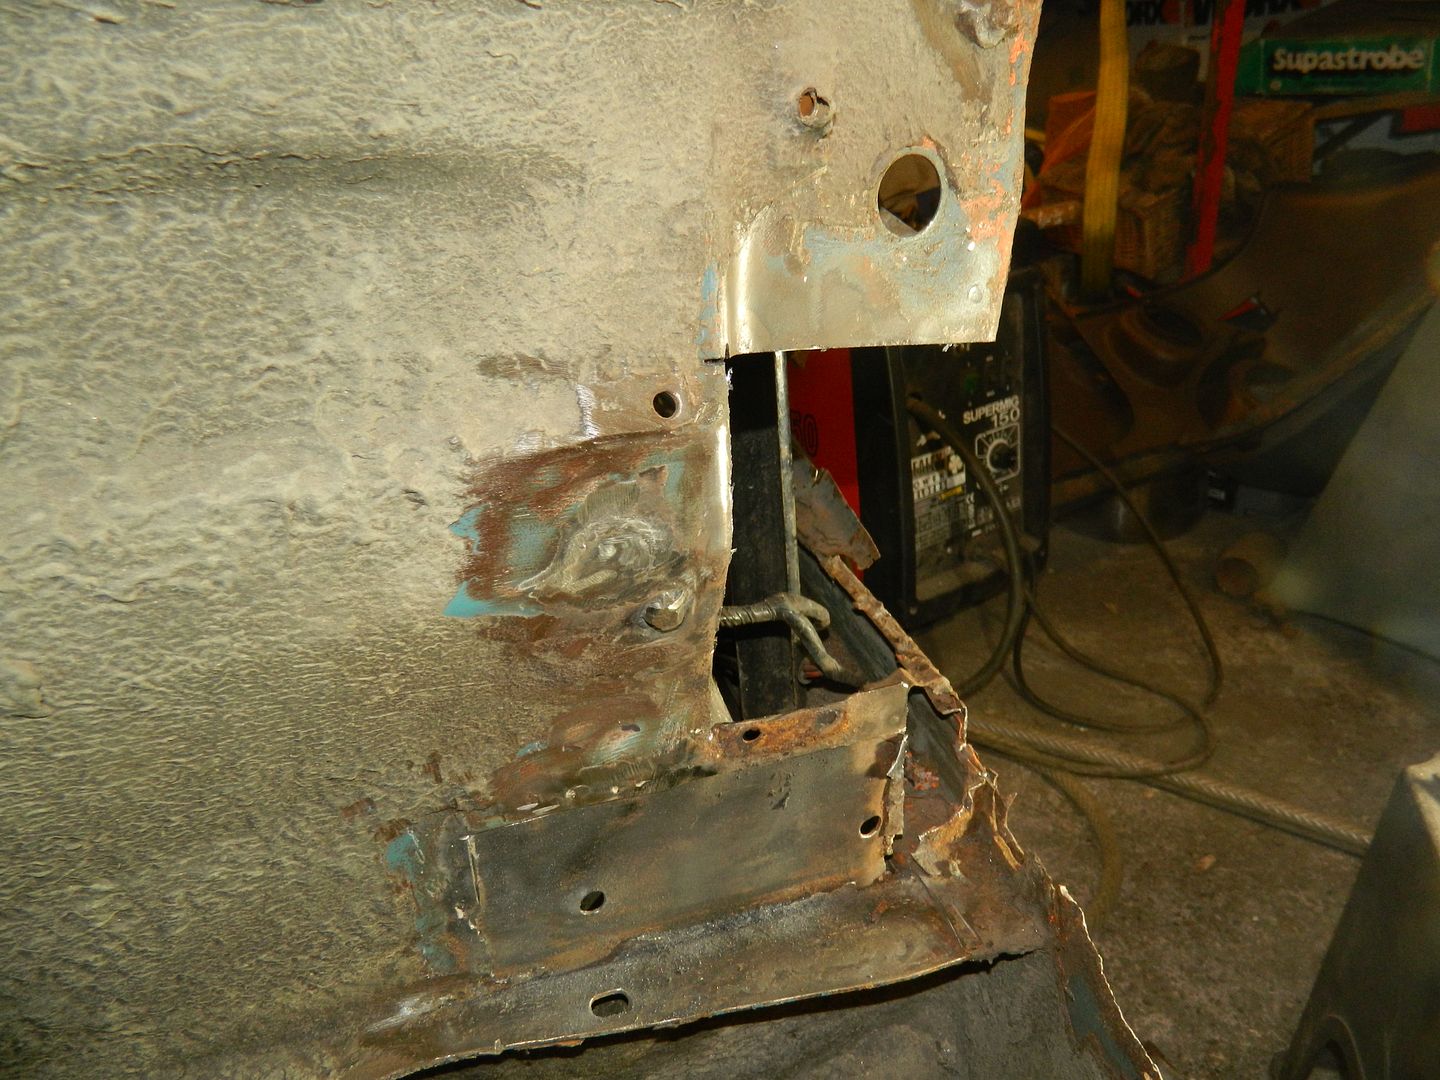 Like that. Next, a reinforcing panel was made up up to fit where the rotten metal had been. 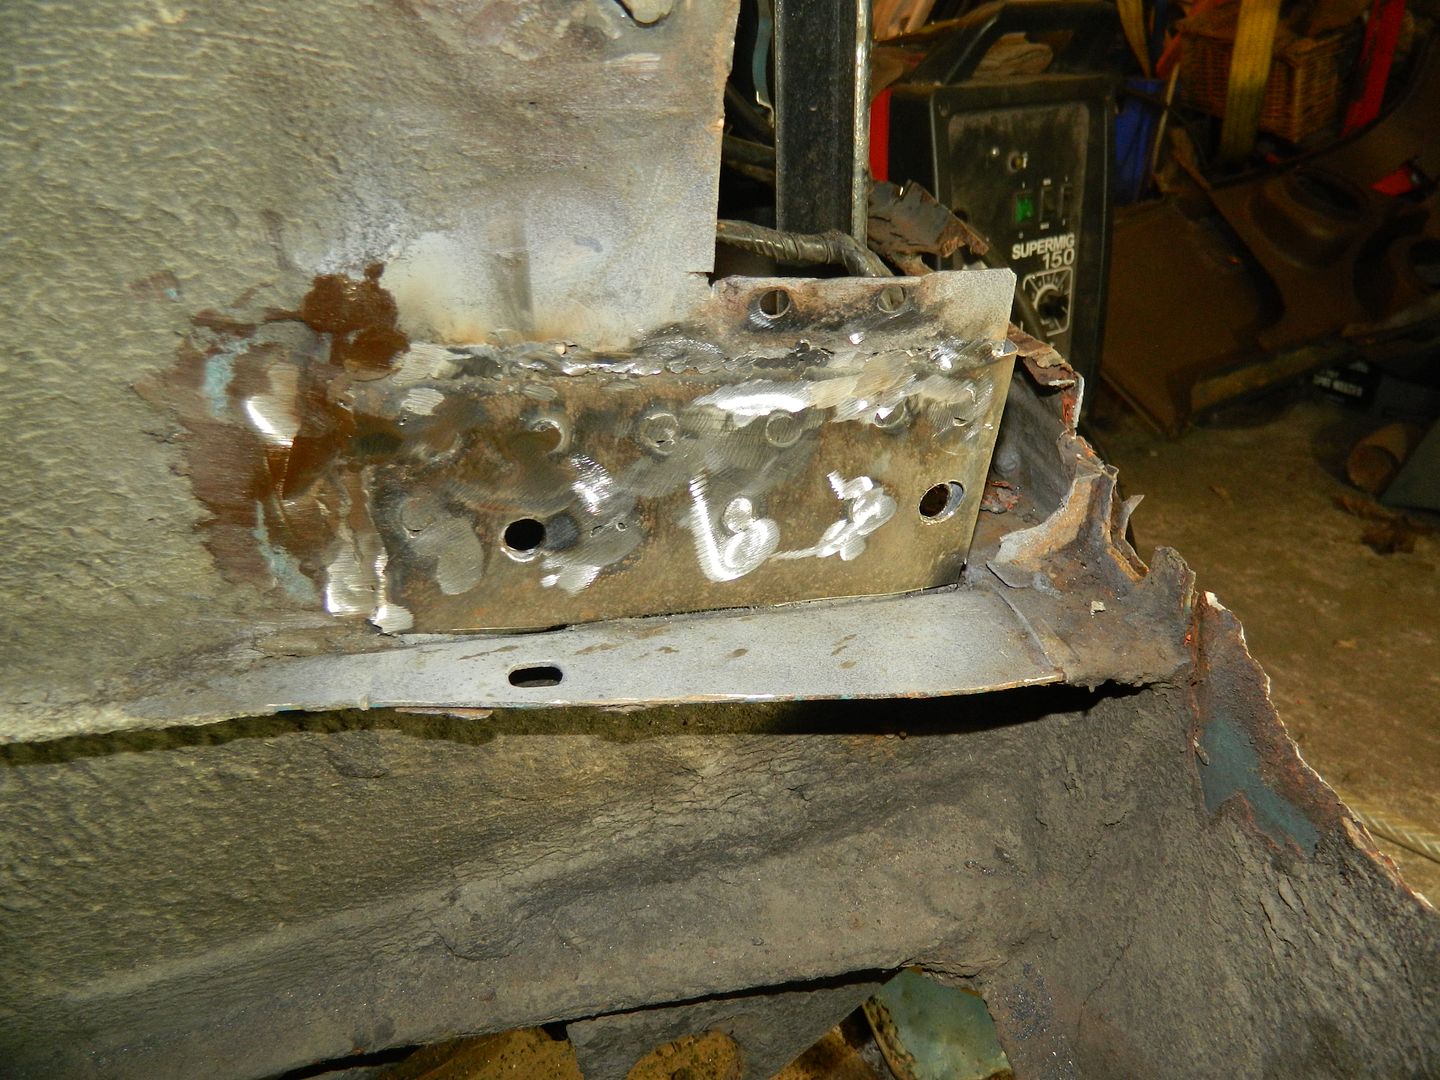 Butt welded around the edges and plug welded as well. That in turn has been reiforced with a large "L" section joining the inner wing to the Chassis member. Lapped and plugged in place. This is now immensely strong. 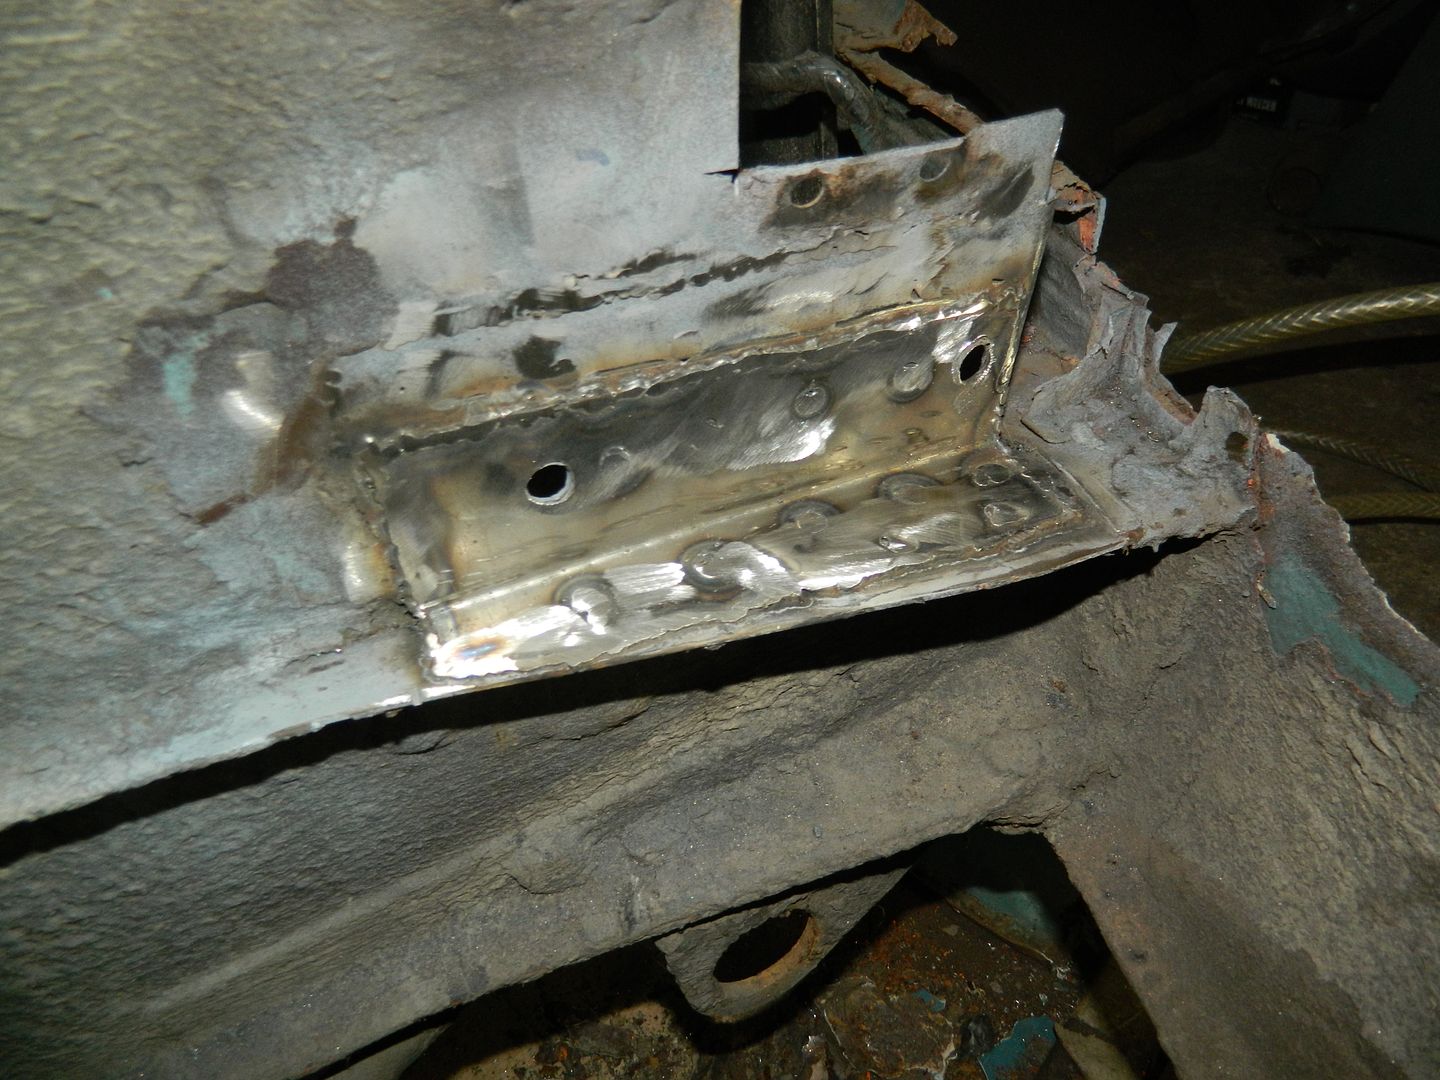 So, not quite as Issigonis made it, but highly effective. Chris. |
|
|
|
Post by landcrabman on Jan 21, 2017 20:13:39 GMT
Doing a fine job chris , managed to have a hour or two today on mine , strange how they seem to rust in different places. Mine lives outside so seems to have more damp round the edges issues . Take care wayne
|
|


 Take care!!


