|
|
Post by tommydp on Jan 19, 2017 6:34:52 GMT
The shims are there, and I believe the rocker assembly is fine.
I've tried inserting a thin feeler gauge while the engine runs, and it quiets very when I do it on valve 6. This has more of a knocking sound, while the others have the usual ticking. It still knocks if I tighten the clearance temporarily.
I've got another cam, which doesn't look too bad. Would be interesting to try it, to see if it makes a change.
Tommy
|
|
|
|
Post by tommydp on Jan 18, 2017 23:00:02 GMT
Right, just wrote a massive reply here. Disappeared as I was finished and ready to post it...arghhhh...
Short version:
Checked all valve clerances for a full cycle, as suggested by Dave.
Set to 0.015 with a slight drag by the rule of nine first. Then felt for increase in clearance through the cycle. From the point of adjusting (rule of nine) the clearance remains unchanged until the valve opens. A while after it is closed the clearance increases, on all valves. Two are extreme. The clearance seems to be largest at the point where the "opposite valve" by the rule of nine is just about to open.
Here are the clearances, when the opposite valve (rule of nine) is just about to open. They were ll set to 0.015 when the opposite valve was fully open first. The clearance at tdc firing in parenthesis:
Valve 1: 0.020 (0.015)
Valve 2: 0.016 (0.016)
Valve 3: 0.018 (0.018)
Valve 4: 0.016 (0.016)
Valve 5: 0.017 (0.015)
Valve 6: 0.020 (0.020)
Valve 7: 0.016 (0.015)
Valve 8: 0.016 (0.015)
So, what does this mean, and should one worry?
Tommy
|
|
|
|
Post by tommydp on Jan 7, 2017 22:08:17 GMT
Another solution, of course, is to put the end covers, with seals, over from the other 'box.
T
|
|
|
|
Post by tommydp on Jan 7, 2017 22:06:23 GMT
Thanks Tommy. Is that 1800 output seals into Princess box? Chris. Yes:-) Outer diameter the same, 1800 has smaller inner diameter than Princess. I think the dimension is pretty standard. At least I got them off the shelf from a local seal supplier. Tommy |
|
|
|
Post by tommydp on Jan 7, 2017 19:55:46 GMT
I'll check and report back.
I measured where the groove was on a Princess shaft and did a test with a spare 1800 shaft, just marking up and making a groove with a hacksaw and file:-) It was a success. It locked onto the circlip with a light tap.
I believe I've still got the Princess shaft as well as my "prototype". The important thing is not to get the groove too far into the shaft, so it will foul the casing. Indeed, sliding joint driveshafts have to be used. Also, you'll have to change the oil seals.
Tommy
|
|
|
|
Post by tommydp on Jan 6, 2017 20:16:32 GMT
Great work!
Looking forward to follow the prosess. I'm curious to see if you find the cause for the oil consumption. If I remember correctly this was a "new" engine. You may remember I had the same problem with a rebuilt engine.
Sometimes I wish I lived in the UK. I would pay a lot to have some fellow enthusiasts take the car away and fix it. I've been about to give up the blue one due to engine problems once again. I'm into the timing gears again now....
How will you solve the circlip in the Princess' differential, where the drive shafts go in? I have a Princess rod change box in my car. Cut a groove on the shaft input, and it locked on the circlip. Luckily.
Best of luck!
Tommy
|
|
|
|
Post by tommydp on Jan 5, 2017 15:46:25 GMT
Never owned an automatic, but I suppose it should be the same if it's in neutral.
The engine should turn easily with plugs out. I grab a blade on the radiator fan with my left hand and the alternator fan and pulley with the right hand, pressing down the fan belt with my right hand thumb to apply pressure to the belt. It should then be simple to turn the engine while watching the valves. Never done it another way, and never had problems. With that:-)
Tommy
|
|
|
|
Post by tommydp on Jul 15, 2016 21:33:27 GMT
|
|
|
|
Post by tommydp on Jul 13, 2016 21:54:06 GMT
Good news!
Another job well done! It looks very tidy.
Tommy.
|
|
|
|
Post by tommydp on May 31, 2016 20:56:20 GMT
Thanks for your replies everyone:-)
I'm now absolutely sure the dipsticks are the same. It appears to me the 1800 is quite sensitive to how it is standing when it comes to checking the oil level. I believe I have parked it quite level but when checking in a parking house, which should be level, the level is different... That's why I rather would measure up than judge by the dipstick. A mistake, perhaps...
There is 0.9 litres between min and max. Judging by this, there was not more than around 0.5 litres extra when I checked it. I'll find a level place and check it again, and see if I have to drain some. Perhaps it's burned some running in:-)
Tommy.
|
|
|
|
Post by tommydp on May 28, 2016 5:53:56 GMT
I've done about 700 kms on the new engine so far. I'm quite pleased with it. The most amazing thing is that it does't leak oil at all:-) Happy with that. Yes, it has rod change from a Princess now... I wonder how much it has to be driven to be fully brooken in? I've followed the rebuilder's advice on breaking in. At least it doesn't look like it uses oil, though I know some is to be expected during breaking in. I've had a look down the plug holes and until recently I could see oil there. It seems to have settled now. I've not seen any smoke after going down hill, apart from after a long, steep one in third gear. So, hope it works this time:-) I just changed the oil and filter. I can now get the Gulf Classic 20W50 oil, with additional, zink locally. So I went for that. A strange thing though. I filled exactly 5.1 litres, plus the filter, which is correct. However on the dipstick, the level is well above max. Any experience with this. Is it due to having a mk 2 engine on a Princess box? The engine has its correct dipstick, but the dipstick tube is different on an 1800 vs a Princess. The 1800 one is screwed into the block, while the Princess one is just pushed into the block. Their dipsticks are the same length as far as I can see. Tommy 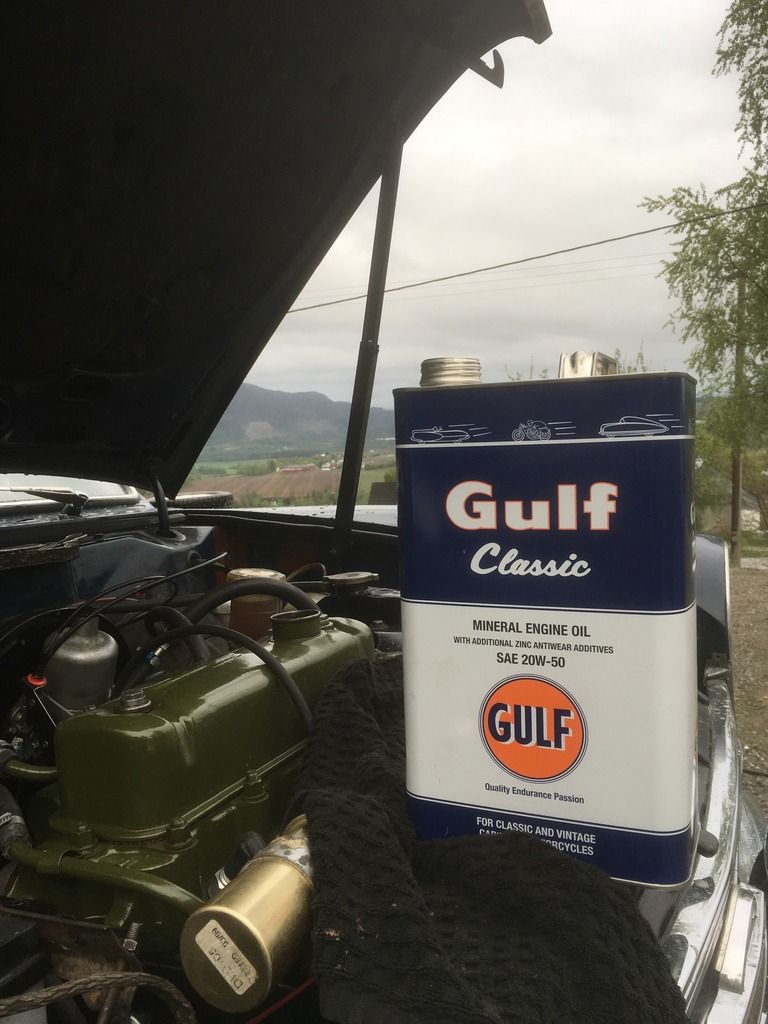 |
|
|
|
Post by tommydp on May 28, 2016 5:31:09 GMT
It's straight forward. I've drilled them out, and used screws to put it back.
Tommy
|
|
|
|
Post by tommydp on May 17, 2016 8:10:36 GMT
Finally, it's alive again:-) Very promising so far. Tommy  |
|
|
|
Post by tommydp on Apr 17, 2016 11:07:17 GMT
Welcome!
It looks great! Probably an easy project.
Tommy.
|
|
|
|
Post by tommydp on Apr 7, 2016 6:49:32 GMT
As mentioned before I have, of all things, an ancient CO meter. It's old, but it seems to work well and accurately. It's a Riken, top of the range in its days and cost a fortune back then. So it's a workshop machine and originally not one for mr home mechanic.
Anyway, I've been using it to investigate and (try to) learn and understand more. The main thing is that I want to make damn sure that the new rebuilt engine for the blue car does not get to much petrol. The only reasonable explanation why the last one wore out so quickly, is that it was "washed out" with petrol.
So, just for testing, I installed the carburettor I intend to use on blue into the white car. My first discovery is that two tight valves, one inlet and one oulet (no idea how that happened) made the co level very high and made it impossible to have the engine running evenly at idle with a decent co %. Once valves were fine, it made more sense. I also noticed that changes in the float level make drastic changes to the co. As far as I could tell, viton tipped float needles made a difference here. Even though the original type needle and seat are almost new.
As you adjust the mixture with the meter you should rev the engine to above 2000 rpm for a while if the setting can't be done within 3 minutes. Well, I've had to do that a few times... At the staring point for mixture, 12 flats down, the mixture is far too rich. On all carbs I've tried. CO will be around 8 %. The carb for the blue car is all new btw. Then weakening, one flat at the time until the revs just go down on the weak side, the engine wil start spitting and the CO goes below 2%. Too weak in other words. Then it's a matter of richening, the smallest amount, until the idle speed catches up again. At this point, which should be the correct spot, the CO will be somewhere between 3 and 4,5% which is correct (stated for the Princess 1800, never seen it mentioned for the crab) I ended up with around 3.5% on the "new carb" and just below 4% on the one I use on the white car. The car is then idling at around 700 rpm.
As far as I can tell, there is no obvious difference between fixed and biased needles. I now only used fixed needles, as the idea of the needle rubbing against the jet makes no sense to me. A properly centred fixed needle must be best. Small variations on the carb can make quite big differences on the mixture, according to the CO. Any wear on jet and needle will contribute to this. I found the new carb less sensitive, than the one I use on the white, which possibly has a mis match of jet and needle too..
Looking back, I might have been too obsessed with the lifting pin test, and had the mixture too rich. At the correct setting using the CO meter, the lifting pin test does not work as the book says. The revs will drop a bit. I believe this is down to modern petrol, but stand to be corrected. I think I'd rather aim for a setting at the point where the engine starts to run evenly when enriching from the too weak point (engine spitting) and using the CO meter. Then again, the micture must not be too weak (I know Dave) as it will ruin the engine.
Now, question time:
What's supposed to happen with the CO at higher revs/ driving? I assume it should go down a bit? At least the new carb does that when holding the rpms up steadily, and then returns to the original setting. The white car's carb seems to have a more steady CO, even going up a bit at steady, high rpm. I believe this is due to a possible mis match and worn needle and jet. I'll get replacements and see if it changes. On both carbs the Co will go up a bit instantly as you rev it, which is normal I guess as the carb damper/ oil works as an accelerator pump.
Another question: Thepoint where the choke arm is fixed to the jet, by the screw. Is this point supposed to pivot? I would think so, but at least one, new, choke arm does not allow this. I could only imagine that this could lead to wear on the outside of the jet, inside of the jet bearing. Remember they went from the choke arm with the screw, to the angled iron which is just pushed into the hole in the jet and does in deed pivot.
Anyway, I feel assured that at least the carb intended for the blue car is Ok and will not allow more petrol than it should. Remember, I tried both carbs on the same car. I'll also order a new bearing, jet and needle for the white car to see if it makes any difference.
OK, a lot said... Perhaps out of interest, but at least a good way for me to sum up what I've done.
Tommy
|
|


