|
|
Post by dave1800 on Sept 5, 2017 6:55:23 GMT
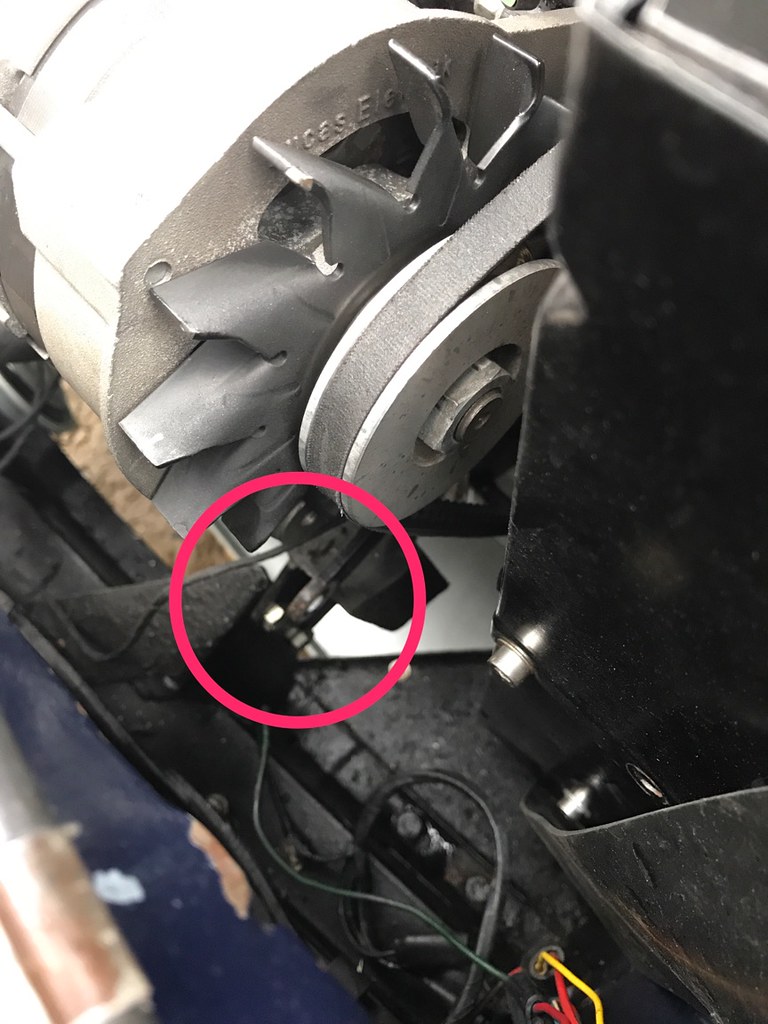
Good job you didn't fit one of those new fuel injection conversions (sorry Snoopy). The old Prince of Darkness coil only takes around 2 amps of current and the SU carb none at all.  David |
|
|
|
Post by snoopy11 on Sept 5, 2017 17:31:37 GMT
I asked for that
It's all working again now. It's typical that the weekend was scuppered by a 20p bolt and in truth it was probably me that didn't tighten it properly anyway.
|
|
|
|
Post by Penguin45 on Sept 6, 2017 20:31:28 GMT
|
|
|
|
Post by Penguin45 on Oct 15, 2017 23:10:01 GMT
Entire dashboard is out of car at the present time, so Sunday saw us "address" the wiring. 5 hours of my life I won't see again, but it shouldn't burn down now. Oh, and one of the two remaining brand new fuse boxes in the whole world has been fitted. Mmm, nice. Got a few pics of the horrors, which I'll post up if the packet of plain chocolate digestive biscuits doesn't arrive fairly soon.  Chris. |
|
|
|
Post by dave1800 on Oct 16, 2017 0:20:10 GMT
McVitie's plain chocolate digestives arrive on the shelves here occasionally at nearly £2 for a small packet. Hit and miss as to whether they have melted inro a single lump, but I still can't resist! David if the packet of plain chocolate digestive biscuits doesn't arrive fairly soon.  Chris. |
|
|
|
Post by Penguin45 on Nov 5, 2017 19:13:17 GMT
As mentioned above, we spent a happy Sunday sorting out the wiring behind the dashboard. 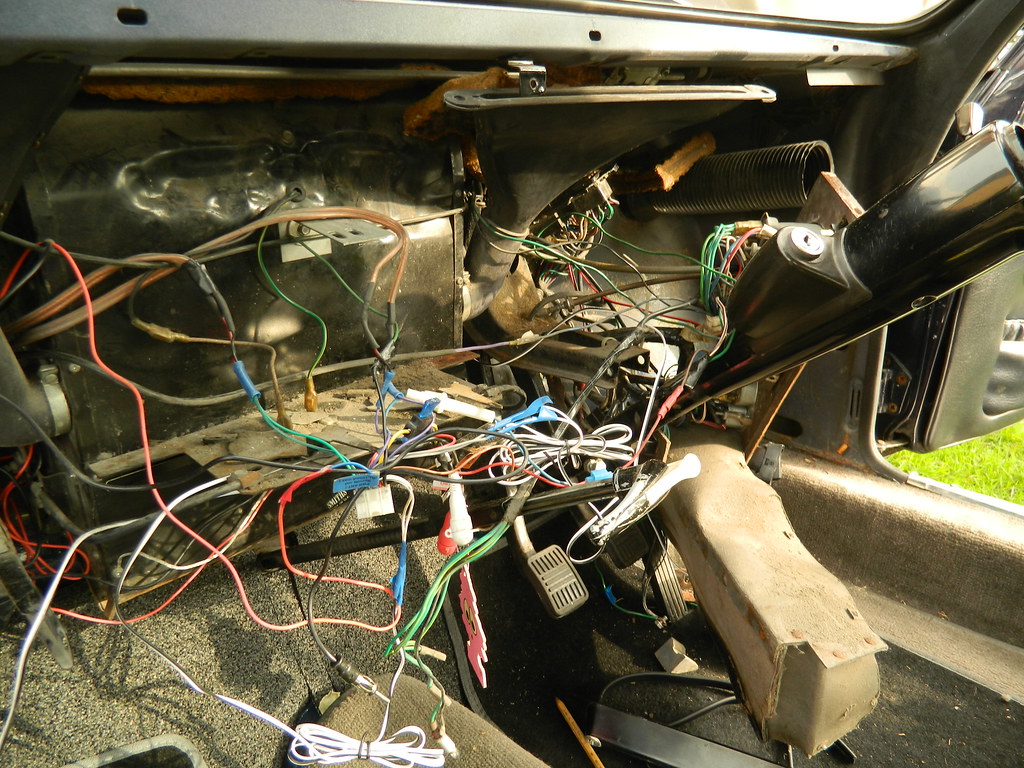 DSCN4662 DSCN4662 by Penguin 45, on Flickr 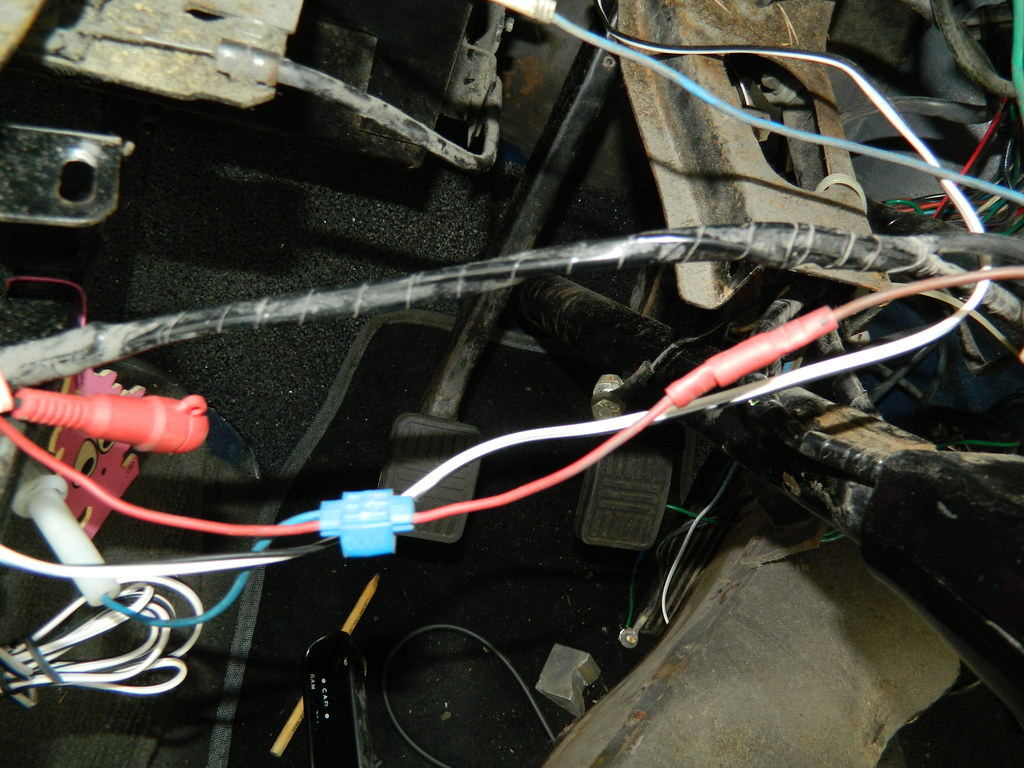 DSCN4663 DSCN4663 by Penguin 45, on Flickr 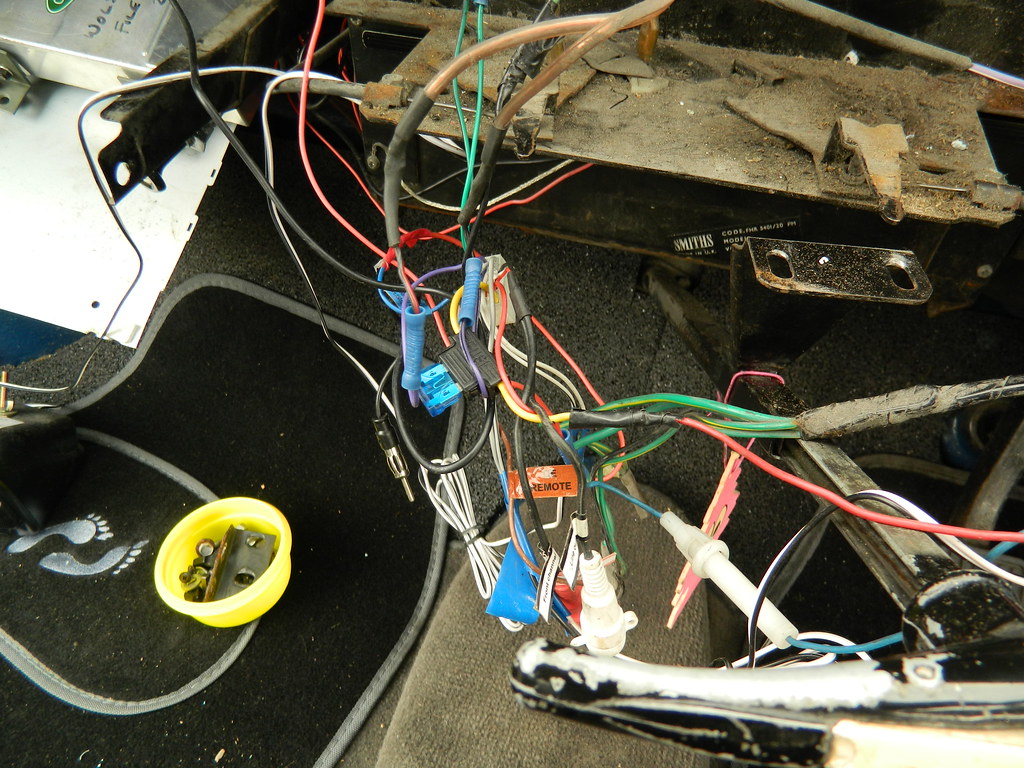 DSCN4664 DSCN4664 by Penguin 45, on Flickr 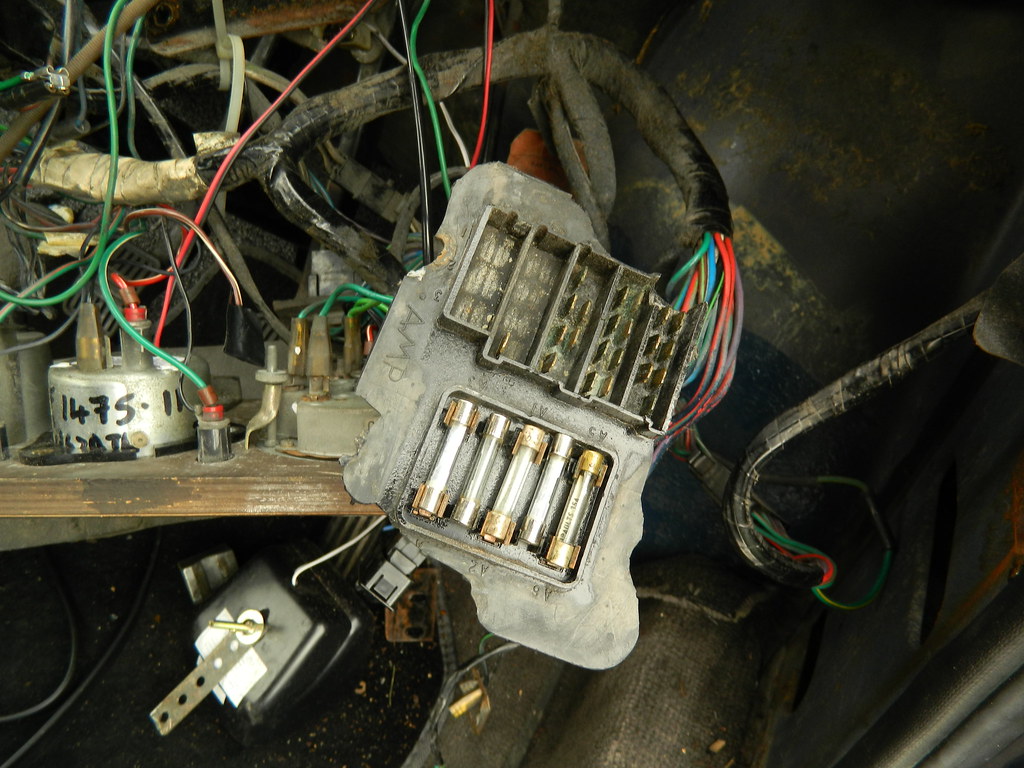 DSCN4665 DSCN4665 by Penguin 45, on Flickr A right horrible mess. Not much left of the fuse box. 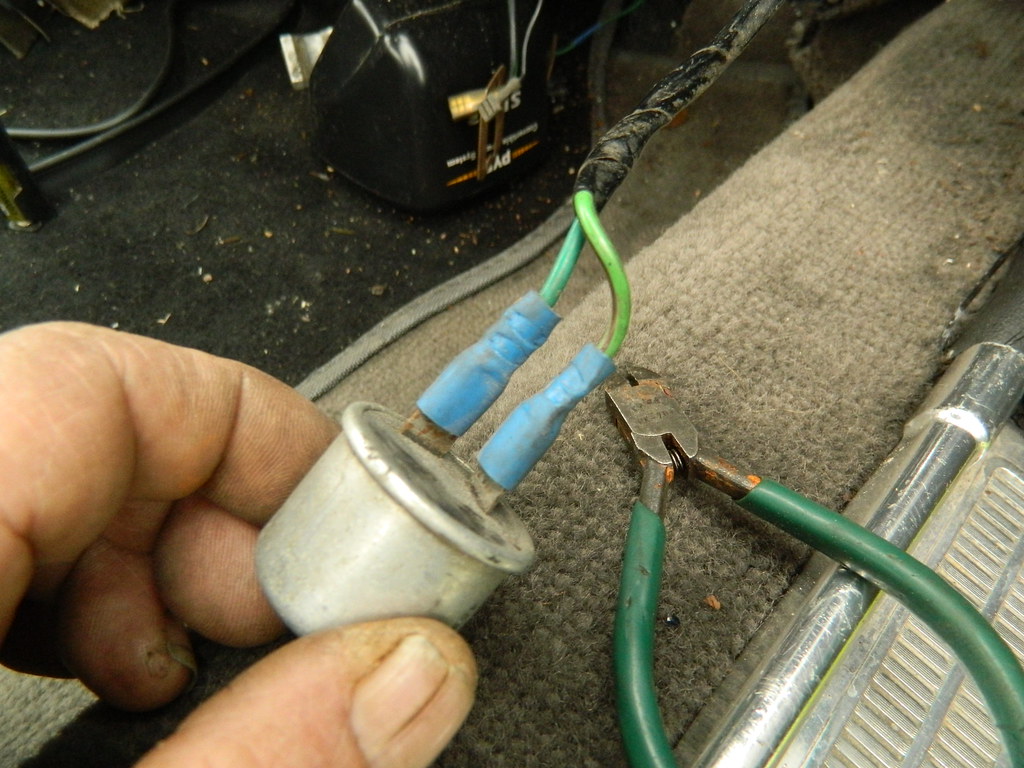 DSCN4666 DSCN4666 by Penguin 45, on Flickr 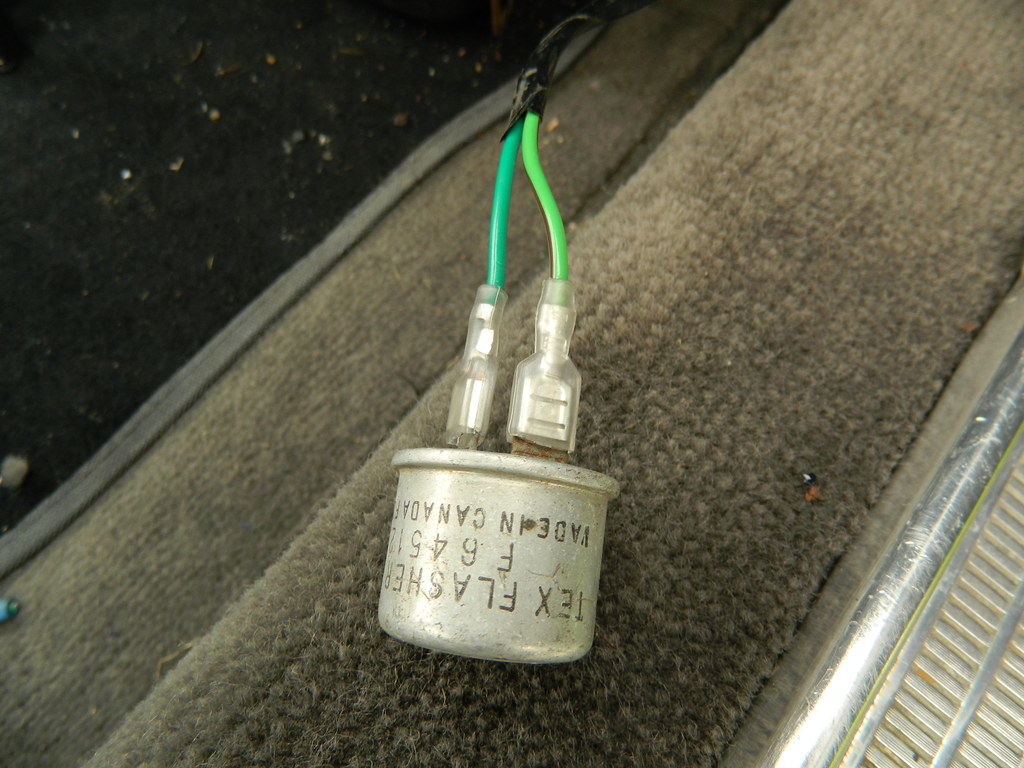 DSCN4670 DSCN4670 by Penguin 45, on Flickr Much better. There was a lot pf this sort of stuff. 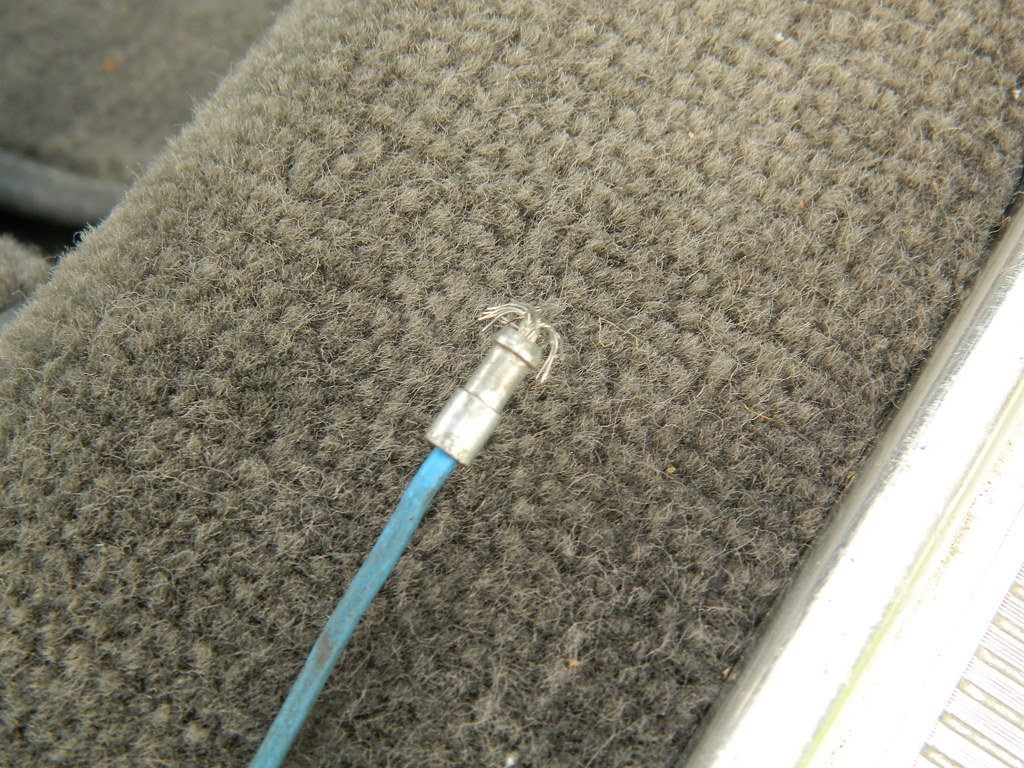 DSCN4671 DSCN4671 by Penguin 45, on Flickr 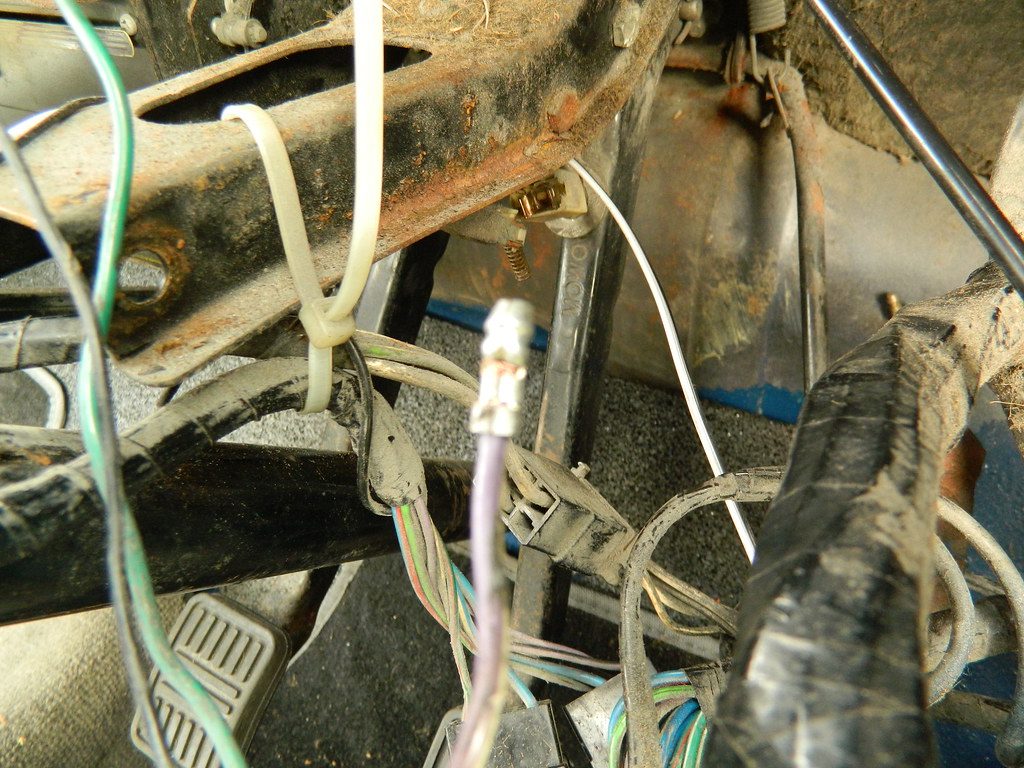 DSCN4672 DSCN4672 by Penguin 45, on Flickr Lots of dodgy bullets. 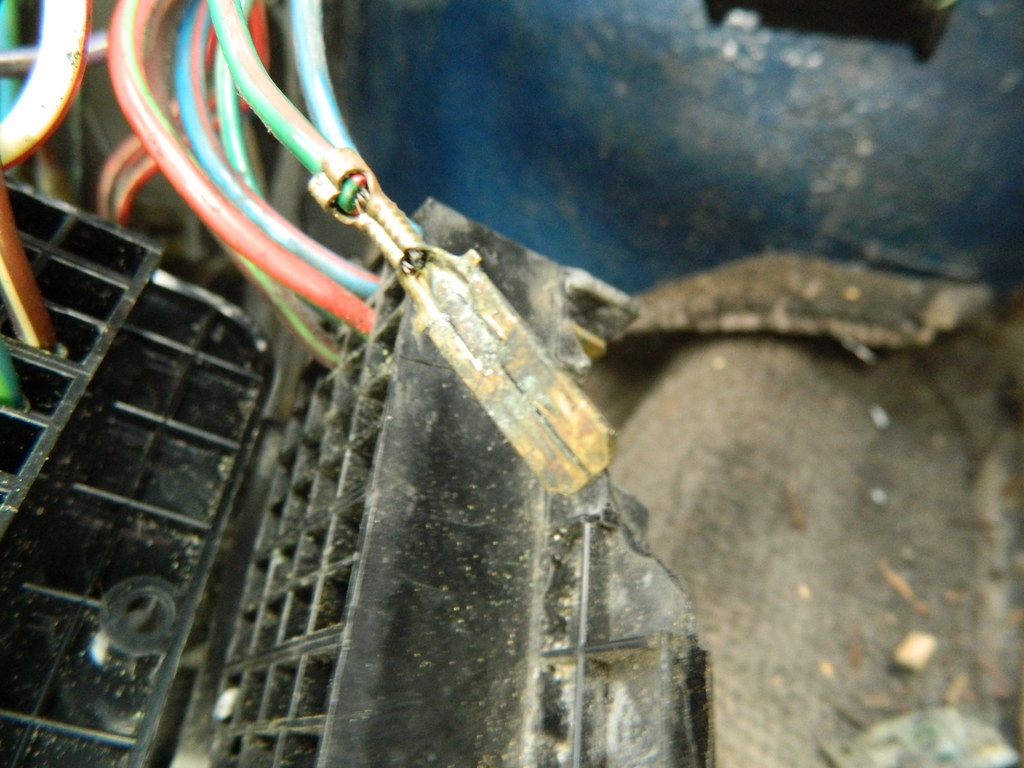 DSCN4673 DSCN4673 by Penguin 45, on Flickr 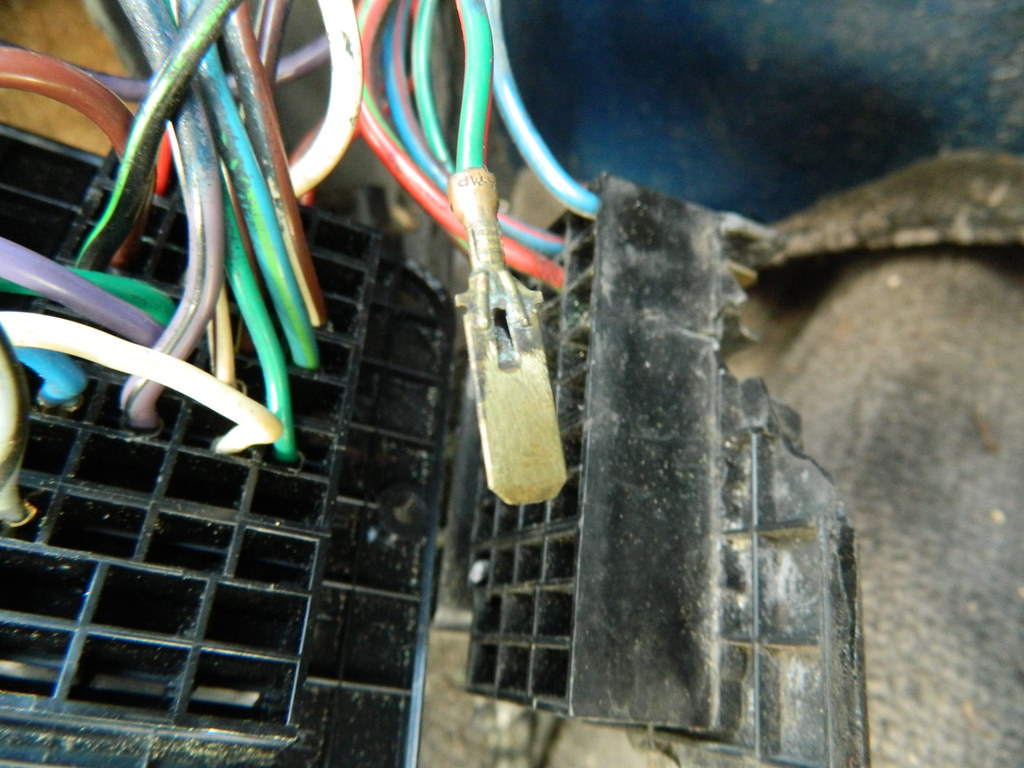 DSCN4674 DSCN4674 by Penguin 45, on Flickr Plenty of horrible connectors in the fuse box. 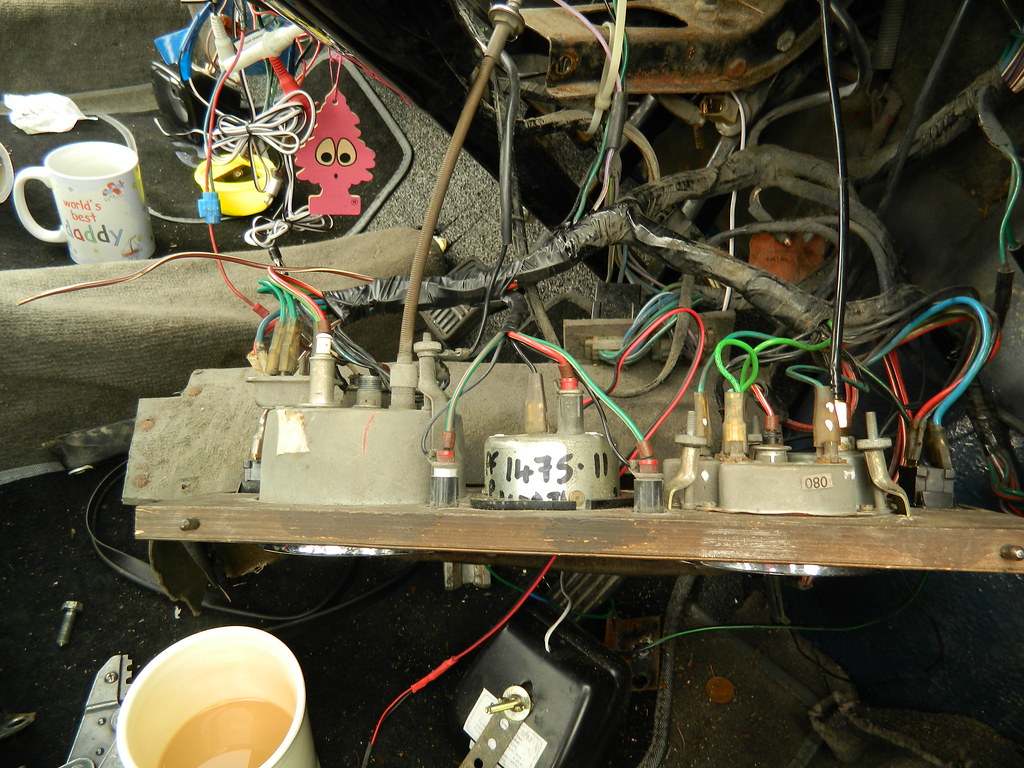 DSCN4675 DSCN4675 by Penguin 45, on Flickr Oddly enough, this is a vast improvement! Much re-routing and re-bundling gets things back under control. 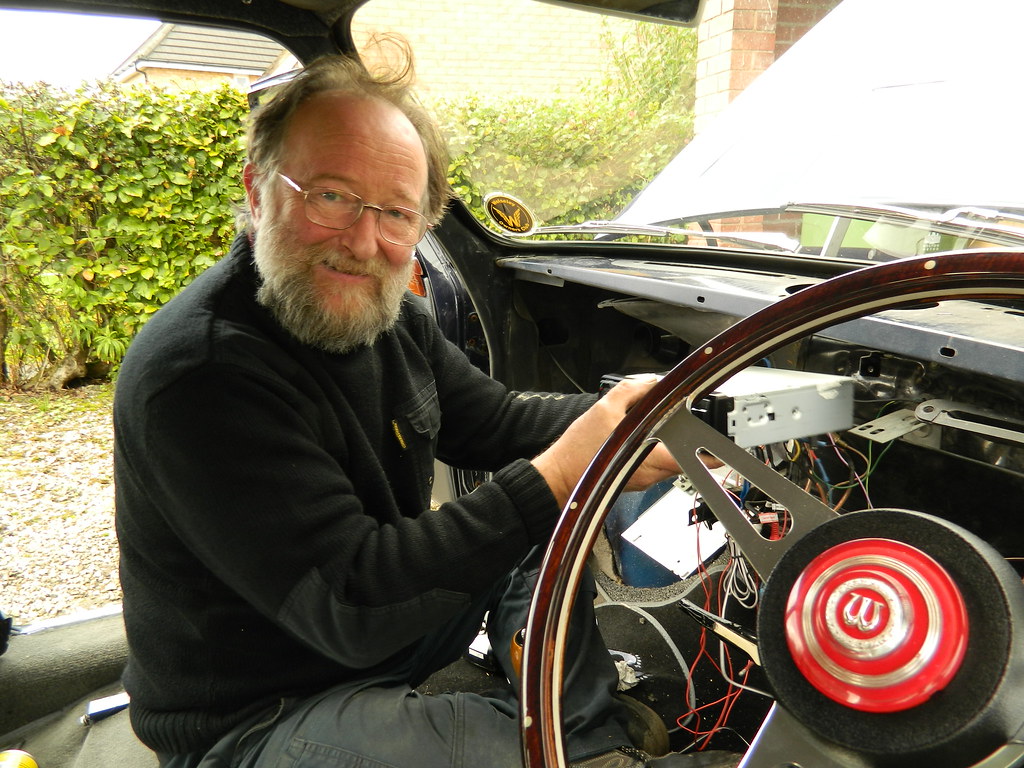 DSCN4677 DSCN4677 by Penguin 45, on Flickr Yours truly getting to grips with the sound system. 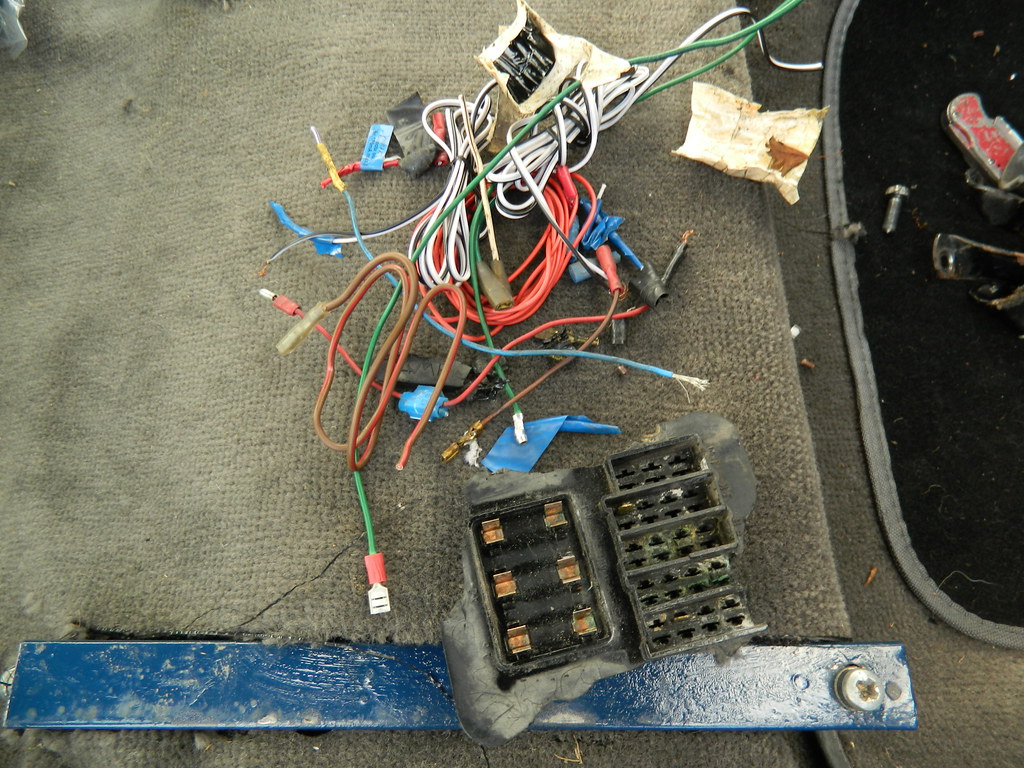 DSCN4678 DSCN4678 by Penguin 45, on Flickr Most of what was cut out. 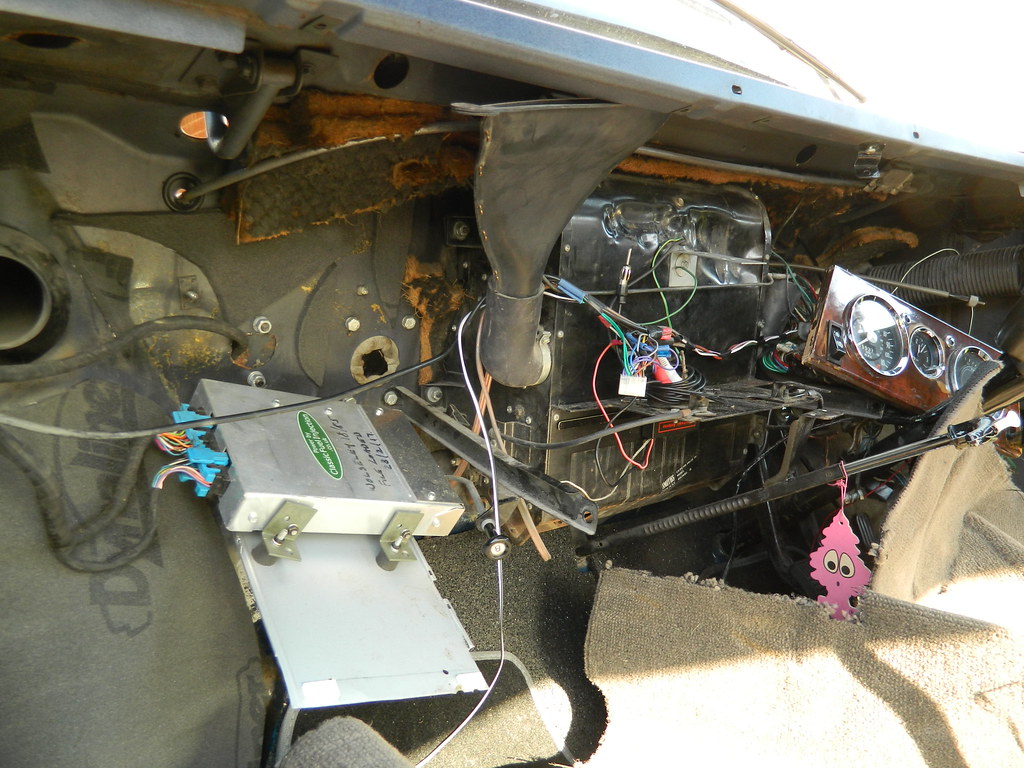 DSCN4684 DSCN4684 by Penguin 45, on Flickr There was loads of wiring coming out of that metal box, but Snoopy was quite determined we should leave it alone. We also took the opportunity to add some sound proofing. 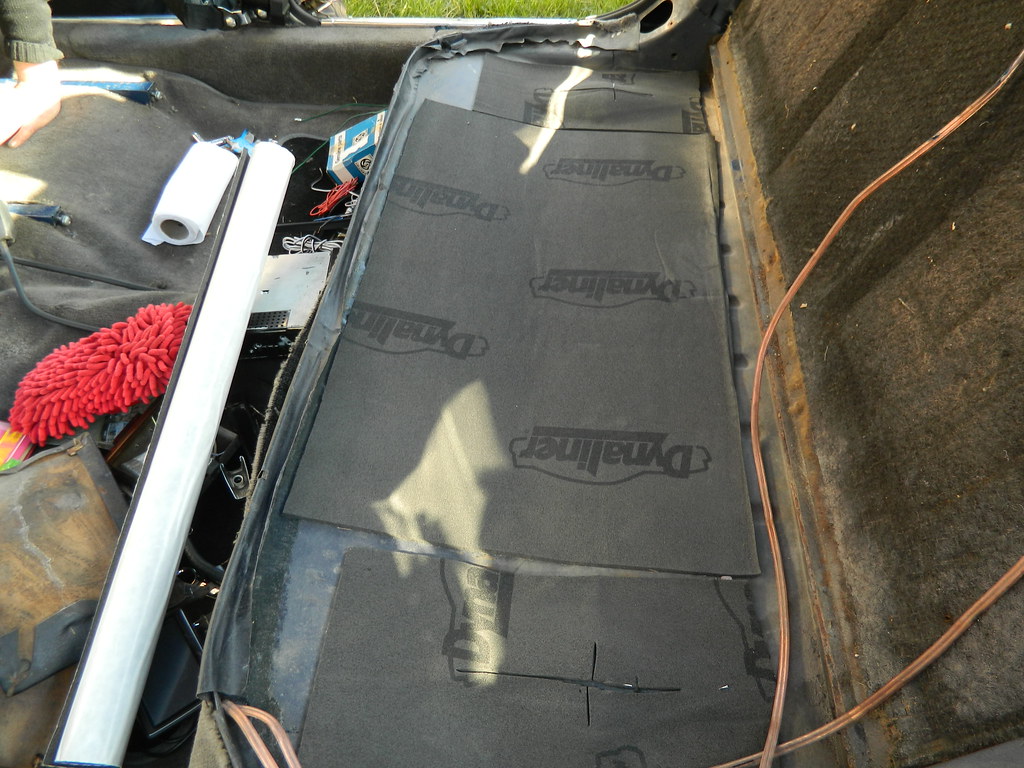 DSCN4685 DSCN4685 by Penguin 45, on Flickr This is "Dynamat". We did the bulkhead and wheel tubs at the front as well. Chris. |
|
|
|
Post by Penguin45 on Nov 5, 2017 19:29:00 GMT
Several Sundays later, the dashboad, crash pad and seats came back from the upholsterers. All very smart. Due to unforeseen circumstances, Snoopy had to shoot off for a couple of hours. 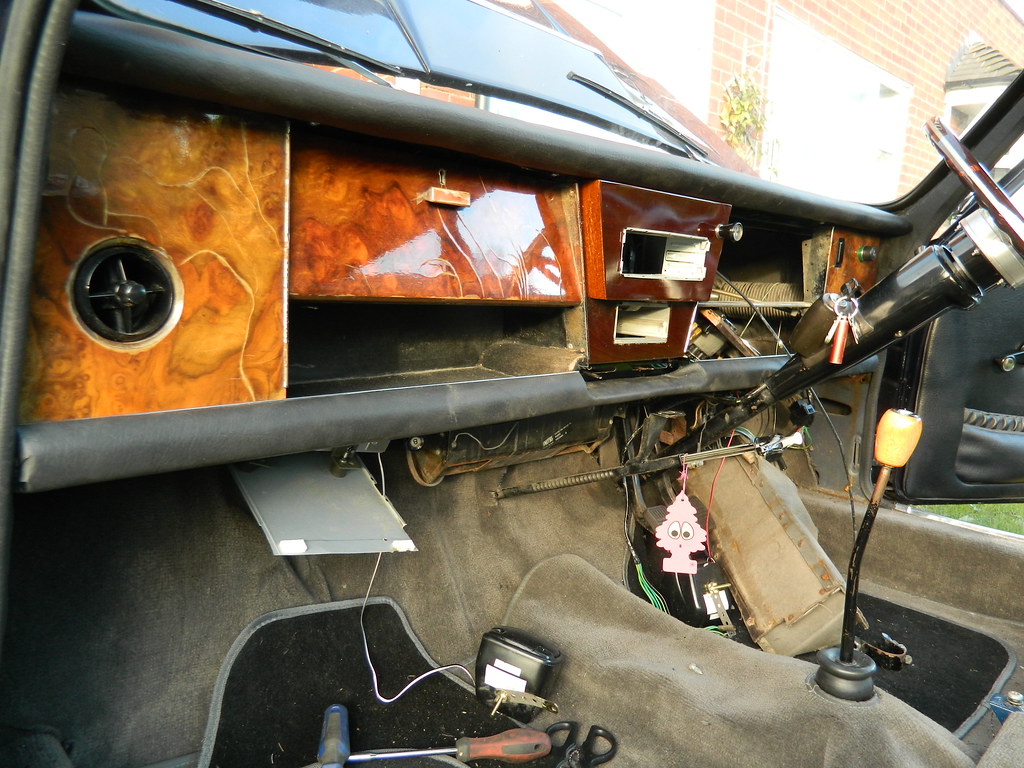 DSCN4686 DSCN4686 by Penguin 45, on Flickr Which allowed me to prove that it is possible to refit the dashboard single handed. 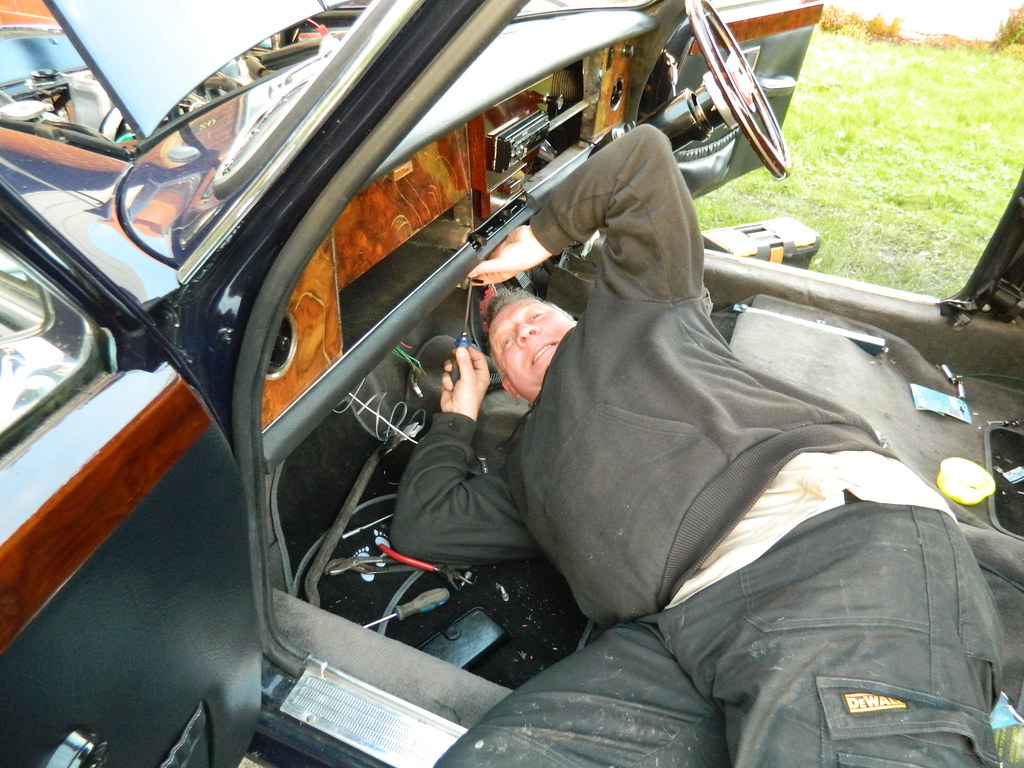 DSCN4687 DSCN4687 by Penguin 45, on Flickr Mind you, I made him suffer when he got back....  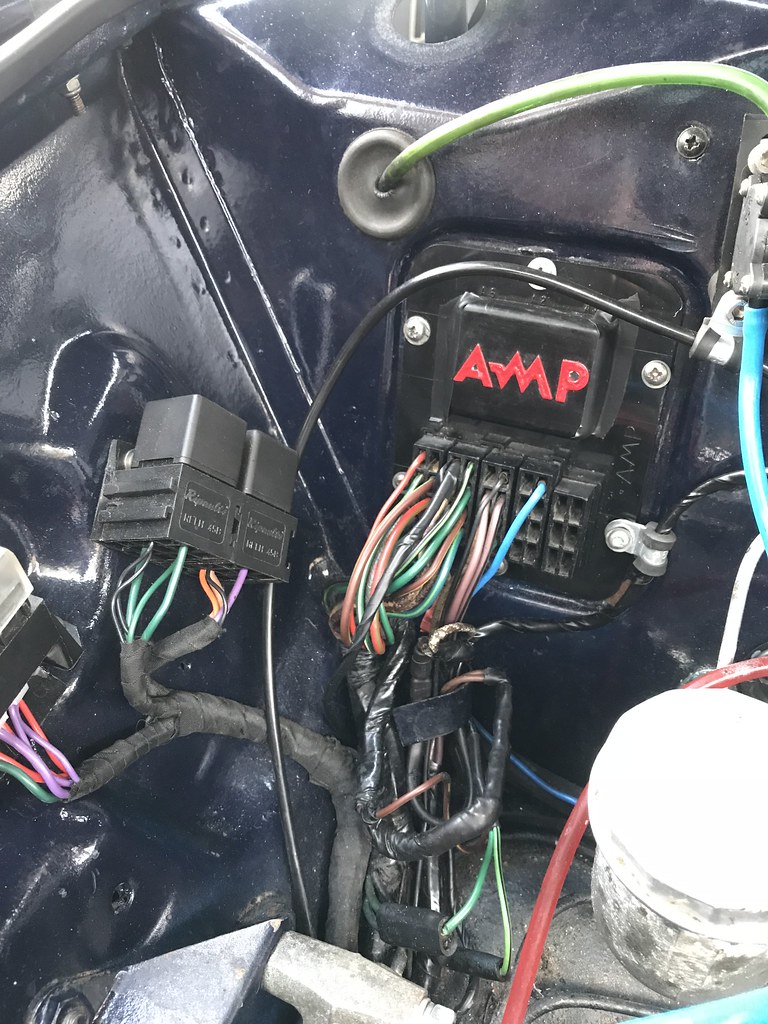 IMG_0472 IMG_0472 by Penguin 45, on Flickr And the shiny new fuse box. We got the car back together and she's off to the NEC next weekend. Chris. |
|
|
|
Post by indianajones on Dec 5, 2017 7:12:04 GMT
Oh that looks like a lot of fun Chris!
-Andrew
|
|
|
|
Post by snoopy11 on Jul 3, 2018 21:19:41 GMT
I have to report that an issue has arisen with the brakes. I was out and about and when I put the handbrake on when parked on a hill nothing happened First thoughts was that it would be a simple adjustment. I was wrong. Stripping the drum off reviewed worn pads, a sticky adjuster and dubious cylinder. That would be new everything then and if one side is getting it may as well do both. 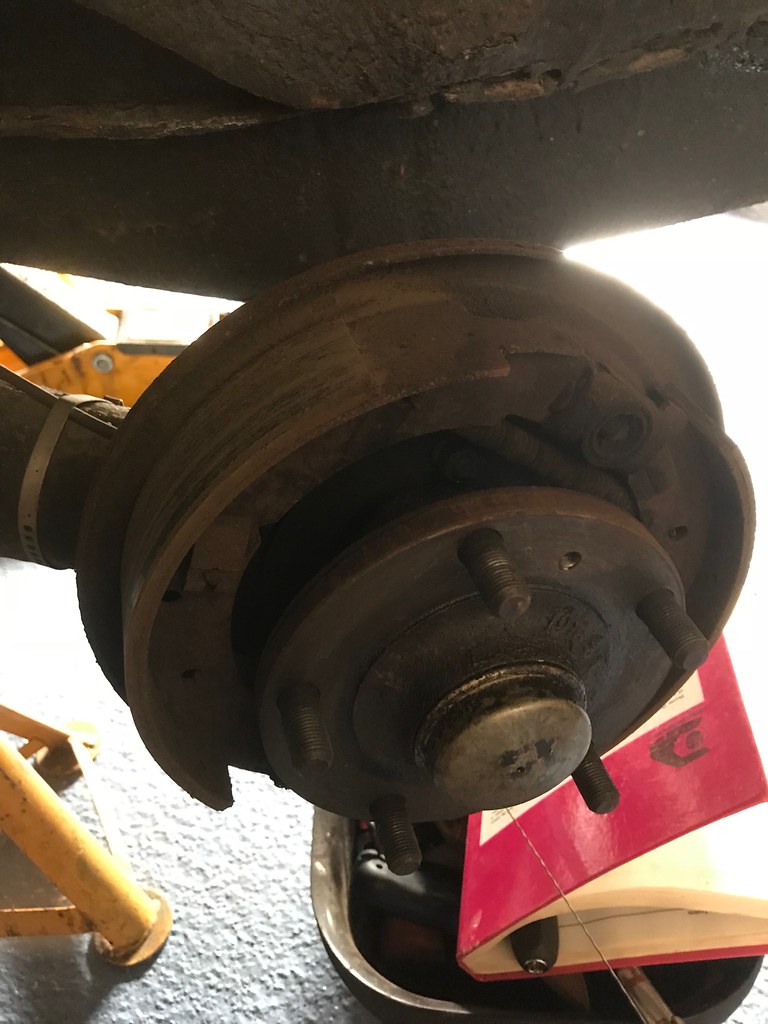 Brake refurb Brake refurb by mark atkinson, on Flickr New parts sourced: Brake shoes from brakes international in Bolton £20 Cylinders from Power Track £100 Everything stripped off to the back plate including the copper brake lines on the back as they looked iffy. Crud and rust attacked with a wire brush and given a coat of Matt black calliper paint 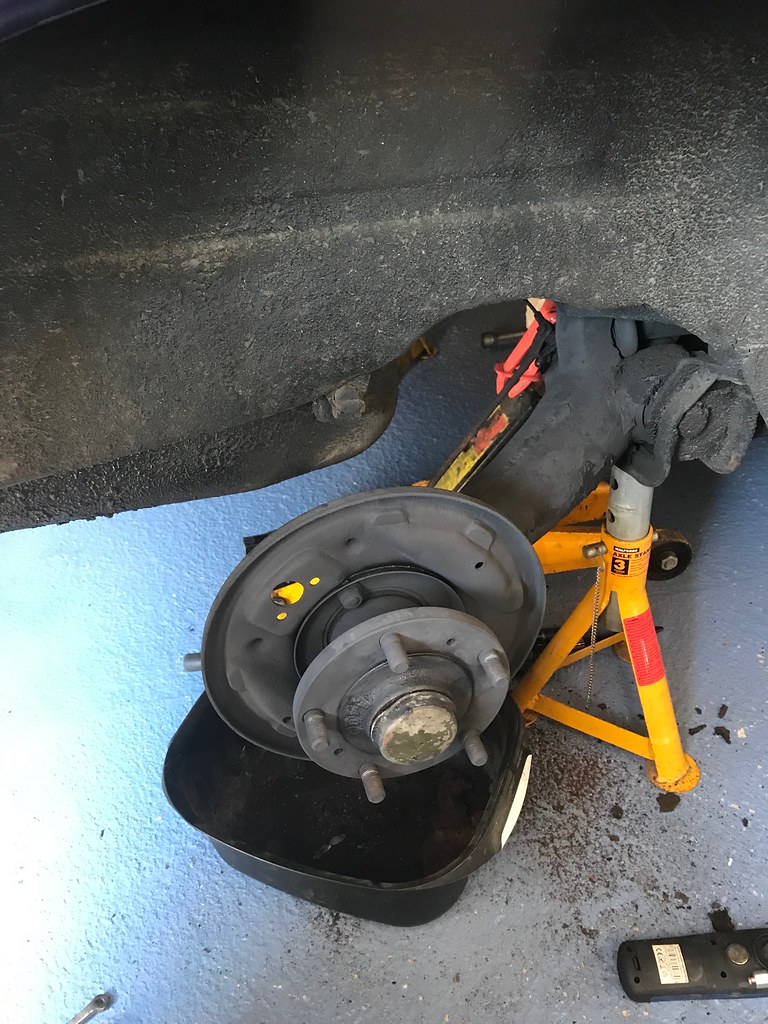 Brake refurb Brake refurb by mark atkinson, on Flickr Assembly was easy enough once the correct position of the dust seal on the cylinder was established. It goes on last. Adjuster was cleaned up and grease applied to it’s moving parts. 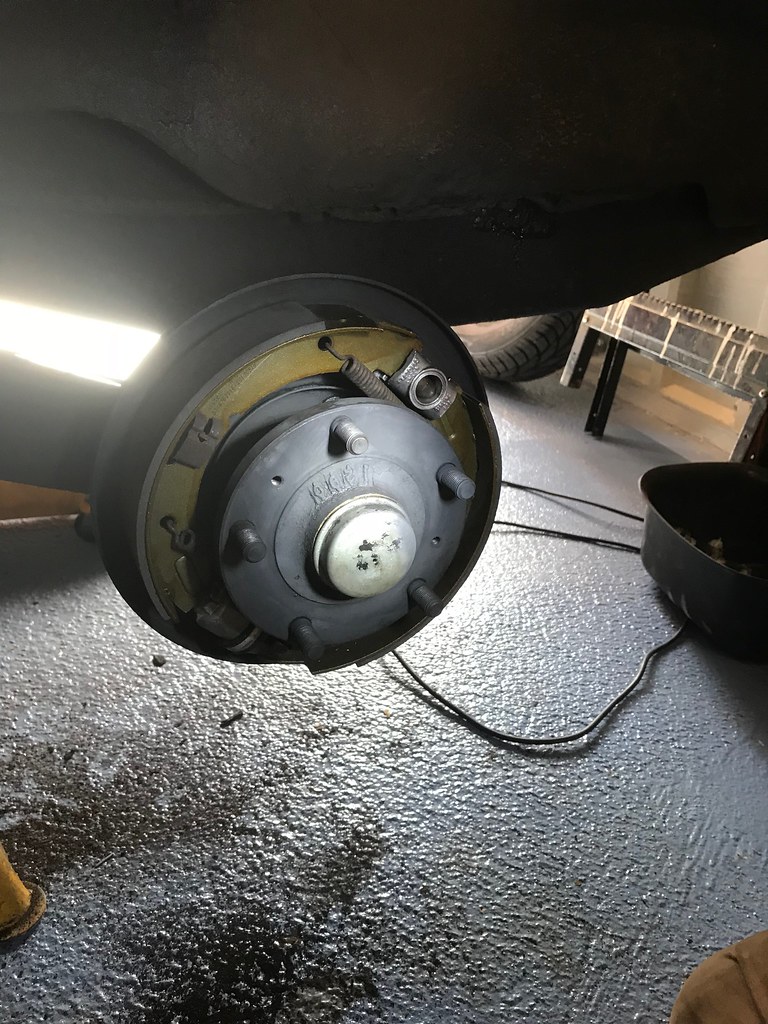 Brake refurb Brake refurb by mark atkinson, on Flickr New copper pipes on the back Quick bleed if the system and we are away. Well that’s what I thought. Near side bleeds lovely three or four squirts and no air. Off side........ it’s got a good pedal but we know there is air in there. Foot on pedal drum turns by hand. Hand brake on. Drum tight. Confused. Go away and get tea. A good inspection later revealed a collapsed flexi pipe. This has probably happened from using a clamp on the pipe while everything was done A phone call to the Emporium and exchange of thirty five of our finest English pounds an we have some shiny new upgraded parts. 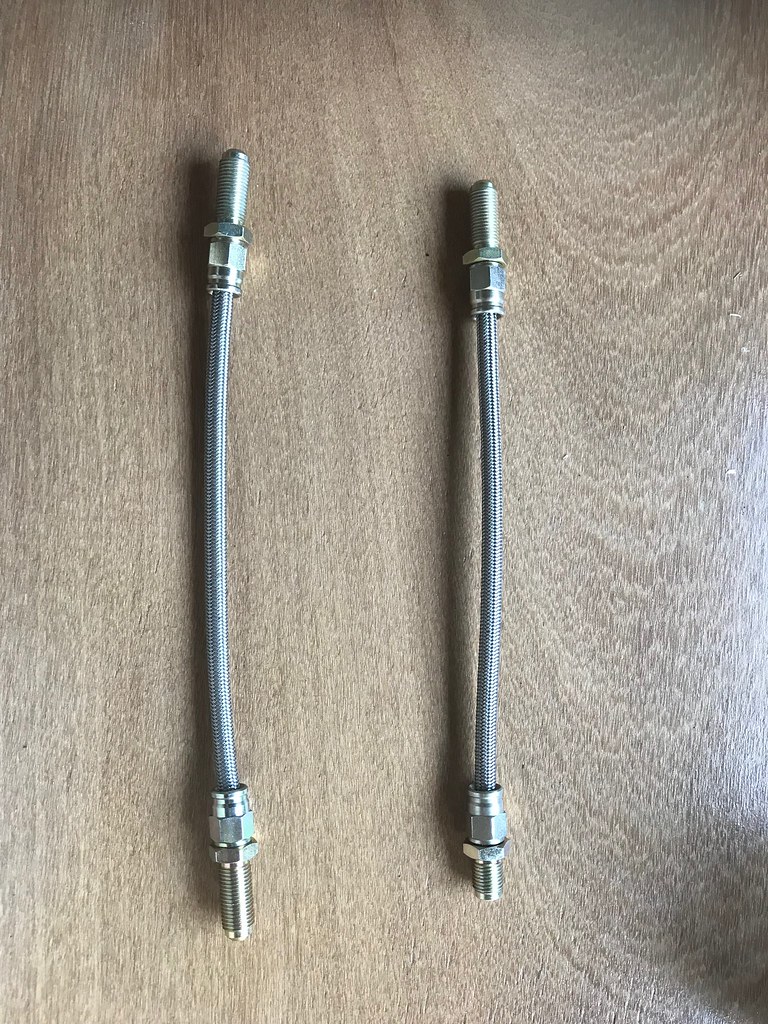 Brake refurb Brake refurb by mark atkinson, on Flickr Note they are different lengths and one end is slightly different These will be fitted this week an hopefully all will be well again. |
|
|
|
Post by rosieuk on Sept 7, 2018 17:45:45 GMT
Having seen that horrible mess of wiring behind the dashboard I'm happy I left well alone.
I have a dead interior light - I suspect the drivers door switch - because the boot light & the interior light are on the same circuit with the interior first & the boot light works (led installed naturally). Other problem is the reverse light circuit is either dead or mis wired - and the headlight flash has a mind of its own, although high works perfectly (off the same switch).
When the tachometer/hourmeter arrives I'll fit that & probably turn speedo back to white illumination (multigauge & tacho will have red).
The heated rear window doesn't work & I can't even find the wiring - but not entirely sure that's a bad thing (given the anaemic electrics).
With the wiring - did it always give the impression of something done by a 12 year old - or is it just time & various people mucking about? The rear window switch looks like something out of a Maplins catalogue circa 1970.
Glad to see it's getting there.
|
|
|
|
Post by Penguin45 on Apr 13, 2019 20:28:49 GMT
 Snoopys' GLE Snoopys' GLE by Penguin 45, on Flickr This arrived on my phone. Trip to Lancashire then. In the general way of all good holes, they get bigger before you can repair them.  Snoopys' GLE Snoopys' GLE by Penguin 45, on Flickr  Snoopys' GLE Snoopys' GLE by Penguin 45, on Flickr And new holes are found.  Snoopys' GLE Snoopys' GLE by Penguin 45, on Flickr Oh look! Another sill. And that bottom flange was rotten as well.  Snoopys' GLE Snoopys' GLE by Penguin 45, on Flickr So, bottom cut out even more to allow access to the bottom flange and the back end cut out. Snoopy was starting to look concerned at this point.  Snoopys' GLE Snoopys' GLE by Penguin 45, on Flickr Bottom flange section welded home.  Snoopys' GLE Snoopys' GLE by Penguin 45, on Flickr Sill bottom section in and attached to the new flange piece.  Snoopys' GLE Snoopys' GLE by Penguin 45, on Flickr Closing panel repair in. Snoopy made that. I'll get him welding next.  Snoopys' GLE Snoopys' GLE by Penguin 45, on Flickr And the little shelfie bit on the end for the mud to sit in. Snoopy's got to paint and protect it all and with a bit of luck the MoT man won't even notice. Chris. |
|
|
|
Post by snoopy11 on Apr 13, 2019 20:37:15 GMT
Recent pre MOT prodding with a sharp thing has unfortunately found a soft rusty bit at the back of the drivers side cill. 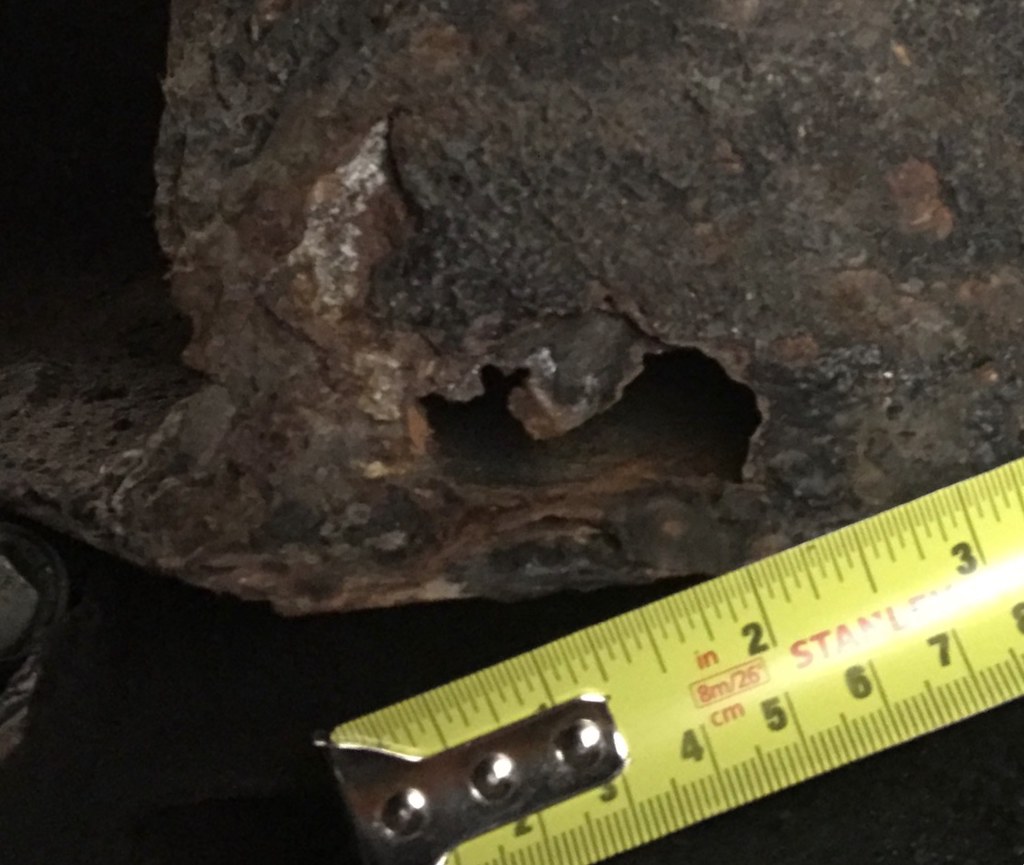 Hole a Hole a by mark atkinson, on Flickr Mr P came over today to weave some magic with his welder but after some more prodding and cutting we ended up with quite a job on.  hole 2 hole 2 by mark atkinson, on Flickr I’m sure Mr P will post up the results later |
|
|
|
Post by snoopy11 on Apr 13, 2019 20:38:07 GMT
Or then again just before me. 😂😂
|
|
|
|
Post by Penguin45 on Apr 13, 2019 20:45:00 GMT
HA! Good fun day, enjoyed it.
C.
|
|
|
|
Post by snoopy11 on Apr 13, 2019 20:48:09 GMT
Mr P in his best Harry Potter mode weaving metallic black arts. 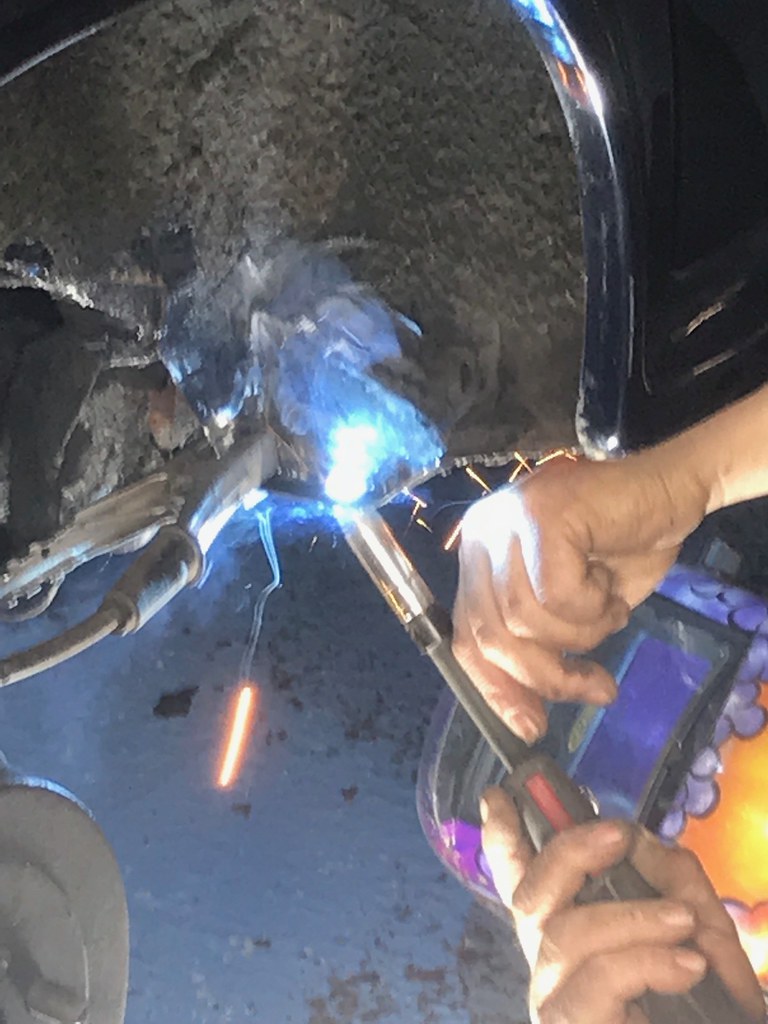 Mr p Mr p by mark atkinson, on Flickr |
|


