cybercontroller
Member
  
Posts: 107
Attribute: Waiting for the right Landcrab
|
Post by cybercontroller on Apr 12, 2021 19:23:31 GMT
Could be a supplier of some difficult parts.
|
|
|
|
Post by Penguin45 on May 8, 2021 13:21:38 GMT
Snoopy's Wolseley 6/110 - sort of. Well, he says it is.  Faux 6/110 Faux 6/110 by Penguin 45, on Flickr Dead as a doornail. Charger failed and battery connection problems. You could get a much bigger battery in there.... 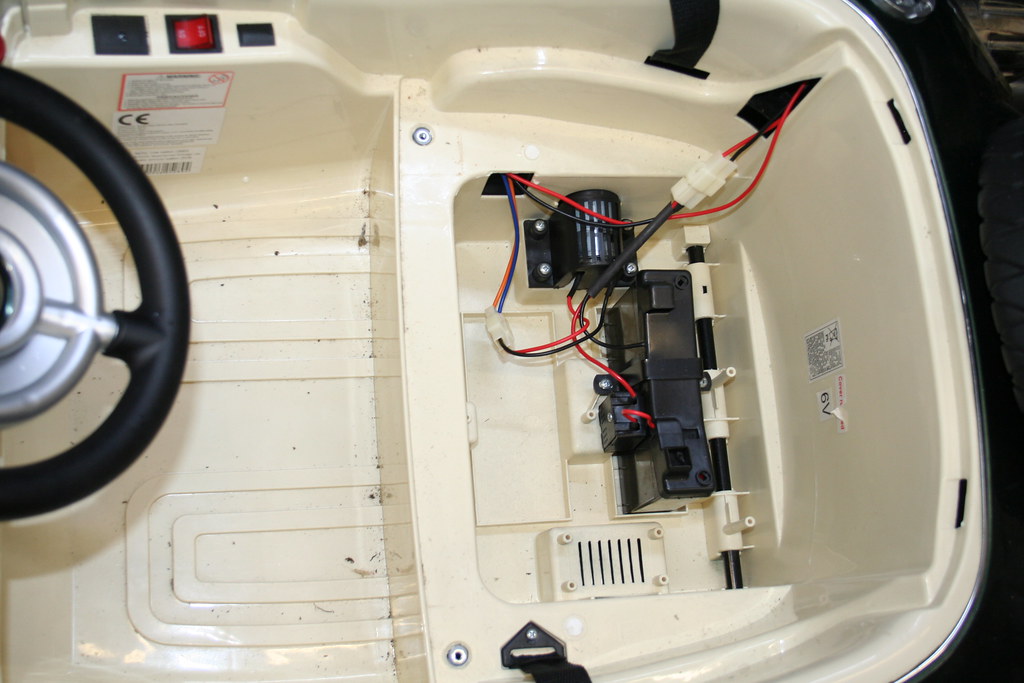 Faux 6/110 Faux 6/110 by Penguin 45, on Flickr  Faux 6/110 Faux 6/110 by Penguin 45, on Flickr Flashing lights. Most un-Wolseley like.  Faux 6/110 Faux 6/110 by Penguin 45, on Flickr All back together. Fun thing for four year old twins. The streets of Bolton may not be safe any more. Oh, it might as well be seen......  Faux 6/110 Faux 6/110 by Penguin 45, on Flickr Call me Shaun. Grooming sorted for another year.  Chris.
|
|
|
|
Post by Penguin45 on Jul 5, 2021 17:20:43 GMT
MrsP blagged my timing wheel.  timing timing by Penguin 45, on Flickr Quite astute from someone who's willfully ignorant about cars. Must pay more attention. |
|
|
|
Post by snoopy11 on Jul 11, 2021 10:16:03 GMT
Does that make the correct timing five passed TDC
|
|
|
|
Post by Penguin45 on Jun 15, 2022 19:23:56 GMT
I've been gainfully employed for a few months now, which has (at last!) allowed me to buy a long awaited tool.  Crenex 8 x 14 Mini Lathe Crenex 8 x 14 Mini Lathe by Penguin 45, on Flickr Big box.  Crenex 8 x 14 Mini Lathe Crenex 8 x 14 Mini Lathe by Penguin 45, on Flickr Phwoar. Look at that.  Crenex 8 x 14 Mini Lathe Crenex 8 x 14 Mini Lathe by Penguin 45, on Flickr The worlds most useless instruction manual.  Crenex 8 x 14 Mini Lathe Crenex 8 x 14 Mini Lathe by Penguin 45, on Flickr Bench built in the garage and all bolted down. It's an 8 x 14 Chinese mini-lathe. I have been looking at the price of lathes for a good few weeks and the realisation gradually dawned that used small lathes were eye-wateringly expensive, even second hand. Especially second hand! This is probably because the 7 x 12 mini lathe is a horrible piece of kit, although fairly cheap. Probably because it's fairly cheap. Plastic gears for instance. So, did a few more weeks work and bought this one. It's the next size up and uses metal gears in the drive train. It's still not without fault. The carriage was slack at the back and had to have the slide tightened and adjusted. The chuck cover rode against the chuck regardless of how I adjusted the locking screws, so a small stop bracket has been fabricated. There's slop in all of the handwheels, which I can probably adjust out and it's very noisy when running at speed. All those metal gears, I suspect. Oh, it was painted by PeppiB's favourite painter - Blind Pew. There are runs all over the sheet metalwork. That said, there is little to no play in any of the functional parts, meaning it should work very well - certainly well enough for what I wish to try and do. It's let down by very poor attention to detail by the makers. The last time I used a lathe was at school, so I've got a lot of re-learning to do. Chris. |
|
|
|
Post by Penguin45 on Jun 19, 2022 12:33:24 GMT
The first order of business was to get some light on the subject.  Crenex 8 x 14 Mini Lathe Crenex 8 x 14 Mini Lathe by Penguin 45, on Flickr Two foot twin LED batten sorted that out. £20 from Screwfix - how do they do it? Anyway, plenty bright enough now. Next job - sort the lash out in the cross slide. Over half a turn at the handle and a "soft" engagement as it starts to move made using the distance markers almost impossible. So, out with the mechanism. 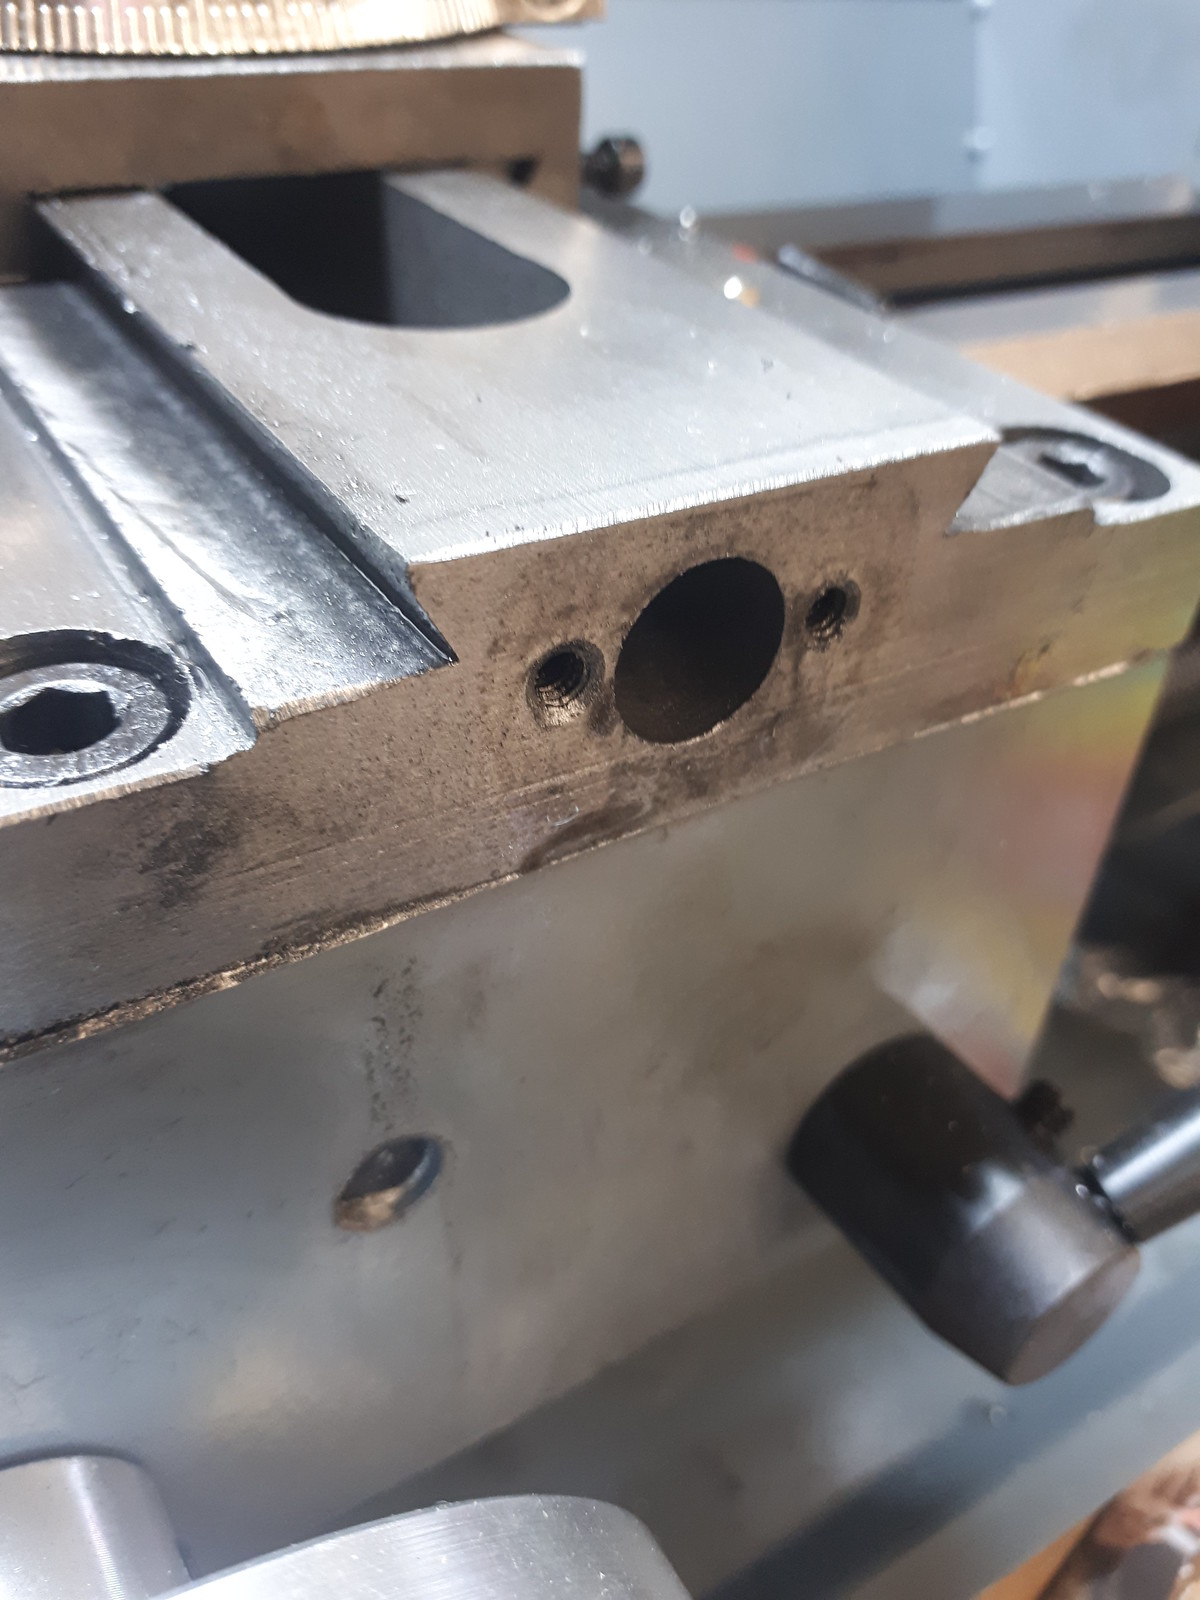 Crenex 8 x 14 Mini Lathe Crenex 8 x 14 Mini Lathe by Penguin 45, on Flickr With the front housing off, the two threaded screw holes revealed had raised burrs protruding. They were lightly countersunk to give a flat and level surface.  Crenex 8 x 14 Mini Lathe Crenex 8 x 14 Mini Lathe by Penguin 45, on Flickr The actual lash is set by the flange on the shaft sitting in the recessed hole in the housing. The hole was too deep, by 1/64". Now, I can't envisage 1/64", but Ady tells me that in engineering terms it's big enough to lose a whale in. It's good having an expert on the end of the phone. YouTube reveals all sorts of interesting ways to deal with this, from making washers, to drilling out the housing and fitting bearings of various types. All of which made my head spin... The solution seemed much more obvious and really very simple. The hole is too deep by 1/64". Facing off the front surface of the housing by 1/64" will make it the right depth and eliminate the lash, won't it? Lacking a milling machine, I resorted to a flat surface and sandpaper. Several sessions of flatting by hand did the trick.  Crenex 8 x 14 Mini Lathe Crenex 8 x 14 Mini Lathe by Penguin 45, on Flickr Flange sitting exactly flush in the front of the housing. Reassembled it all and there is no lash at all. If anything, it's just a smidge tight, but I can now trust the readings on the dials. I've tried a bit of work with it now, on some odd off cuts of steel bar and tube. Think I've mastered facing off and managed to do a bit of actual turning to size. Parting off seems to be a magical art which will require mastering. C. |
|
|
|
Post by Penguin45 on Jul 1, 2022 21:33:58 GMT
I have made a thing. I set out to make two things but it didn't quite happen. Read on...  Mini Lathe Mini Lathe by Penguin 45, on Flickr The cross slide handles are pins, instead of roundy roundies like the one at the bottom. As you wind in, they wind out and will fall off. I consider this to be sub-optimal.  Mini Lathe Mini Lathe by Penguin 45, on Flickr So, first attempt. Centre drill with 6mm bit in tail stock, check. Counterbore to 10mm to recess bolt head, check. Cut 10° taper, check. Turn body to give some semblance of a nice finish, check. Part off, check. Offer up shoulder bolt. Brain of Britain here forgot to add the depth of the head of the shoulder bolt to the length of the shank, which is why there's 5mm of plain shank sticking out. oBllocks.  Mini Lathe Mini Lathe by Penguin 45, on Flickr Take two. Spot on. Note difference in overall length...  Mini Lathe Mini Lathe by Penguin 45, on Flickr There we go. That'll do nicely. Cross piece of the handle had to be drilled all the way through and re-tapped to M5. Also, the cap head retaining bolt has been replaced with a nice dome headed one. Your knuckles slide over that easily, instead of catching the square one every revolution. I was so pleased with that that I went to make the second one for the top of the slide. Because I stuffed up the first attempt, there wasn't quite enough Al-You-Min-Ee-Um bar left. Double oBllocks. Chris. |
|
|
|
Post by Penguin45 on Oct 21, 2022 17:18:18 GMT
The mini lathe continues to be a bit of a project in its own right, but is also producing useful things. On the project side, tinkering continued to remove the back lash from the cross slide, all the gibbs have had to be re-set and an annoying problem with the carriage has been resolved by the addition of a lock mechanism.  Mini Lathe Mini Lathe by Penguin 45, on Flickr Just a "T block" between the bed slides, but required a fair degree of accuracy to make correctly. It also required a flat bottomed hole. Flat bottom holes need flat bottomed drills and I don't own any, so I made one.  Mini Lathe Mini Lathe by Penguin 45, on Flickr Found a rather tired looking 10mm bit and re-ground it. By eye. That'll never work thinks I. Started the hole with a standard bit and then used that and it worked beautifully. To say I was gobsmacked is a mild understatement. I replaced the very cumbersome tool post with a quick change one.  Quick Change Tool Post Quick Change Tool Post by Penguin 45, on Flickr This is the piston lock type. The wedge lock ones are better, but hey ho, budget you know.  Quick Change Tool Post Quick Change Tool Post by Penguin 45, on Flickr Of course, it didn't fit properly. It's a block for the tools to fit to, a big spacer through the middle and a bolt to lock it to the cross slide and a cam operated by the big handle to work the locking pistons. Therefore, the spacer must be longer than cam, yes? It isn't... I had to make a spacer to fit to the spacer before it all worked satisfactorily.  Quick Change Tool Post Quick Change Tool Post by Penguin 45, on Flickr Next was to get the tool holders centred and locked, so offering repeatability and making the tool change quick. I turned up a cone. The point will automatically be on the centre line, so setting up the tool holders was quite straightforward. One of the main reasons for buying the lathe was to help me with the polyurethane moulding side of things. First item of business was a bush from the 1950's BMC saloons. Apparently it can still be bought from India as an Ambassador part, but the quality is rubbish. I was sent a set of dimensions and a plug was duly made. 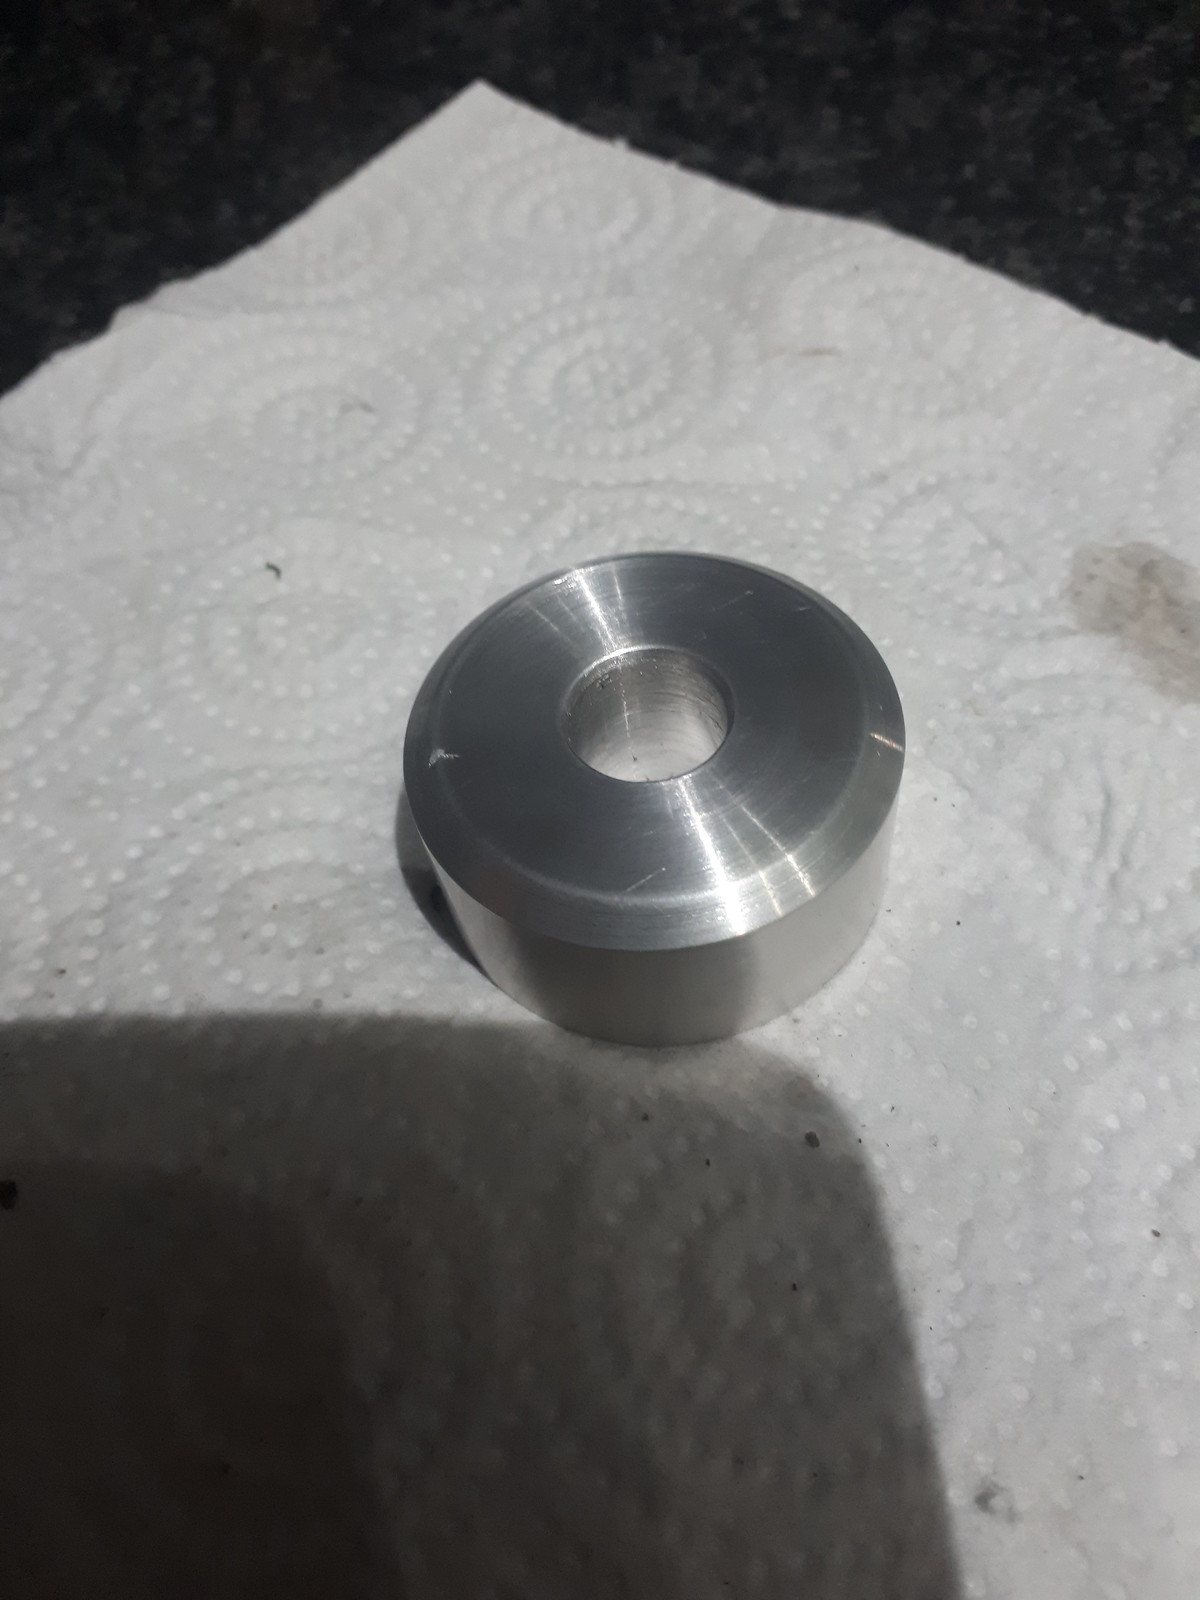 Wolseley 6/80 tie bar bushes. Wolseley 6/80 tie bar bushes. by Penguin 45, on Flickr Which allowed the mould to be made.  Wolseley 6/80 tie bar bushes. Wolseley 6/80 tie bar bushes. by Penguin 45, on Flickr  Wolseley 6/80 tie bar bushes Wolseley 6/80 tie bar bushes by Penguin 45, on Flickr And then the bushes themselves. There's a set gone to Selby and two sets to New Zealand! I'm awaiting feed back before knocking them out to buy.  Mini Lathe Mini Lathe by Penguin 45, on Flickr Turning up perspex discs.  Mini Lathe Mini Lathe by Penguin 45, on Flickr To make petrol flap plugs.  Mini Lathe Mini Lathe by Penguin 45, on Flickr Now available to fit the 1950's Farina cars in all sizes, plus the one for the 'Crab. 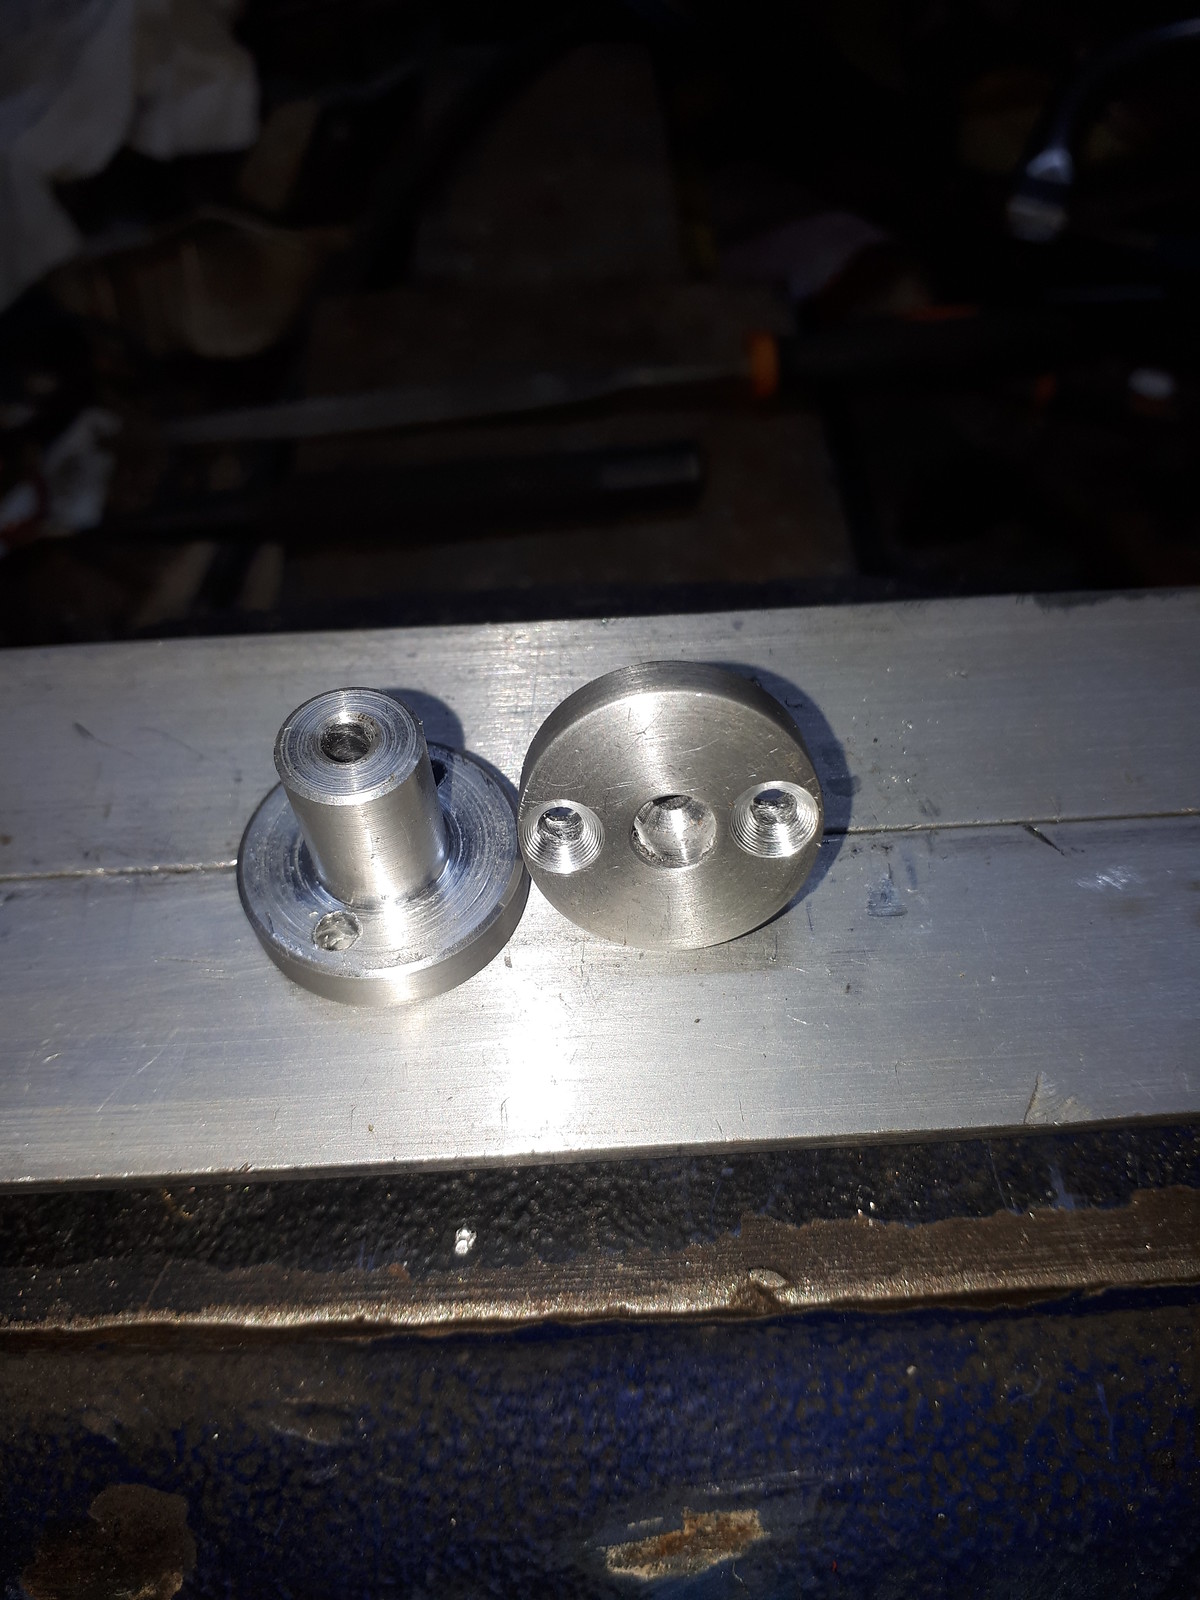 Cable Guides Cable Guides by Penguin 45, on Flickr Couple of one-off cable guides for a friend.  Mini Lathe Mini Lathe by Penguin 45, on Flickr  Mini Lathe Mini Lathe by Penguin 45, on Flickr  Mini Lathe Mini Lathe by Penguin 45, on Flickr This is an anti-vibration body mounting bush for the Jowett Jupiter. Biggest one so far! So it's beginning to earn its keep and I'm going through a very steep learning curve. You're never too old to learn. Chris. |
|
|
|
Post by Penguin45 on Oct 22, 2022 19:12:51 GMT
Made a second Jowett bush, and they have now been dispatched for approval by the customer. So, back to what has been a stop start project over the course of the year; the Morris Marina steering rack bush. The 'Crab ones I make are a composite bush with a wrapped steel bush in a polyurethane sleeve. The Marina uses a slimmer housing and rack and I cannot for the life of me find a 27/ 32" bush. To this end, I have acquired a 27/ 32" reamer, a lathe and a bar of nylon 6.  Marina Rack Bush Marina Rack Bush by Penguin 45, on Flickr Rough boring the centre before reaming to size.  Marina Rack Bush Marina Rack Bush by Penguin 45, on Flickr Outside turned to diameter. Little grooves added every few millimetres for added grippiness when casting the sleeve.  Marina Rack Bush Marina Rack Bush by Penguin 45, on Flickr As the bush is in two parts, I need a full size object to cast the silicone mould from.  Marina Rack Bush Marina Rack Bush by Penguin 45, on Flickr Job done. Two bushes for the test moulds and the plug for the mould. That's now drowned in silicone overnight and I can try casting up the actual bush tomorrow. Chris. |
|
|
|
Post by Penguin45 on Oct 23, 2022 17:35:58 GMT
 Marina Rack Bush Marina Rack Bush by Penguin 45, on Flickr Mould made and the first two bushes made. I'll inspect and de-flash them when they're fully cured and get them sent off for testing. C. |
|
|
|
Post by Penguin45 on Nov 6, 2022 21:36:09 GMT
The Marina rack bush has advanced to Plan D.  Marina Rack Bush Marina Rack Bush by Penguin 45, on Flickr Brass bushings. Two moulded up and sent off for approval. I'll get an order out of this eventually!  Poly bushes Poly bushes by Penguin 45, on Flickr Jowett Owners Club placed an order for 10 of the big bushes, so they'll be going out next week.  Poly bushes Poly bushes by Penguin 45, on Flickr Green eggs and ham? I do not like them, Sam I am. 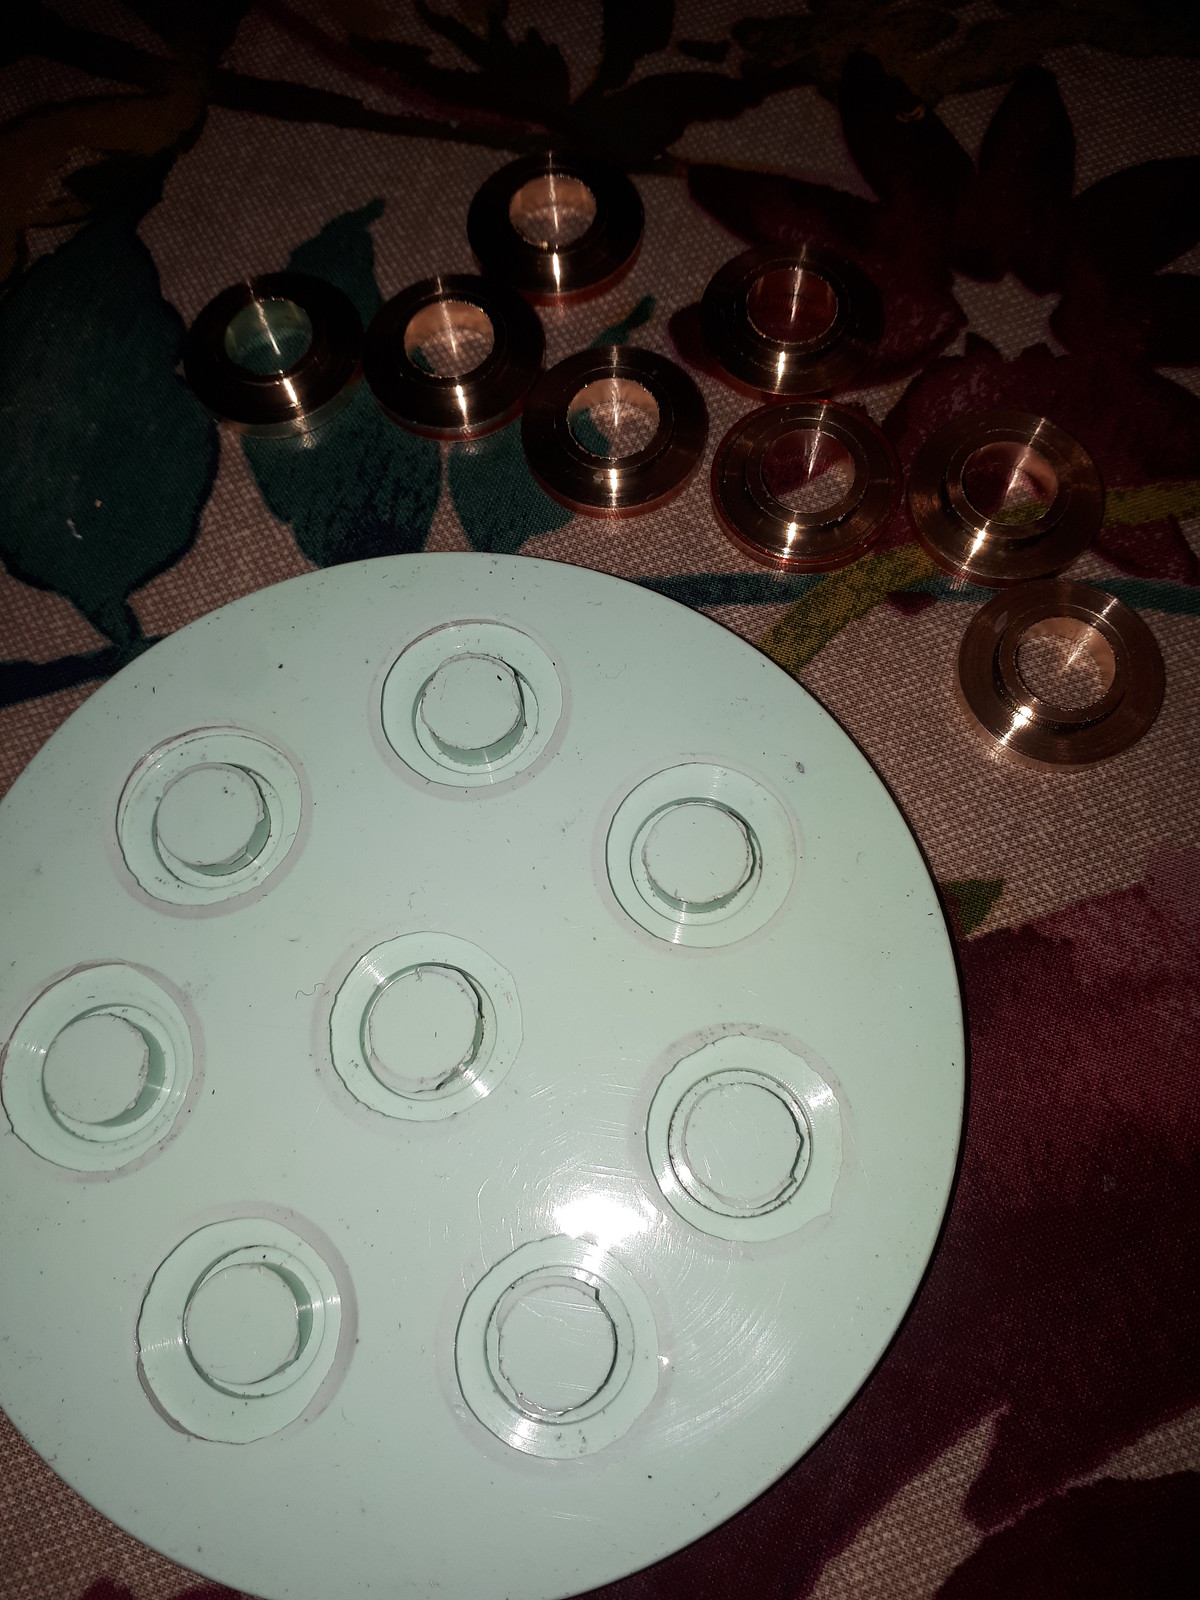 Poly bushes Poly bushes by Penguin 45, on Flickr I'm almost out of radiator mounting kits, so took the opportunity to make a new silicone mould, which will be much easier to work with. Turned up eight half-bushes from some brass bar stock, that's what's buried under the silicone in the first picture. Little bit of flash to be picked off tomorrow when it's fully cured and that'll be good to go. C. |
|
|
|
Post by Penguin45 on Nov 14, 2022 18:51:16 GMT
Lots of radiator bushes made, so lots of kits being made up. There are a few which have an air bubble in them. This is unsightly but won't affect function in any way.  Radiator bushes Radiator bushes by Penguin 45, on Flickr So, if anybody would like 8 bushes and 4 distance tubes for a tenner instead of the usual price, drop me a PM and they're yours. There are two sets available. Otherwise, they'll go in the bin and I'll get in trouble with MrsP for creating non-recyclable waste...  Chris. |
|
|
|
Post by Penguin45 on Jan 23, 2023 18:25:34 GMT
|
|
|
|
Post by dave1800 on Jan 27, 2023 9:37:36 GMT
They look impressive. Any requests for Crab parts from LOCI or Tony?
David
|
|
|
|
Post by Penguin45 on Jan 27, 2023 10:07:20 GMT
Tony has put in a repeat order for stuff that he holds in stock and a request for a bonnet buffer. Awaiting a reference sample.
C.
|
|