|
|
Post by Penguin45 on Jun 29, 2015 23:07:36 GMT
I've got an old cap with a motor stuck through that might give the "authentic" look if you want it.
Chris.
|
|
|
|
Post by snoopy11 on Jun 30, 2015 5:02:41 GMT
I've got an old cap with a motor stuck through that might give the "authentic" look if you want it. Chris. Yes please. That would be great. |
|
|
|
Post by snoopy11 on Jul 7, 2015 20:35:54 GMT
MOT time today. Was rather a painless pass but three advisories.
1. Eagle eyed MOT inspector spotted a directional tyre going the wrong way. Needs swooping to the other side. I can't think who last put the wheels back on.
2. Exhaust blowing through a corroded hole the size of a pin prick.
3. Play in top ball joint. Not excessive but a small amount of movement there. This is the only one he actually put on the Mot
Just asked me to sort 1 as soon as possible. Not to bring it back next year with 2 and do three if I can get one.
I think for a 40 year old car thats not bad but would not have happened but for Chris helping with the welding the other week.
|
|
|
|
Post by Penguin45 on Jul 7, 2015 20:47:50 GMT
Well done. Got washers working? You can't have one directional tyre on incorrectly, 'cos one of the other three would have to wrong as well.... I've got lots of ball joint shims if it's only slight wear.
Started on the advisories from the Wolseley MoT today.
Chris.
|
|
|
|
Post by snoopy11 on Jul 7, 2015 21:00:59 GMT
There is just the one directional tyre. It must be the one from when the car first returned to the road.
|
|
|
|
Post by Penguin45 on Jul 12, 2015 18:34:10 GMT
We had a bit more fun with GLE today. Mark had bought an ignition bundle from Accuspark, so we set about fitting it all. This comprises a new distributor with the trigger unit fitted, sports coil, leads, red rotor arm, multi-pronged spark plugs and dizzy cap. "That'll be a pleasant hours work", we thought, foolishly. Remove distributor. Um, no. Make war upon distributor. Distributor winning at half time. Fettle suspension trim height, swap tyres round. Deliver No. 3 son to orchestra boot camp (Yes, really.). Distributor decides it might like to move a little bit. It fought back - at the peak of the battle, the top radiator hose decided that it would pin-hole and shot me right in the eye. We got it in the end. Took about 2½ hours and unfortunately we damaged it. Cleaned out mounting hole and slid in the new dizzy with a goodly smear of copper slip for good measure. On with the rest of the goodies and it looked terrific. Did it go? Of course it didn't go. Apart from a couple of half-hearted back-fires, I'd go so far as saying that it wasn't in the slightest bit interested in going. Now as a highly experienced, and now well read, incompetent fitter of electronic ignition systems, I did what most of us would do and went and put the kettle on. Number 1 cylinder lead is at 1 o'clock, so 3 is at 10 o'clock, 4 is at 7 o'clock and 2 is at 4 o'clock. As the kettle did its thing, I investigated the Accuspark web site for fitting instructions, as there are none included with the parts. Not really a lot of use, what was there. Right, up with bonnet on the Austin - yup, that's the layout of the leads. Same with my 18/85. Enter Adrian, who thought he'd pop in for a chat. Well, we soon got him dirty as well. He did realise that whilst we were quite correct in our interpretation of the wiring, the position of the trigger had changed, and therefore the positions of the wires in the cap had to change to suit. 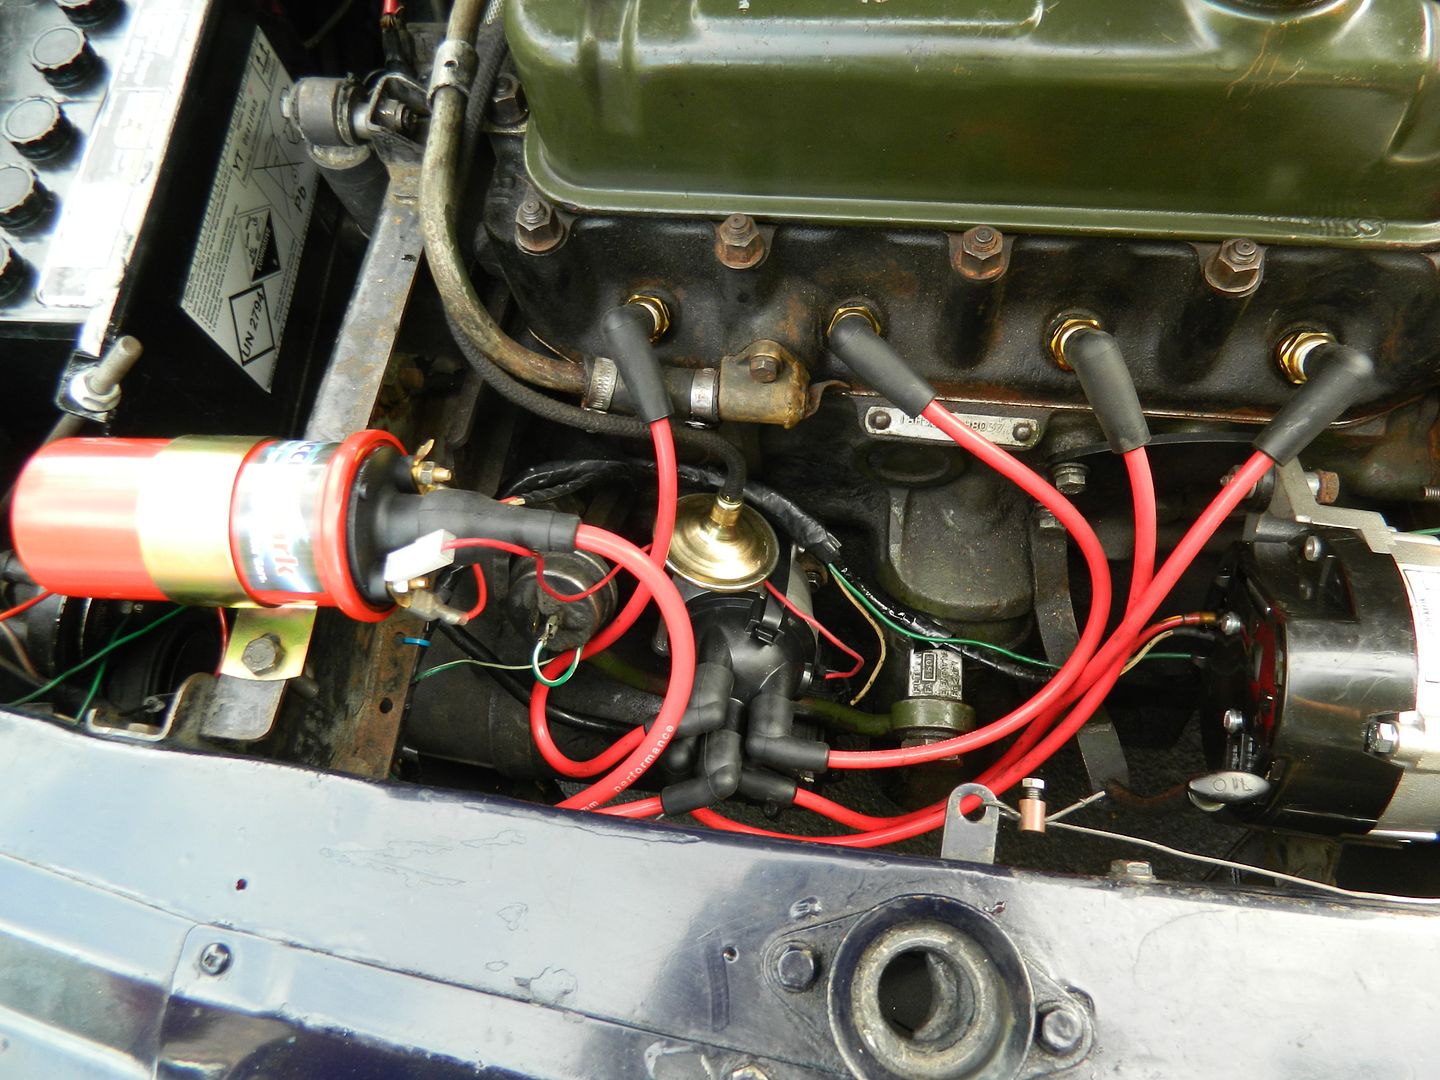 This picture, whilst showing all the shiny new bits, also shows that lead no 3 is at 1 o'clock and so on. Then it fired instantly. Which revealed the problem with the throttle linkage, the idle setting and the mixture, all of which got tweaked. Mark and I both whizzed GLE round the block and it's now quite lively. Throttle response has definitely improved. 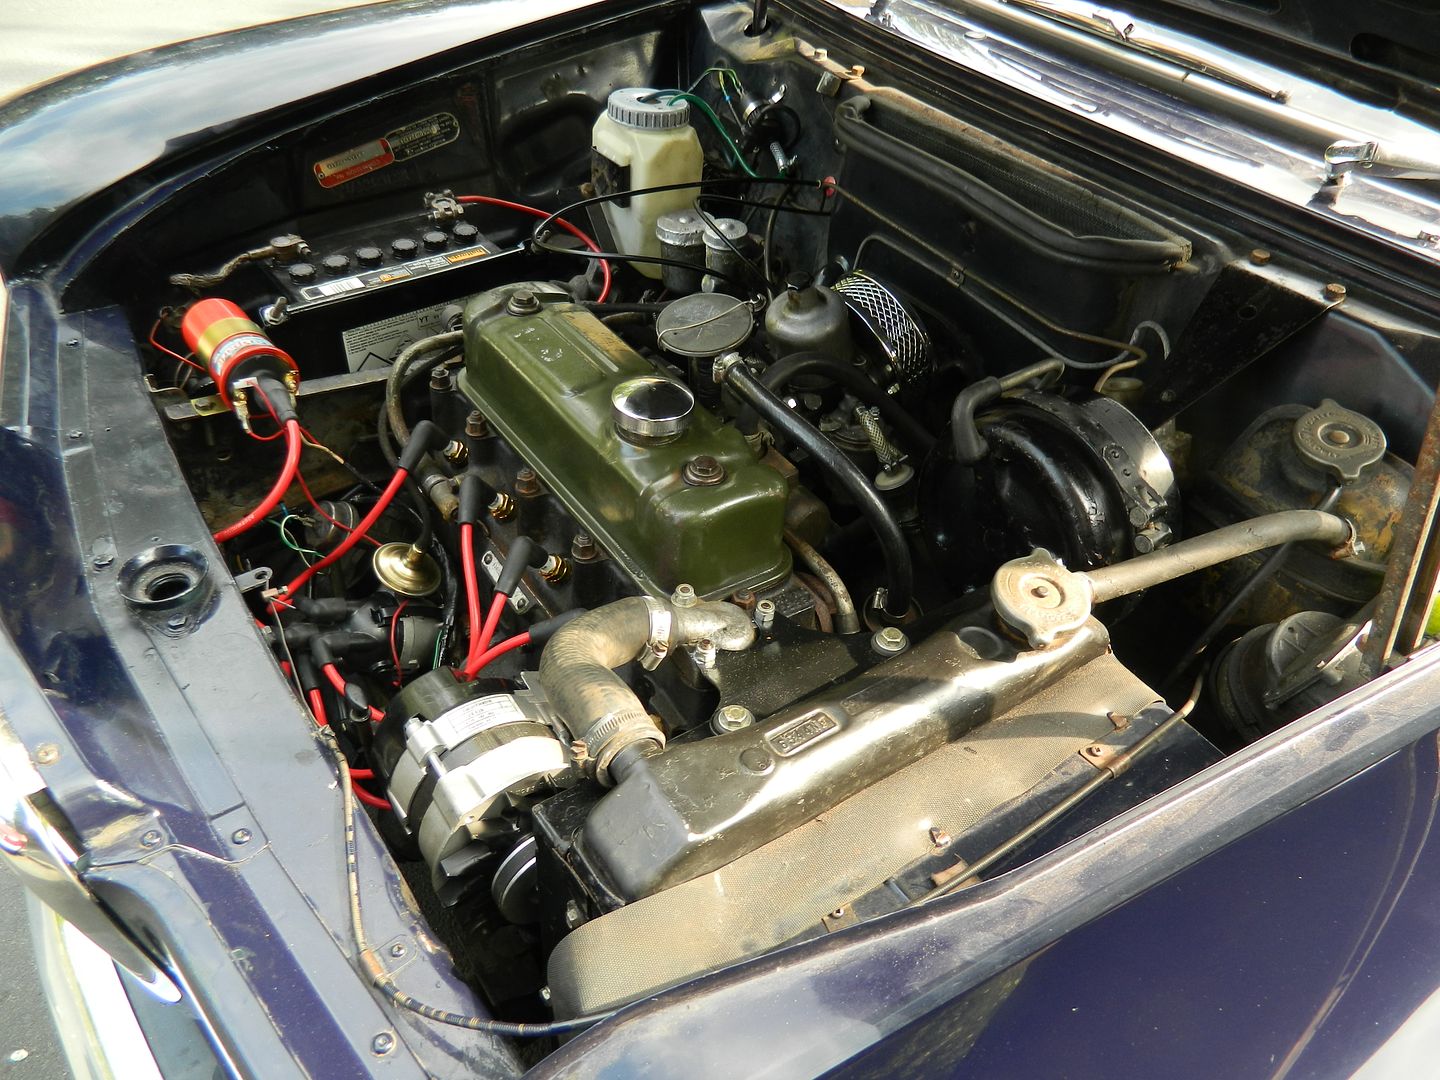 Lots of shiny things.. 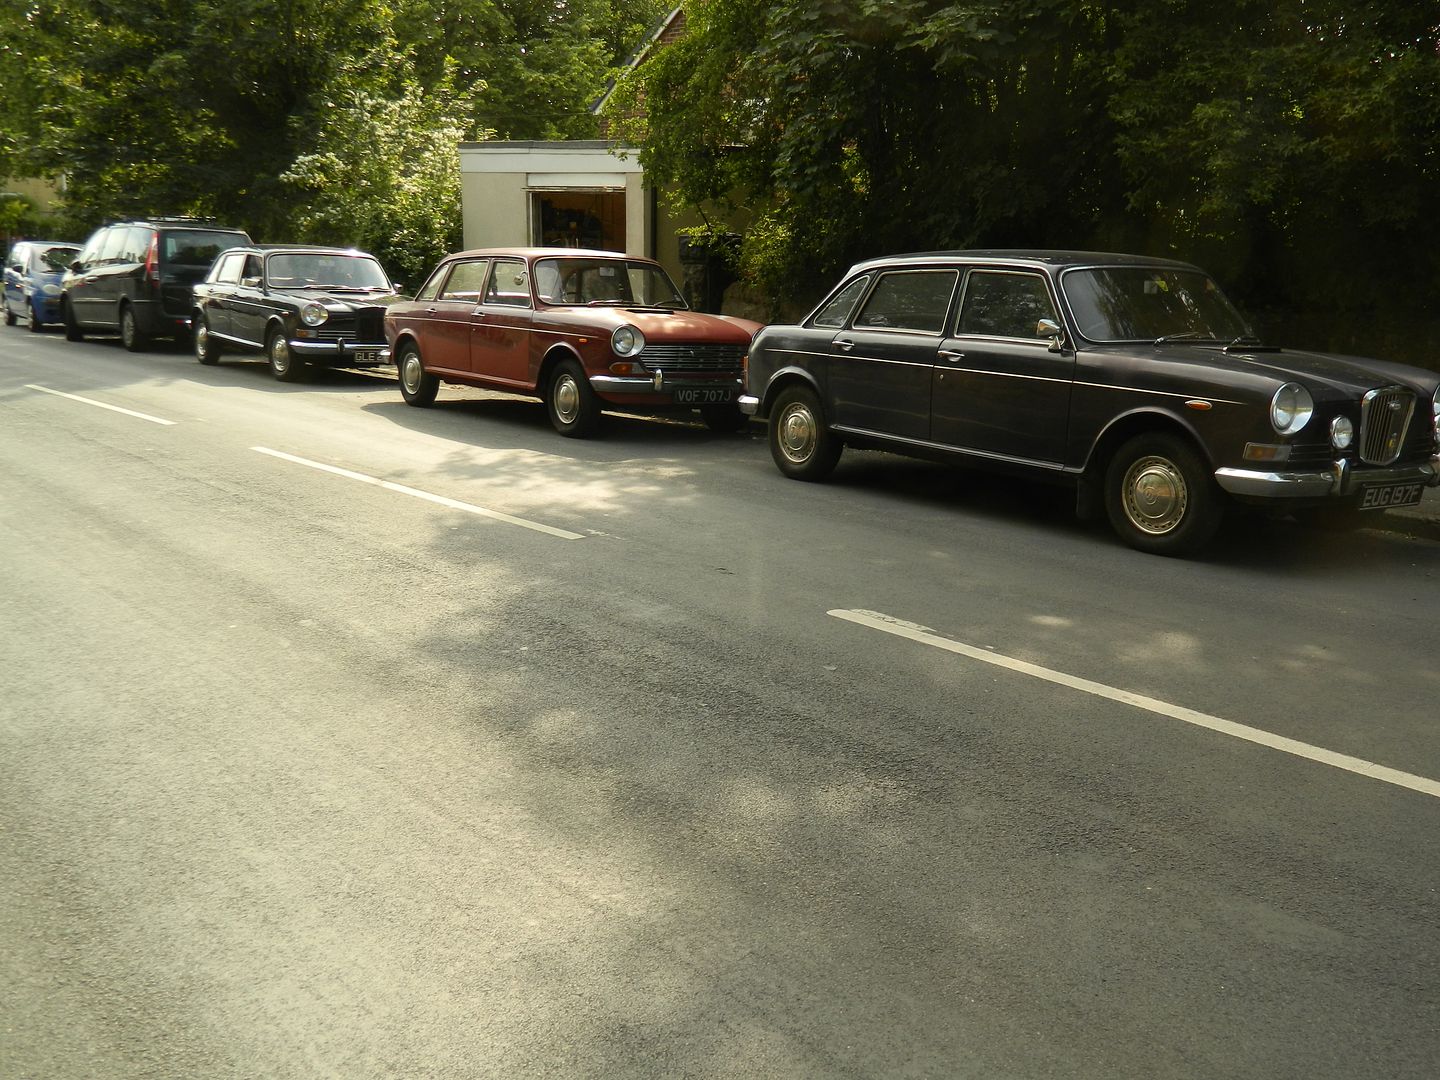 An impressive sight outside Penguin Towers. So, we got there in the end. Accuspark really do need to sort out some sort of instruction leaflet. Even the coil was unmarked as to which terminal was live and earth. The job would have been a lot simpler. Haven't heard from Mark yet - I assume he's got home.  Chris. |
|
|
|
Post by snoopy11 on Jul 12, 2015 19:04:05 GMT
The first twenty miles of the journey home was pretty normal. Car running well and lots of response when the loud pedal was pressed.
Onto m62. Foot down and 70 soon appeared.
Ten miles on and cough splutter, no go.
Open bonnet prodding revealed that the vac advance was around in the two o'clock position.
A simple fix of moving the timing back and tightening the clamp sorted it and it ran the last twenty miles home without a hiccup.
I think a good tune from a professional now will have it all perfect.
|
|
|
|
Post by dave1800 on Jul 13, 2015 3:38:21 GMT
I'm not sure why Mark decided to go for the bundle. I doubt that the distributor ignition advance is set up correctly for the 1800. If they didn't provide any fitting instructions I also doubt they supplied an advance curve for the mechanical and vacuum components. If it is set up for a MGB which maybe the case as this is the most common B series engine around now, then the saving grace is that it is likely to run retarded and a bit hot but at least not damage the engine but also not give optimum performance or fuel economy. The only way around this is to advance the idle timing such that the the maximum advance does not exceed the w/s manual figure to avoid damage at high load /rpm. If this results in too much advance and pinking at lower rpm retard 2 degrees at the time until it stops; just NEVER go above the maximum. I am concerned that it was necessary to rotate the plug leads as this suggests they do not have the phasing correct with the drive gear, assuming you inserted the distributor in the same position as per the w/s manual. From my limited knowledge the phasing of the distributor drive and rotor arm on A and B series engines over the years always resulted in No1 at the 1 o'clock position. As a matter of interest are the distributor cap and rotor arm proprietary items? If so maybe worth getting spares. David We had a bit more fun with GLE today. Mark had bought an ignition bundle from Accuspark, so we set about fitting it all. This comprises a new distributor with the trigger unit fitted, sports coil, leads, red rotor arm, multi-pronged spark plugs and dizzy cap. Chris. |
|
|
|
Post by snoopy11 on Jul 16, 2015 17:33:43 GMT
 Bugger................. |
|
|
|
Post by Penguin45 on Jul 16, 2015 18:25:11 GMT
It hates us....
Chris.
|
|
|
|
Post by dave1800 on Jul 17, 2015 2:43:59 GMT
No! it just needs TLC and someone to lean on David |
|
|
|
Post by Penguin45 on Jul 25, 2015 20:56:27 GMT
Grand day out tomorrow. Fit FOS displacer and inflate. Hang on, that sounds familiar..... Oh well, it'll be a practice run for mine.  Chris. |
|
|
|
Post by Penguin45 on Jul 26, 2015 20:40:11 GMT
Well, it got done, but it turned into a titanic battle. We were both drowned rats by the time we finished. Suspension off, no real problems. Disconnected the hydro hose, which seemed a bit on the short side. Would the displacer come out? Would it 'eck. Removed carb to give some room to get pry bars in. Nope. In the end, we took the near side suspension off, pulled the displacer out of that side, giving us an open tube. A 5' length of scaffolding pole used as a battering ram through the tube got it out. What a palaver. 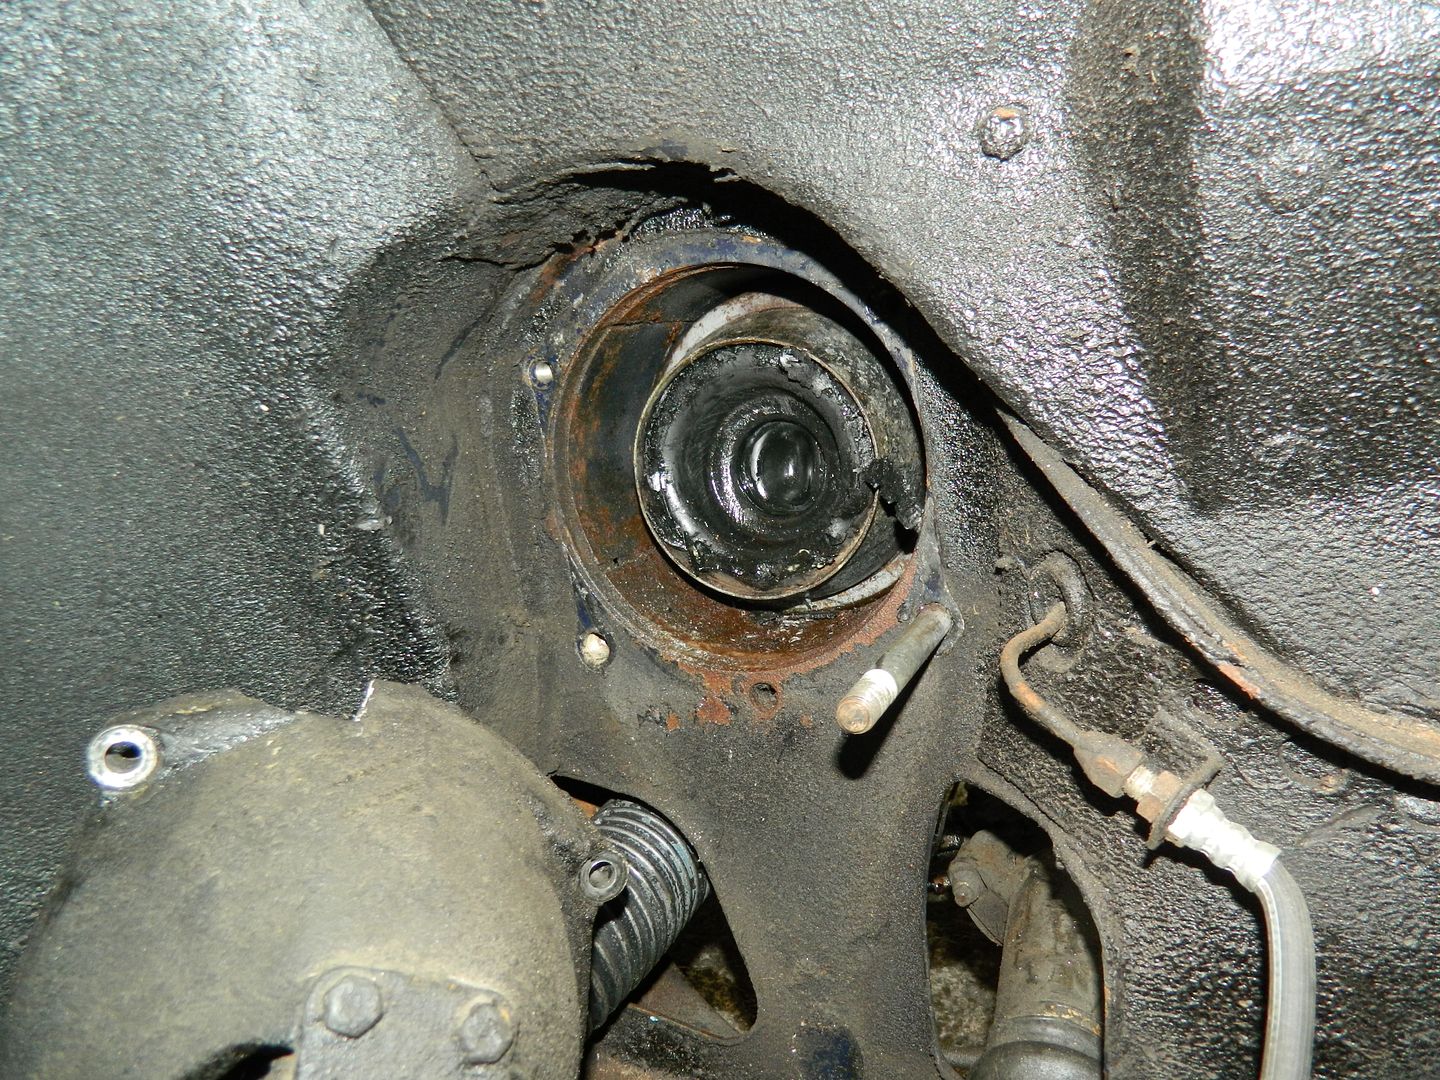 Displacer as revealed. Rubber pretty much blown out all round the edge. 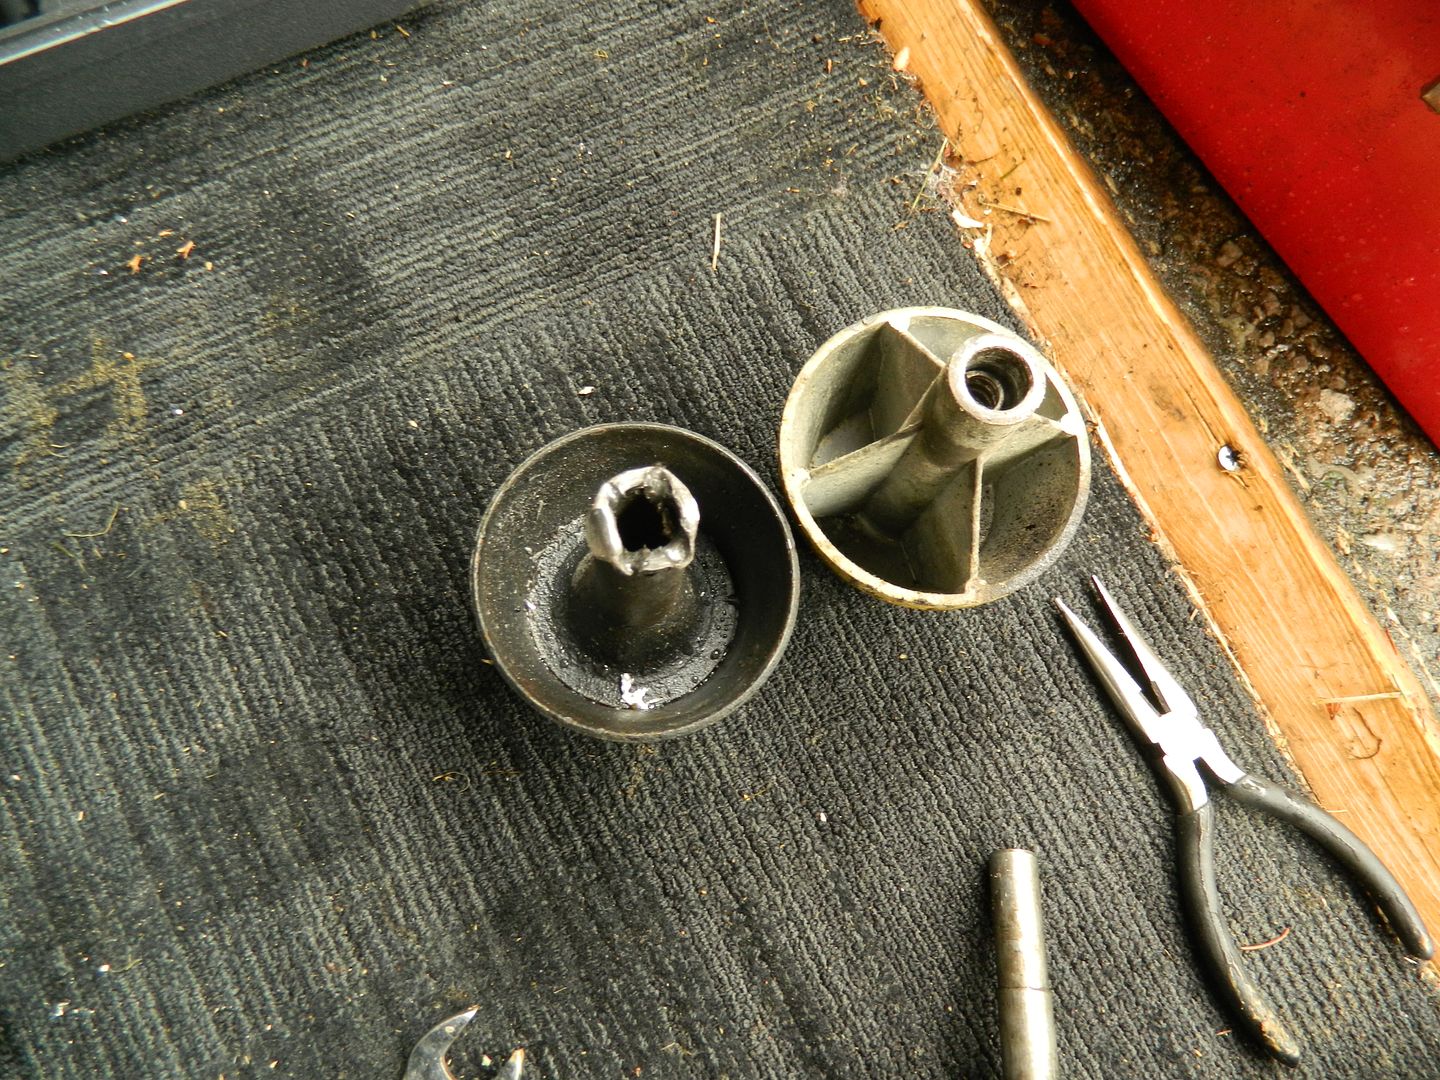 Push rod looking very battered on the left. 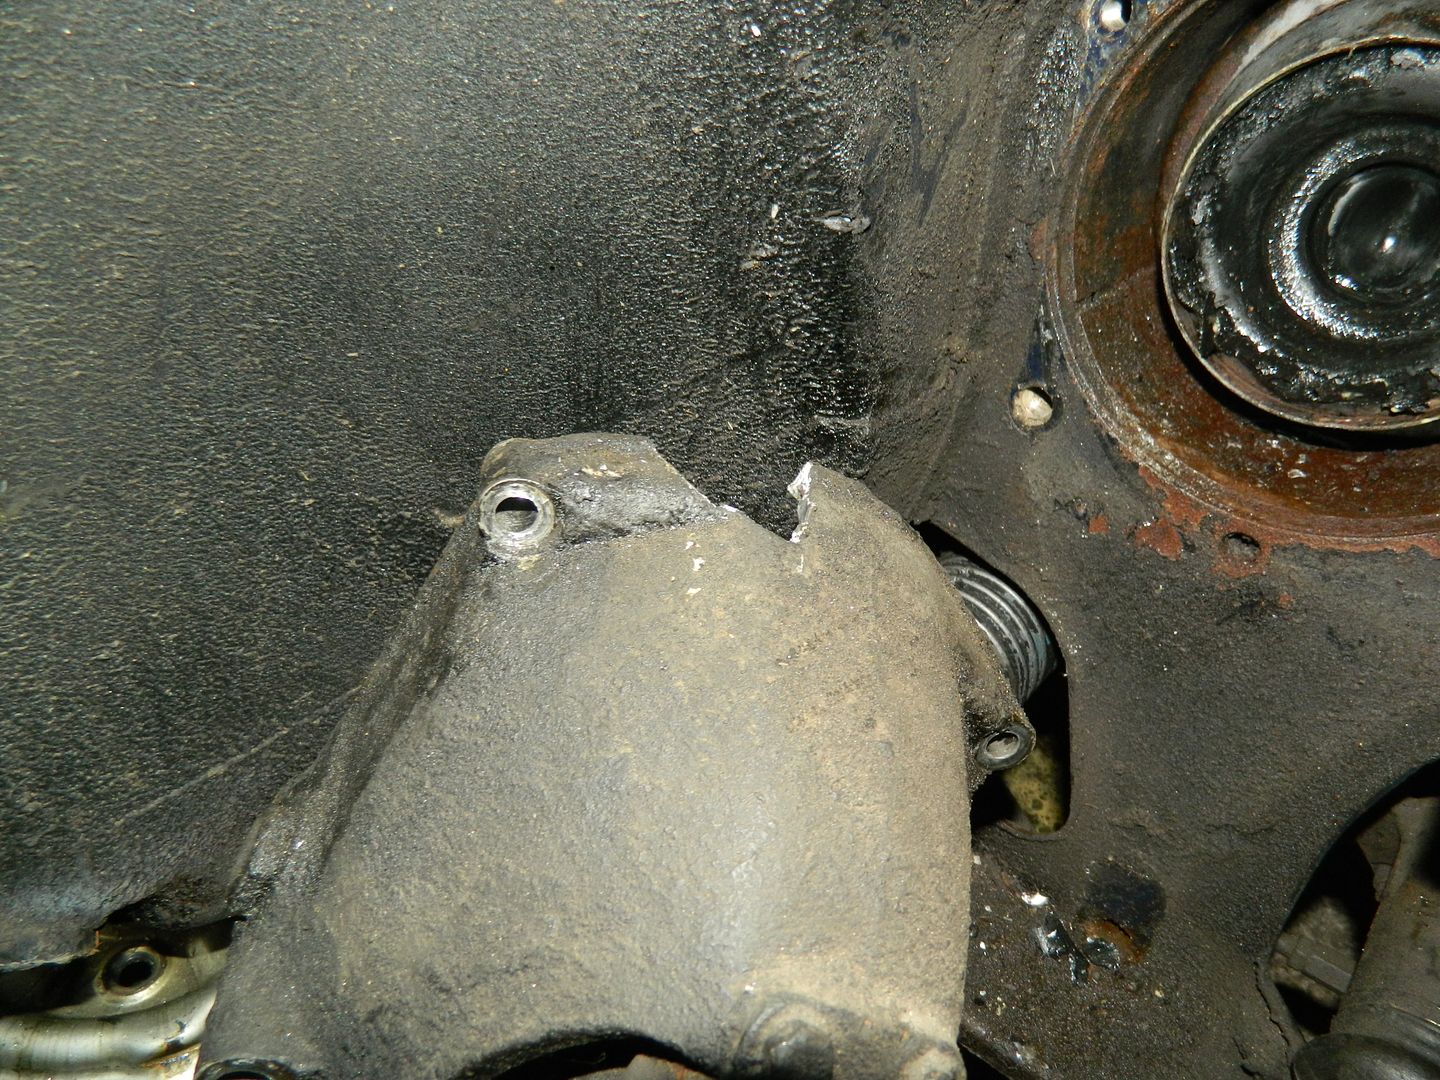 Suspension housing with small chunk knocked out. The housing hasn't cracked, so we've put it back. What I suspect has happened is that the outer push rod has more or less separated from the inner one and done something like this: /\ . The top of the "V" has been rubbing against the suspension housing. You may recall a comment earlier about the suspension "jumping" when we inflated it. I suspect that this is why. 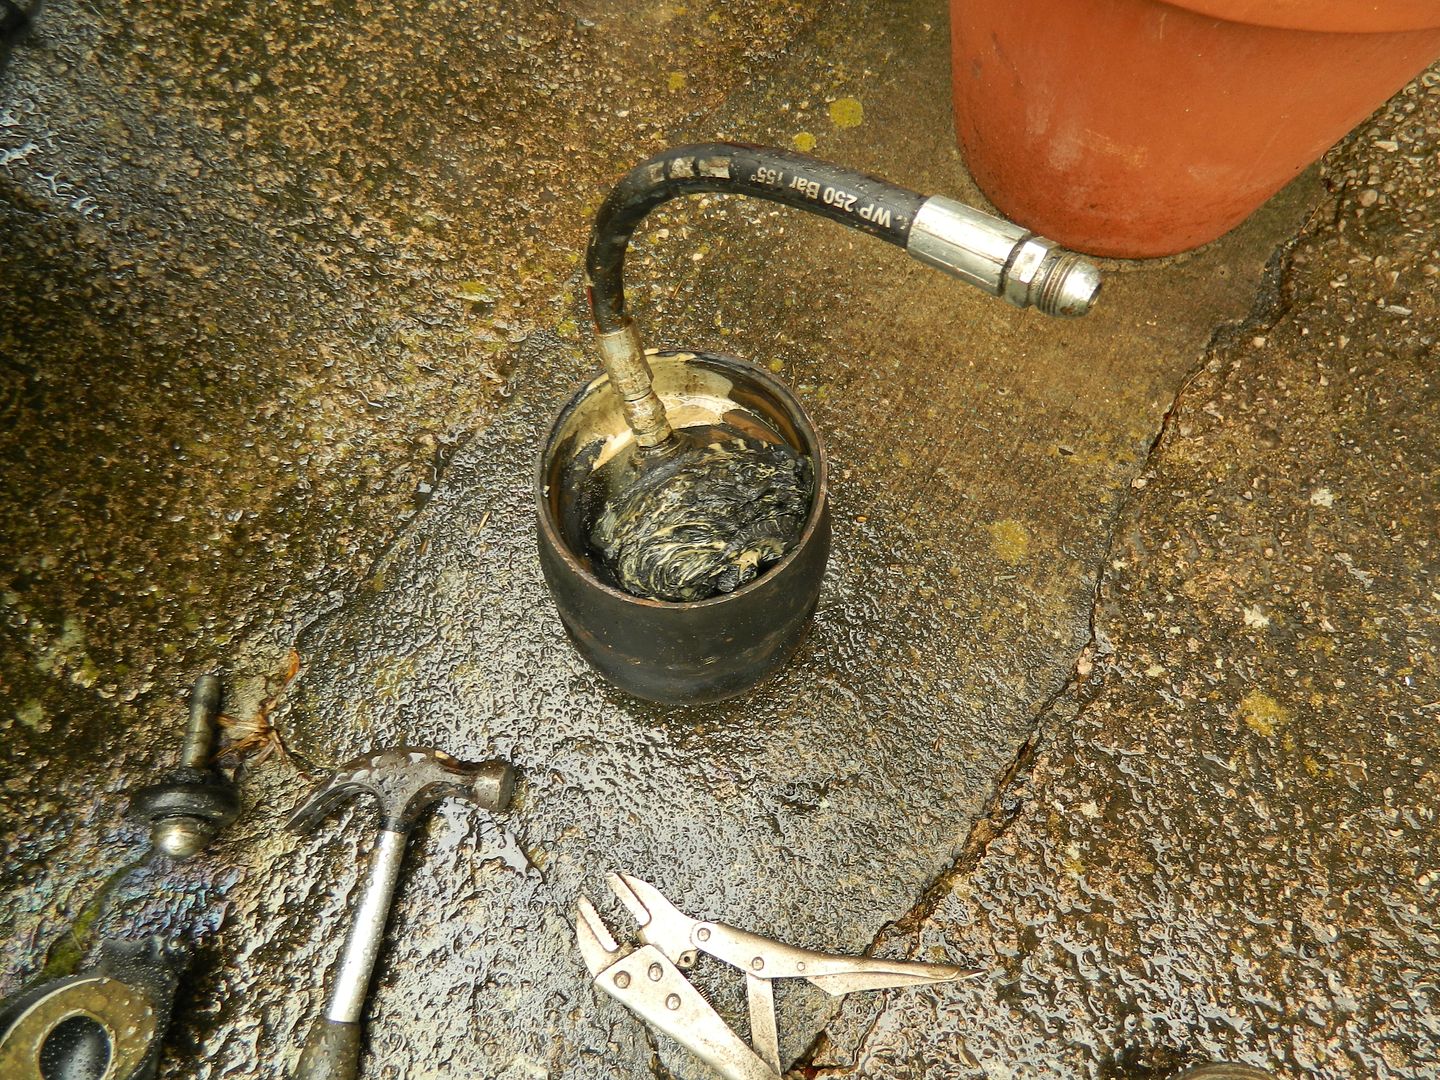 Inboard end of displacer. This one is a pretty epic fail. When we'd finally got the thing out, we managed to re-assemble both sides in little over an hour. Got some pressure in the system and started her up to go for a quick spin before levelling things off properly. There was a most peculiar noise..... Looking into the bonnet showed the o/s drive shaft turning, but no drive to the wheel. Closer investigaation showed that the drive shaft is disconnected inside the CV joint. I wouldn't have thought it possible! Anyway, we were too tired and wet to start pulling the suspension apart again, so that's it for today. I have found a suitable CV joint in the garage, so I'll try and get over again tomorrow. Mark has bought a new toy - a mains electric hammer action wrench. A most impressive bit of kit. Chris. |
|
|
|
Post by tommydp on Jul 27, 2015 12:56:08 GMT
Oh dear, I feel exhausted just looking at the pics and reading..
I had the same thing happening to a front displacer once. Some unpleasant noises from the displacer area, and then noticed the housing was cracked. The knuckle joint had come out of the suspension arm's housing. Possibly when fitting the displacer. After that I always make damn sure the knuckle joint is where it should be, before and during pumping. I didn't re fit the cracked housing though.
Touch wood, both my cars have no Hydrolastic issues. However I always fear the sight of them suddenly standing low on one side. When looking at (modern) crab pics on the net, I notice som have what looks to me as too high ride height. Loads of room between the front tyre and wing. Are people over- pumping them? I regularly check that the distance between hub centre and wheel arch is 37.8 cms.
Well, keep up the good work! Best of luck! You'll get there!
Tommy
|
|
|
|
Post by Penguin45 on Jul 27, 2015 20:31:18 GMT
CV joint had simply separated. It doesn't appear to have the snap ring fitted, so must have come apart with the suspension. Anyway, all back together again, driven, taken up to the correct height and levelled. Clock re-fitted.
It had better behave itself for a while. Or else......
Chris.
|
|


