|
|
Post by dave1800 on Nov 4, 2016 3:51:52 GMT
Not sure I fancy being plugged and welded  . David |
|
|
|
Post by peppib on Nov 4, 2016 8:12:30 GMT
Just eat loads of egg and cheese David - it has the same effect!
Sorry it is so much more work than anticipated Chris, but a very solid car will come out of it. Loads of cans of red primer in the boot if you want to use it as a temporary protector for the rust
Dave
|
|
|
|
Post by dave1800 on Nov 4, 2016 11:41:12 GMT
Ah, cheese, I remember it well. So difficult to find a good English cheese here! David Just eat loads of egg and cheese David - it has the same effect!
Dave |
|
|
|
Post by Penguin45 on Nov 4, 2016 19:51:56 GMT
Centre membrane now finished and tidied up. Will stick up a pic when Photobucket decides to start working again.
Sill is offered up but needs fettling to get the correct fit. This may come down to BFI.... Main thing is to get the bottom of the centre part to sit on the step inside the sill for plug welding.
Chris.
|
|
|
|
UMO 406G
Nov 4, 2016 19:55:02 GMT
via mobile
Post by landcrabman on Nov 4, 2016 19:55:02 GMT
Cheers, Wayne. After a while, it "clicks" and you know how it should look and how you should do it. The jacking points were two of your old ones - there was rather more to work with! Ultimate re-cycling! That said, that weld on the left will have to be flatted back, cut away and re-done. The gas was sputtering at that point and the weld is flat and lacks penetration. I think we've decided that the centre panel is pretty critical to the overall strength of the car, so I want it to be right. Chris. I never throw owt away unless it is no good things can come in handy you never know , with cars this old you have to be one step ahead and recycle things , ps I seem to have lost photos on the forum , is it me ? |
|
|
|
Post by Penguin45 on Nov 5, 2016 7:57:48 GMT
Photobucket appears to be back. 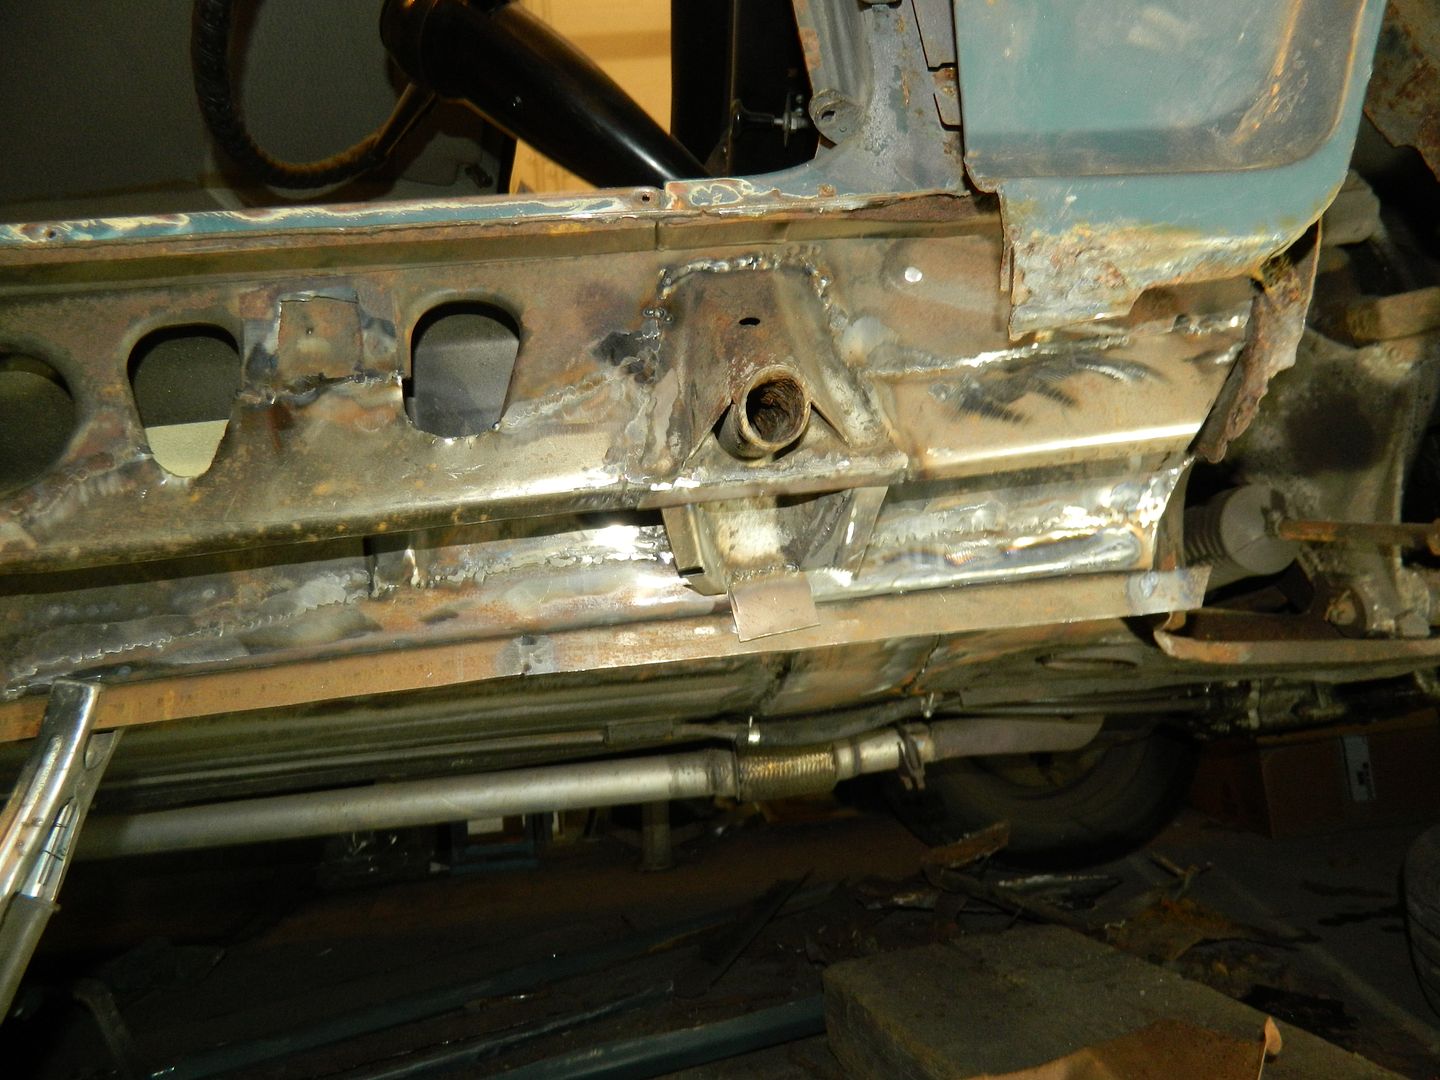 Centre membrane completed. Chris. |
|
|
|
Post by peppib on Nov 5, 2016 11:37:58 GMT
Good solid job
|
|
|
|
Post by Penguin45 on Nov 7, 2016 17:53:46 GMT
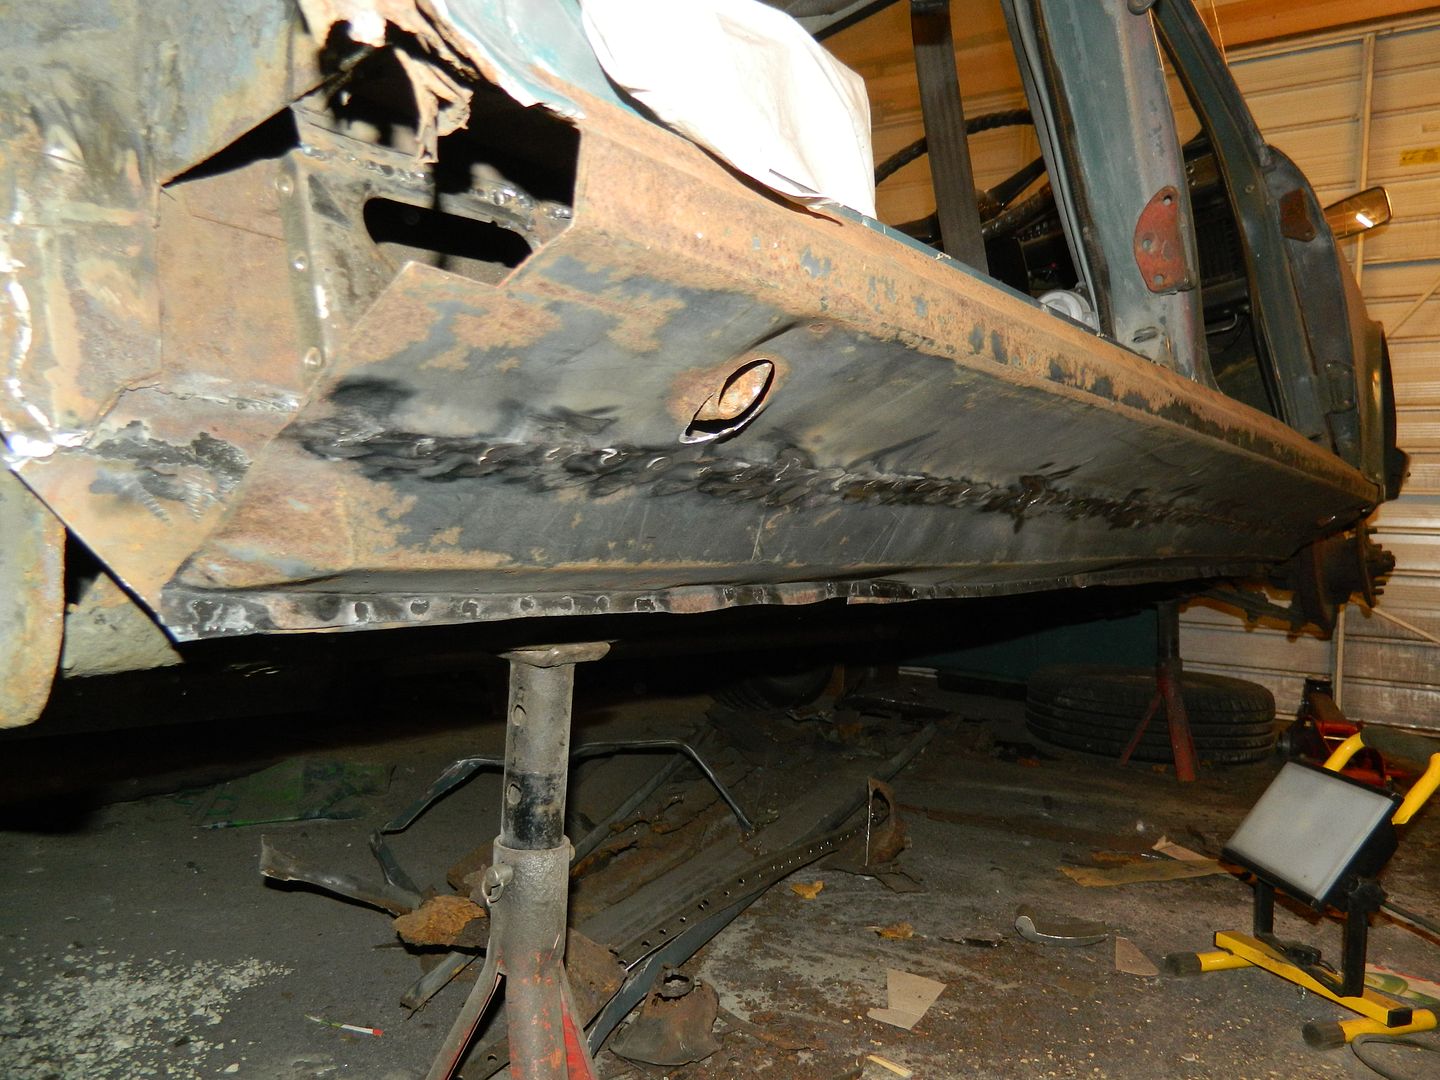 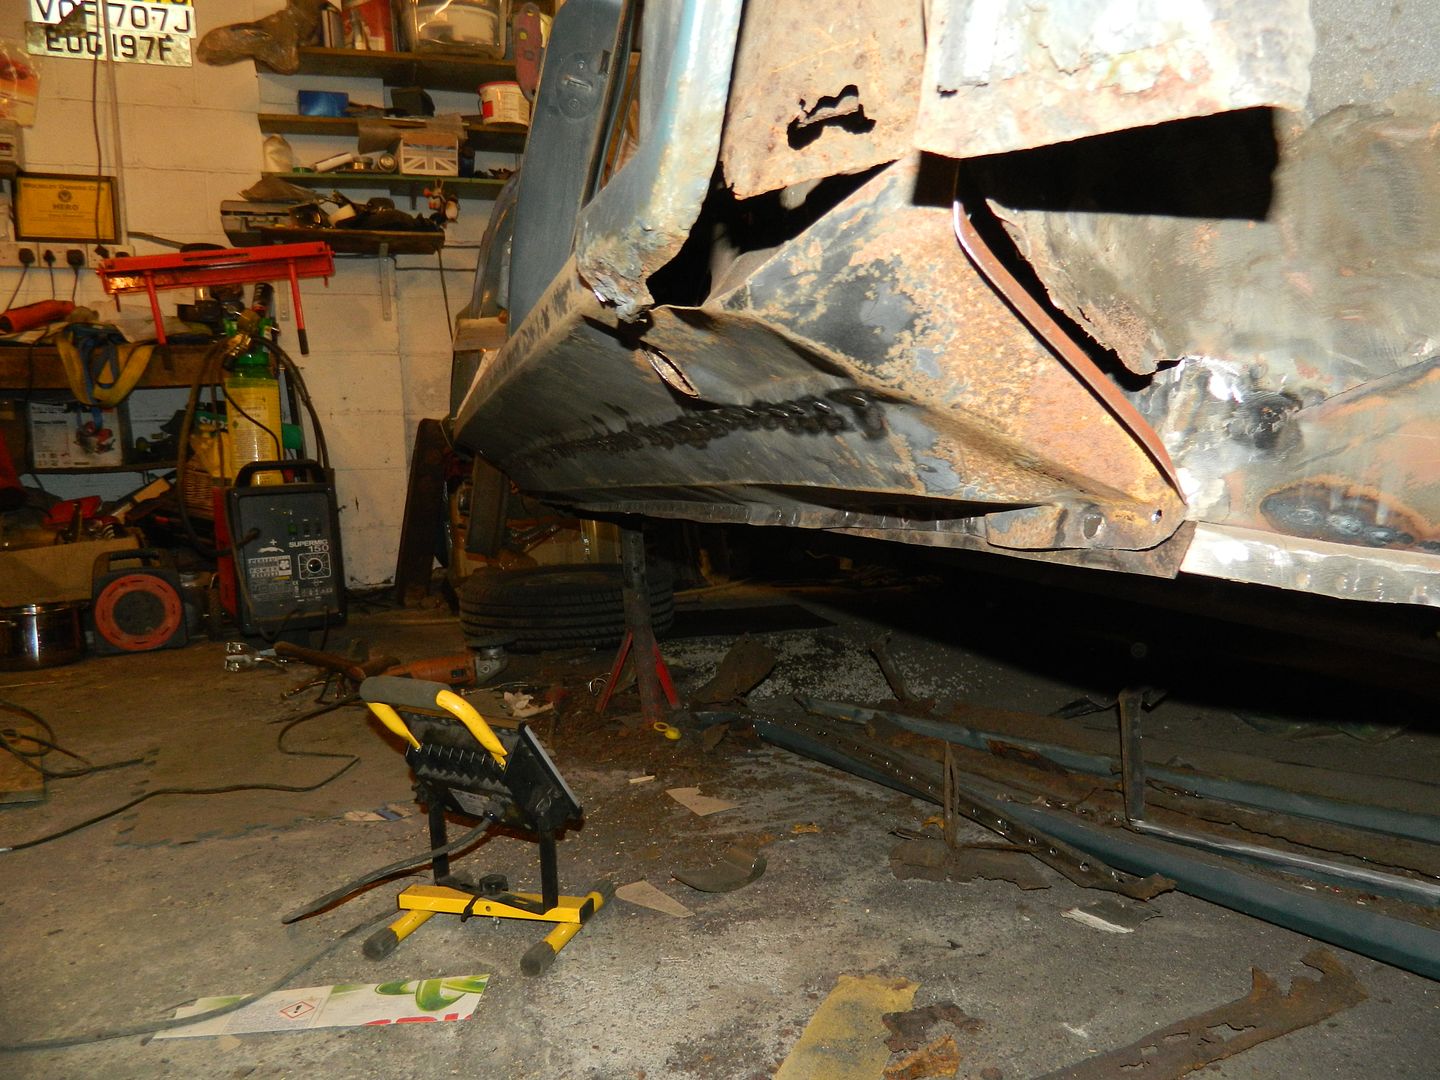 Bottom and centre welded home. Nice and solid. It was an absolute s@d to get the sill panel to fit properly, being almost impossible to get the centre bit to sit on the step. Eventually, I realised that folds were too tight. If you image the length section as a letter "C", the gap between the top and the bottom was too tight. Careful unfolding and welding the membrane in place first worked in the end. I don't know whose panel it was, but I don't think it was a Hadrian one. They tend to be a pretty good fit. I now have the problem of forcing the top down onto the flange under the door to weld it home..... Chris. |
|
|
|
Post by peppib on Nov 8, 2016 8:08:19 GMT
BF and not so much I, more intuition, got you there 
|
|
|
|
Post by Penguin45 on Nov 8, 2016 20:51:55 GMT
Once I'd understood why it wouldn't fit, it became quite logical. The top edge is welded home and the bottom of the A post repaired. Closing panels for the front of the sill made up and fitted. 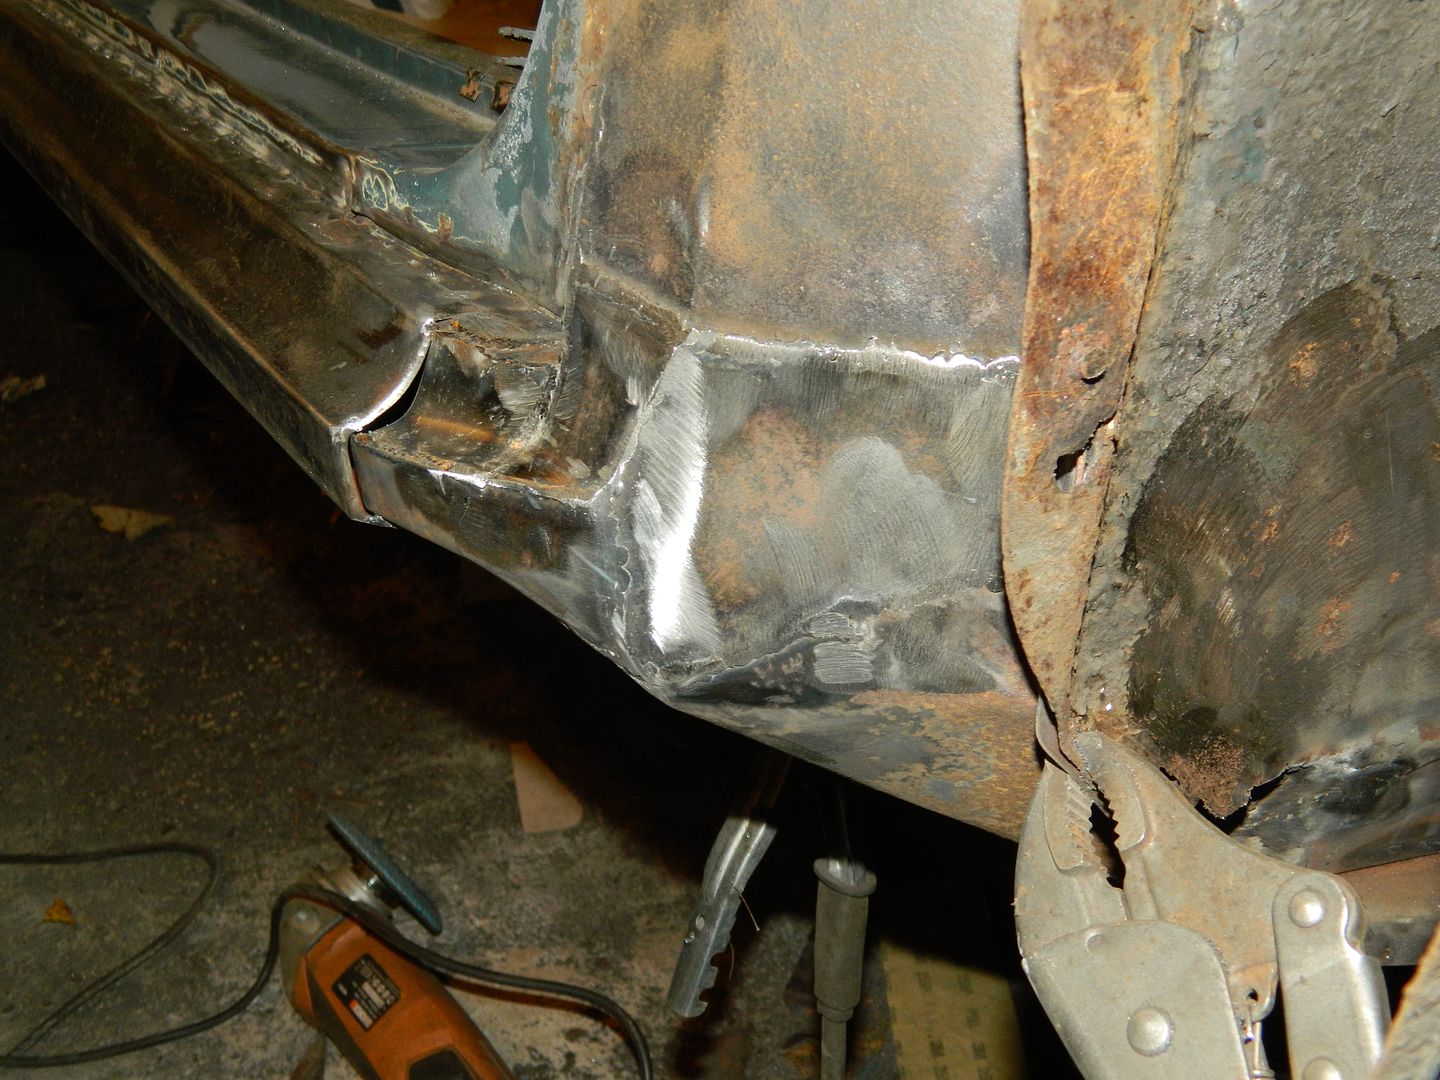 Just the back of the front wheel well to sort and the front end will be finished. Chris. |
|
|
|
Post by peppib on Nov 9, 2016 7:44:04 GMT
You must be sick of finding rust now. Great job though, thanks
|
|
|
|
Post by Penguin45 on Nov 9, 2016 19:22:54 GMT
You must be sick of finding rust now. Great job though, thanks Apart from the rear wheelarch, I think we've got it all now. 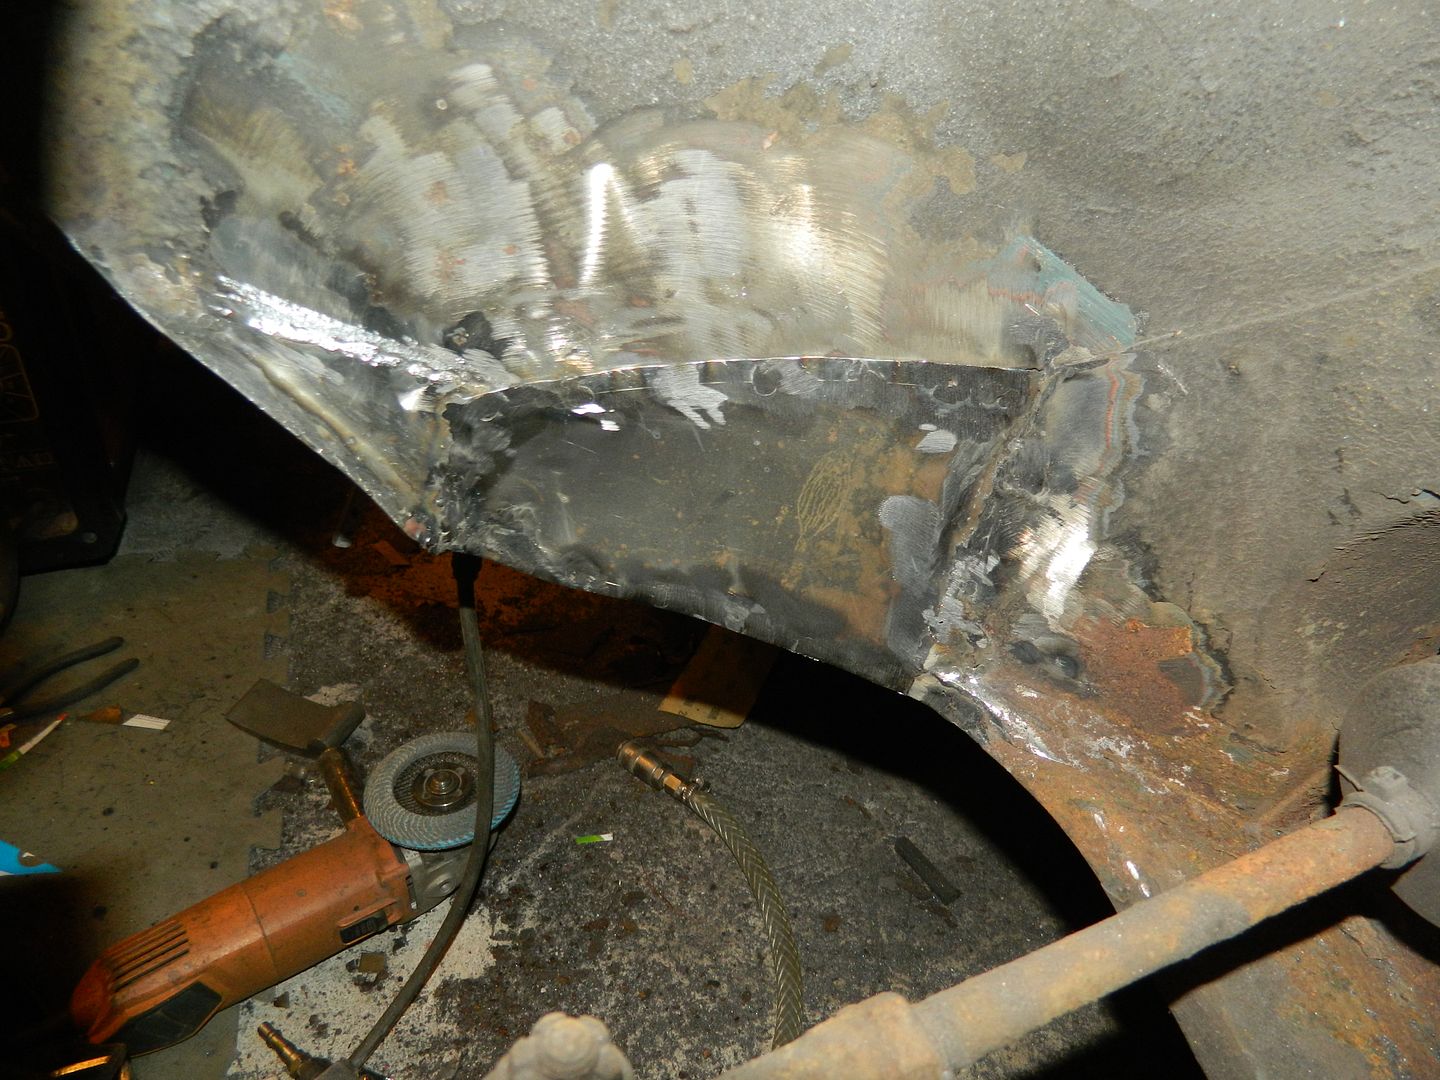 Front's finished apart from a new tag for the wing bottom. Chris. |
|
|
|
UMO 406G
Nov 9, 2016 21:34:21 GMT
via mobile
Post by peppib on Nov 9, 2016 21:34:21 GMT
As long as you don't look behind the trim on the near side headlight. That is held in place by filler and has been for 10 years 😳
|
|
|
|
Post by dave1800 on Nov 10, 2016 1:57:17 GMT
That must make changing the bulb /sealed unit a little difficult  David As long as you don't look behind the trim on the near side headlight. That is held in place by filler and has been for 10 years 😳 |
|
|
|
UMO 406G
Nov 10, 2016 5:35:30 GMT
via mobile
Post by peppib on Nov 10, 2016 5:35:30 GMT
Shhhh - the bulb in there hasn't failed ......... yet 😀
|
|

 .
. 


