|
|
Post by tony on Aug 23, 2022 4:04:51 GMT
Hi, everyone
I am happy to tell that my lovely Morris is back on the road as I have repaired the brake master cylinder with a new repair kit ( link 7 ) which Tony provided and sent to me.
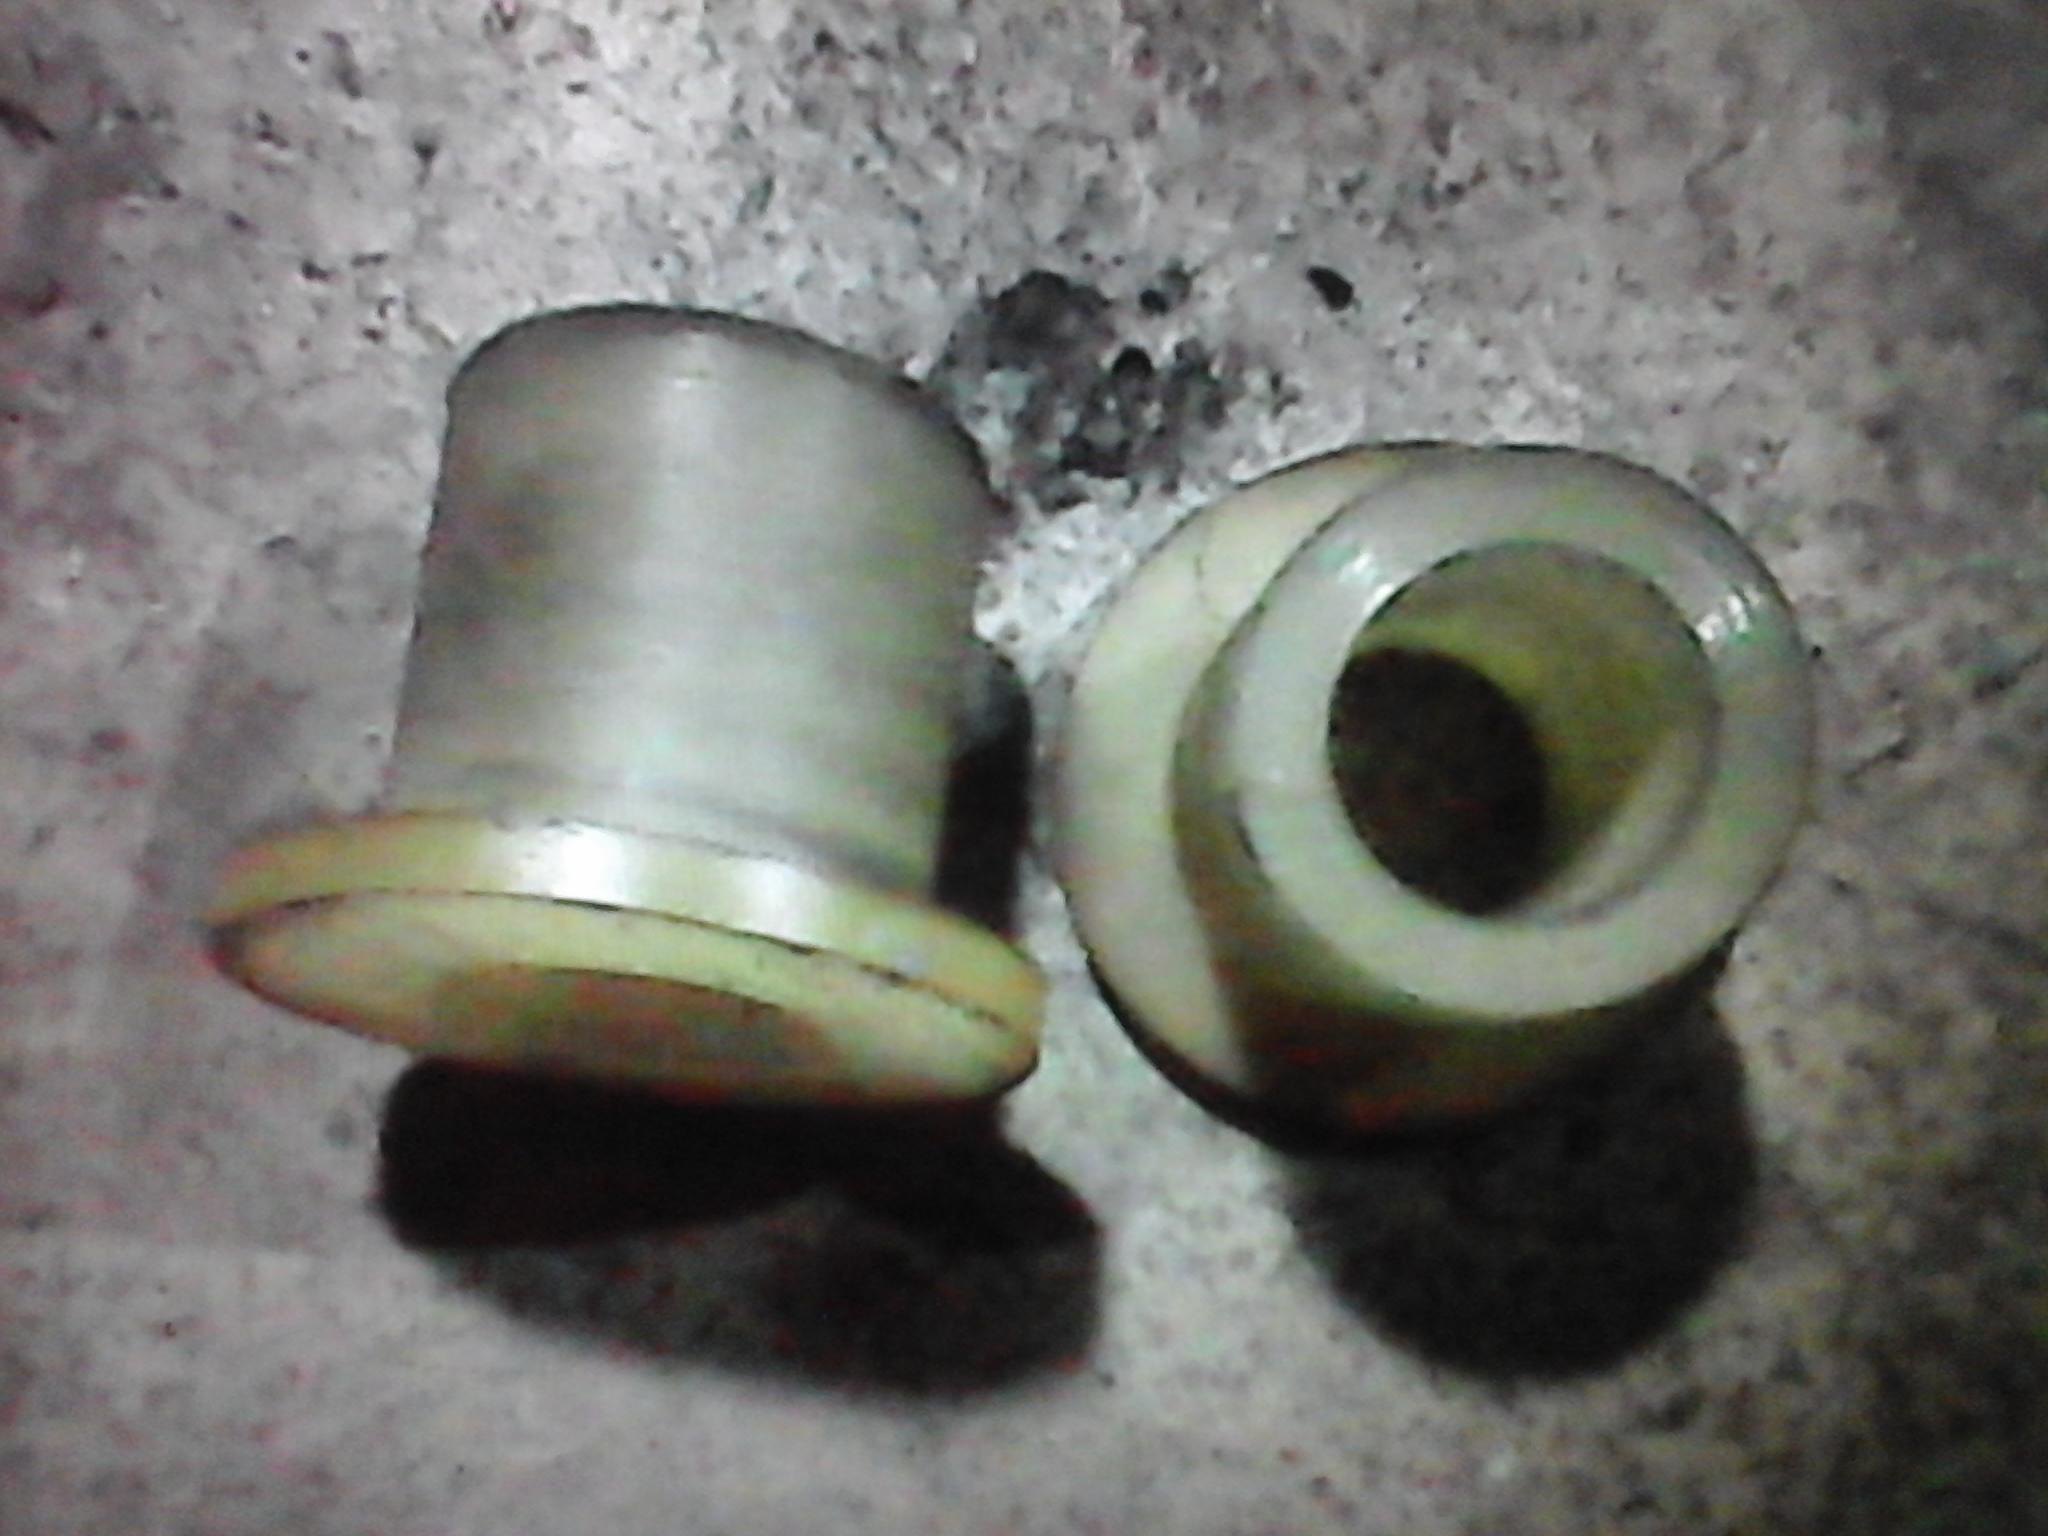
By the way, David asked me if I could use pressure to force the plunger come out of another Used old master cylinder like the way we pressure the pistons out of a caliper. I replied that I would have to remove the Reservoir and so on ( See picture link 6 ) for the job and would probably damage the baffle No. 4. The Used old one has been kept for around 20 years in the basement and its plunger is really stuck. I didn't know how to remove the plunger at that time. I tried to hit it inwards a little bit after using Gunk Liquid New Super Penetrant for a day so that I could know and try to remove the circlip, which became my fault. Then I used Gunk Liquid for many days and tried to heat around the part where the plunger nearby twice. It JUST came out a little bit.
I know if I could repair this one, I will have another spare. But I can't do it now. So I keep it again.
Many thanks to Tony and David.
Regards
Tony
|
|
|
|
Post by tony on Aug 8, 2022 4:08:47 GMT
Hi, Everyone
Now I can repair it with a new repair kit as the bore seems to be fine.
Thanks to the God and my dear Father.
Regards
Tony TAIWAN
|
|
|
|
Post by tony on Aug 8, 2022 3:04:17 GMT
Hi, everyone
I happened to get the plunger out by accident. No need to remove the circlip !!! That's a brilliant design I have ever seen !!! I will come back with the pictures taken soon.
Regards
Tony
|
|
|
|
Post by tony on Aug 8, 2022 2:36:36 GMT
Many thanks David, you have helped me so much.
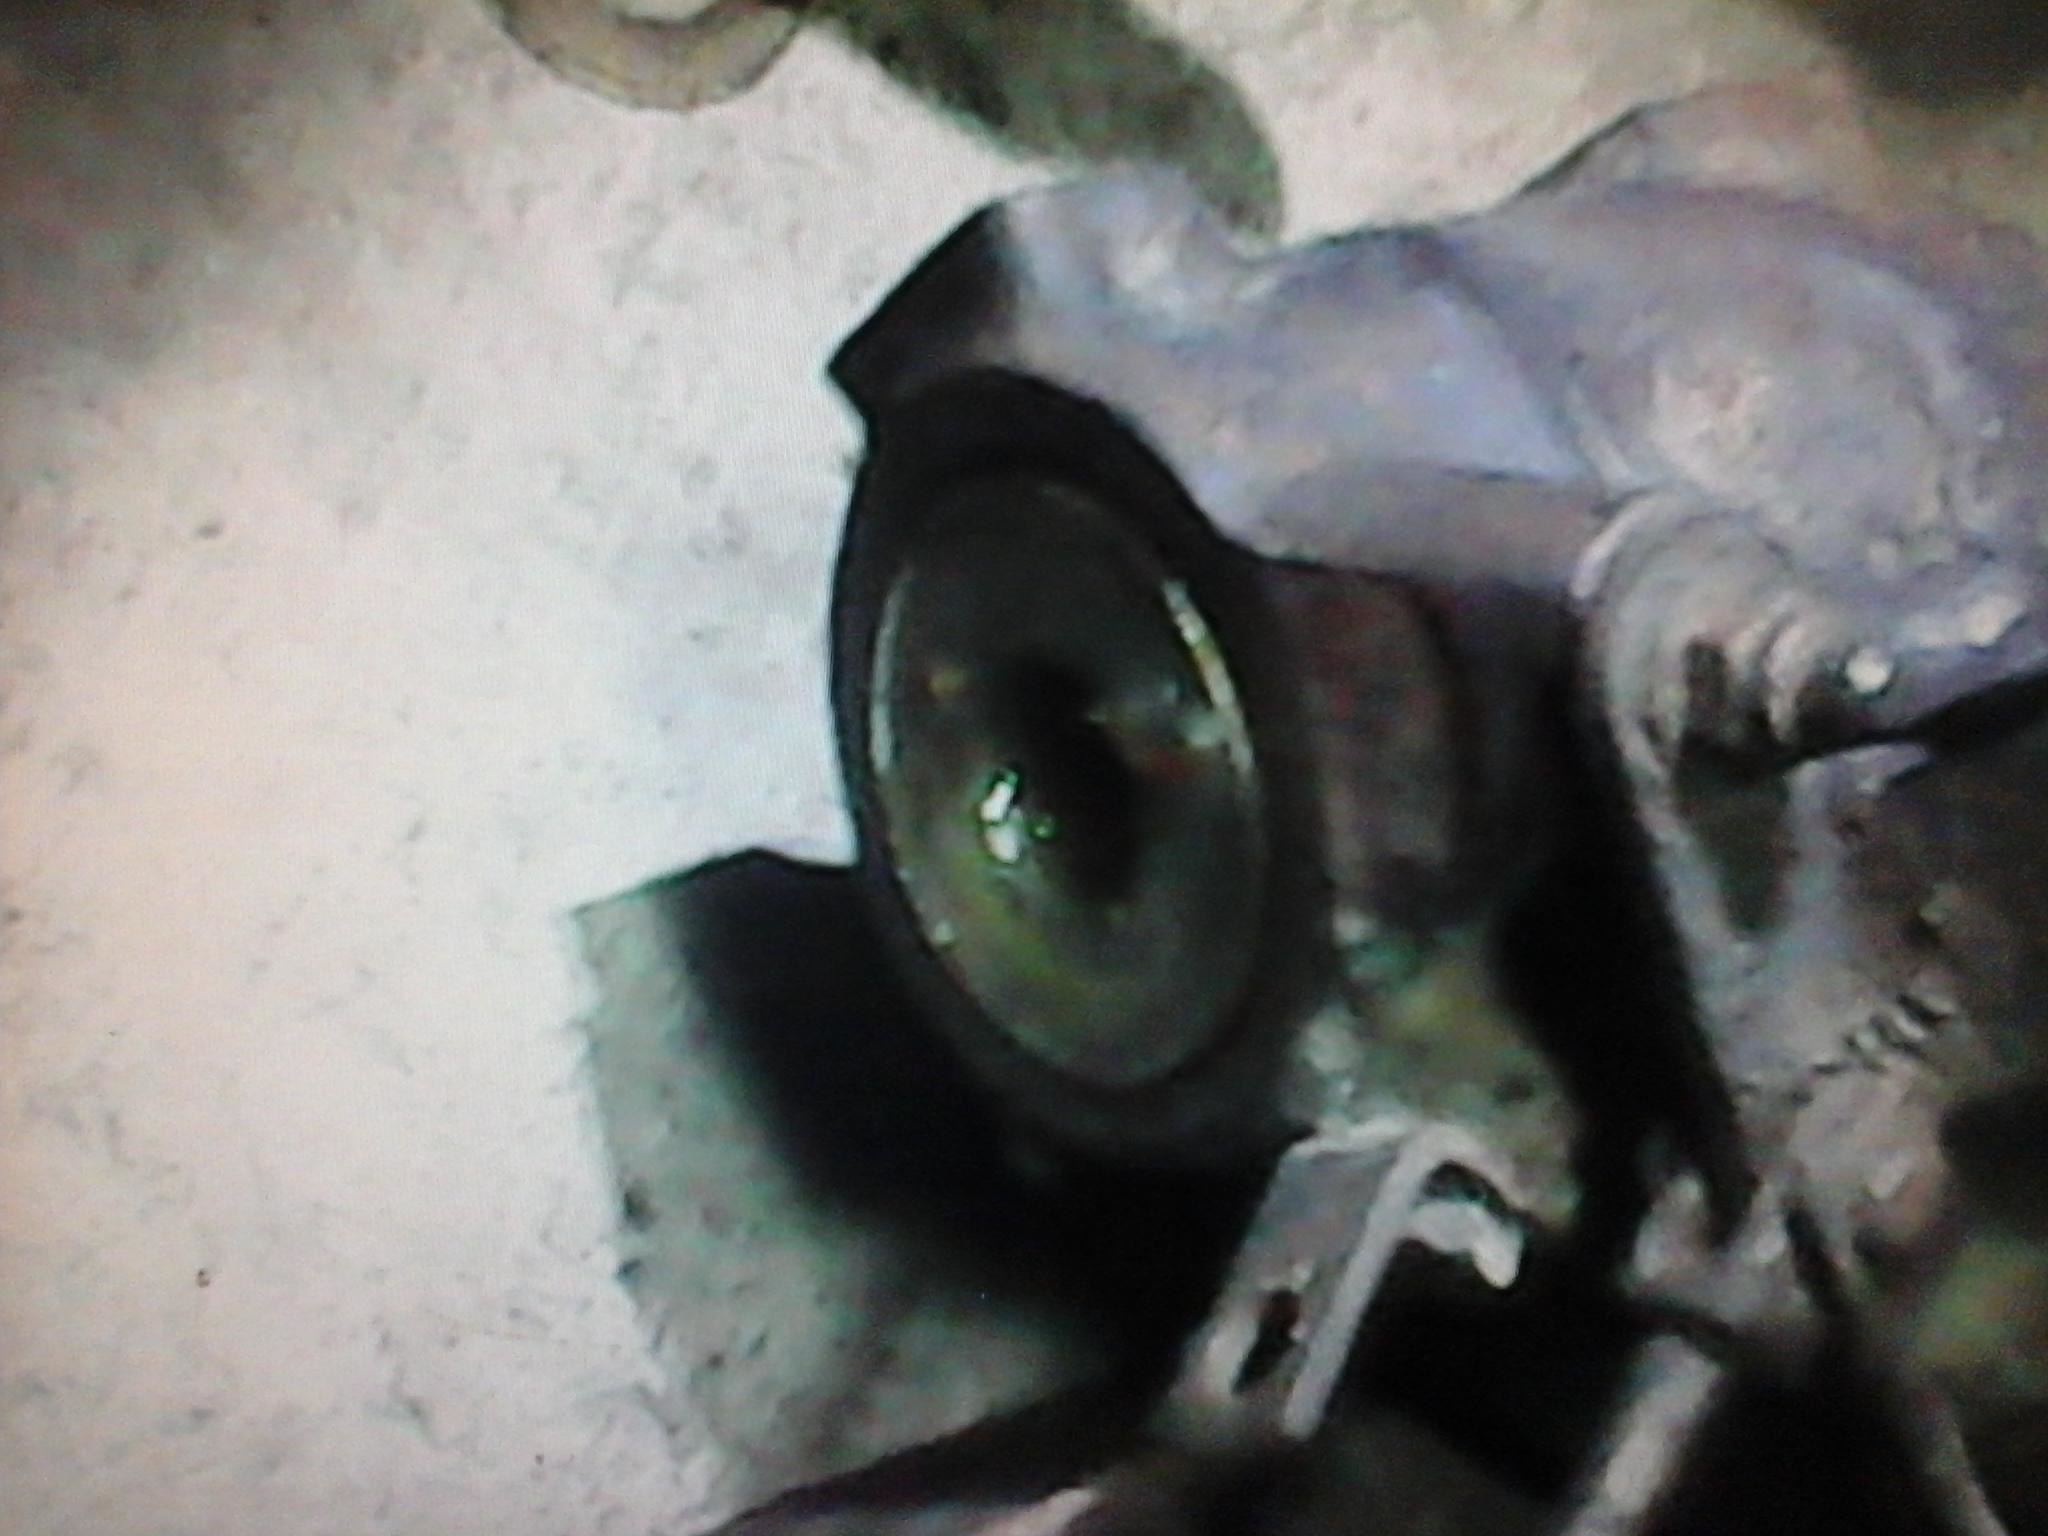
My Morris is Left hand drive. I attach a link about the servo and master cylinder on vehicle. From the picture you can see the coolant radiator with orange fans. This Morris was made in 1969, MK II with automatic transmission. Father and I rebuit the Morris about 8 years ago. See link .
Regards
Tony
|
|
|
|
Post by tony on Aug 8, 2022 2:18:20 GMT
Hi, everyone
This is my new rule of engagement : "Make sure there is fine brake before starting the engine and shift the gear !!!"
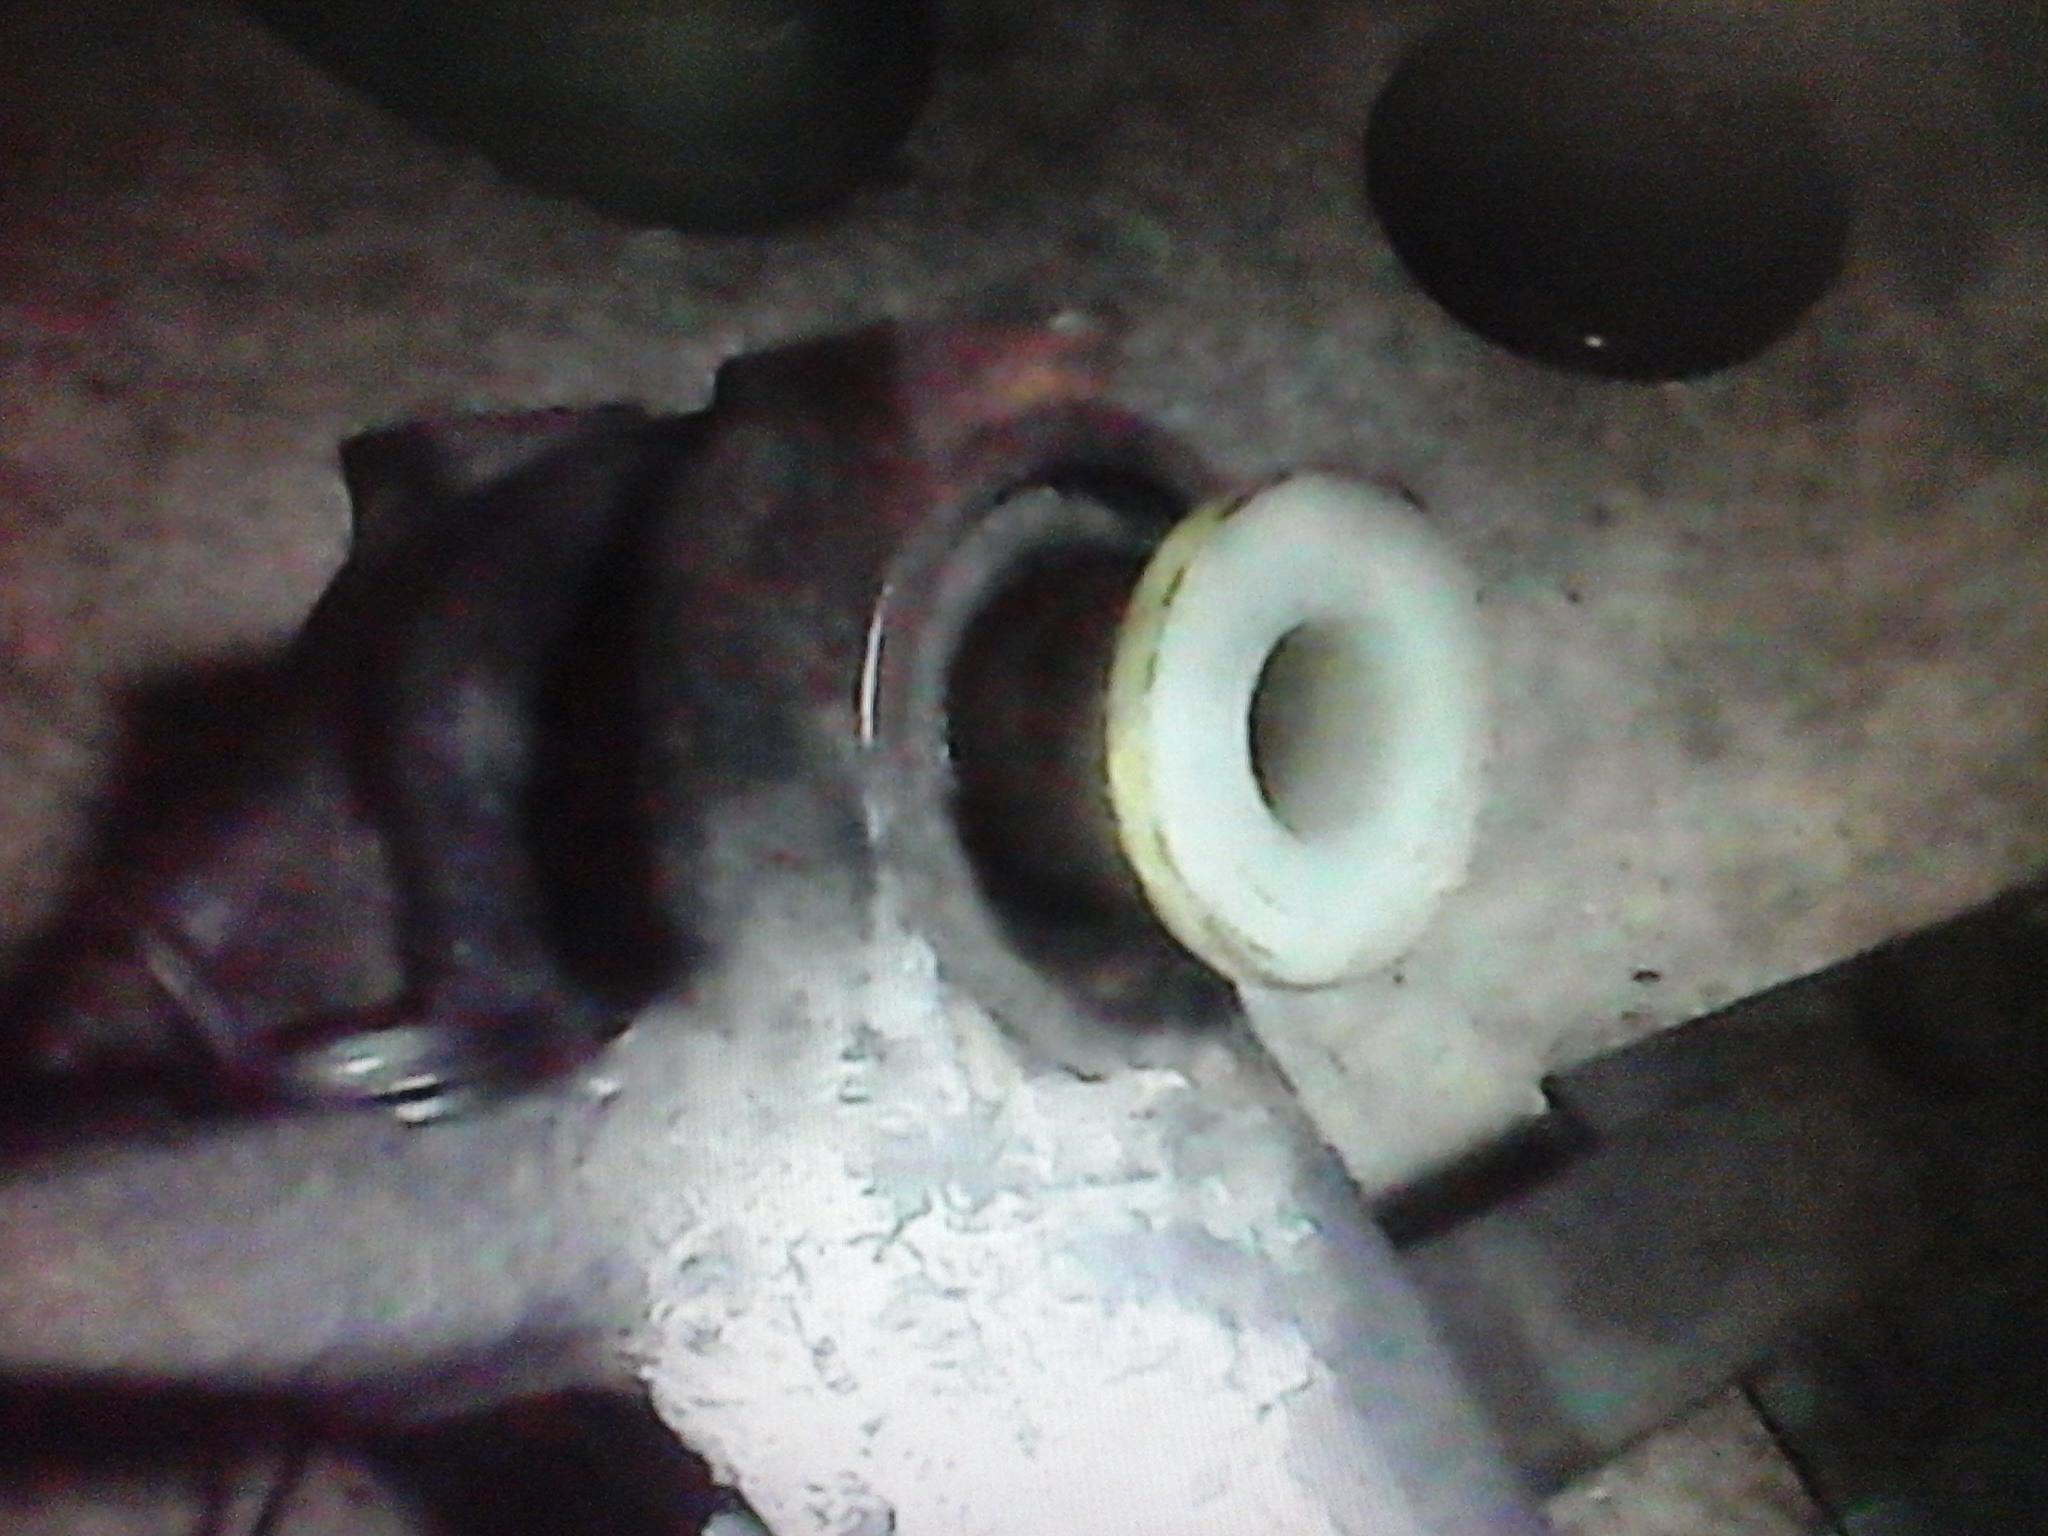
Just last Saturday morning, I thought it was about time to start and drive our lovely Morris again since she'd been there for 2 weeks. This time it took few seconds to start the engine and I shifted the gear in Reverse. I suddenly noticed there was a loss of brake with fast idling. At that time I soon remembered the way my dear Father told me before. I turned off the engine and pulled the handbrake hard. I was so lucky to stop the lovely vehicle very soon and the distance was just 10 meters long. Luckily nothing damaged !!!
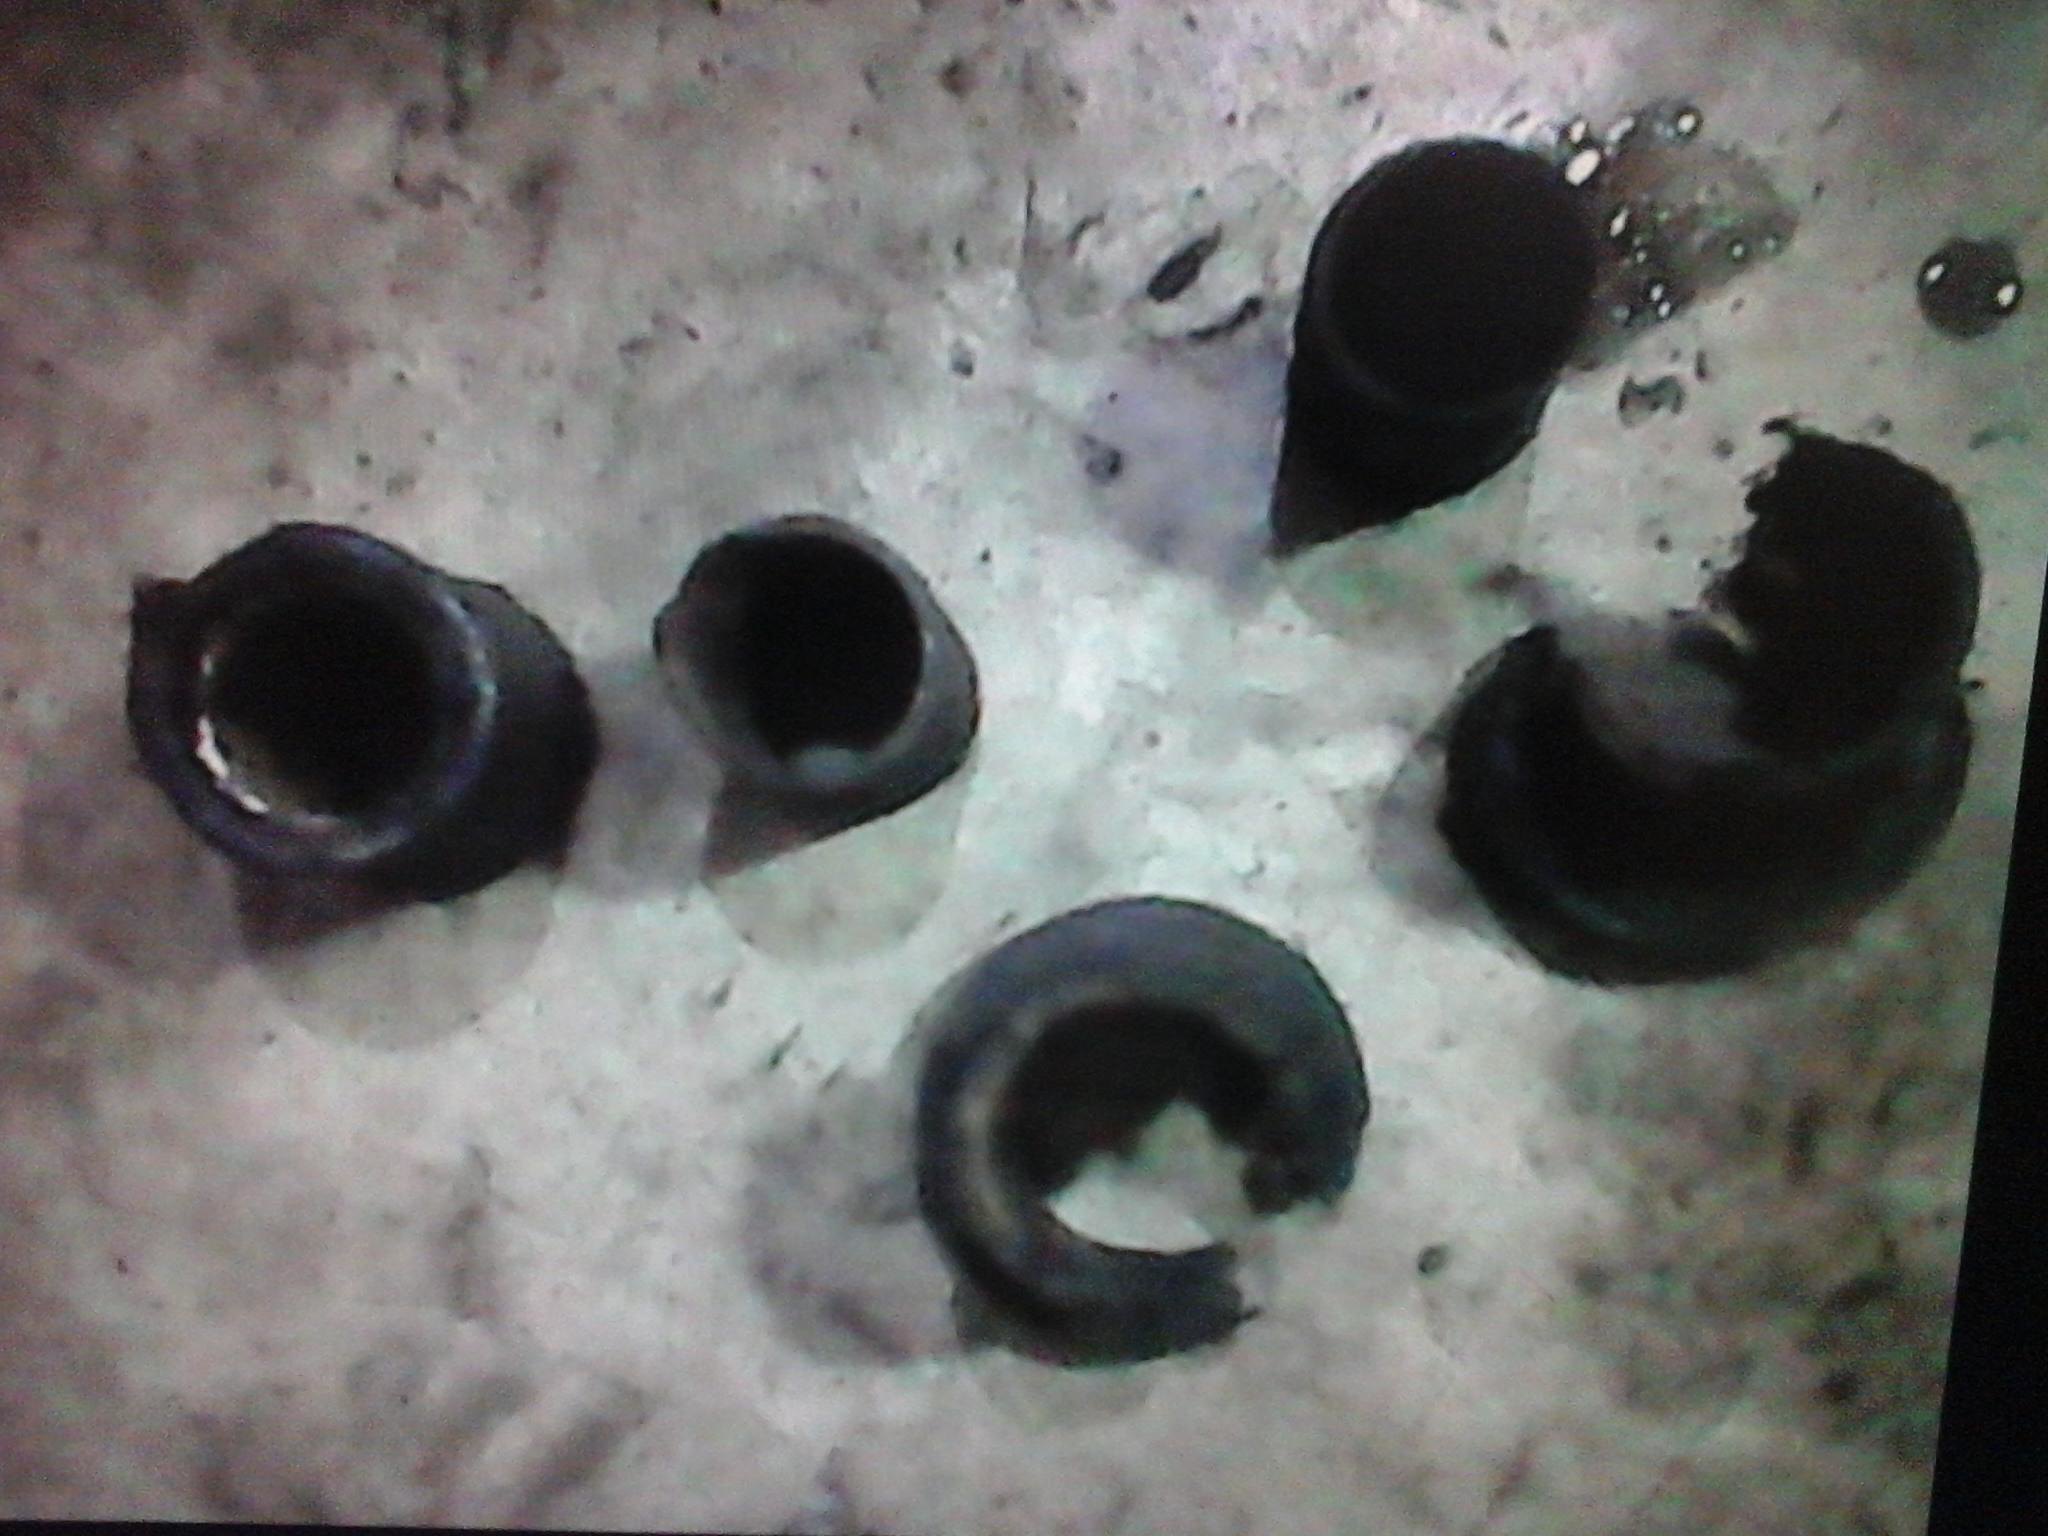
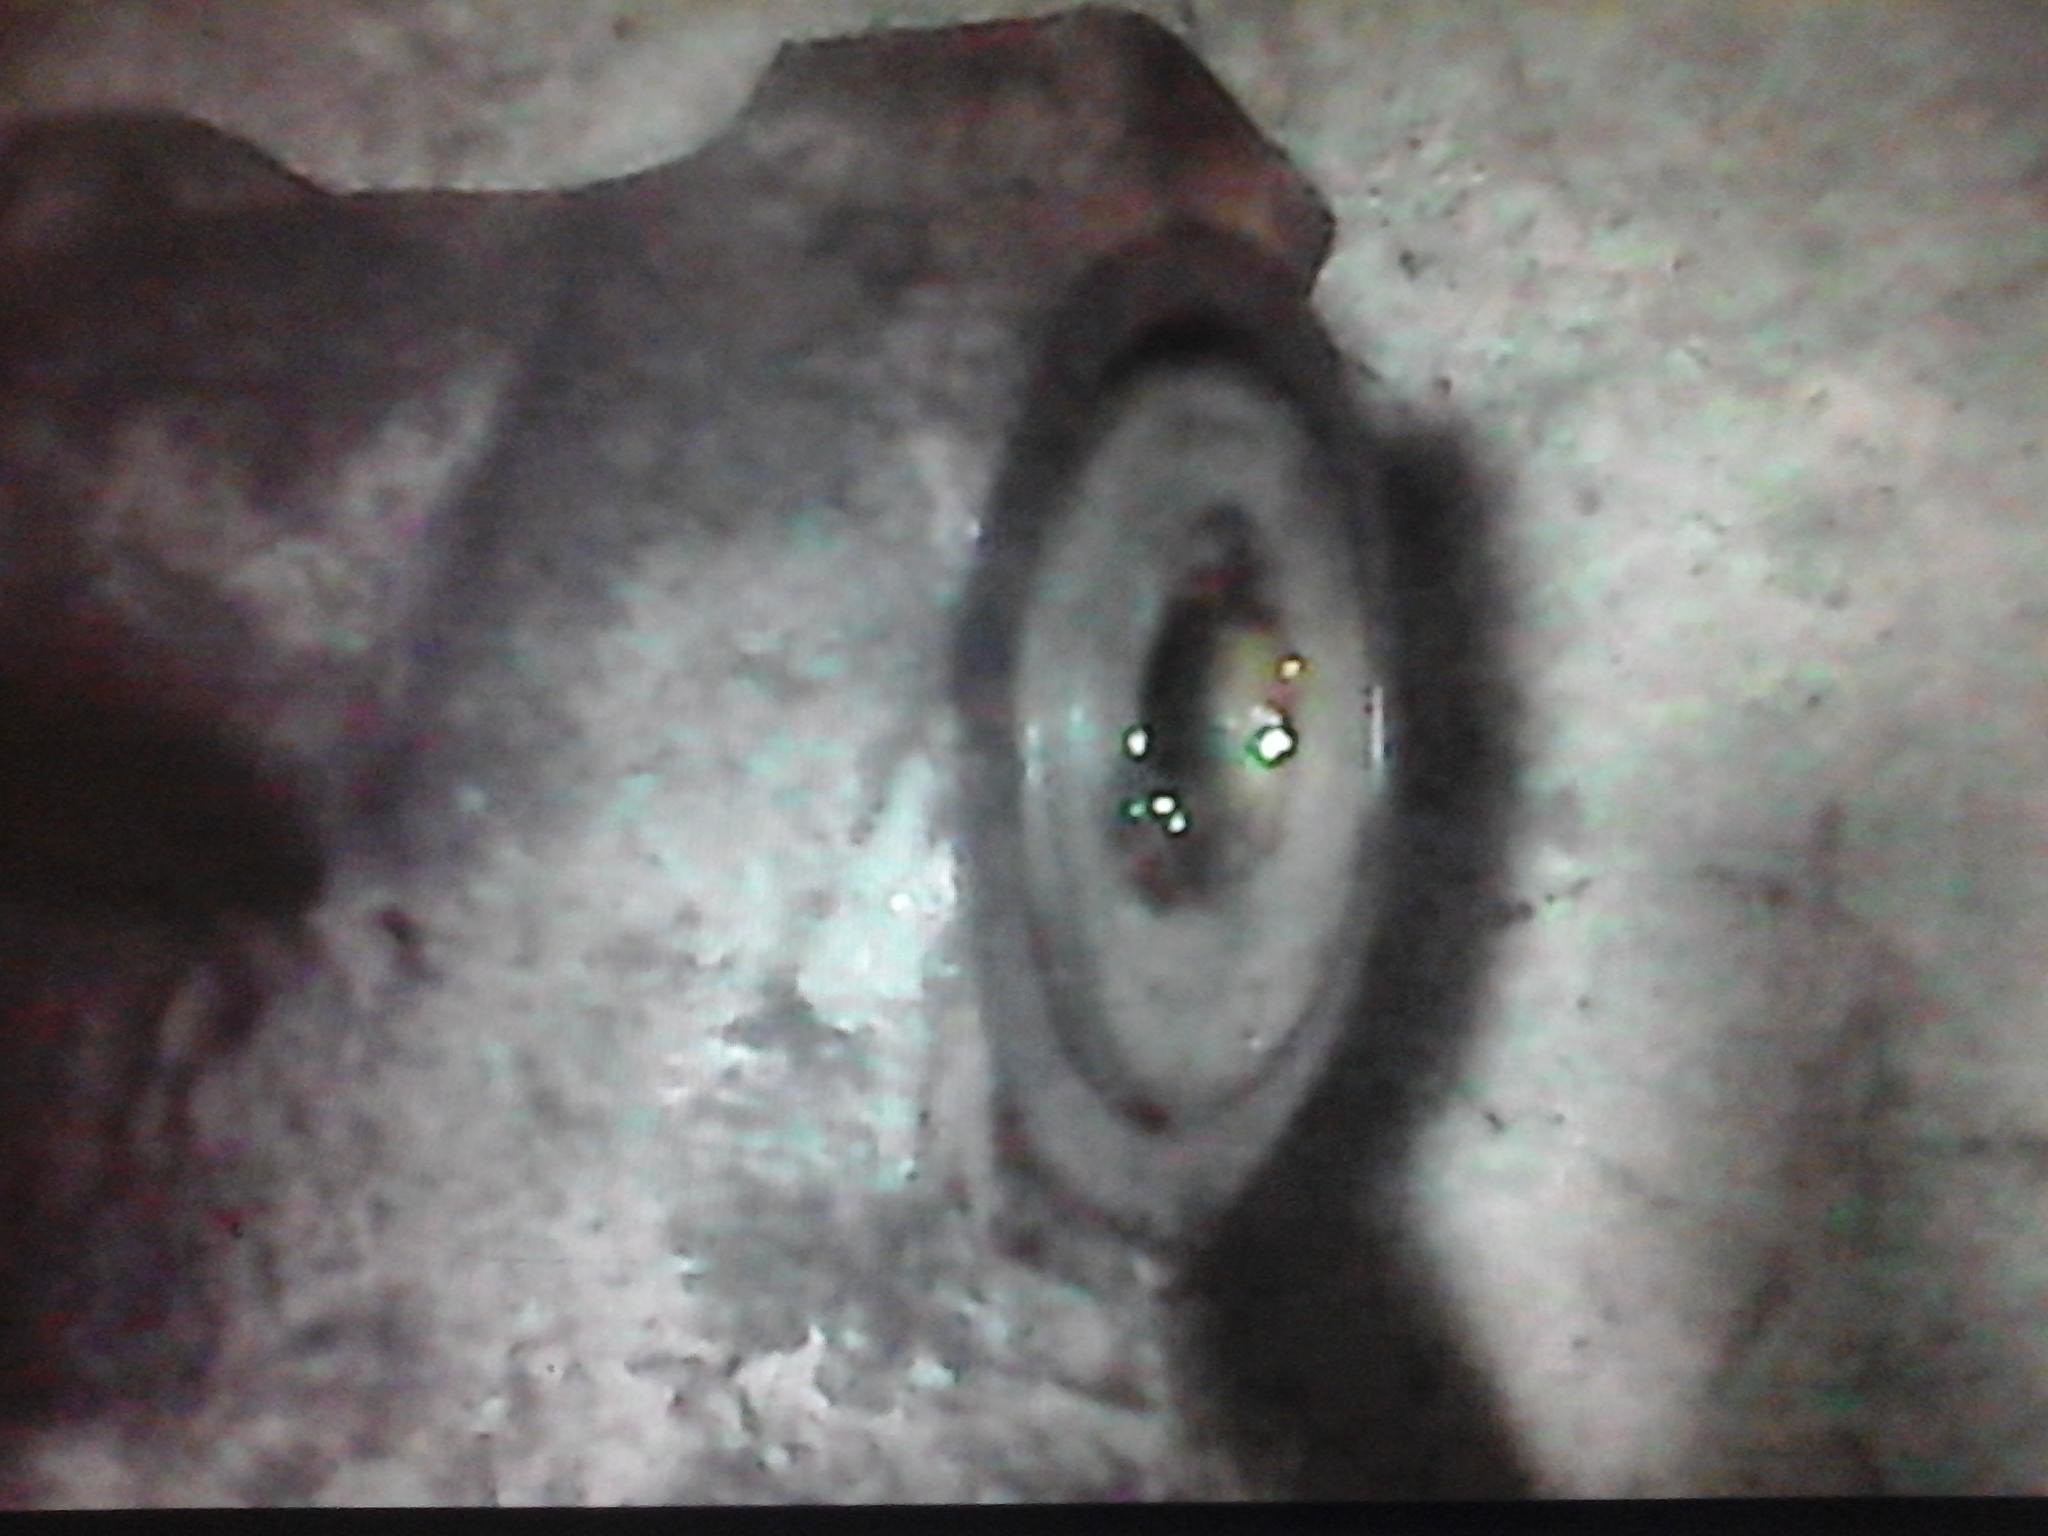
Then I found there was no brake fluid in the master cylinder. A month ago I noticed there was a little bit leak there, two weeks later it was fine. I removed the master cylinder and found I am having a big problem of dismantling the master cylinder. The circlip is not the same as one I always see.
The circlip looks like a "Ring". I don't know what material it is made. Shall I break it and get another one ? With the kind of a Ring look-like circlip, does anyone have a good idea?
I know it's very easy to repair master cylinder with a new repair kit. I also have another bad experience twice in installing unpacked and new master cylinders on a big French Vehicle and that two master cylinders had been in stock for tens years.
I attach this link link from my Google cloud.  I am sorry I am unable to insert any pictures here from my Google Cloud.
Many thanks in advance.
Regards
Tony TAIWAN
|
|
|
|
Post by tony on Sept 23, 2017 9:25:50 GMT
Hi David First of all, I am sorry about some unclear pictures of the bushes I uploaded here. I was unable to upload some of small size pictures here from the my account of Flickr.com. So I had to retake them again in front of the screen of the computer in order to meet the requirement of bigger size. The result is unclear pictures. The picture below is LH side we repaired by using the light yellow material and made the bushes in 2014. I believe it's called Teflon. It has been working fine since then. It's like the bushes by PowerFlex, a UK company. In 2014 I didn't have the chance to take any pictures of the bushes father went out to tell someone to create what he really wanted. He gave the person a guidance and stayed there and watched him make the correct size bushes he asked for. It's very clear that we just use the new Teflon bushes instead of the rubber made bushes. And we still use the rest of the parts left and put them back together as a whole "Slipflex DX" bearing assembly inside the arm. Of course, the size has to be correct, which is not very difficult for old mechanics like my father to do the job. He has used Teflon for Lexus 400, RR and others. 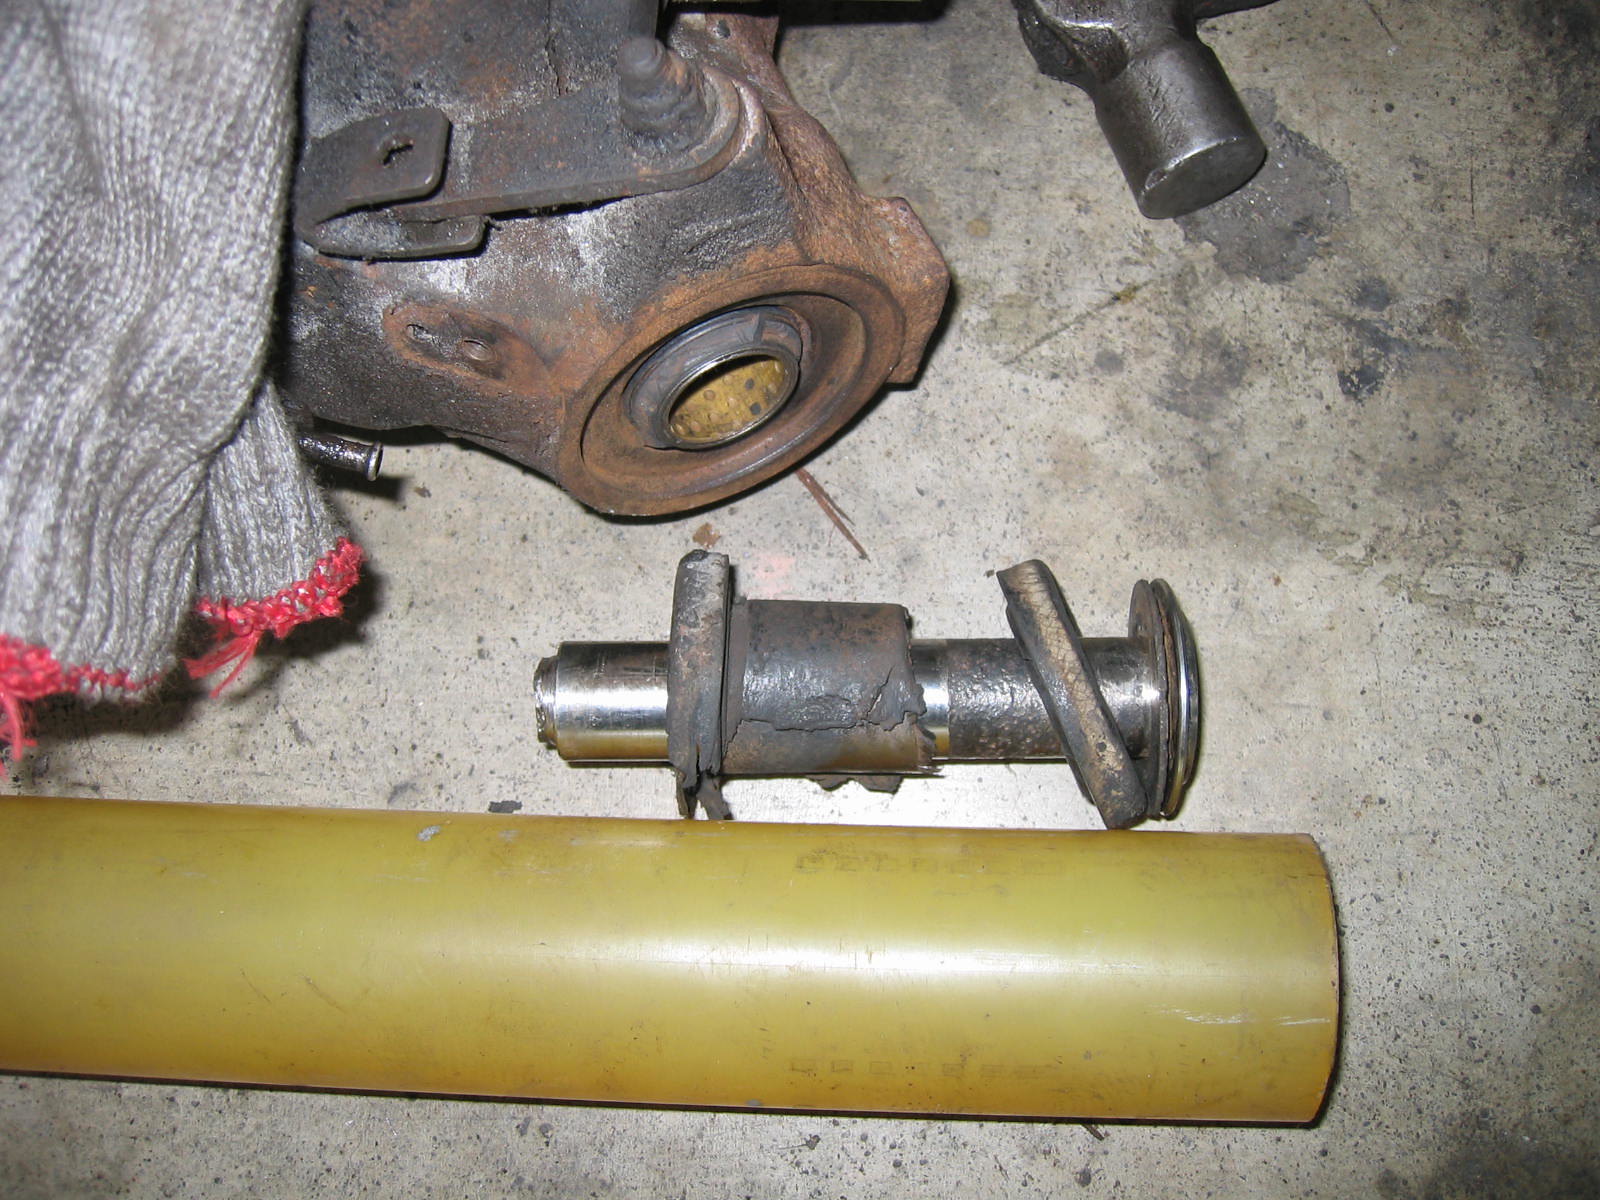 ![]()    I am very sorry again. The size of original pictures is very small and they are not very clear I took this time. Also sorry for being unable to take a whole new Teflon "Slipflex DX" bearing assembly because father installed them piece by piece into the arm. Regards Tony |
|
|
|
Post by tony on Sept 21, 2017 3:20:08 GMT
|
|
|
|
Post by tony on Aug 26, 2017 5:15:40 GMT
A month ago, just in later July. There was a very strange sound coming from the rear of Morris while she moved backwards. At that time I thought it could be the cause of rear brake shoes. In fact, I was wrong to first diagnose. I had almost forgotten the problem of the so closed gap between the rear right wheel and the body frame. I still have the picture of the problem shown below: 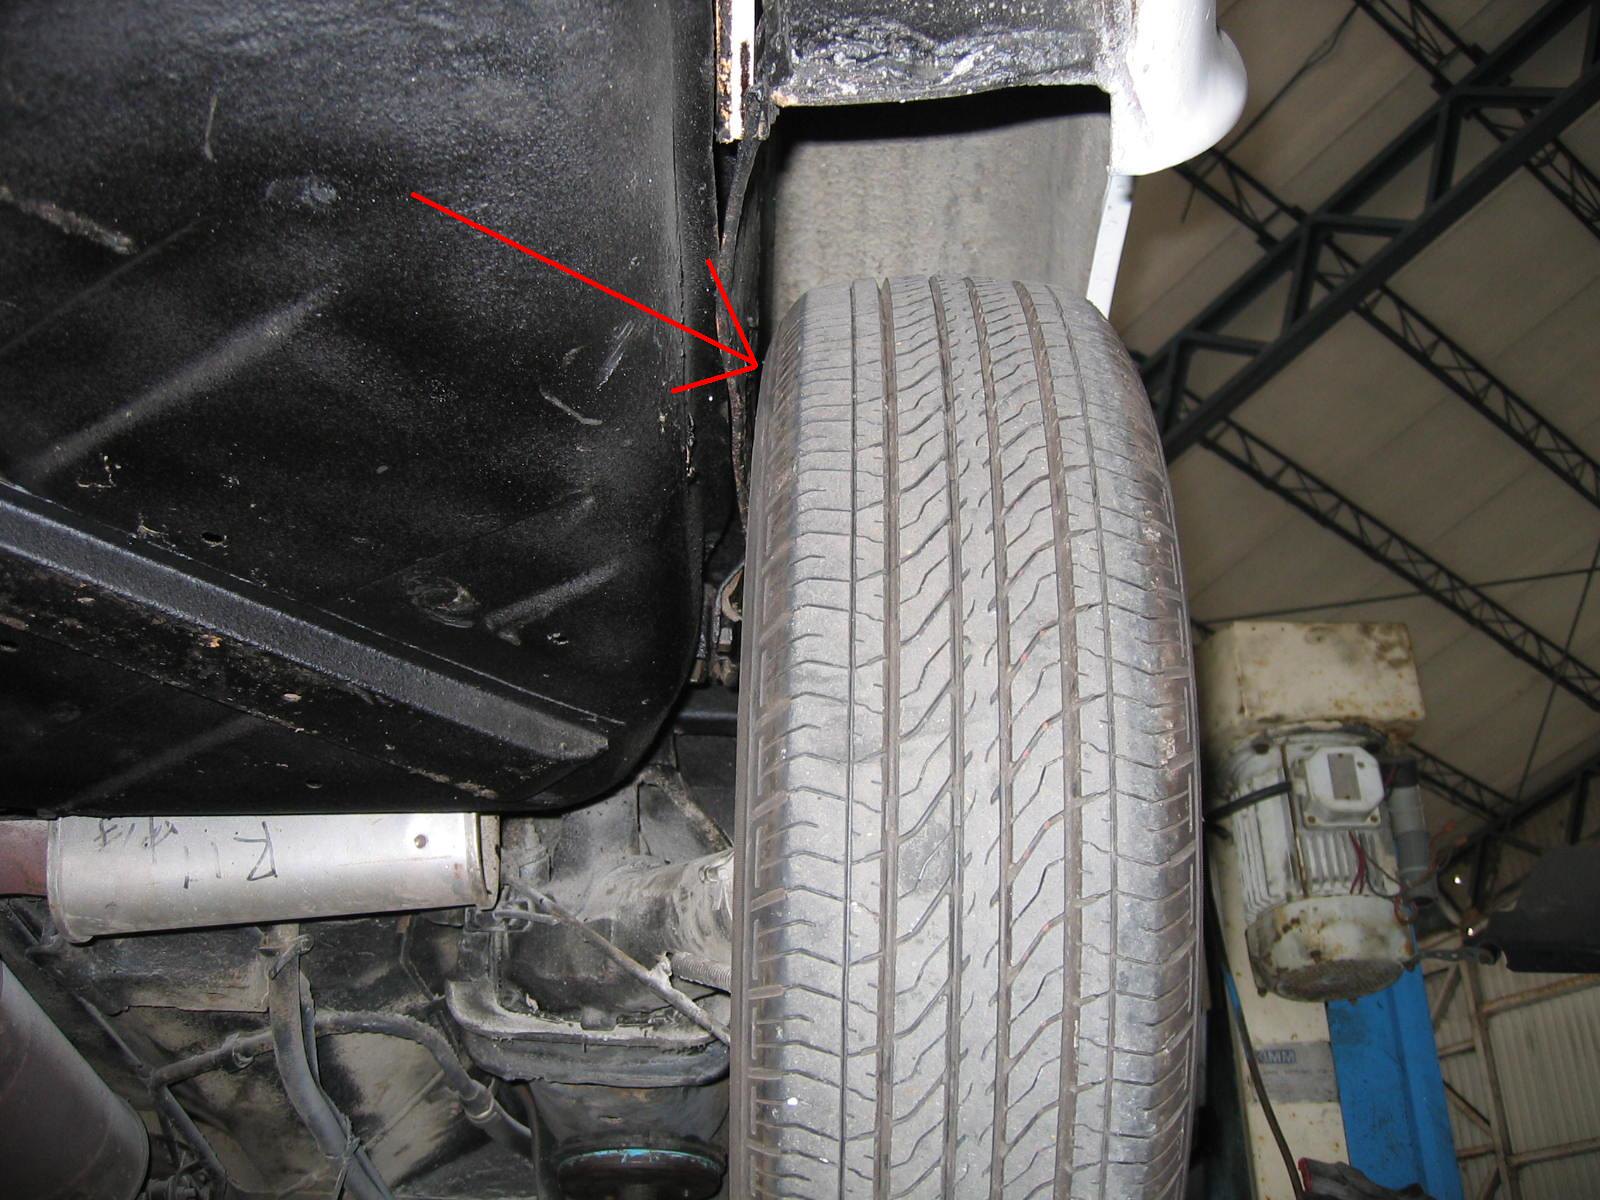 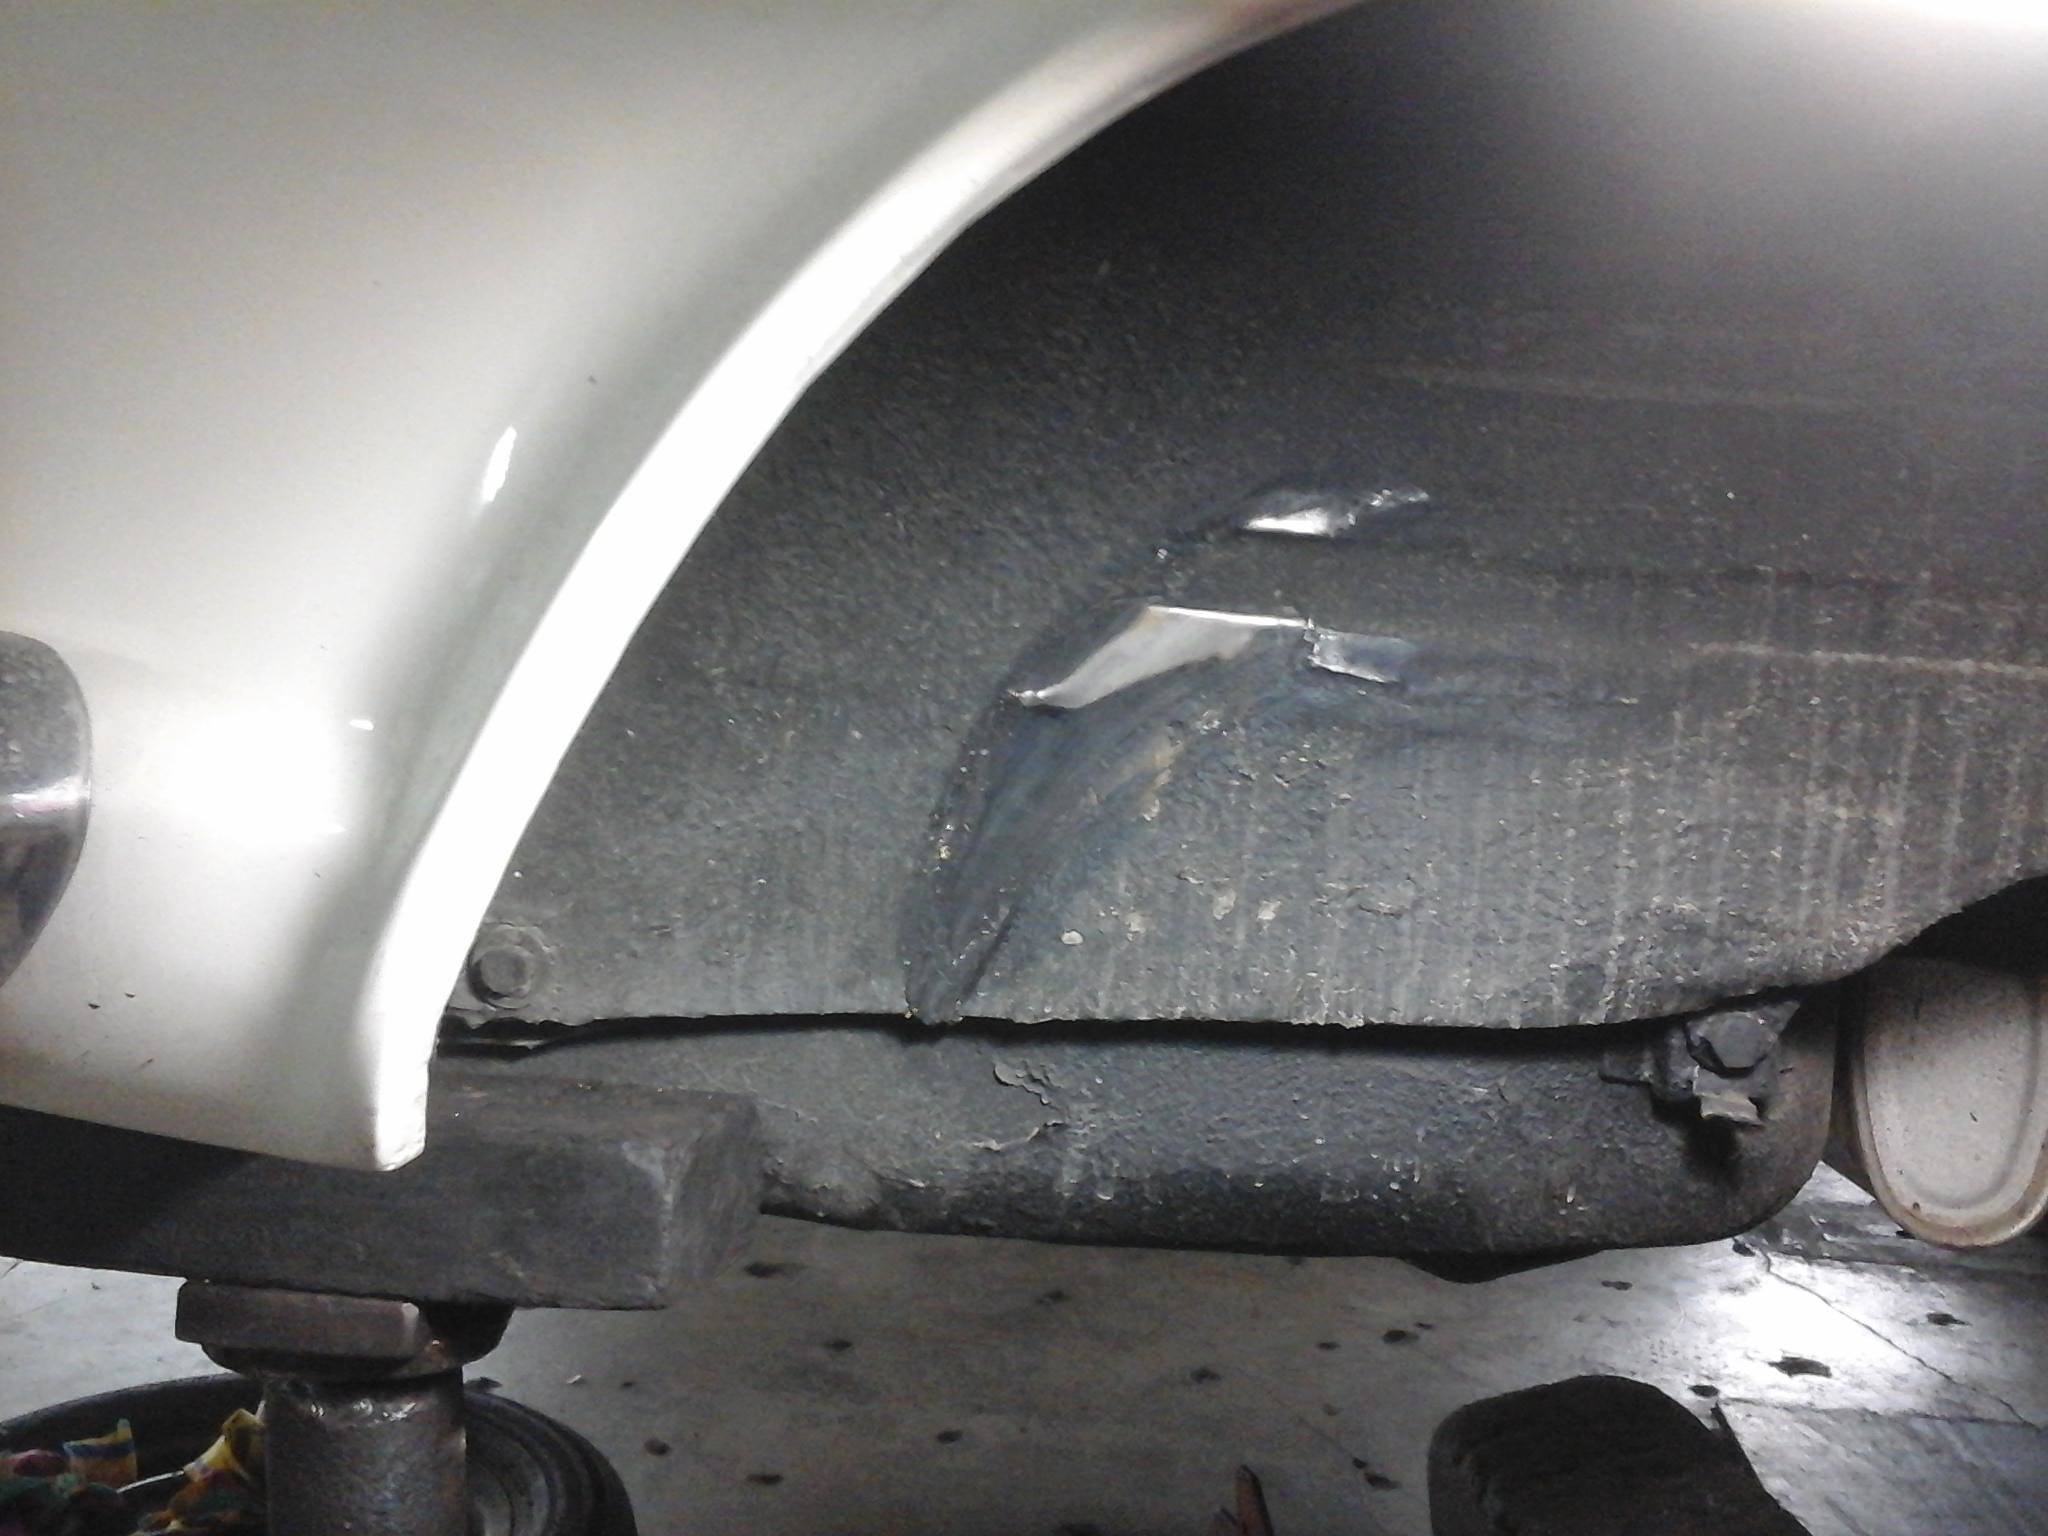 Found the cause of the strange sound. 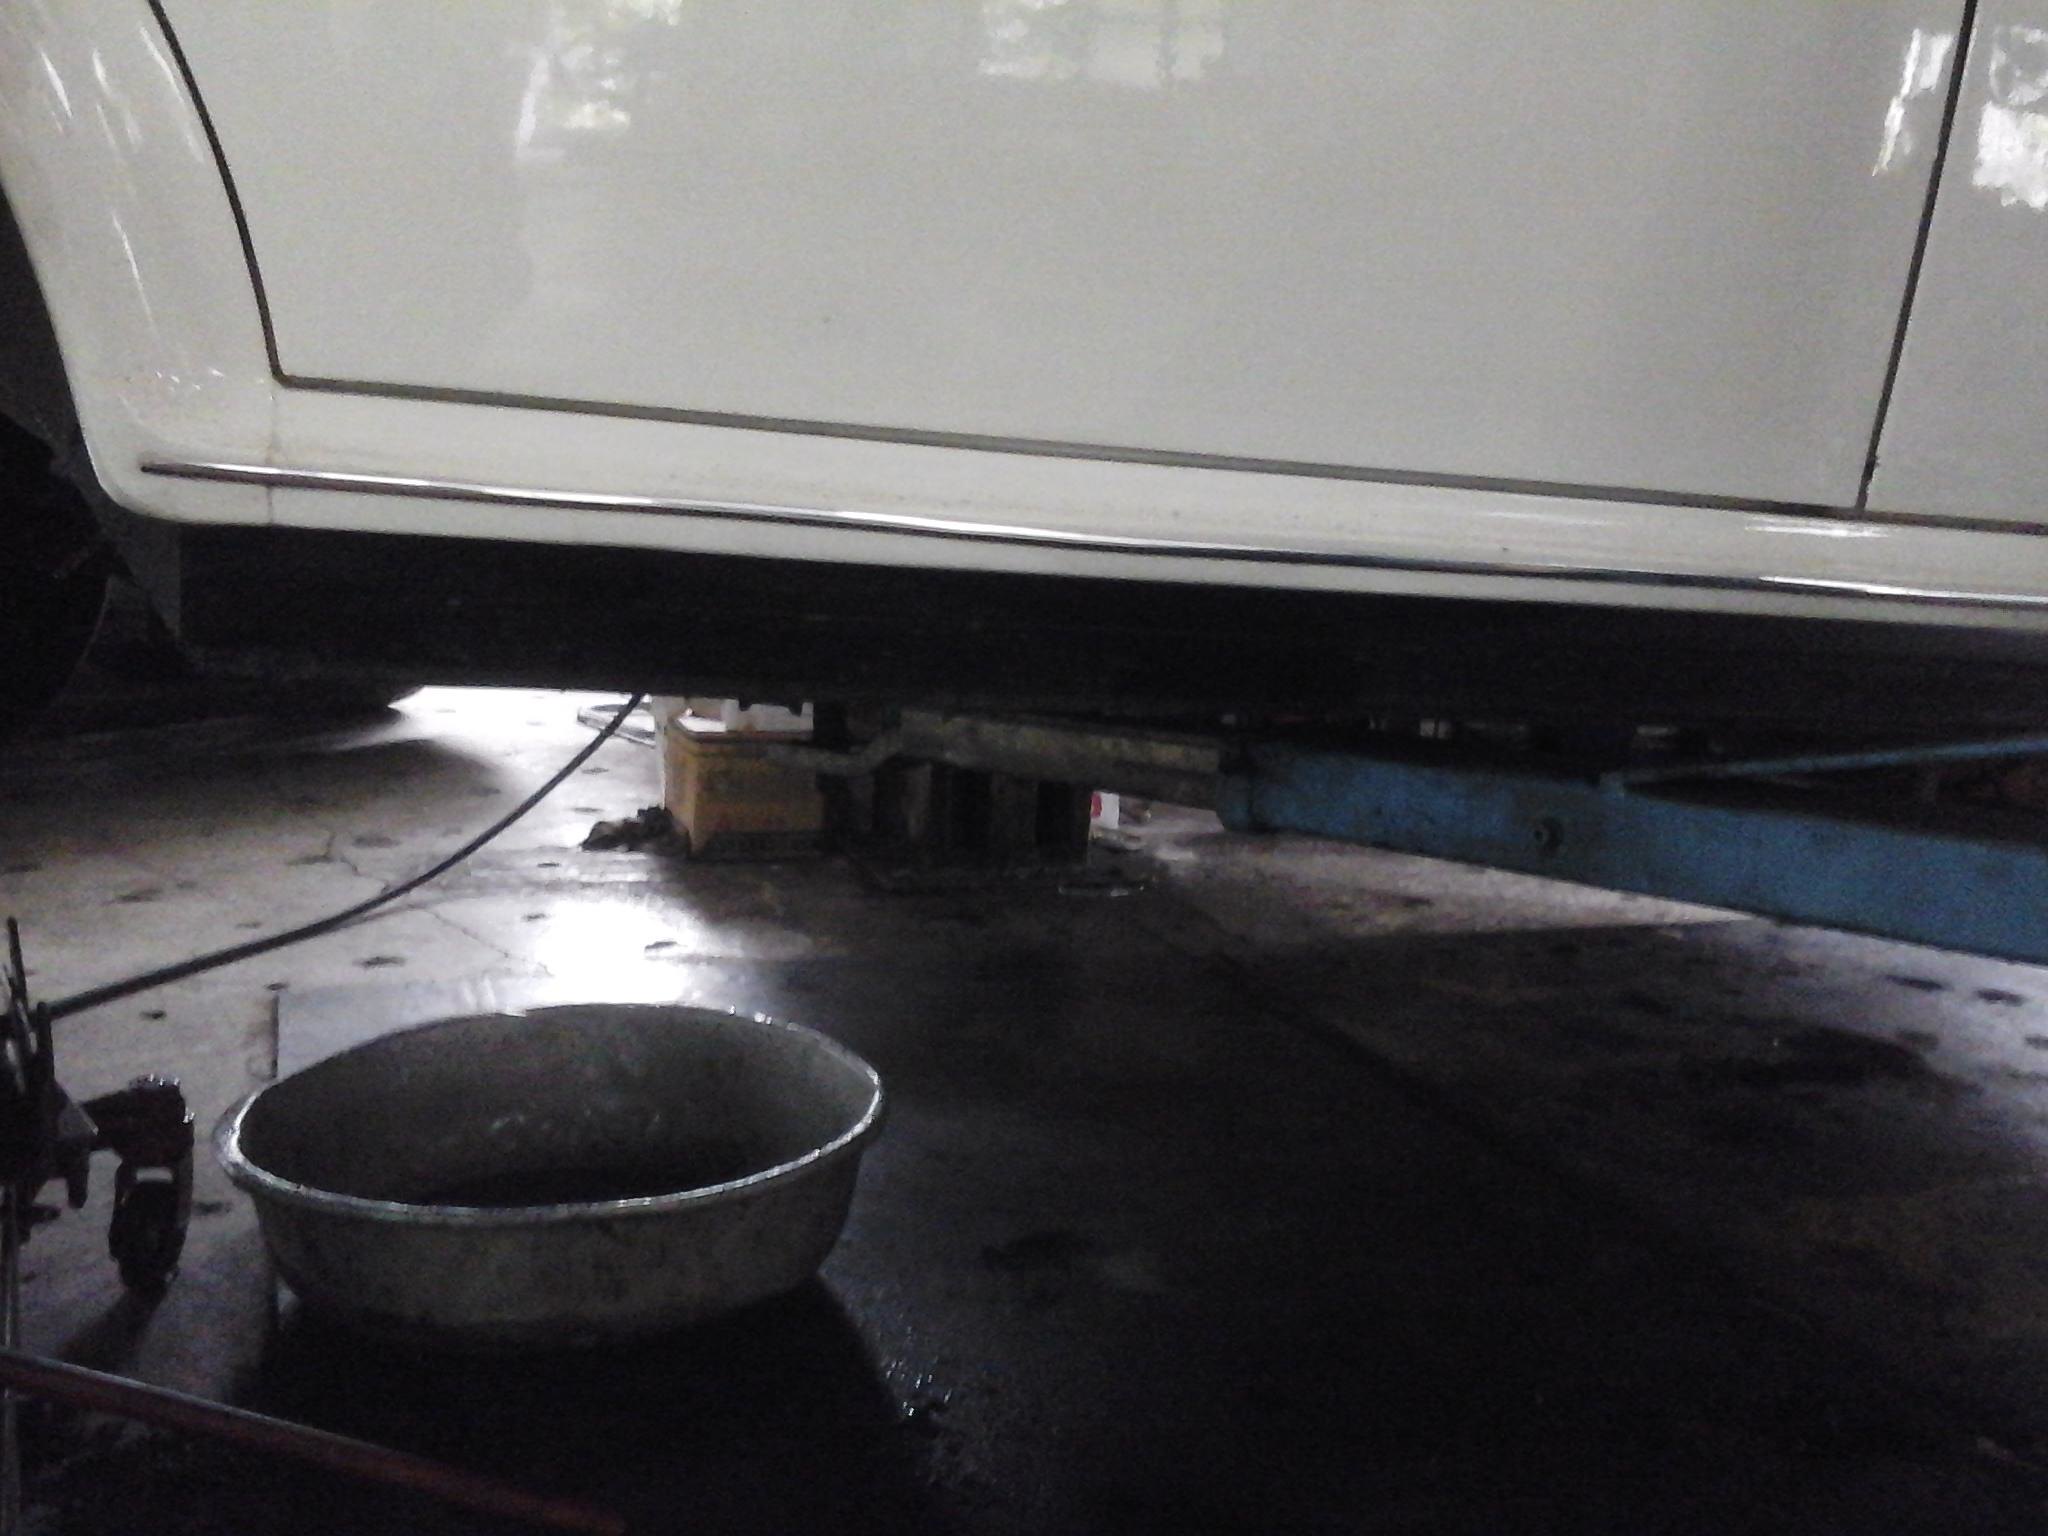 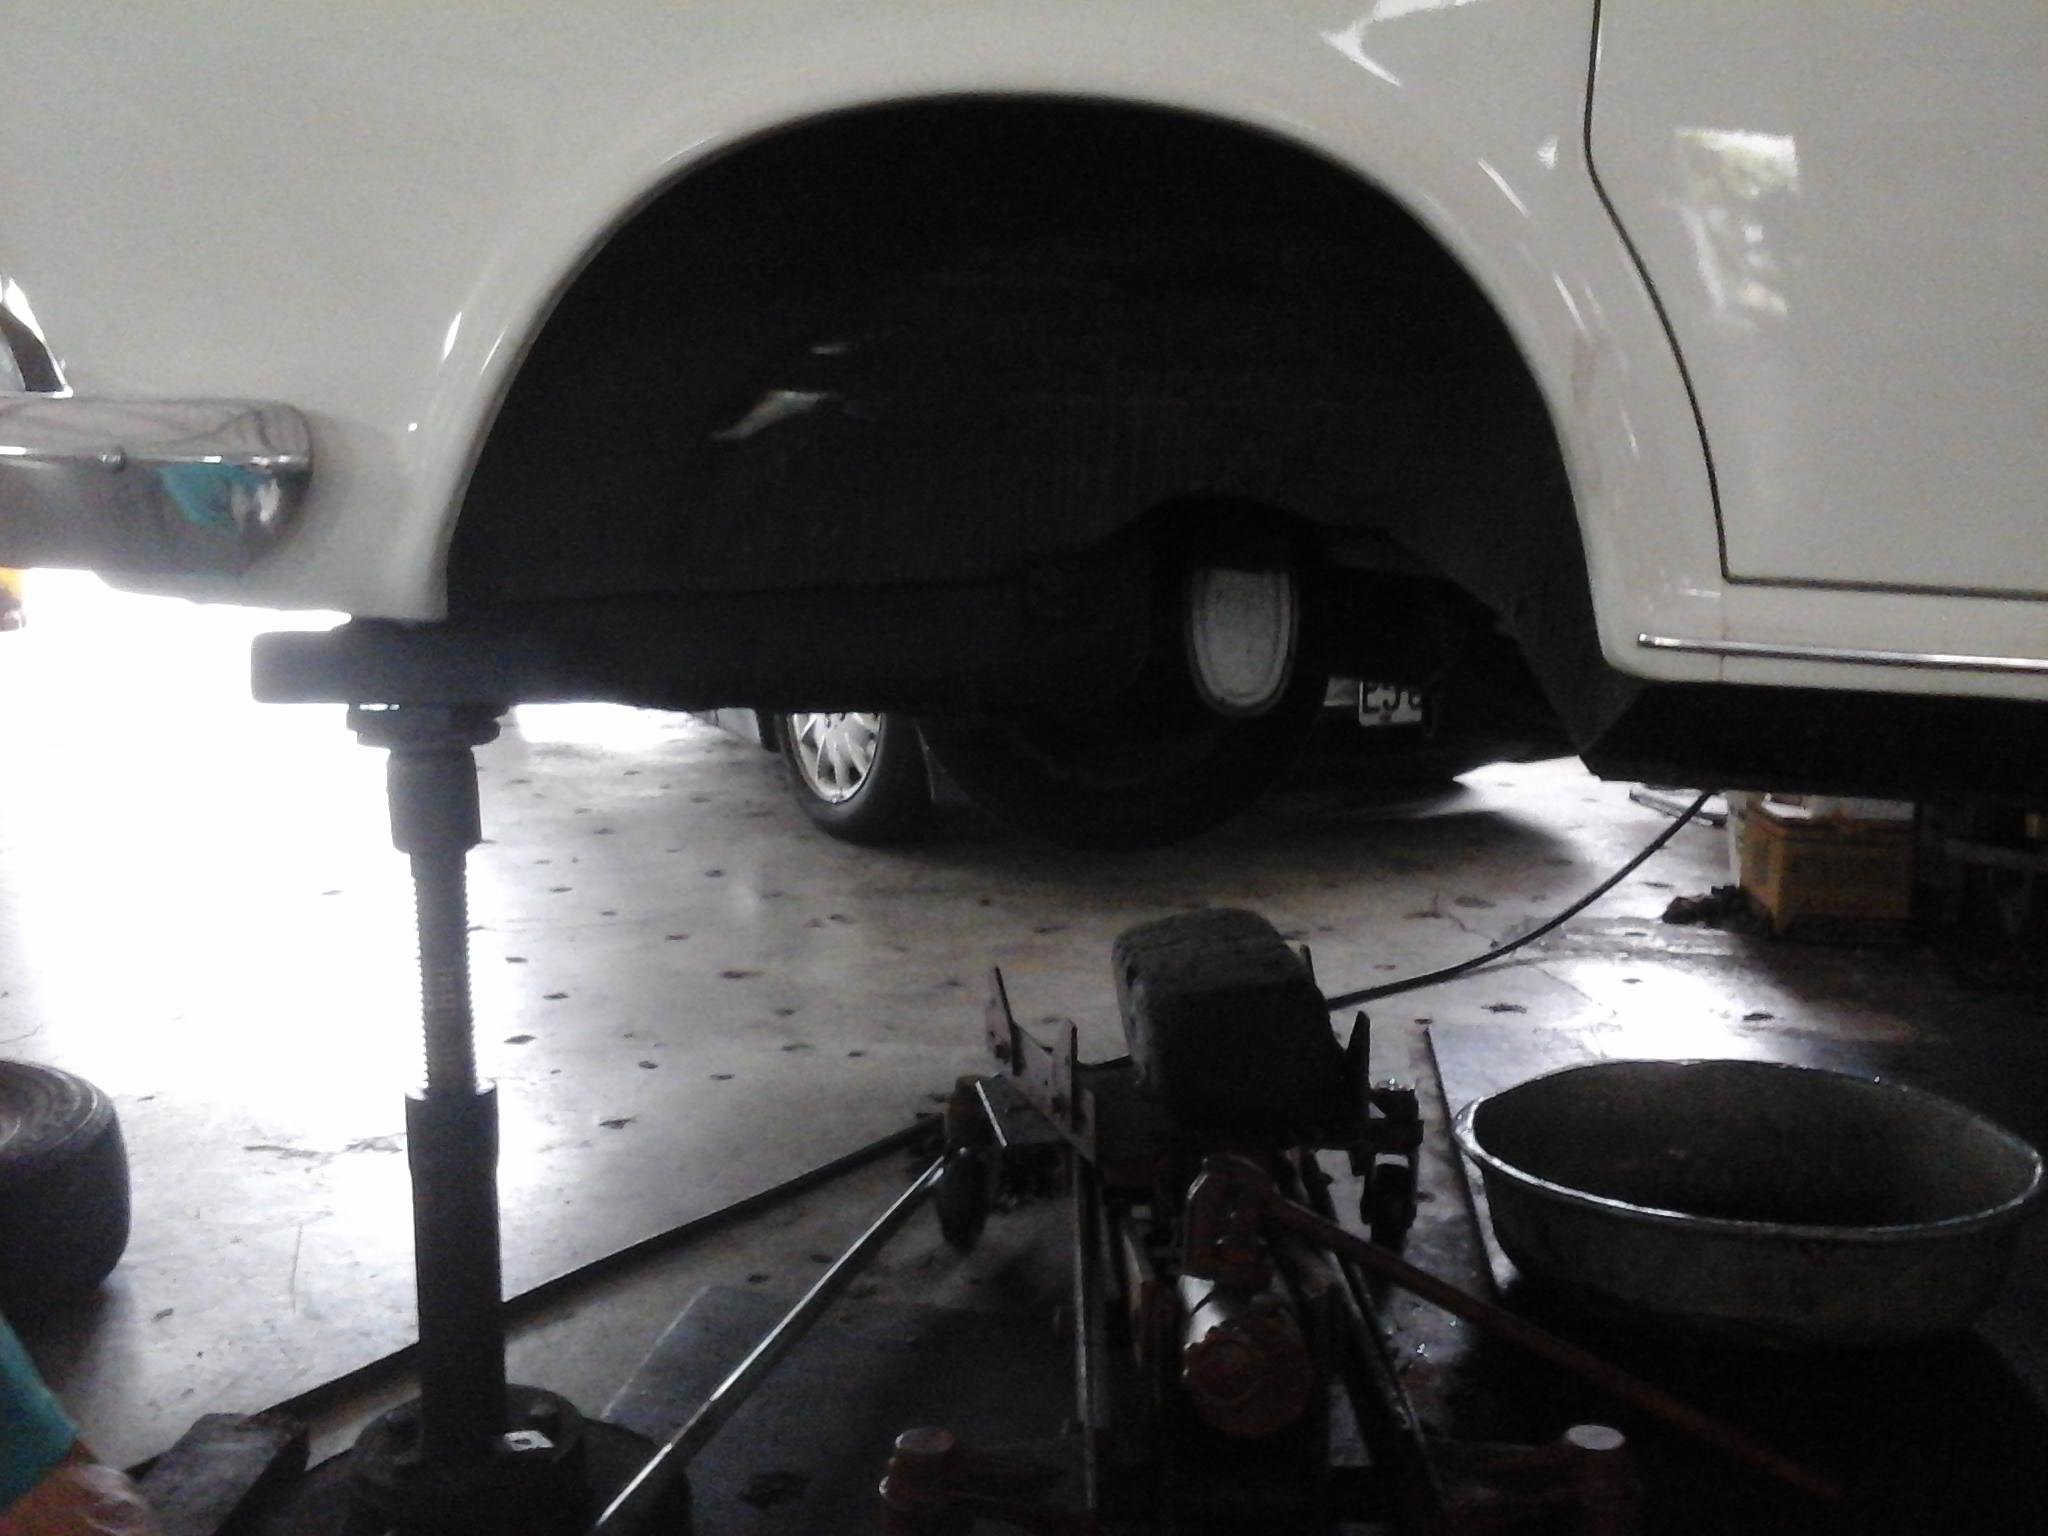 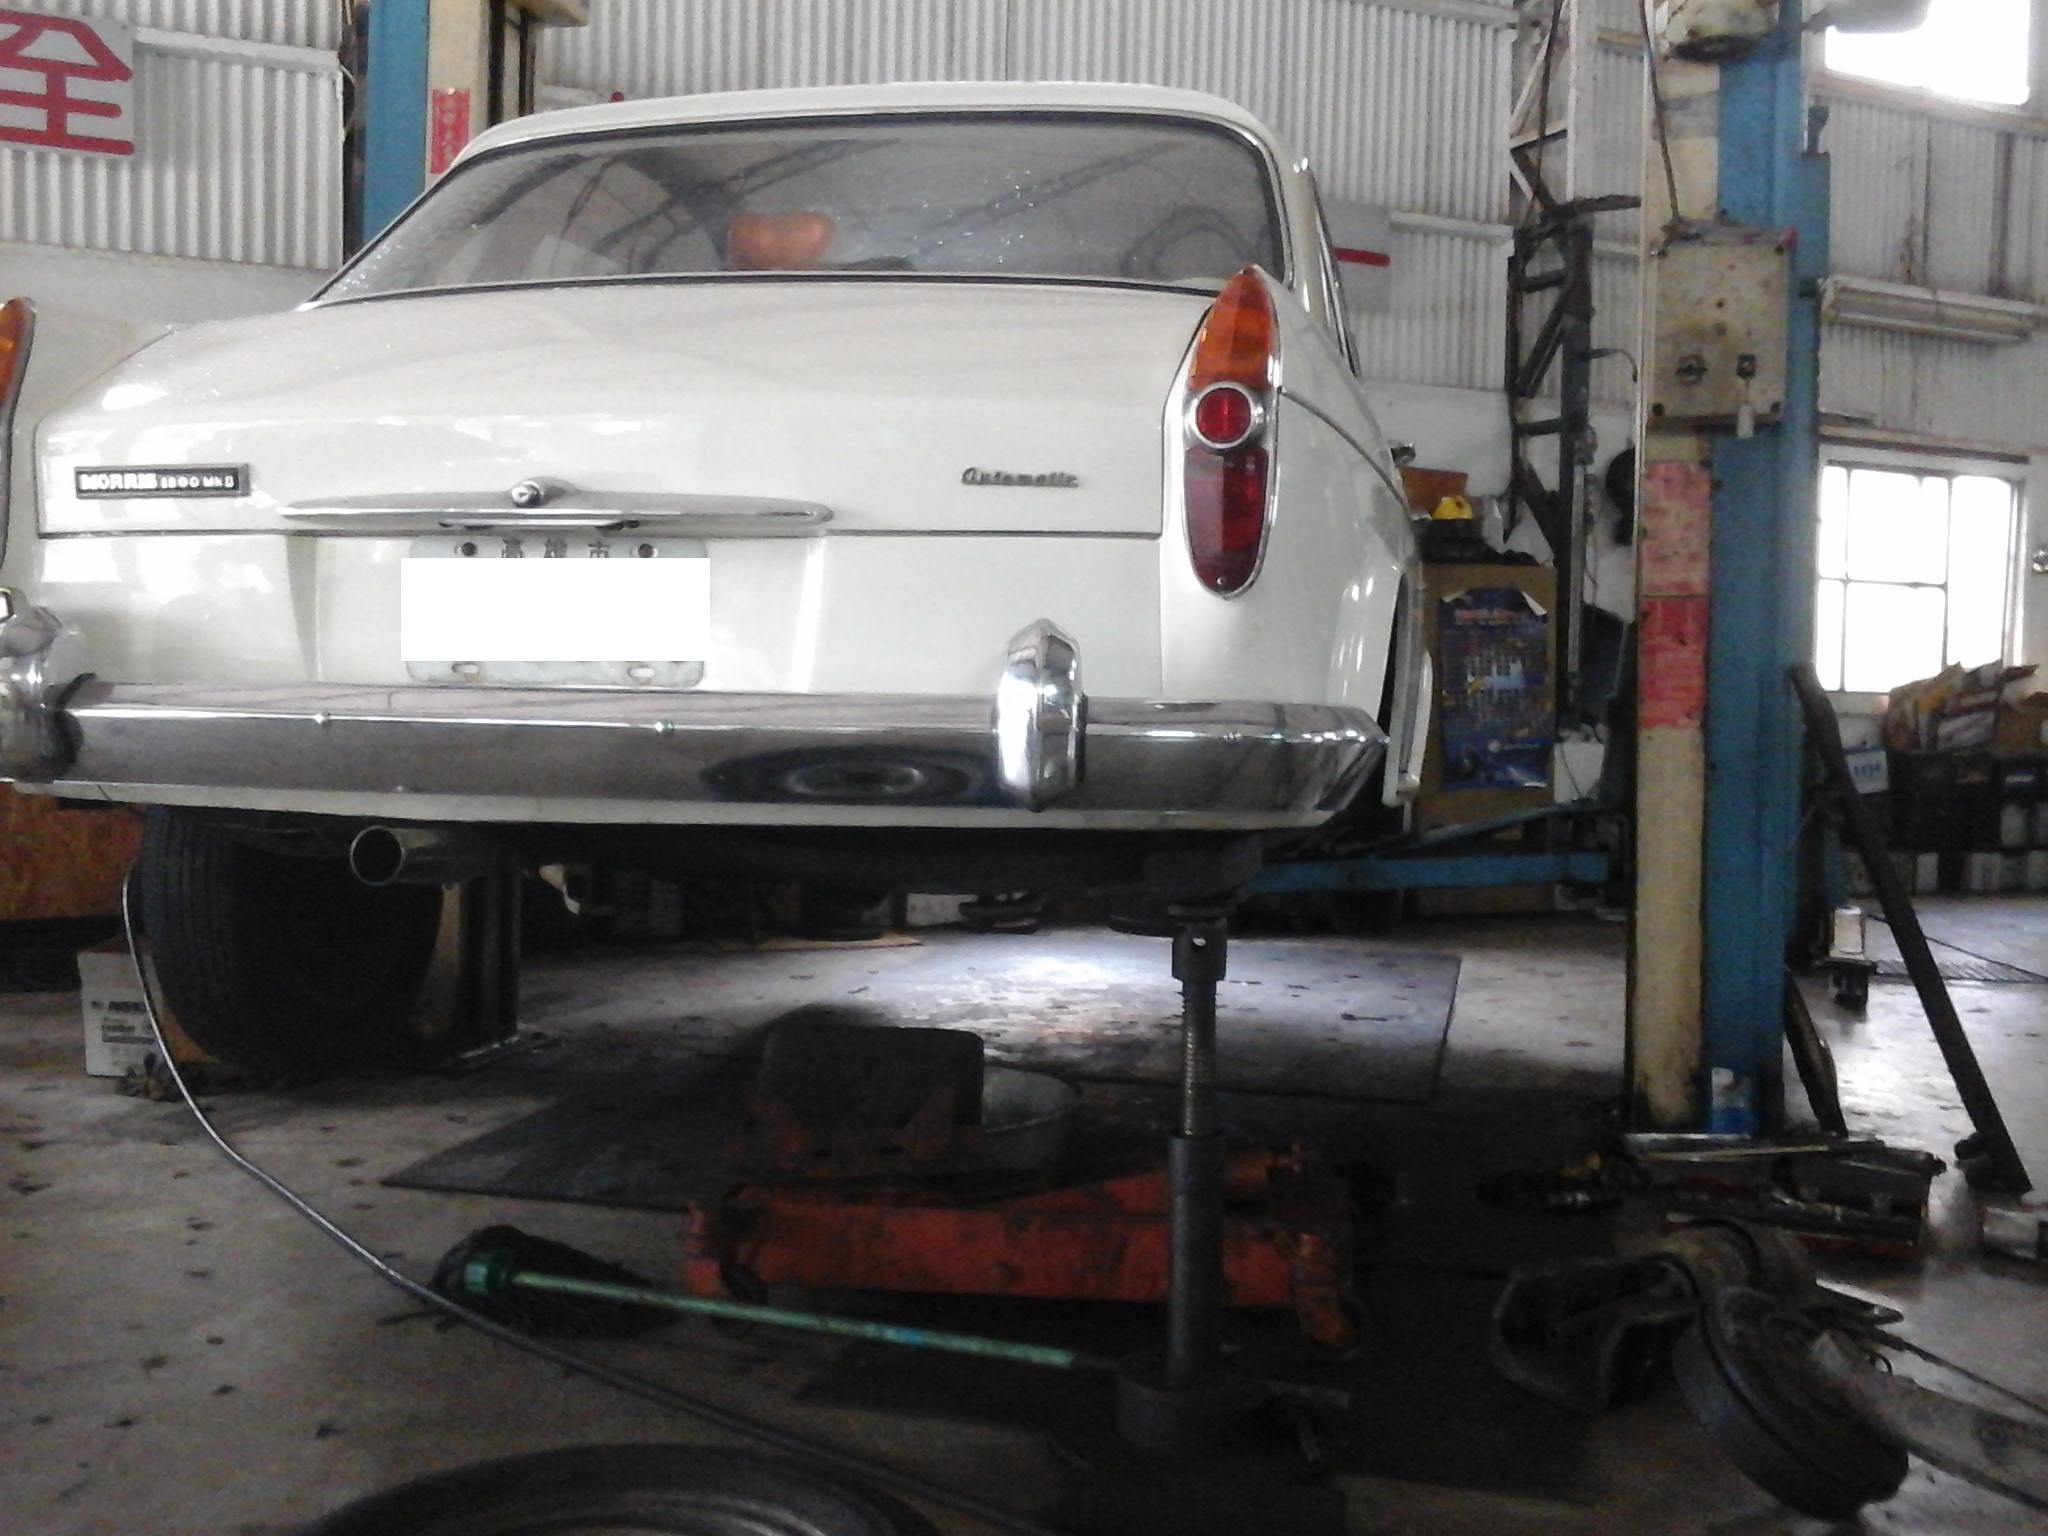 We used a 5th jack to support the vehicle, just for the safety while working under the vehicle. More than a month ago, I received an internet video showing a fall-down vehicle from a lifting machine that killed two techs immediately. I heard this kind of accident decades ago. As of the results, I have been very careful to do the lifting very slowly to make 100 % sure for the safety. I maintenant my lifting machines per month. Thanks to God because God has saved us twice. 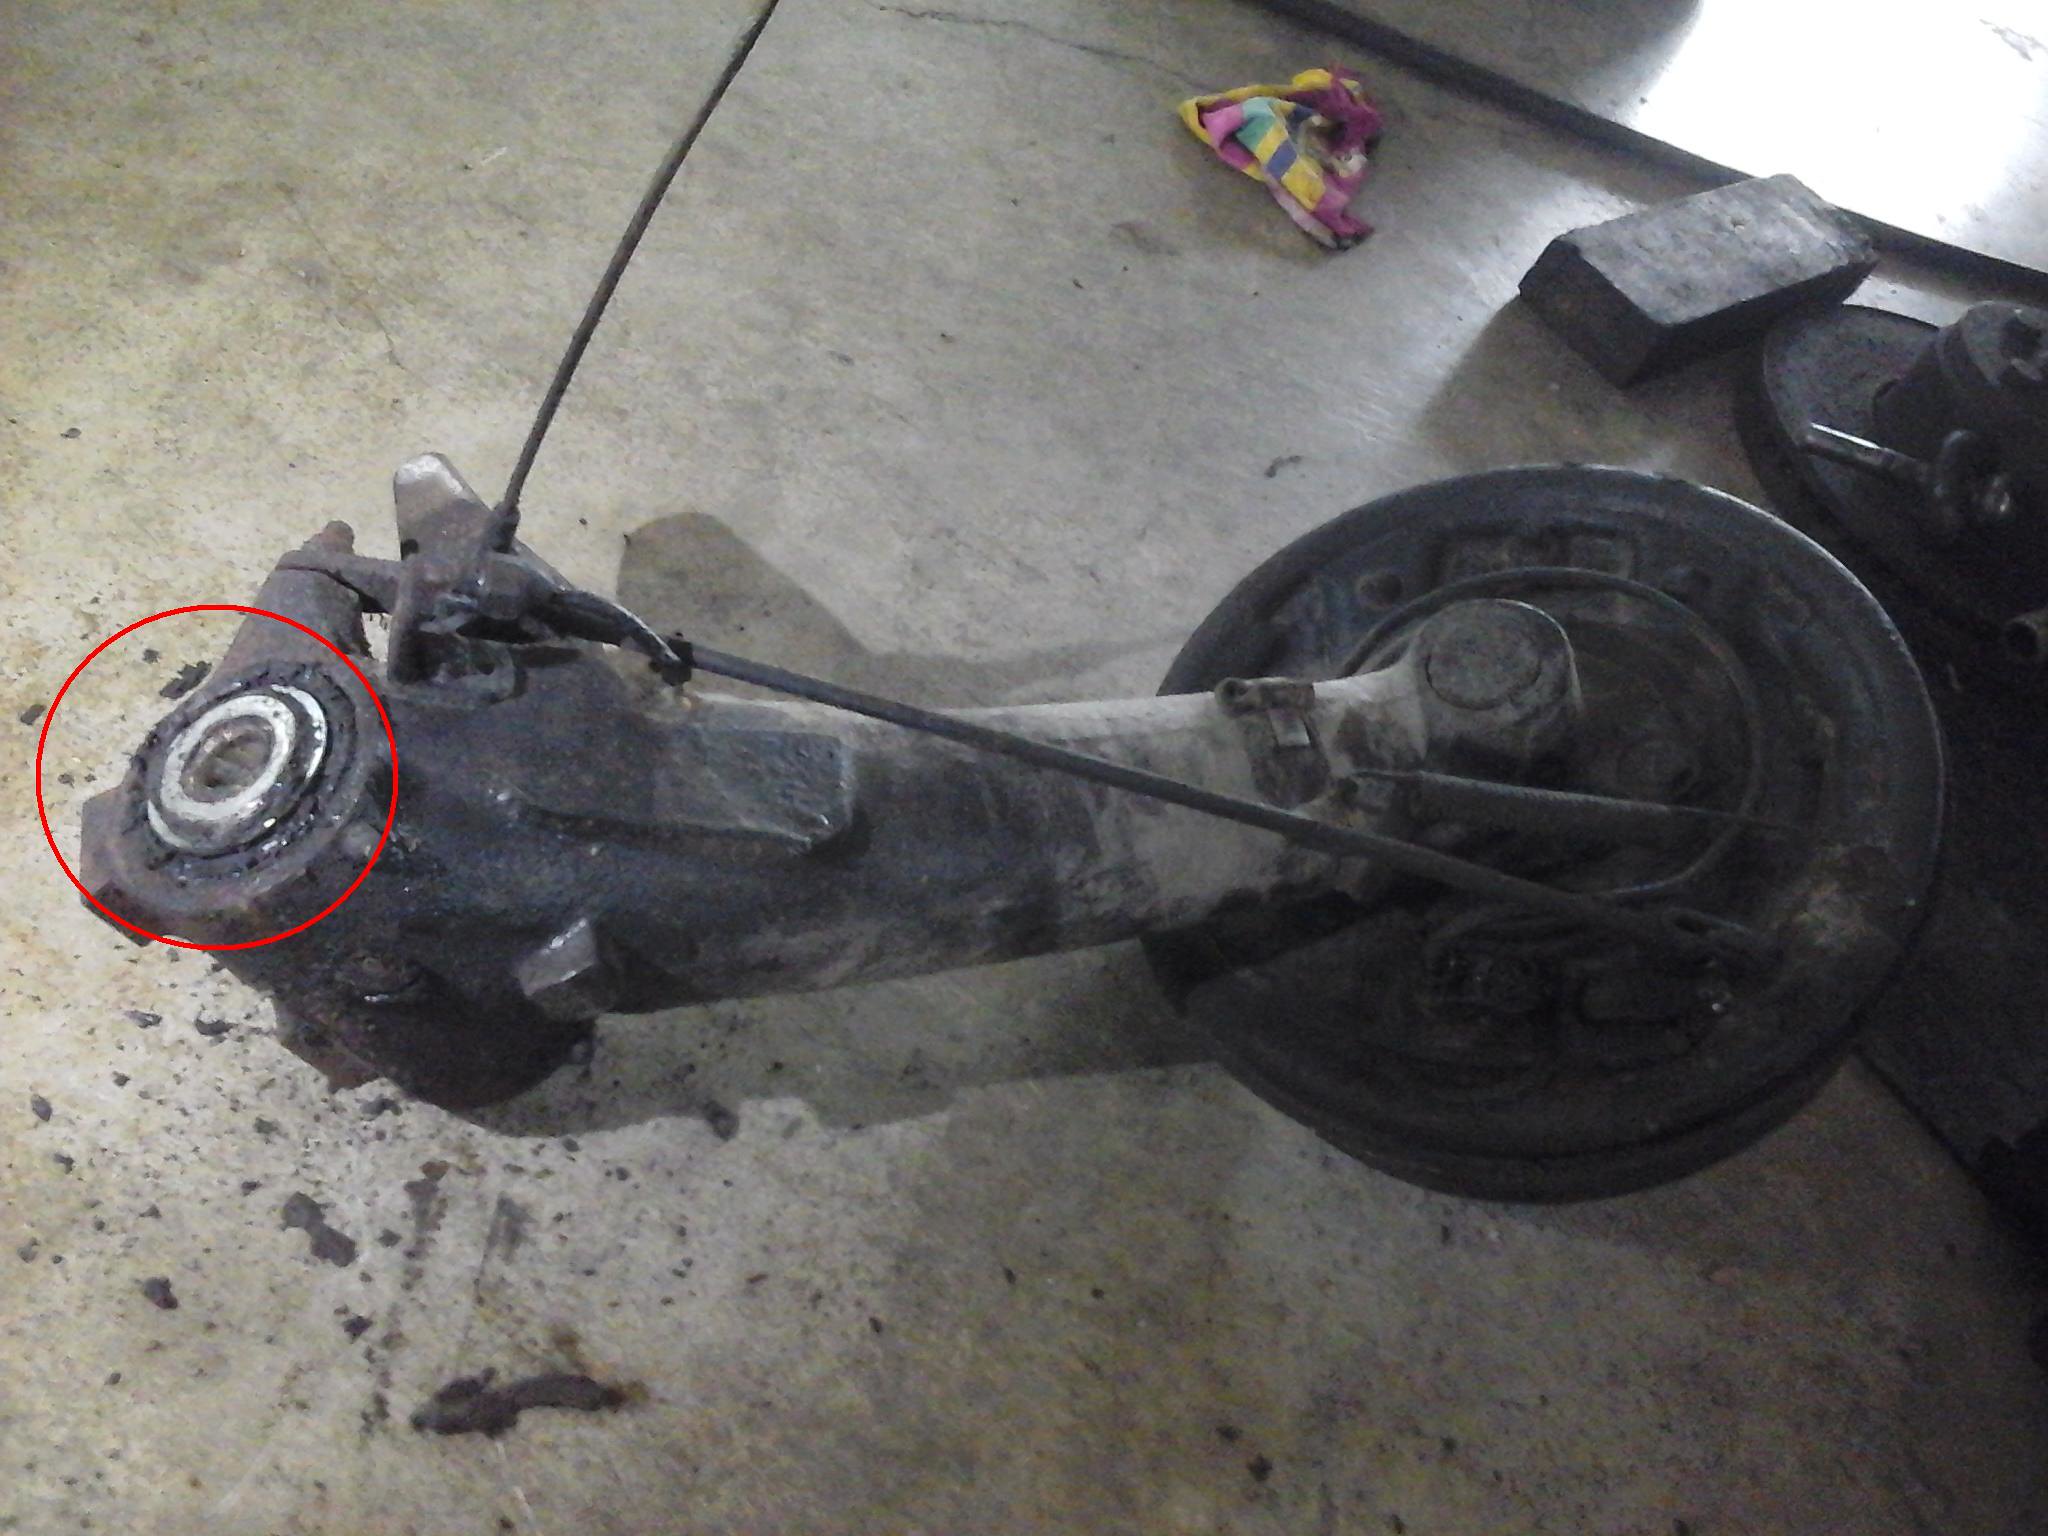 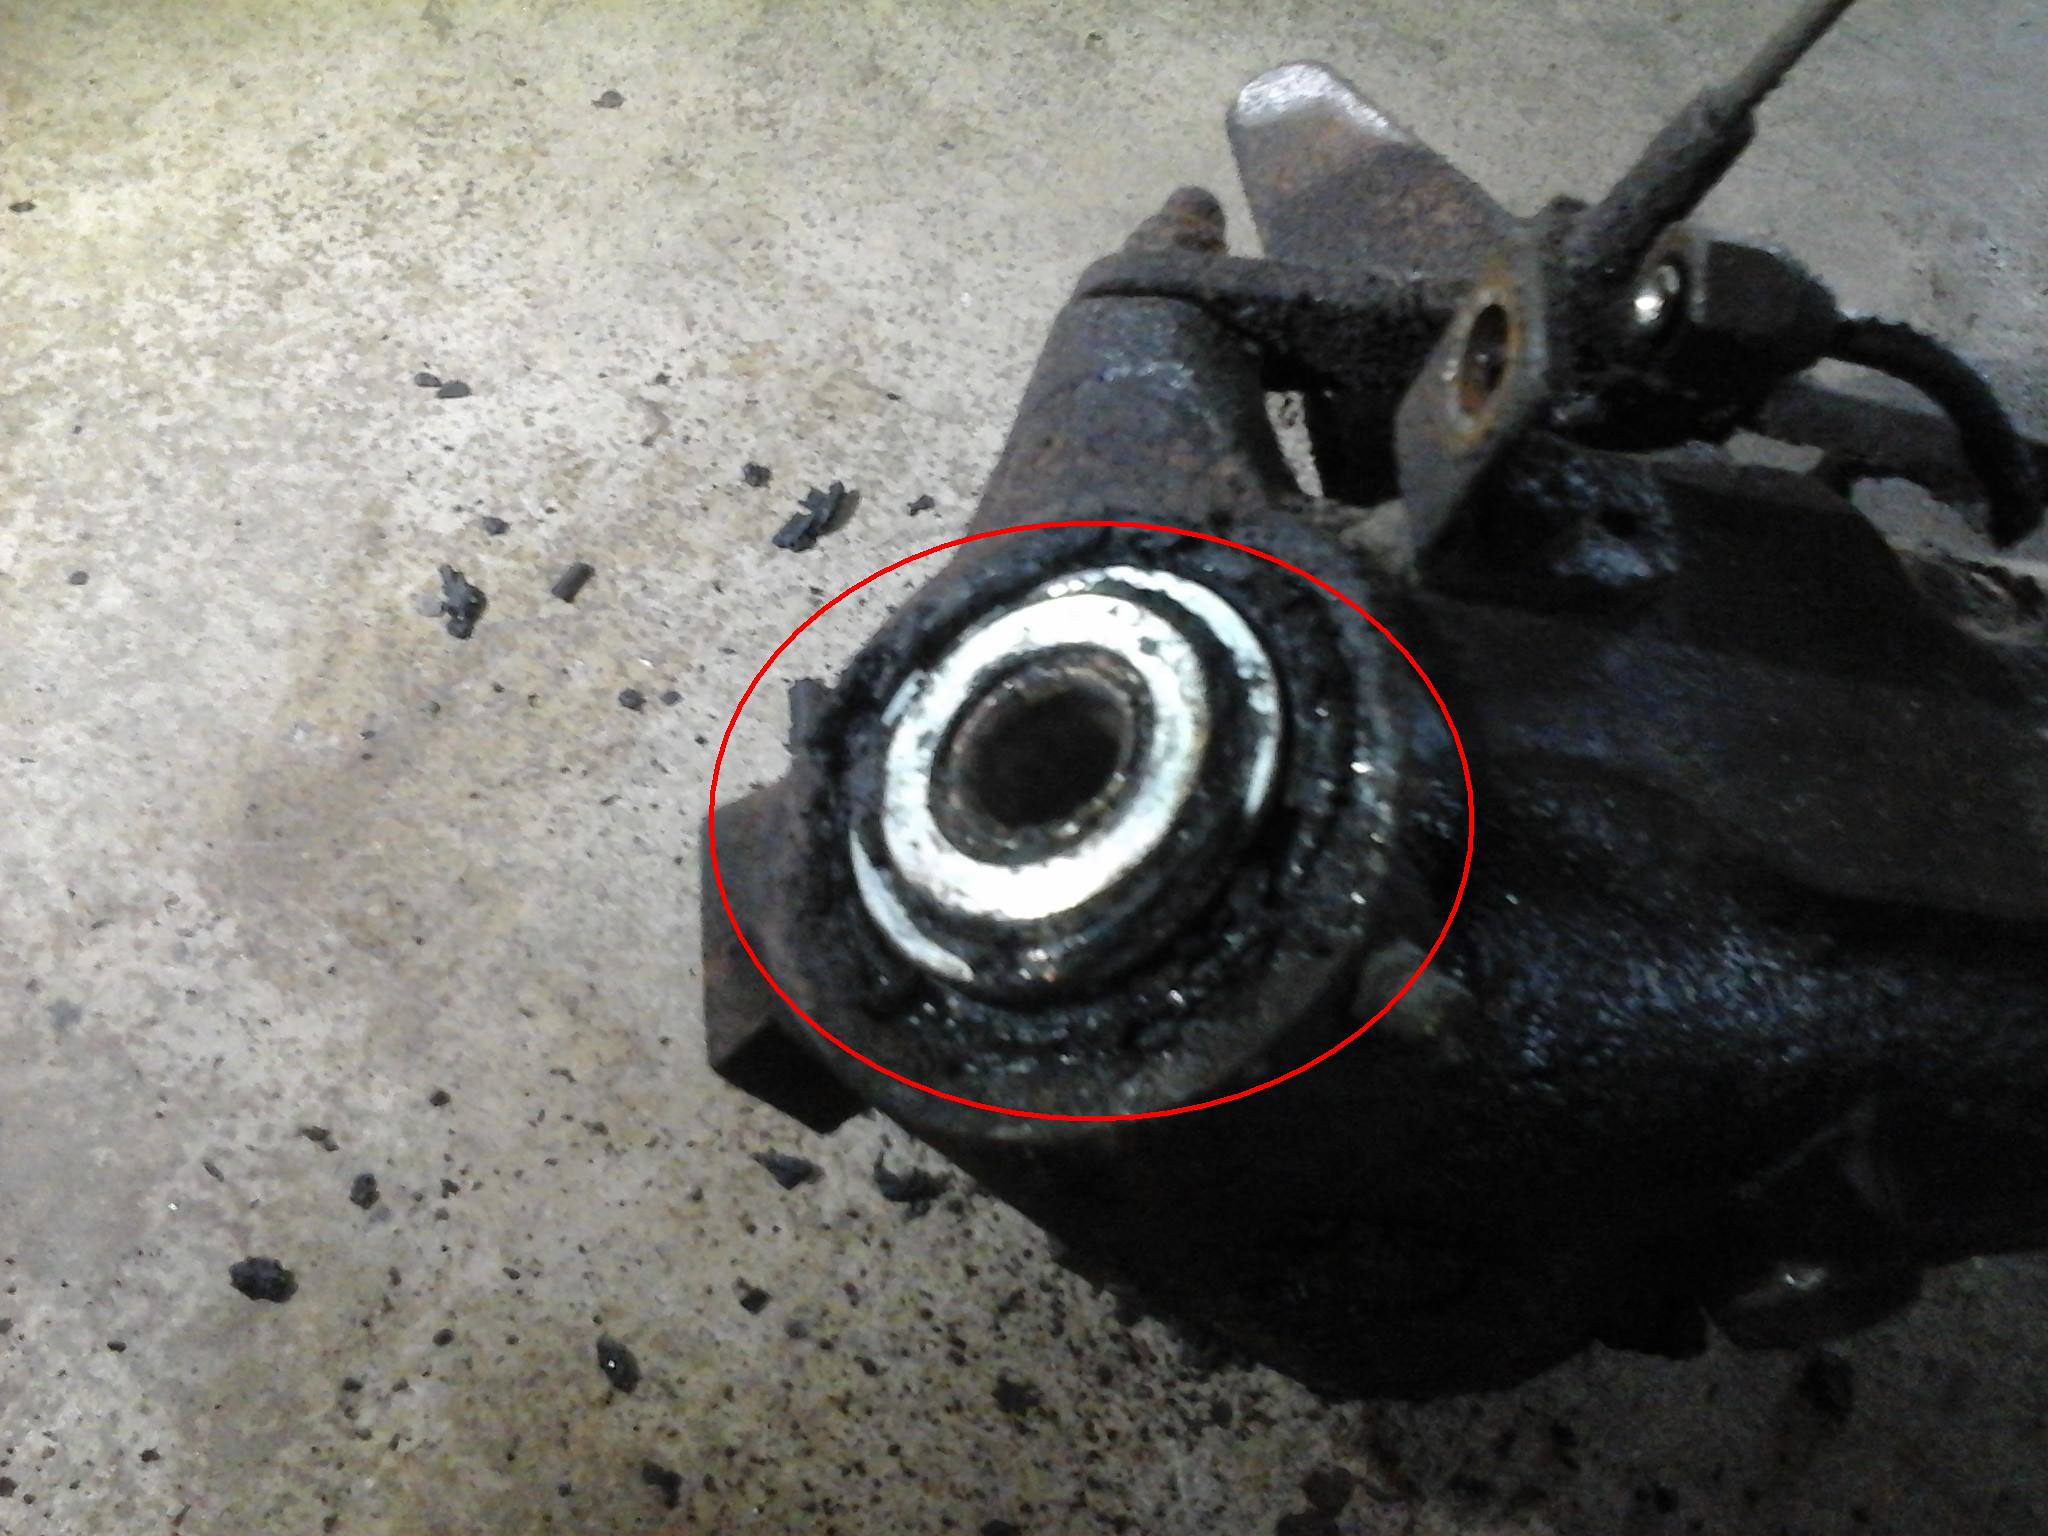 We found the cause as we expected. |
|
|
|
Post by tony on Aug 26, 2017 4:18:12 GMT
Since the accident, father installed the pair of headrests. See link . That way didn't look good although they seemed to work fine. Last early year he removed them out plus a front seat that he studied and took the back cover apart. He managed to get a way to install the adjustable headrest --- another pair of secondhand parts. I took three pictures of his work, but I am sorry that I cannot find them right now. Luckily this kind pair of headrests can easily be pull up, down, forward and backward. Then he did the other. Thanks to this forum where someone ( sorry about unknown name as I have already forgot. ) in this forum provided the information about the front seats I searched last year although father didn't have to know that. Also thanks to a VW fan customer who gave us two pairs of secondhand headrests. A few days later, one of our customers came to see. His main job is repair interior parts of vehicles such as panels, seats and so on. He provided a free can of colour that really matched ours. Thanks to him as well. 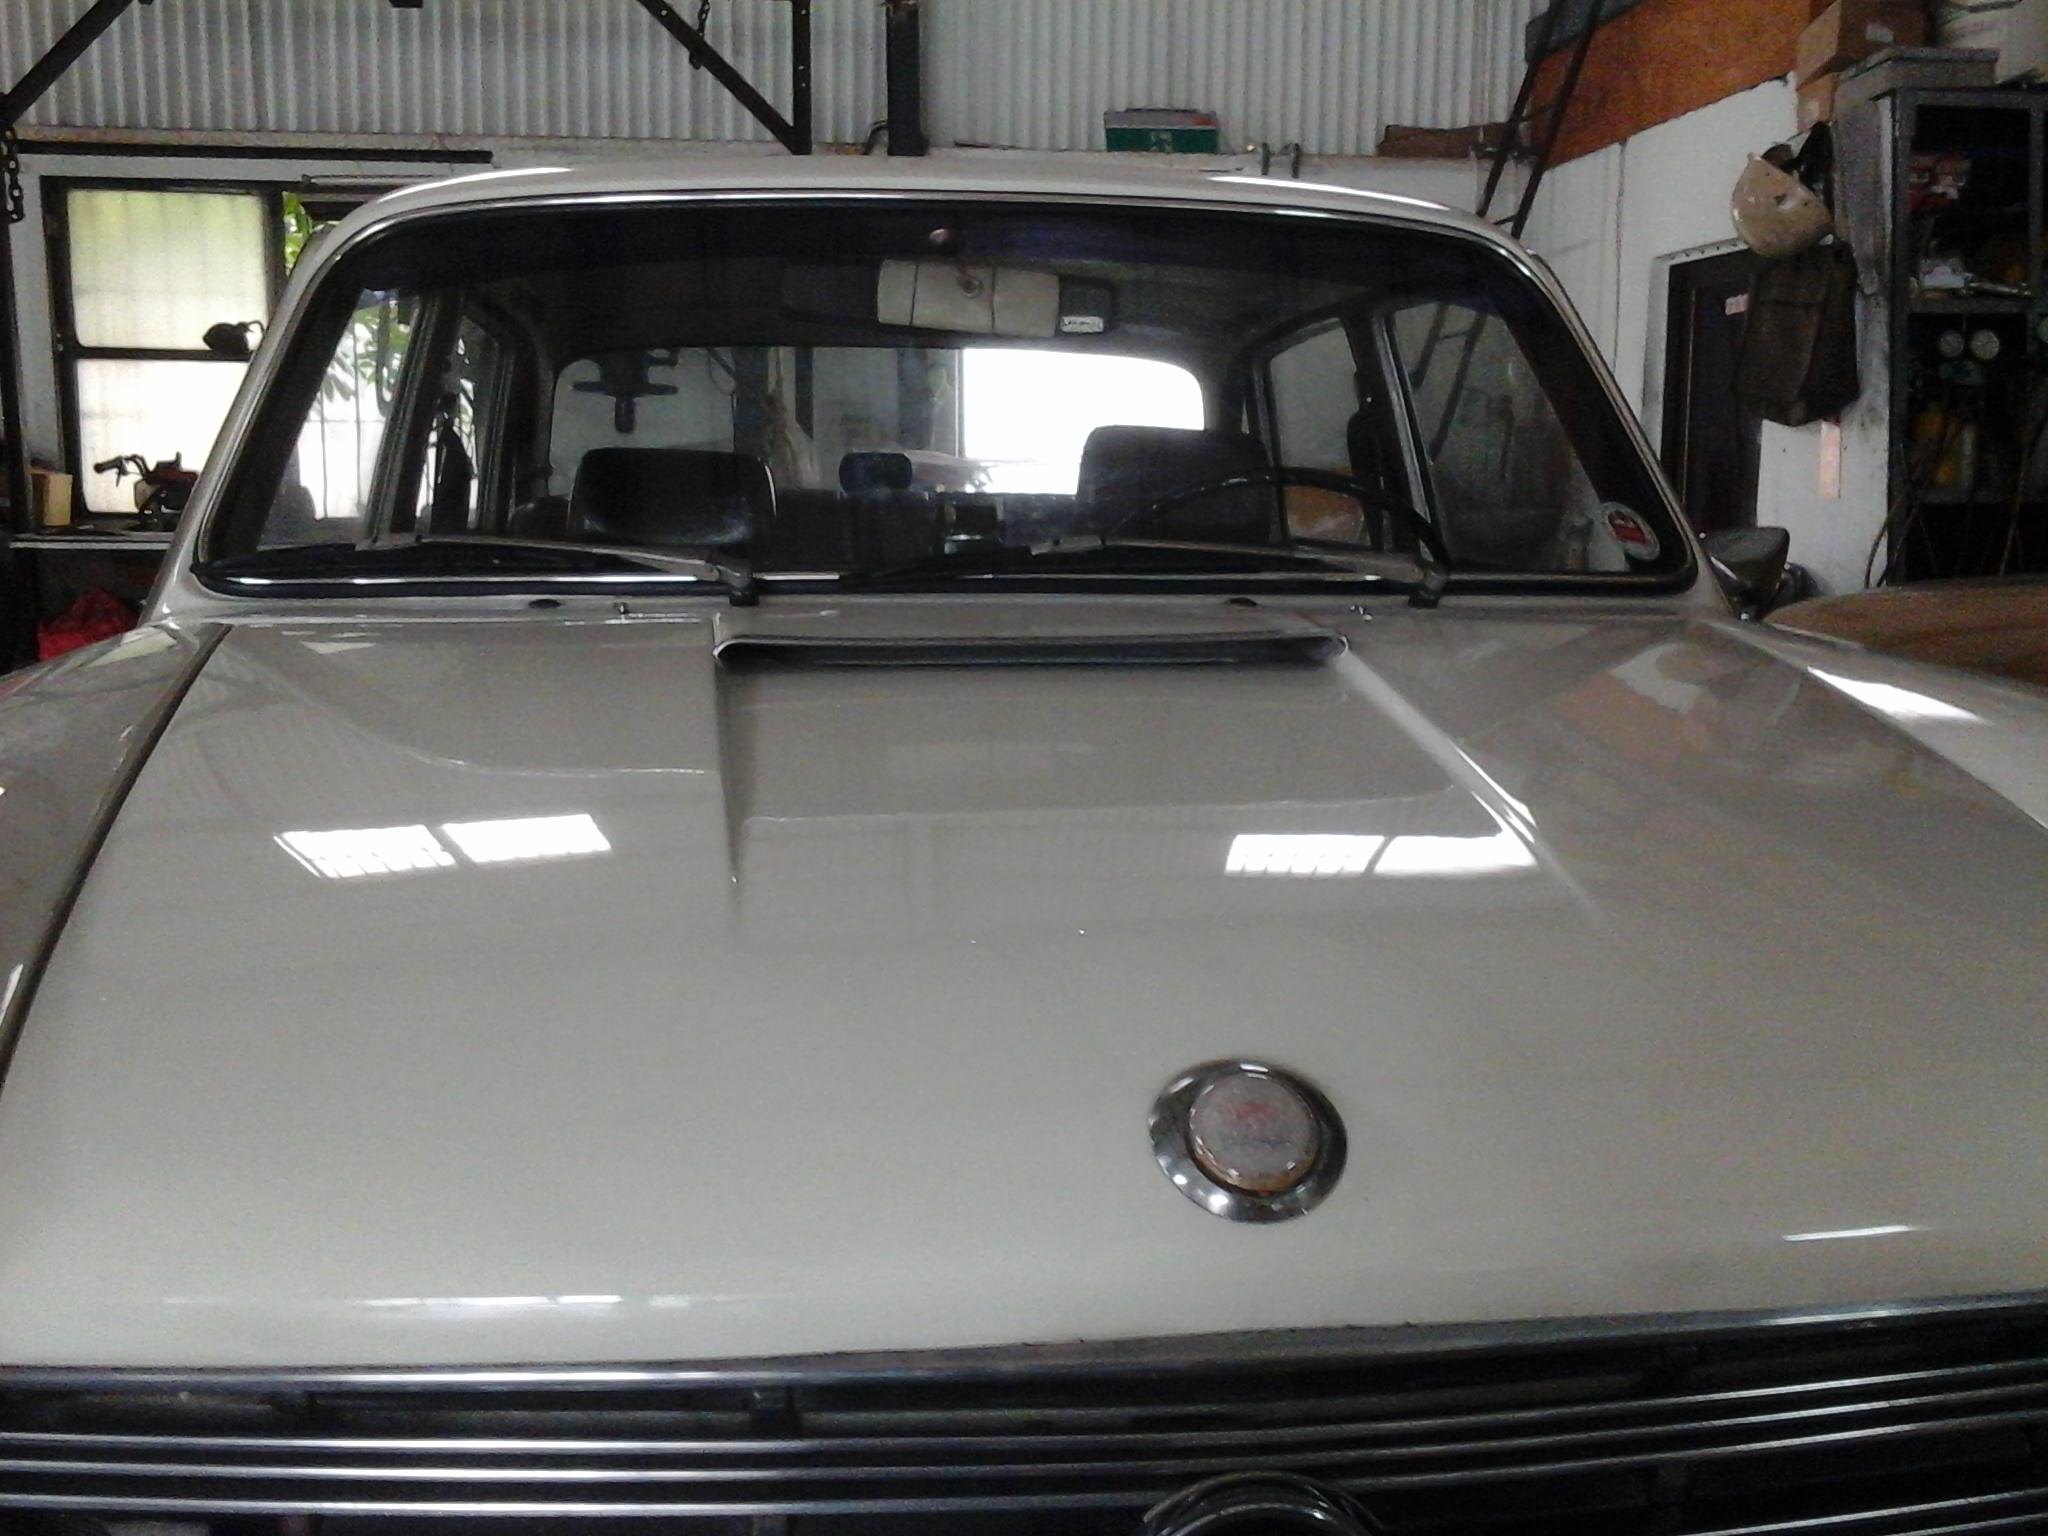 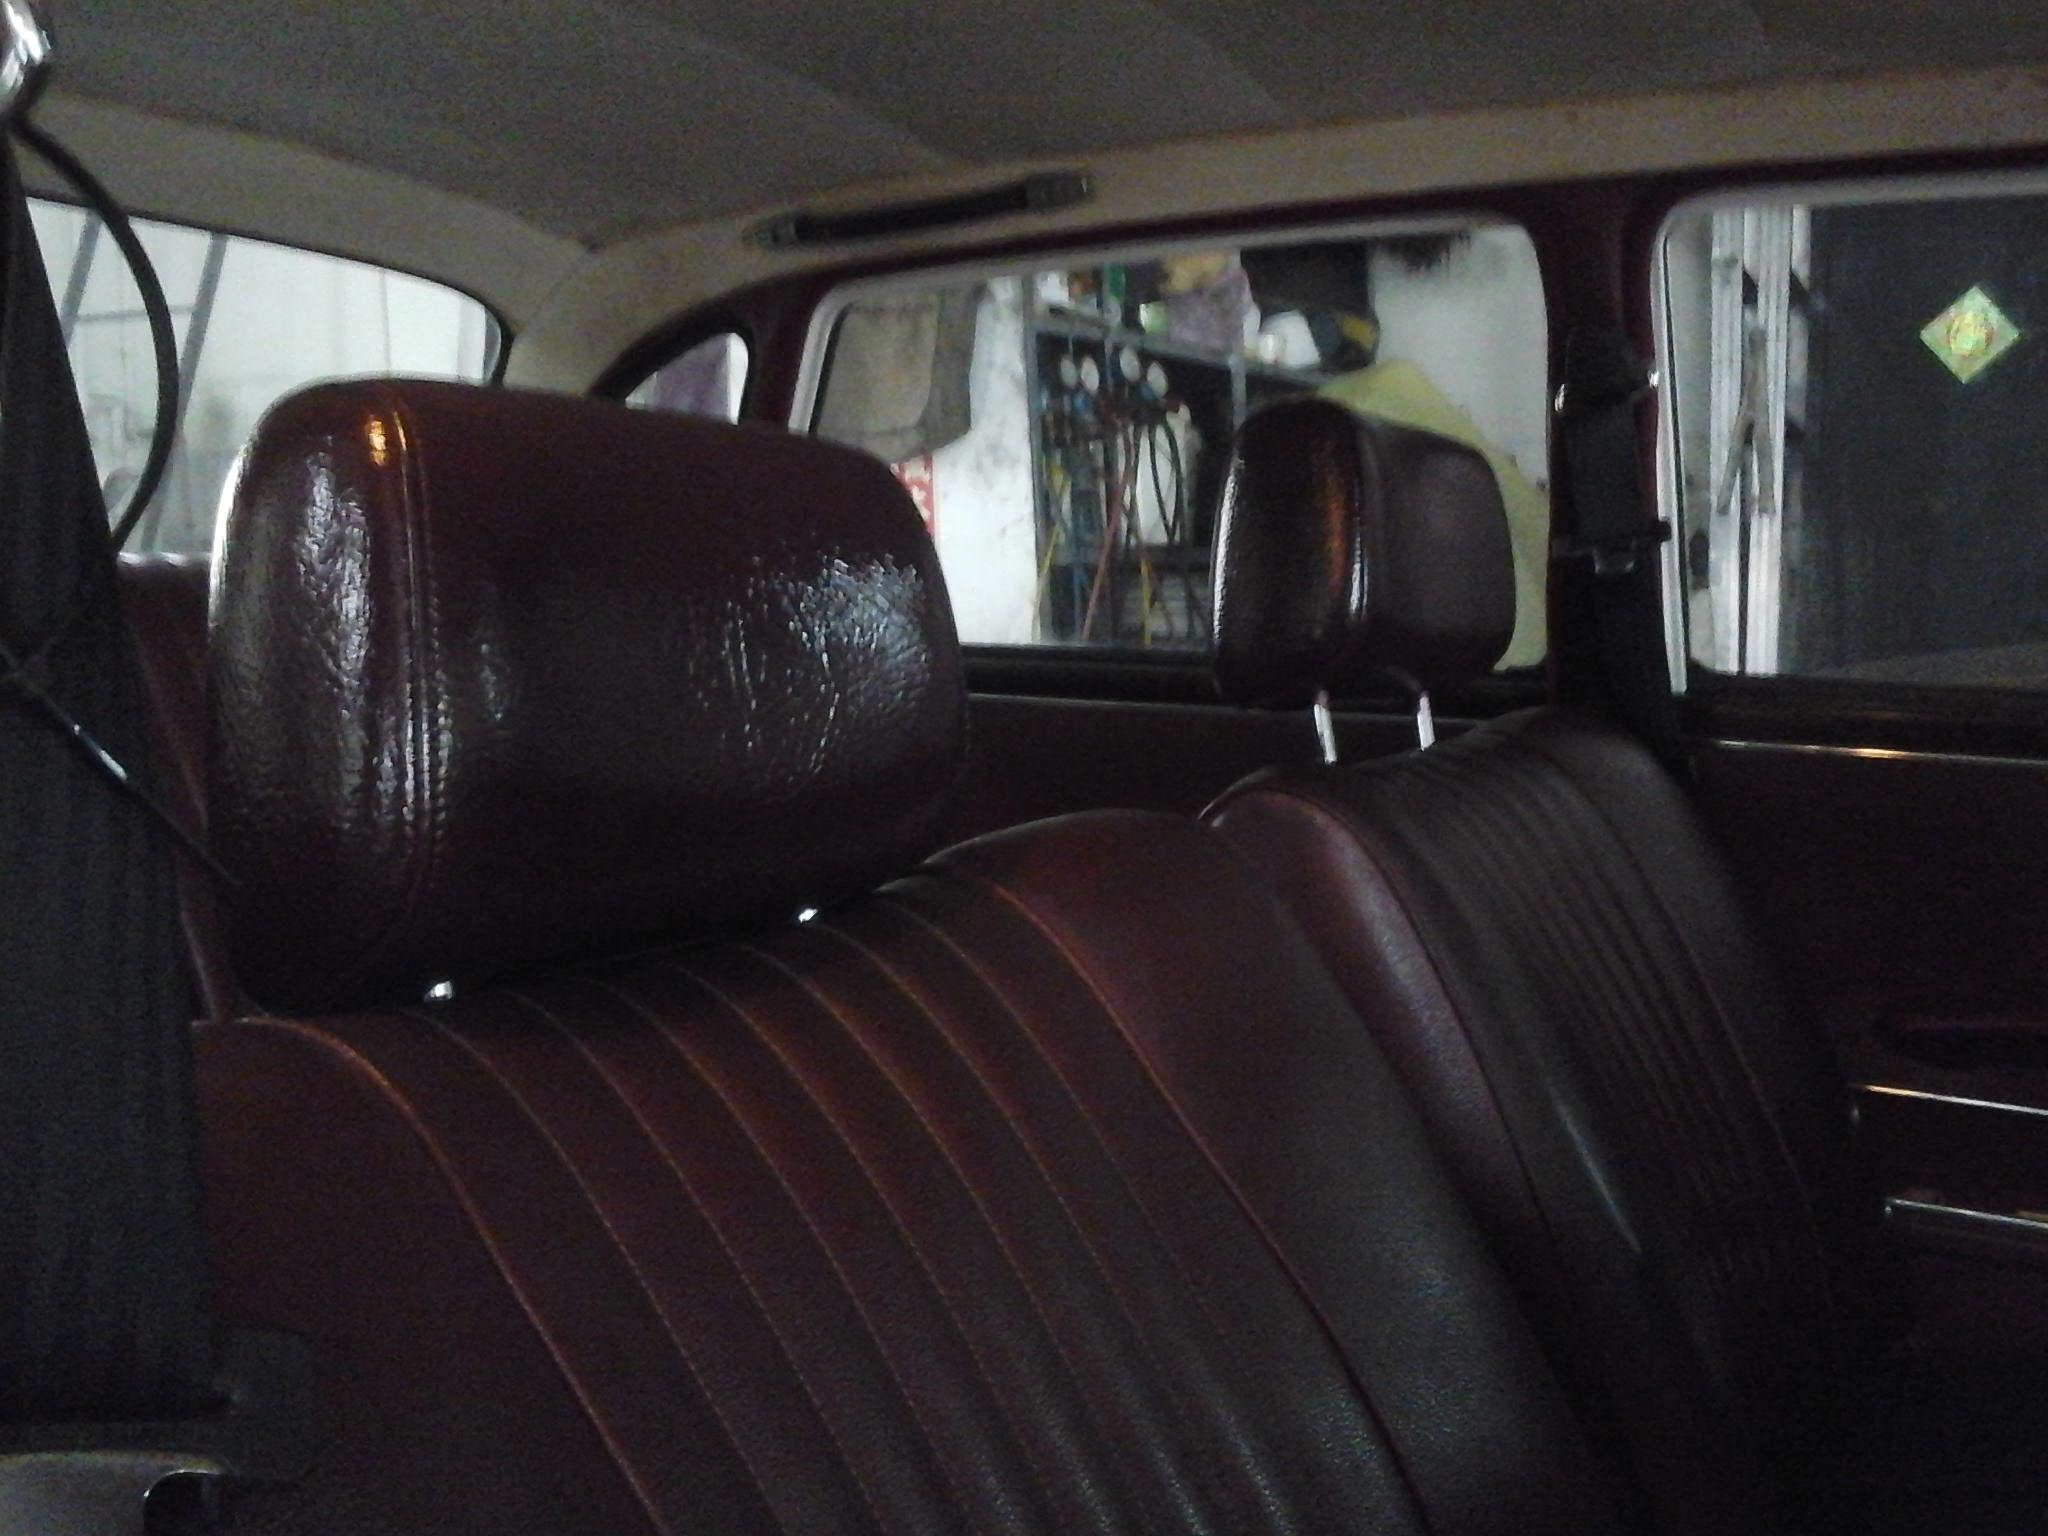 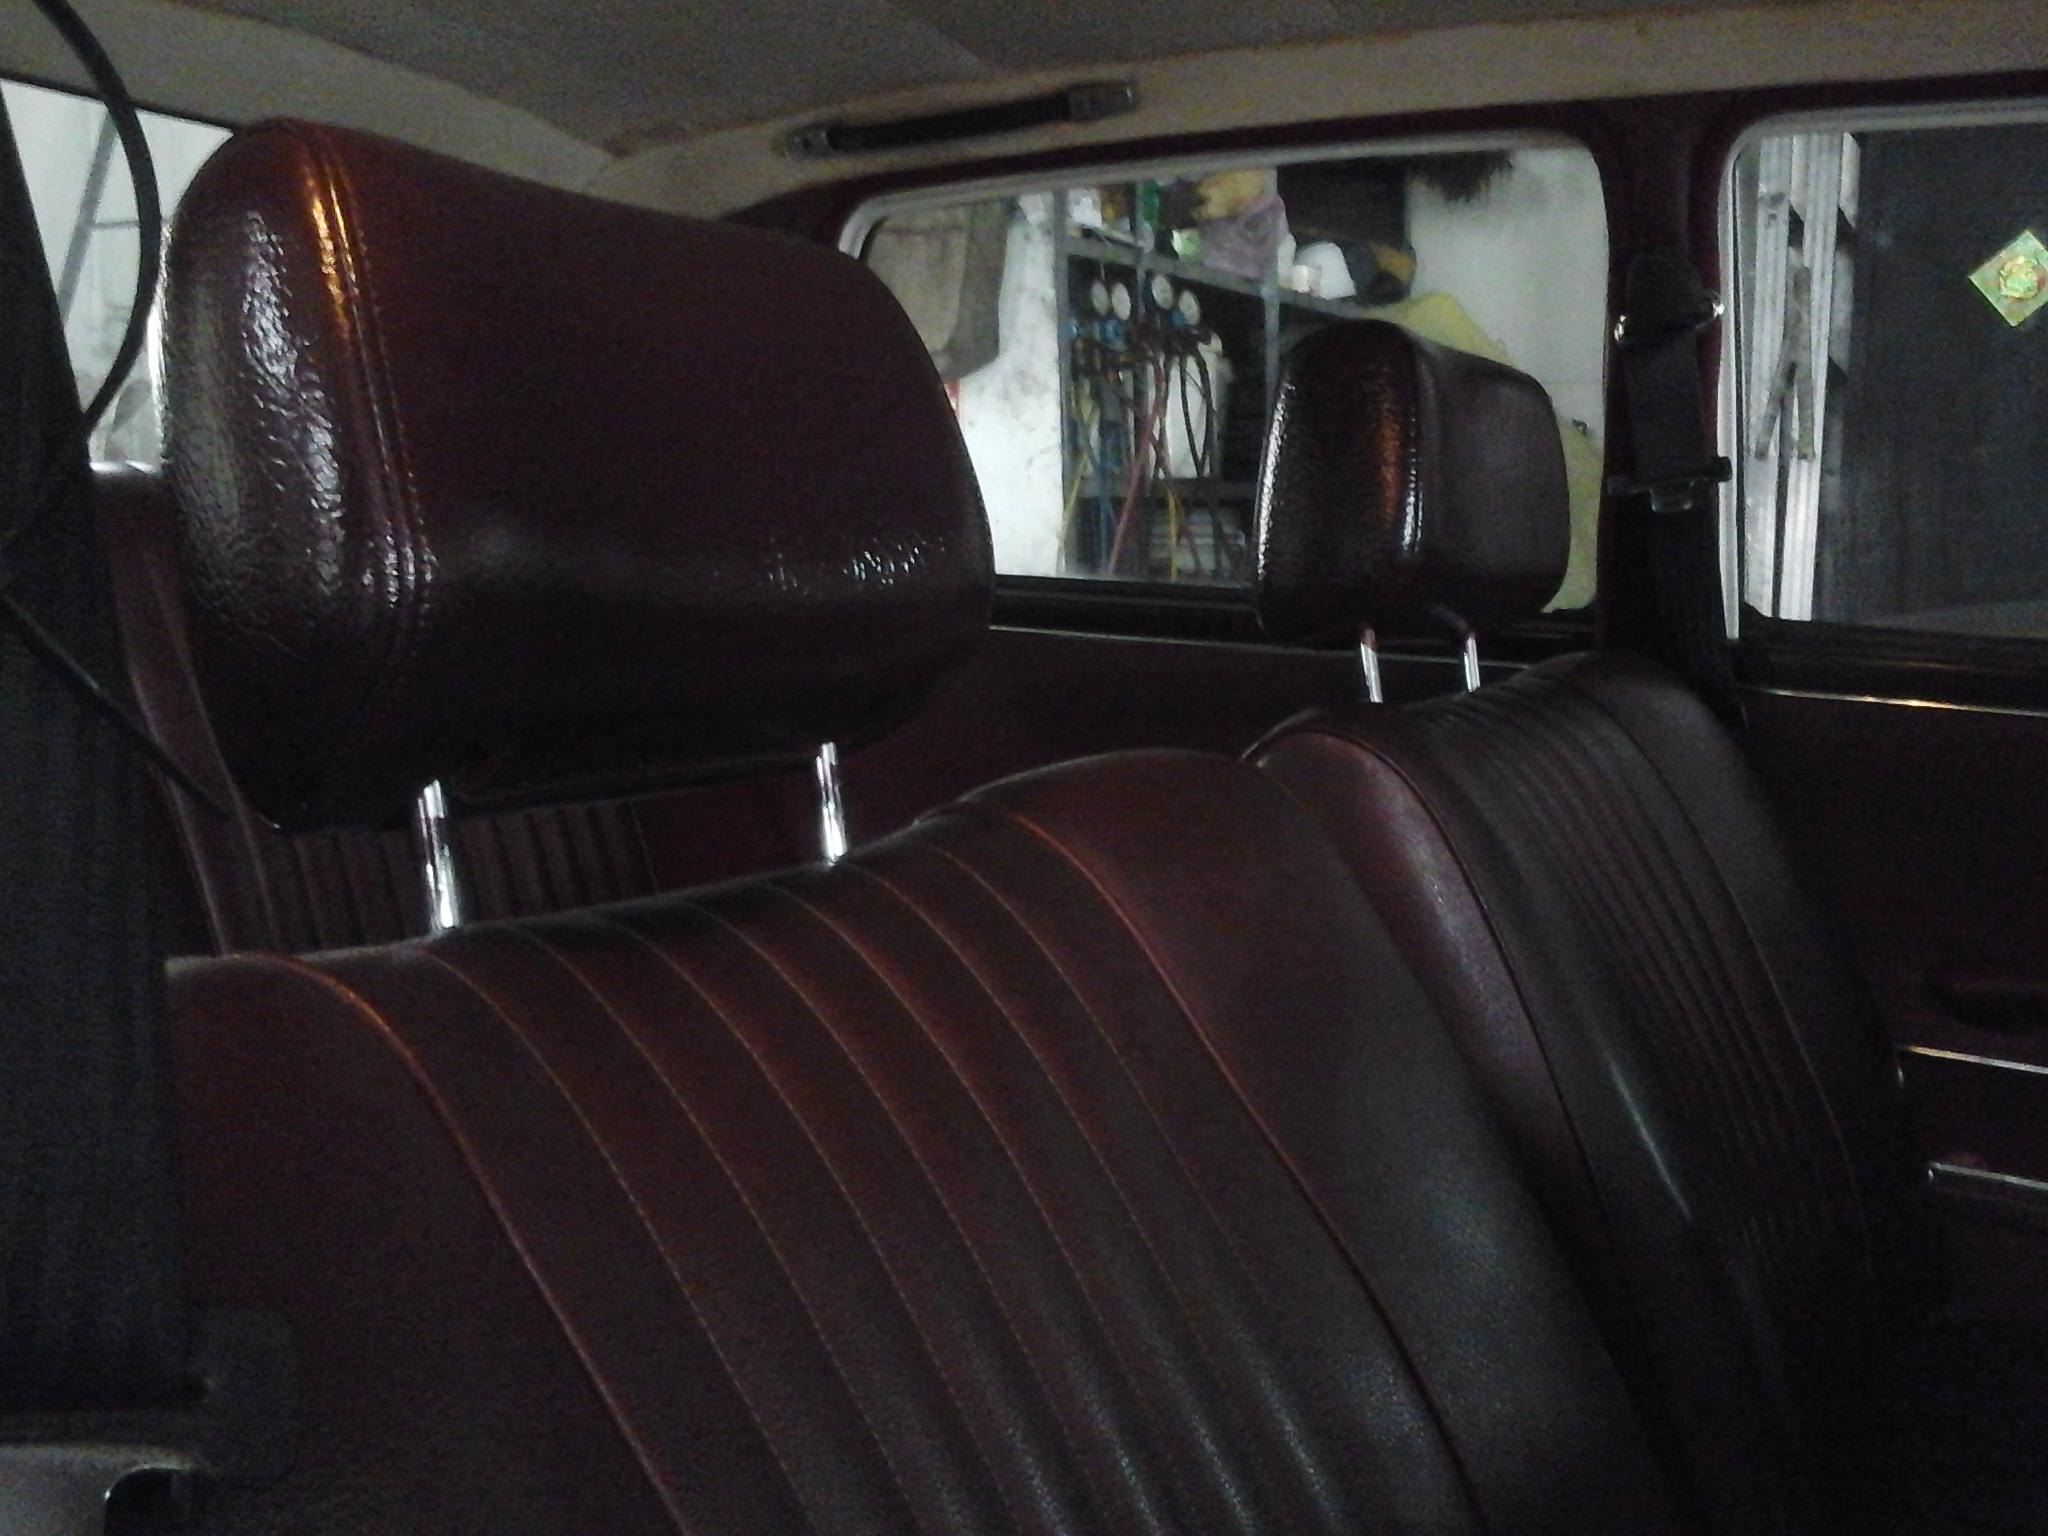   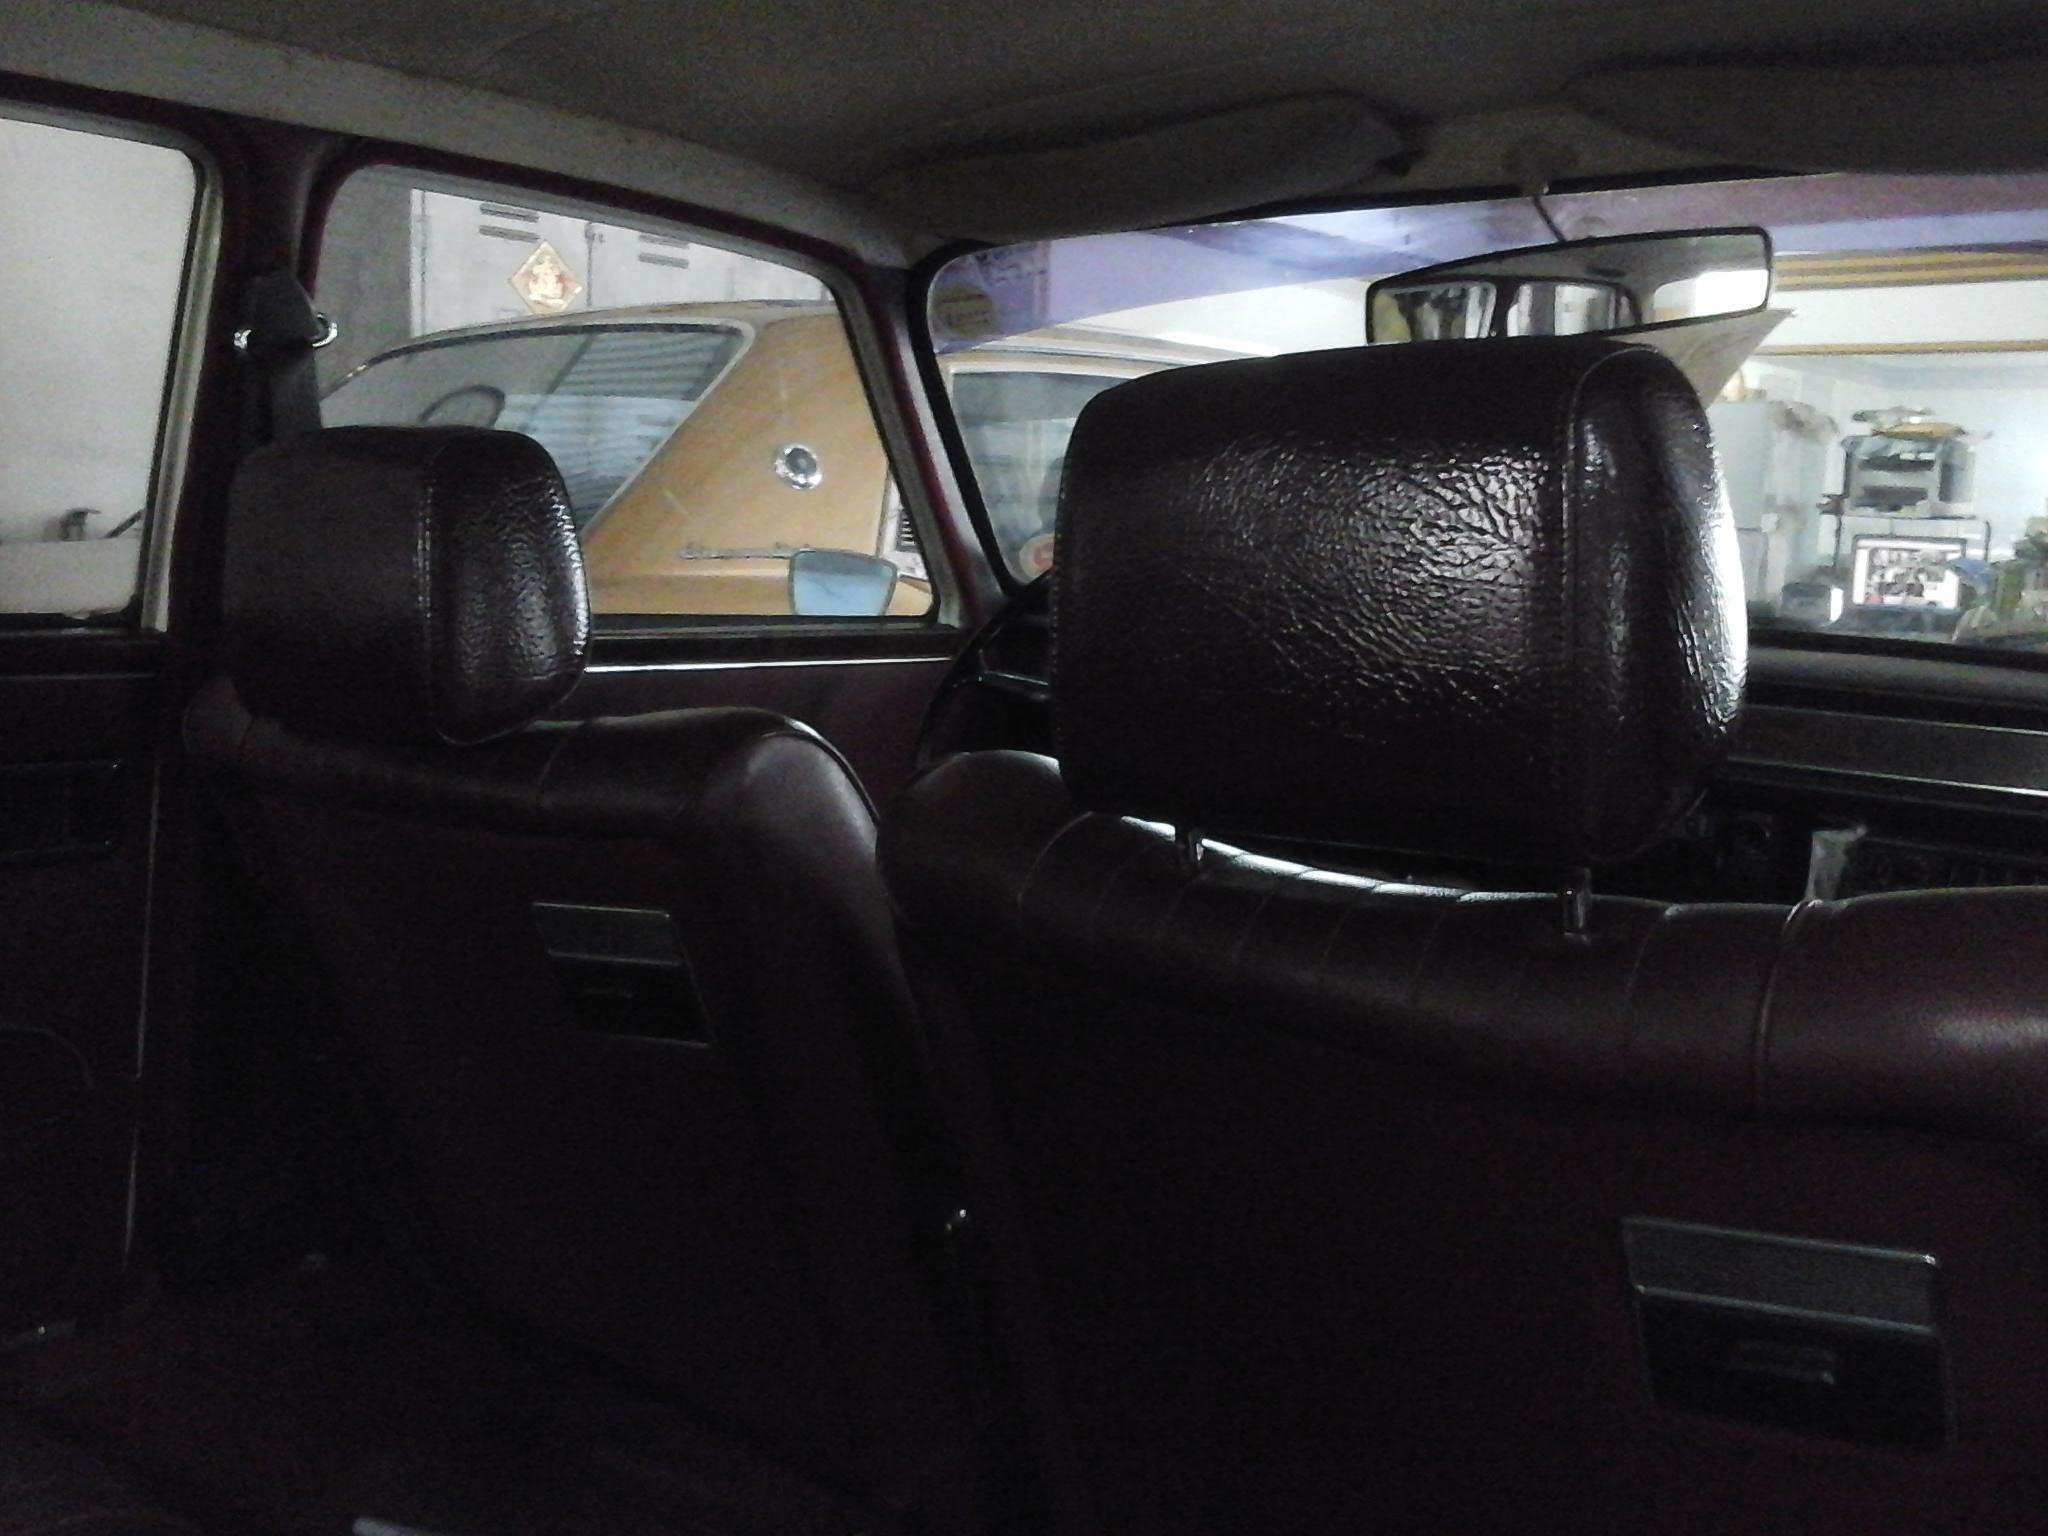 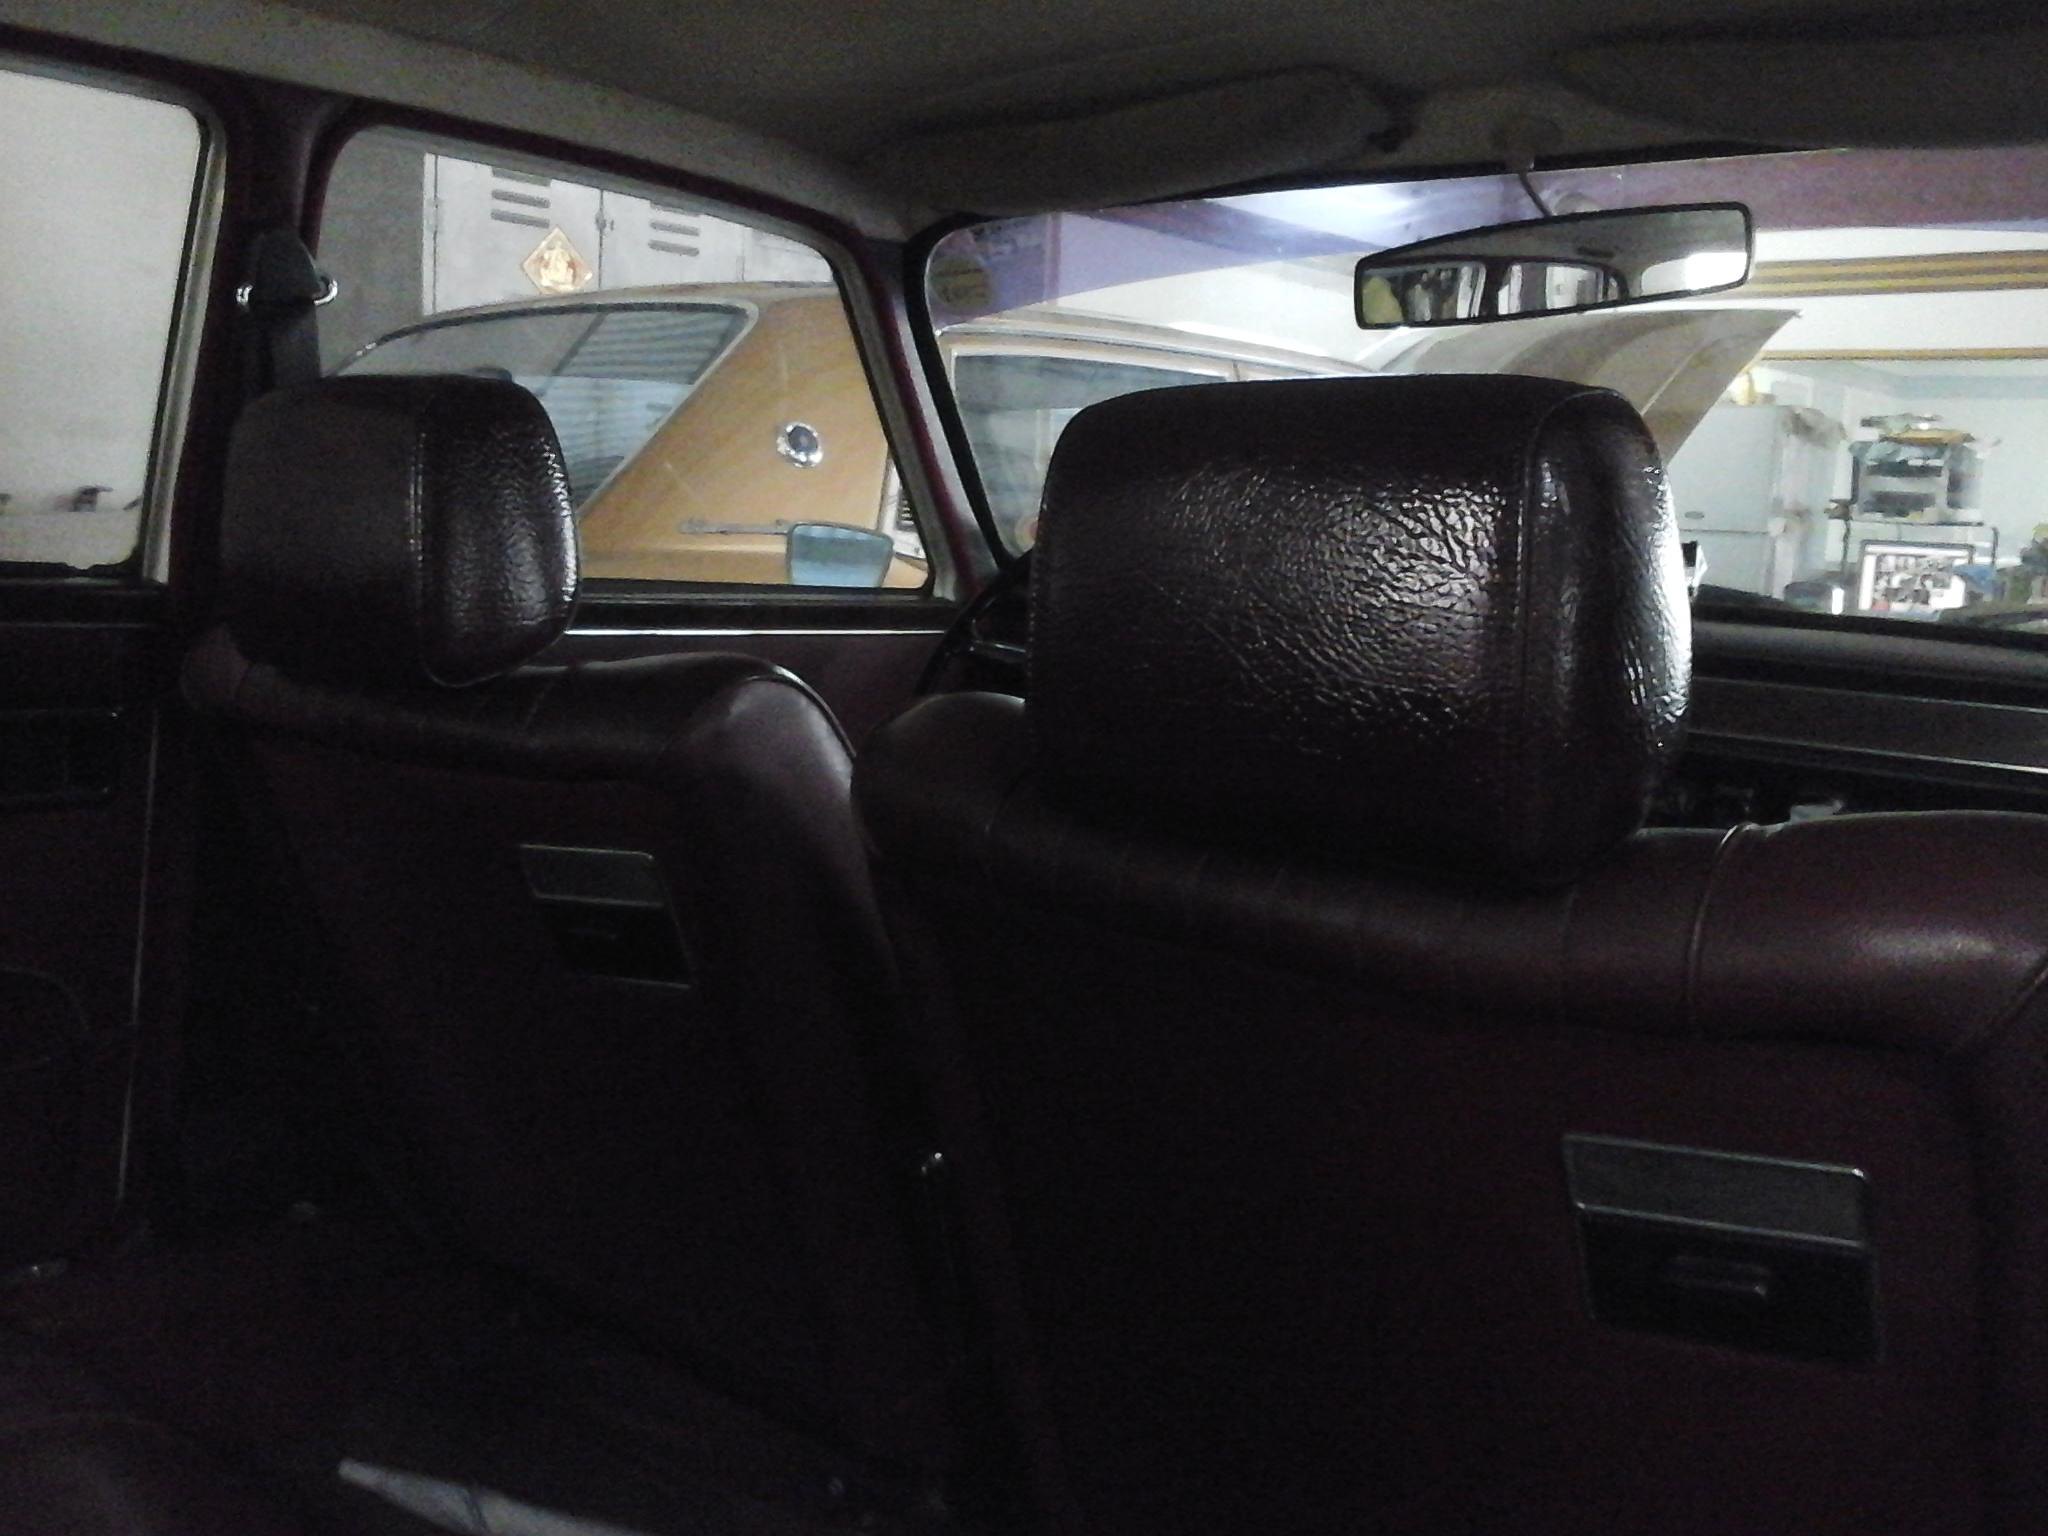    Since then, they have worked great. Regards Tony |
|
|
|
Post by tony on Aug 22, 2017 1:55:01 GMT
Chris
She is so beautiful.
Regards
Tony
|
|
|
|
Post by tony on Sept 16, 2015 7:44:18 GMT
Hi, Chris
It's amazing to see your work and your garage where I cannot see a powered jacking machine. It's very hard to work with no enough room under a vehicle. Sometimes I have to do so. Good work.
Regards
Tony
|
|
|
|
Post by tony on Sept 16, 2015 2:02:07 GMT
It is good and I think the engine can run. Very hope to see your crab goes.
Regards
Tony
|
|
|
|
Post by tony on Sept 16, 2015 1:56:44 GMT
Our landcrab has equipped the power steering system since people here imported from UK. So the system is original, I mean that the power steering rack now is still original and the power pump has been changed. There is an adjustment to balance the power fluid pressures of the both sides of steering rack after doing the overhaul of steering rack. Doing the adjustment is not quite easy sometimes, but practice makes perfect.
Regards
Tony
|
|
|
|
Post by tony on Sept 5, 2015 6:01:50 GMT
As asked by Al, alonel, I realized I had missed to upload some pictures here, which I did send to Anthony Wood last year after a mail from him. Al wants to know how to put generator and power pump together like we did. I add them here. 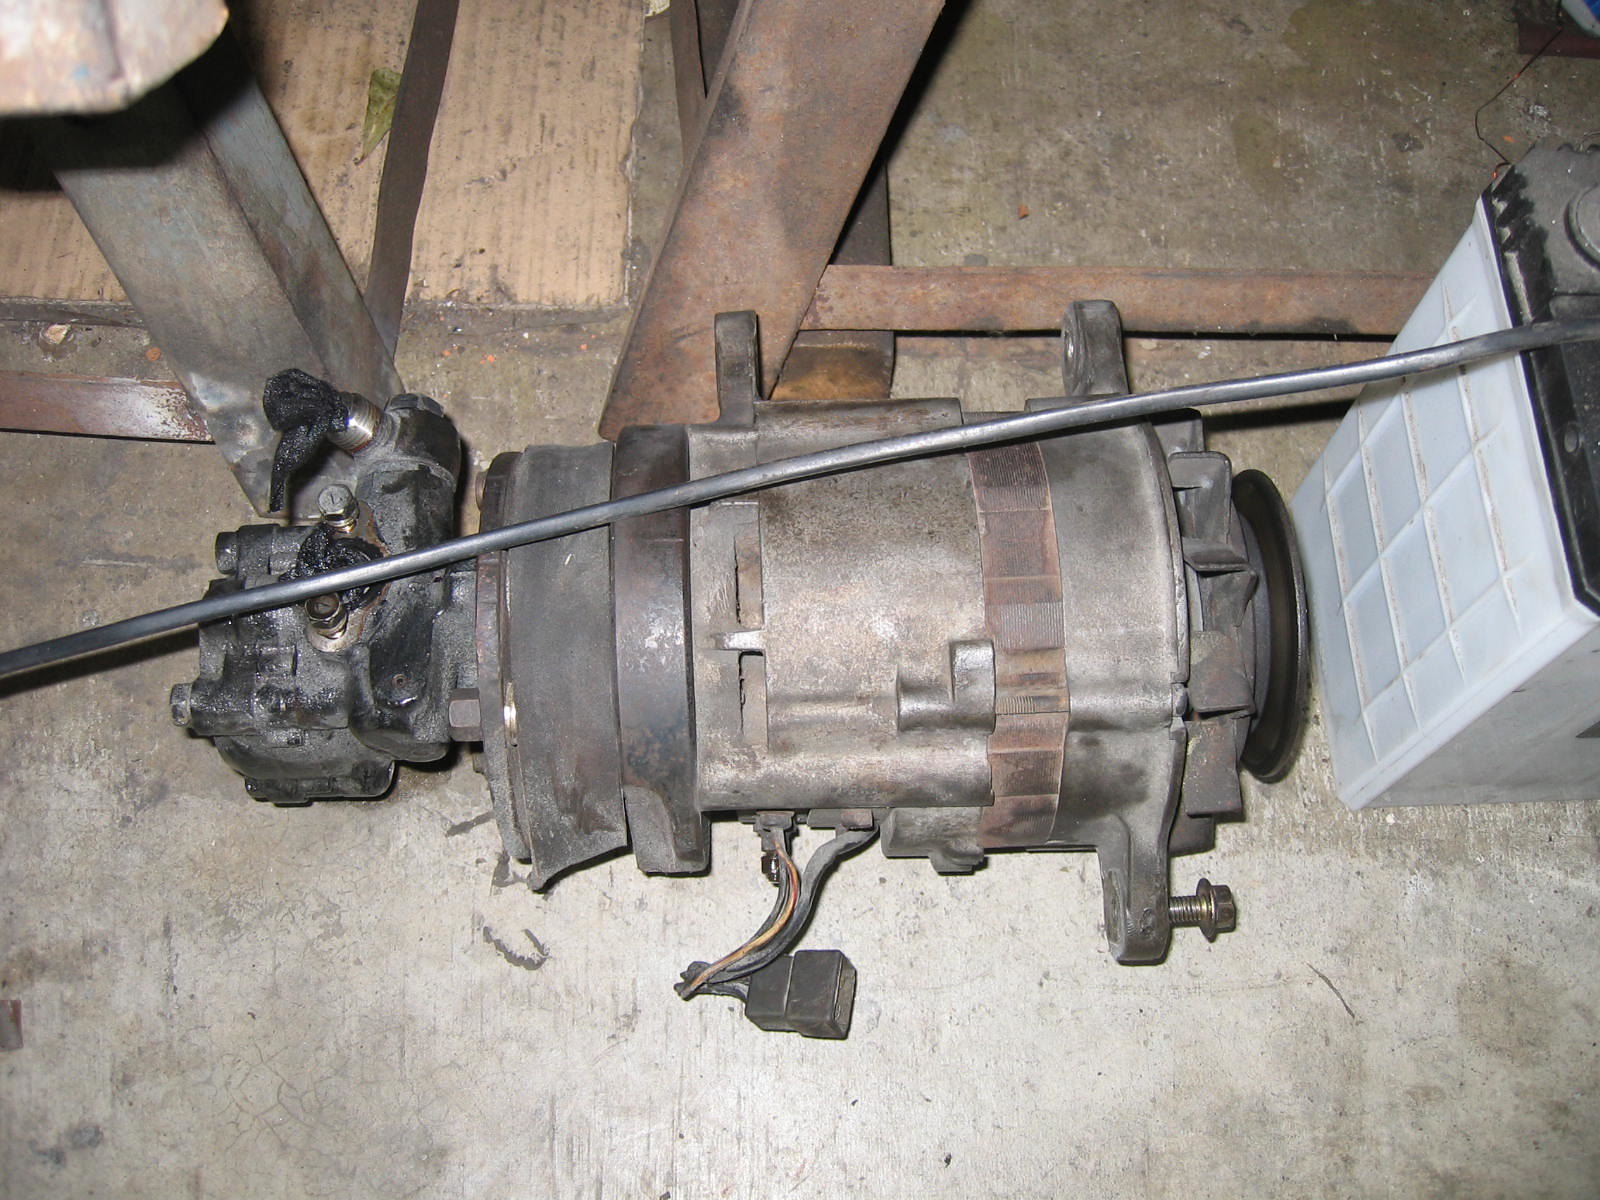  This generator is a Japanese Mazda Diesel style for van, which doesn't produce more power, I mean ampere, but it is still enough for our vehicle. The power pump came from a Japanese little car. 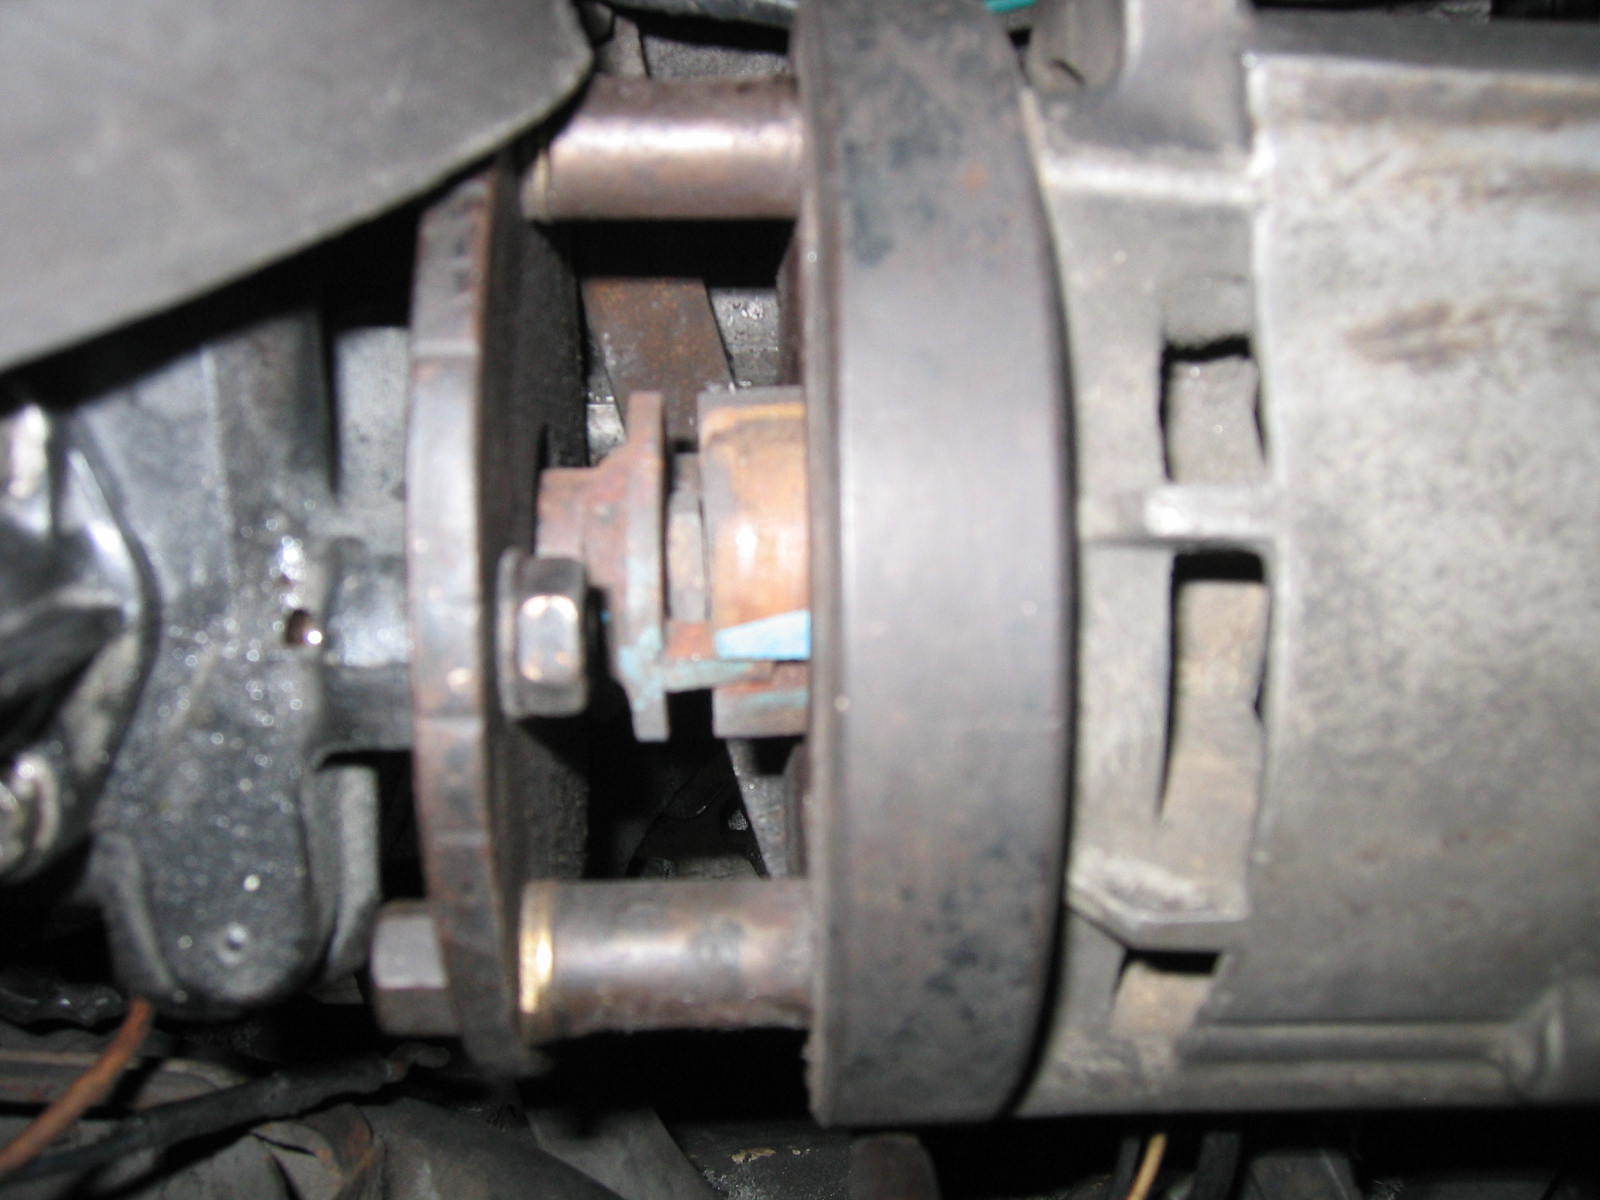 The connector created by father. Removal the cover, you can see the connector between the generator and power pump. See the below picture: 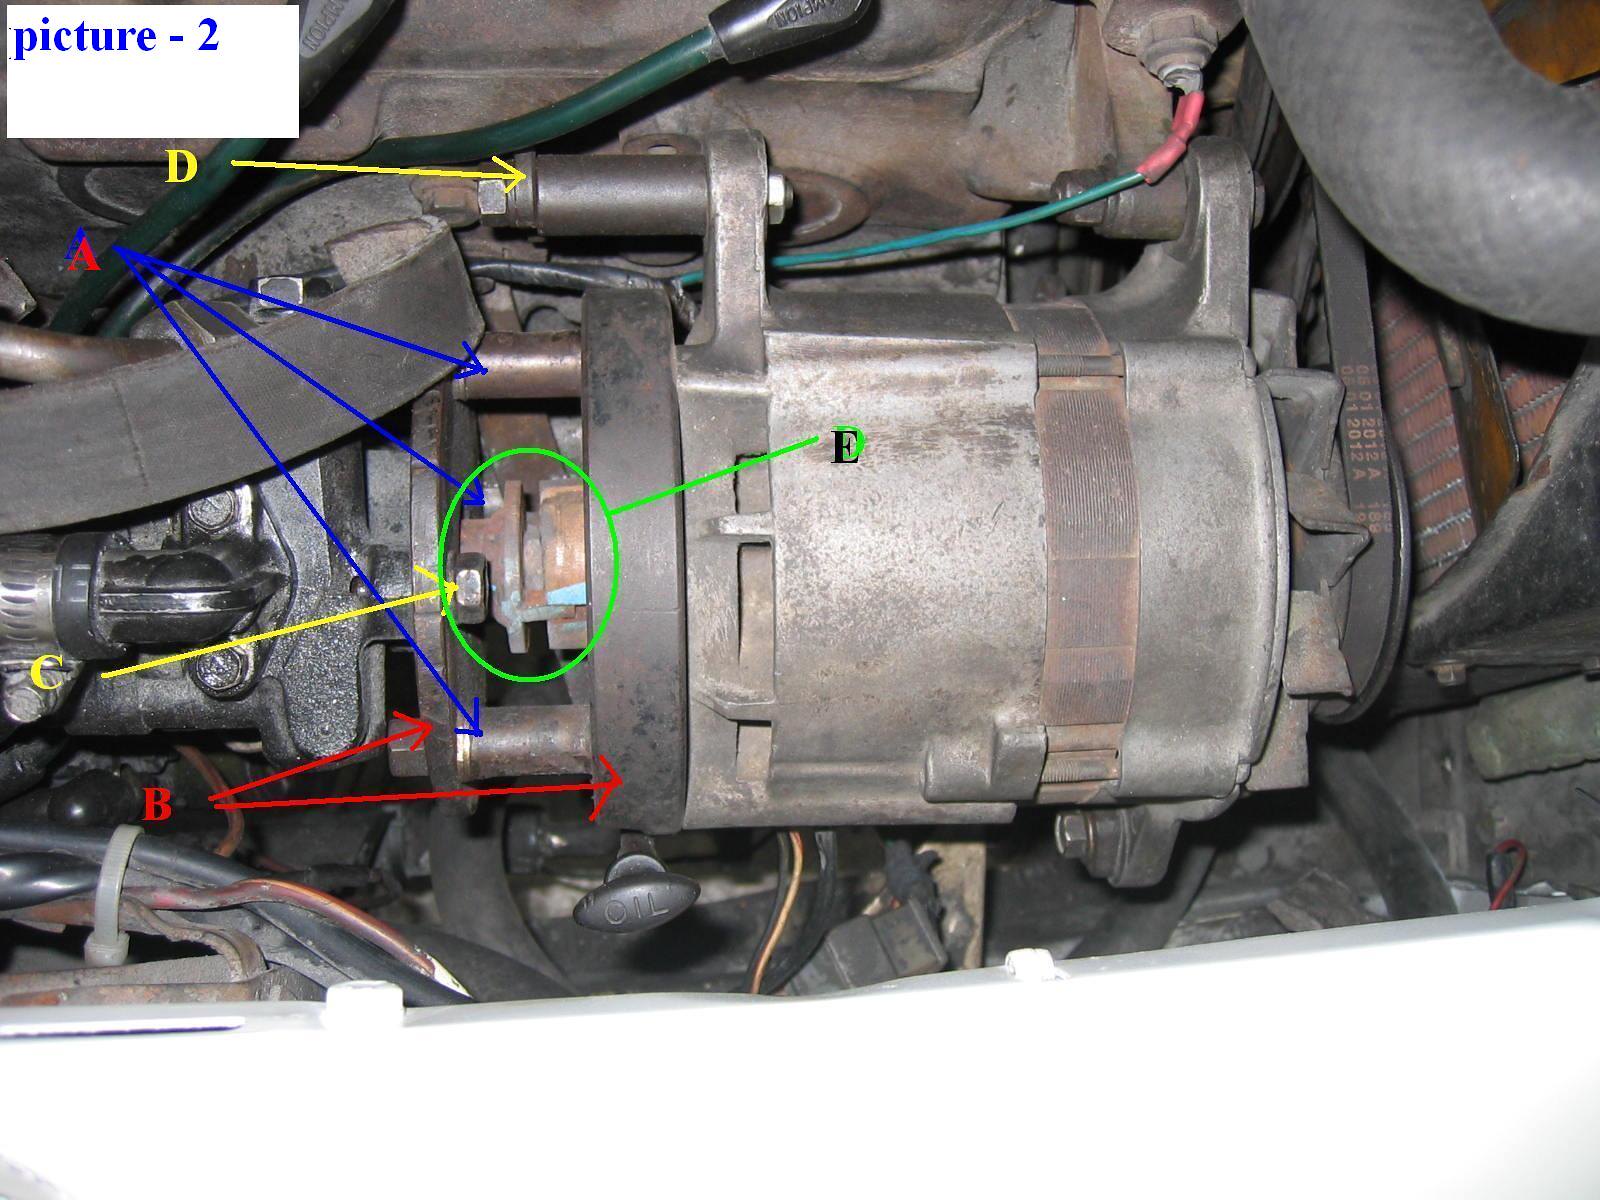 There are A, B, C, D and E. A and C: bolts, nuts B : two round plates: one thick, the other thin D : bolts, nuts and  E : a hand made special connector  This reliable evaporator assembly plus AC controller is very hard to find nowadays. I heard there is a mechanic who has collected some unusable ones to install on Mitsubishi Canter trucks. Regards Tony |
|
|
|
Post by tony on Sept 5, 2015 5:37:24 GMT
Hi, Al As I have read some threads on board, I realized the two halves can be removed apart on this kind of style. For Benz, I was told not to do so unless I have a very special sealer such as the pink liquid one for Volvo modern vehicles. The RTV sealer won't do the job. Regards Tony where are the breaks? |
|