|
|
Post by Penguin45 on Sept 27, 2014 20:34:14 GMT
'Tis true! I suspect they'll get bigger before they get better. Certainly the two with the reinforcing plates will, as those plates will have to come out first to eradicate the rust. 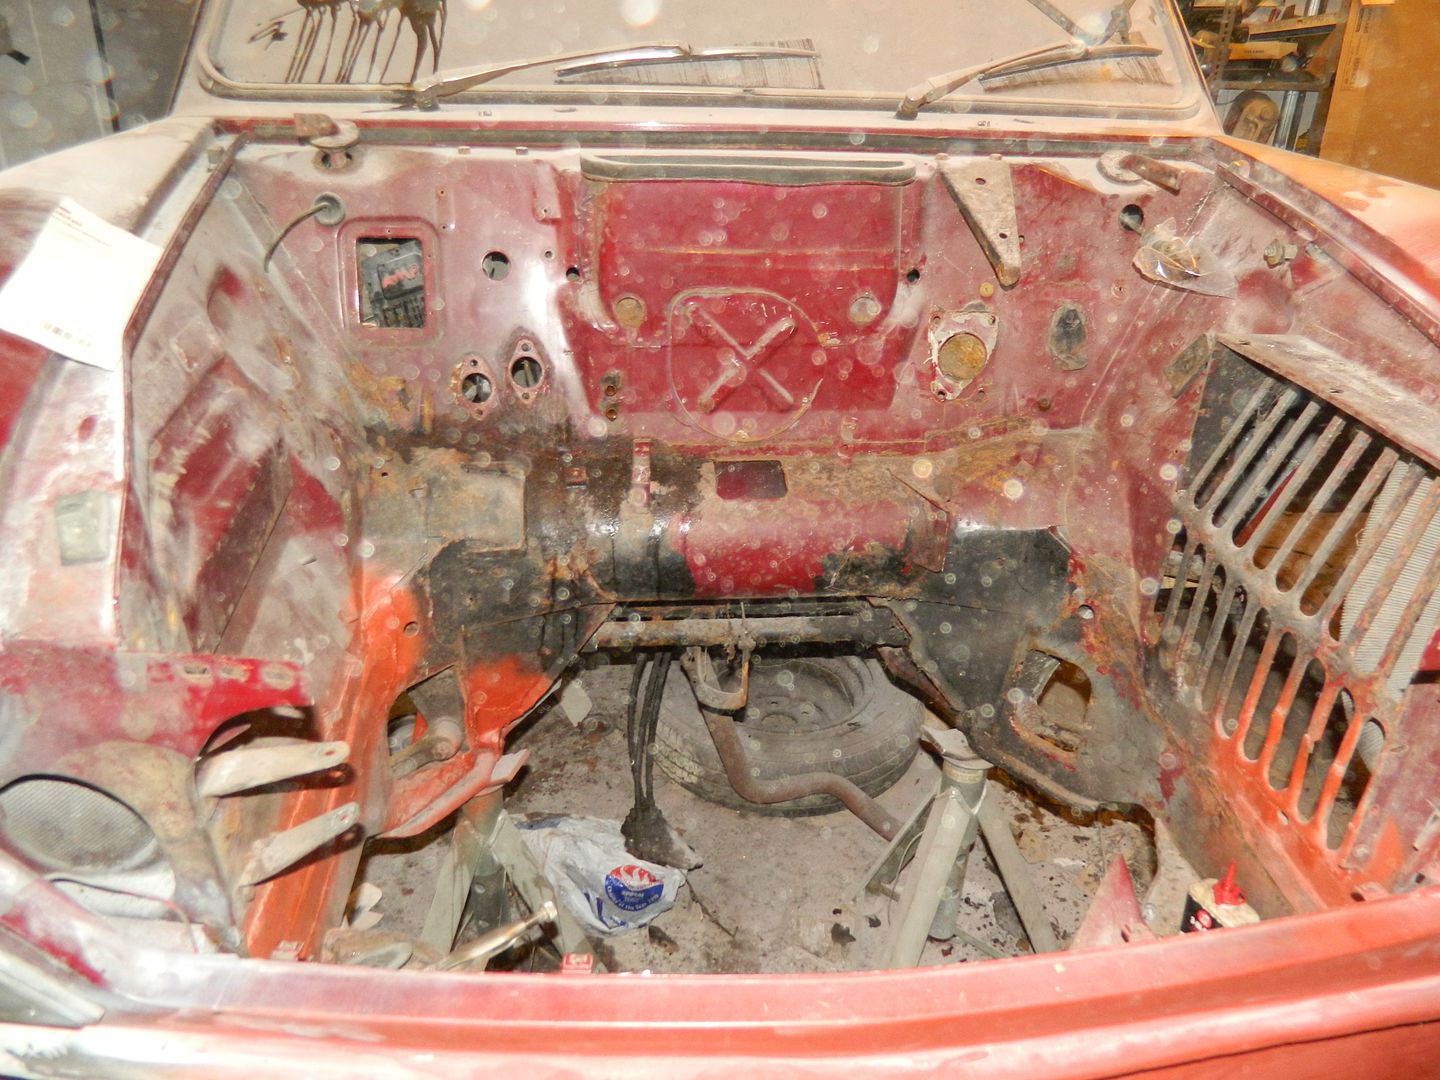 Engine bay now entirely empty, including hydro, fuel and brake lines and the drive shafts, 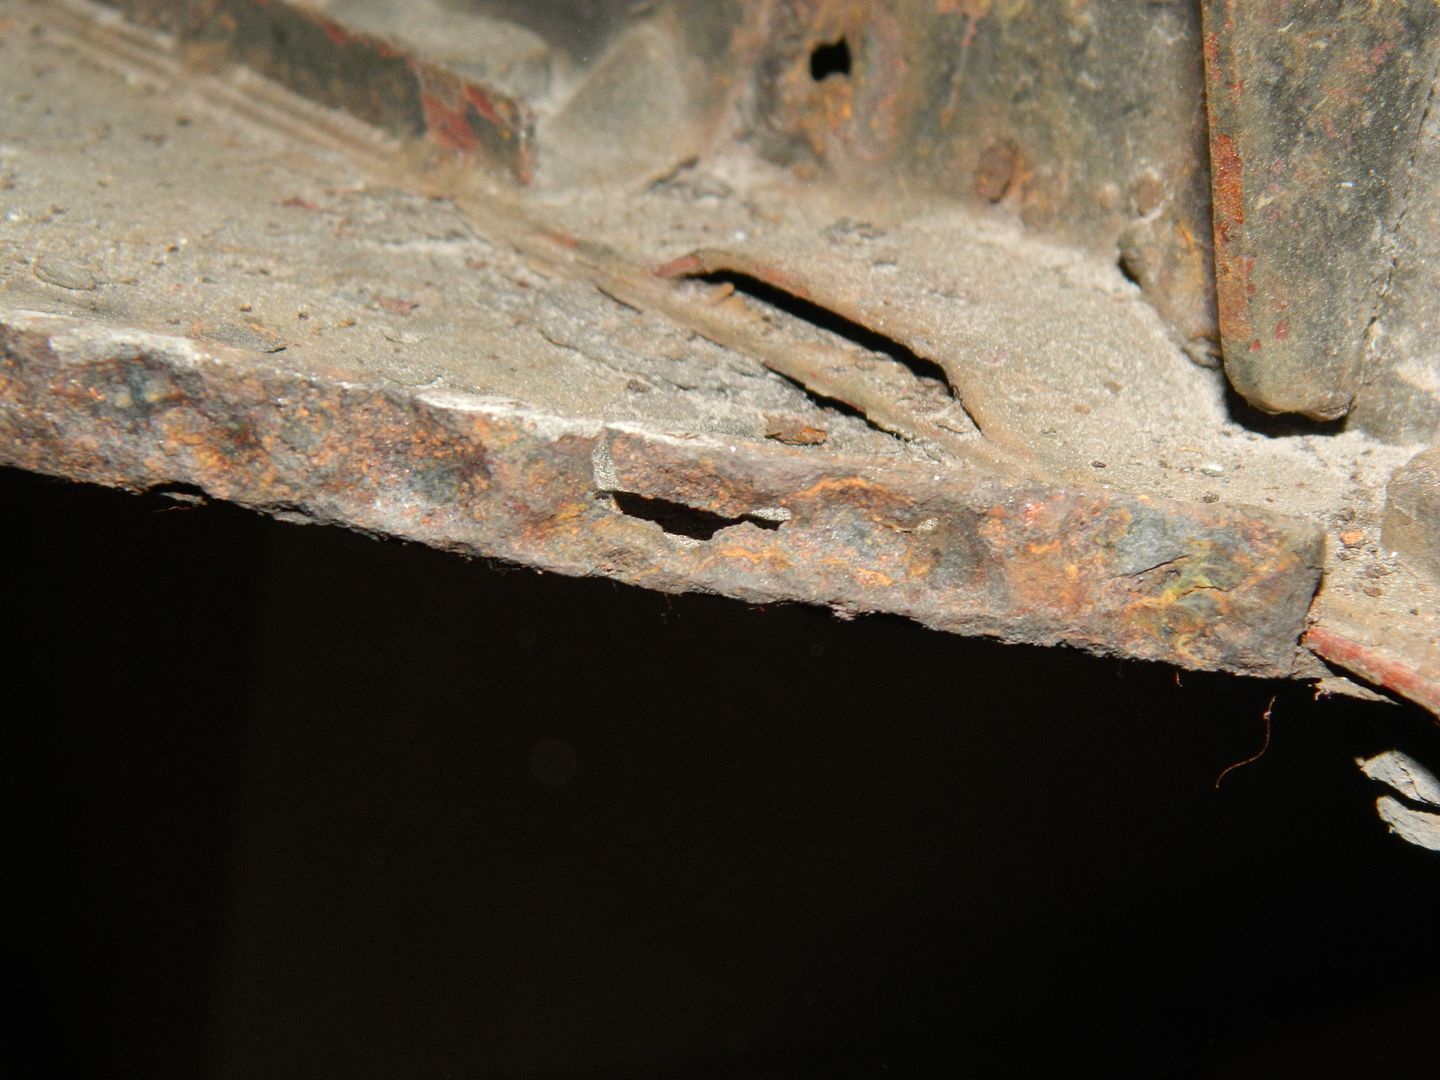 Scabby bit - might be able to dot that back together. 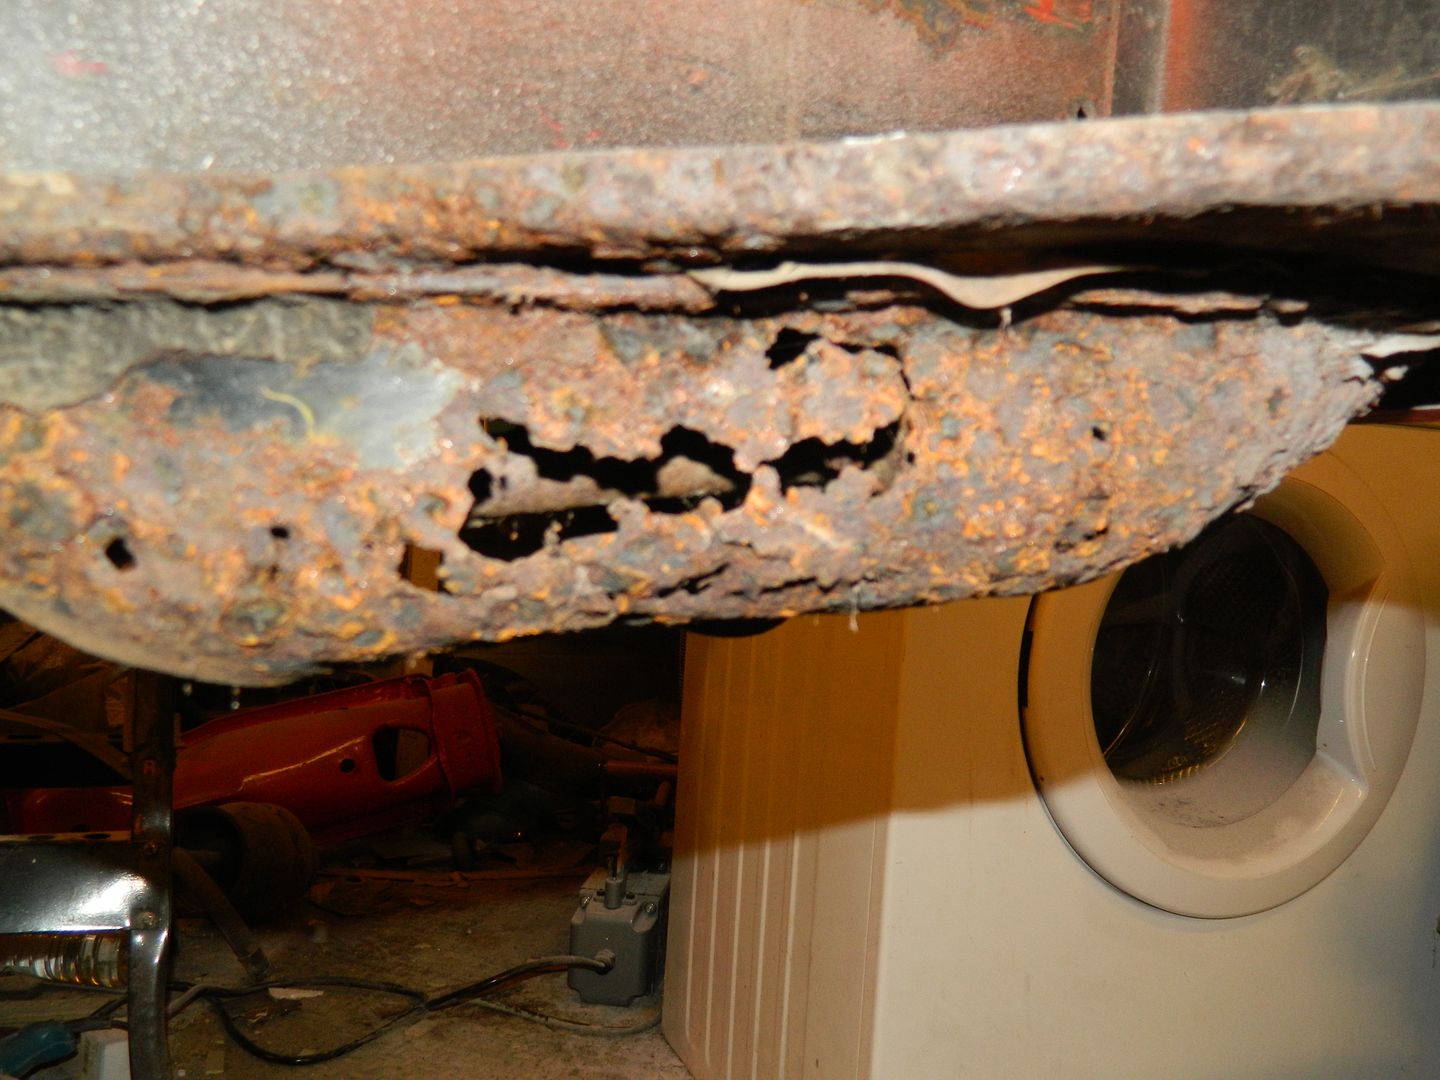 I'd forgotten about the tie-rod housing - splendidly horrible. Won't be dotting that back together. I'll have to make a new one soon...... 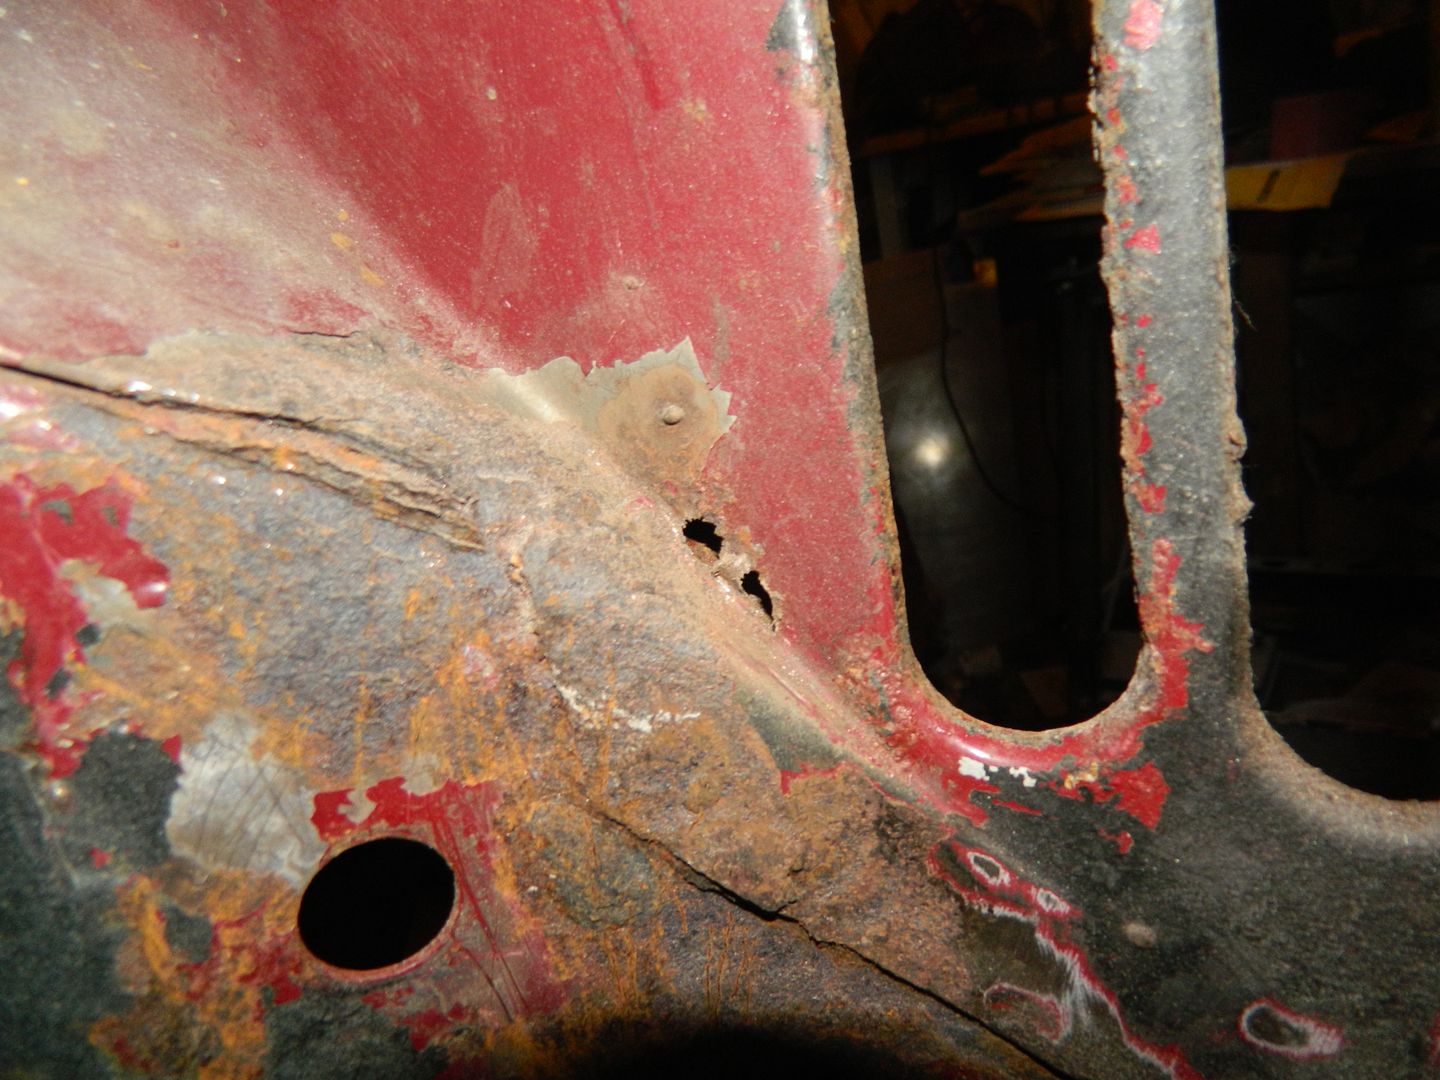 And a little hole by the radiator vents. So, bit of welding and wire-brush-in-the-angle-grinder fun to come over the next week. Chris. |
|
|
|
Post by Penguin45 on Sept 28, 2014 16:30:31 GMT
Welded it all up - taking a breather. 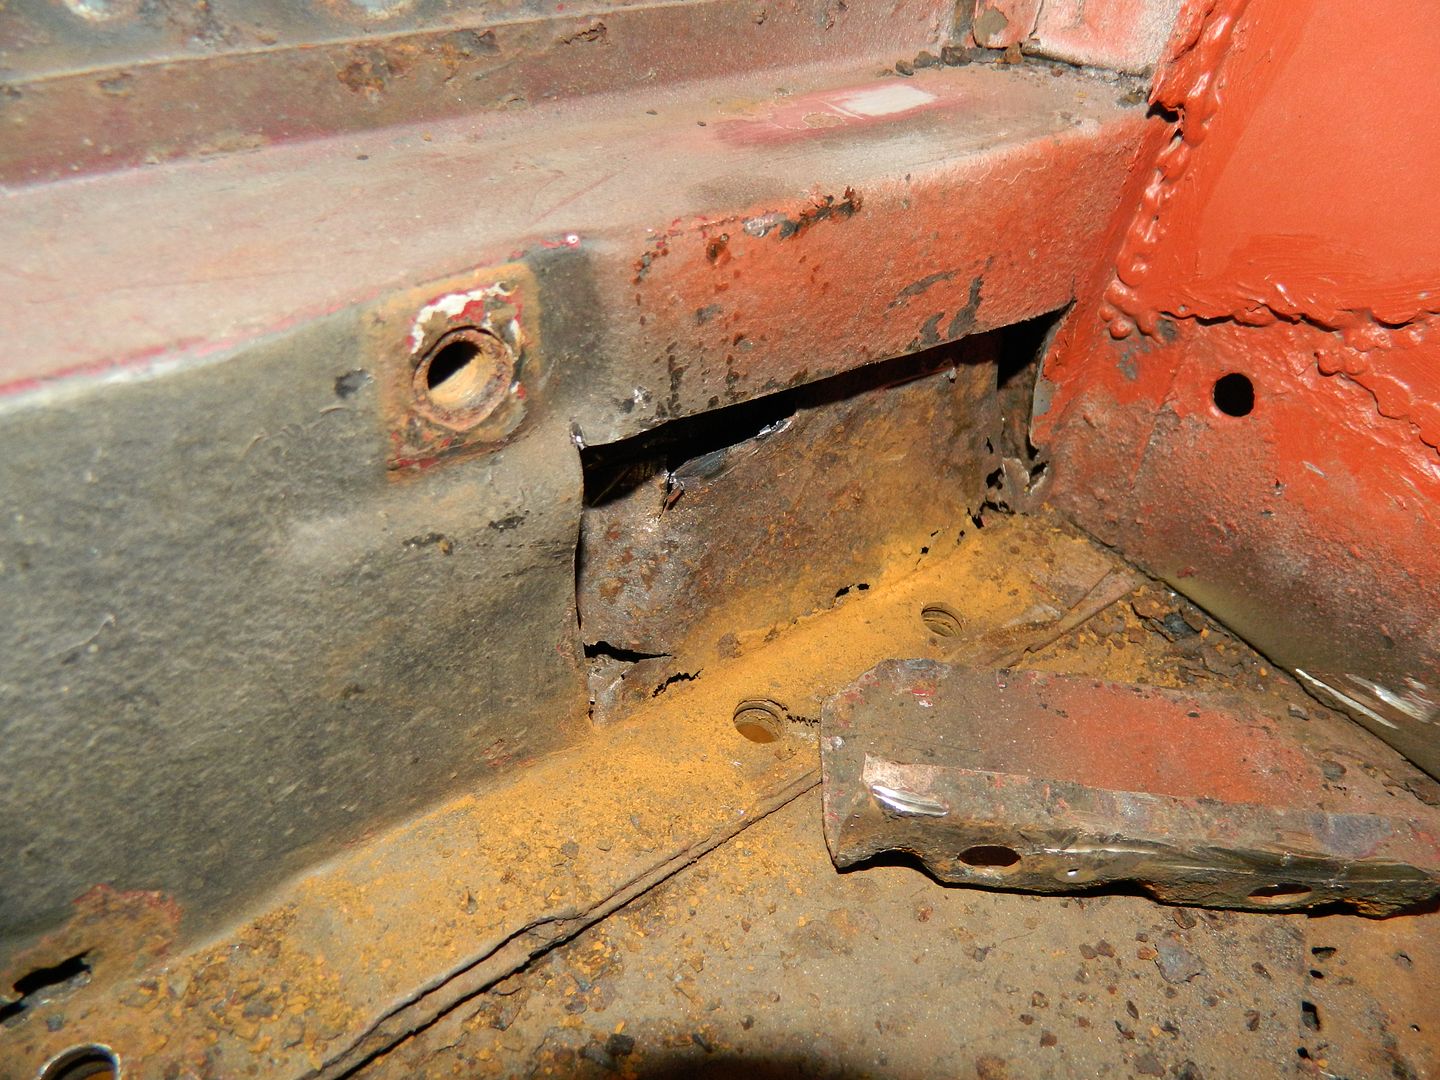 Freed off reinforcing bracket and chopped out the back bit. My old chisel went through the sides and bottom rather too easily, so getting rid was the right call. 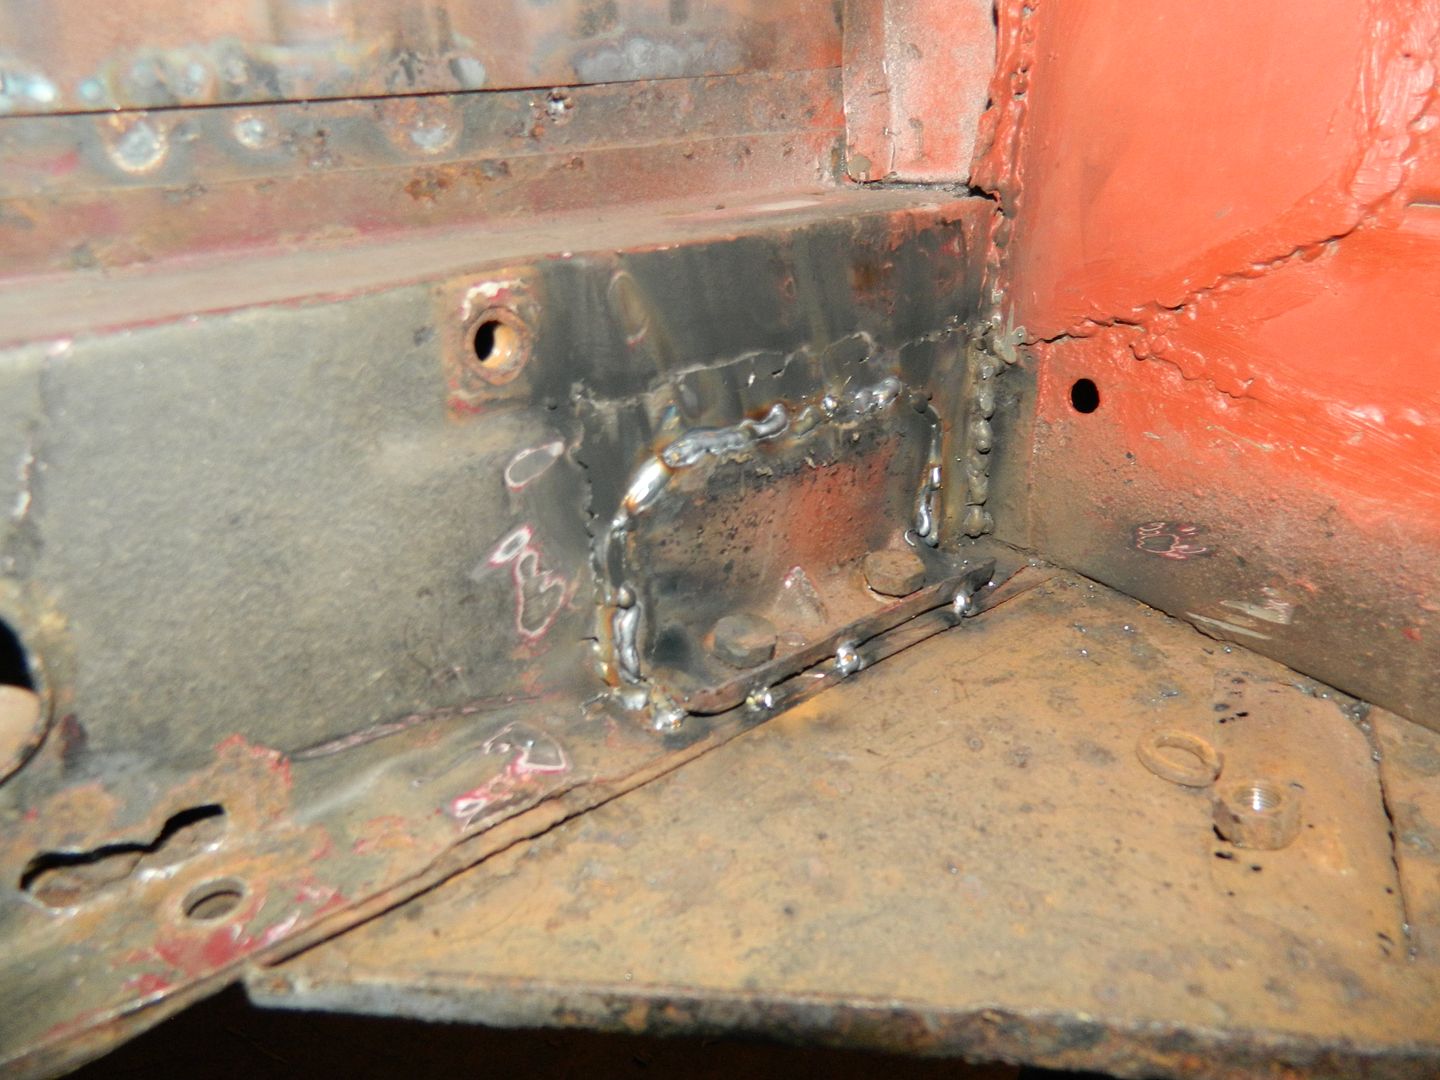 New panel seamed in, then reinforcing panel re-attached. Note bolts dropped back into place to keep the alignment correct. Hole bottom left was opened out until shiny metal started to appear. 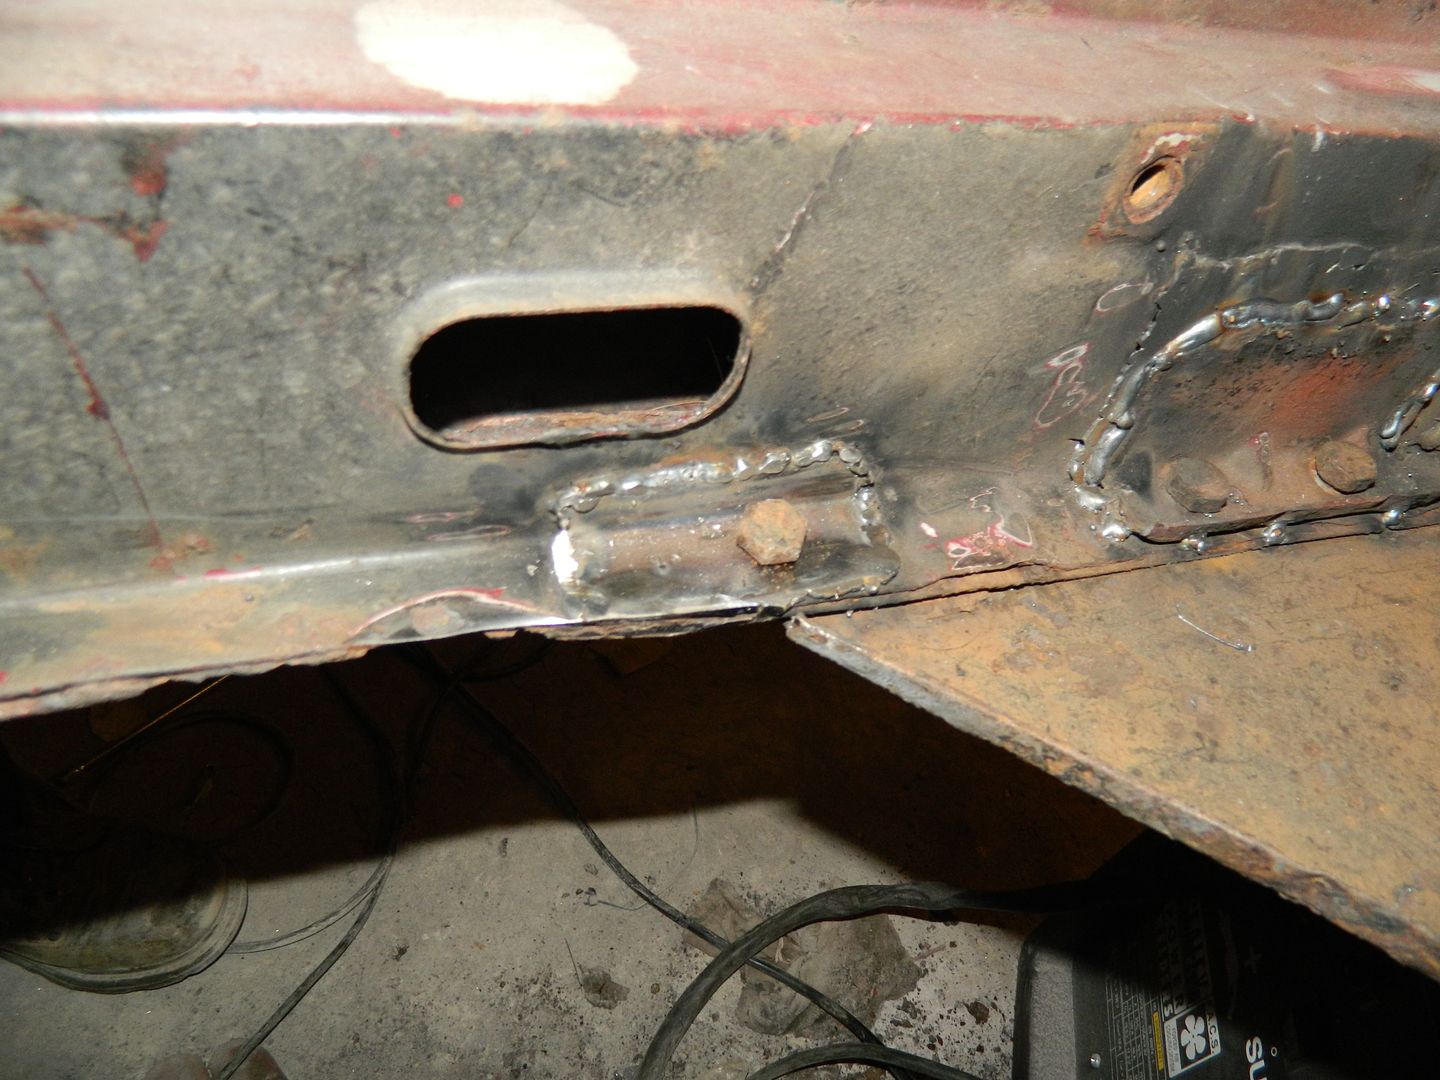 Repaired with an "L" section. Fixing bolt was quite tight to the panel, so fillet welding the bottom edge of a flat piece would probably have interfered with it. 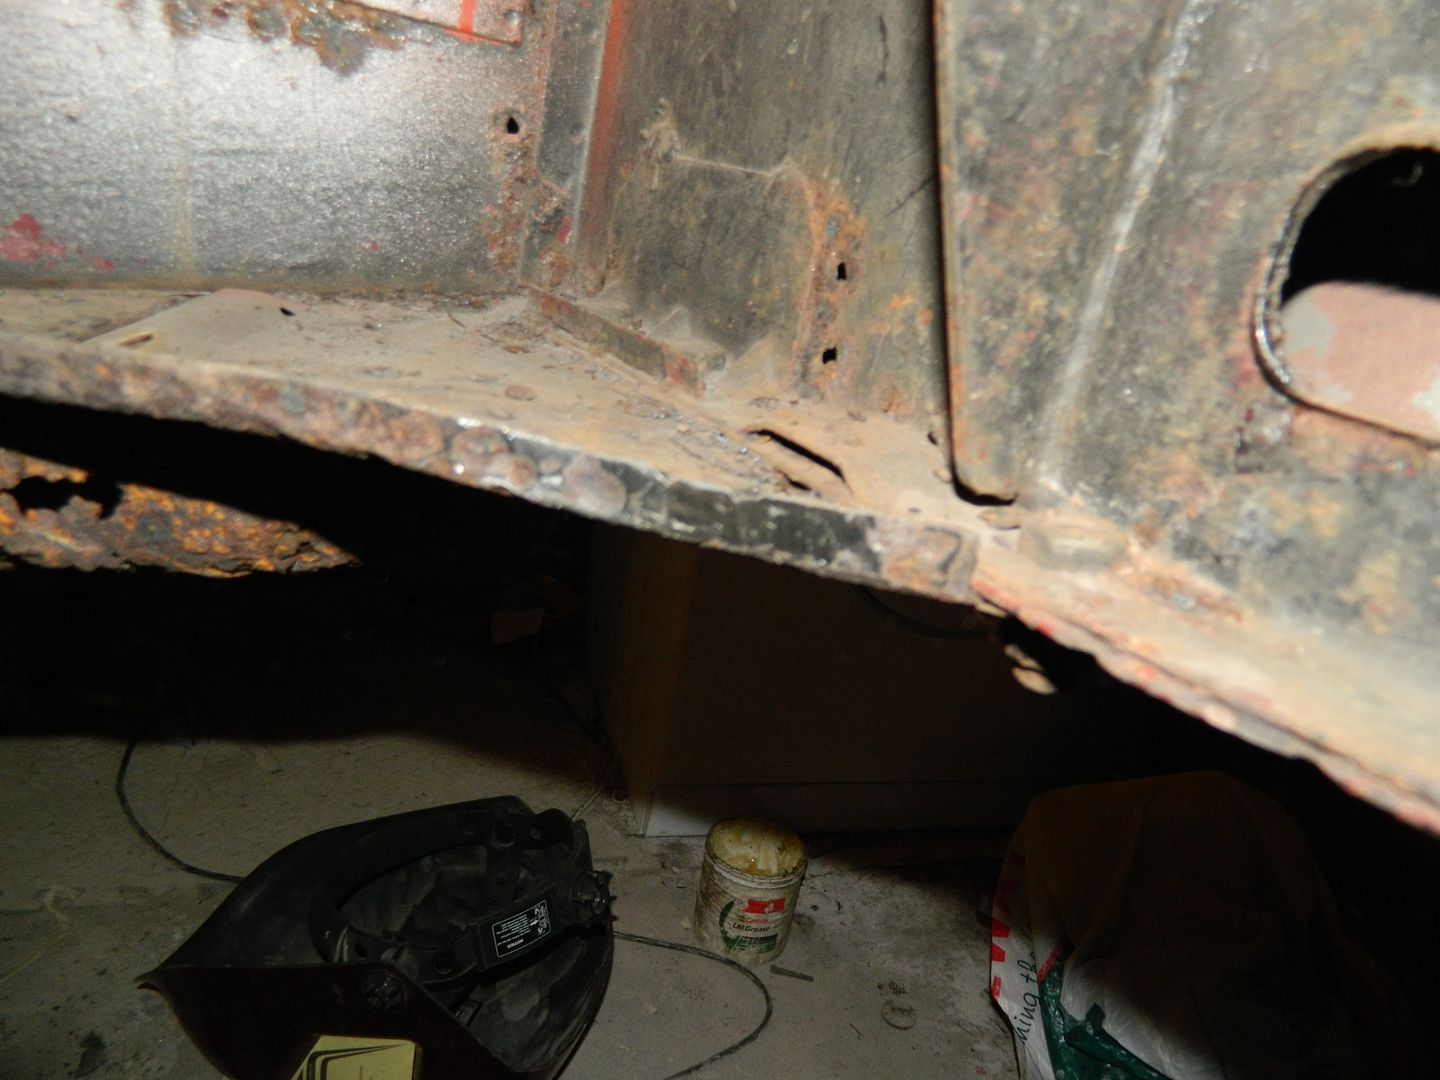 Bottom panel repaired quite easily and flatted back neatly. 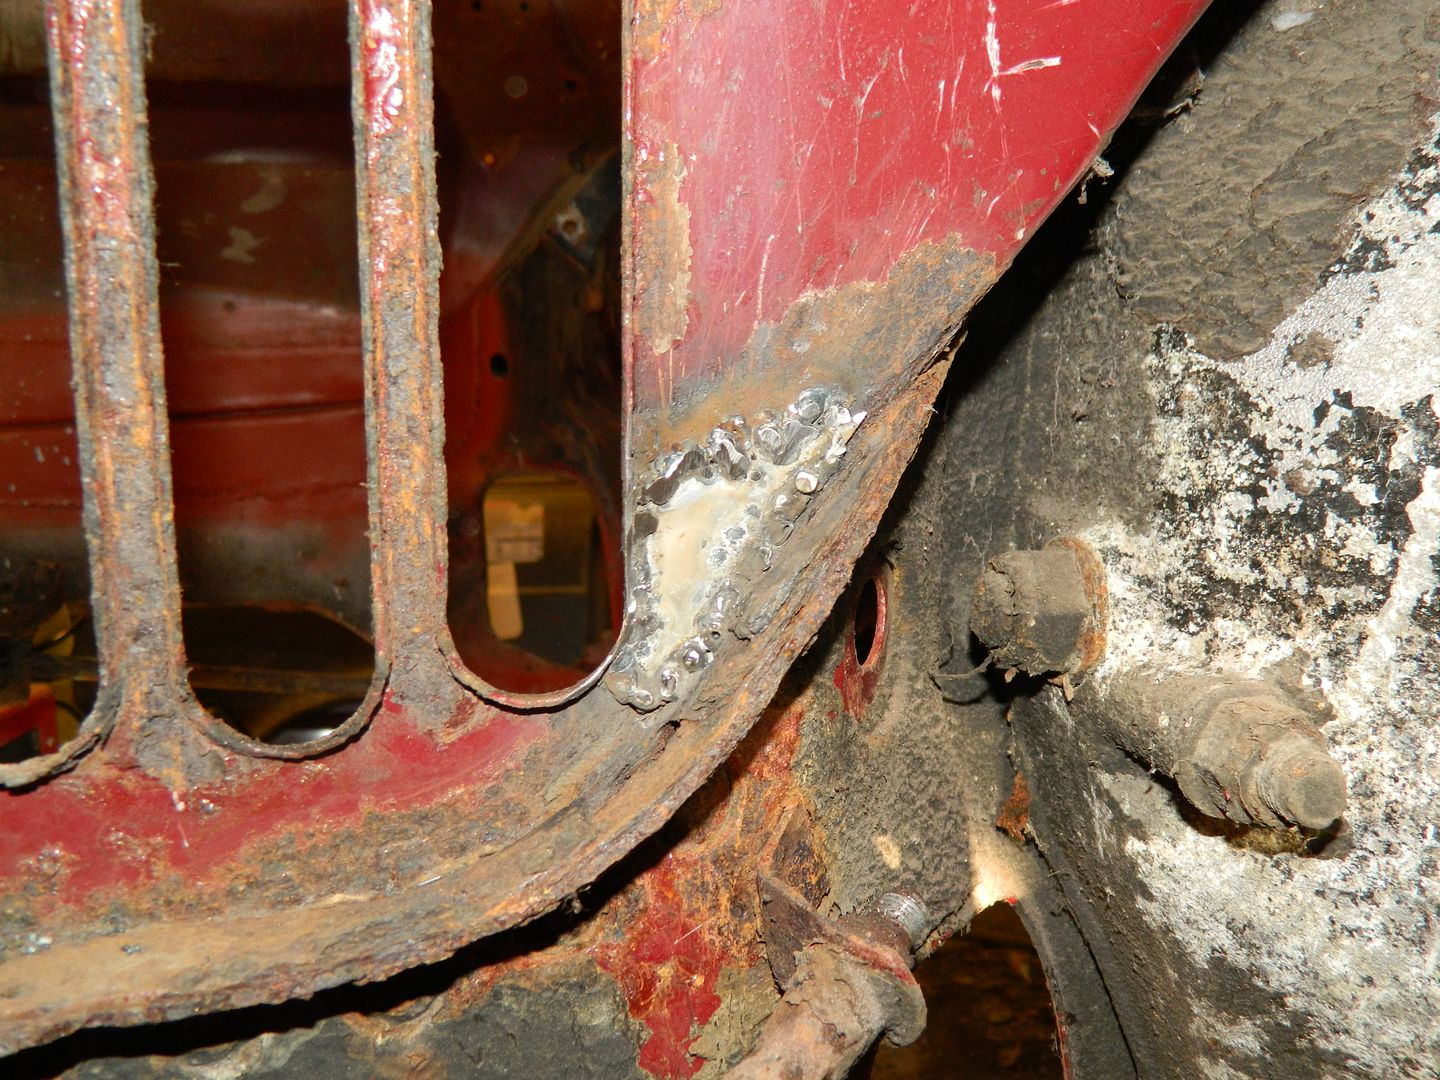 And that's the bit by the radiator. Opened out the hole and sorted it from the outside. I have re-flatted it since this picture. Everything has been seam sealered and primered, so quite decent progress for the day. Chris. |
|
|
|
Post by indianajones on Sept 28, 2014 18:58:16 GMT
Soon it'll be time to get on with the painting!
-Andrew
|
|
|
|
Post by Penguin45 on Oct 3, 2014 18:22:27 GMT
Not quite yet - there is some etch primer going onto bare rust-free metal as it is revealed, but I keep on finding minor problems which need to be solved. The latest one is under the bottom of the radiator grill. 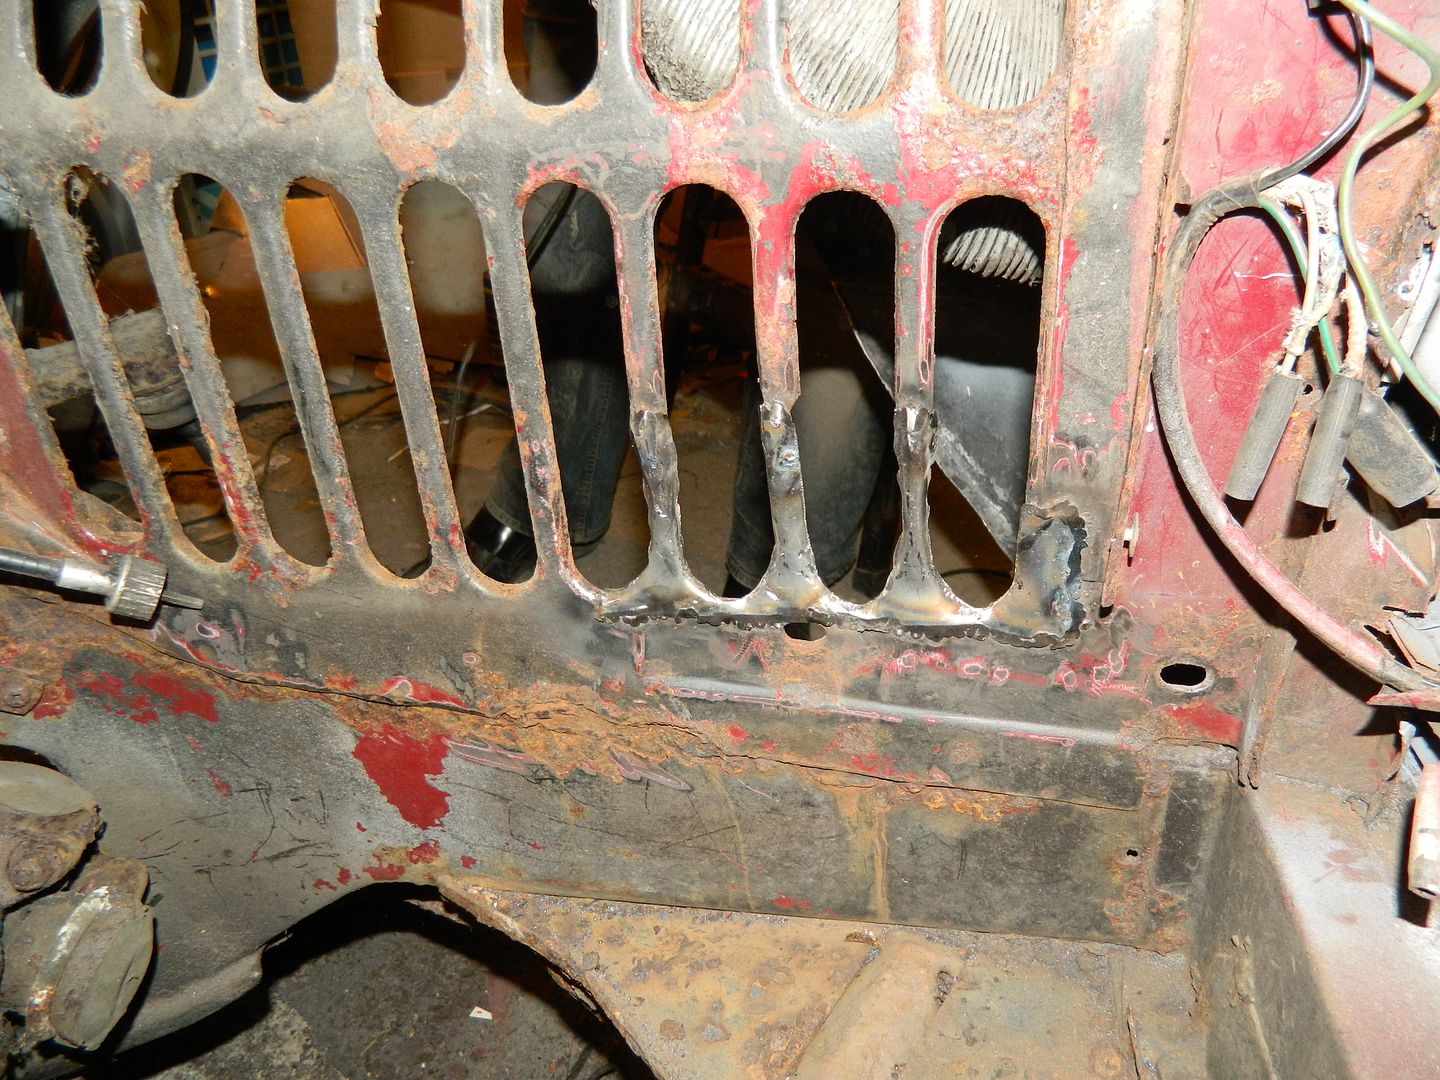 You may recall this. The bottom edge has a chunk missing, halfway along. Poking it duly produced holes...... Cut away the area around, and filled the holes with weld. Flatted that back and tidied it all up with and new piece for the grill. 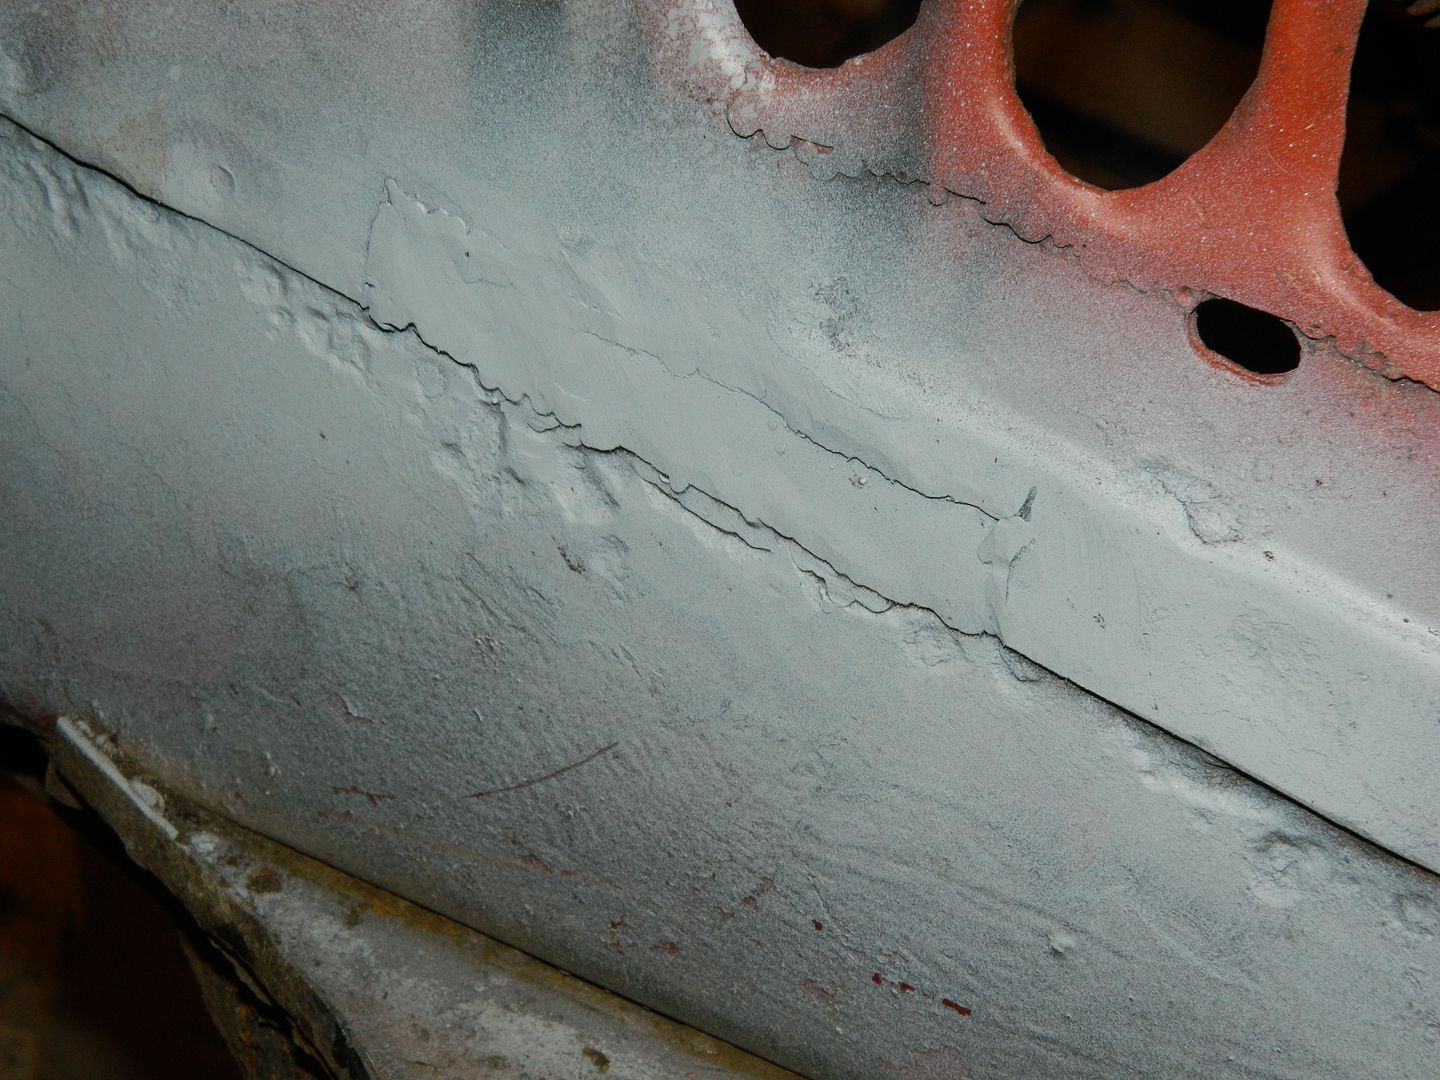 Not too bad on the inside. I'm going to scrub back to bare metal on the outside of the leg and see what's there before deciding whether or not to plate the outside. 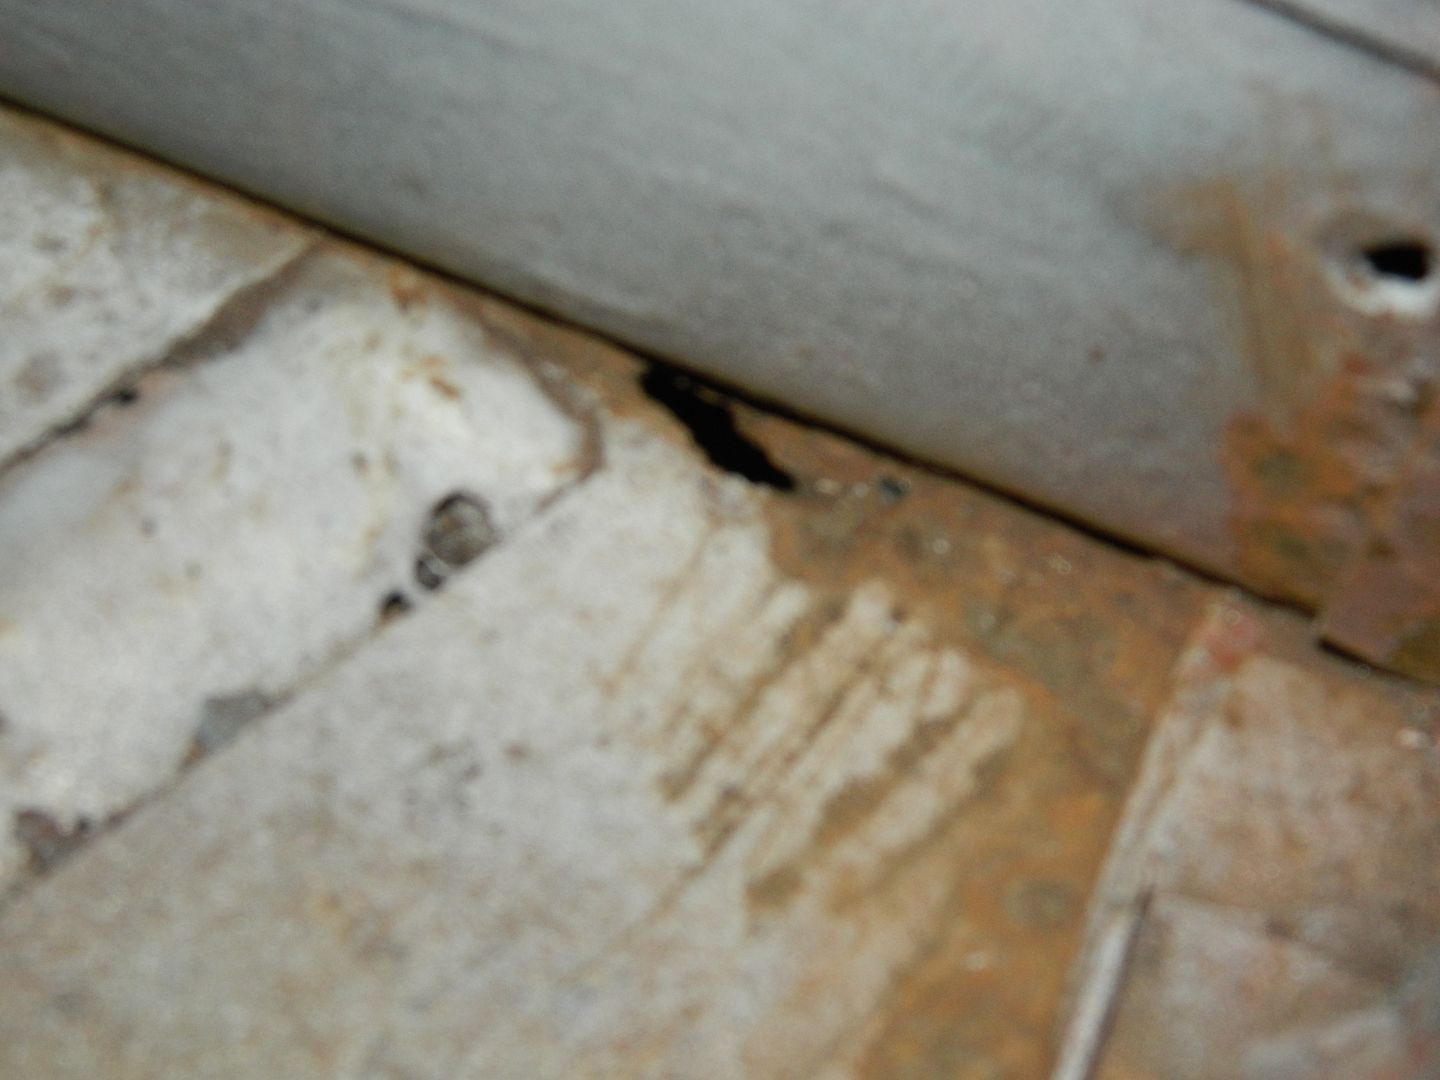 Panel for the tie-bar housing has gone through. I might as well take it off with the housing and make another one. 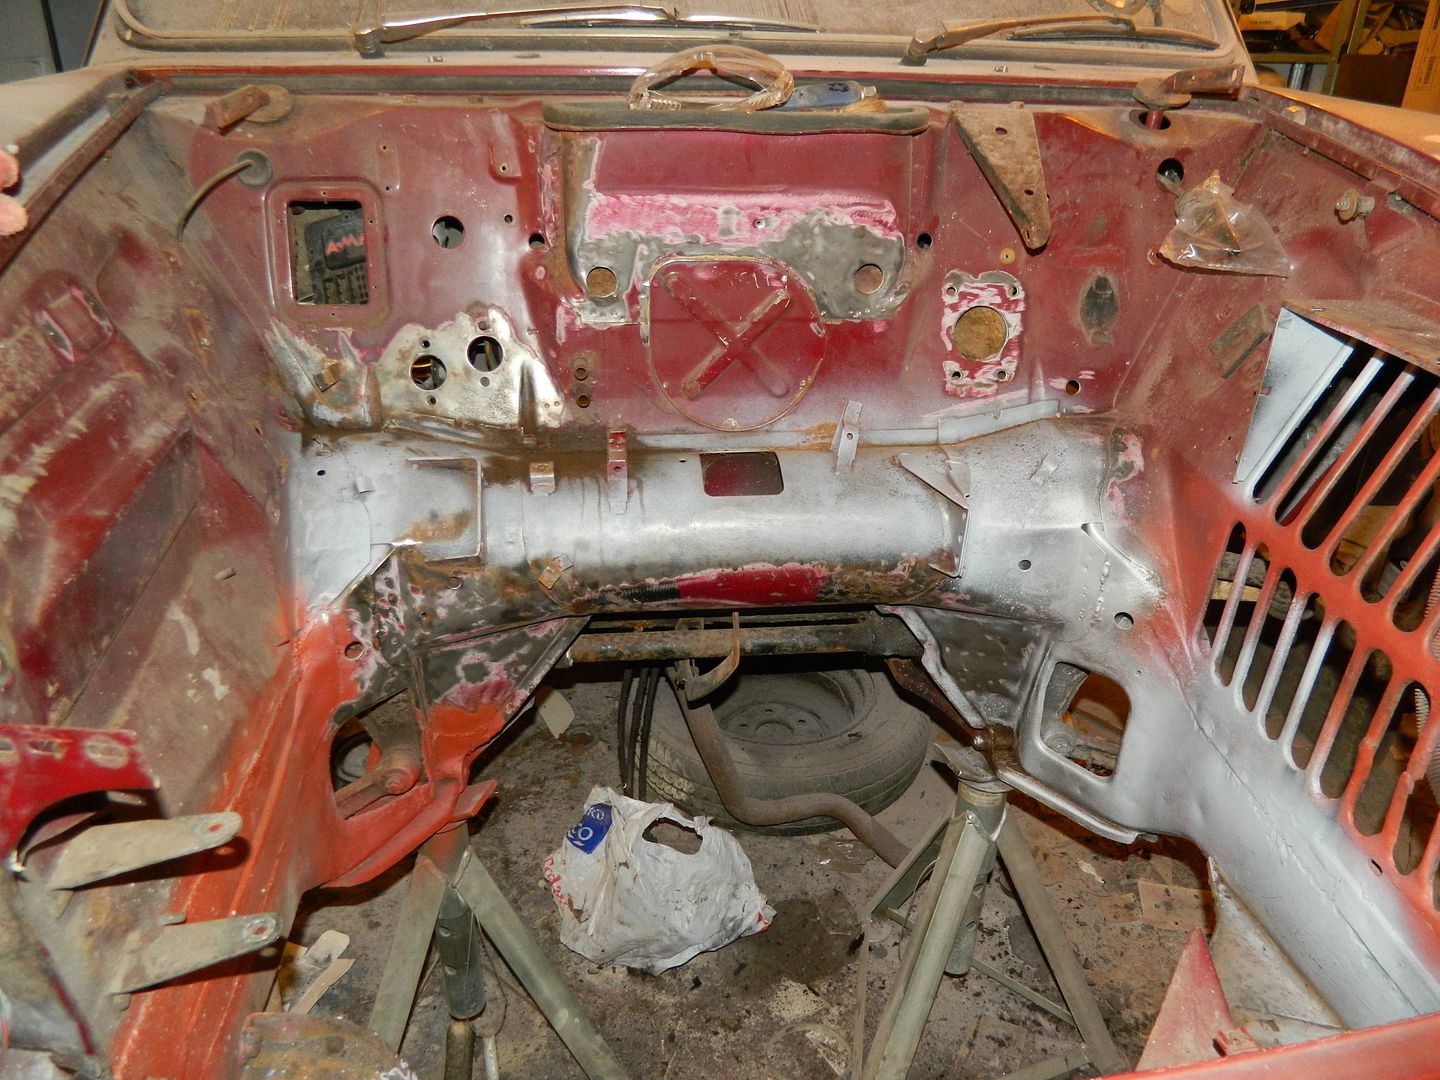 Here you go, Indy - etch primer on the de-rusted stuff. Still quite a way to go with that though. Chris. |
|
|
|
Post by Penguin45 on Oct 4, 2014 19:55:01 GMT
Engine bay is starting to look a bit more respectable. Bare metalled most of it and plenty of etch primer applied before the red. No nasty surprises today. 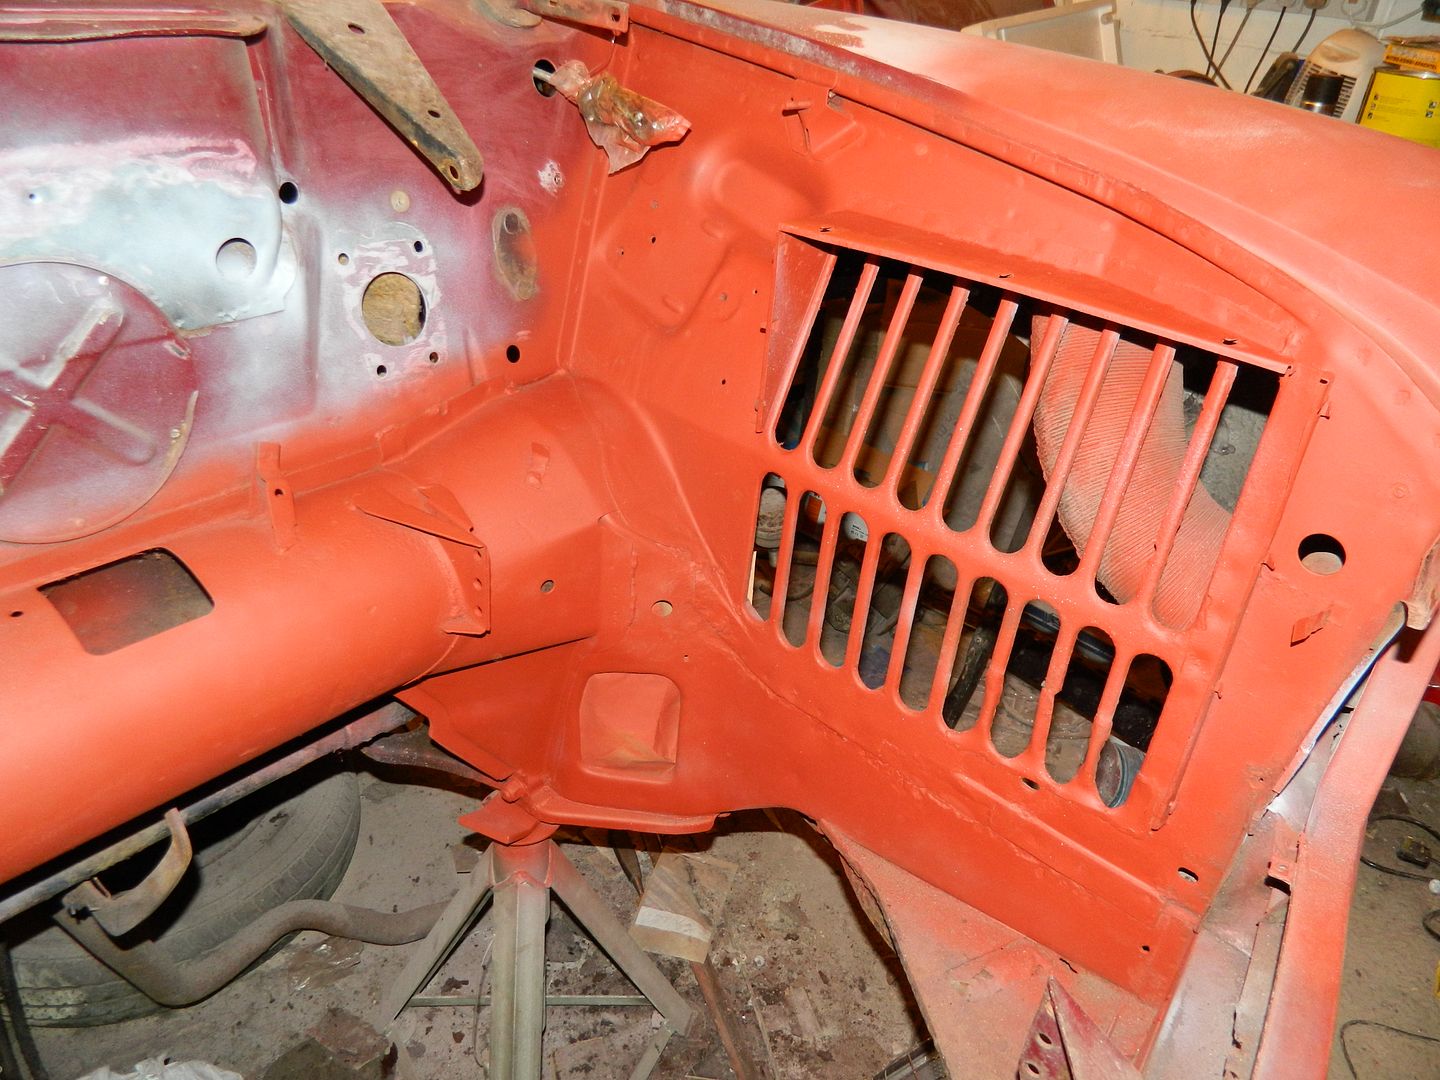 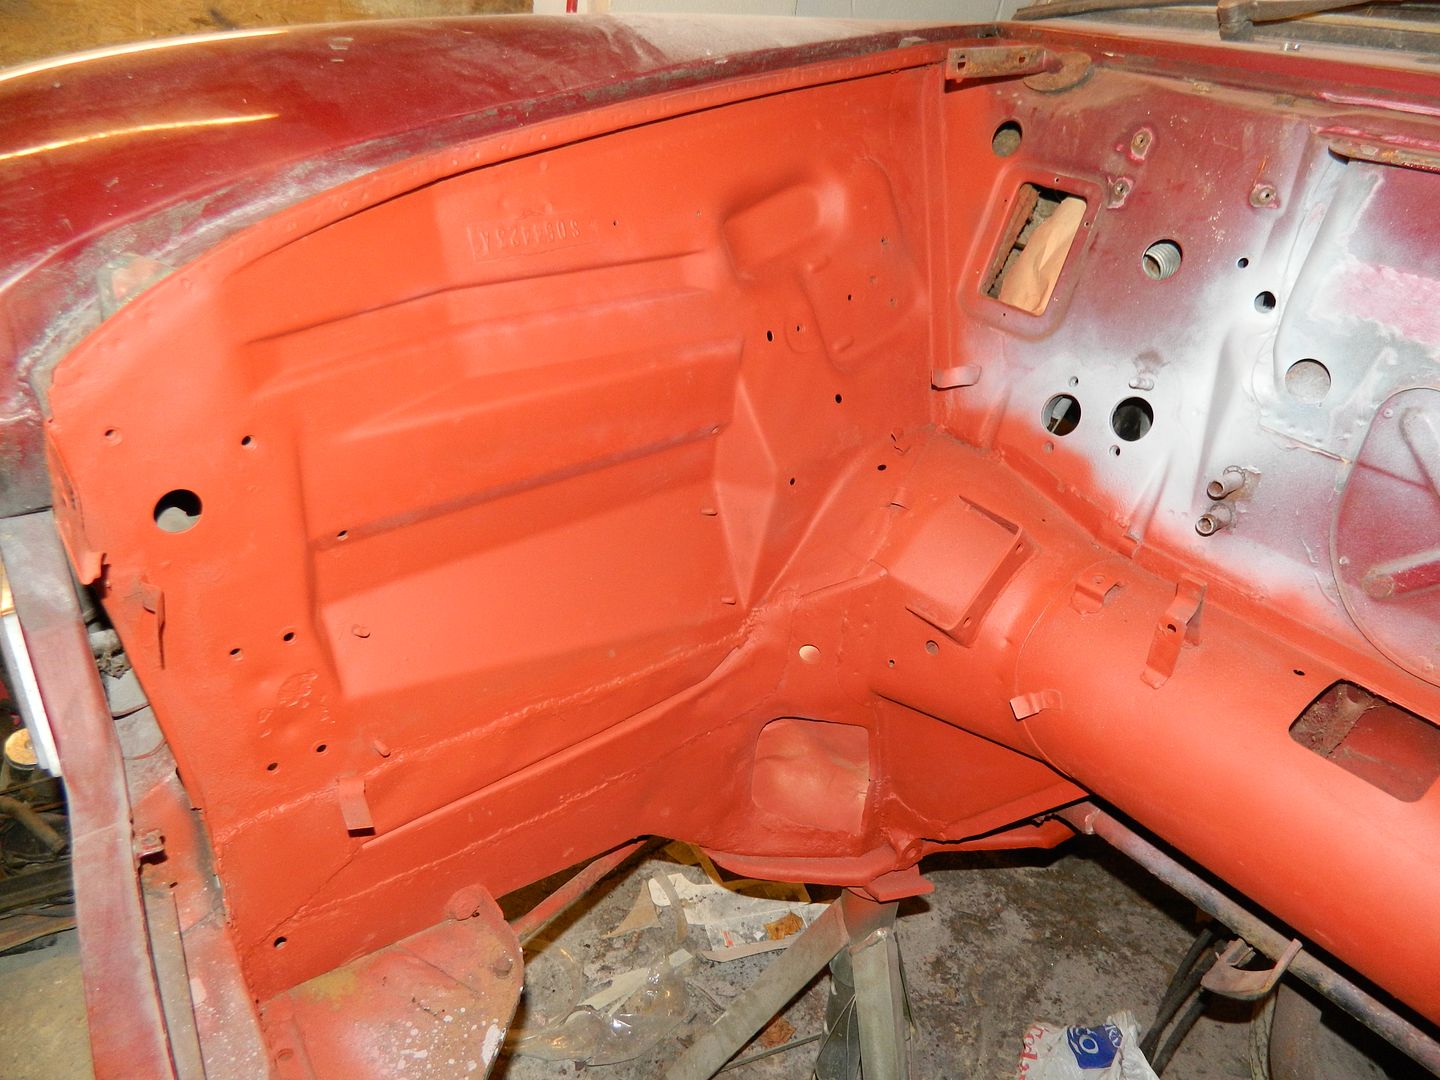 Chris. |
|
|
|
Post by Penguin45 on Oct 5, 2014 16:53:07 GMT
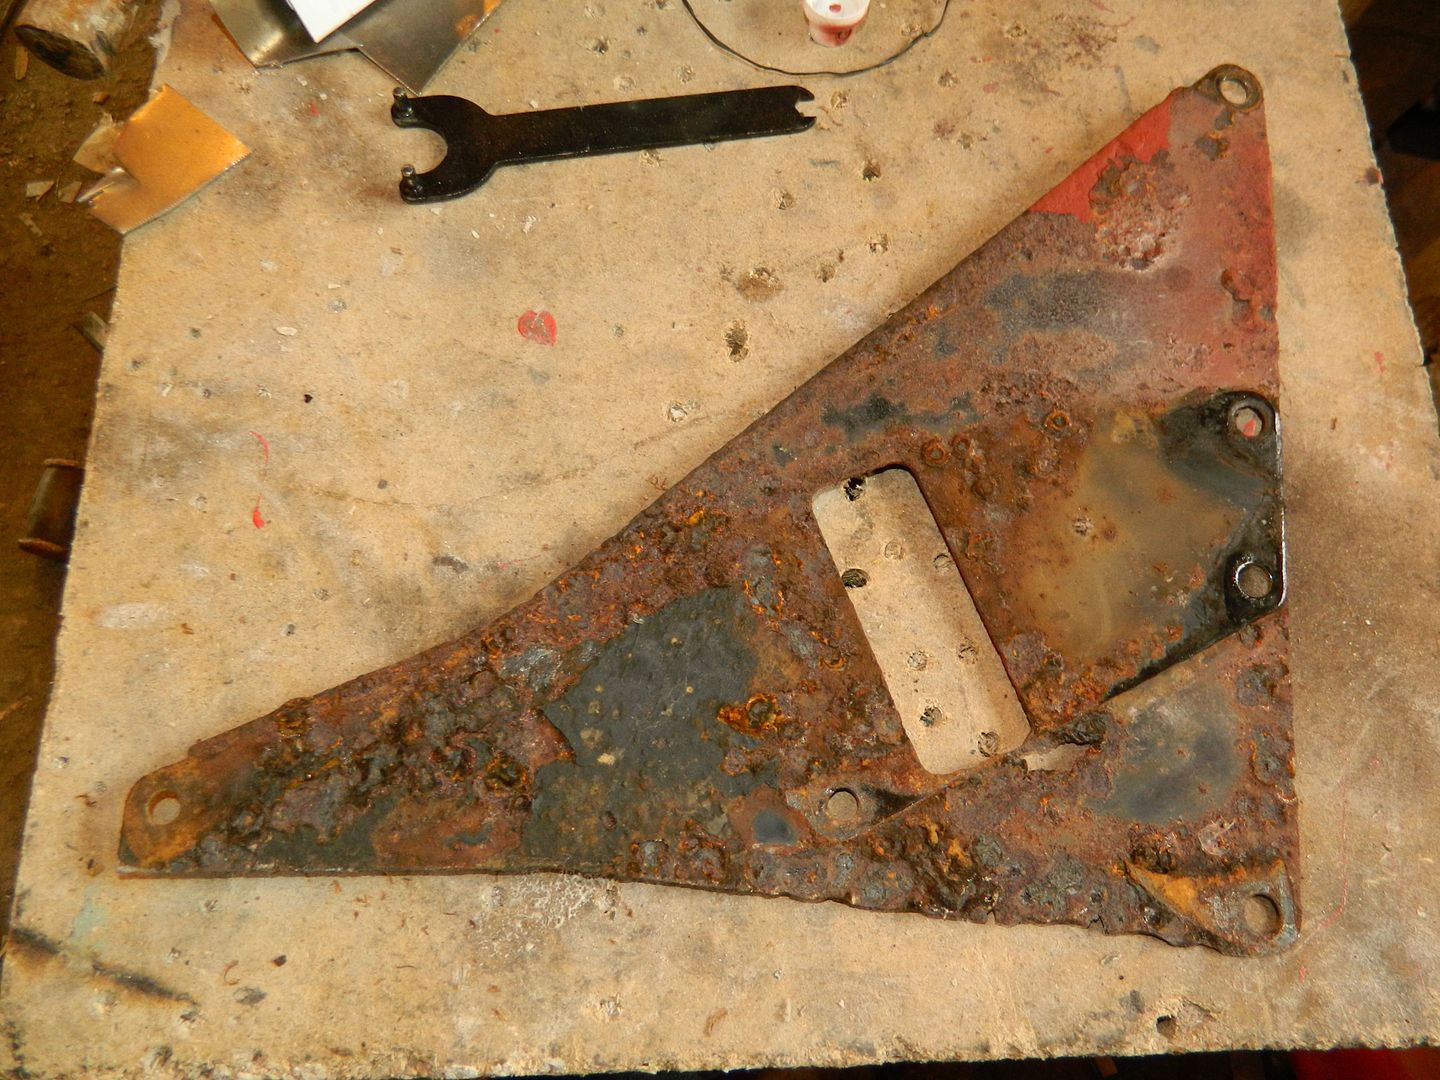 Corner plate off. Very thin along the edge under the chassis leg. 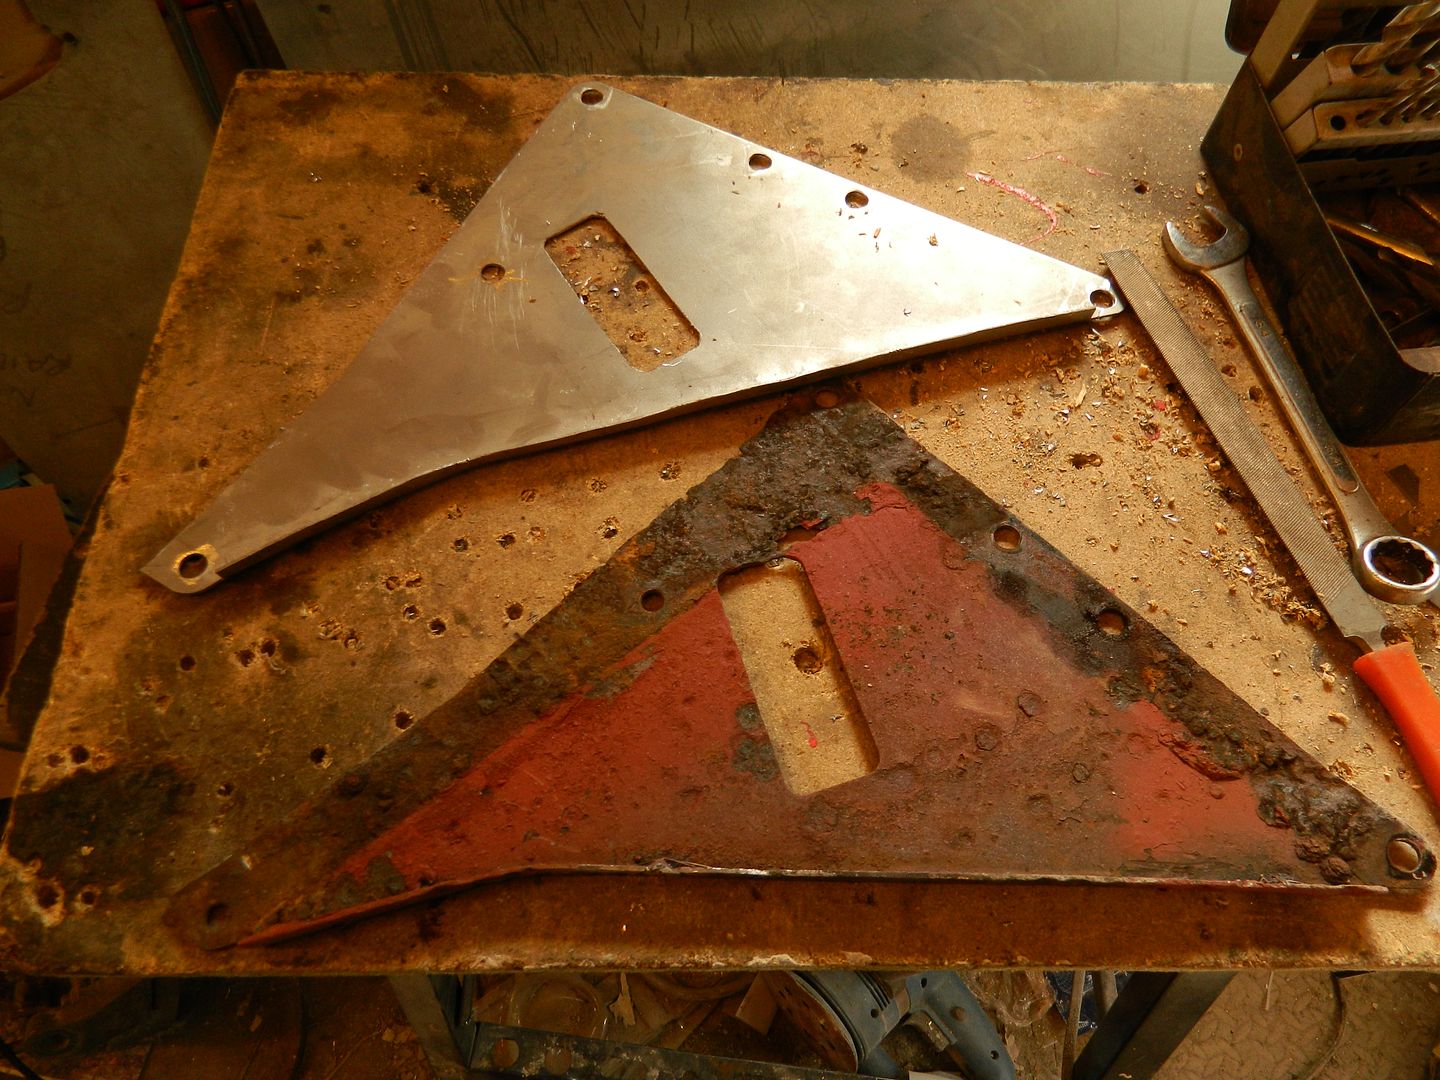 Made a new one. 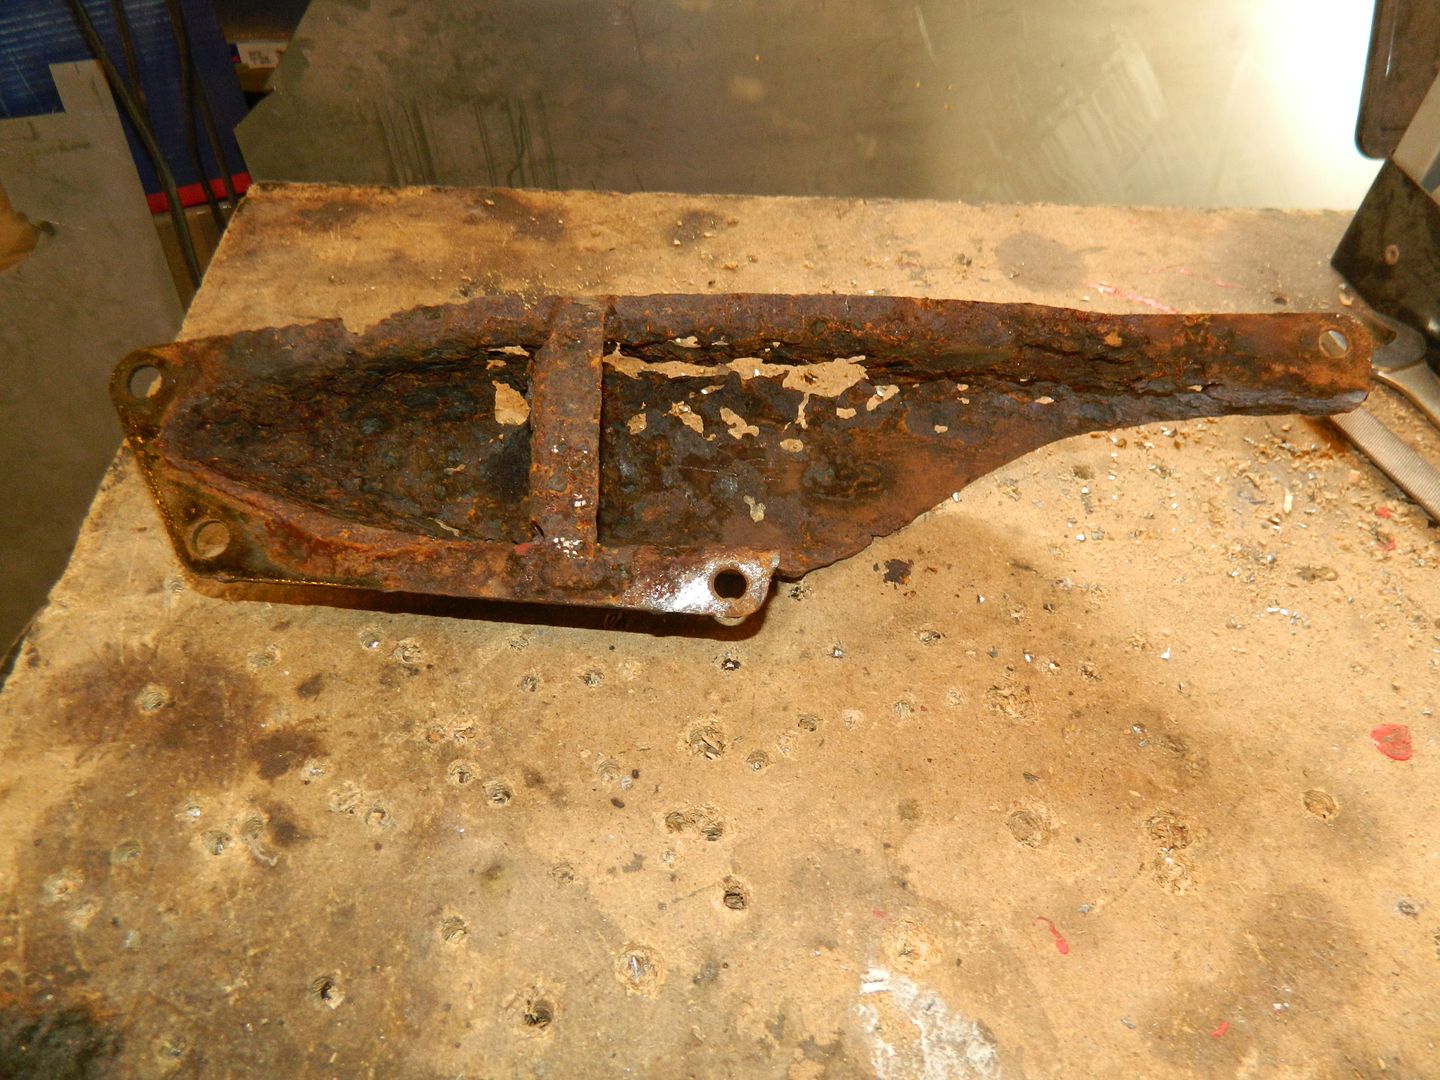 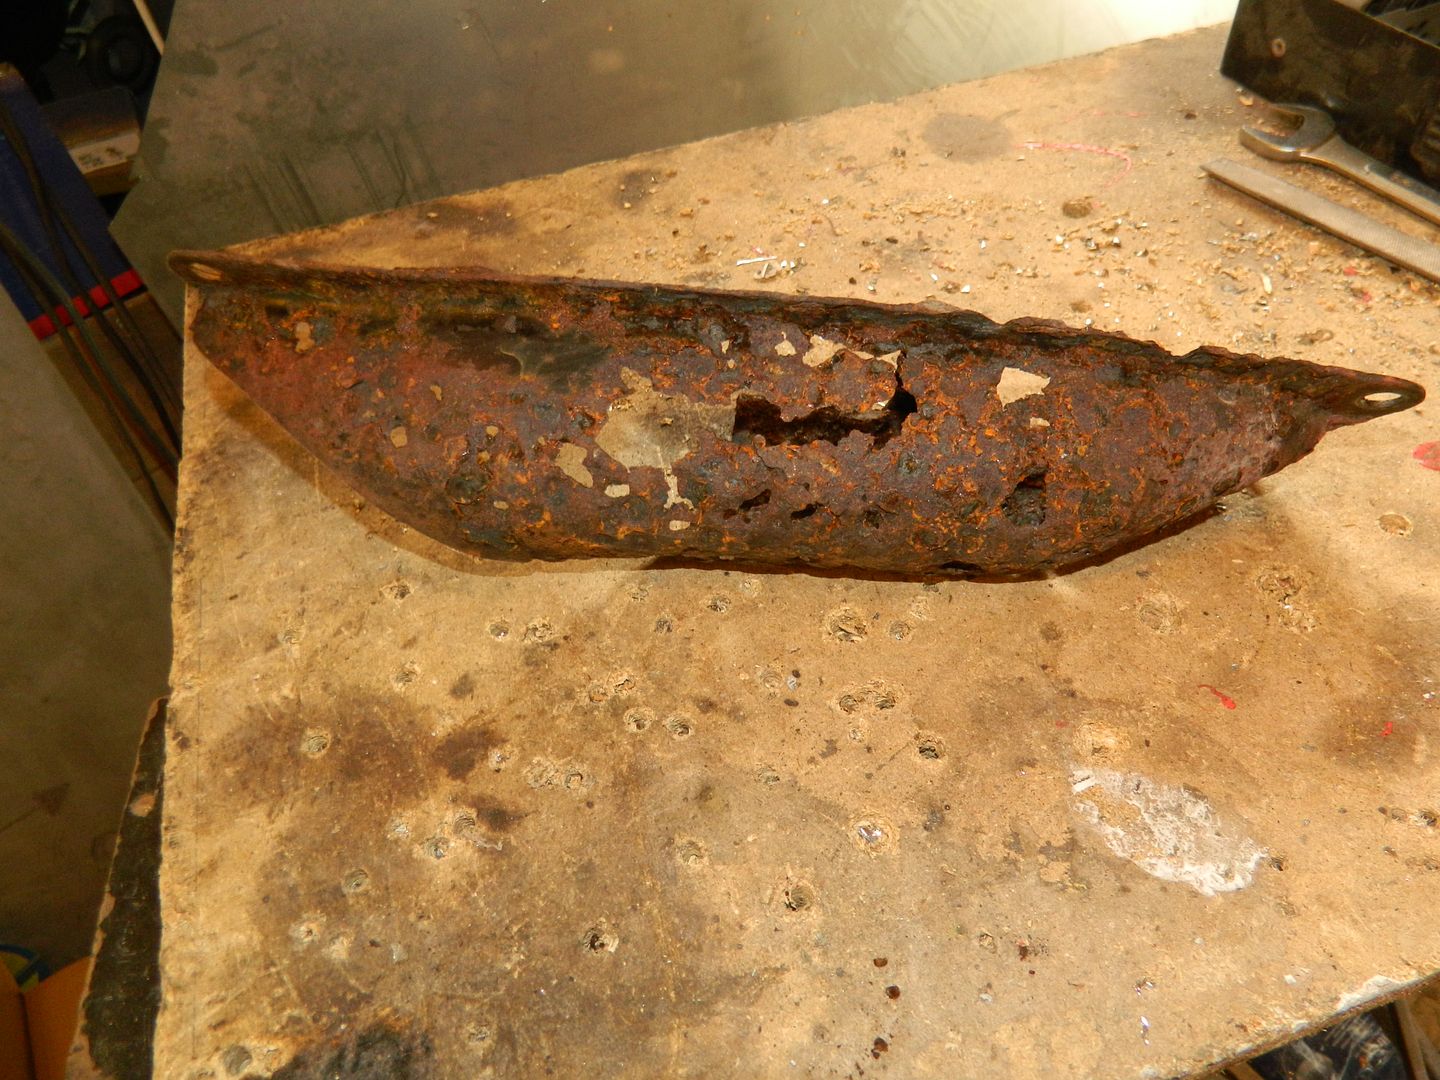 Here's the n/s tiebar housing. How horrible is that!  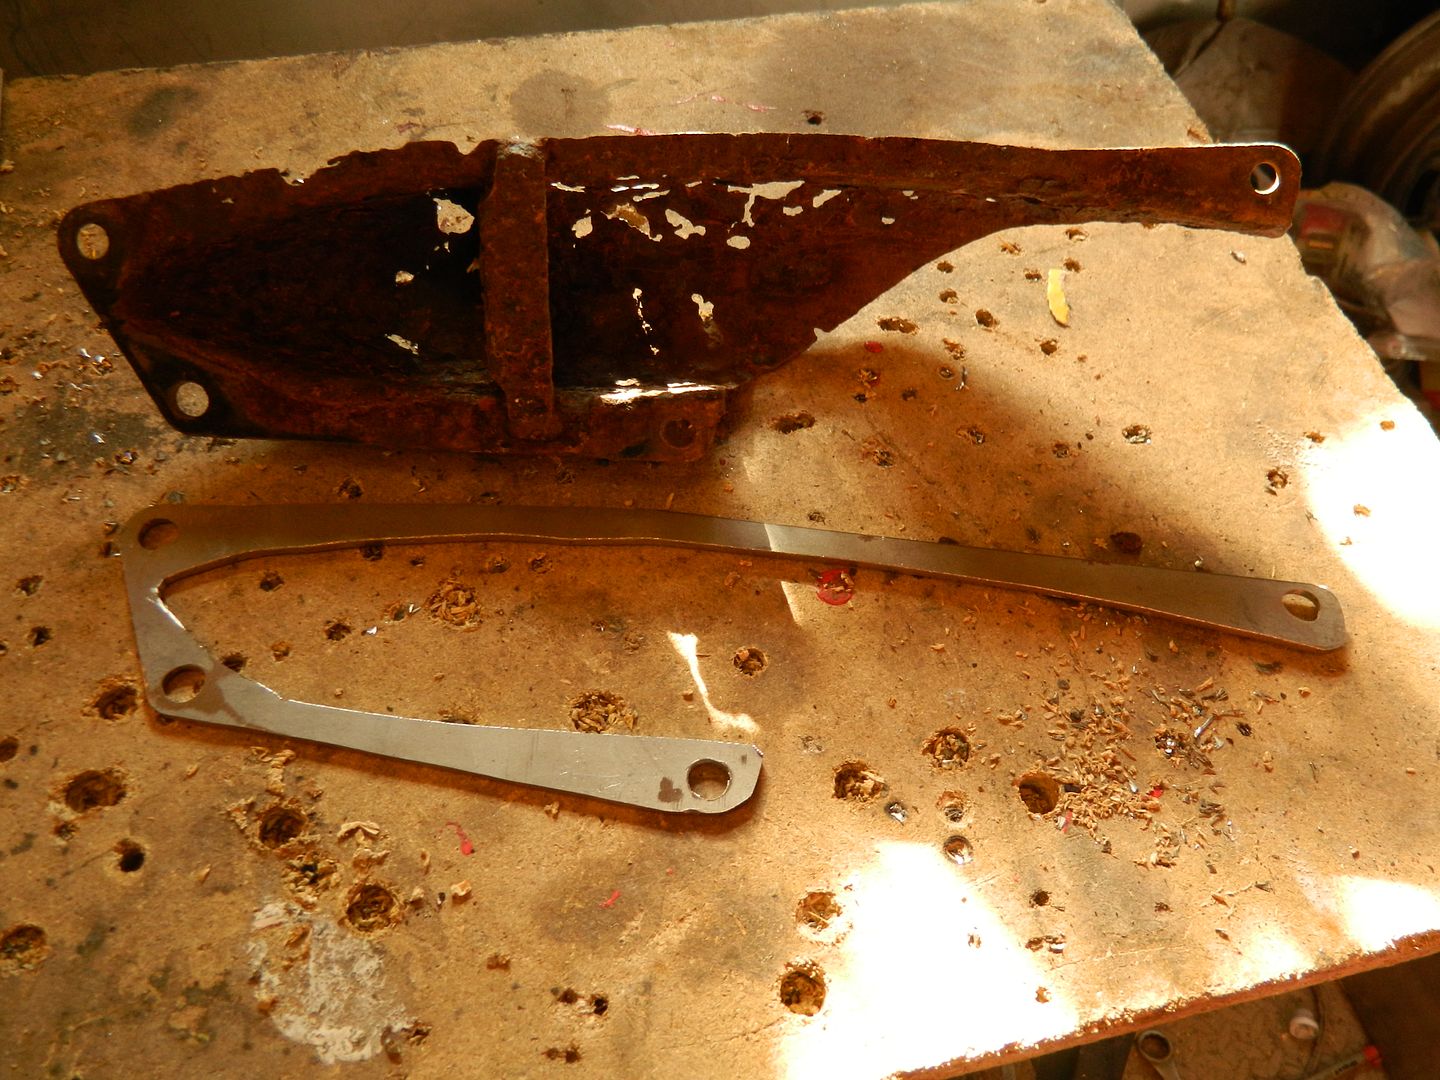 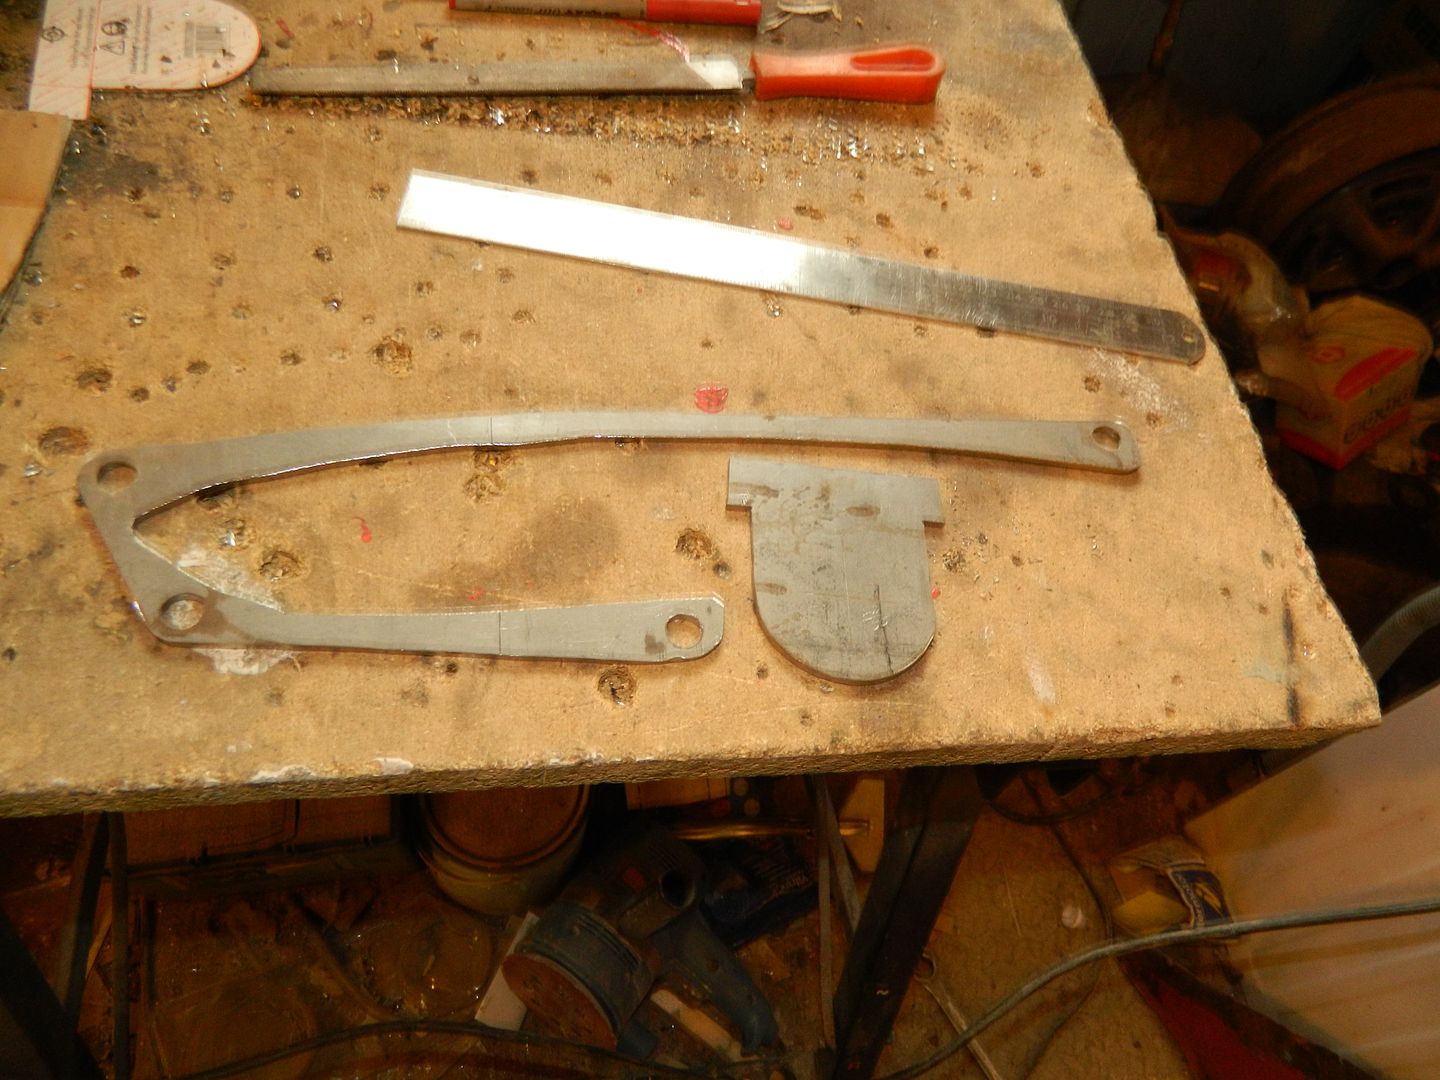 The whole thing is a pressing, with a thick bit of metal in the middle for the tiebar to pass through and the rubbers to ride against. It's pretty flimsy, really. So, what I'm doing is to make a base-plate and the flange for the rubbers out of 3mm plate. The position of the flange is critical, so making this as a sub-assembly then making a cover piece makes a bit of sense to me. Should finish up immensely strong. Flange piece needs a 22mm hole through it, which I'll do at college tomorrow. Chris. |
|
|
|
Post by andrewa on Oct 5, 2014 17:20:55 GMT
Really impressive stuff and what seems like a hell of a work rate!
Cheers
|
|
|
|
Post by indianajones on Oct 5, 2014 18:26:35 GMT
As Andrew said, impressive work. Where do I place my order for some new corner plates?  -Andrew |
|
|
|
Post by Penguin45 on Oct 5, 2014 20:20:31 GMT
Thank you, The Andrews. It was a good day today. I actually felt well for the first time in a long time. Things weren't a chore, I didn't have to drive myself to do stuff and I got lots done. Bring on some more of them! Bit tired now, mind you. Jonesy, you are perfectly capable of rattling out a corner plate when you need one.  Chris. |
|
|
|
Post by Penguin45 on Oct 6, 2014 23:14:18 GMT
Hole drilled, flange bent over. All good to go then......... 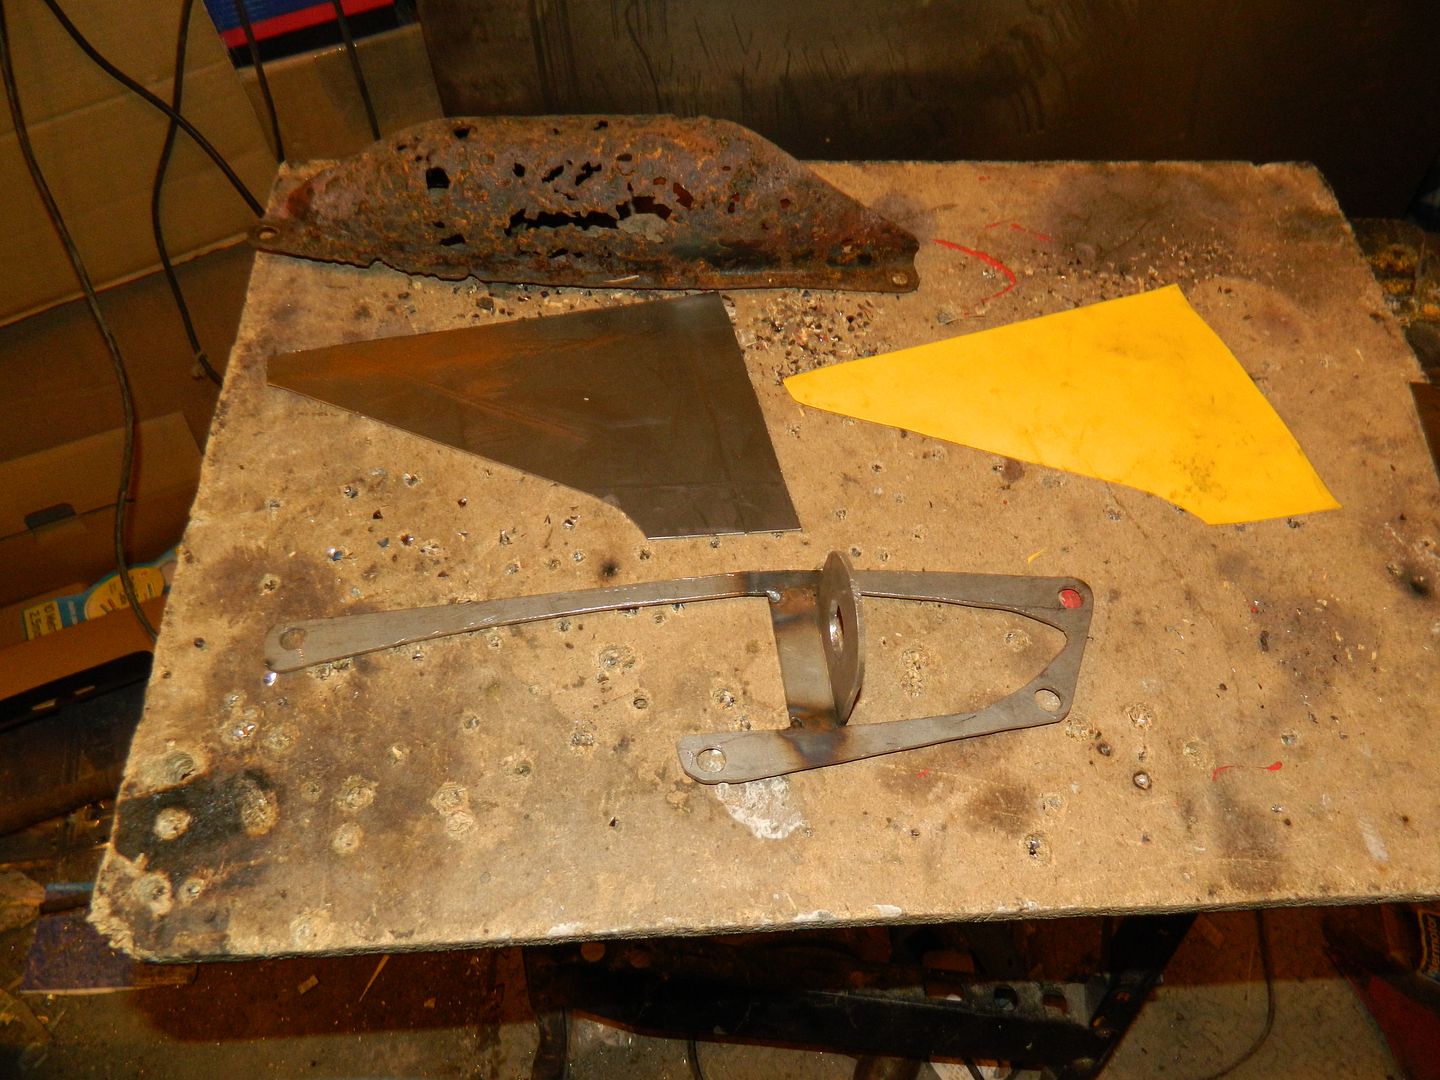 Must have measured this about six times to get the postion right. Front of bracket to inside point of base plate is precisely 4". Shown with blank for wrap over panel. 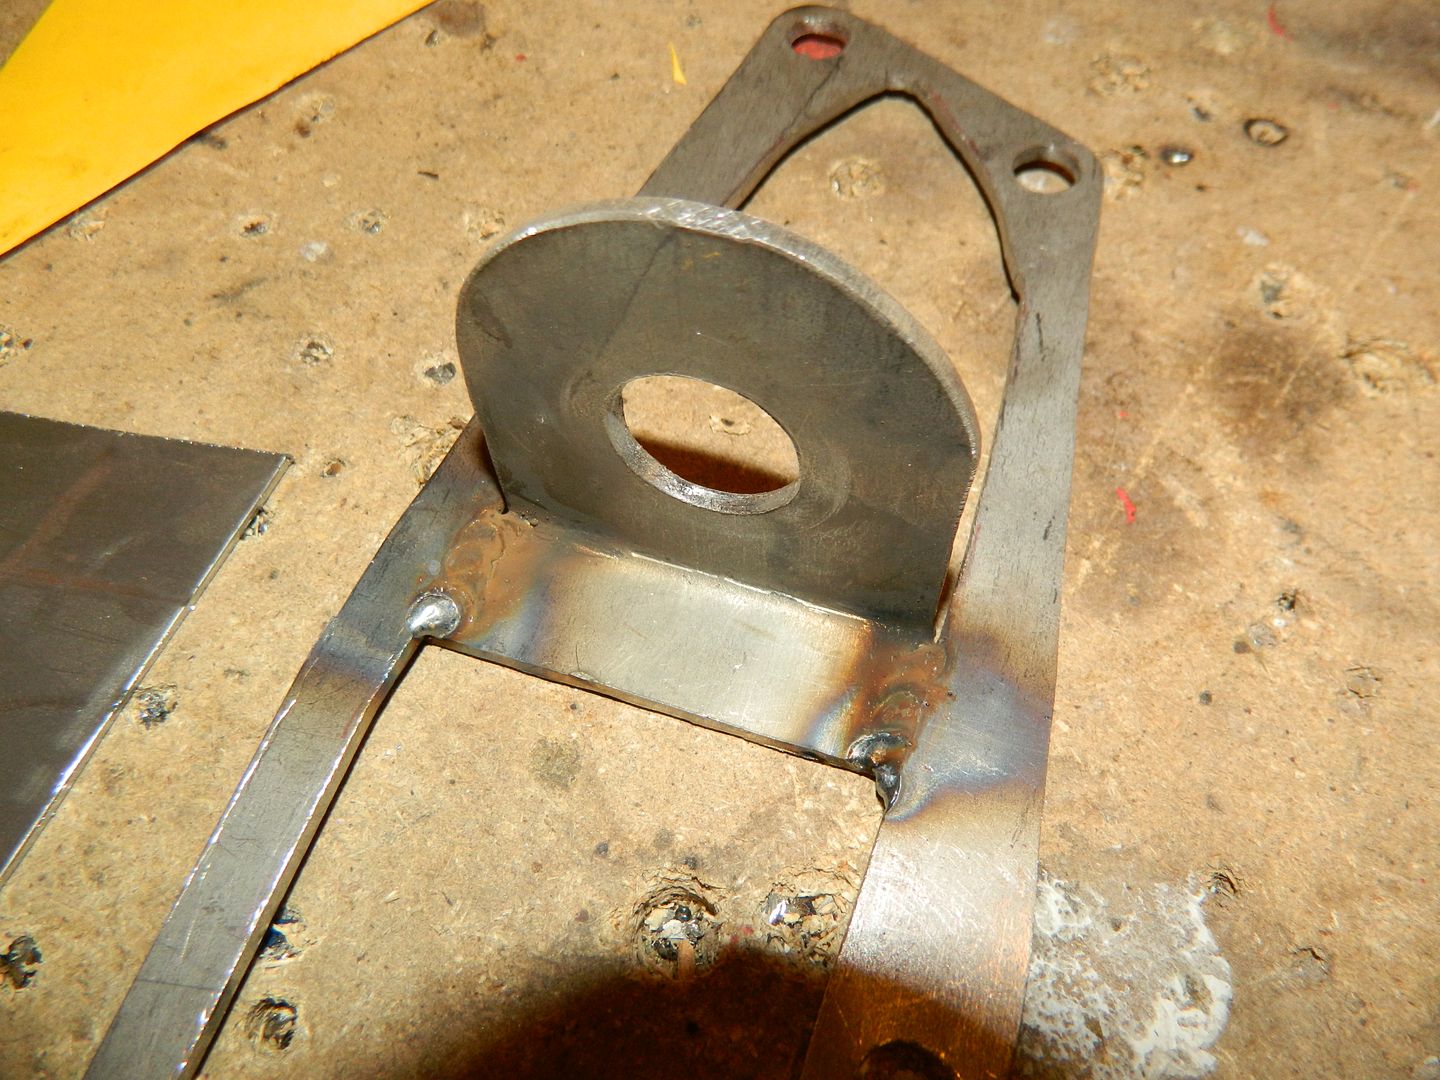 It's nice welding thick metal. Crank the power up and go for it. That's not going anywhere. 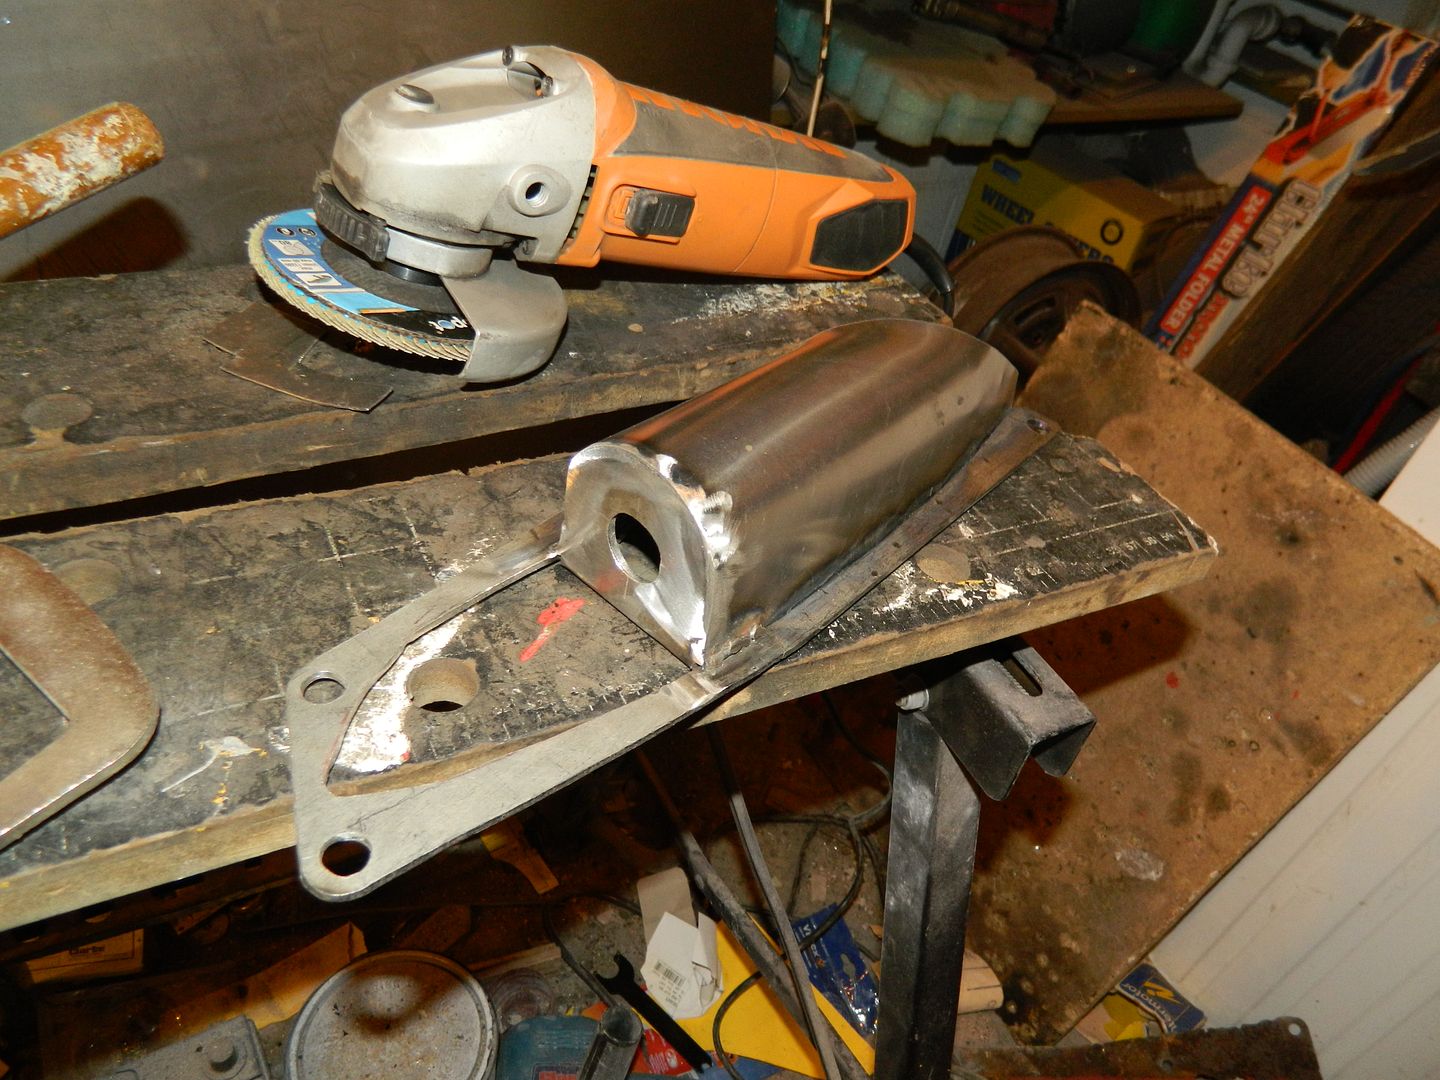 Took a while to get it shaped, but that's the back half welded home. 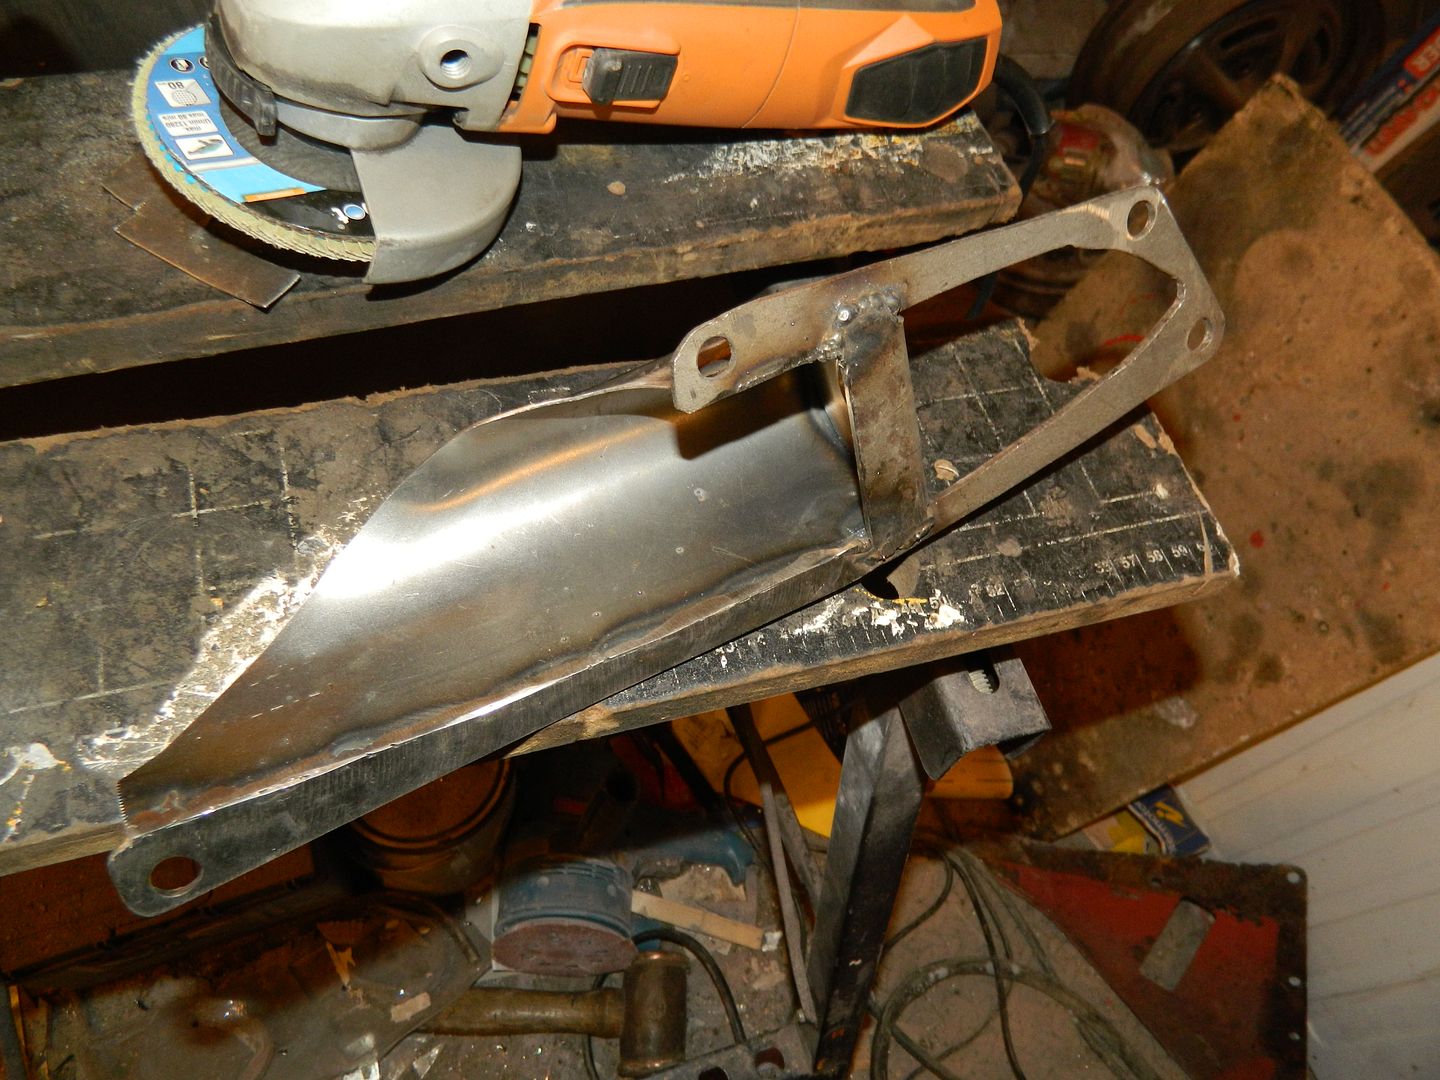 And the underside. Well, topside, really. 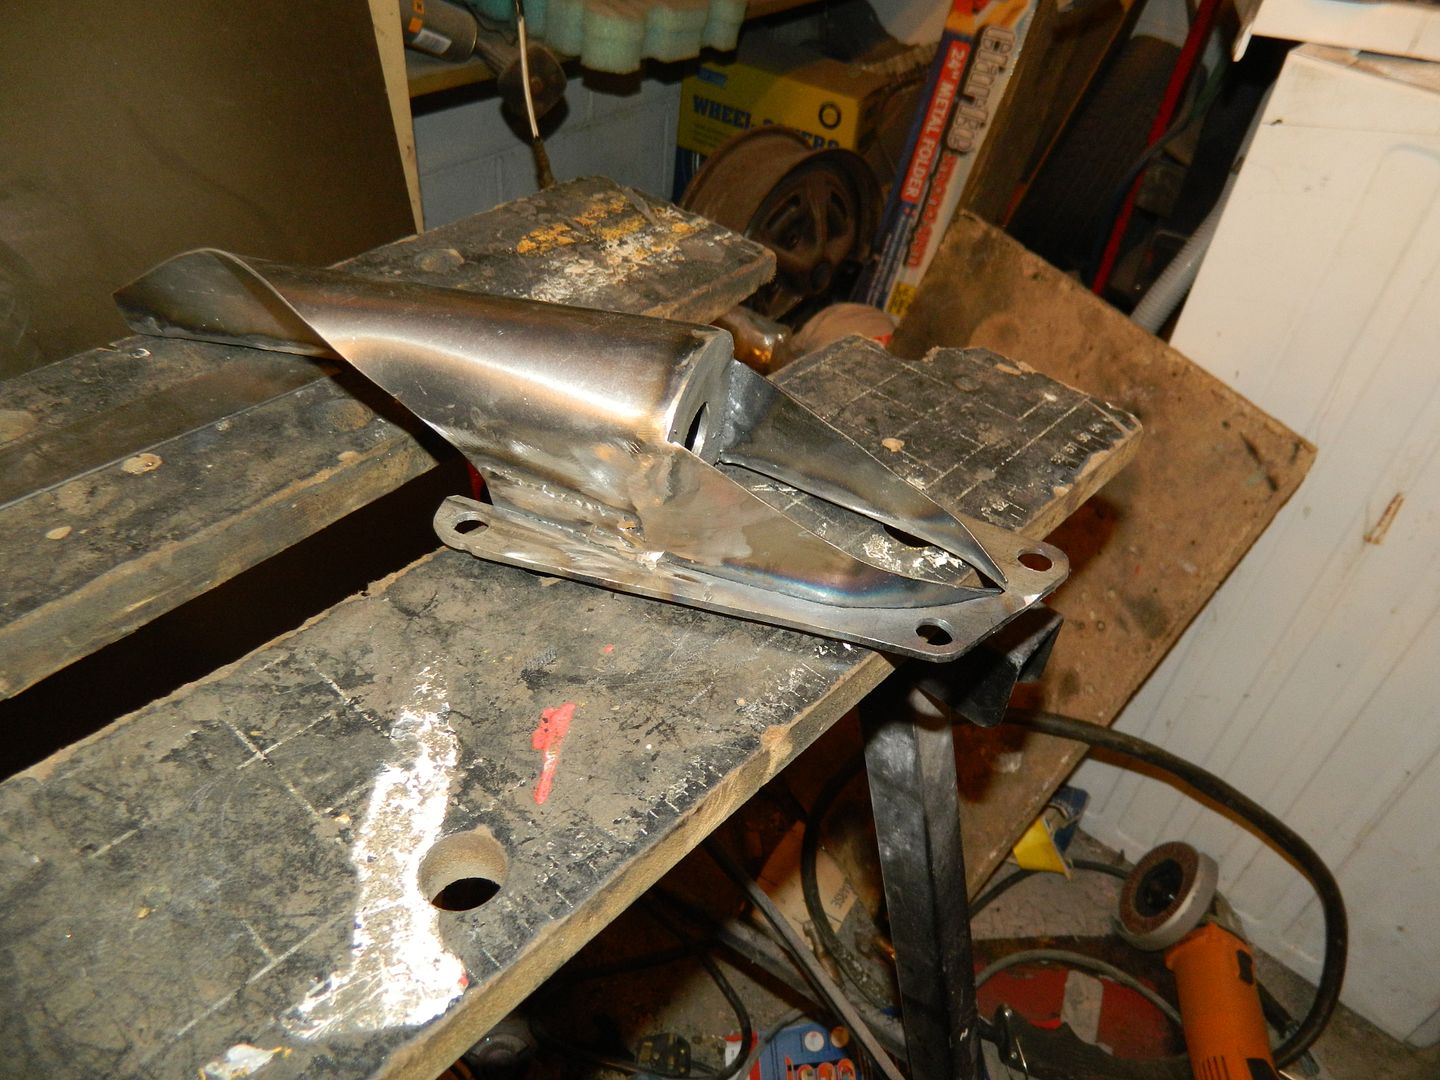 Side pieces for the front welded home and flatted back. Just a top curved closing piece to make and fit. Quite pleased with that. Hopefully finish it tomorrow. Run out of steam. Chris. |
|
|
|
Post by Penguin45 on Oct 9, 2014 18:43:01 GMT
'Tis done. 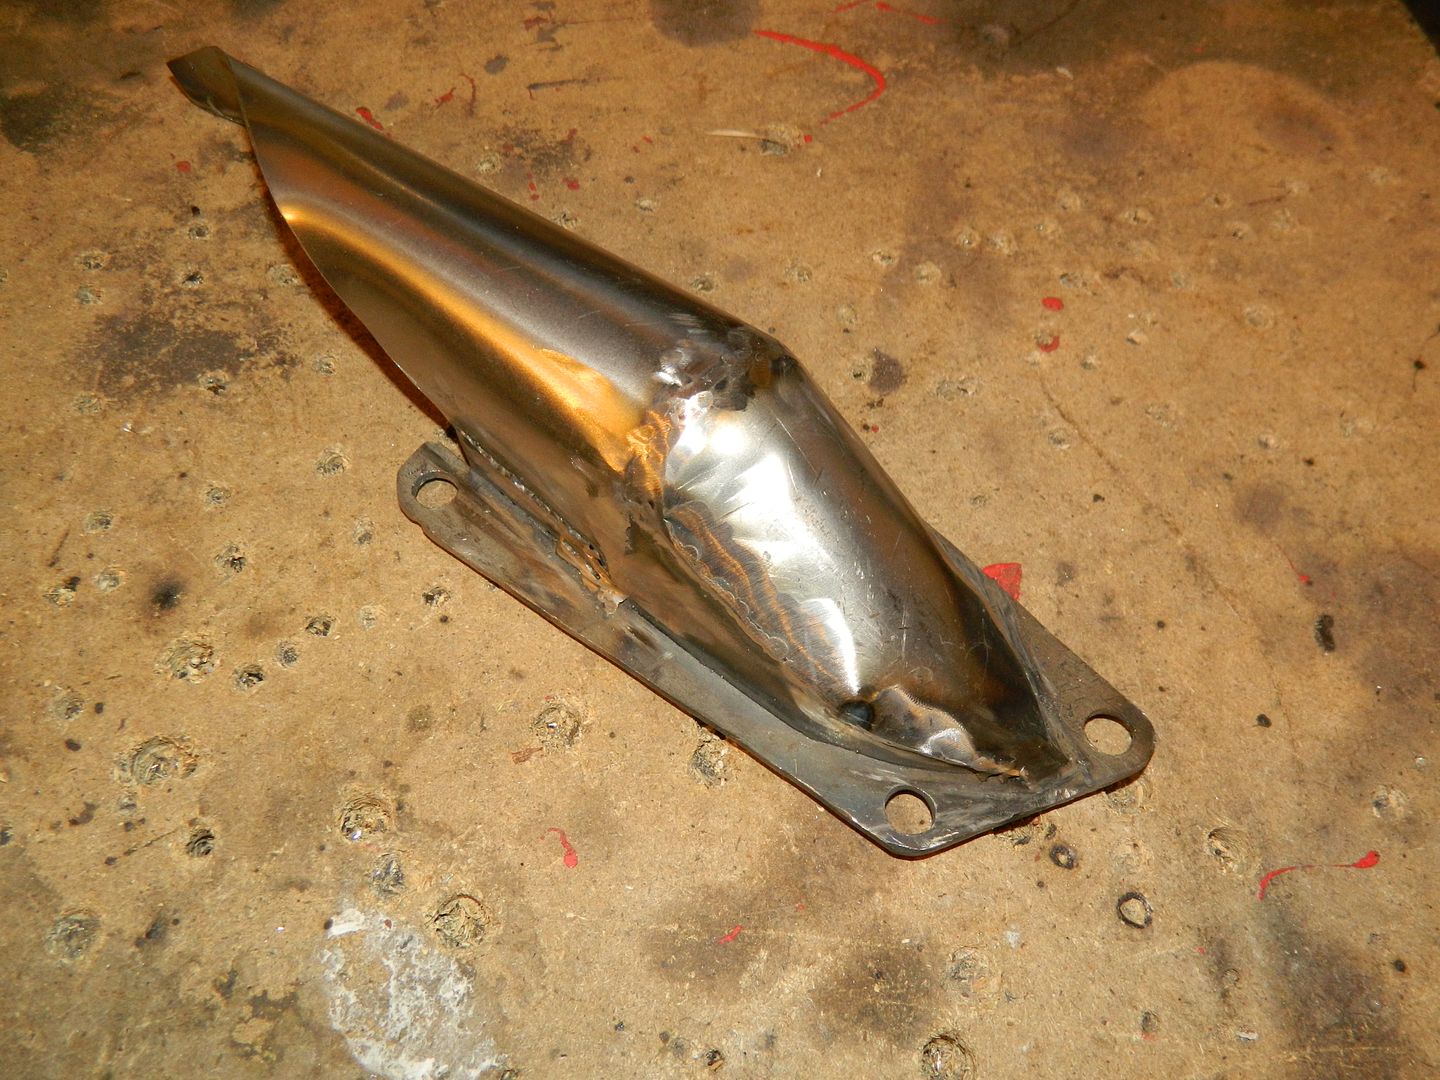 Not quite as neat as I'd hoped, but it does seem massively solid. 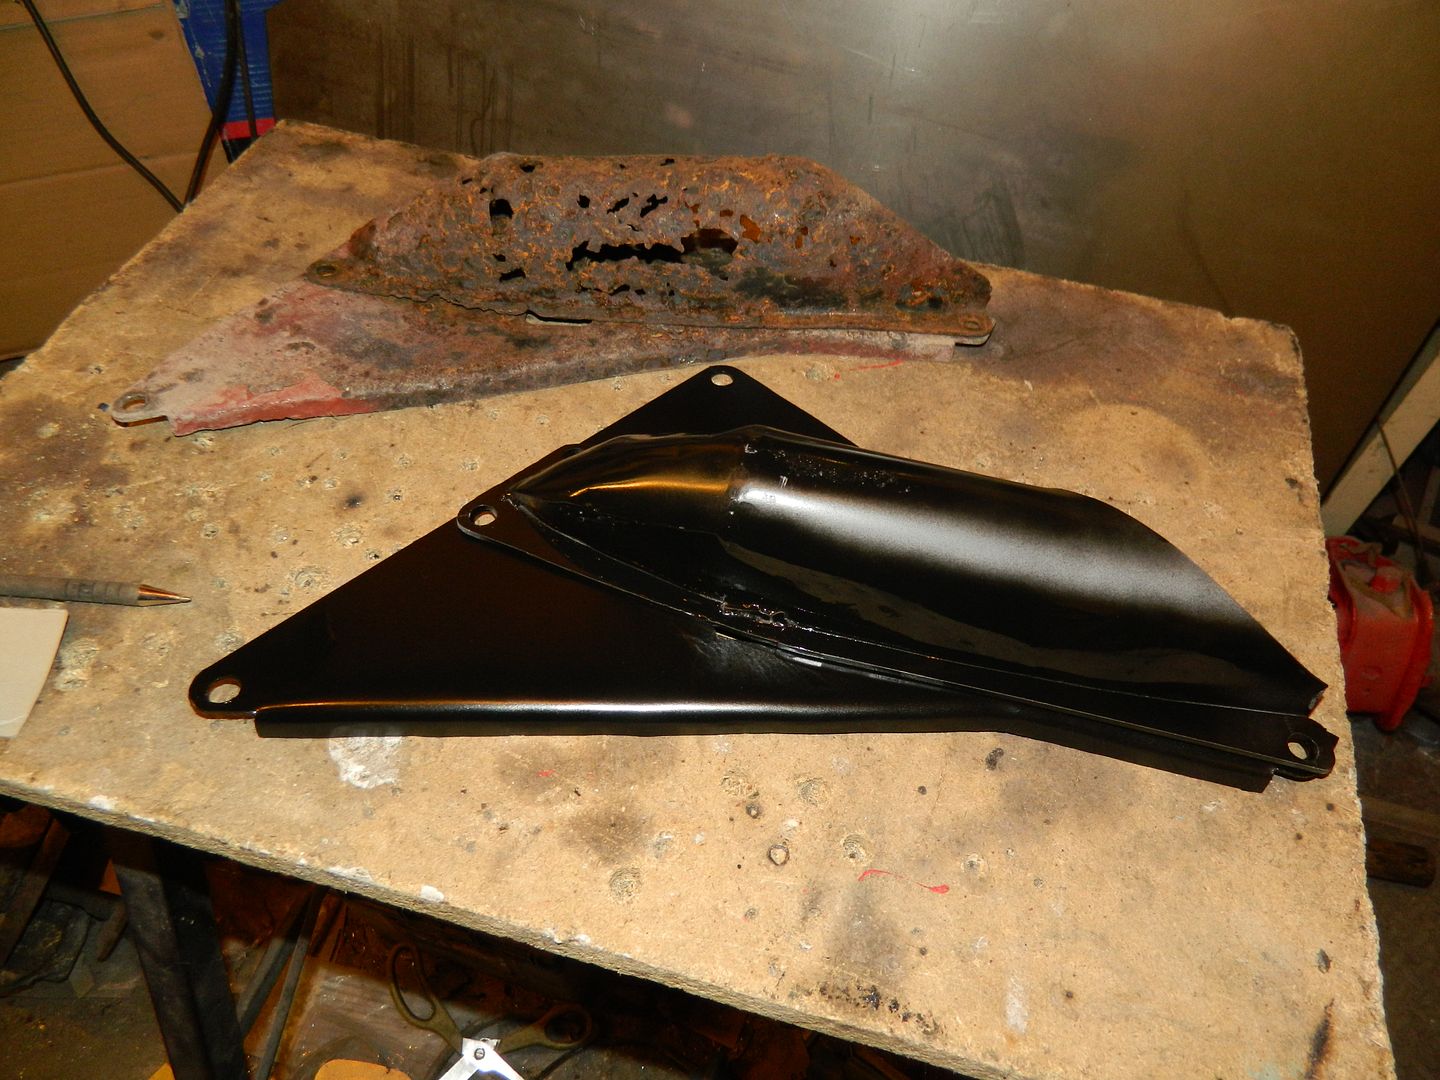 Before and after. I like after better. Chris. |
|
|
|
Post by tommydp on Oct 9, 2014 19:02:16 GMT
Amazing, Chris!!
Impressed, as always.
Keep up the good work!
Tommy
|
|
|
|
Post by snoopy11 on Oct 9, 2014 22:13:23 GMT
Chris. Im well impressed.  As a point though there is more metal in that than a small modern car  |
|
|
|
Post by tony on Oct 10, 2014 0:37:37 GMT
Chris
It's very hard to see people doing this amazing work nowadays!
Regards
Tony
|
|
|
|
Post by bullyboy on Oct 10, 2014 12:26:30 GMT
Excellent work Chris, i just bought some, it seemed the easiest option
Paul
|
|


