|
|
Post by Penguin45 on Oct 10, 2014 20:11:02 GMT
Cheers lads. I rather enjoyed the challenge. 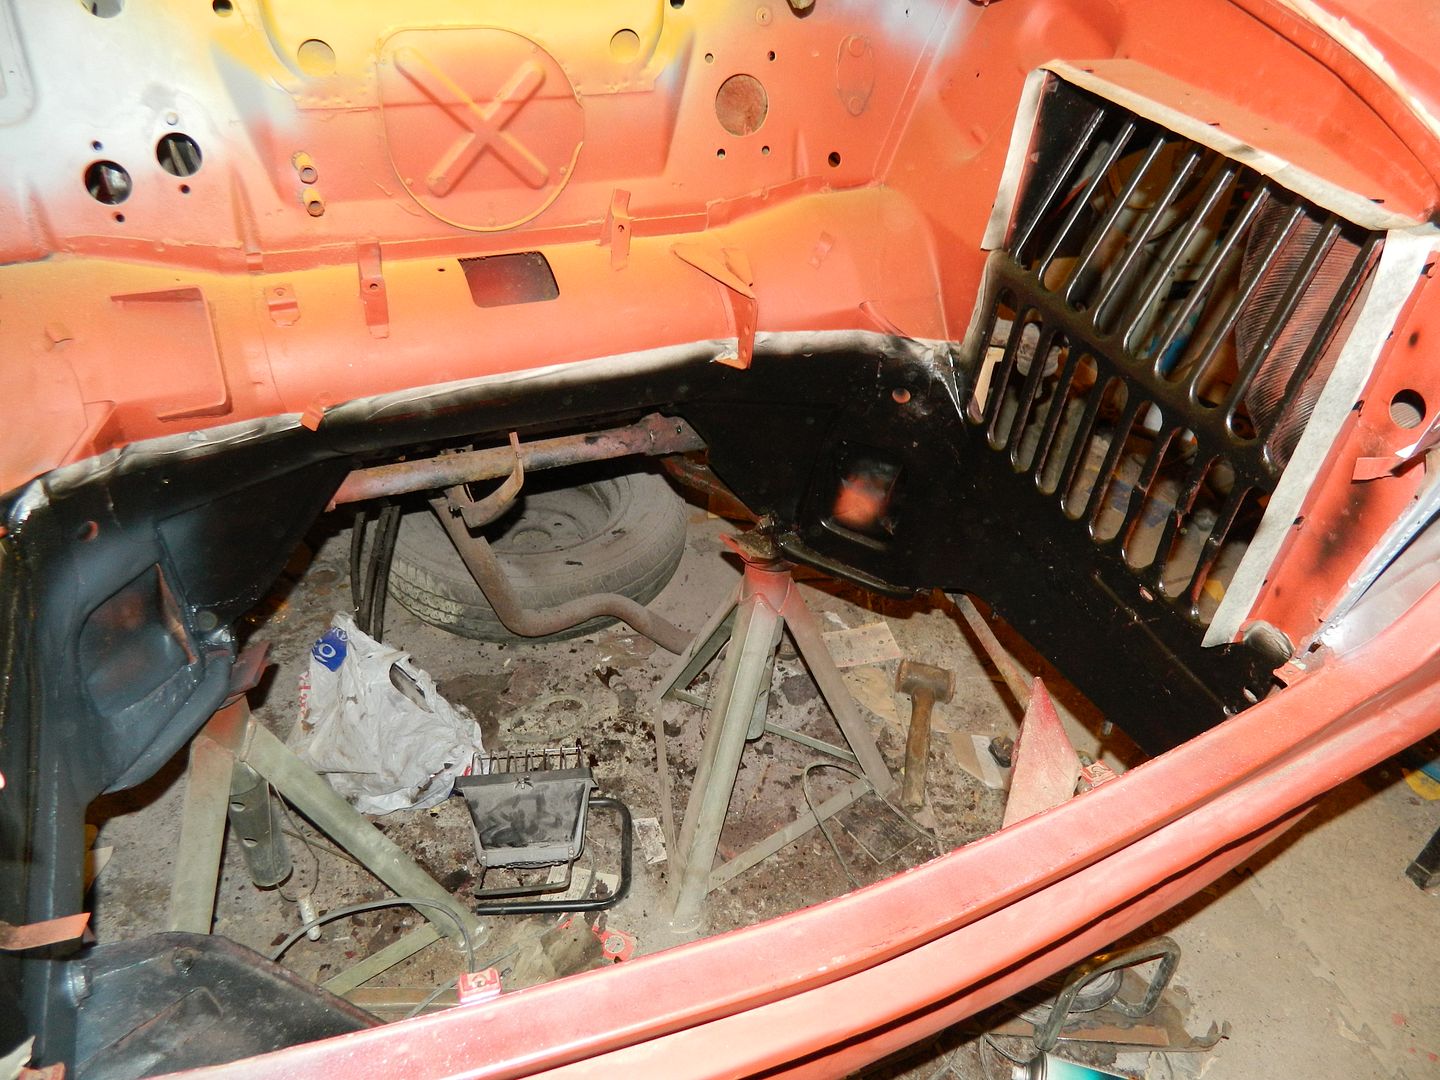 Got some paint into the engine bay. Mostly primed now, bottom half painted with the Simoniz Very Tough paint. I'll top that with a goodly layer of stonechip. I've been working at the bulkhead area behind the buttresses abd back by the steering rack getting surface rust and old underseal off. Very awkward access, but got to be done. Also started chiselling underseal off under the floor. This could take a while.......  Chris. |
|
|
|
Post by Penguin45 on Oct 11, 2014 14:26:19 GMT
I've put two coats of stone-chip on. Why do all motor factors and Halfords only have white on a Saturday morning? Wanted grey really as it's much easier to cover. Still - 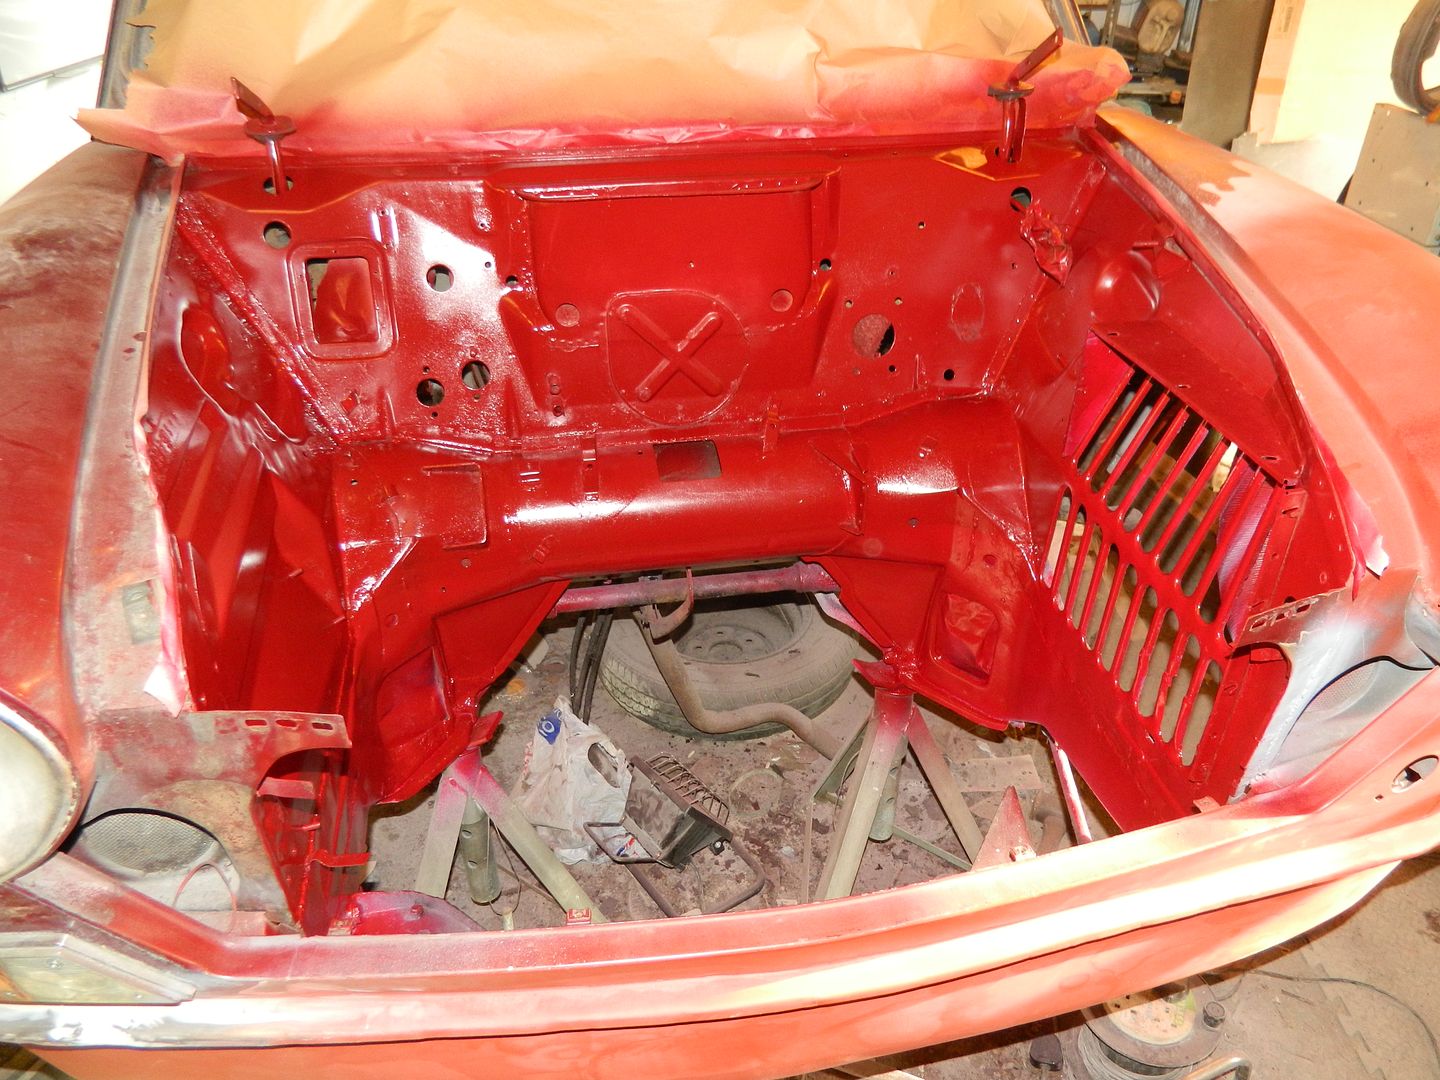 Two coats of Damask and she looks quite good. Back underneath...... Chris. |
|
|
|
Post by Penguin45 on Oct 11, 2014 17:55:33 GMT
The colour has toned down a bit now that it's dried. Spent the rest of the afternoon under the n/s with a chisel getting covered in old underseal. 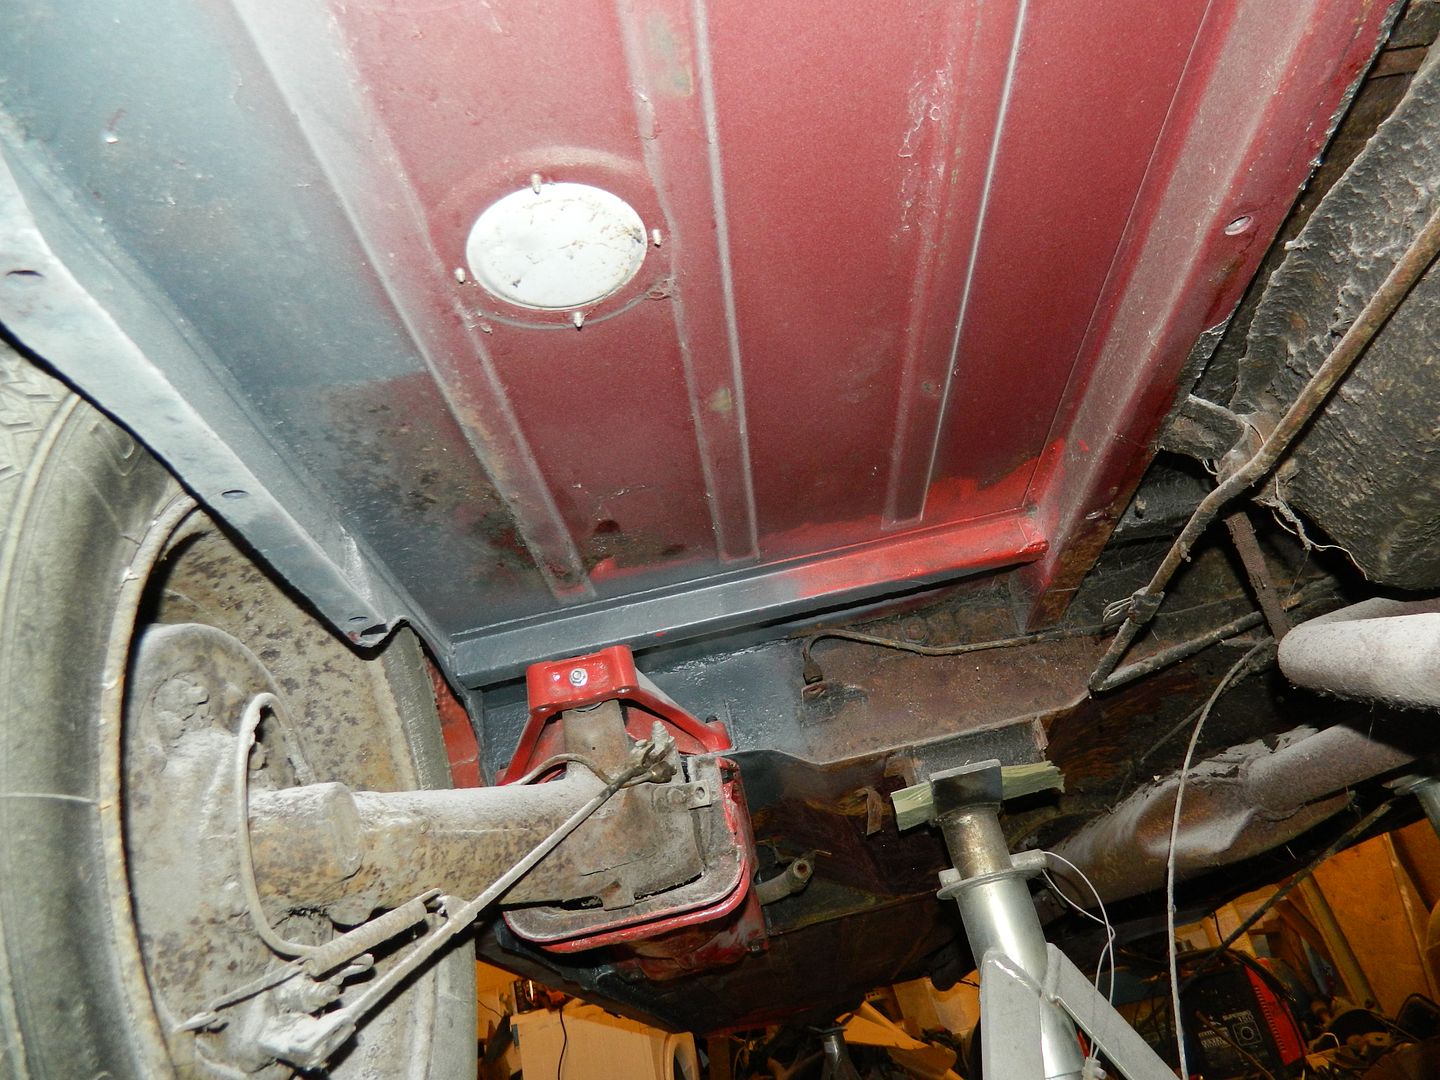 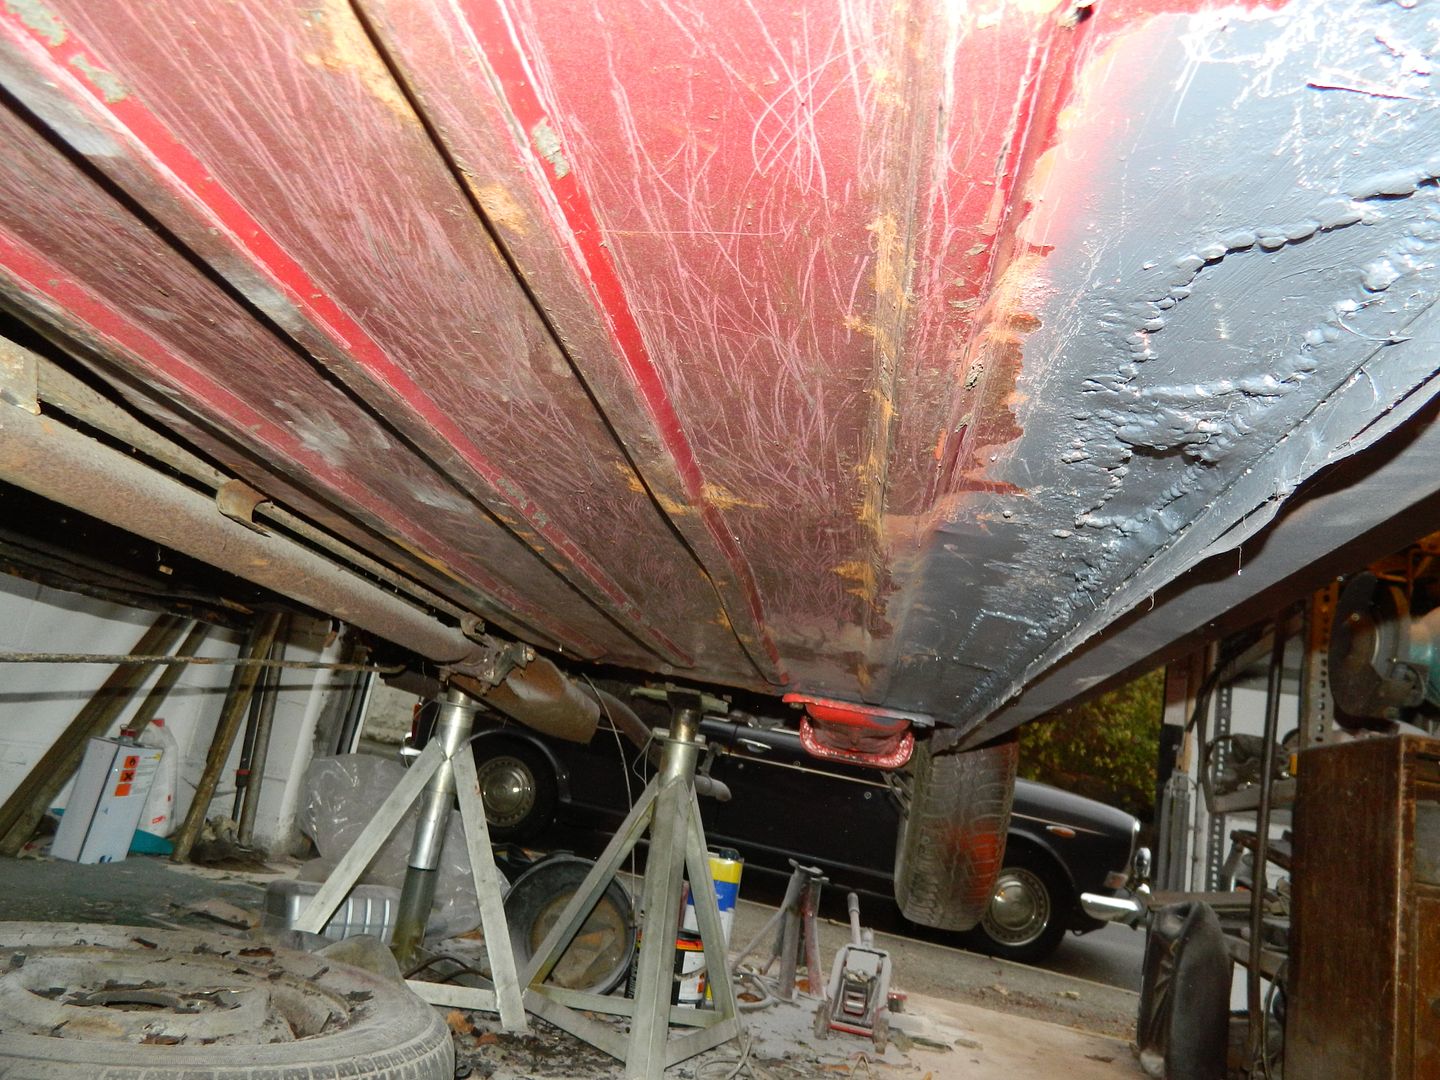 2½ hours to get it all off. No nasty rusty surprises, so it can be plastered with rust killer tomorrow whilst I scrape off the o/s. Filthy, dirty, horrible job but it's got to be done. Chris. |
|
|
|
Post by andrewa on Oct 12, 2014 14:44:20 GMT
Glad no nasty surprises..you're due some good news!
|
|
|
|
Post by Penguin45 on Oct 12, 2014 19:37:41 GMT
It's good, it's all good. Scraping and rust treatment continued unabated today, prior to the application of chassis black. It's blacker than a black cat in a black cellar with no windows and the lights out. 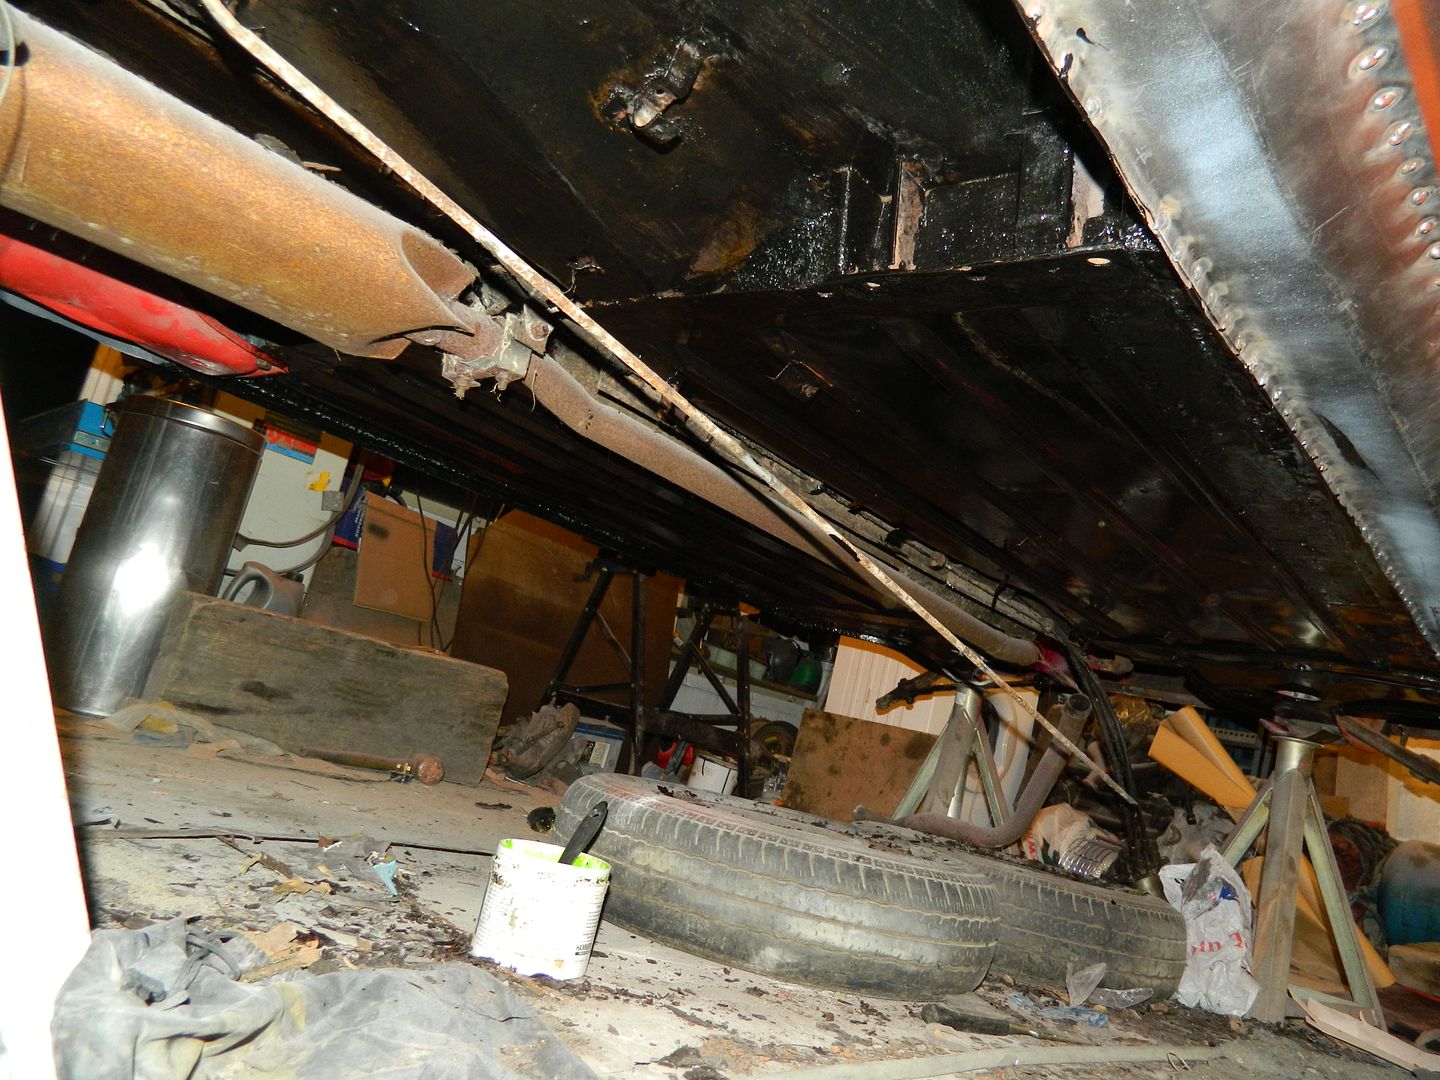 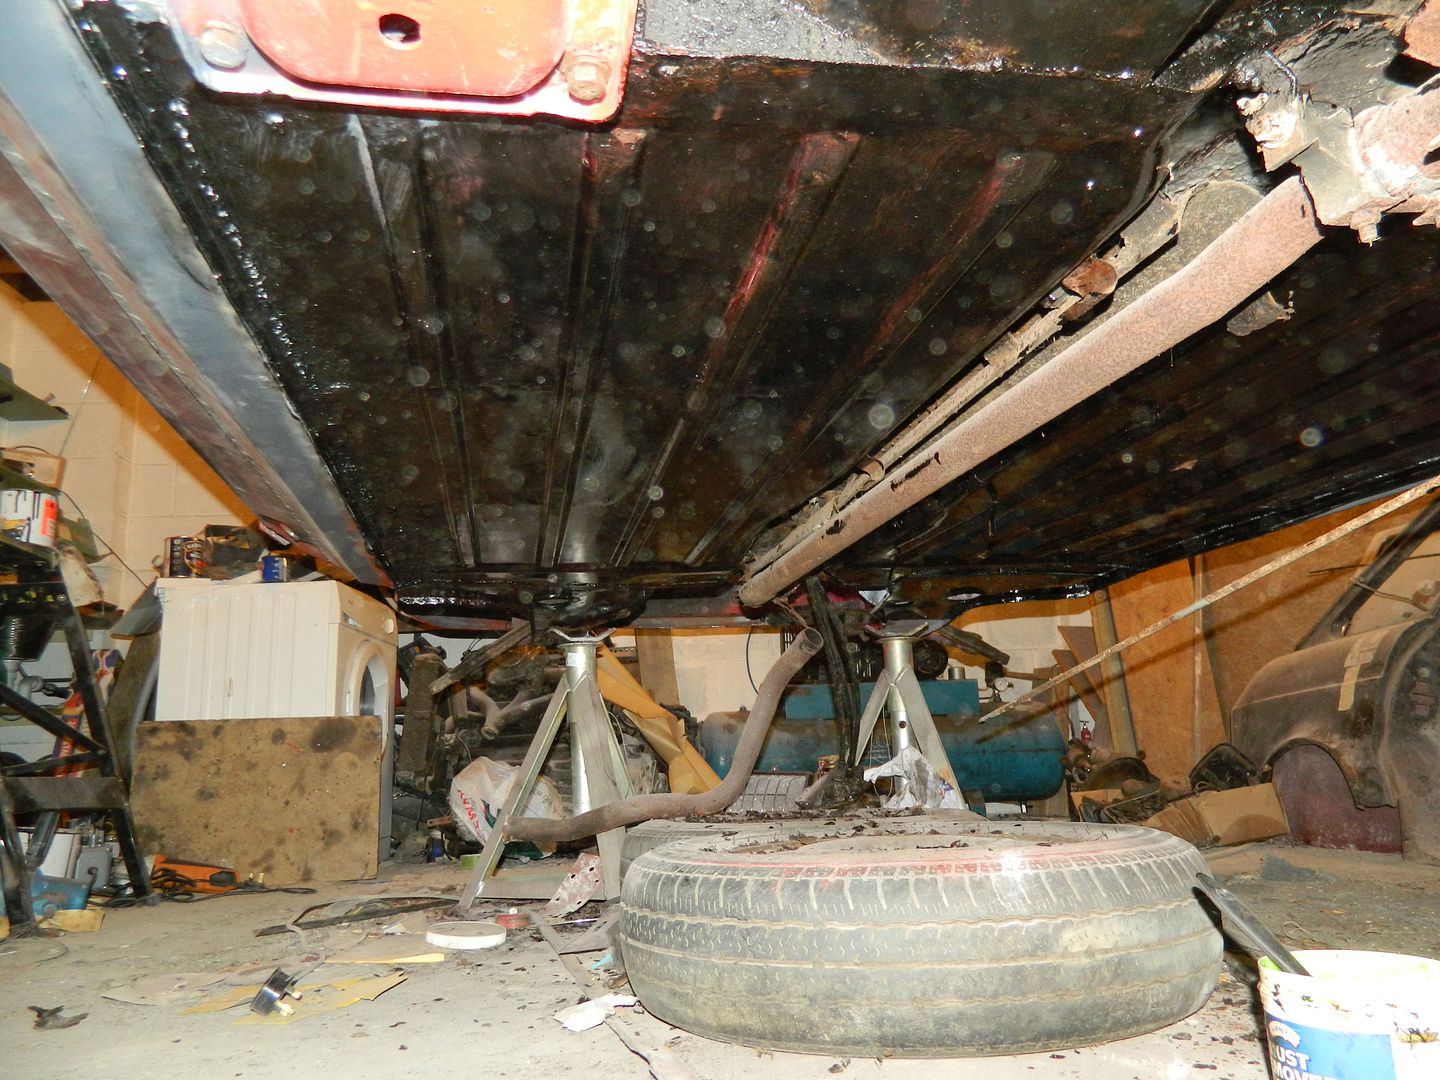 Behold the Stygian Darkness....... Just a bit to do round the back end and I can reach for the shutz gun. Chris. |
|
|
|
Post by charlypm on Oct 13, 2014 2:02:06 GMT
What color were the undersides of the 1800's? Mine was black and I cleaned it and repainted it black. Were they body color under?
|
|
|
|
Post by Penguin45 on Oct 13, 2014 23:13:16 GMT
Yeah, once you get all the rubbish off and get back to the floor, they seem to be body colour. I suppose I could stonechip it and paint it body colour, but I'm not all that bothered. I'm going to hit it with the shutz gun and make sure I get everything plastered. Wings and rear tubs I'll probably do with stonechip and maybe blow some colour over. The rear wheel tubs have had this done twice! I'll chip it all out and start again. It'll make me happy.
In other news, the brake master cylinder was pulled apart at college today and ruthlessly cleaned. Once we got the bore polished and the crystallised substance out of the reservoir, it was re-sealed and looks pretty good. I have fitted it over the stud on the bulkhead so that there is something in the engine bay.
Chris.
|
|
|
|
Post by Penguin45 on Oct 14, 2014 20:37:51 GMT
In other news, the brake master cylinder was pulled apart at college today and ruthlessly cleaned. Once we got the bore polished and the crystallised substance out of the reservoir, it was re-sealed and looks pretty good. I have fitted it over the stud on the bulkhead so that there is something in the engine bay. Chris. 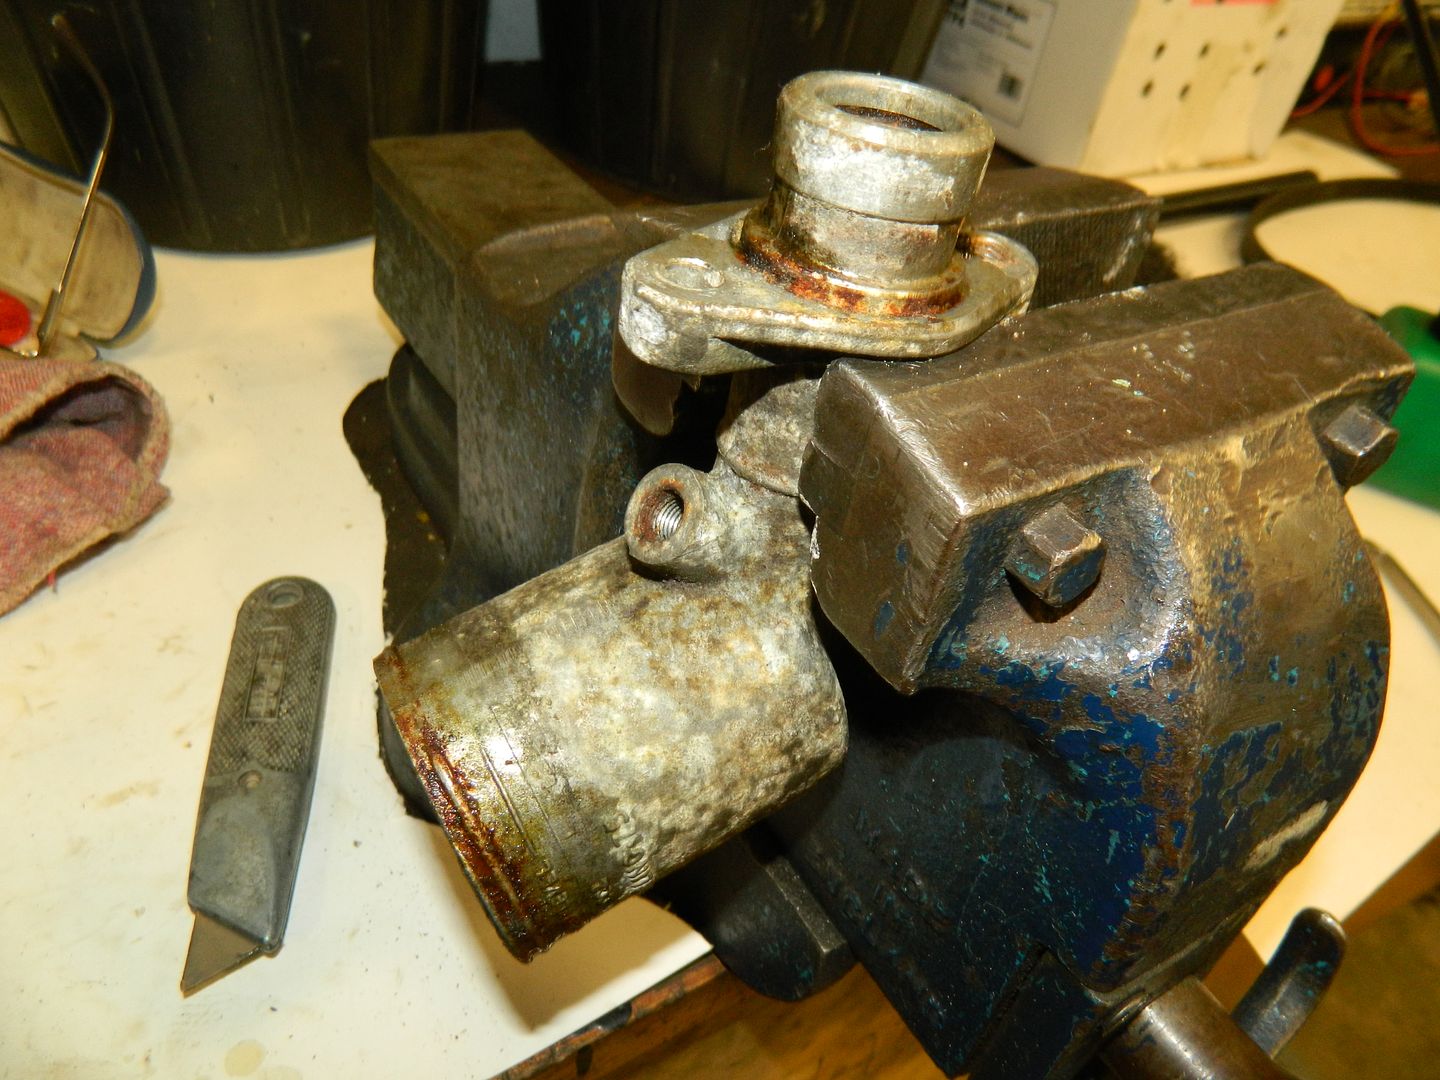 Horribly grotty looking master cylinder. My chum, David from the Wolseley Forum and I had a happy couple of hours unseizing the piston and getting it out, cleaning the bore out thoroughly and re-sealing it. We even (shock, horror) buffed up the outside. A bit. 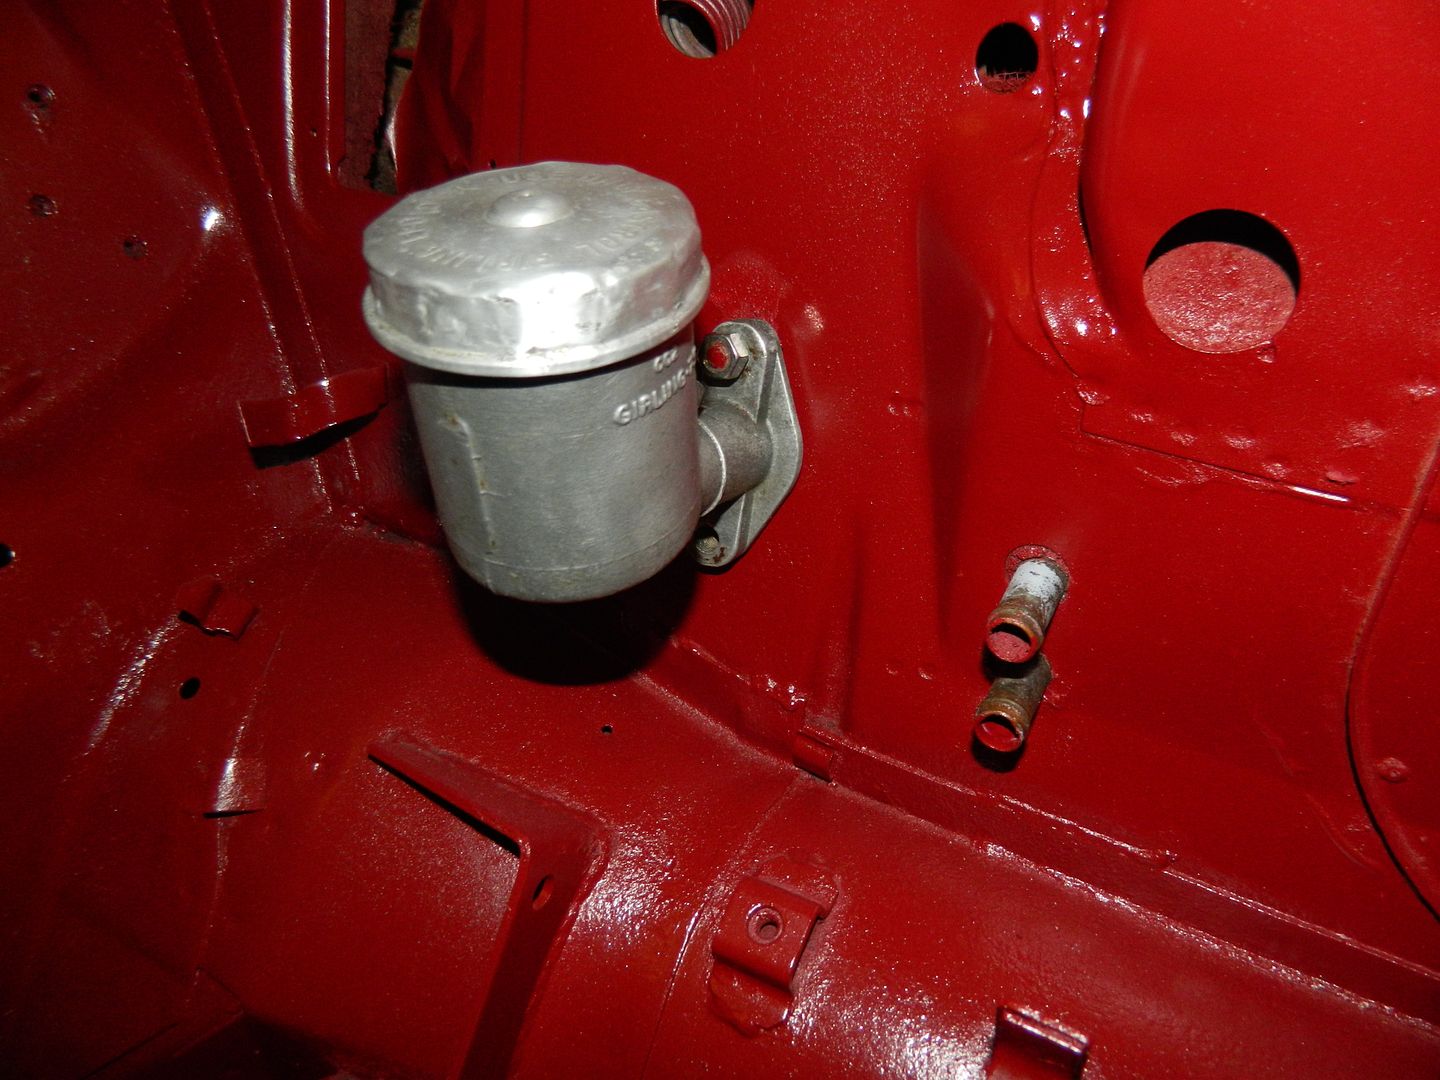 There. Tie bar gubbins re-fitted. 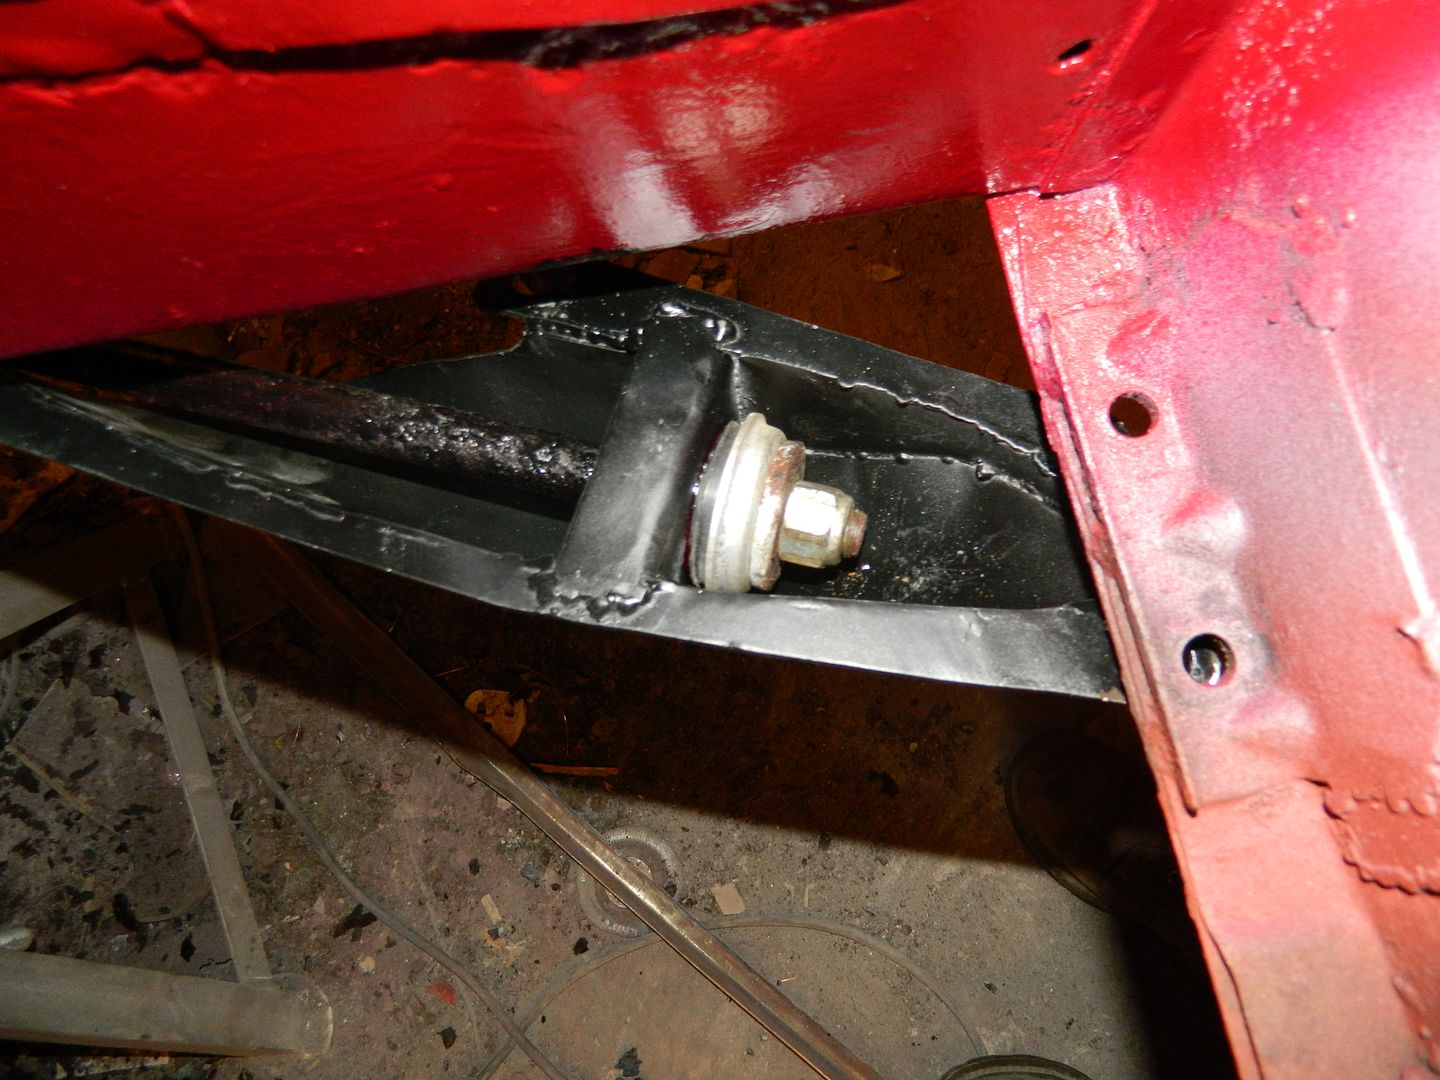 New rubbers, cup and nyloc nut. Right arm muscles now look like Popeye's. 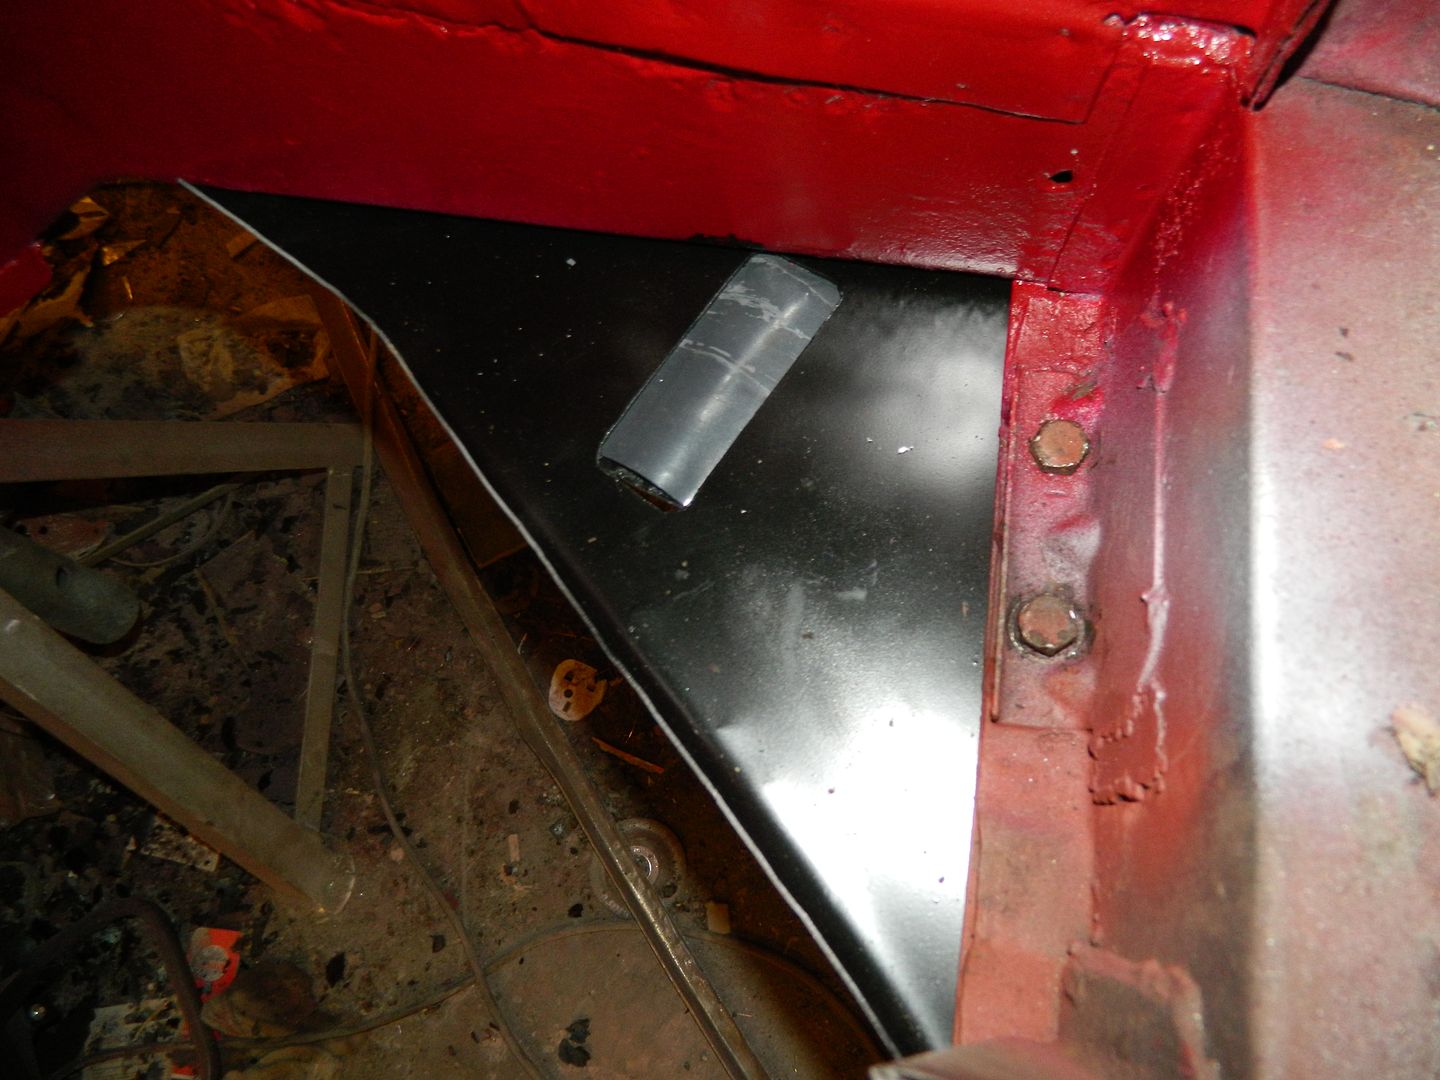 All bolted home, builders membrane cut to shape and fitted between the layers. Chris. |
|
|
|
Post by Penguin45 on Oct 19, 2014 20:02:16 GMT
Not a lot to show for today's slog. 1/ Exhaust removed. It's got brand new boxes - the Unipart label is still unsinged. Front pipe is shot. New rubbers and hanger fitted. 2/ Front to rear brake line in. Several others made up as well. 3/ Hydro pipes scrubbed, painted and refitted. 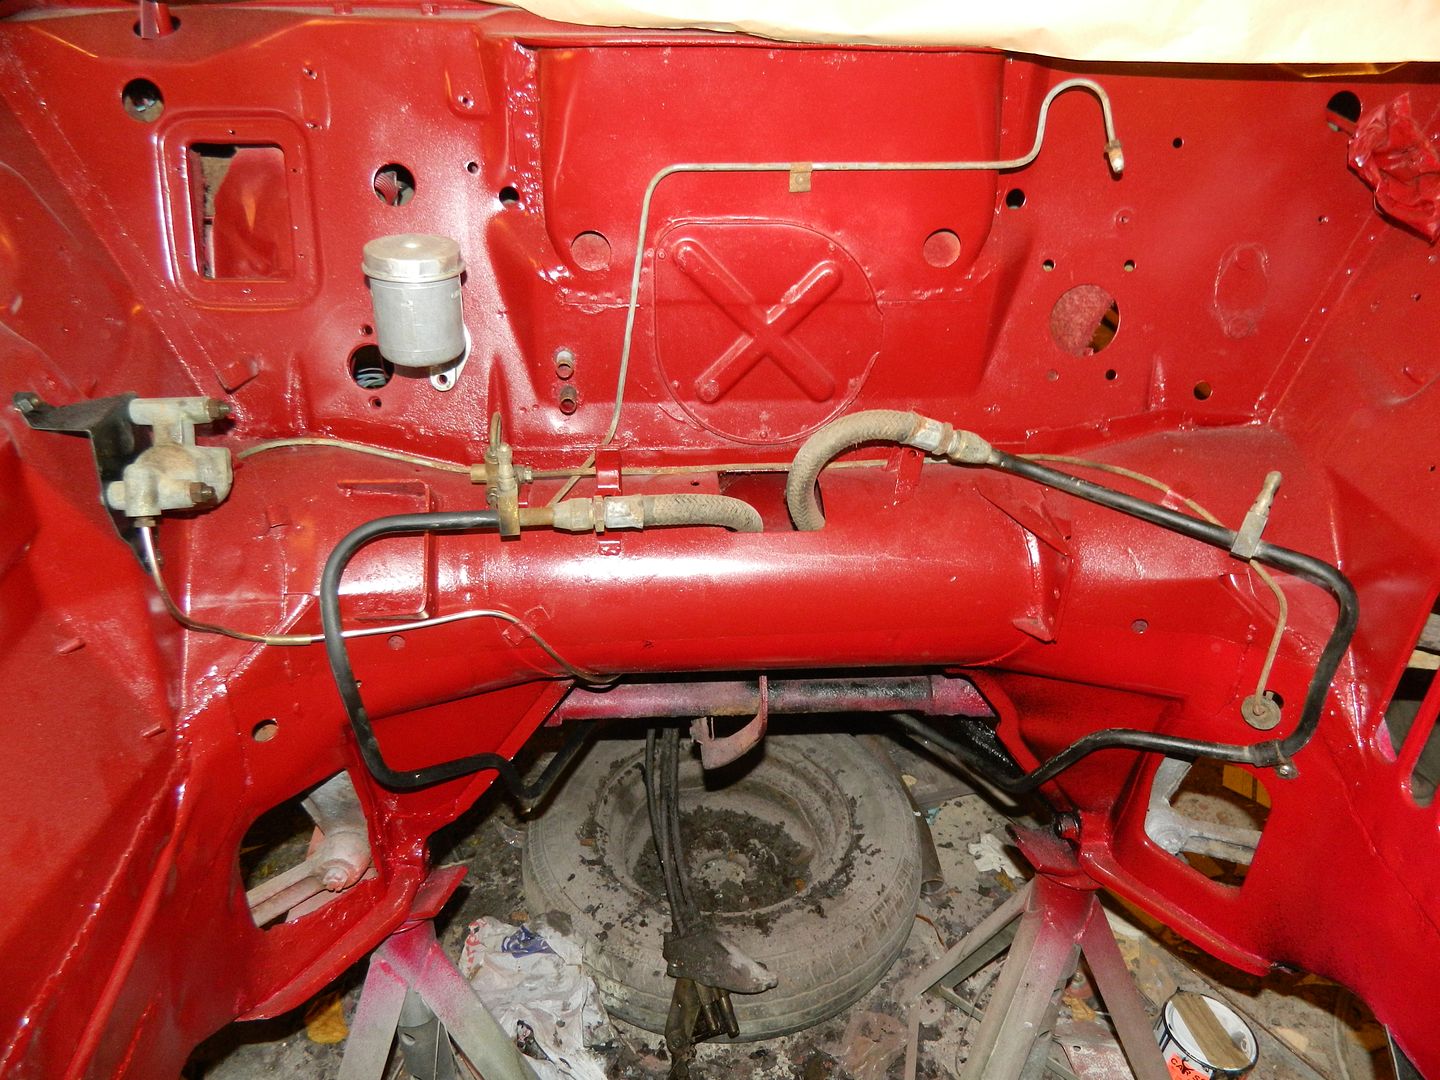 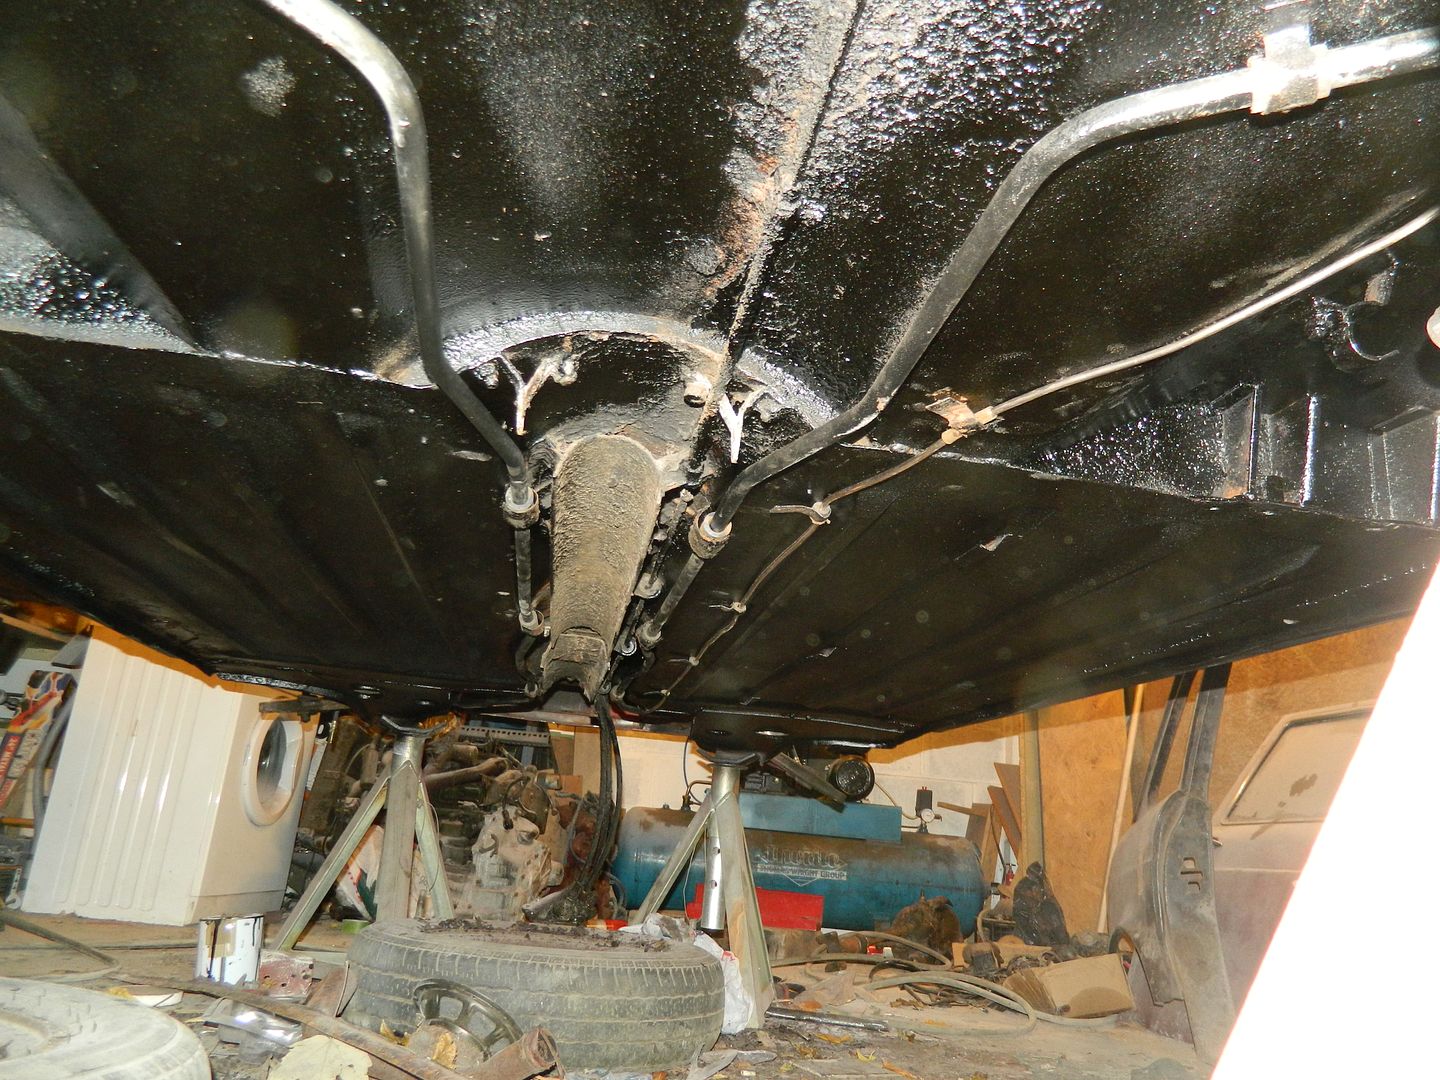 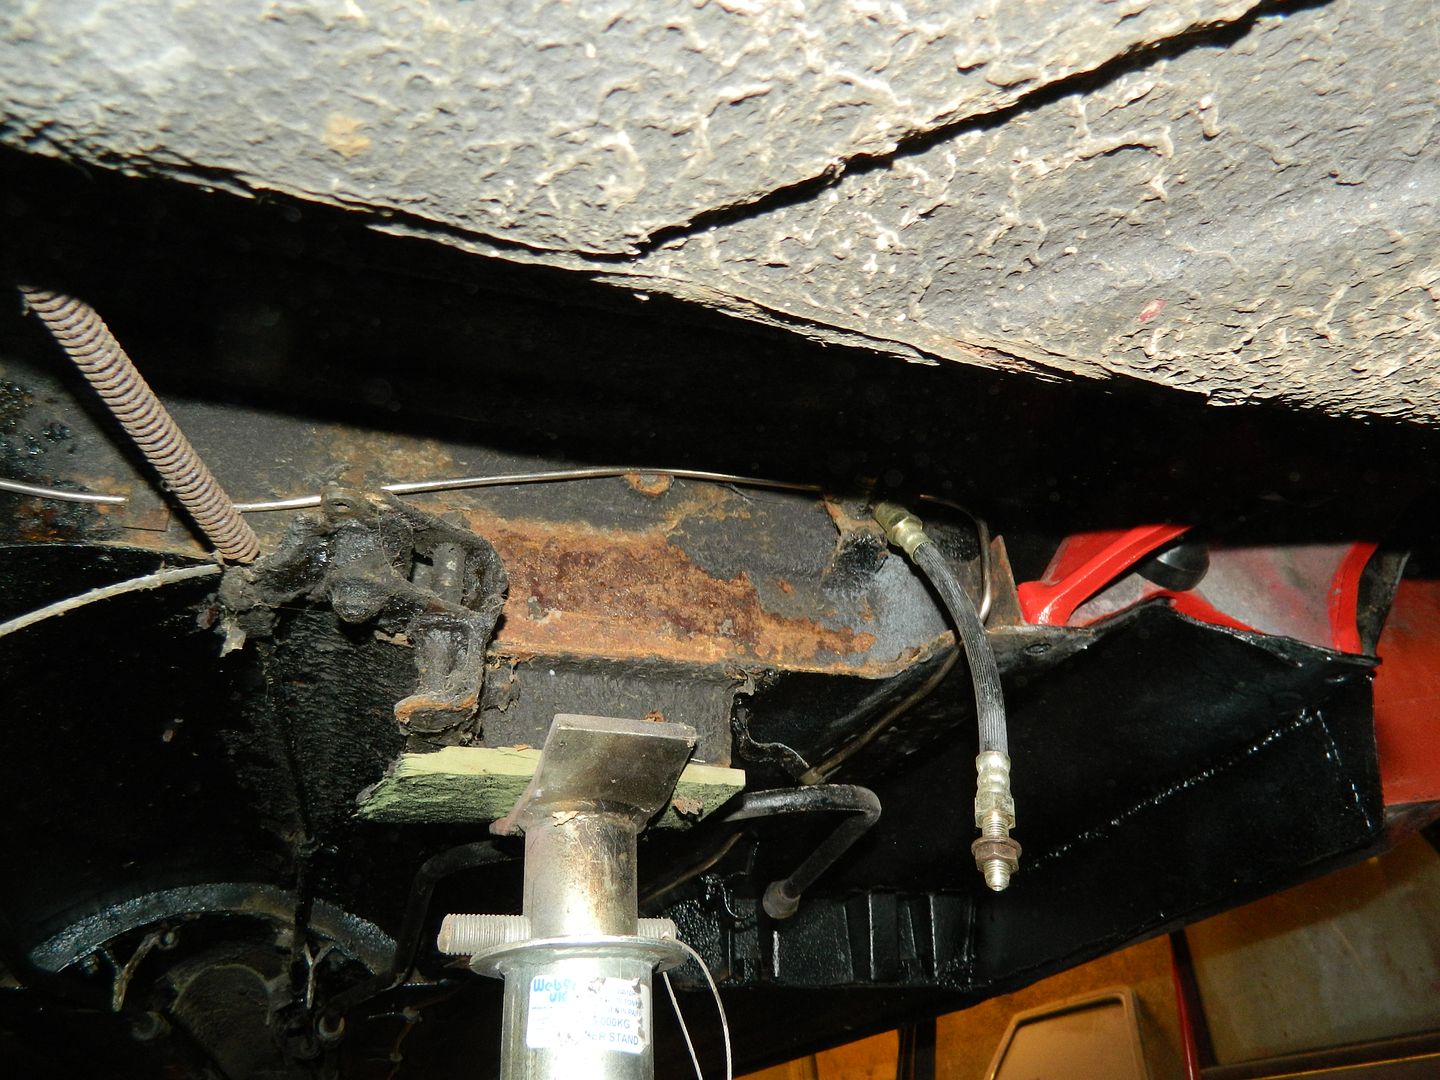 Oops - missed a bit. That will have to be treated and coated. 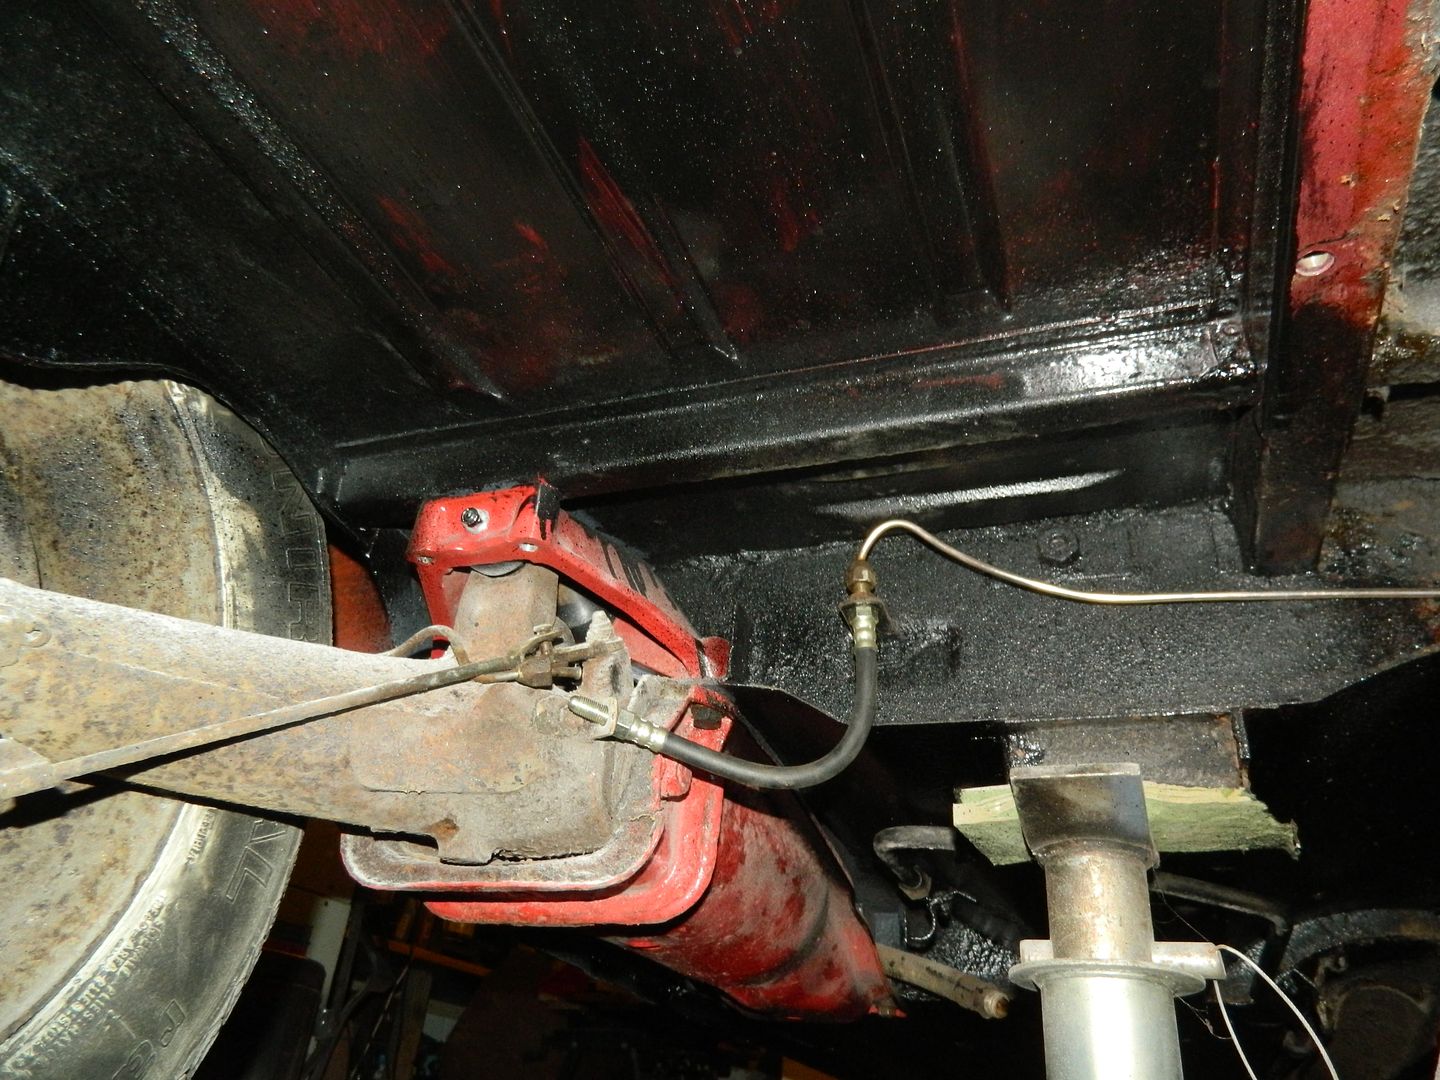 All for today. Chris. |
|
|
|
Post by Penguin45 on Oct 23, 2014 23:48:57 GMT
Couple more brake lines made up. Brake calipers being dealt with - report HERE. Chris. |
|
|
|
Post by Penguin45 on Nov 1, 2014 18:57:23 GMT
Lots of little things done today. 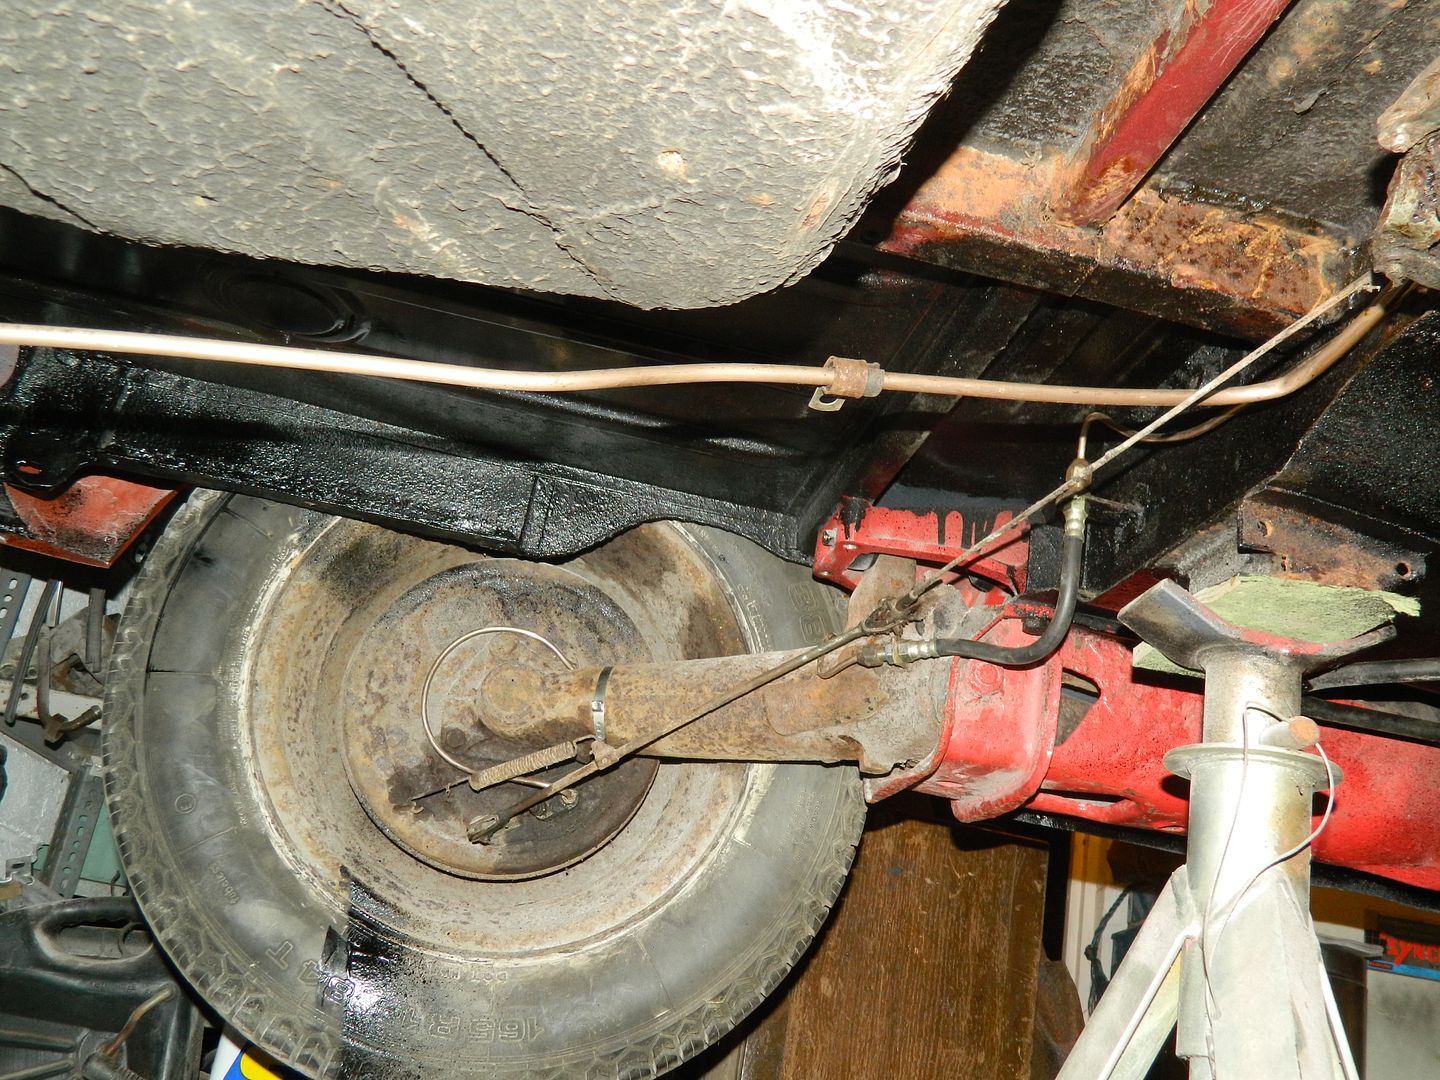 New brake line and securing clip. Hoses, handbrake connected. 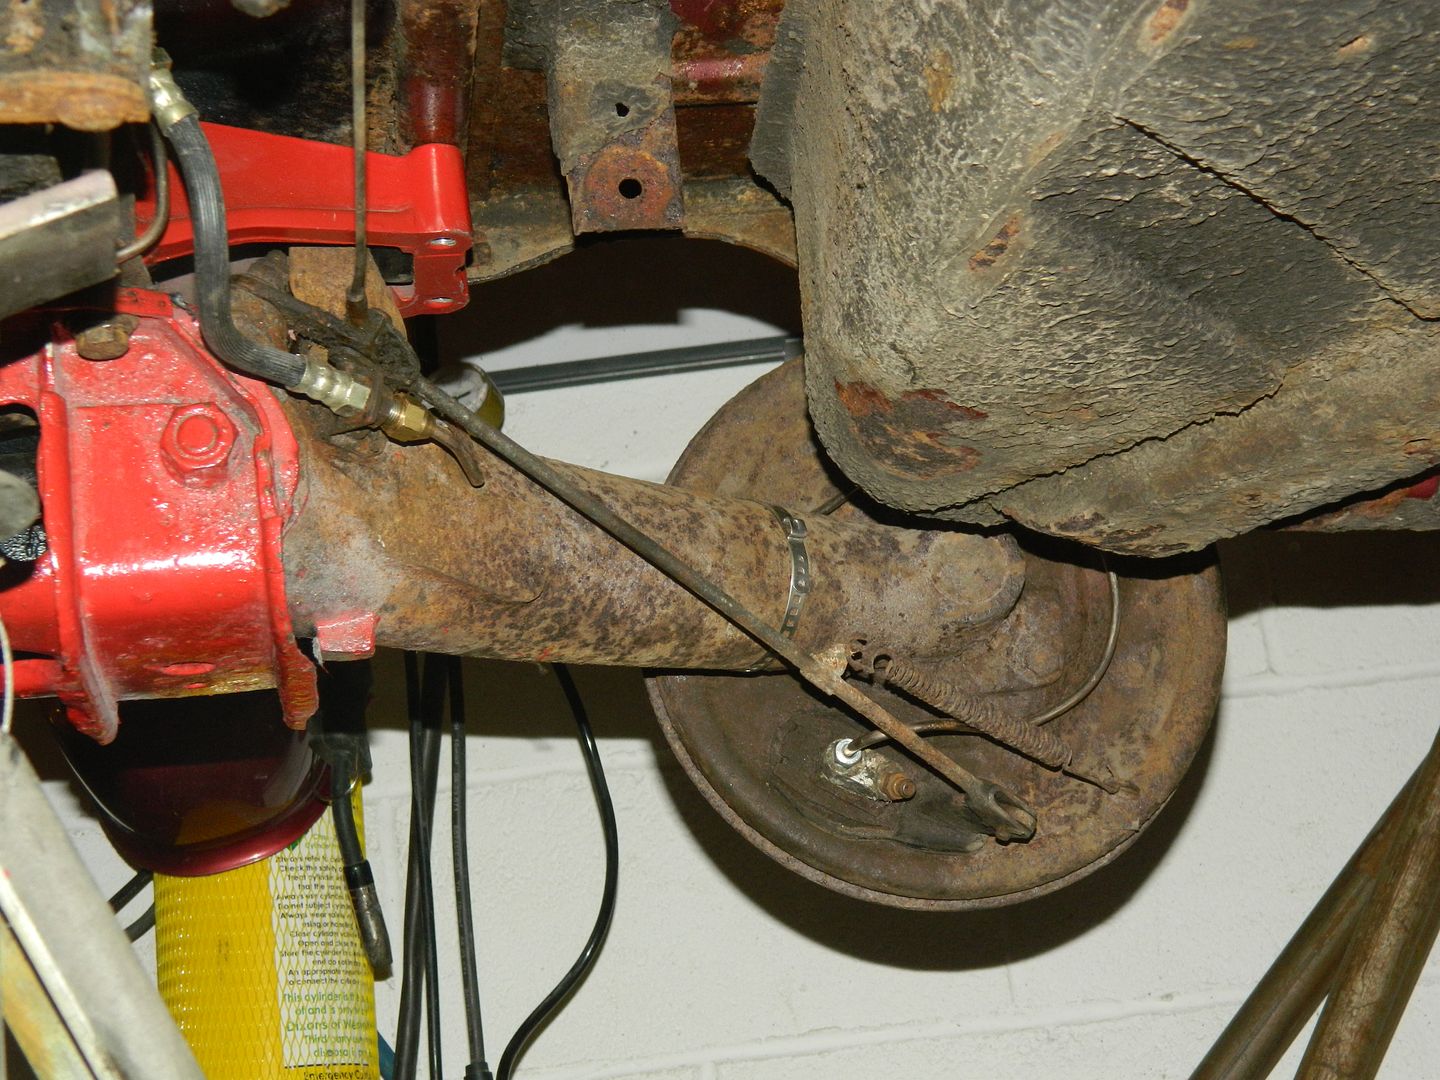 OSR suspension unit fitted. New brake line and securing clip. Hoses, handbrake connected. 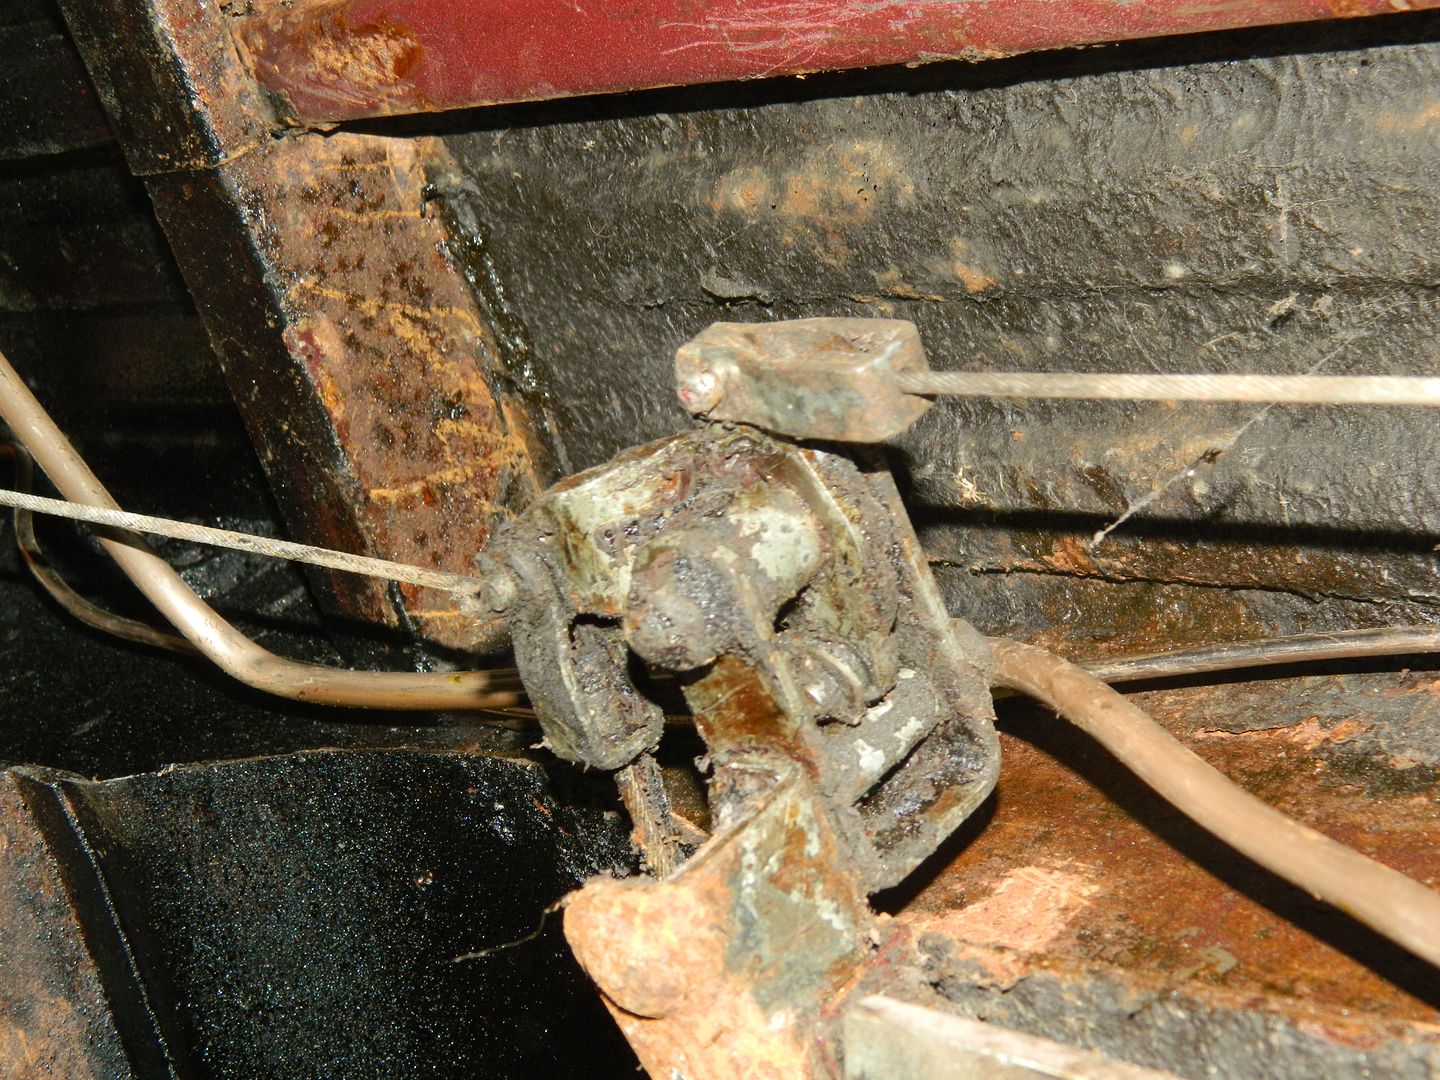 Handbrake bell-crank/compensator. Now that I've dug all the congealed grease out of it, it seems to work and do things and pivot from side to side. 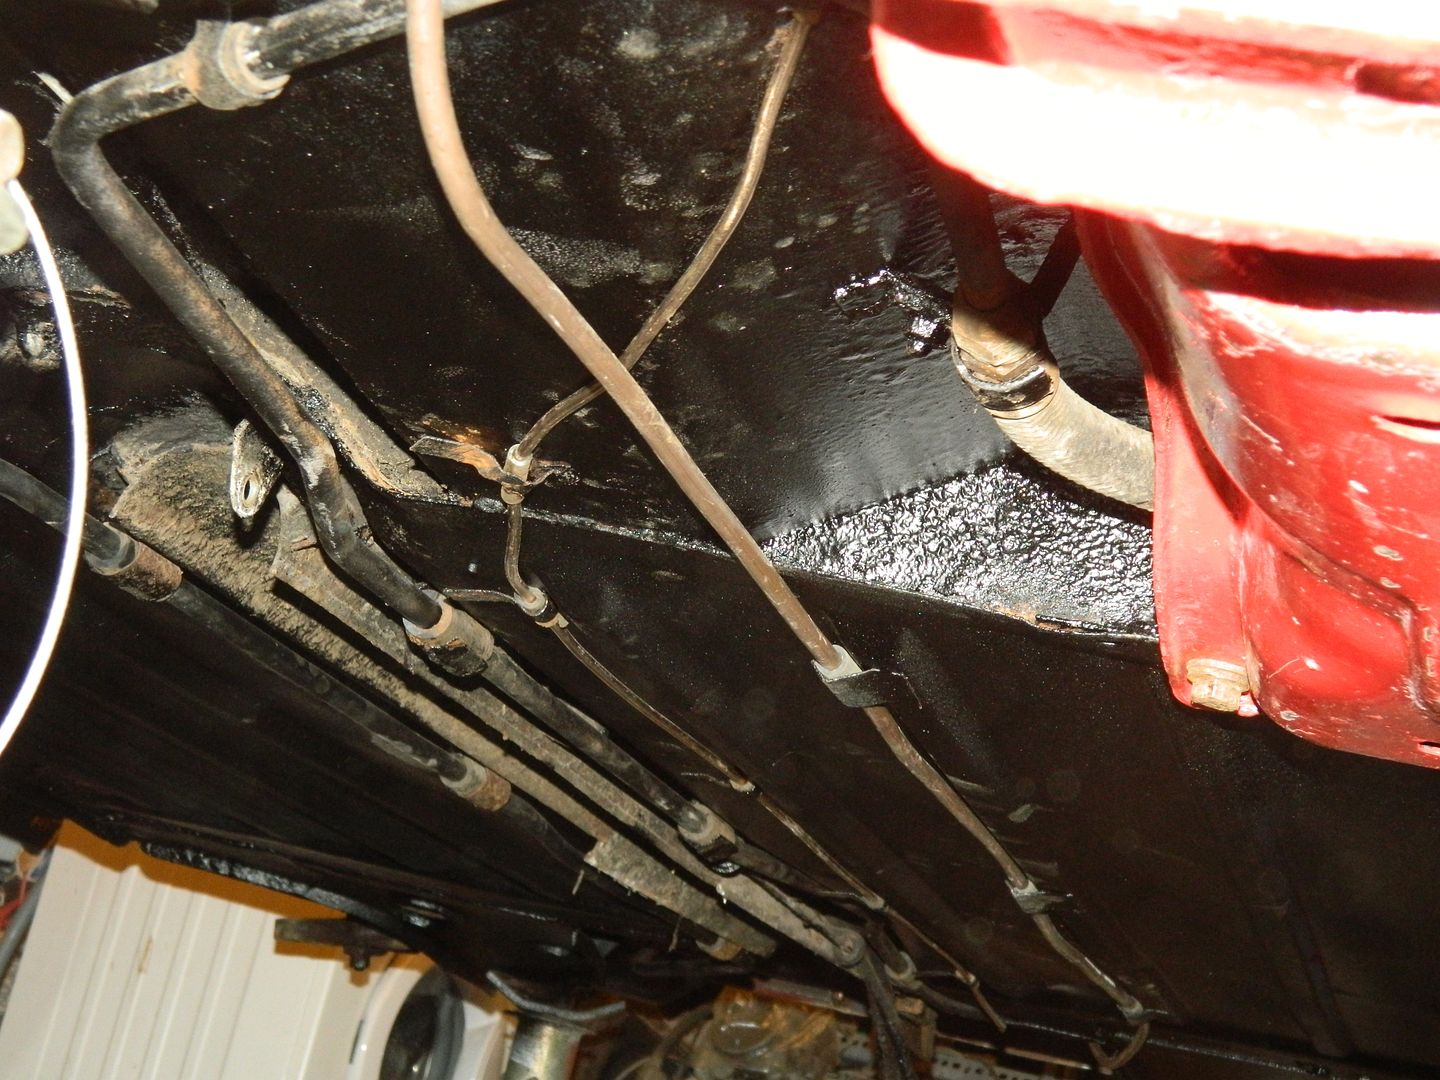 Pipes. Brake pipe first, then the hydro pipe, then the fuel pipe. They have to avoid each other in very specific ways, then sharp edges, then do stuff like jump over the compensator whilst avoiding the cables. All pipes under the car are now secured home and tightened up ready for fluids. 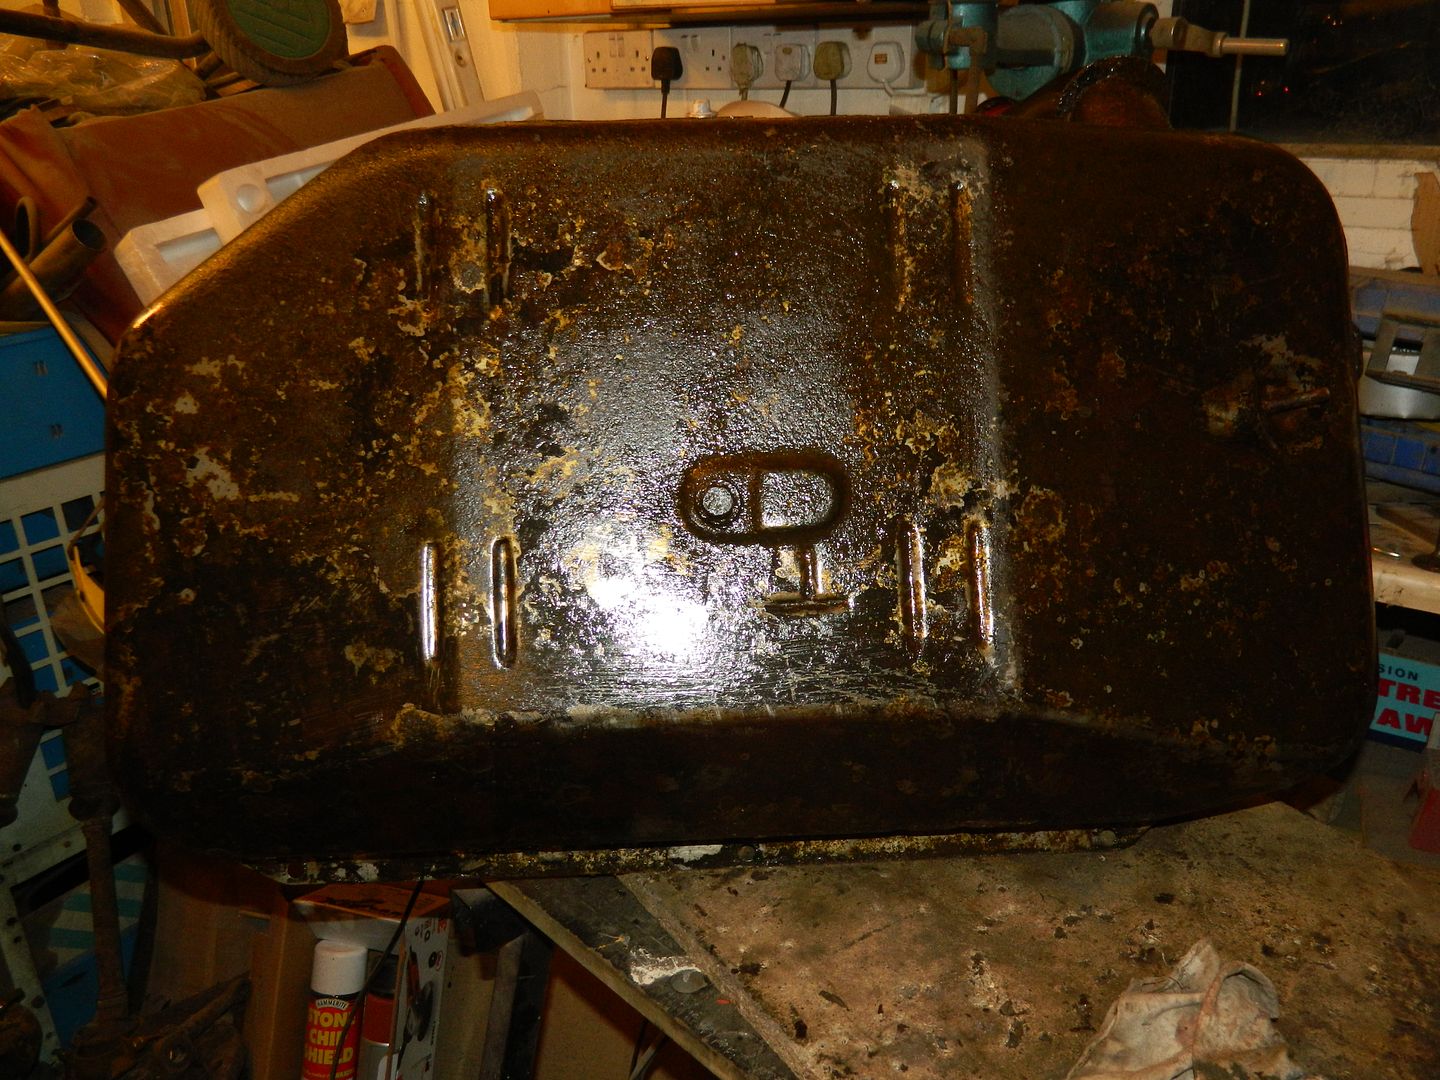 Tank. Nice bottom. 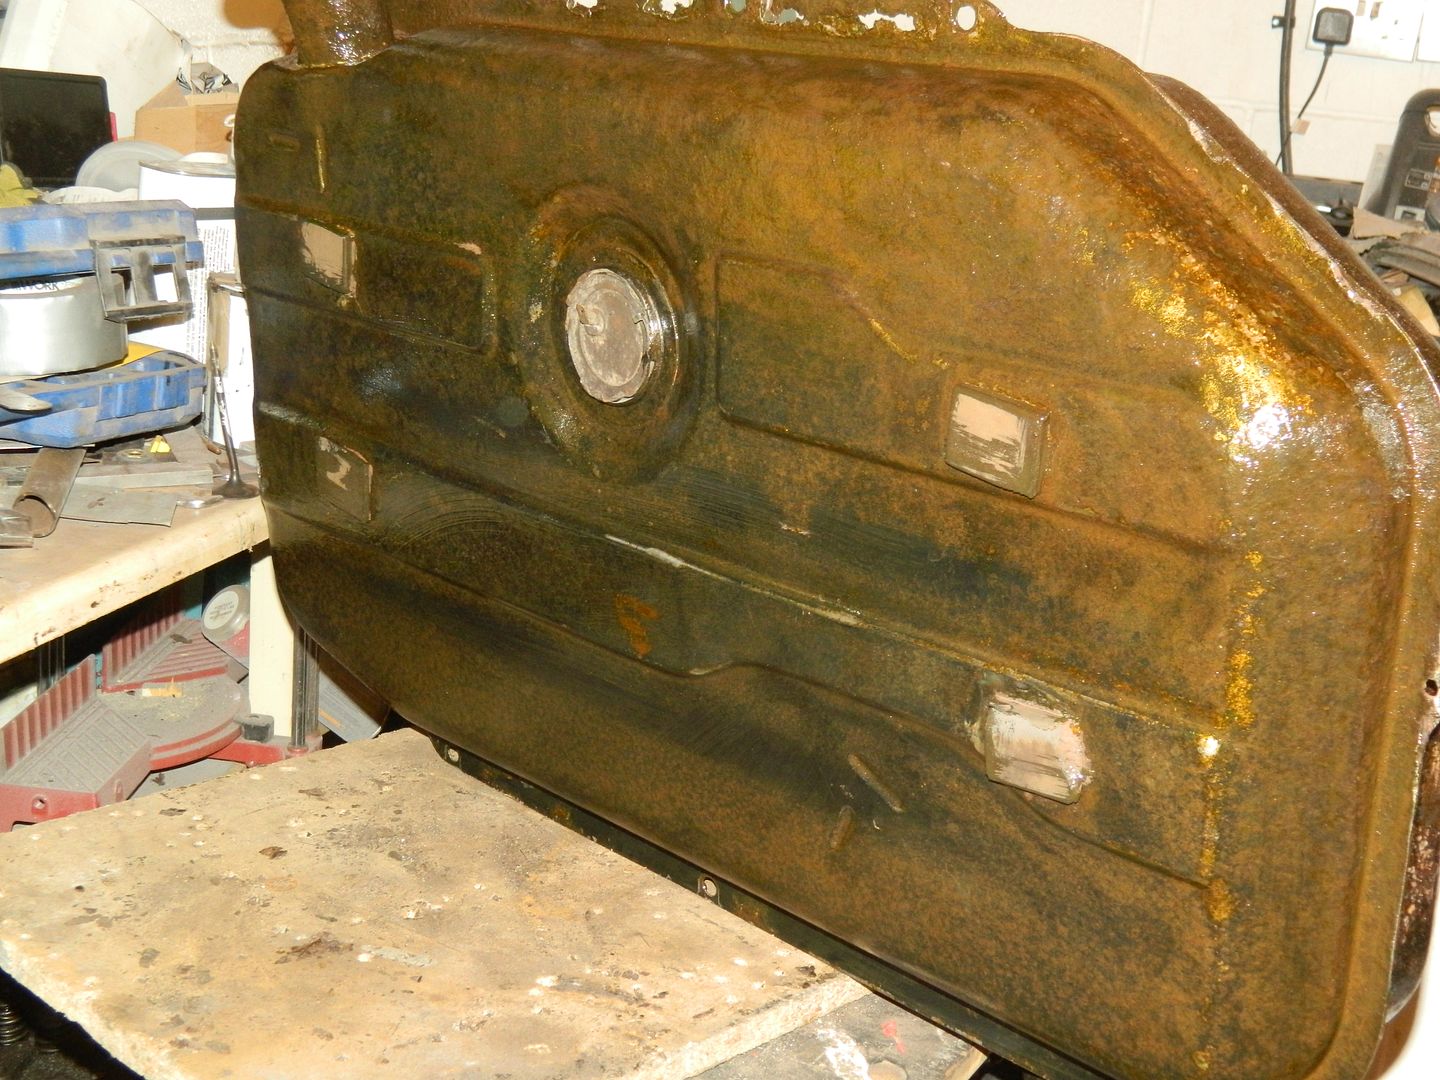 Nice top. 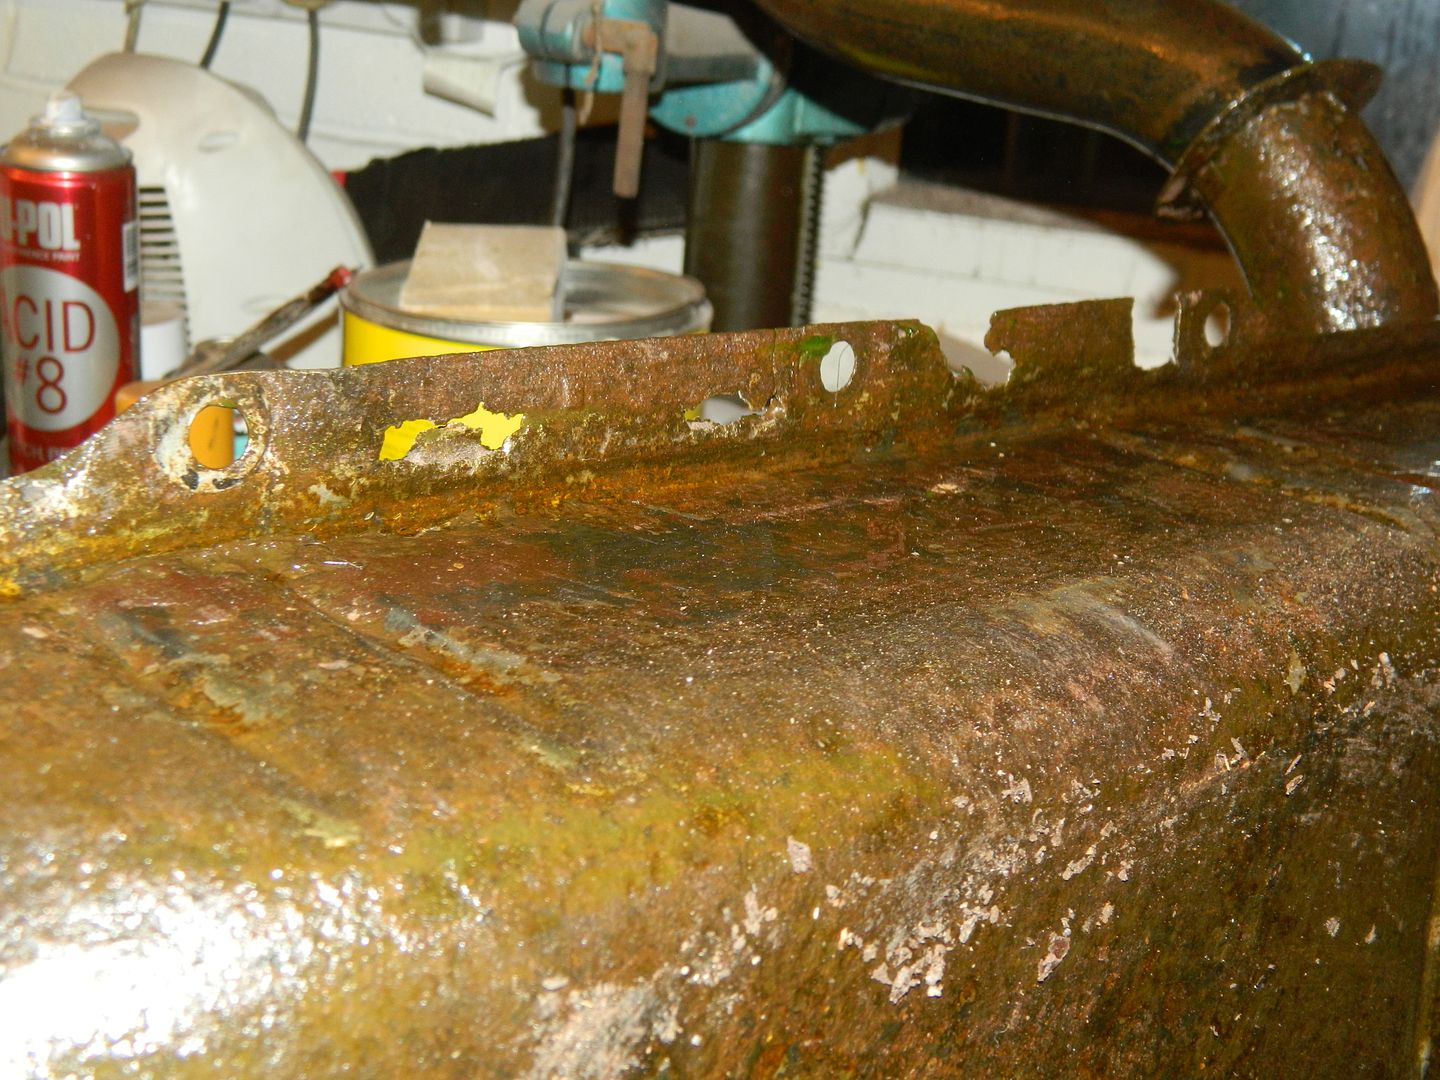 Frilly outboard edge. Seam is intact. I have a cunning plan. 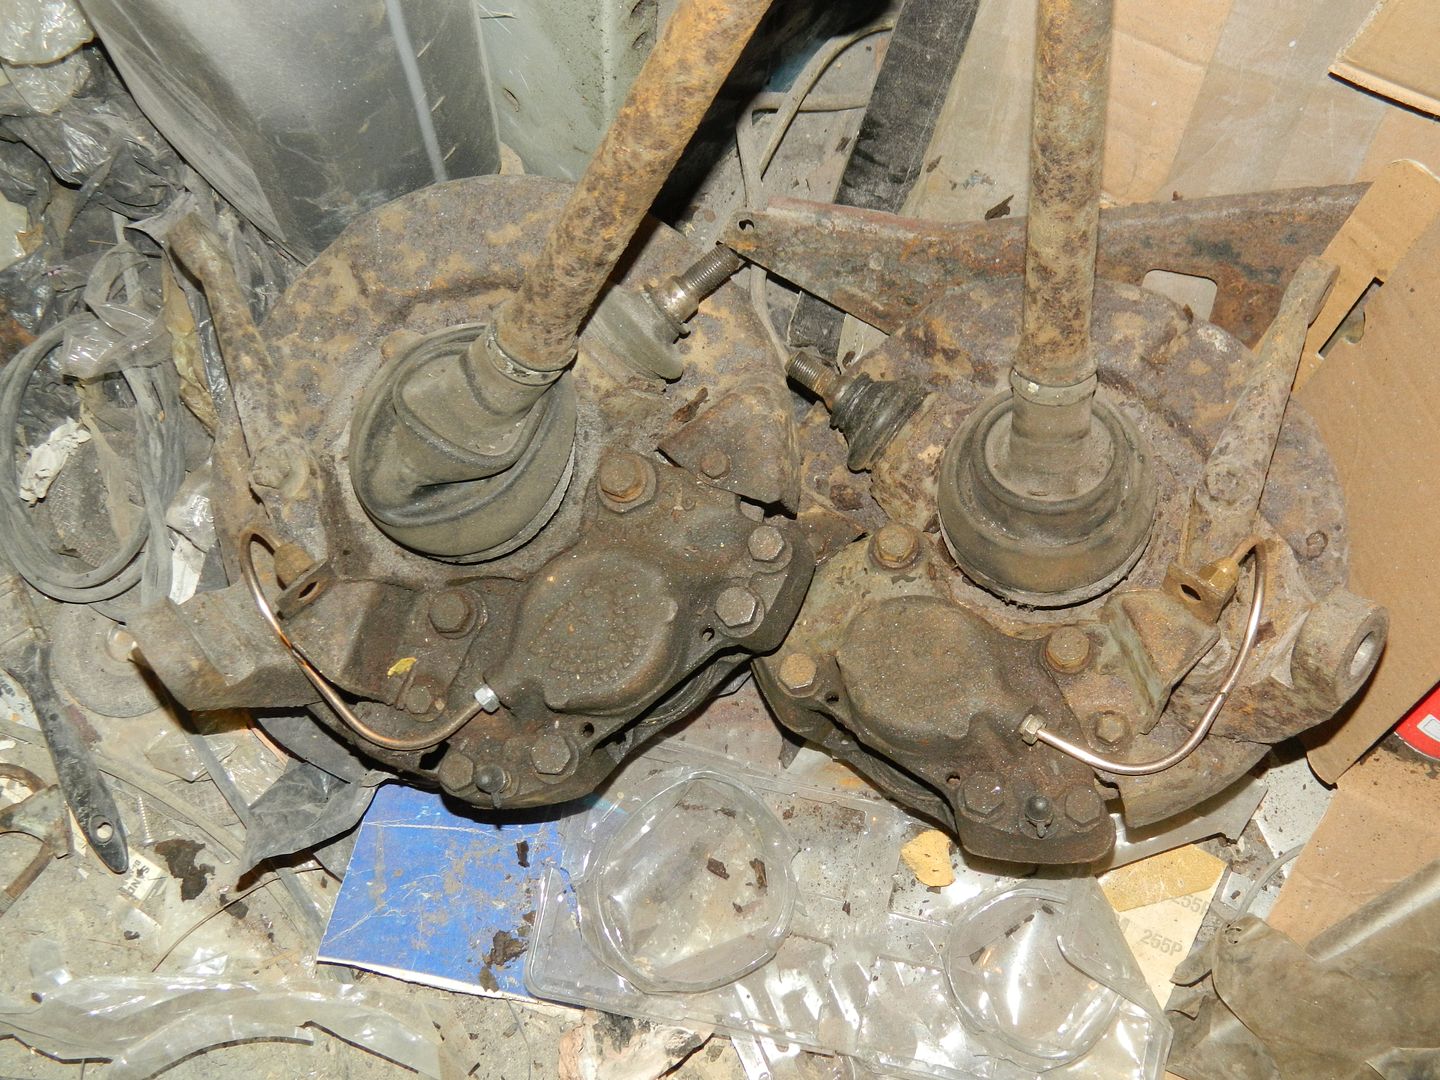 Shafts and knuckles ready to go back on. 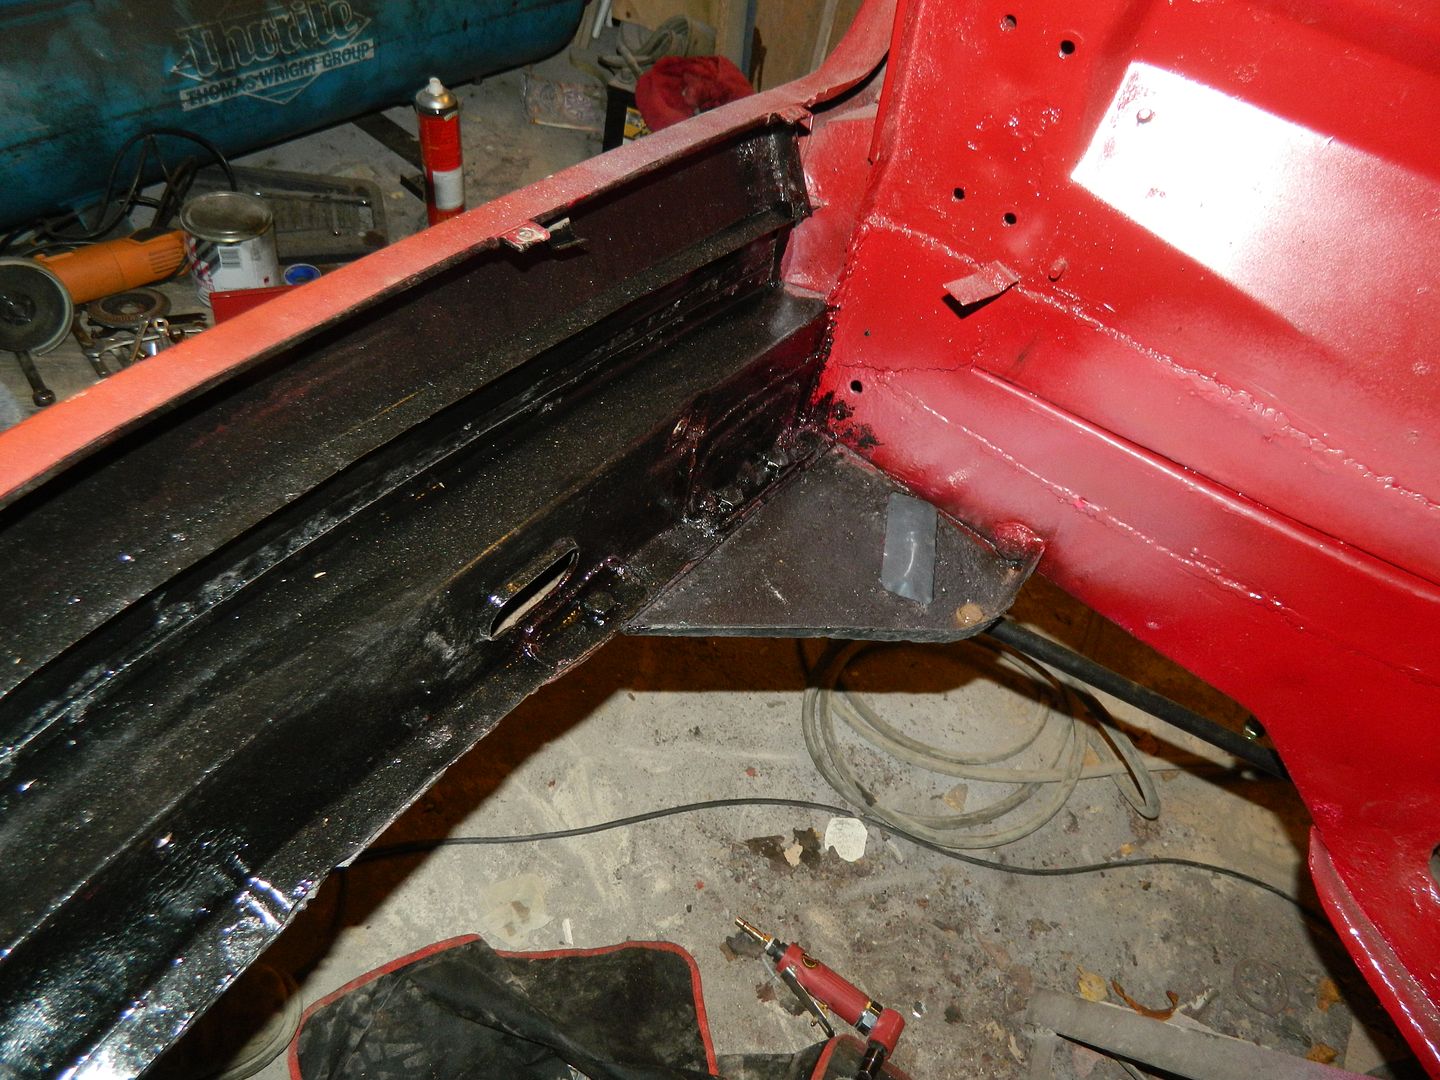 O/s tie bar, housing, membrane back in place. Inside of front panel painted with chassis black. 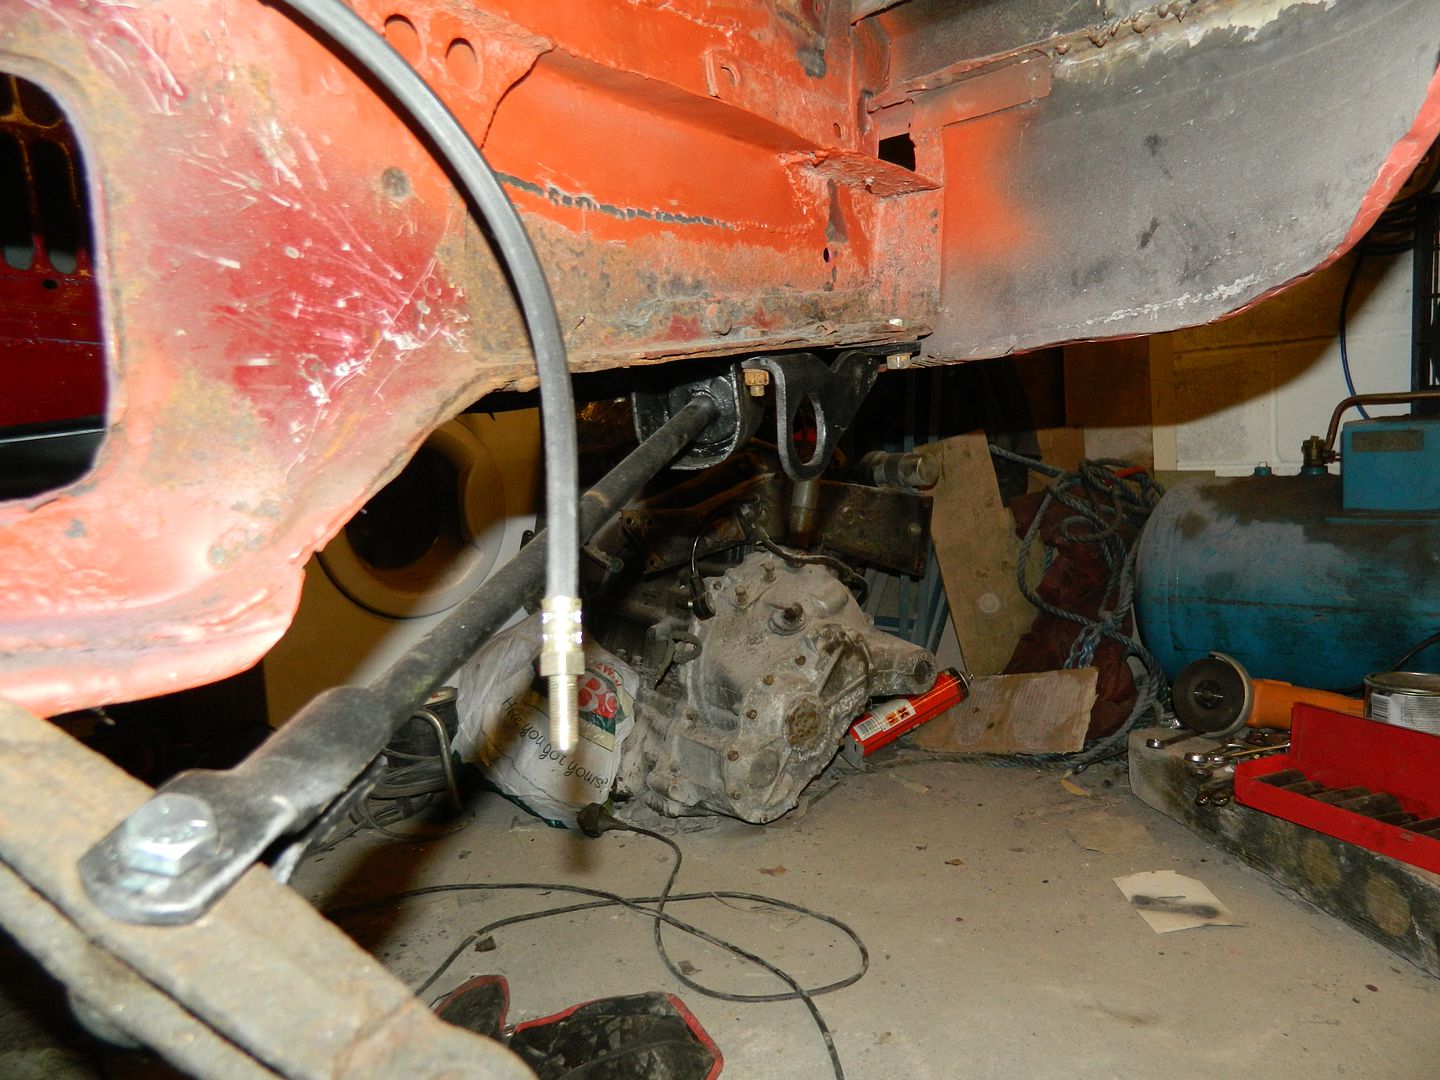 Cleaned up the tie bar and painted that. 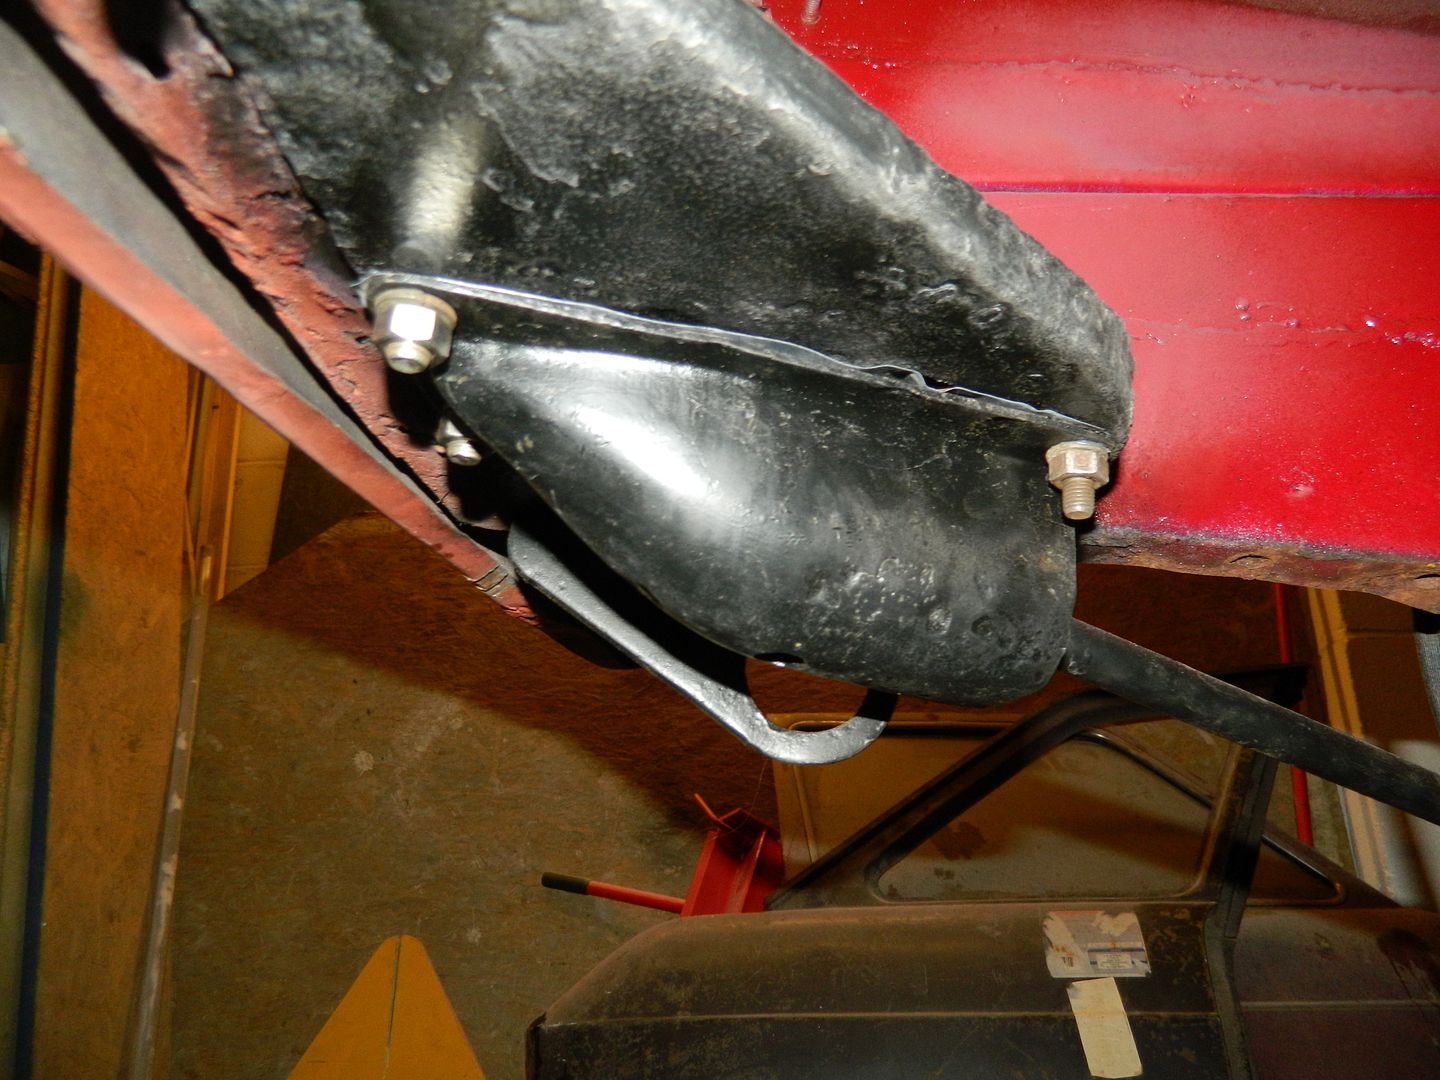 And the housing. I had to make two welded repairs to that - came up pretty well. Might be able to get the tank in tomorrow, if I can do that, I can re-fit the back half of the exhaust and if I can do that, I can start thinking about dropping her back on her wheels and re-fitting the engine. Chris. |
|
|
|
Post by tommydp on Nov 1, 2014 23:26:48 GMT
Well done, Chris! Really getting there now!
You're not checking tje clutch, at least fitting a new release bearing, before you re installl the lump? Just a thought, from experience..
Good luck on the following work. I enjoy the updates.
Tommy
|
|
|
|
Post by Penguin45 on Nov 2, 2014 20:49:38 GMT
Hi Tommy. Not quite sure what I'm doing with the engine. Painting it green, I suppose.... Mark, the PO had a lot of work done on the engine not long before it came off the road and I'm pretty sure that he had the clutch done at the same time. I really don't want to get into tearing the engine down if I can avoid it. Anyway. Today I finished off the fuel tank, got the spare wheel carrier off and finished off the underside of the car at the back. Oh, and touched in the little bits I'd missed earlier. 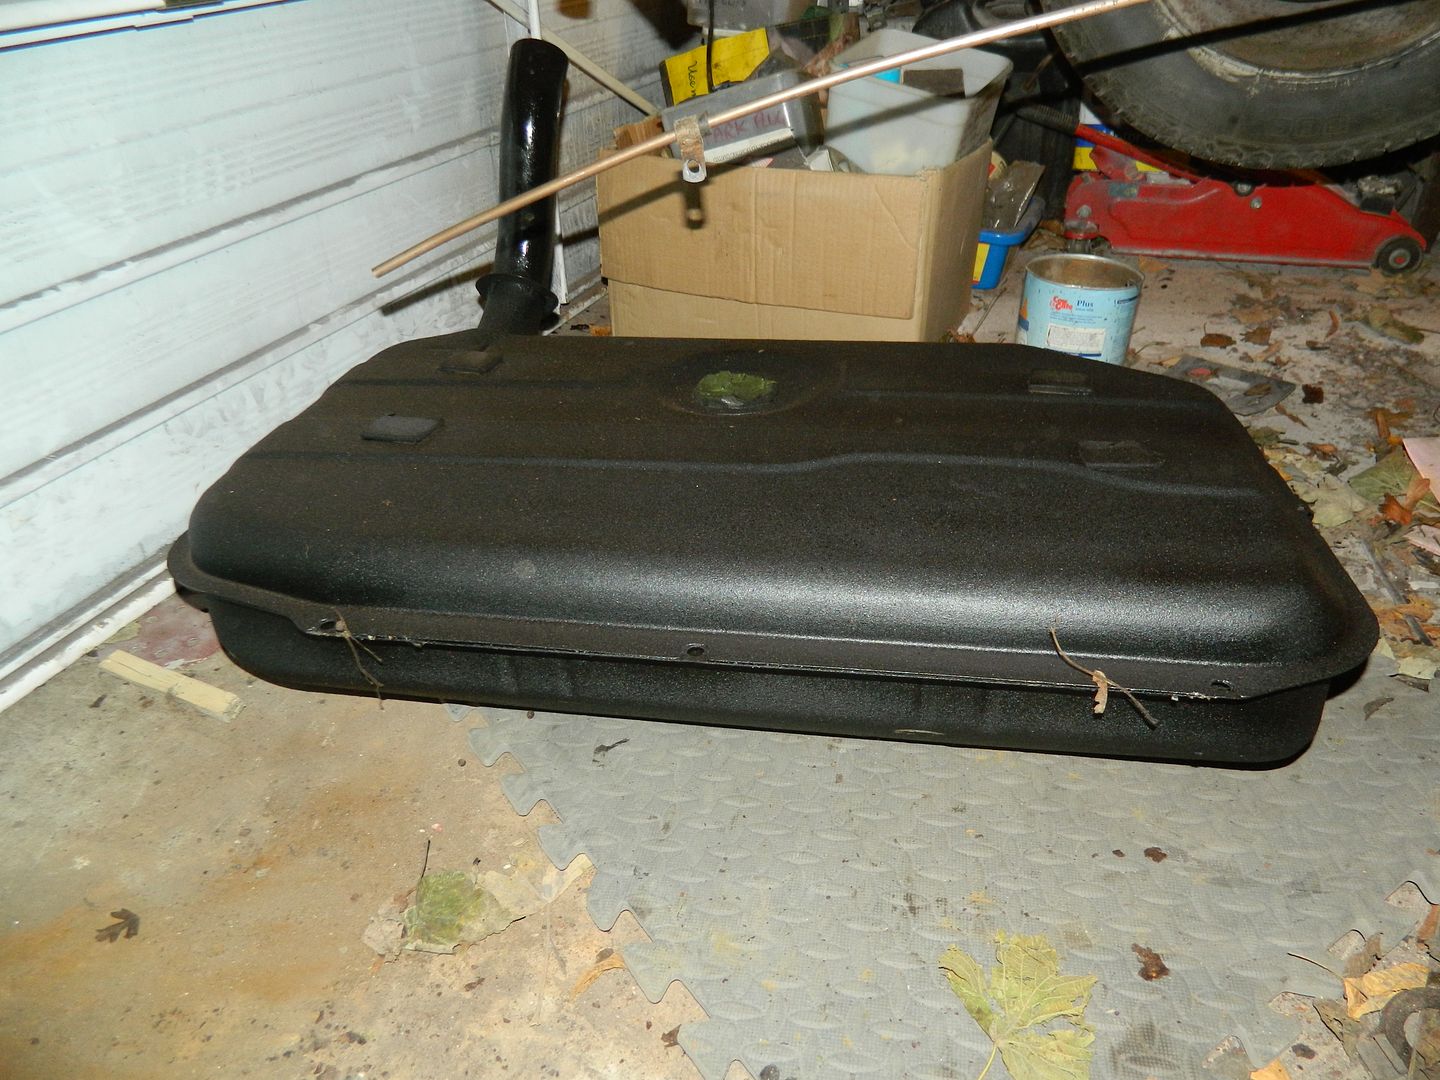 Tank has had a coat of etch primer, a coat of chassis black and a coat of shutz. Fortunately the sun has been out for most of the day which has helped things to dry off quickly. Pleased with that. Need to make up a reinforcing angle strip to take the weight of the tank along the frilly edge. 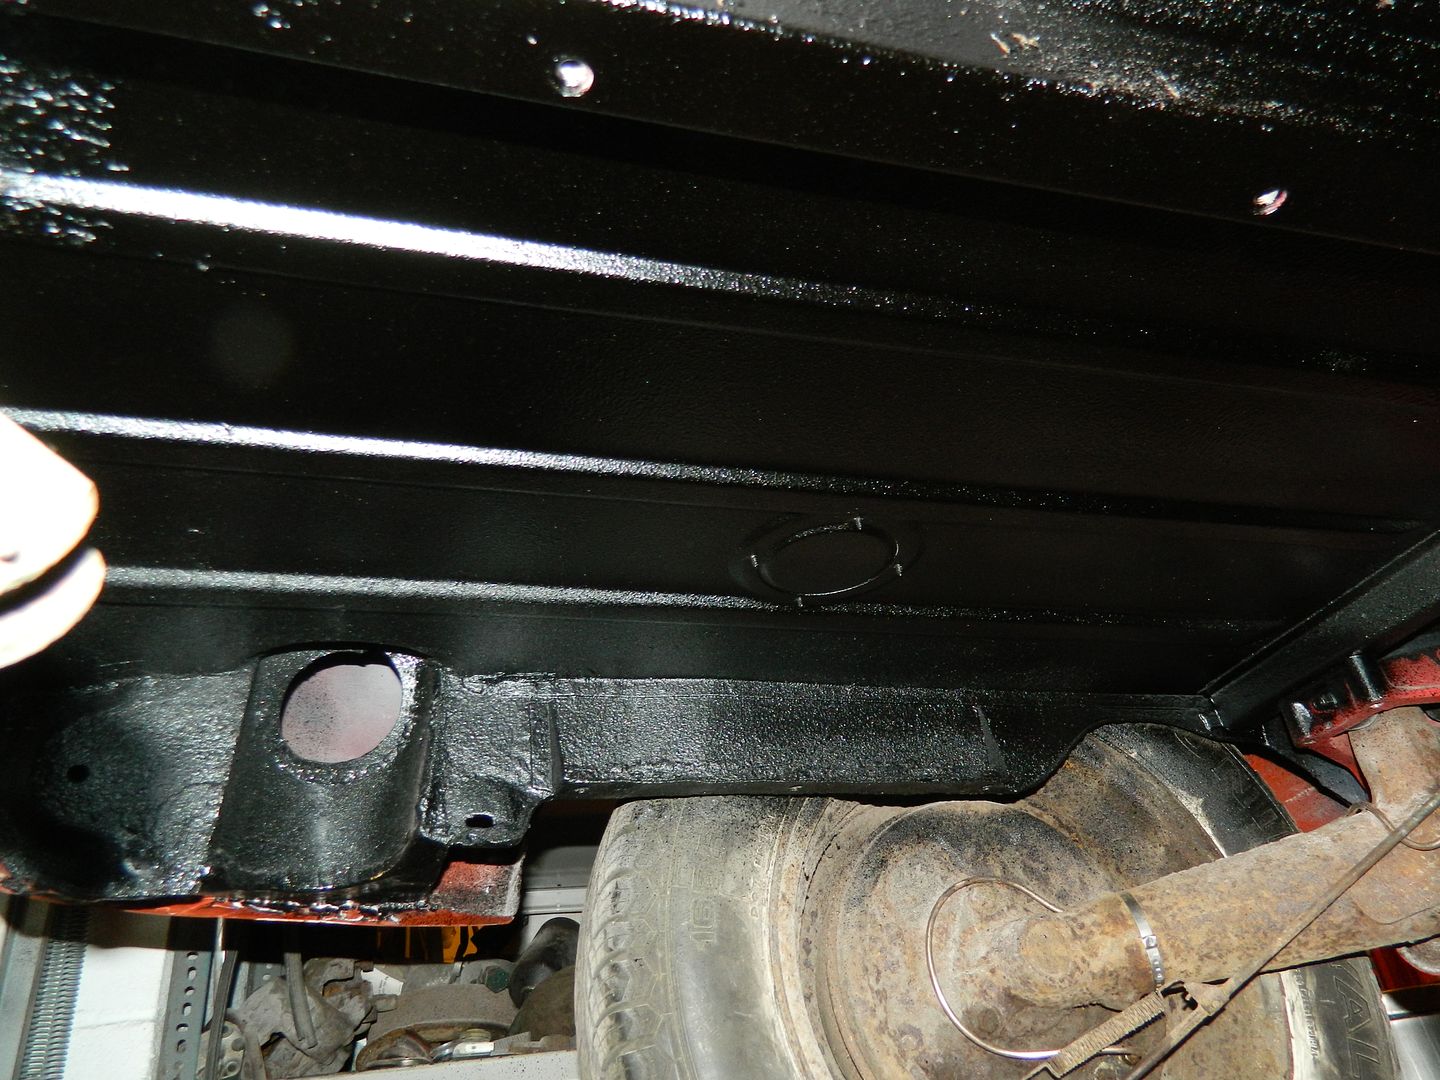 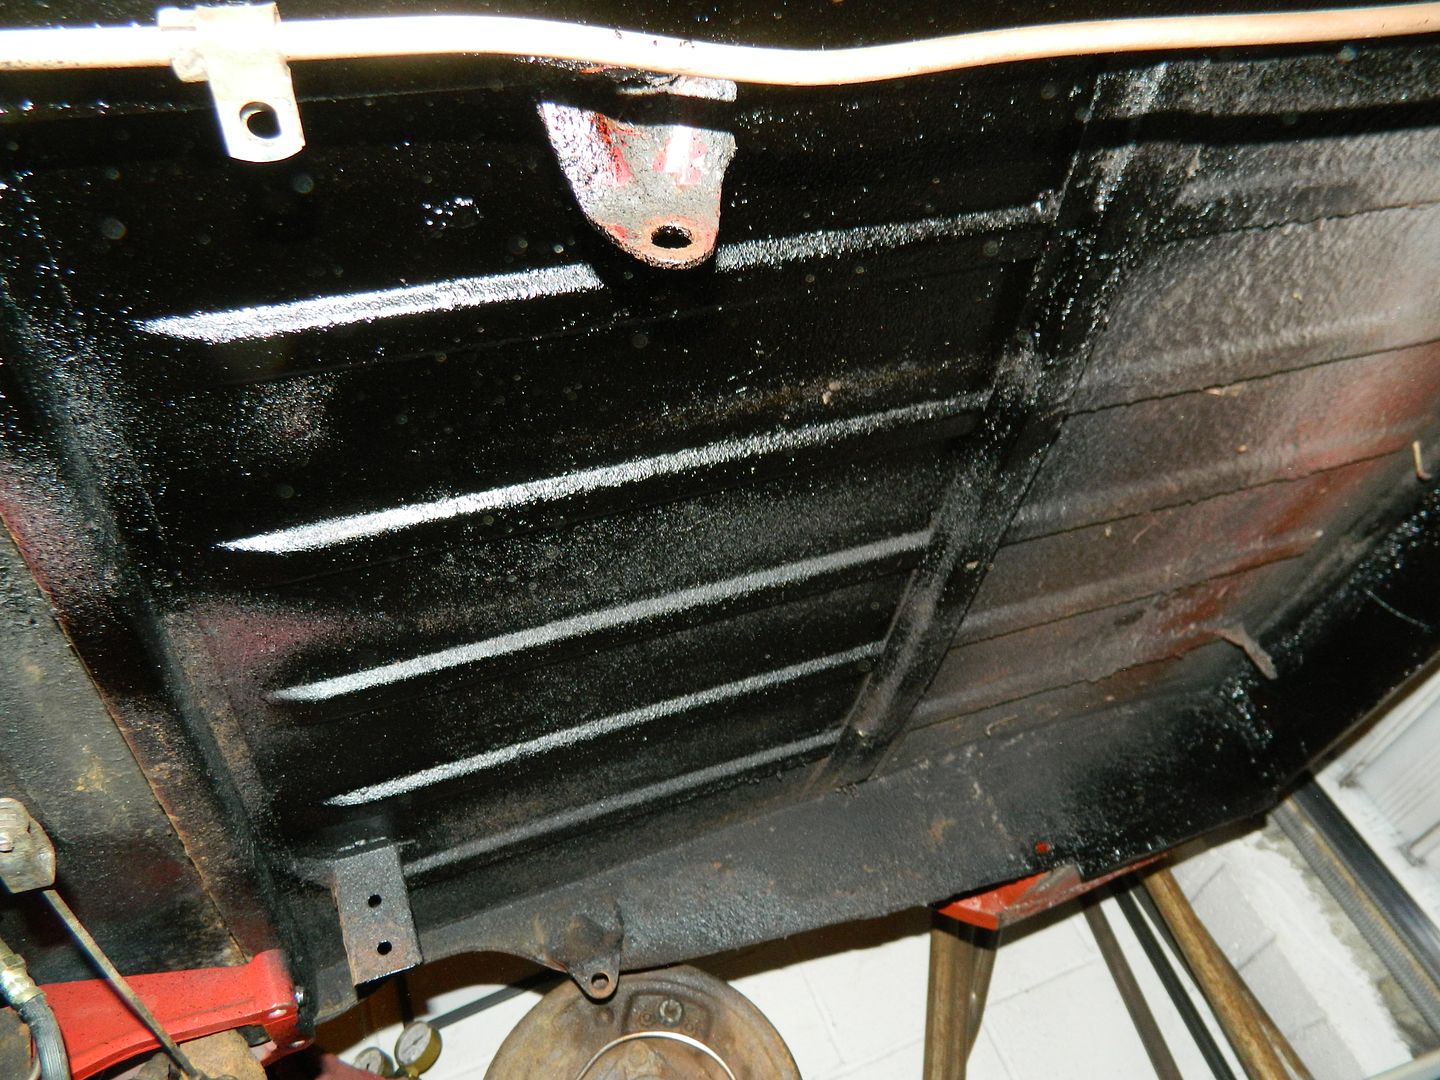 Wheel carrier came off after a mighty struggle and allowed me to finish getting the old loose underseal off before applying shutz. It looks like I've missed a bit - again. I've got about half a can left, as I need to do the spare wheel carrier. 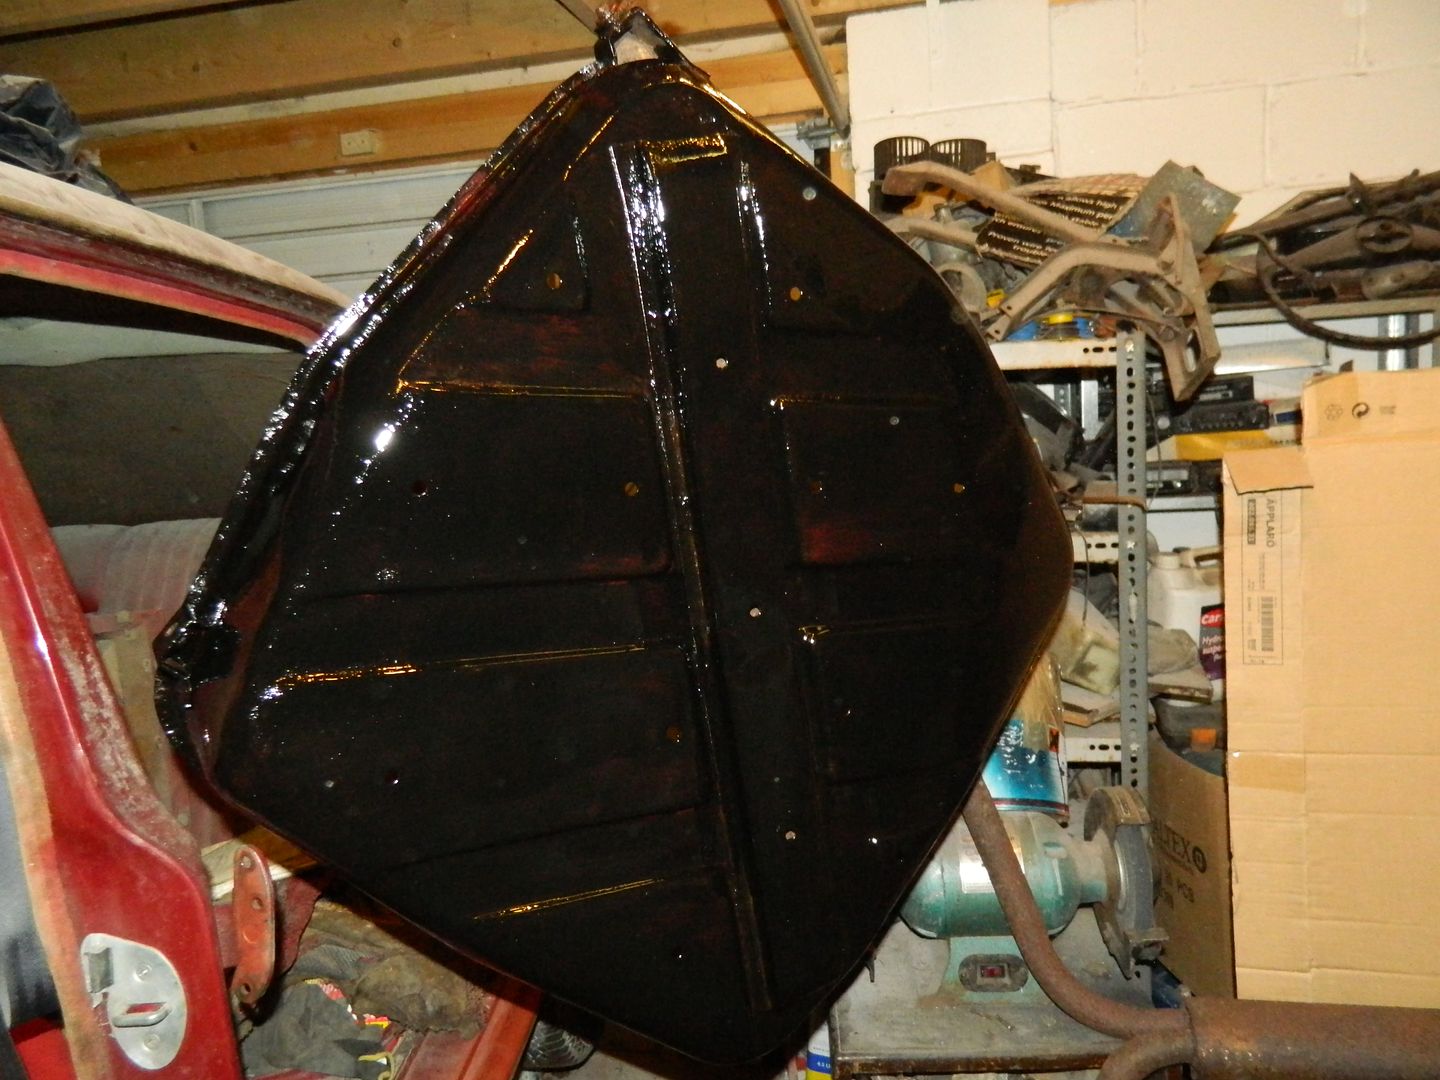 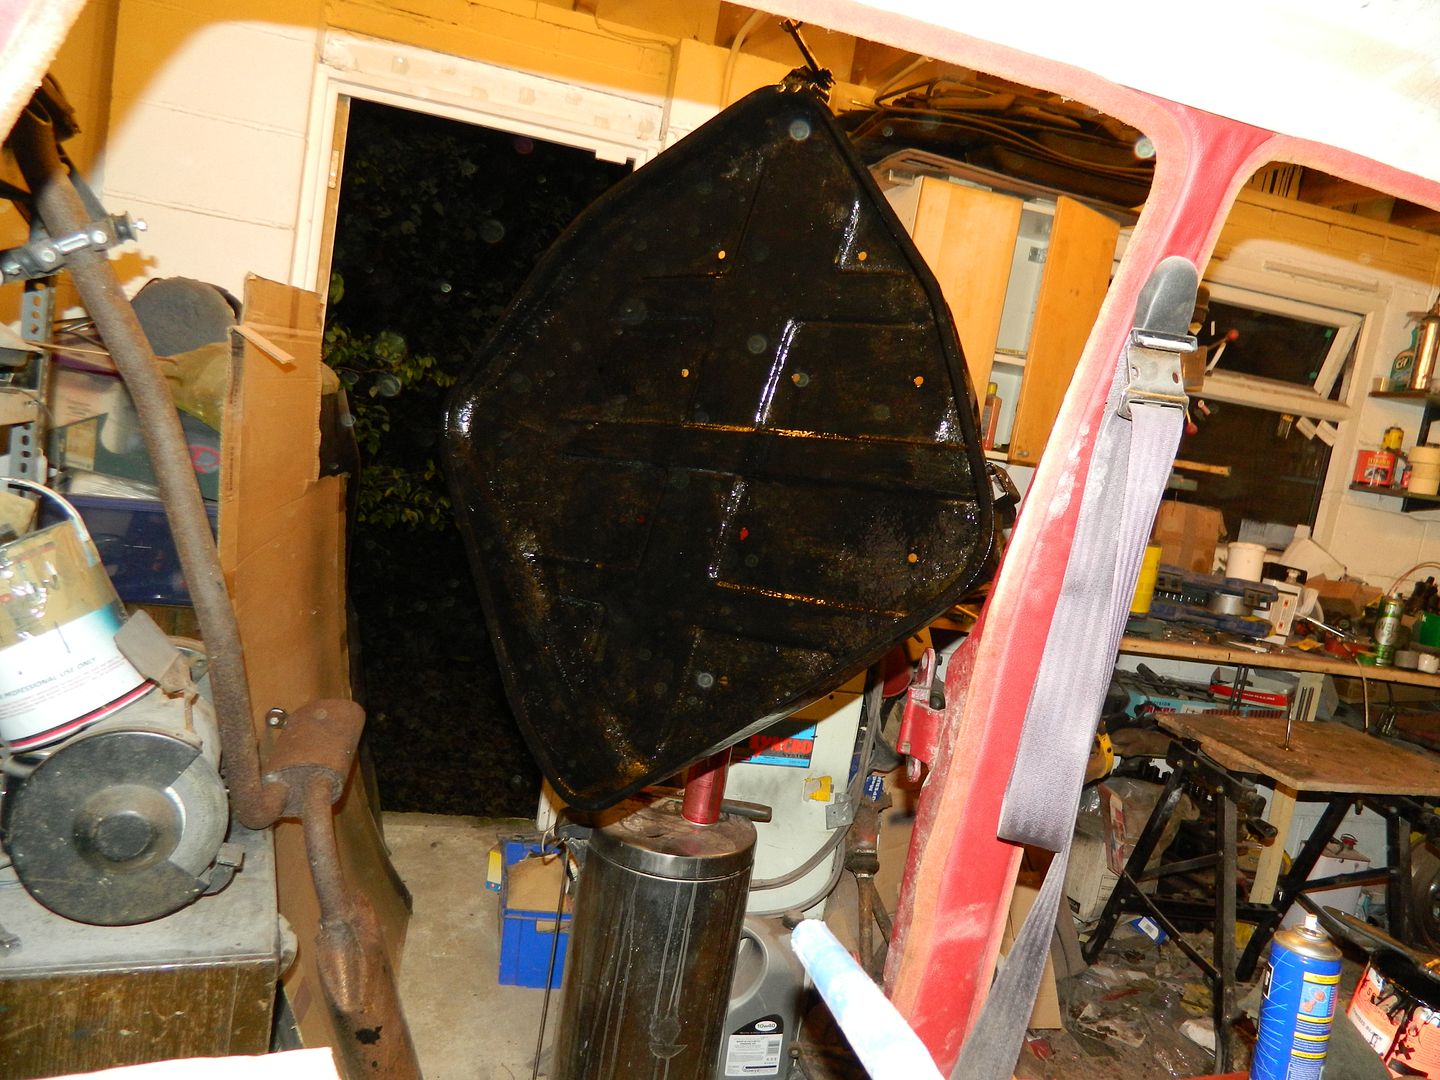 And there it is. This is at least two pounds lighter than when I started. The underseal on the outside was up to ½" thick in large areas. Fortunately, most of it fell off in sheets when attacked with the chisel. The inside, by contrast, appeared to have no coating at all, so there was an explosion of rust dust when I attacked with the wire wheel in the angle grinder. I did this outside.  So far, it's had a coat of etch primer and a coat of chassis black. I will shutz the outside tomorrow evening, then it can start going back together. After I've blown in the bits I've missed underneath. Chris. |
|
|
|
Post by Penguin45 on Nov 4, 2014 0:48:01 GMT
Support bracket for the edge of the fuel tank: 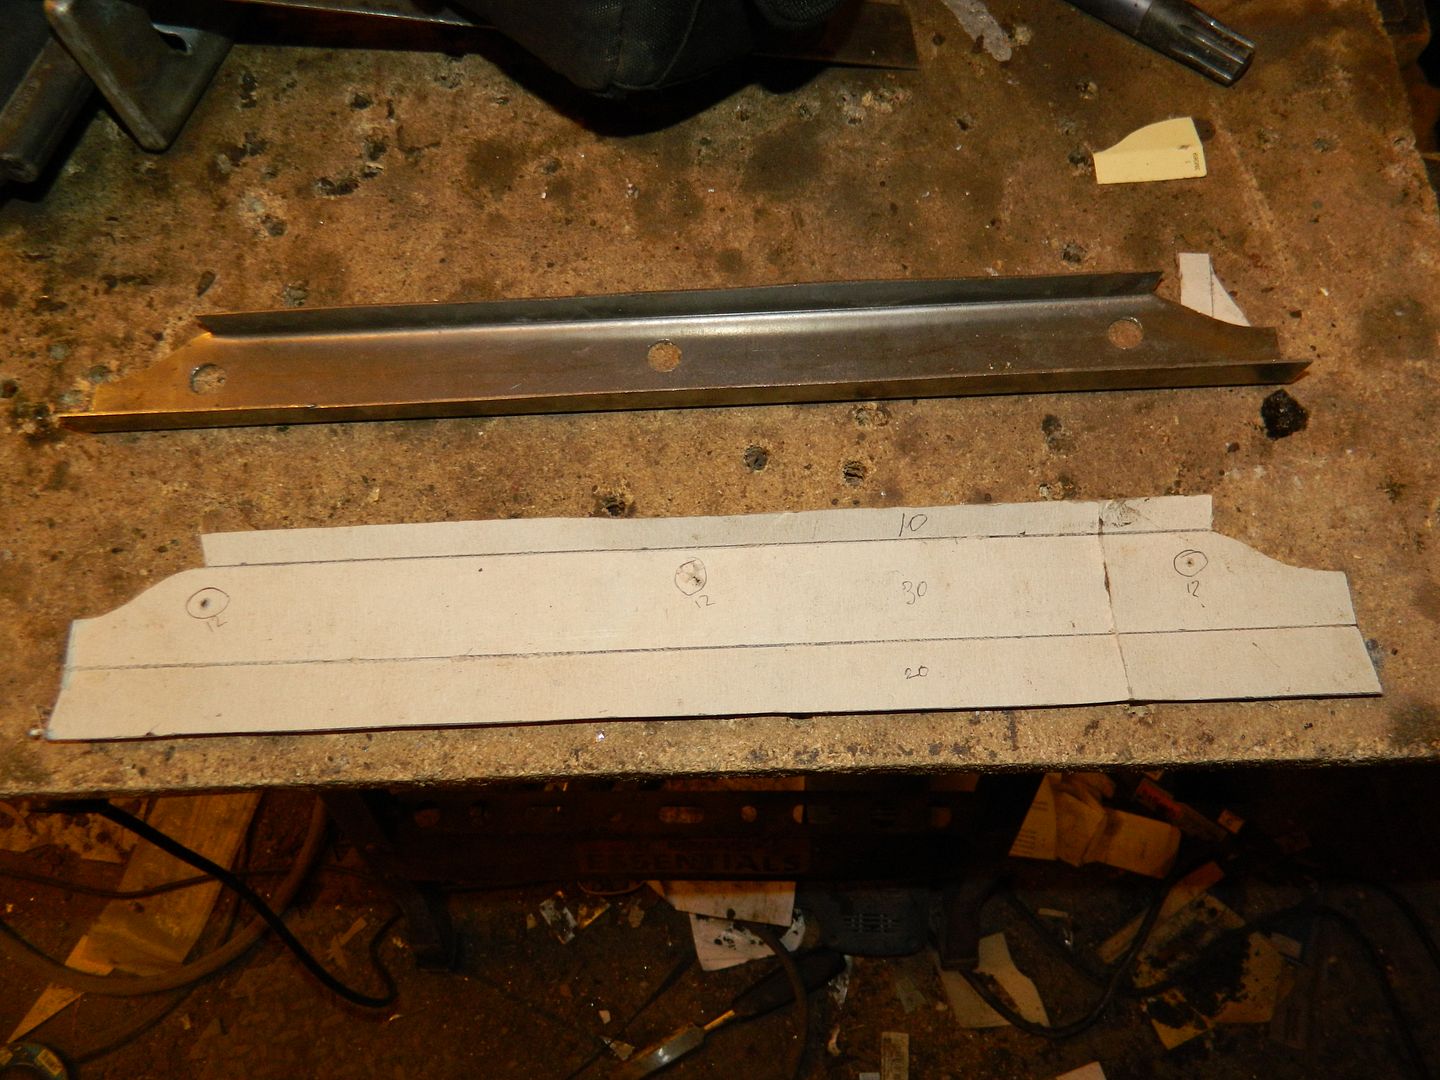 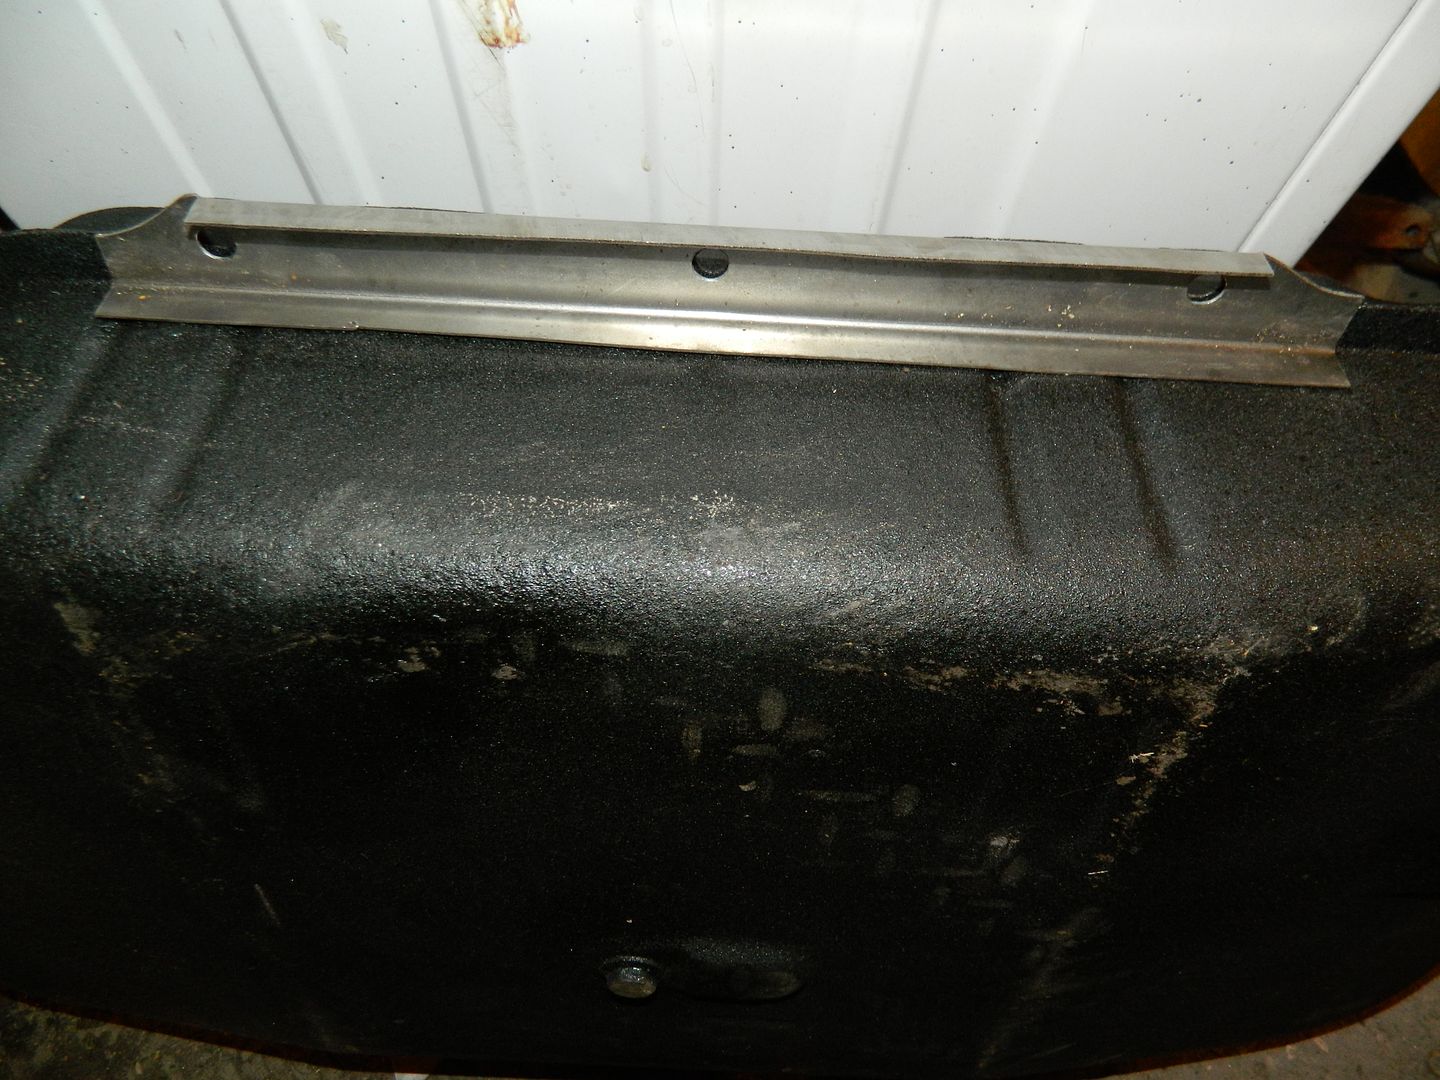 It's going to go there. Seems pretty solid to my eye. 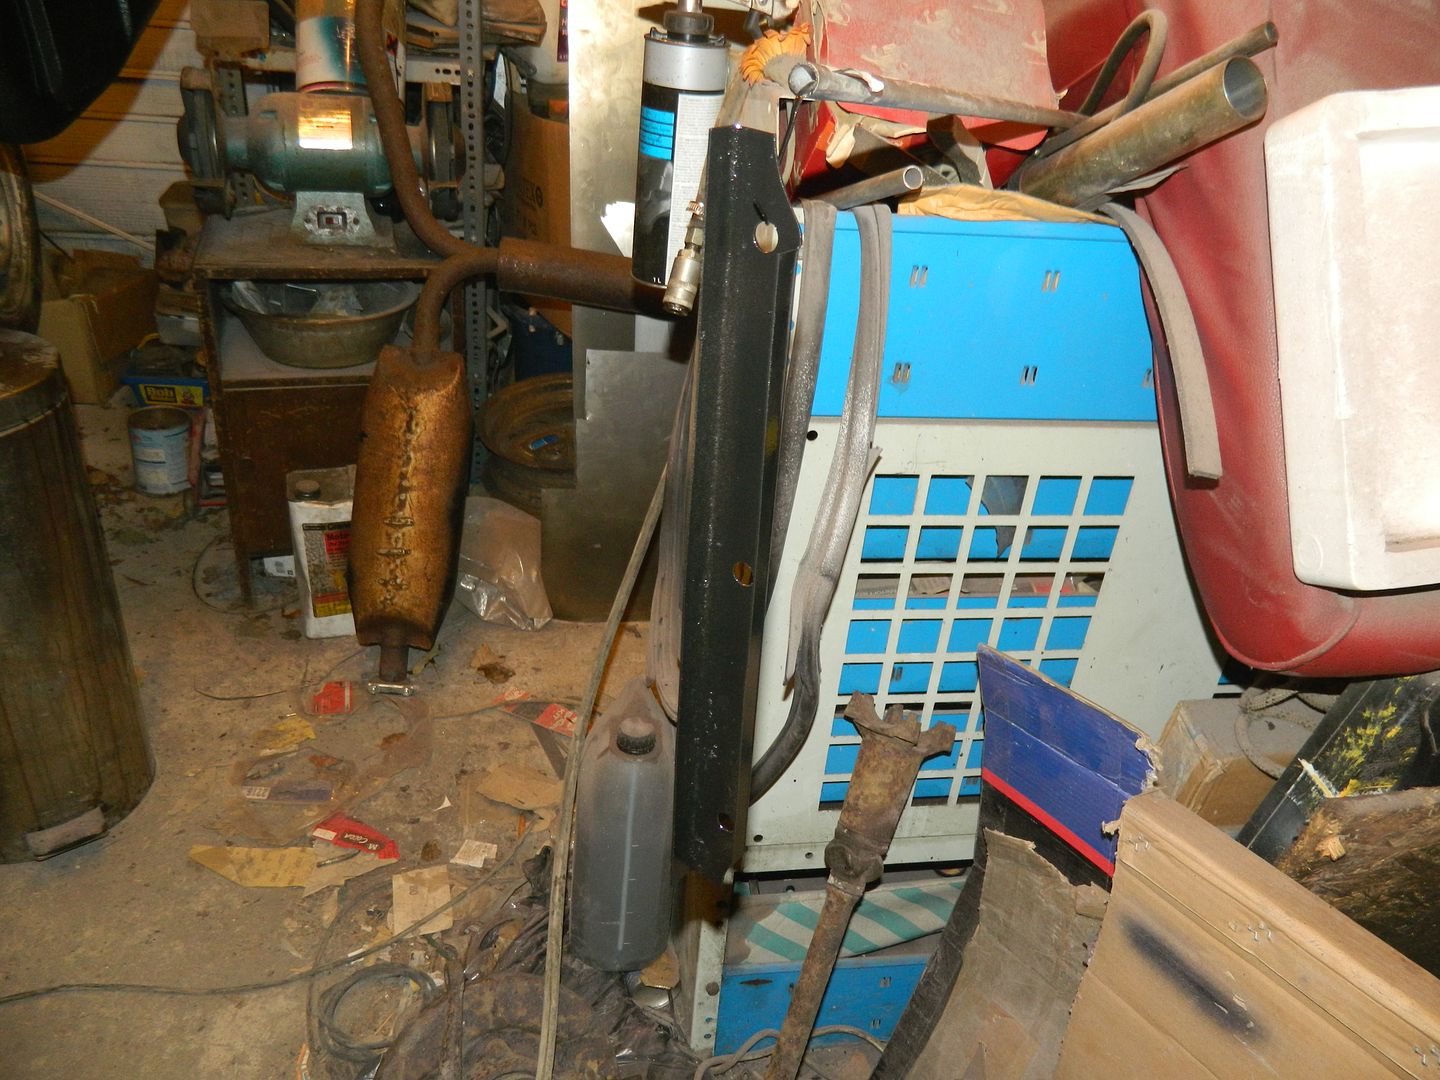 Coat of etch and two coats of Very Tough Paint. 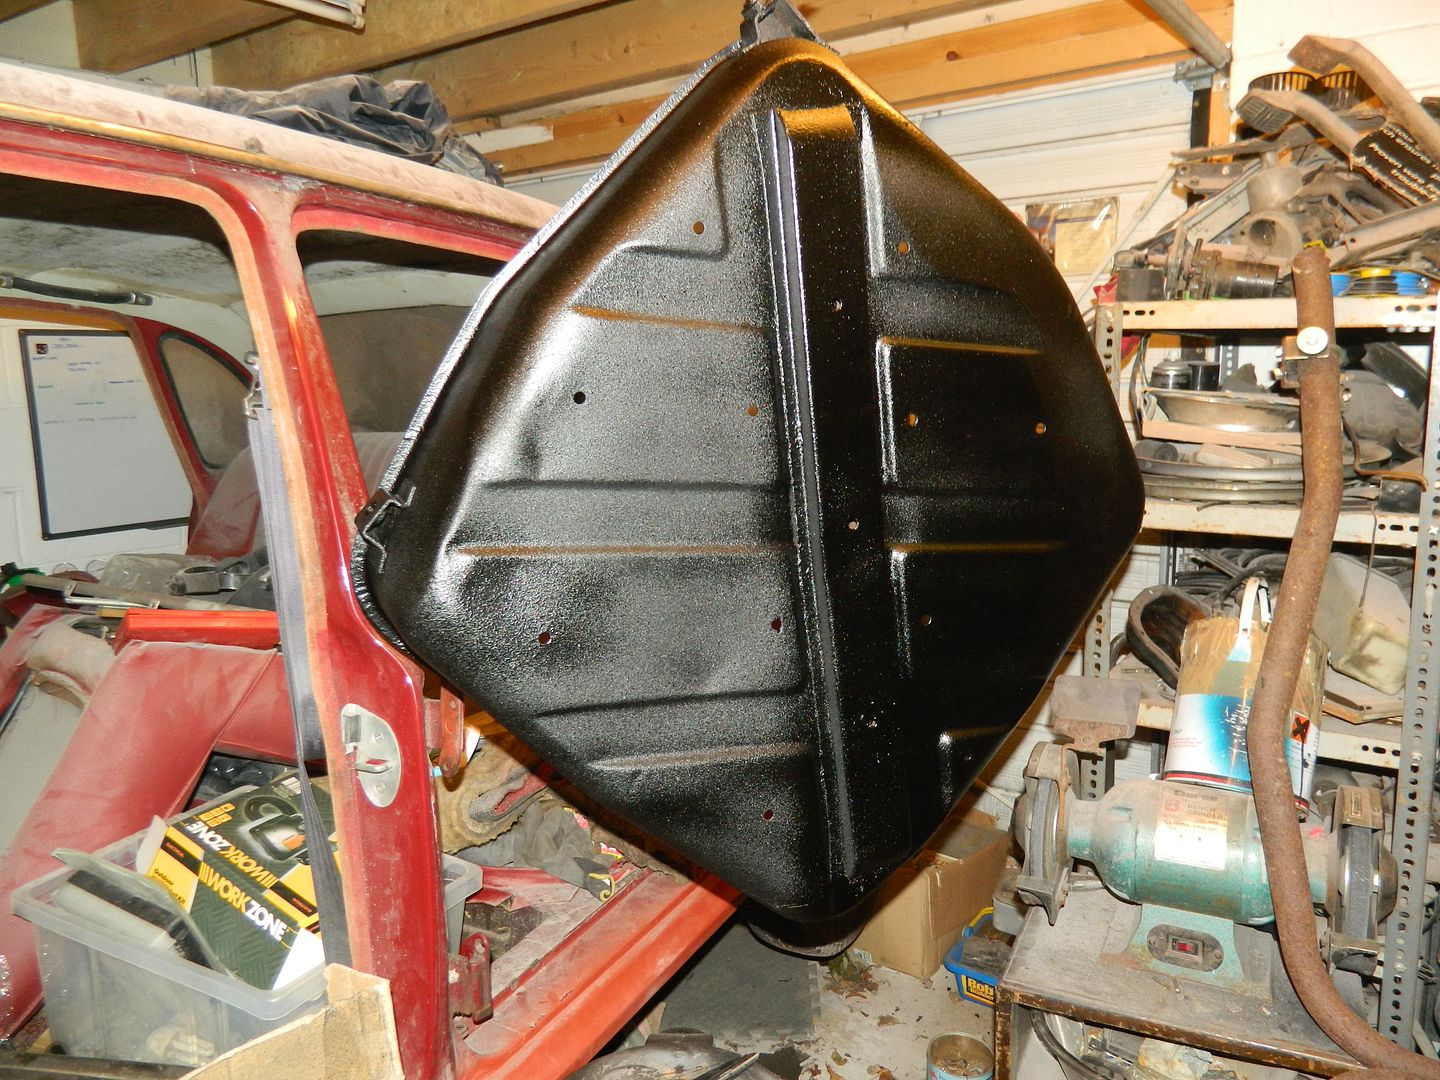 Spare wheel carrier has had a good dose of shutz. They should be fully dried by tomorrow evening, so hopefully I can do some more re-fitting. Chris. |
|
|
|
Post by Penguin45 on Nov 6, 2014 20:50:31 GMT
Spare wheel carrier is back on the car. Started cleaning and painting various brackets in the engine bay ready for the engine.
Does anyone know where I put the battery tray?
Chris.
|
|


 So far, it's had a coat of etch primer and a coat of chassis black. I will shutz the outside tomorrow evening, then it can start going back together.


