|
|
Post by dave1800 on Mar 15, 2014 4:03:46 GMT
Perhaps this thread should have been headed "Rusty Car";it looks as though it has been submerged for 30 years too! Some great work and photos! Hope you enjoyed the pint, well deserved. regards David 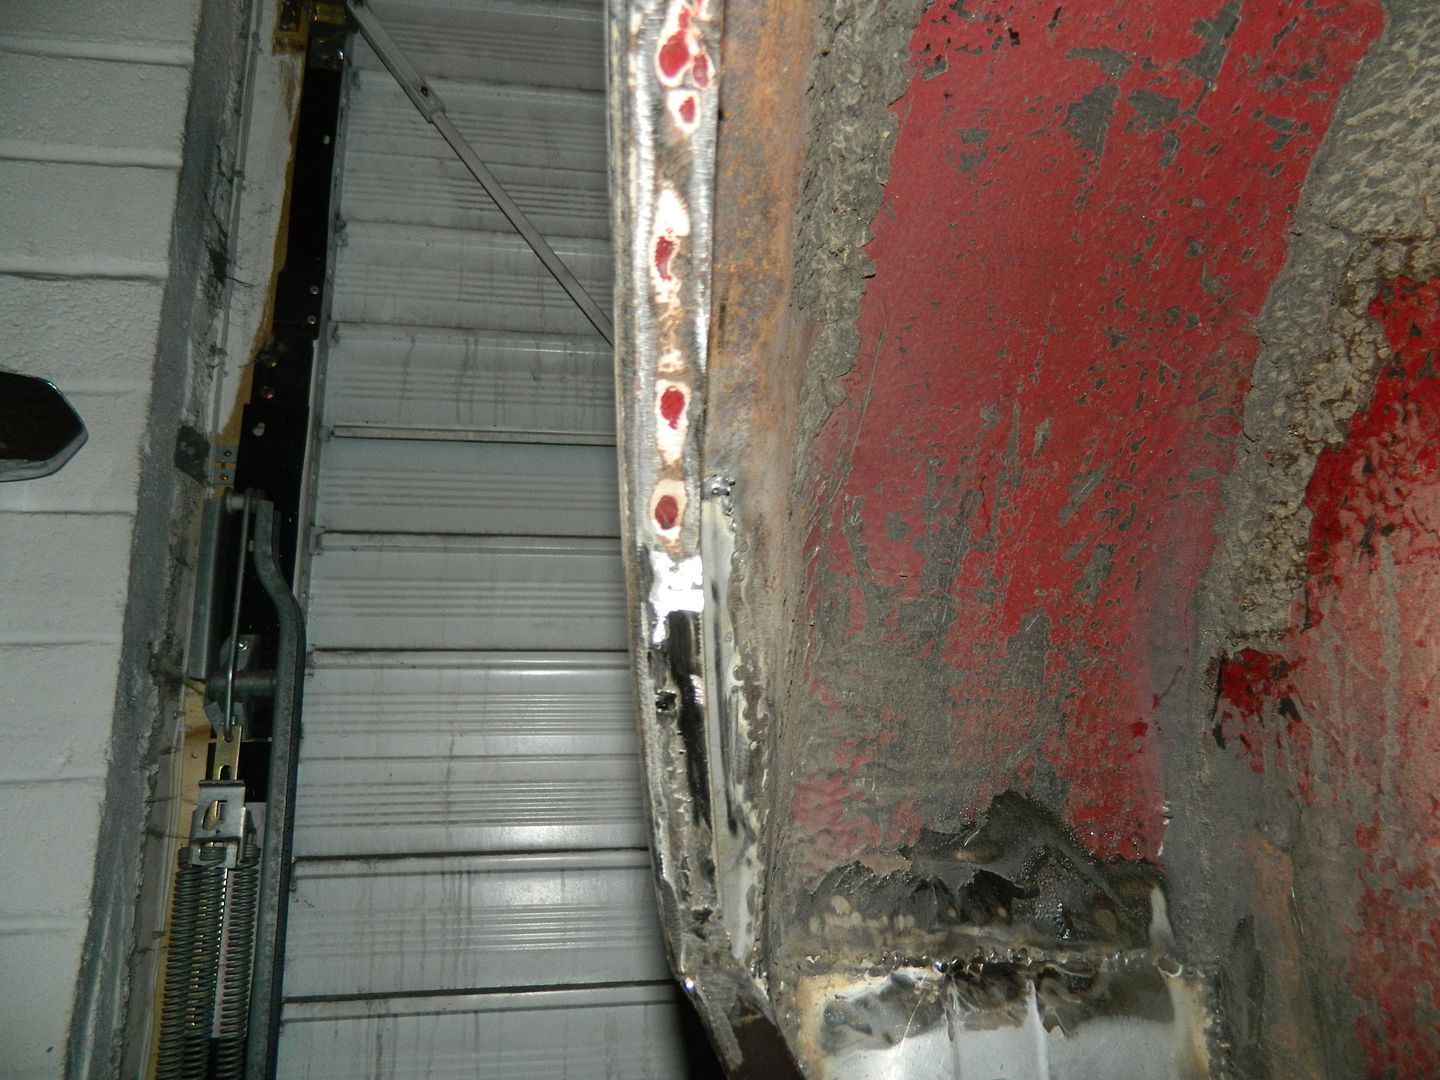 Last bit of wheel arch done. Almost managed to make it invisible.  I have undone the front suspension housing ready to access the chassis legs and underfloor repairs. I seem to lack sufficient brute force to move it....  Should manage to get some help tomorrow, so we can get cracking properly. In the meantime, I've removed the drivers seat and poked the floor to great effect. 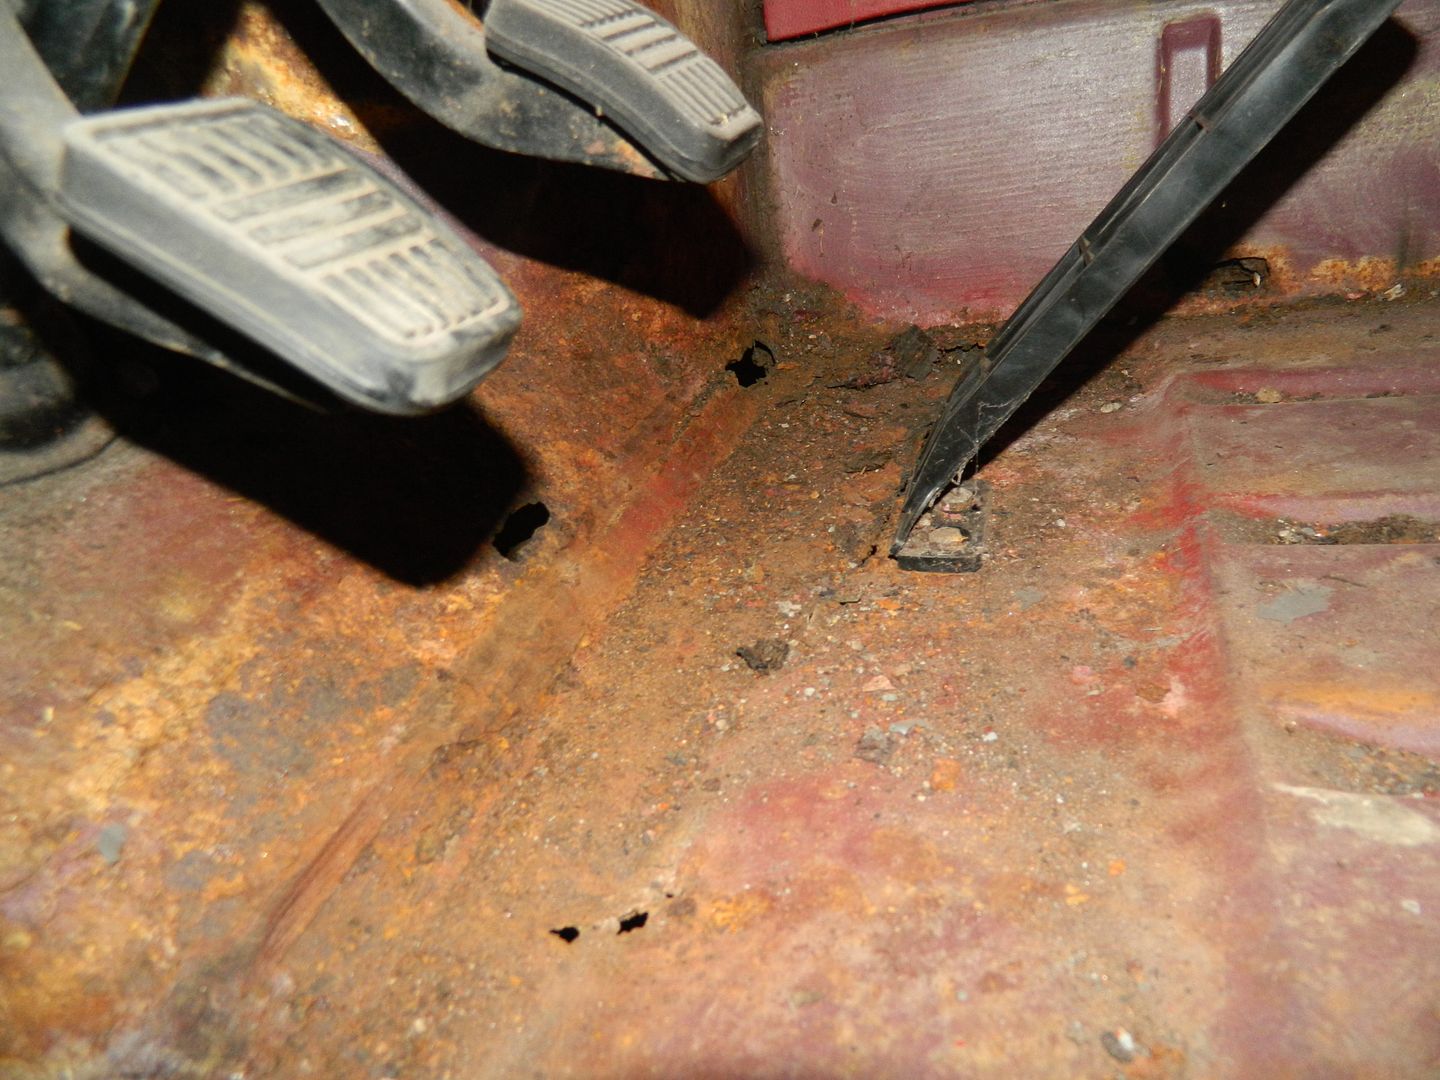 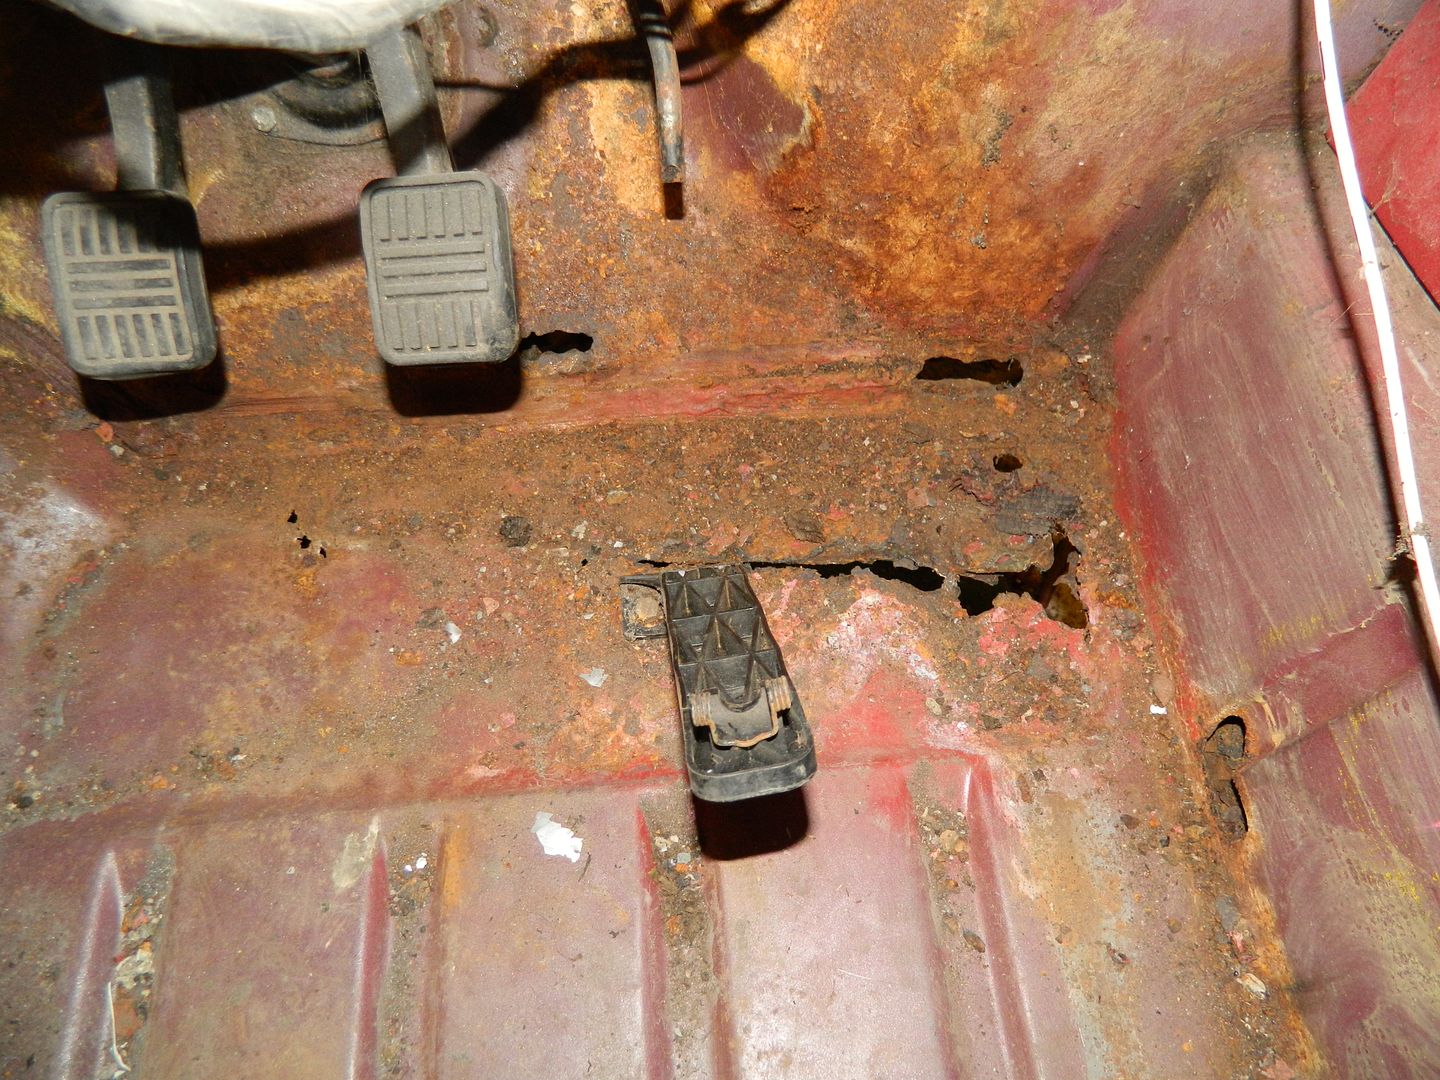 It's not nice. It's not nice at all. Just wait until you see what's underneath! I'm rather disappointed to see the hole in the inner sill. It lines up with the front jacking point and I had hoped to get away without removing/replacing the o/s sill. We'll see what tomorrow brings. Chris. |
|
|
|
Post by Penguin45 on Mar 15, 2014 19:32:46 GMT
IF YOU'RE SQUEAMISH OR OF A NERVOUS DISPOSITION STOP READING NOW!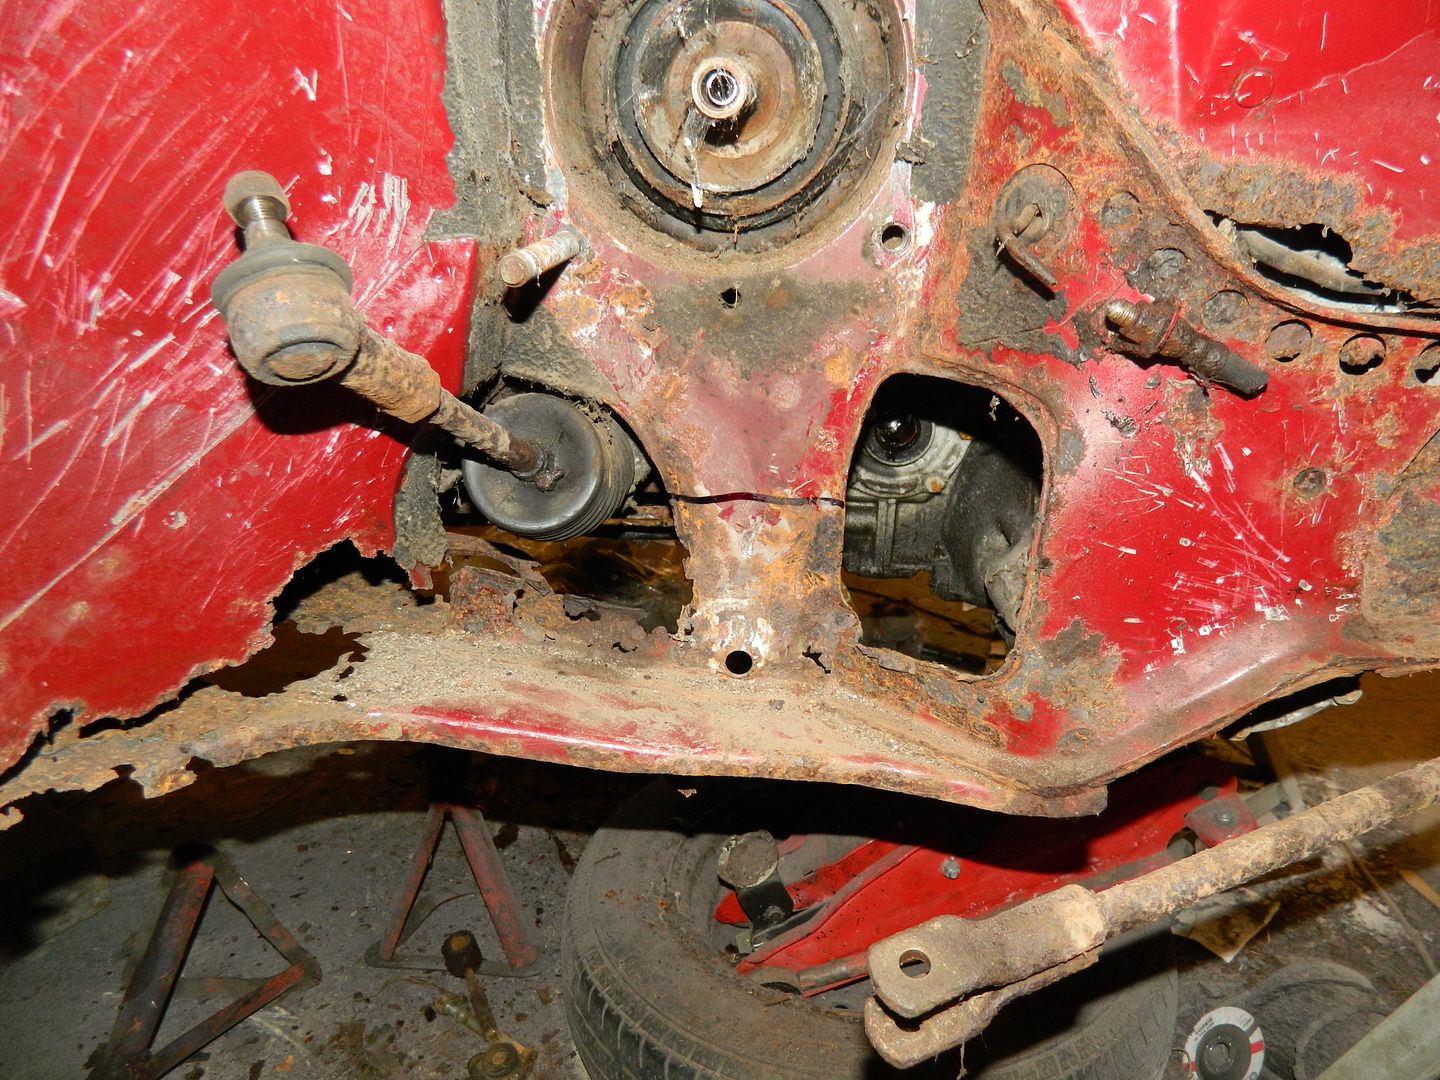 Front suspension and drive shaft removed (Thanks Ady!). Note upright section cut through. It's rotten behind anyway, so access required. 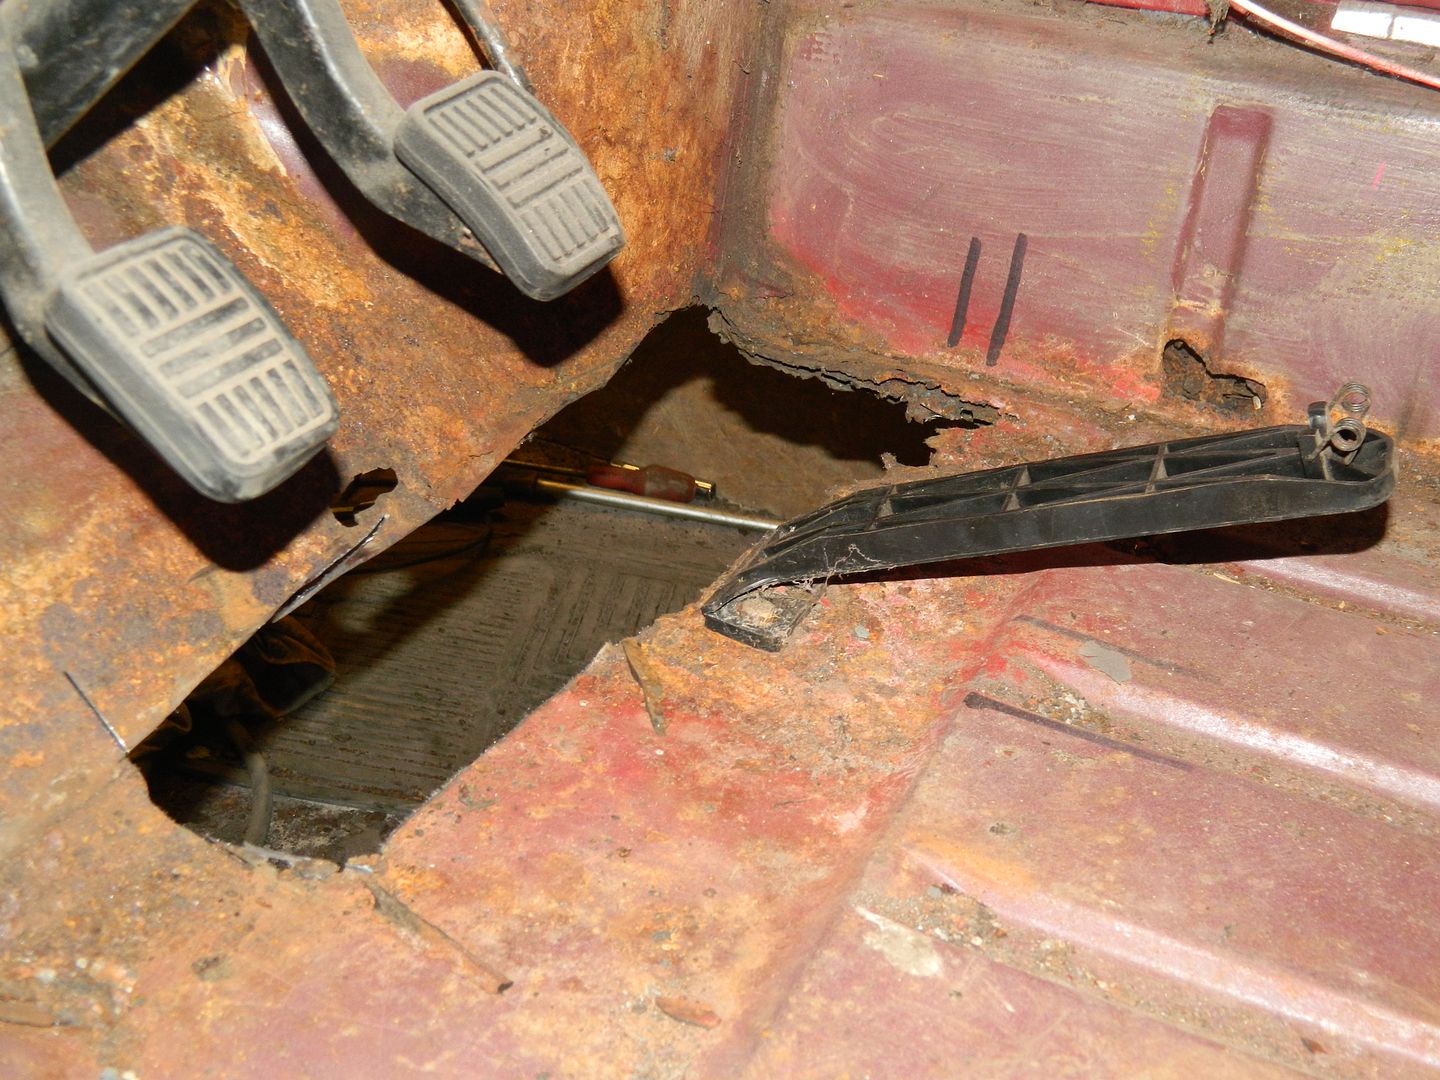 Floor cut away around chassis section. It's drooping under the car at this point. 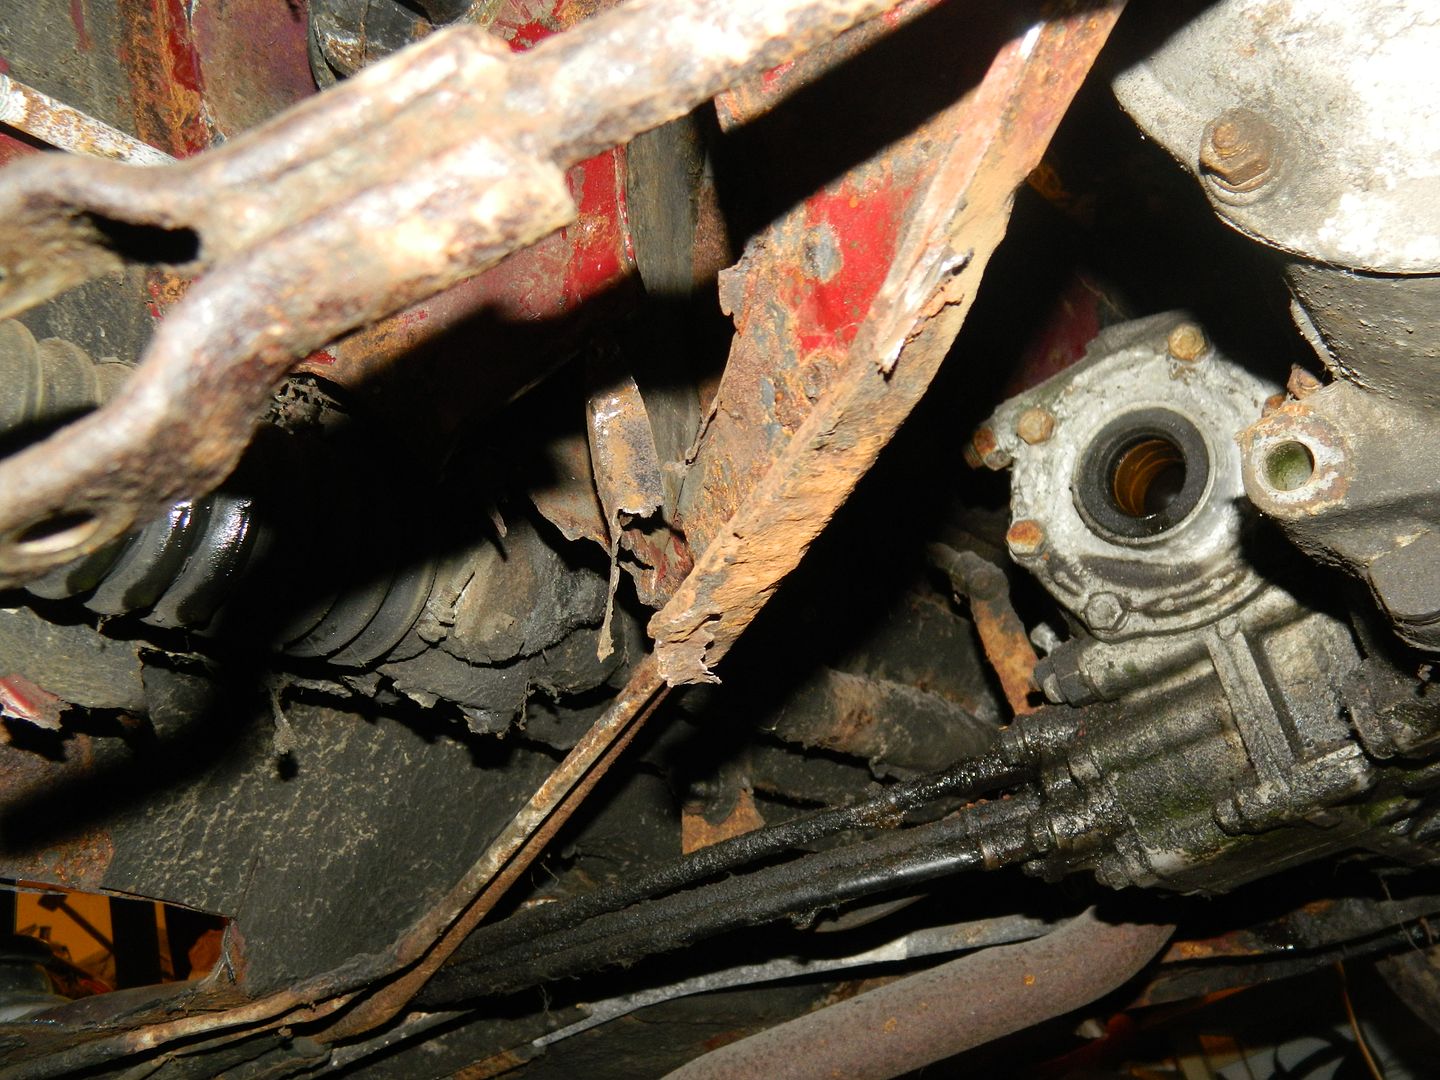 Drill out three spot welds and drive a chisel through the joint, and the chassis plate falls off. 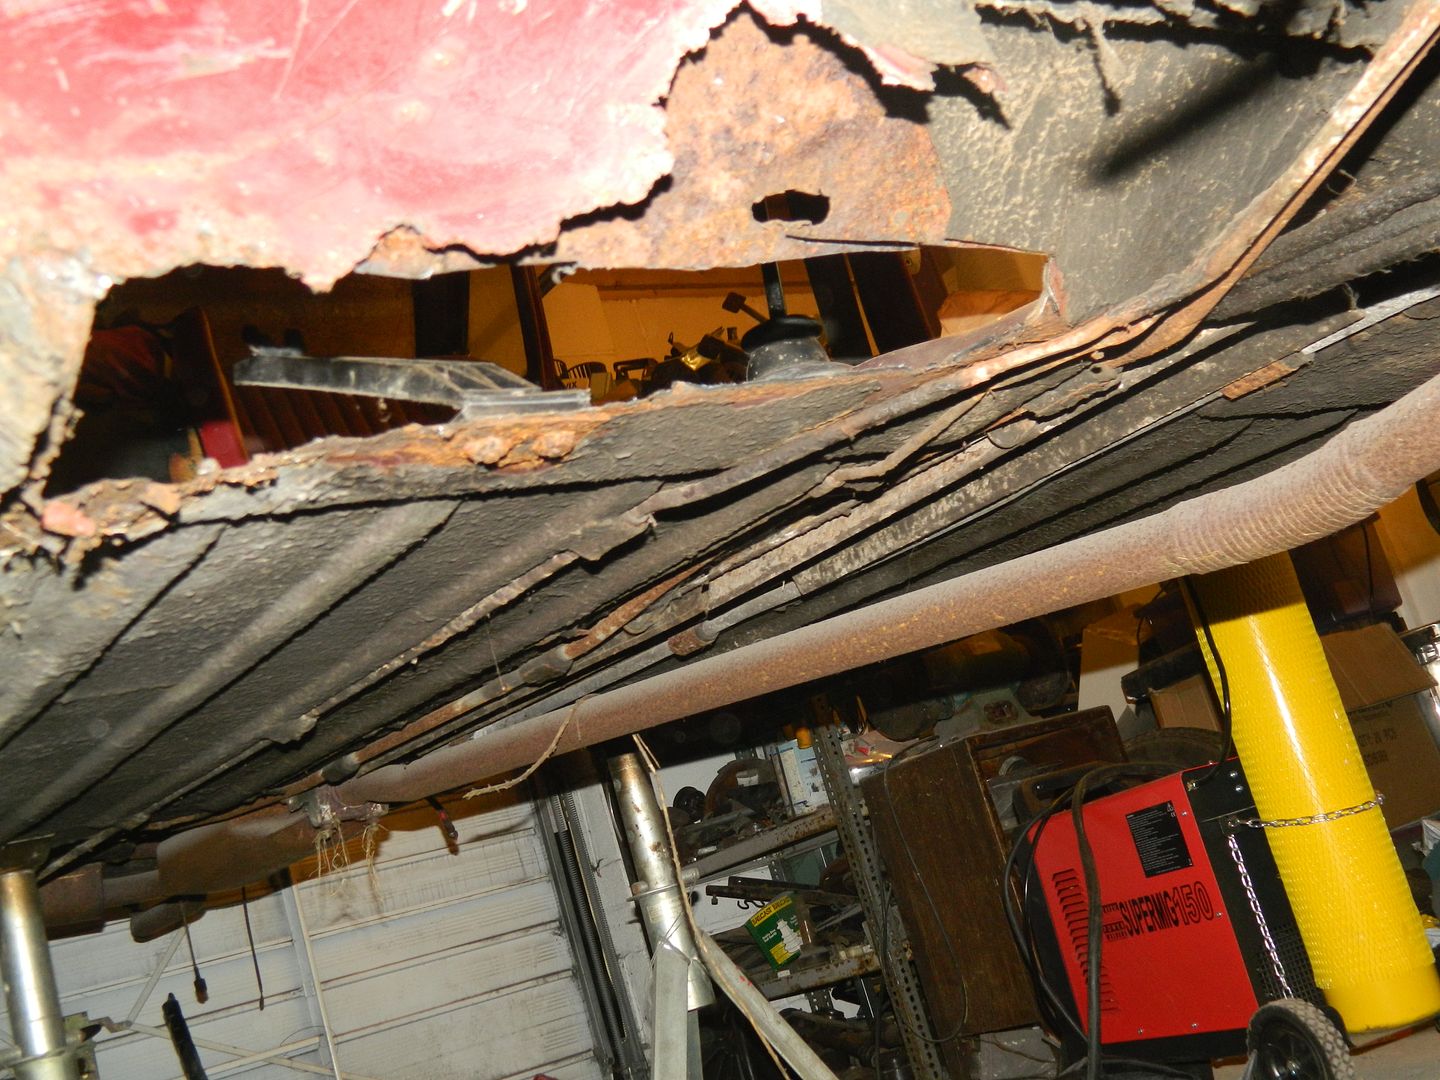 Hole. 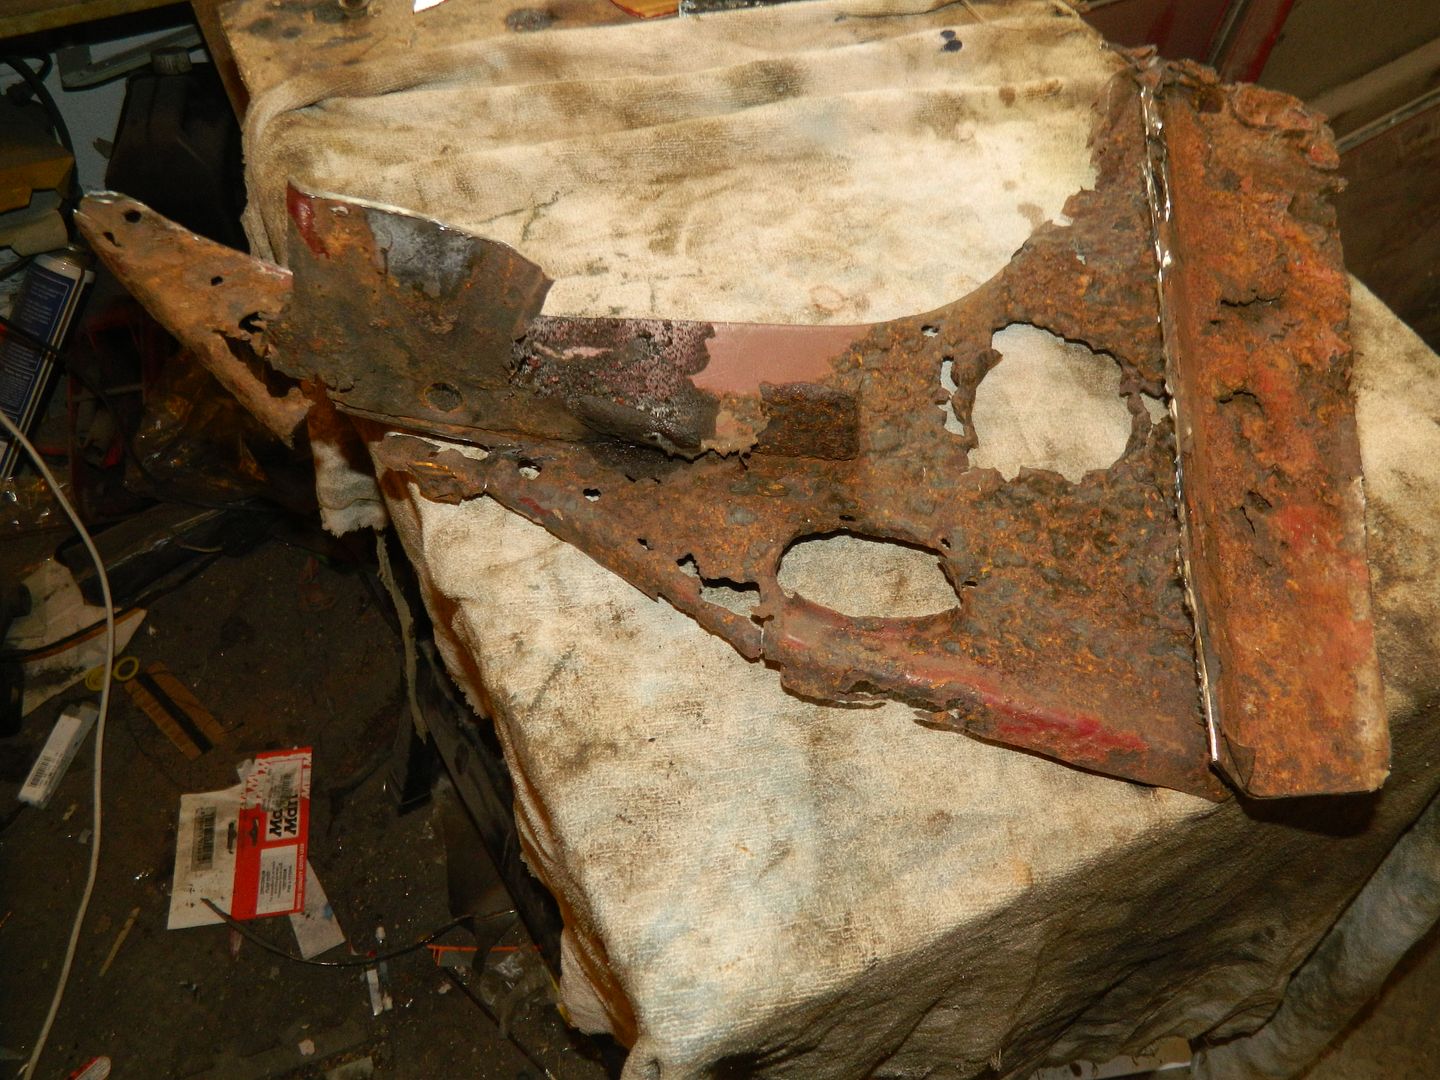 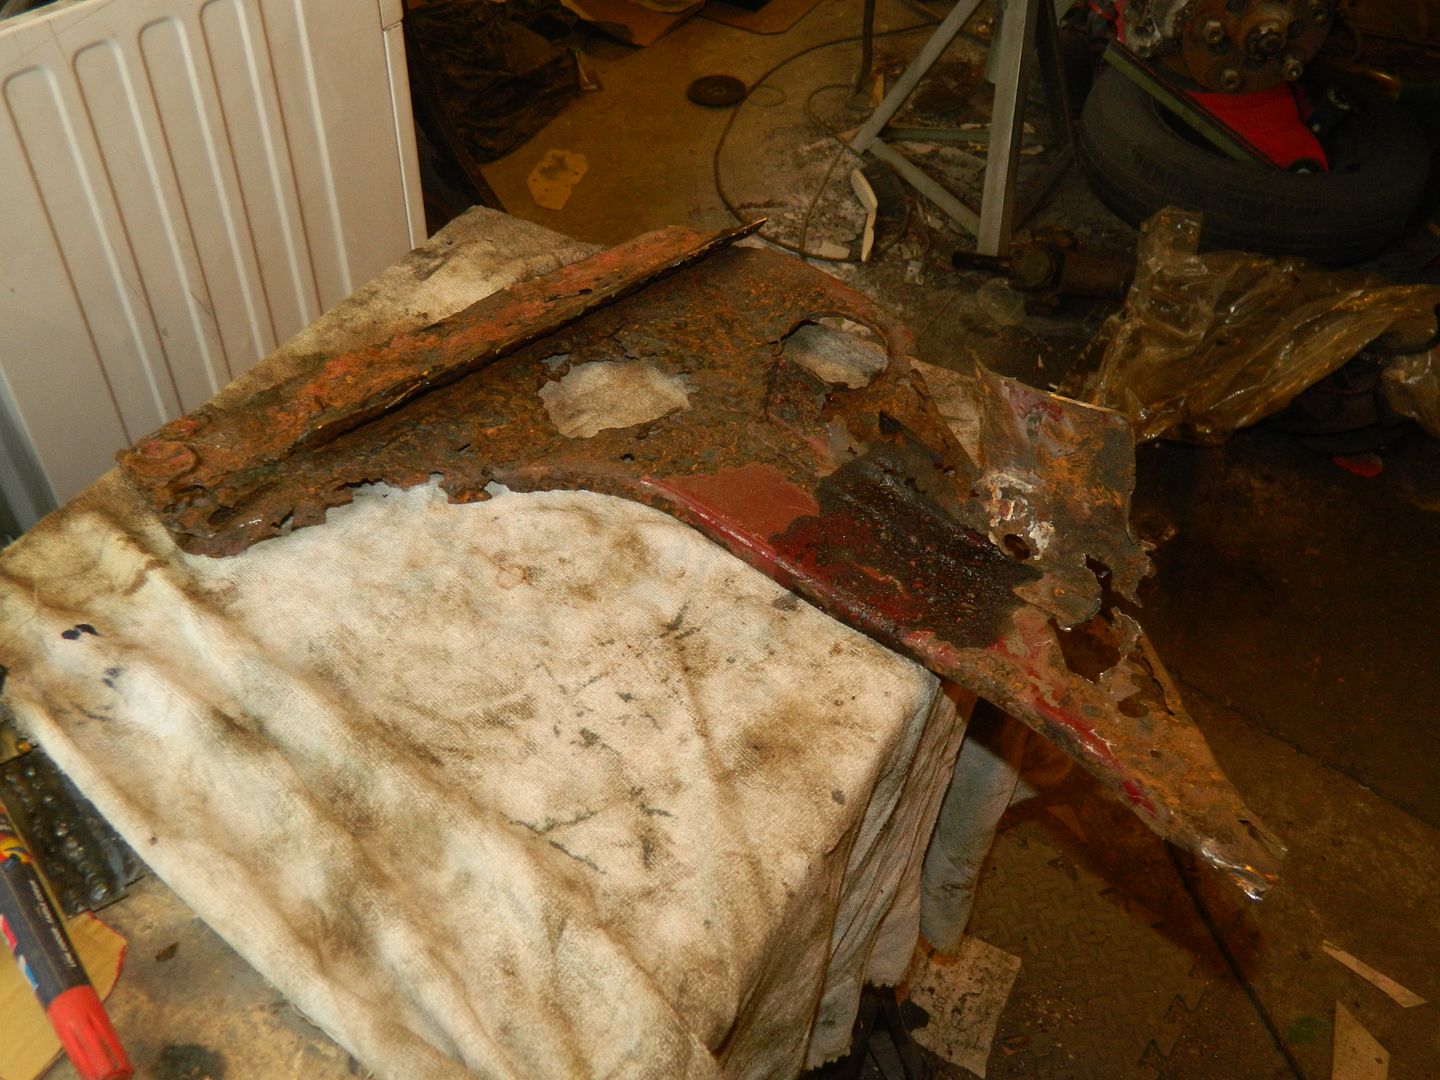 Chassis plate. I'm going to have to make a new one - absolutely nothing to be done with this. Got to find some 3mm plate, as I haven't got any. The remains of some internal metalwork can be made out on the top side of the panel. I'm going to have to create this from first principals, weld it into place, then plug weld to the chassis plate when offered up. Should be interesting........ There you go, told you it wasn't nice! Chris.
|
|
|
|
Post by snoopy11 on Mar 15, 2014 19:41:52 GMT
Blimey Chris. Good luck with that lot.
If you need a lift back to Coventry to collect the metal you left behind when you got the car let me know.
There might be some 3mm plate in the workshop if you get stuck.
|
|
|
|
Post by Penguin45 on Mar 15, 2014 19:43:56 GMT
IT'S OK, YOU CAN LOOK NOW!Can't deal with the chassis plate at the moment, but I've been busy on the floor and sills. 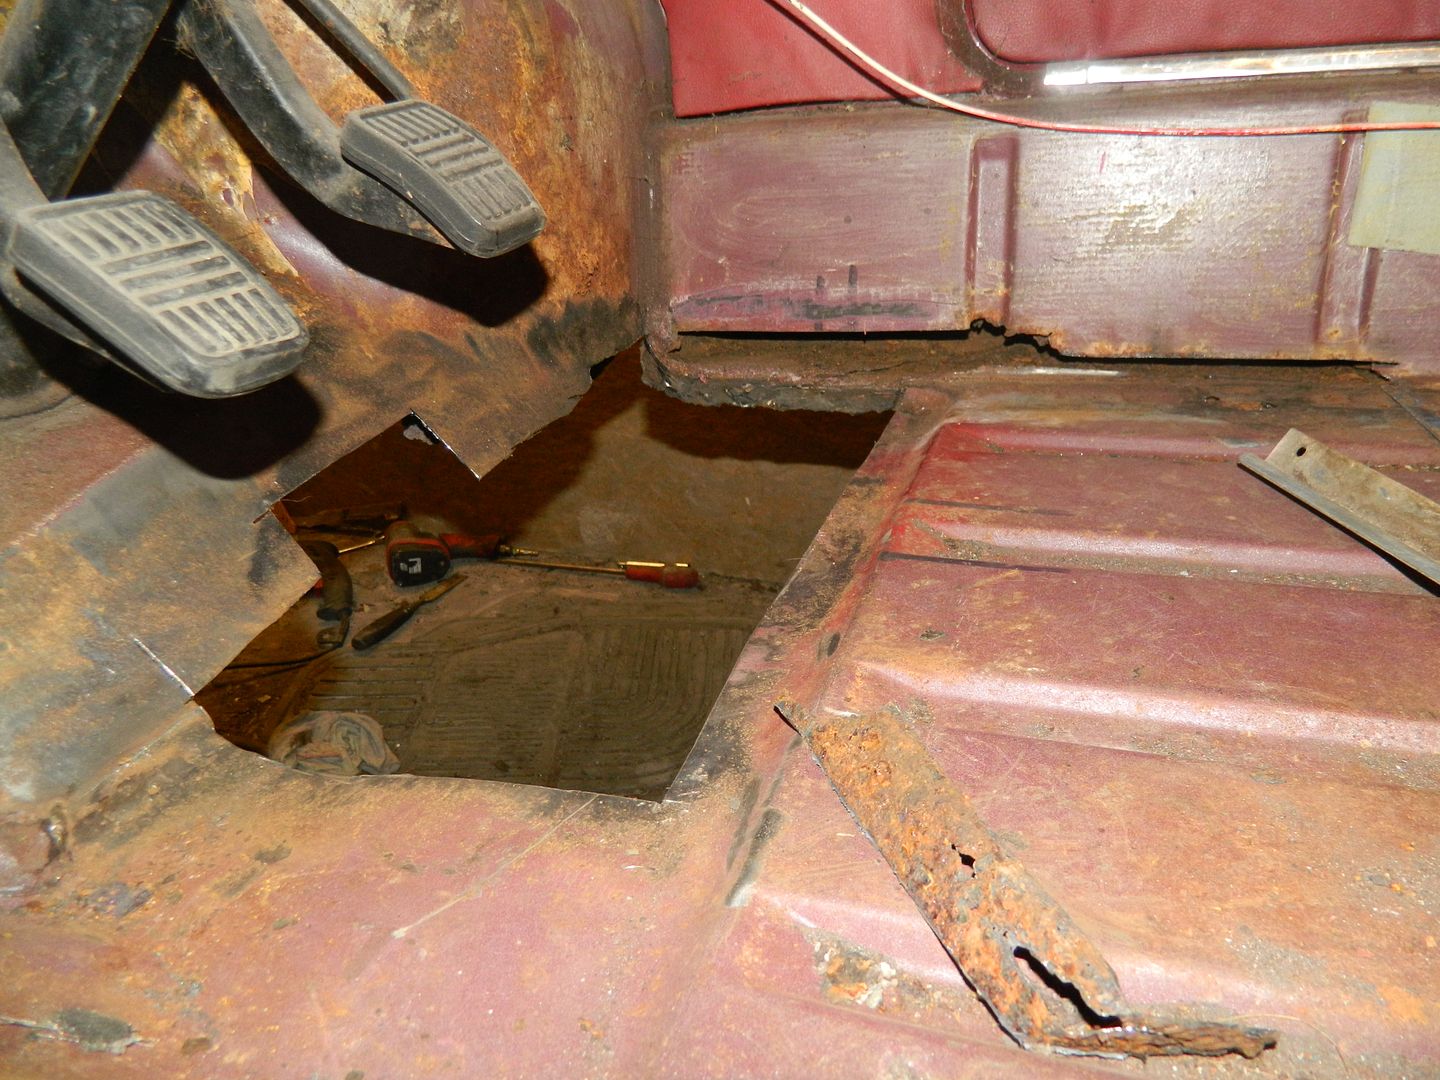 That's all the rot cut out, including the bottom of the inner sill. 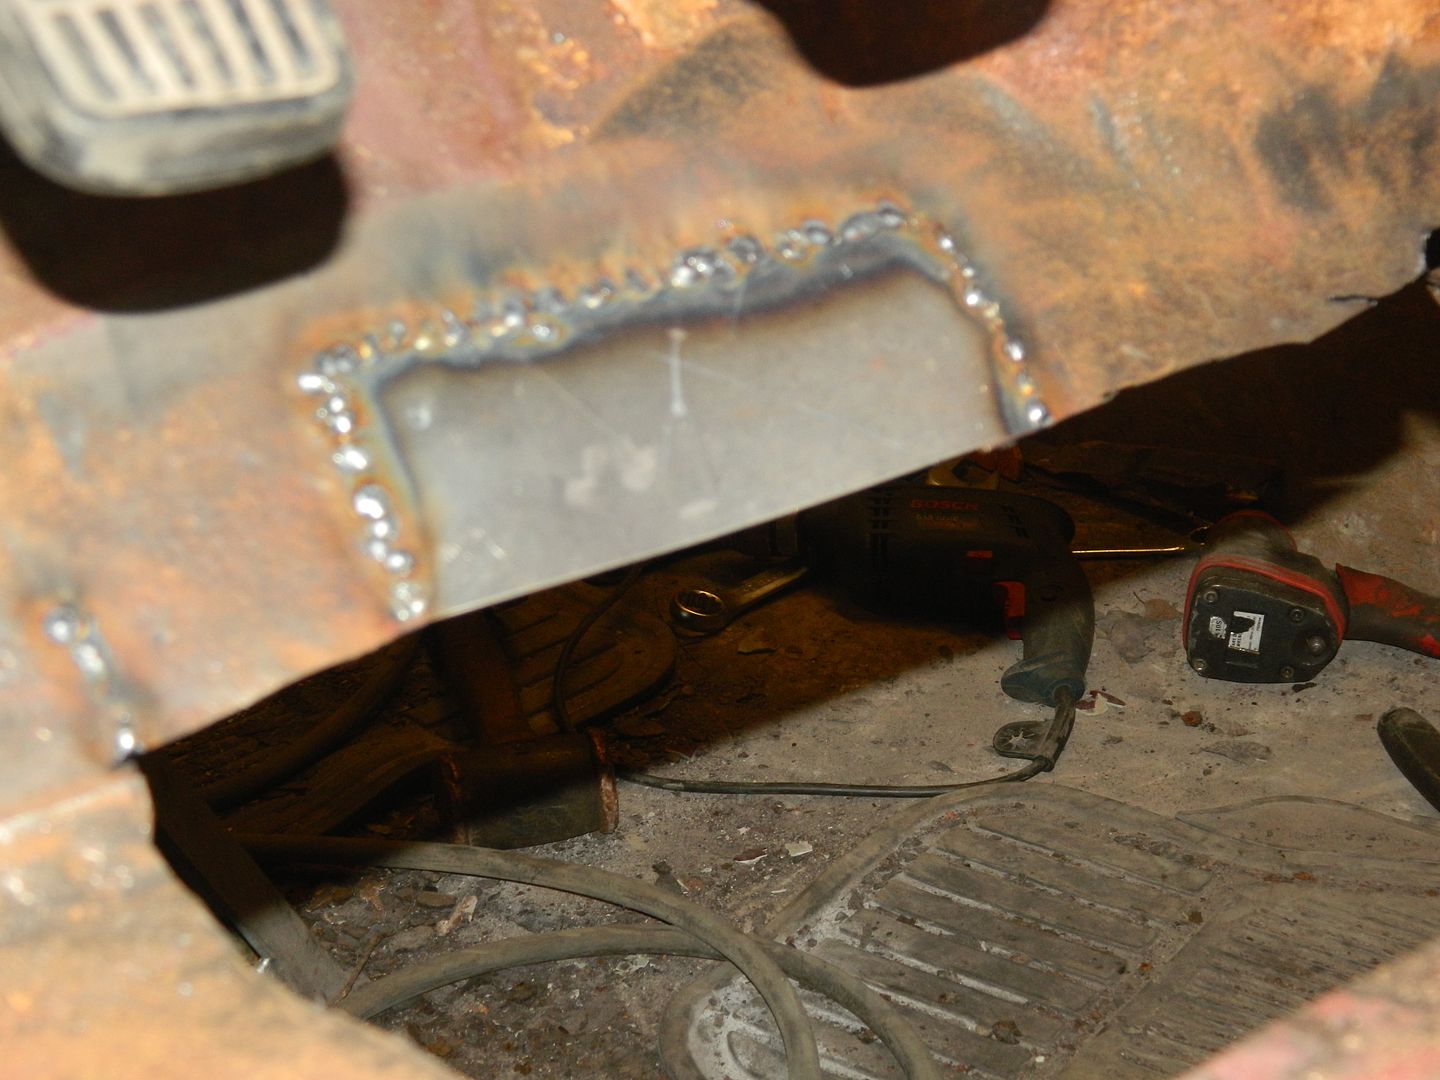 Bulkhead evened out. New panel across bottom bulkhead, flanged inner sill repair in place. 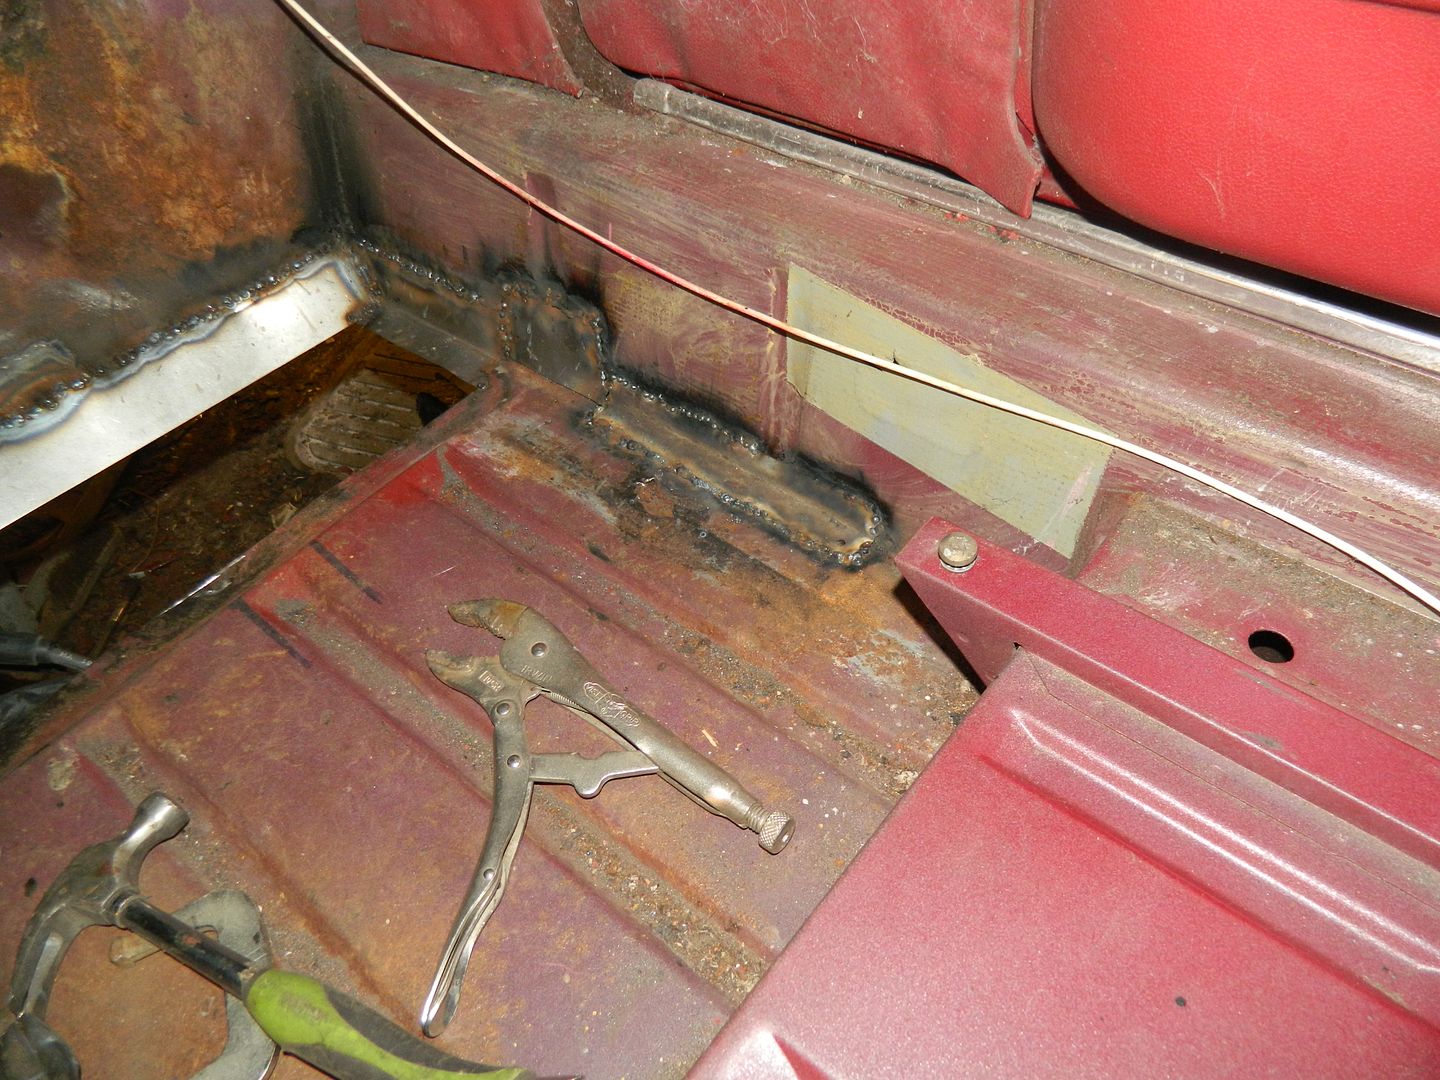 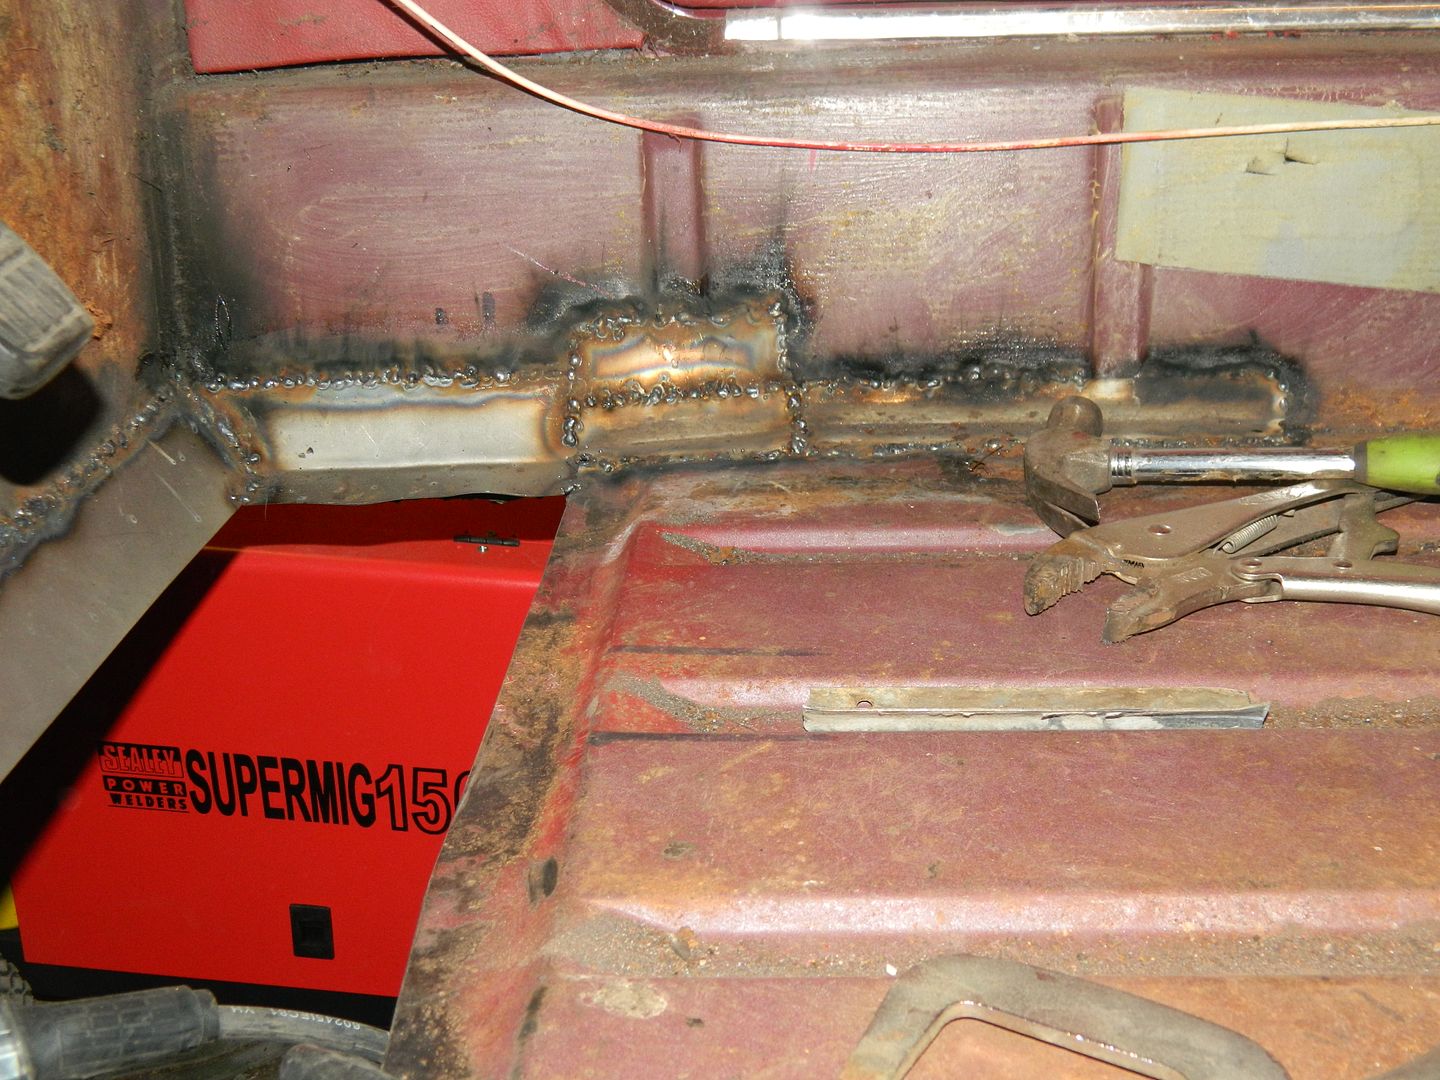 Rest of inner sill fixed. 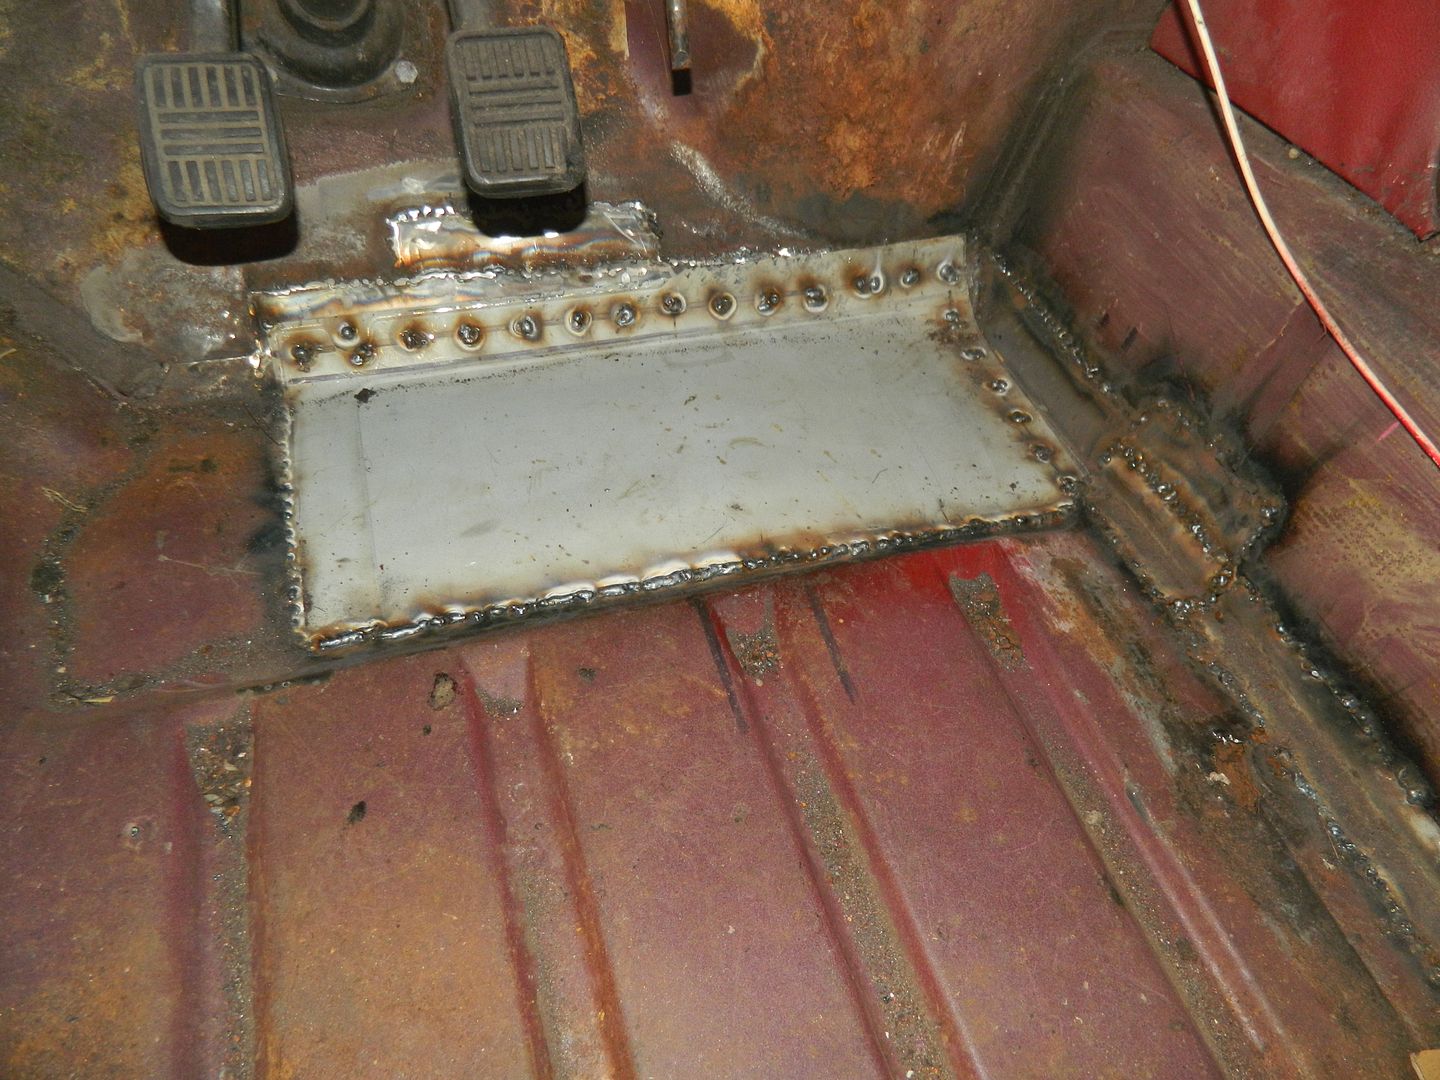 New floor attached - plug welded across the bulkhead and sill flange, seamed around the rest. It ain't going nowhere. Not a bad days work, pleased with that. Not pleased with how much rust I poked out of the sill during the inner sill repairs. I think I'll have to pull the sill off and do it properly. New welder has been a joy to work with. No fuss, no bother, just ZAP! Chris.
|
|
|
|
Post by dave1800 on Mar 16, 2014 1:15:44 GMT
I think I need a drink and it's only breakfast time  IF YOU'RE SQUEAMISH OR OF A NERVOUS DISPOSITION STOP READING NOW!told you it wasn't nice! Chris. |
|
|
|
Post by indianajones on Mar 16, 2014 6:42:31 GMT
Mrs Jones had to look away from the computer lol
-Andrew
|
|
|
|
Post by bullyboy on Mar 16, 2014 9:51:34 GMT
Hi Chris Great work luckily i have already seen this rot not an easy repair and a difficult repair panel to make because of the thickness, you probably need a edge roller to do it properly. I had a vice and folder and got quite a good result.  But i welded to a good half.   Slightly different shape but strength now built in just got the drivers sde to do Paul |
|
|
|
Post by Penguin45 on Mar 16, 2014 13:57:13 GMT
I'm thinking that making the chassis plate is best done at college. We have some serious tools available! There's a plasma cutter I've been itching to have a go with.
I'm sure a bracing cup of tea is what you need, David.
Indy, do offer Mrs Jones my apologies. It did have to be done.
Chris.
|
|
|
|
Post by Penguin45 on Mar 16, 2014 19:46:45 GMT
Been doing church and family stuff for most of the day, so not done a right lot. Just the one little job completed. 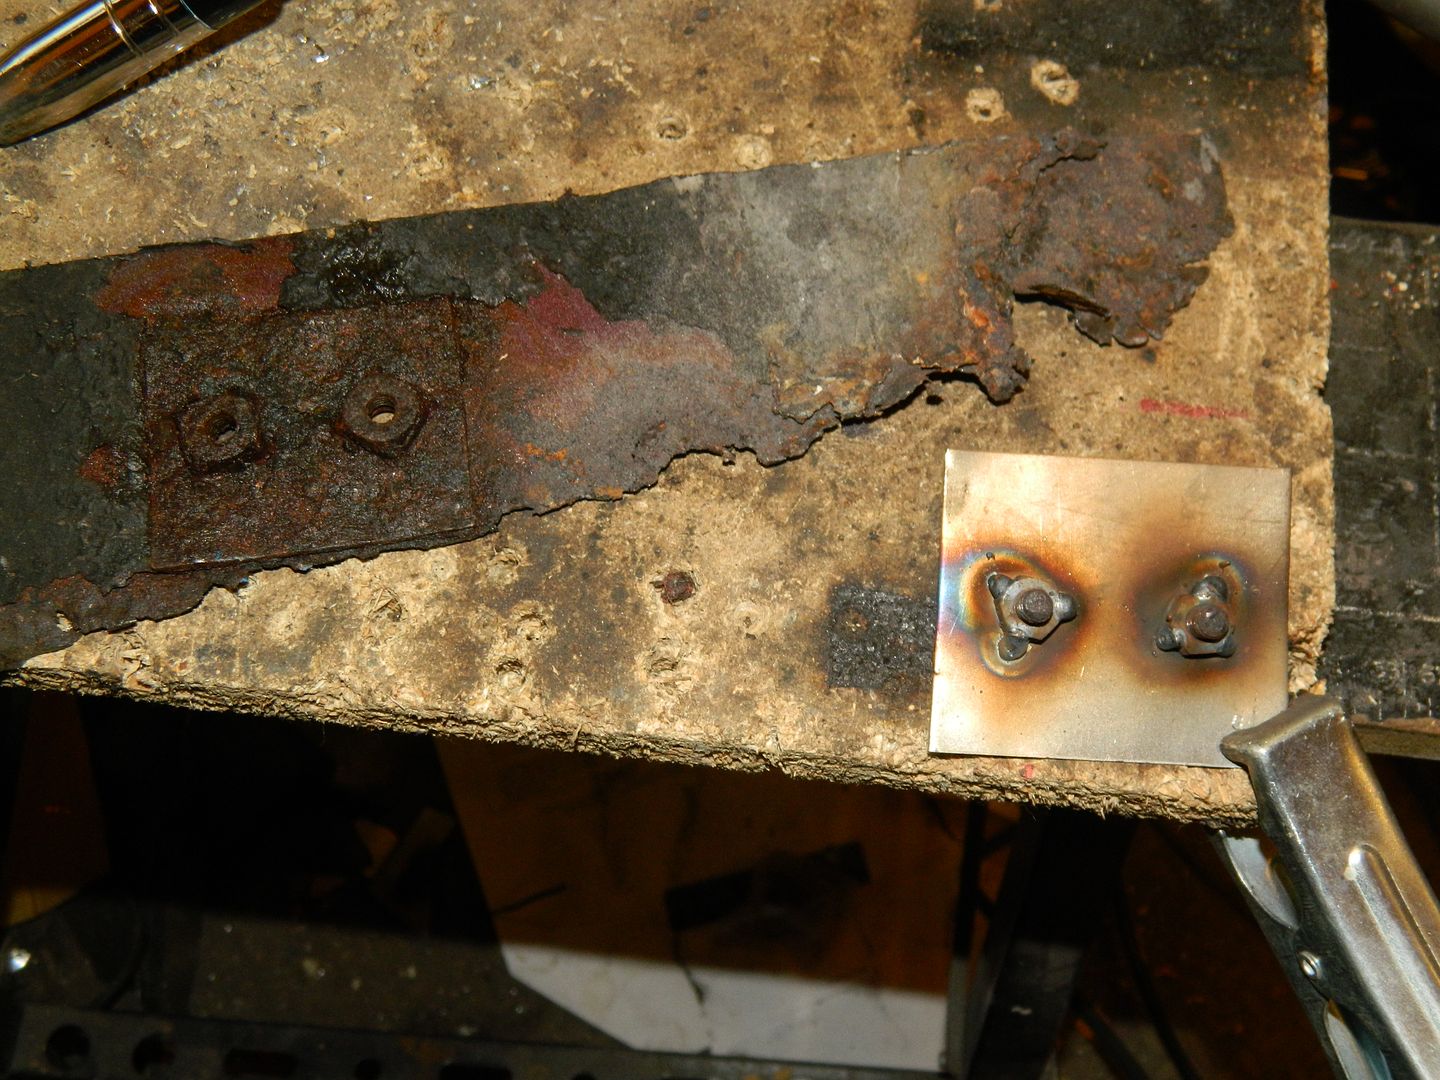 Made this little bit. 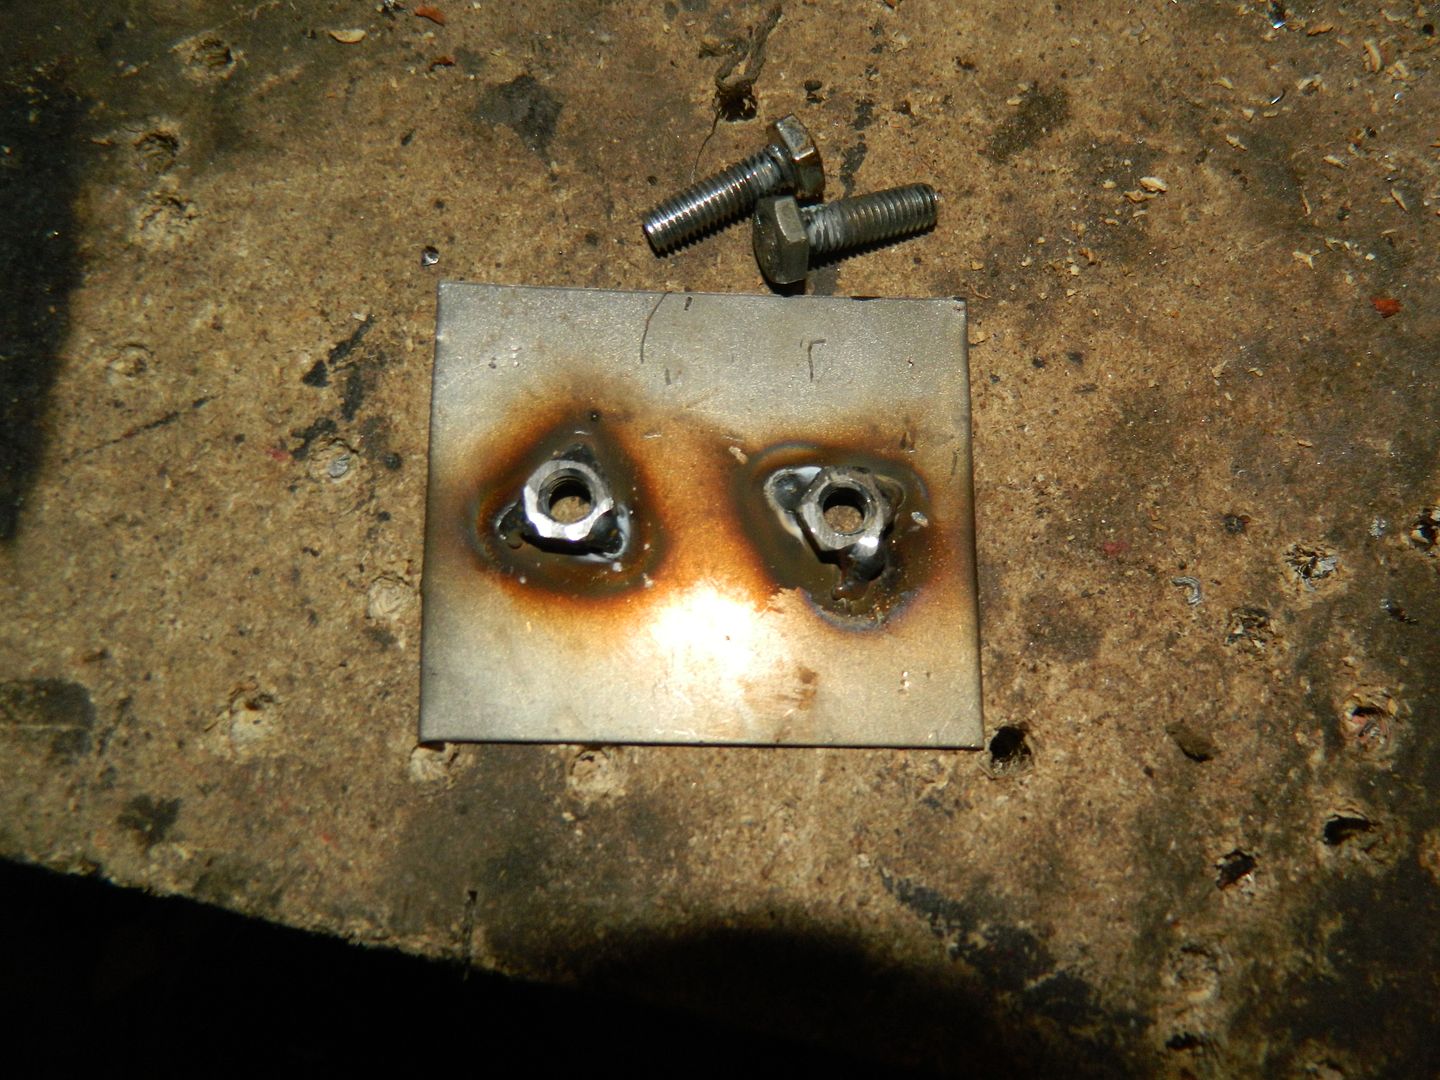 Made another one. When using a bolt to hold a nut in place to be welded, do not weld the bolt to the nut........  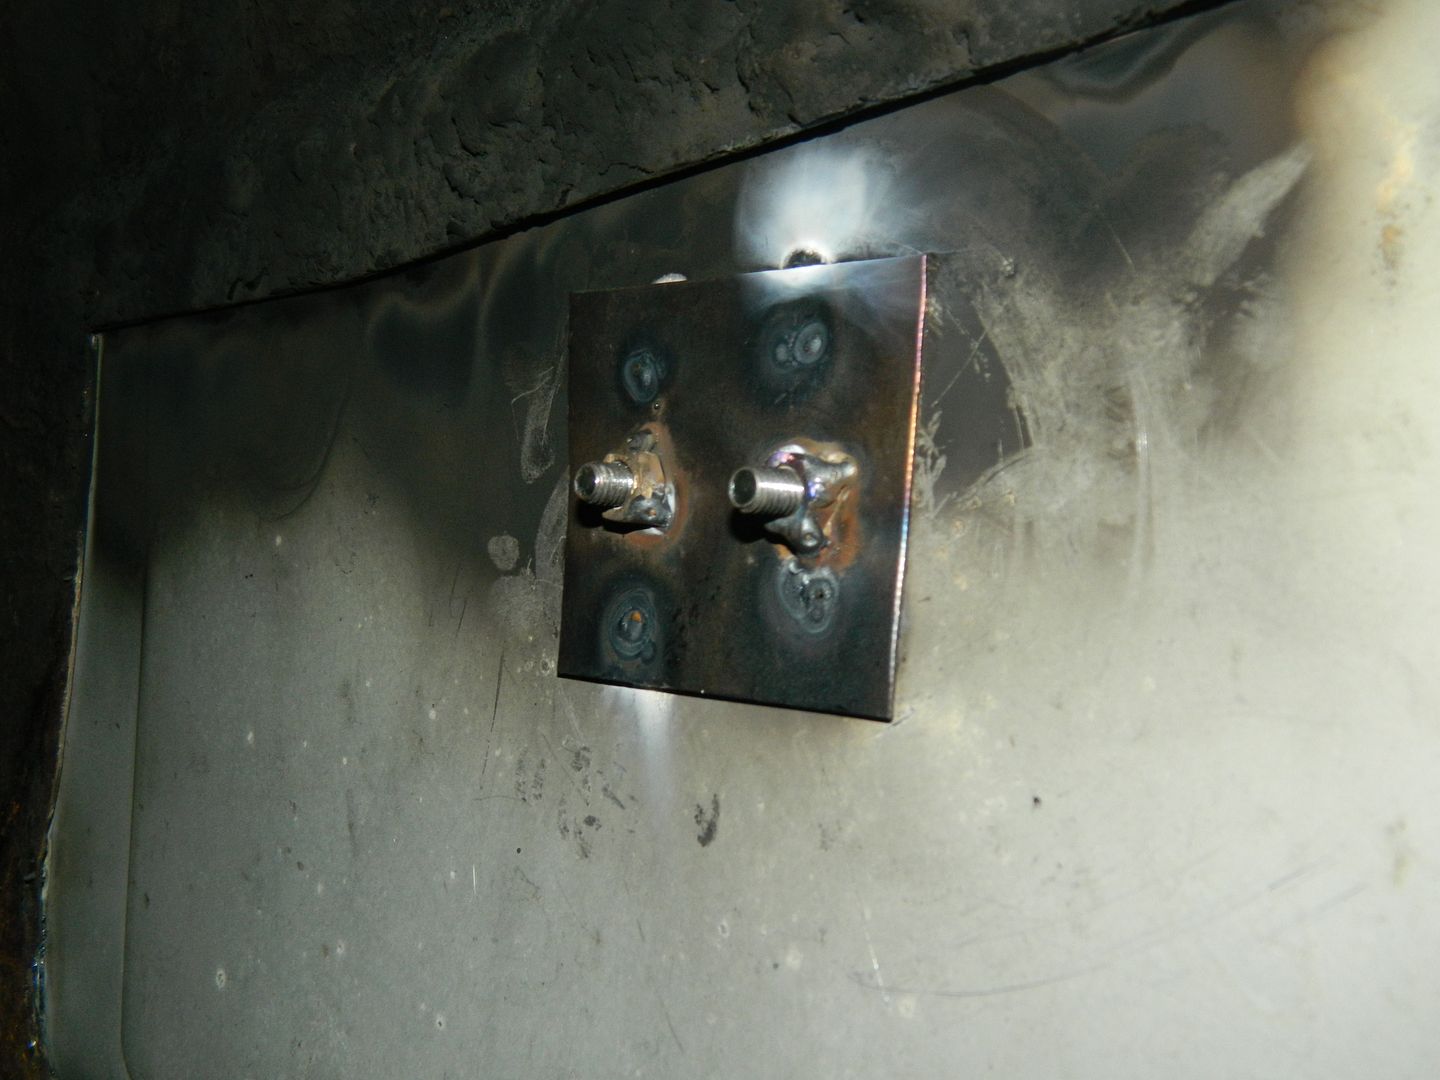 Plug weld in place. 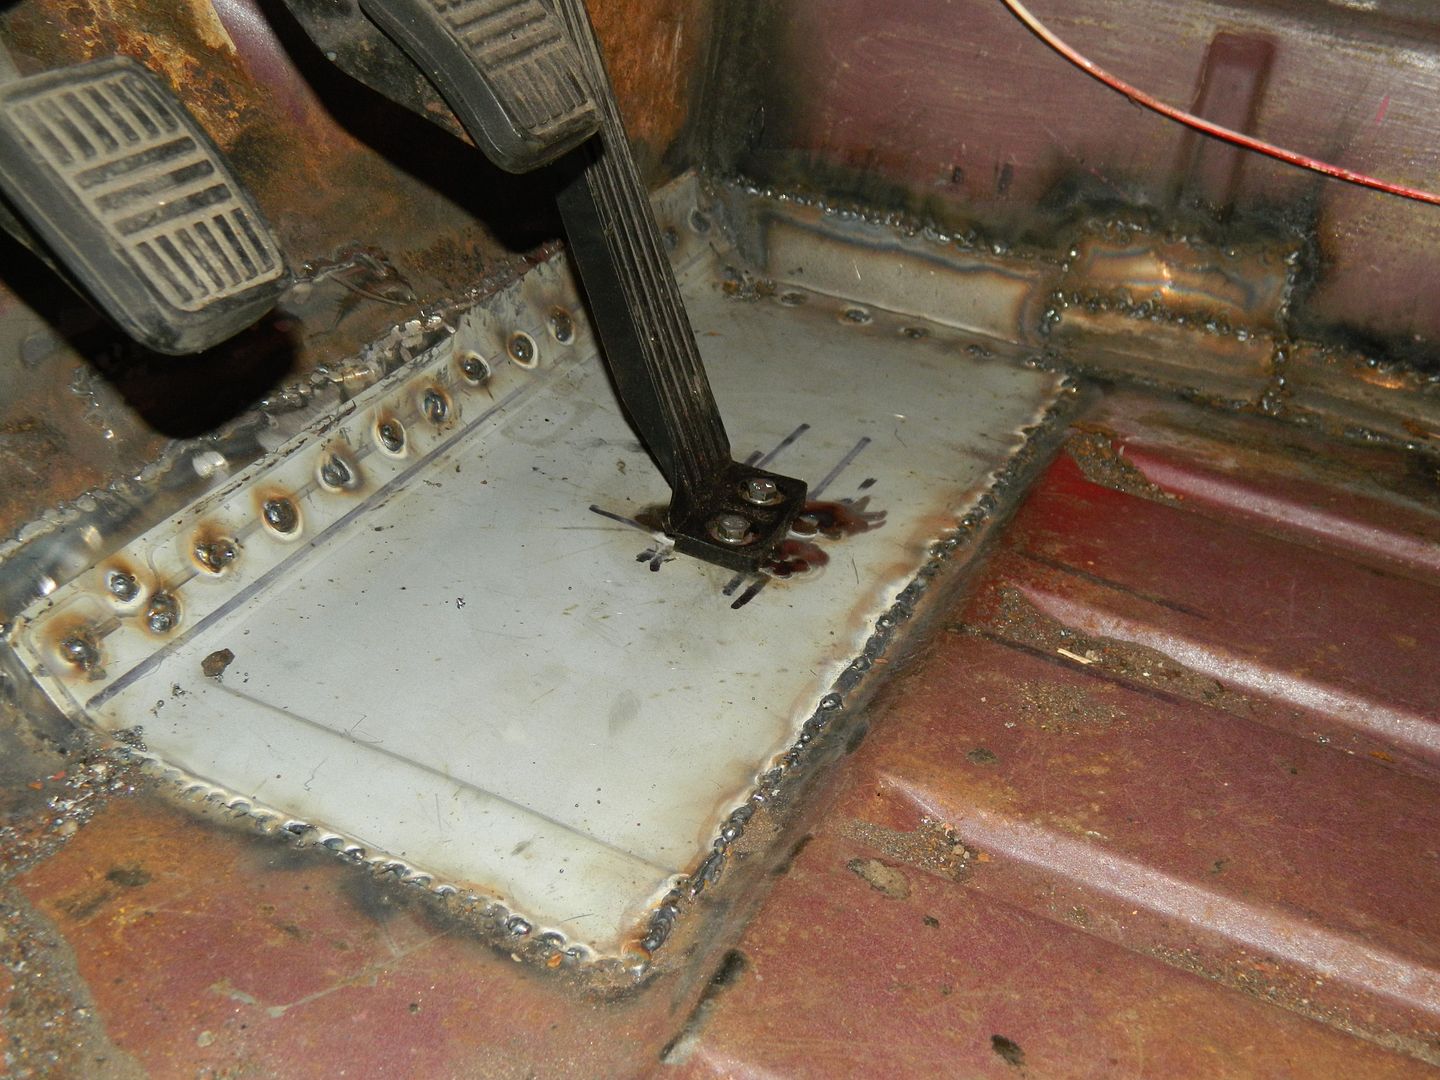 Refit accelerator pedal. Just a little job, jobbed. 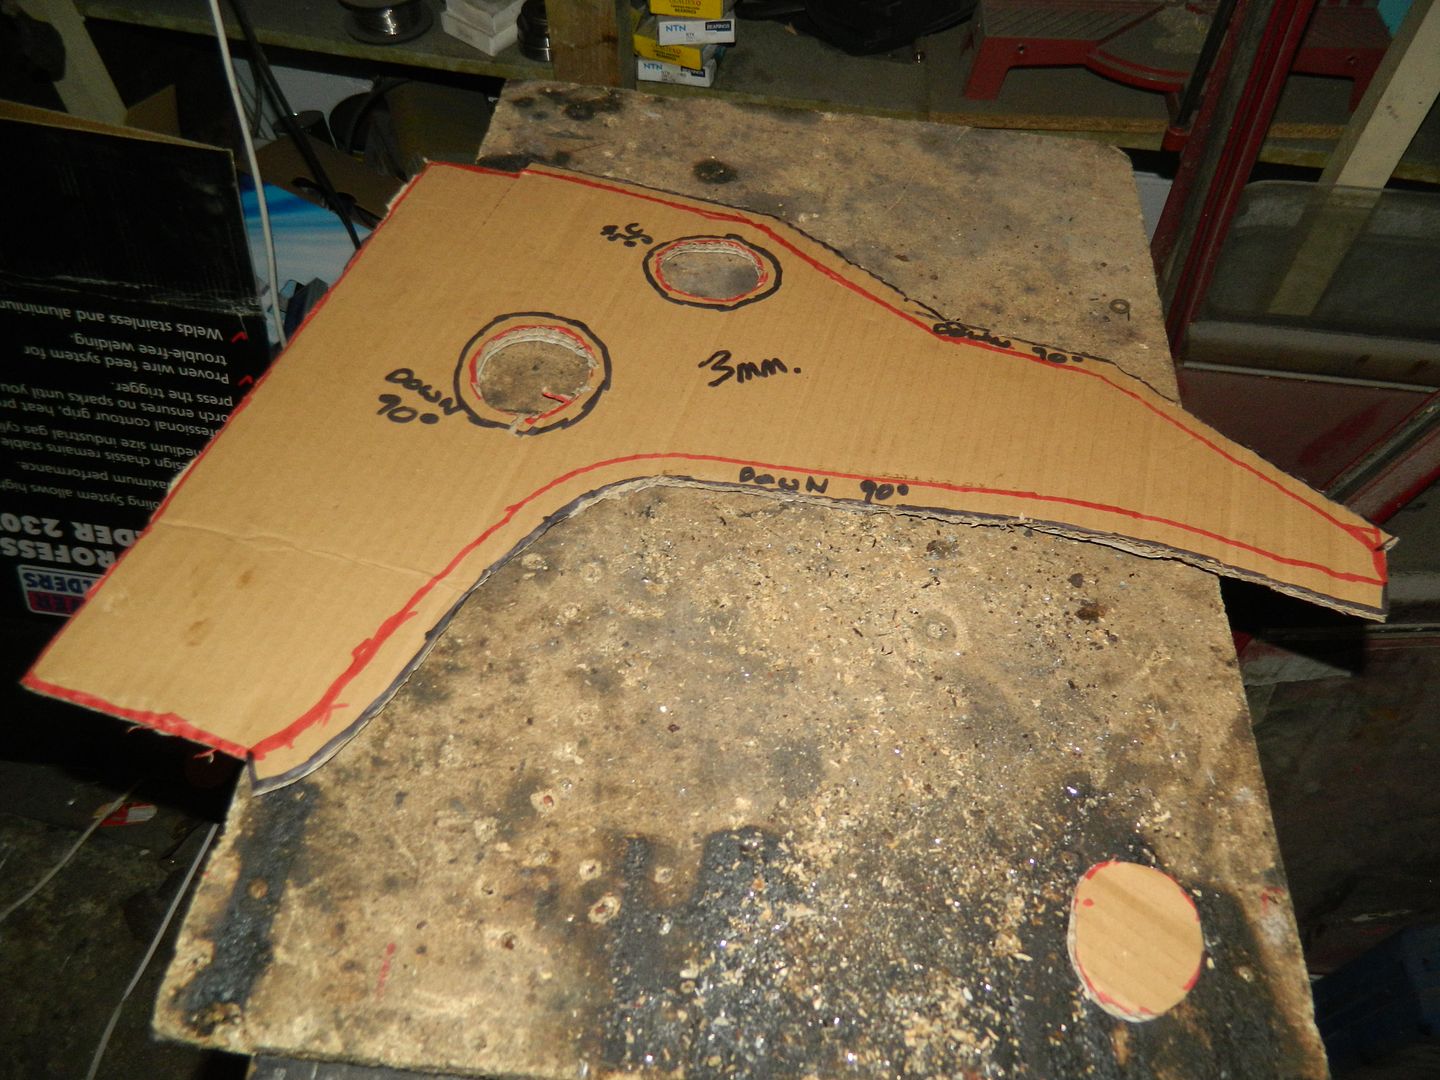 This is what the chassis plate should look like. It's 7mm thick, but unfortunately made of cardboard. I'll take into college tomorrow and open negotiations. Chris. |
|
|
|
Post by snoopy11 on Mar 17, 2014 0:11:07 GMT
Could you not use a riv-nut instead of welding
|
|
|
|
Post by Penguin45 on Mar 17, 2014 0:34:42 GMT
You're being clever at me, aren't you?  Never even crossed my mind, to be honest - I just made a new one of what was there before. Chris. |
|
|
|
Post by dave1800 on Mar 17, 2014 1:16:19 GMT
Tea is a real luxury here, each (decent) tea bag costs around £0.40 about the same as half a small bottle of beer so which is more suitable for getting over the shock of your photos? I guess you will need to carefully check the camber angle after repairing the cut-through upright; I've seen references to shimming the alloy suspension housing to make adjustments. Now I know what a riv-nut is, never too old to learn! David I'm thinking that making the chassis plate is best done at college. We have some serious tools available! There's a plasma cutter I've been itching to have a go with. I'm sure a bracing cup of tea is what you need, David. Indy, do offer Mrs Jones my apologies. It did have to be done. Chris. |
|
|
|
Post by Penguin45 on Mar 19, 2014 0:39:46 GMT
I'll be interested to see how the alignment bit works out. The alloy suspension housing is held by four studs at the top and just the one through bolt to the engine stabiliser at the bottom. I suspect the top four will do the work of keeping the top arm in the right place and I'm not going to have to work in that area, just down at the bottom. Still pondering a sequence to try and do the work in. I suspect that once the plate is made I need to create the panels coming down, then offer the chassis plate up. That should give a datum for creating the flanges in the panels to allow them to be plug welded home. I think........  Chris. |
|
|
|
Post by dave1800 on Mar 19, 2014 2:21:20 GMT
It would be interesting to see how you measure the suspension angles in due course if you are able to take photos. I think your strategy of working top down should ensure proper alignment. The big lower housing bolt fit is a good indicator nothing is amiss, I suggest. Probably new territory for all of us, you are a brave man  David I'll be interested to see how the alignment bit works out. The alloy suspension housing is held by four studs at the top and just the one through bolt to the engine stabiliser at the bottom. I suspect the top four will do the work of keeping the top arm in the right place and I'm not going to have to work in that area, just down at the bottom. Still pondering a sequence to try and do the work in. I suspect that once the plate is made I need to create the panels coming down, then offer the chassis plate up. That should give a datum for creating the flanges in the panels to allow them to be plug welded home. I think........  Chris. |
|
|
|
Post by Penguin45 on Mar 21, 2014 19:48:15 GMT
Chassis plate now cut out: 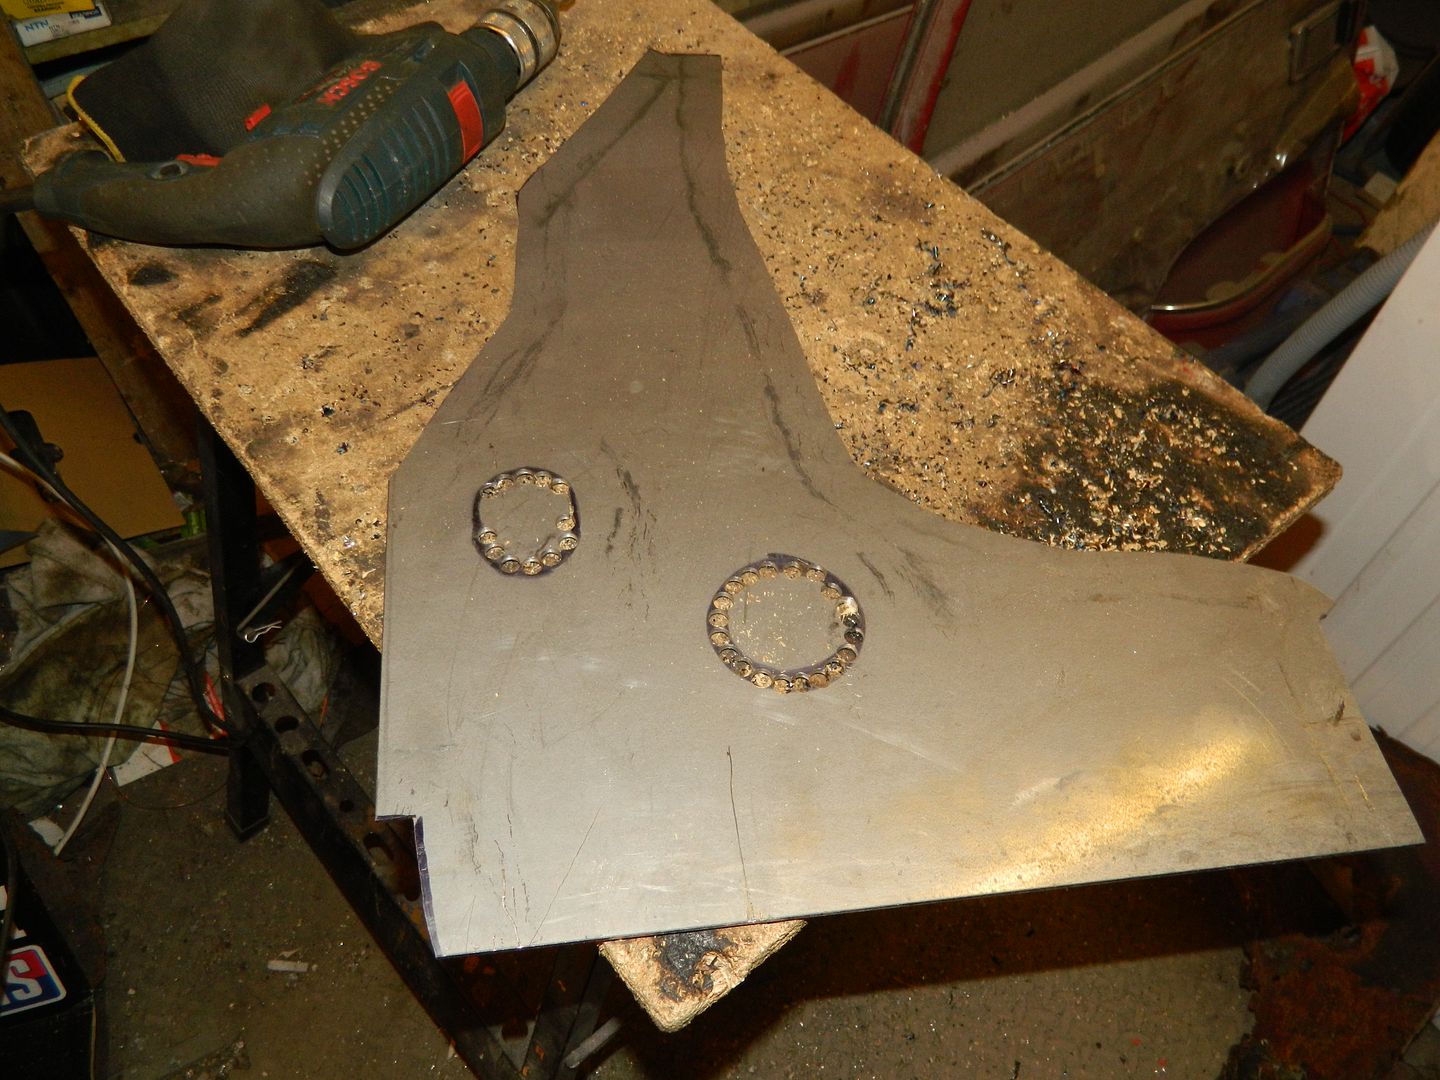 V e r y v e r y s l o w l y with the jigsaw. Chain drilled round the holes as the material is too thick for the jigsaw blade to make the curve. 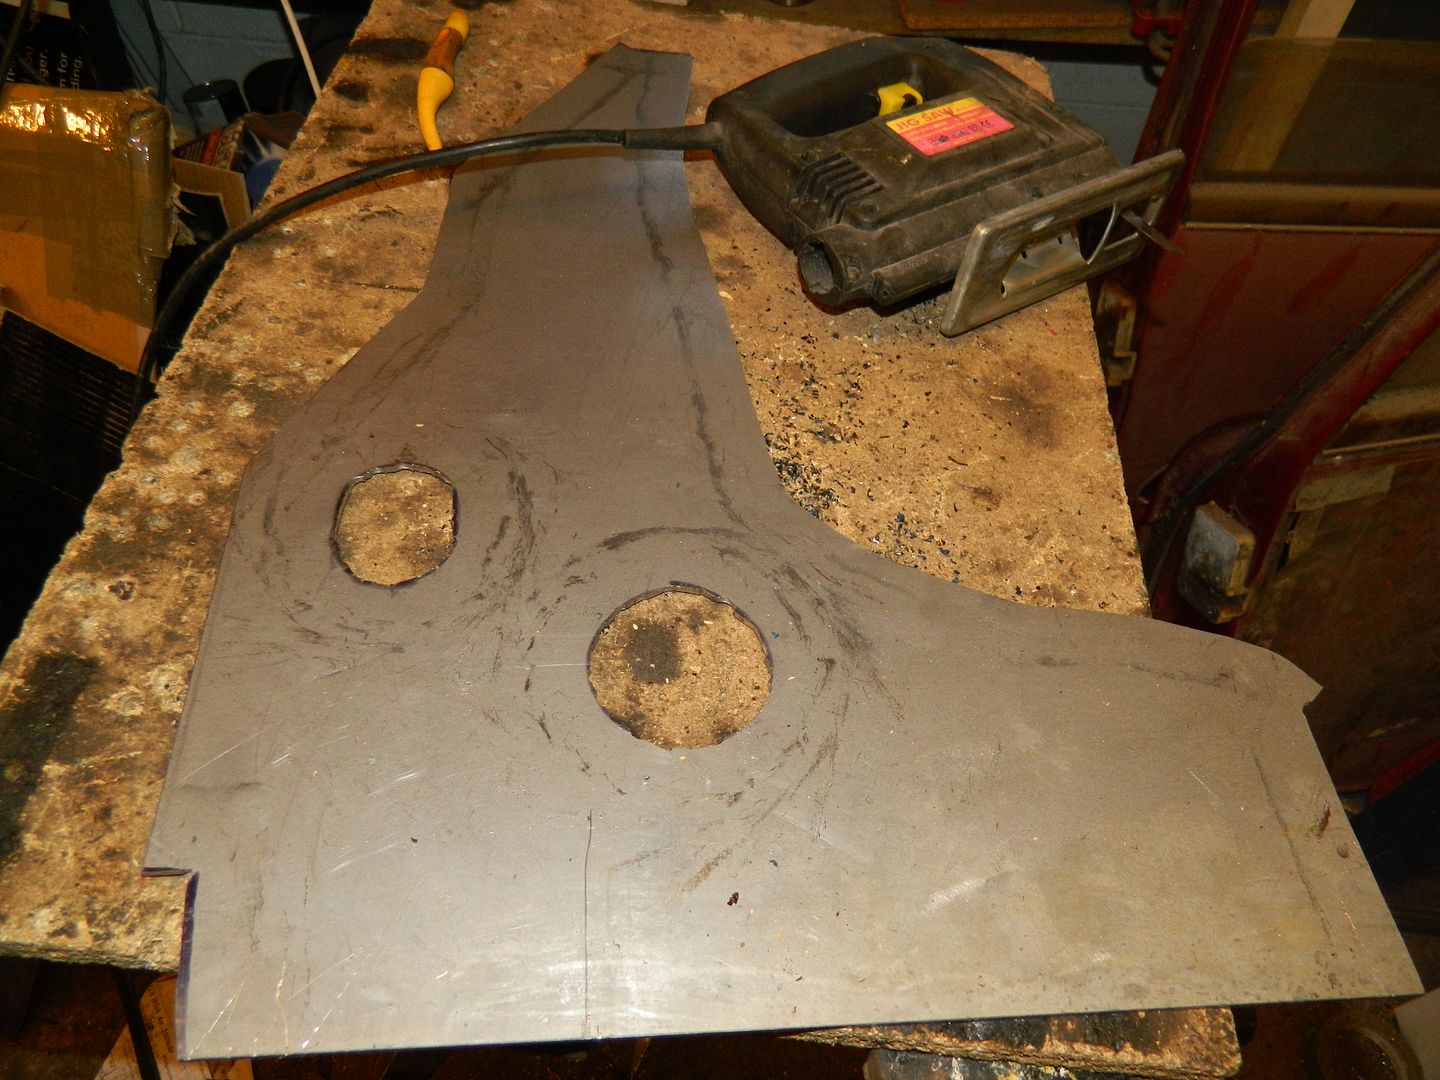 Then cut through. Quite neat. The holes will need the edge sorting. If I leave that until the edges are bent up and down, I'll be able to get them with the angle grinder rather than labouring away by hand. Add that to two appliance repairs today and I'm pretty knackered. I'll see about some bending tomorrow. Chris. |
|


 Should manage to get some help tomorrow, so we can get cracking properly. In the meantime, I've removed the drivers seat and poked the floor to great effect.


 Never even crossed my mind, to be honest - I just made a new one of what was there before.
