|
|
Post by foglaursen on Apr 20, 2016 12:38:07 GMT
There we go, now with added return spring. 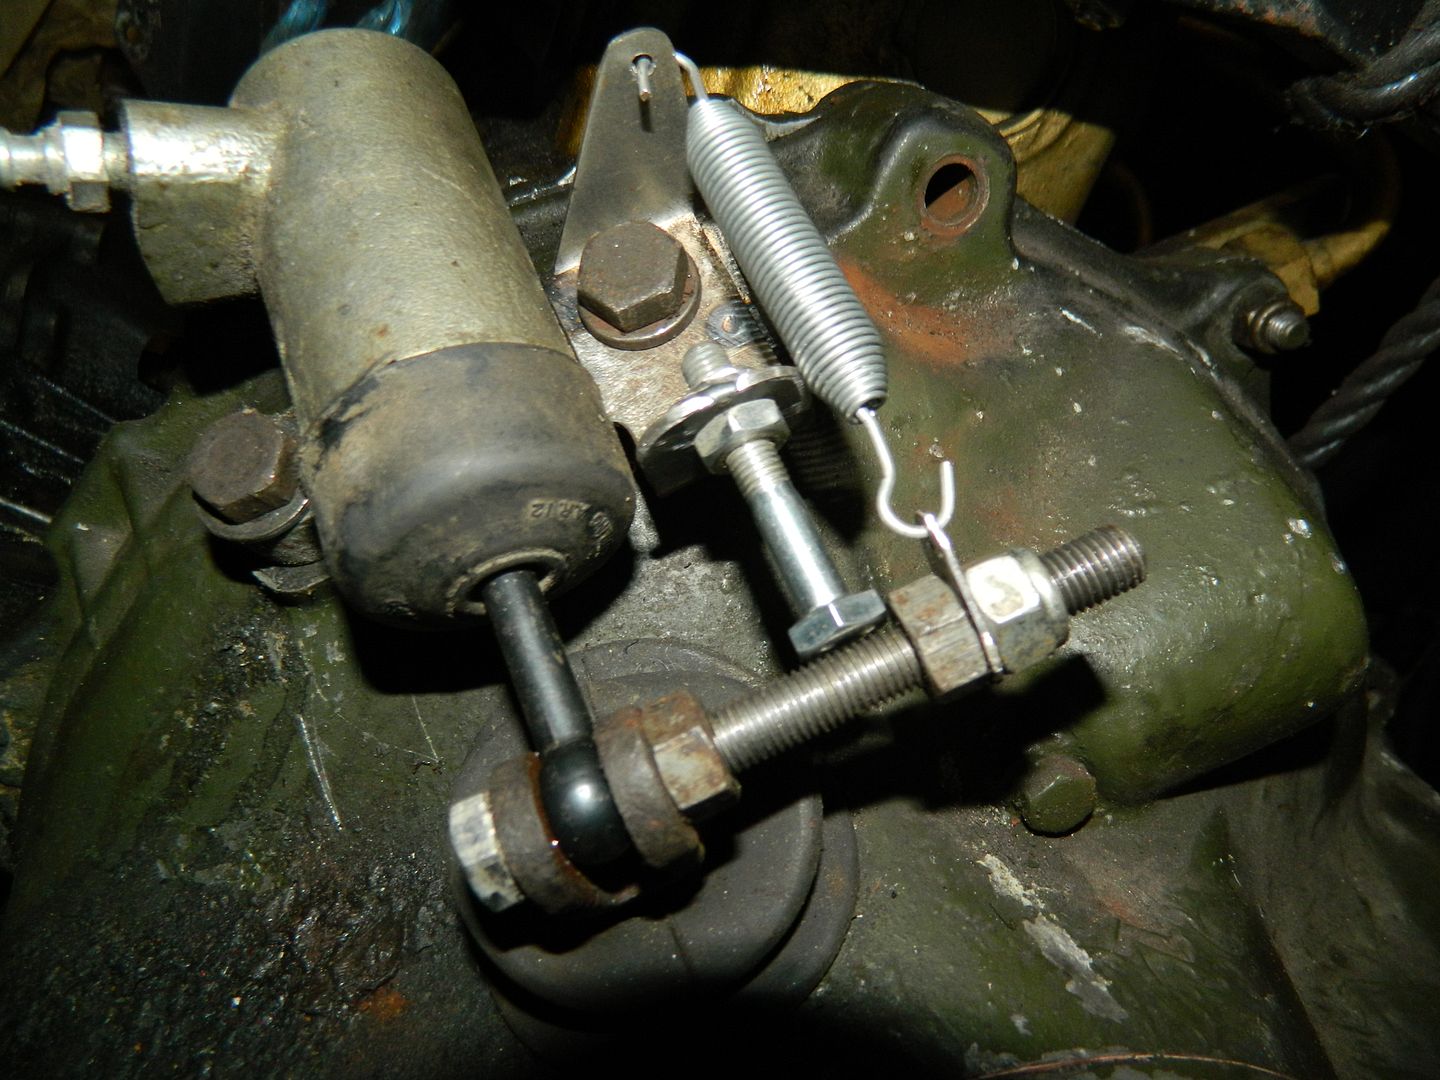 That's a Triumph Spitfire throttle return spring and it's got just enough tension on it to bring the arm back to the stop. Now painted black for that "It came out of the factory, honest" look. Chris. Have you considered making your ingenious device available to other Landcrab owners? If so, I for one would be very interested. Regards Peter |
|
|
|
Post by Penguin45 on May 1, 2016 19:51:21 GMT
There are three cars with the roller clutch release bearing in them now. I'd like to see some decent mileage on them as proof of the concept. I'm not really worried, but I'd like to be sure that it's durable. The details are in Technical if you fancy rattling one up yourself.  Anyway, Bank Holiday weekend, what better way of passing the time than doing a bit of 'Crab fettling? Started off by investigating the pulsing on the brakes. First place I looked was the r/o/s drum, as further work is planned. Reversing the drum and using the dial gauge showed it being 1.6mm out of round. That has to be way out of tolerance. Popped a rather scuffy looking spare on and checked that - 0.5mm out of round. Probably not very good, but better than the one fitted. 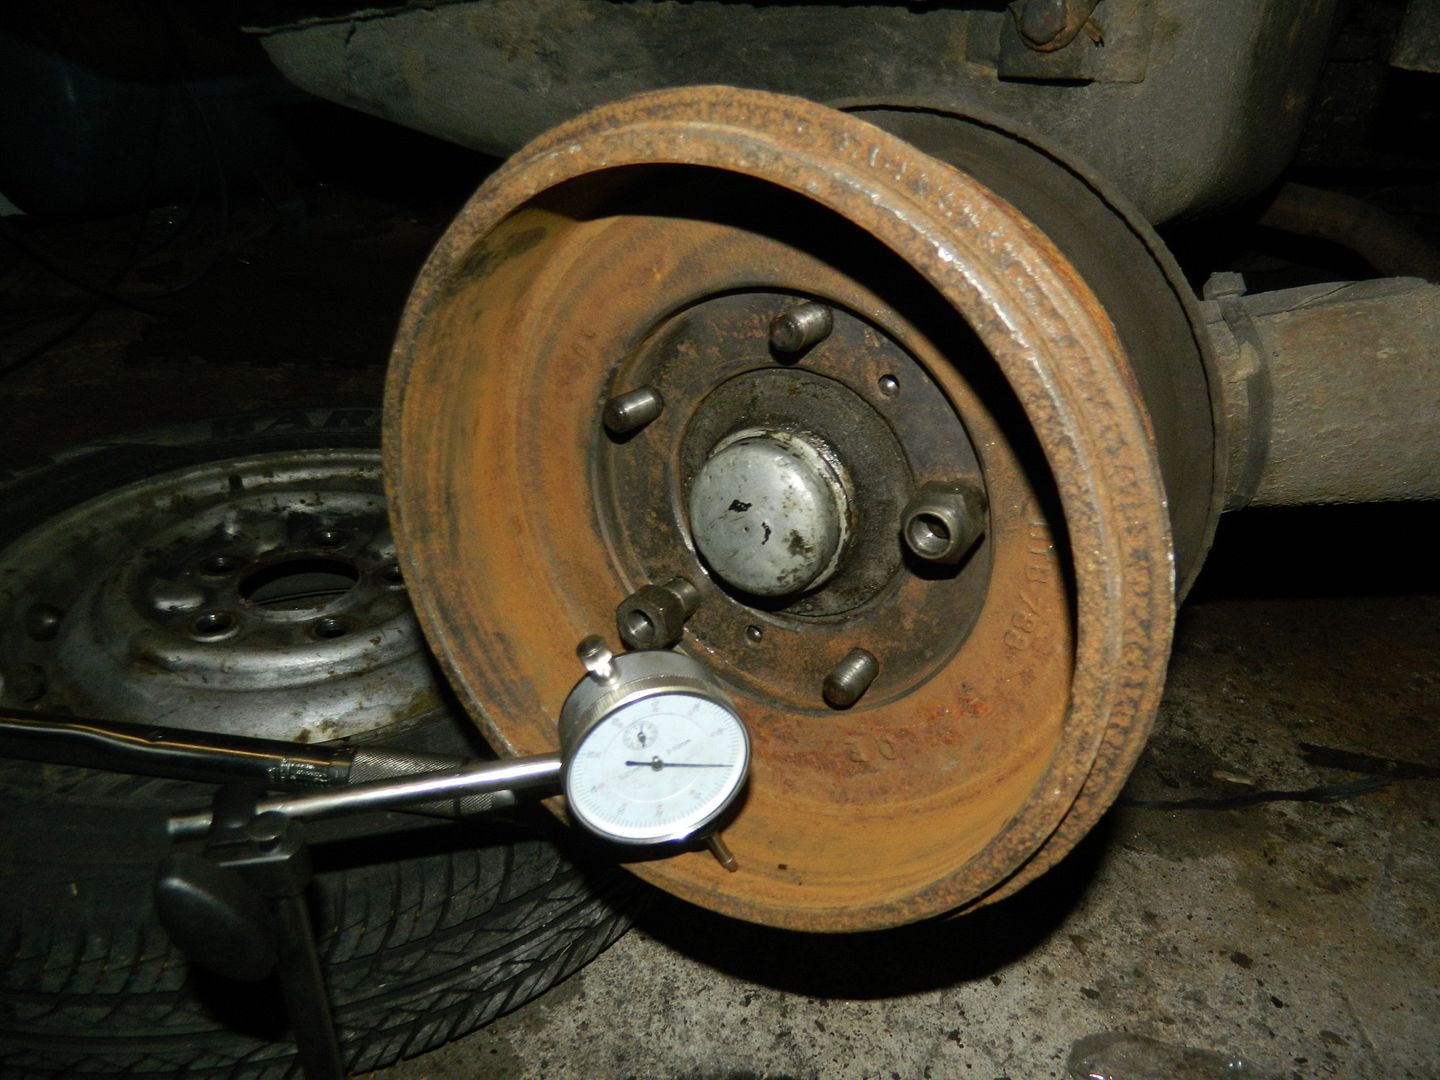 And then on to the main event of the day. Poking....  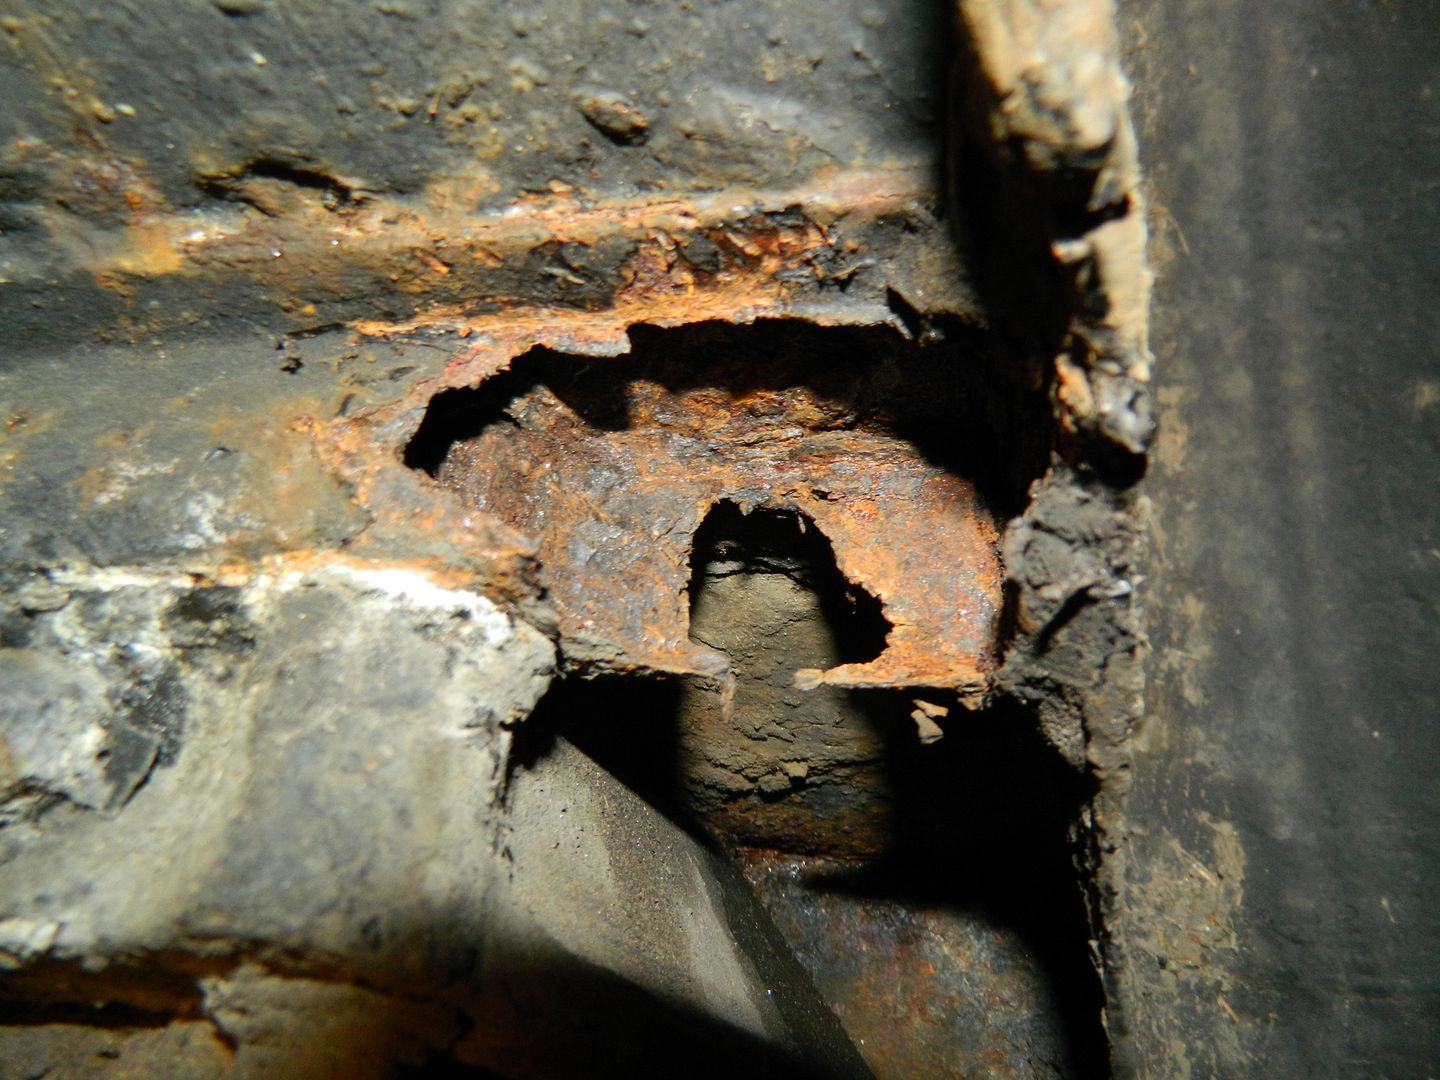 Box section which the alloy suspension carrier bolts to has rotted at the outboard end. Titanic battle to drop suspension unit followed. 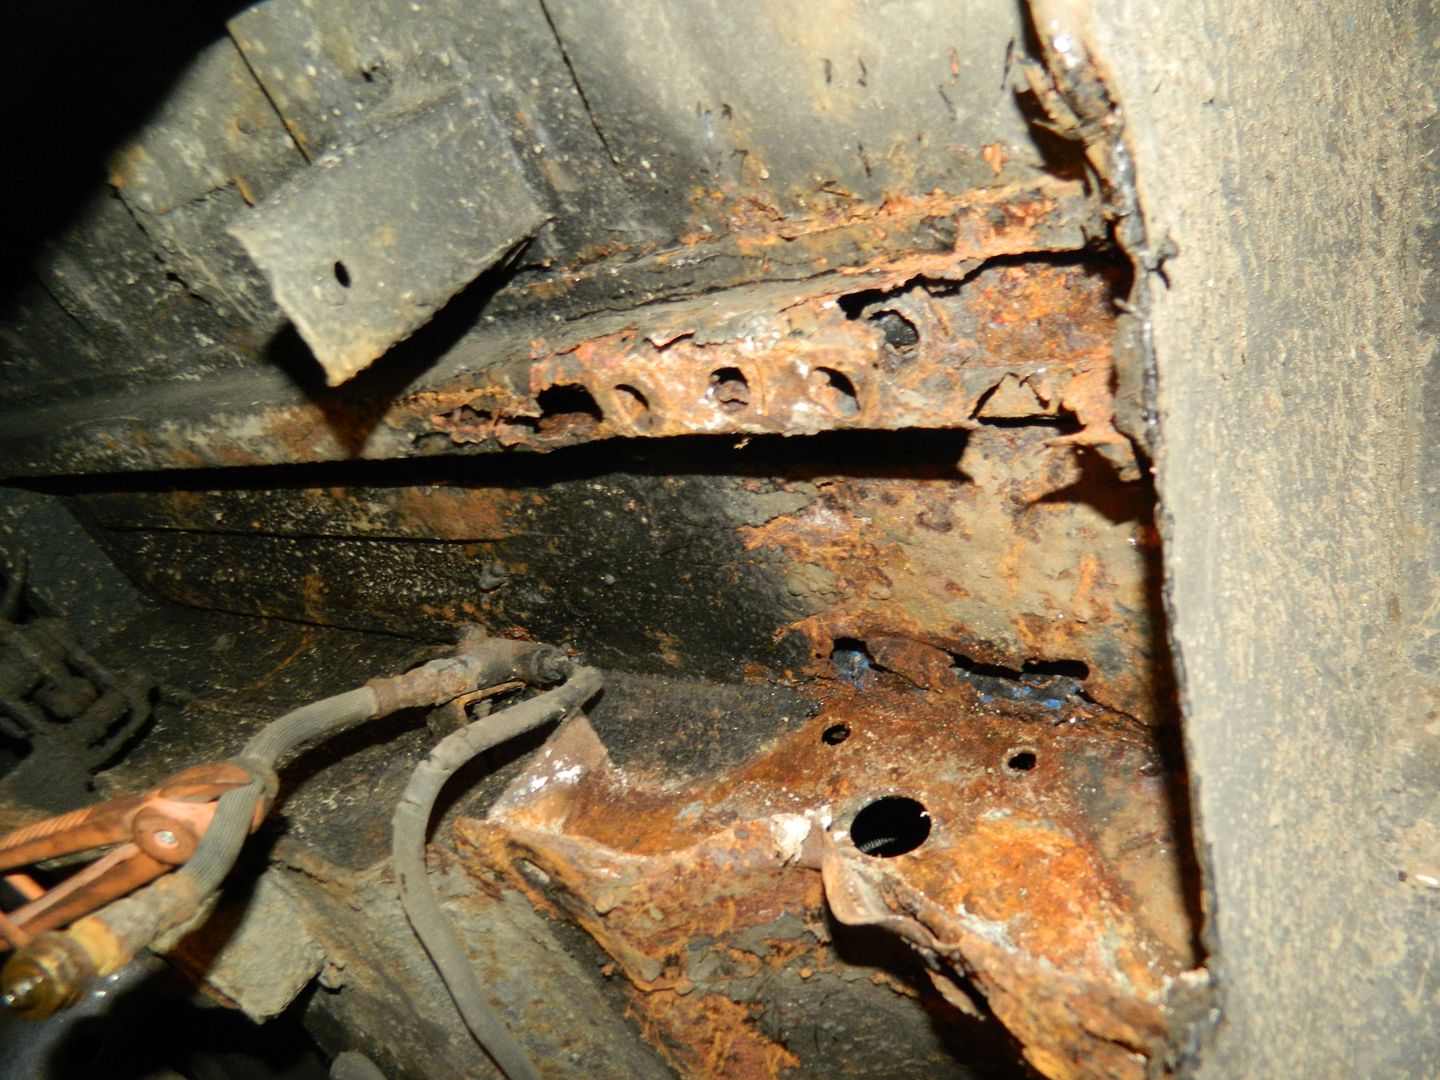 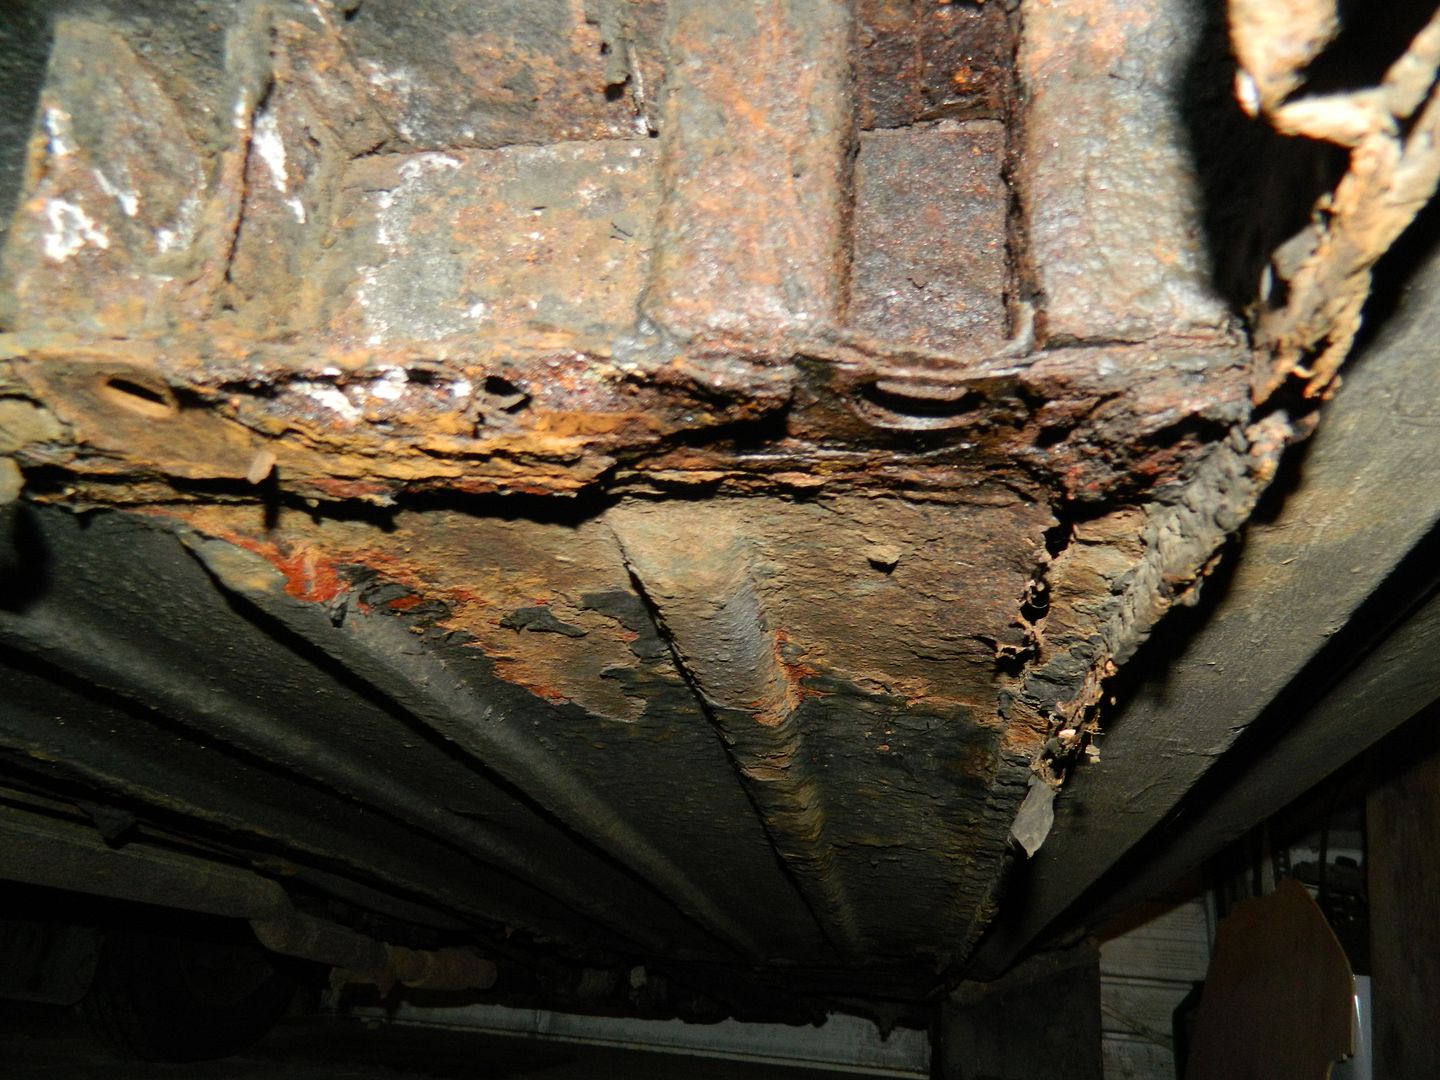 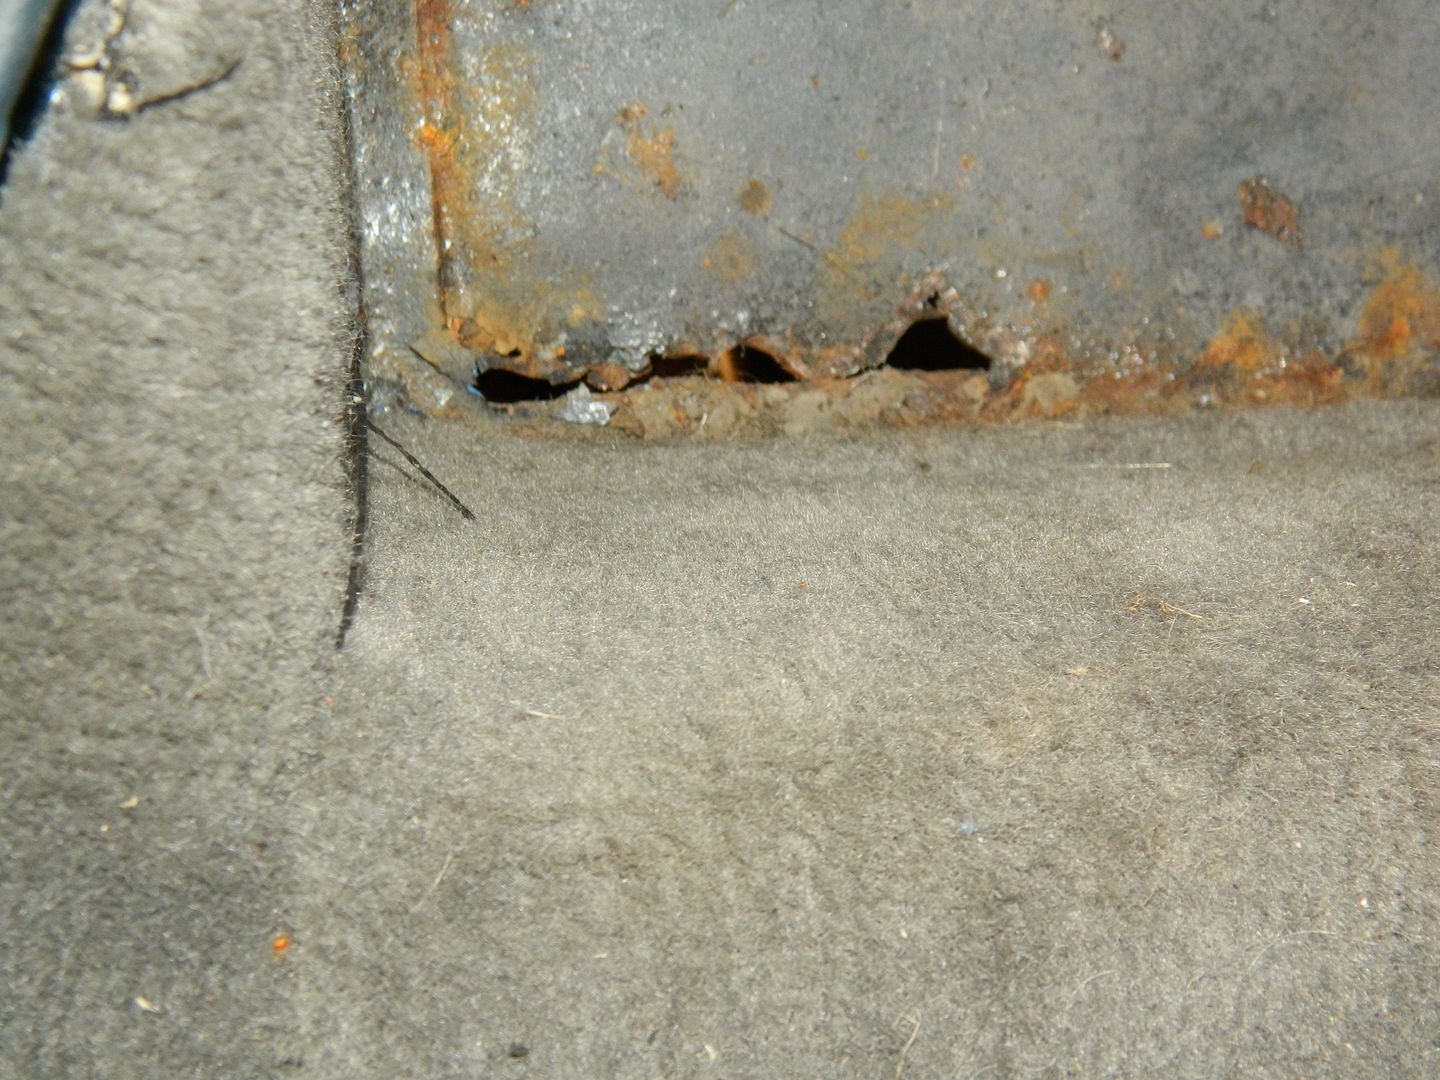 That's tomorrow sorted out then. The suspension carrier is scrap. The p/o had bodged it to fit with skinny through bolts, rather than removing the broken original bolts and rethreading. It's been broken for a long time, looking at it. 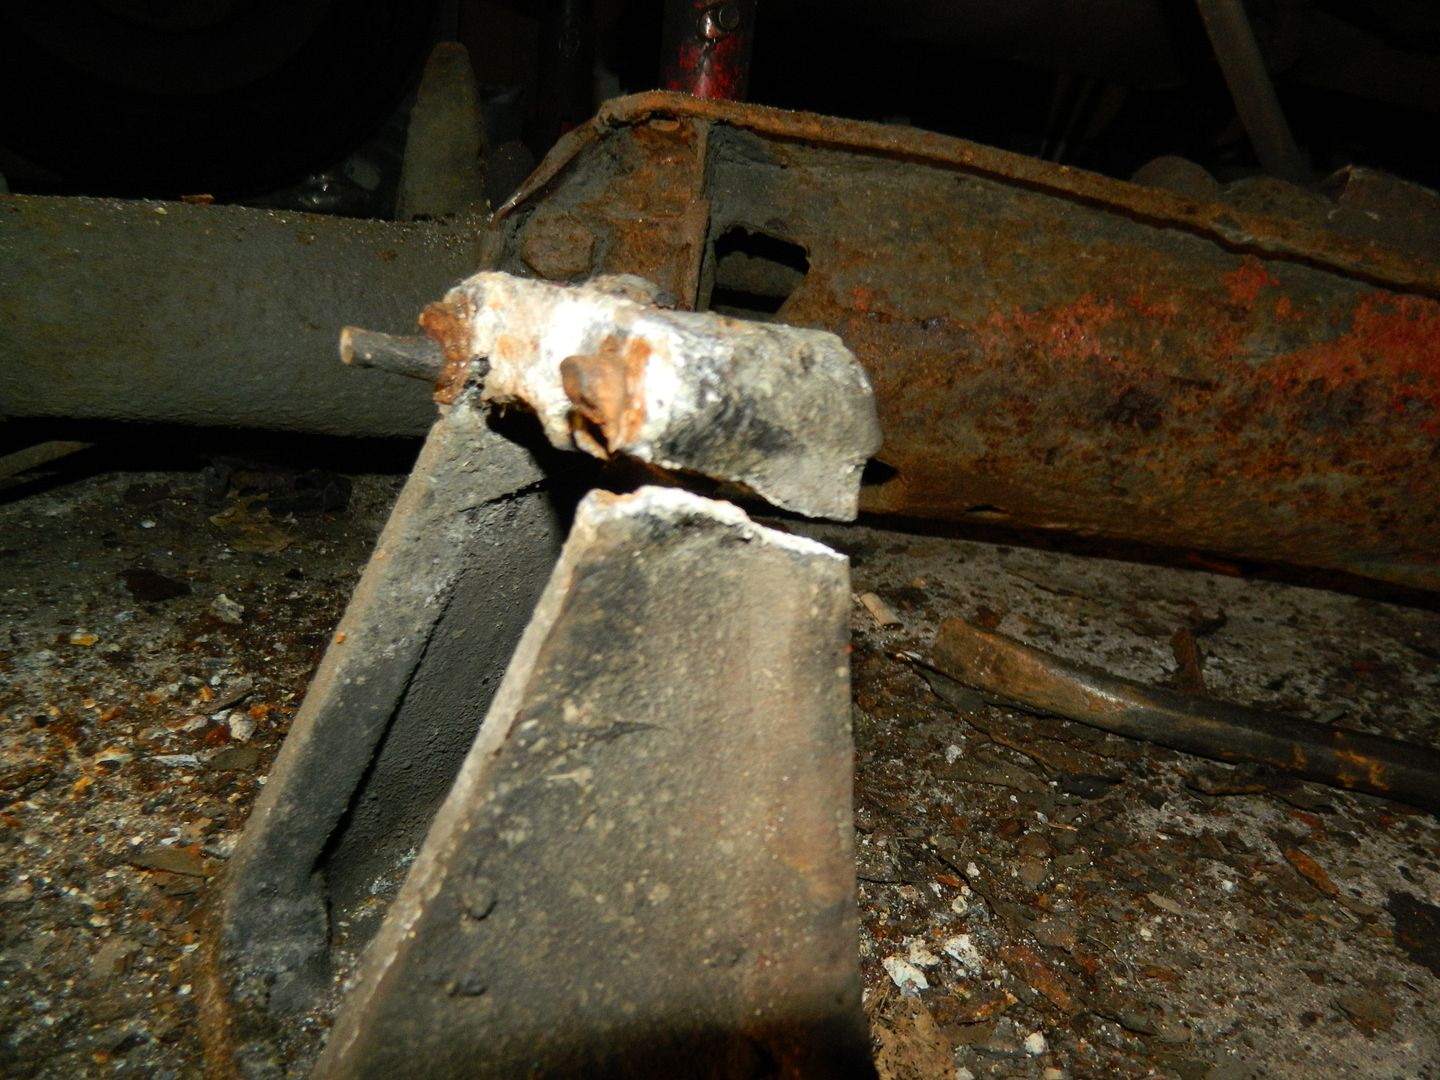 I have one intact spare, so that can be dealt with (although it would be useful if the other one came back from Bolton...  ). Chris. |
|
|
|
Post by snoopy11 on May 2, 2016 7:34:22 GMT
Err. I will have a look what's in the parts bin.
|
|
|
|
Post by Penguin45 on May 2, 2016 16:30:29 GMT
Nice to see Snoopy for a while this afternoon.  Chopped out the rust from the boot floor. 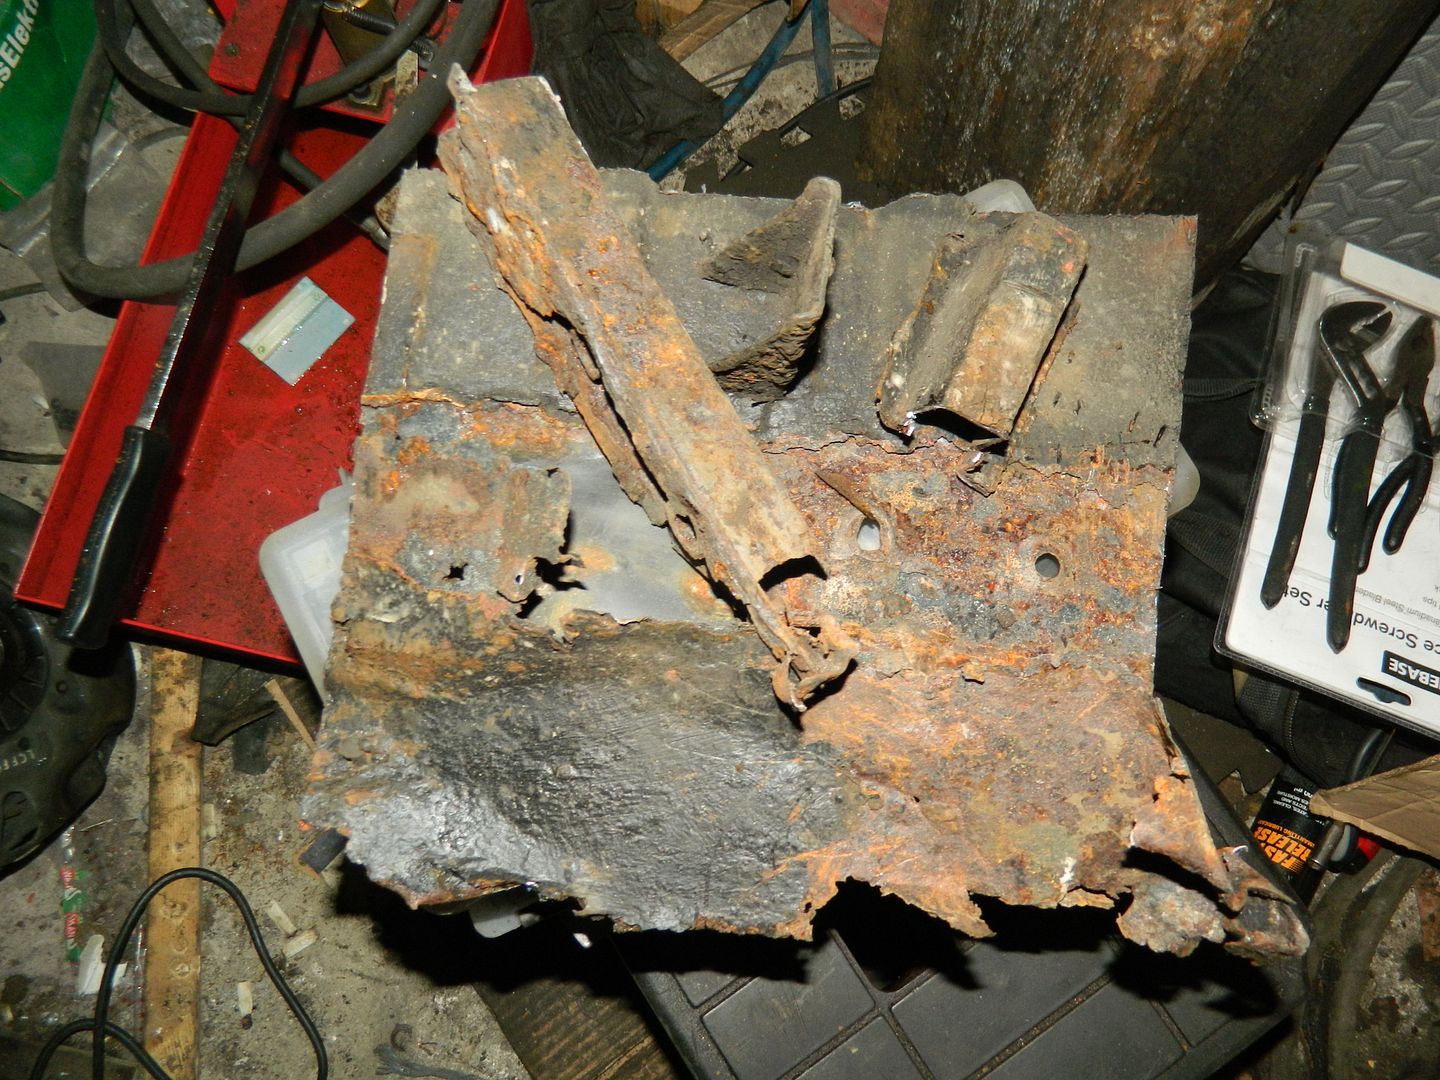 Revealing: 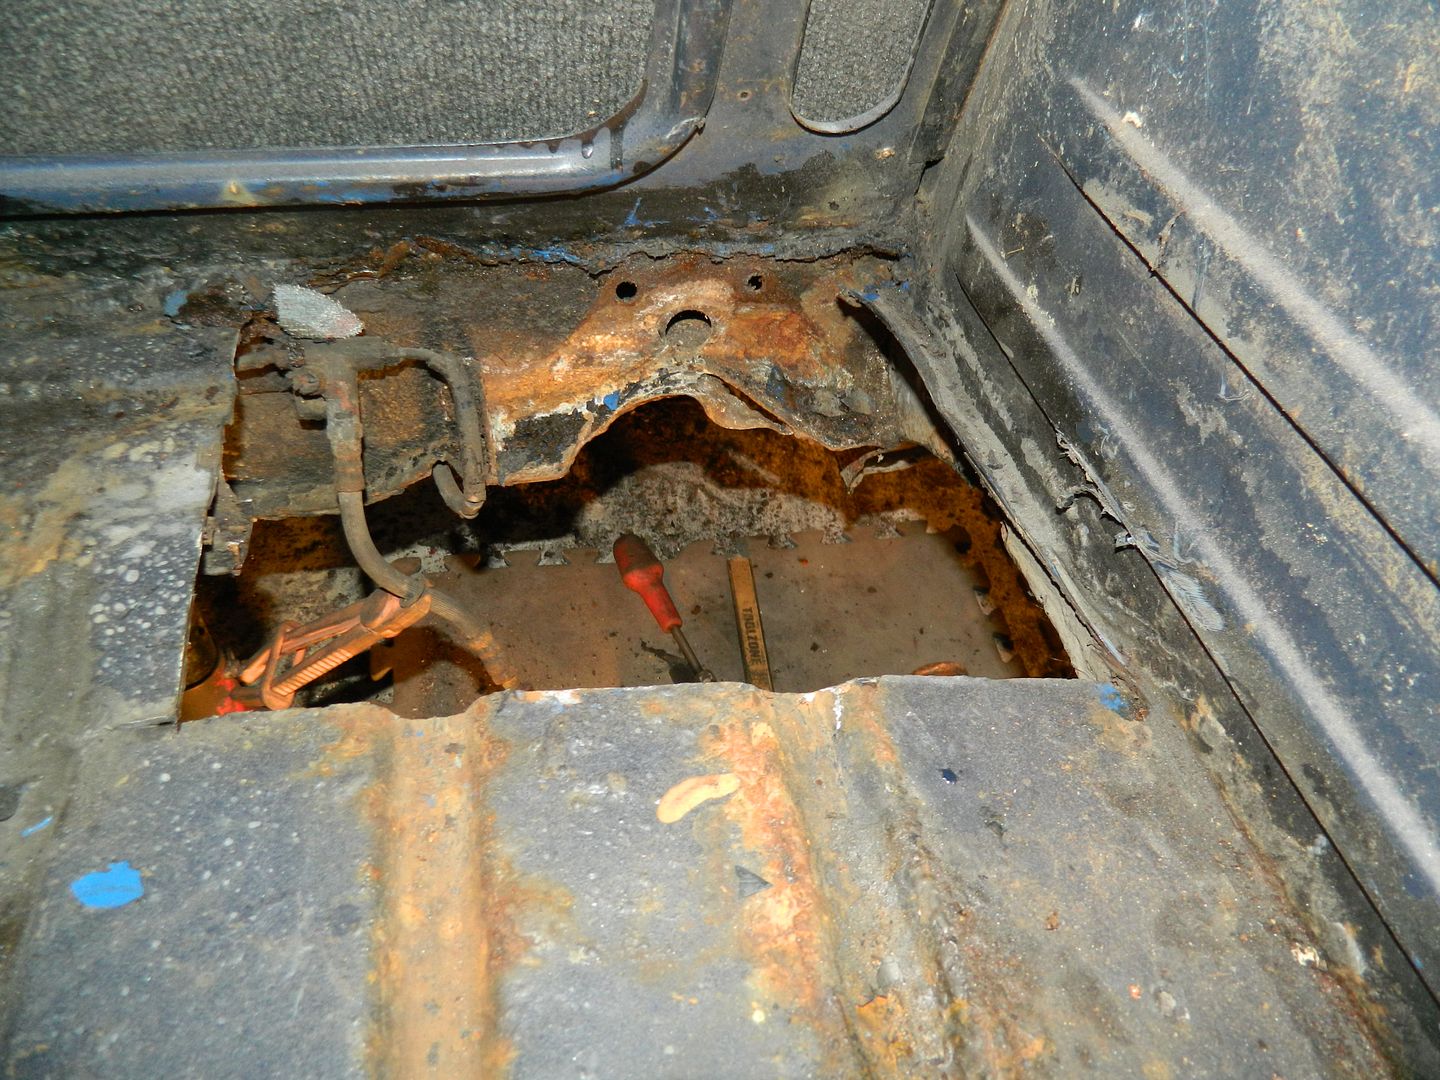 An impressive hole. As suspected, the gas ran out on the mig, but I did make a start on fitting a flange round two sides of the hole. Otherwise, I've been chopping out other bits of rust and creating clean shiny surfaces to weld to. Chris. |
|
|
|
Post by indianajones on May 2, 2016 20:15:58 GMT
The fun never stops, aye Chris!
-Andrew
|
|
|
|
Post by Penguin45 on May 3, 2016 22:57:12 GMT
Heh, not sure just how much fun this is. Today turned into "Hunt the gas bottle" day. Did my calls in the morning and headed down into Leeds to the Autogas place. Got there to find it not only closed, but closed down. After exhausting my patience Googling on the telephone, I set off to Harrogate - so all the way back past my place and out the other side. I am now set up to get on with the job tomorrow....
Chris.
|
|
|
|
Post by peppib on May 4, 2016 7:39:02 GMT
Chris
Young (well, early 30's) chap in garage that did my MOT's was telling me he was sick of being ripped off for gas so now has a deal with the local pub! Possibly you should ask your friendly landlord
Your search for rust still worries me as everyone who looks says Mo is fine, but without being able to see for myself I am not convinced as although in a secure basement car park, most of her is open to the elements. Garage uses a pit and not a lift so I still can't get under!
Dave
|
|
|
|
Post by dave1800 on May 4, 2016 10:53:29 GMT
Your car may be better in a basement car park where I imagine there is a breeze than being locked away in a small garage when it is wet. The real killer by far is salt as can be seen by looking at cars here in Thailand which is very wet, humid and hot for several months of the year, but even old British cars don't suffer that much in these rust promoting conditions. regards David Chris
Your search for rust still worries me as everyone who looks says Mo is fine, but without being able to see for myself I am not convinced as although in a secure basement car park, most of her is open to the elements.
Dave
|
|
|
|
Post by Penguin45 on May 11, 2016 23:38:06 GMT
This is progressing. My internet connection is currently sufficiently awful that I can't upload pictures - I am trying. The boot floor panel is in, the box section to go across it is made, so a bit of assembly to follow. Eventually with pictures.  Chris. |
|
|
|
Post by Penguin45 on May 12, 2016 23:45:19 GMT
Ah, the modern world. Internet connection appears to be working - maybe just for the moment. So, big plate welded into the boot, support section welded into the floor. This is a channel section with some reinforcements around the bolt holes and a closing panel on top. 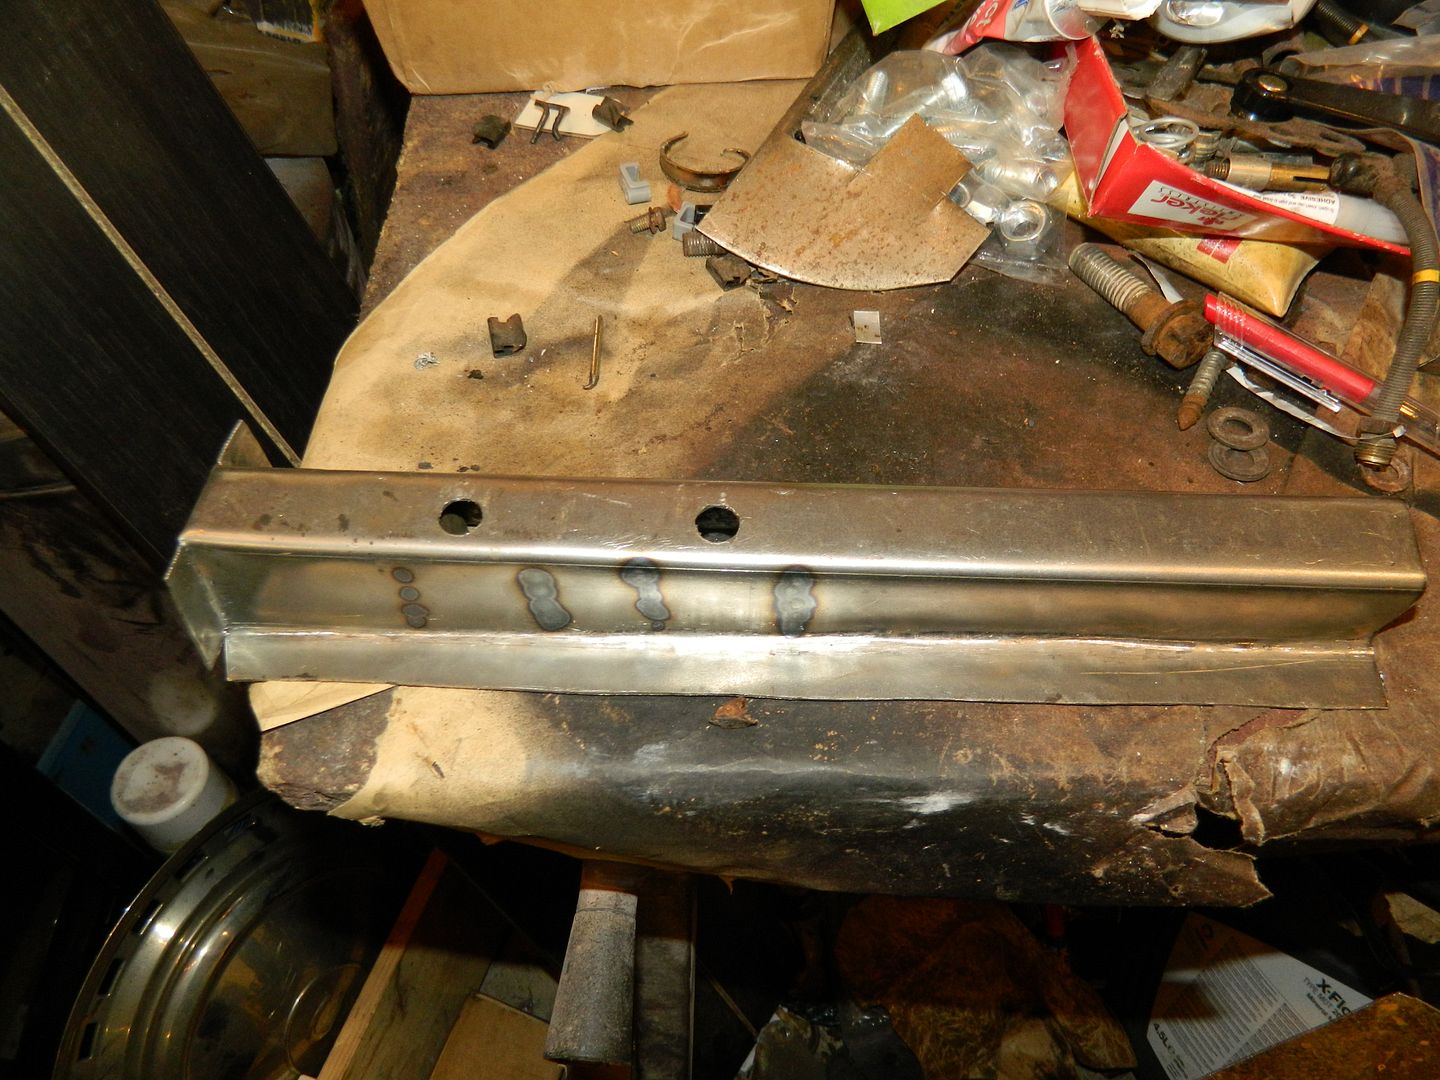 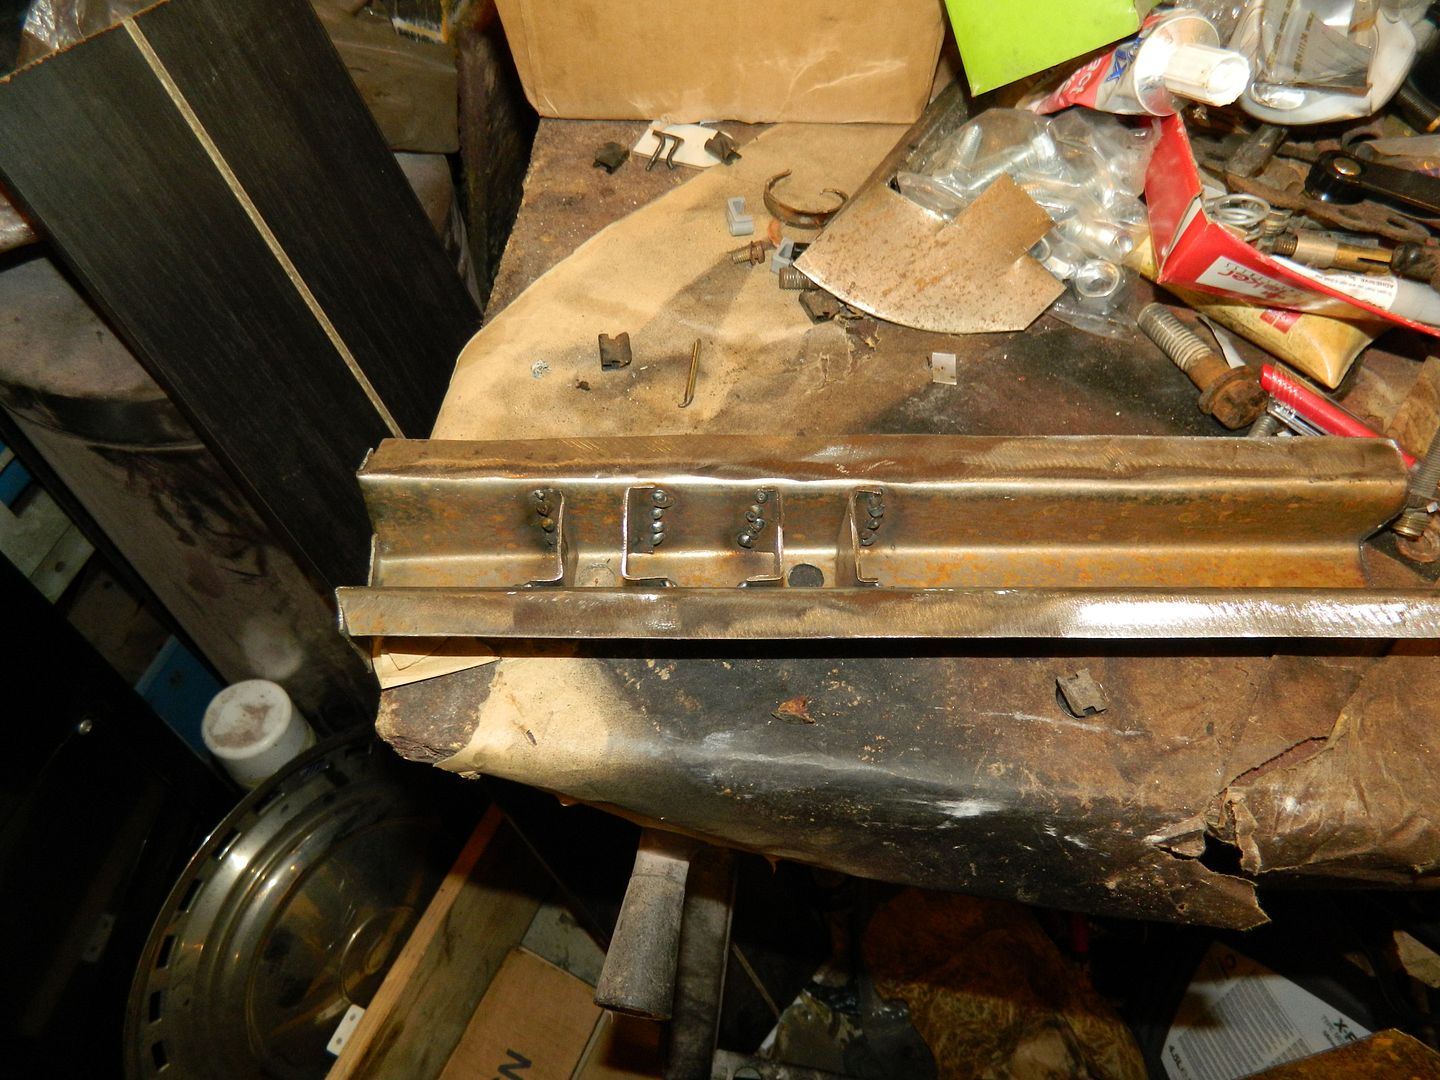 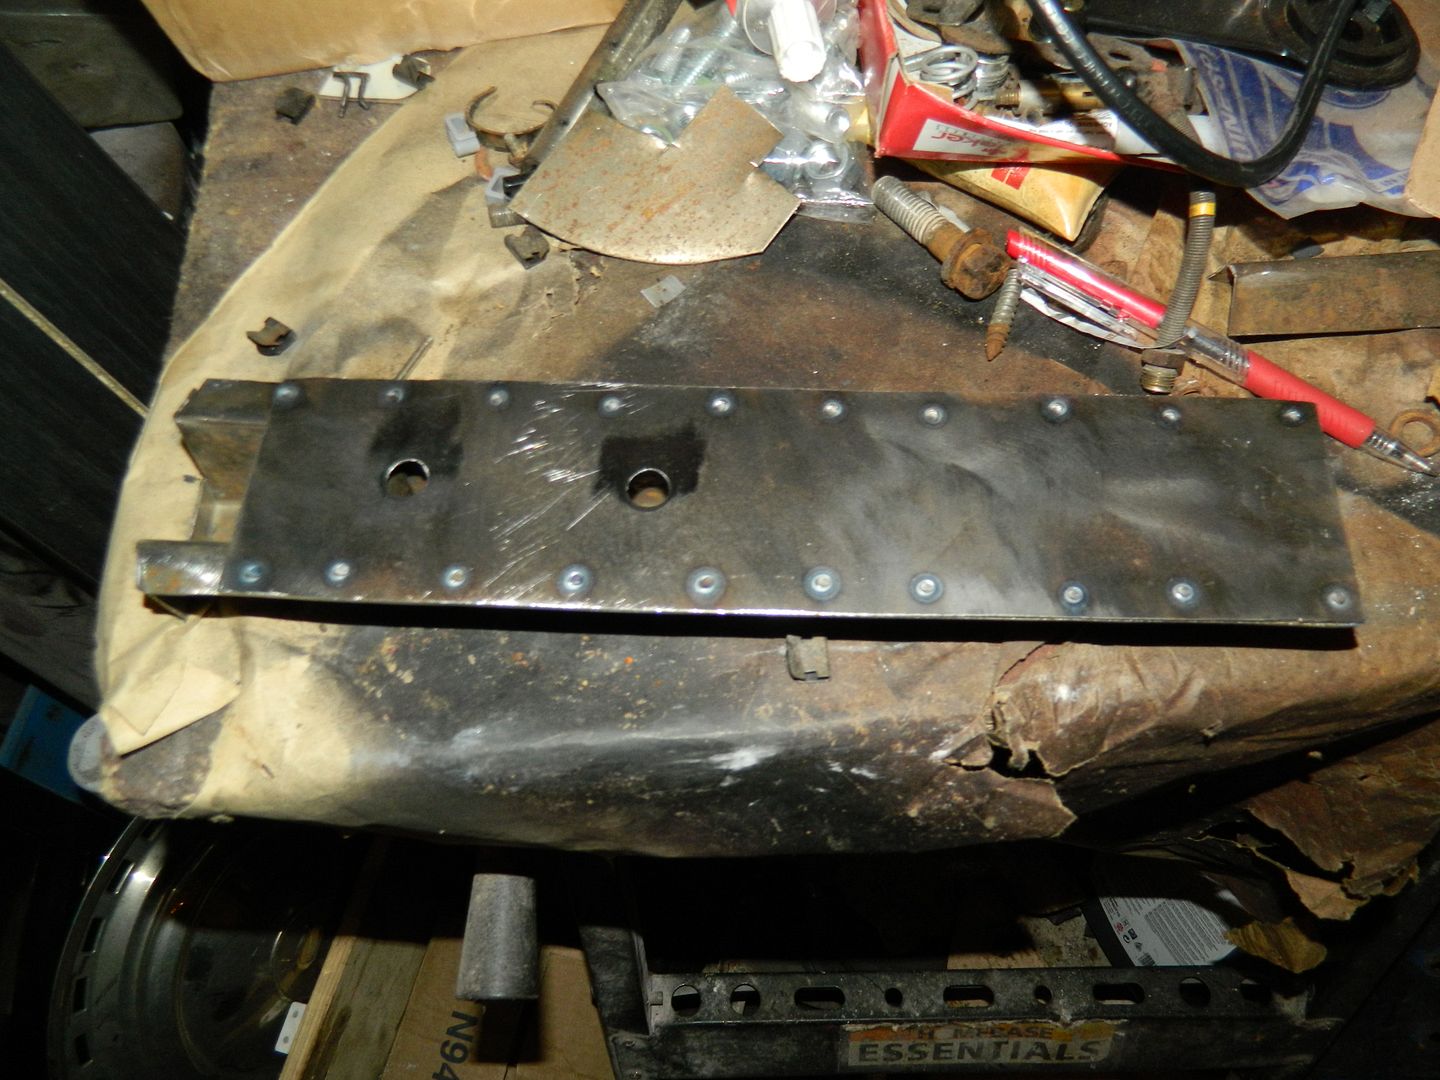 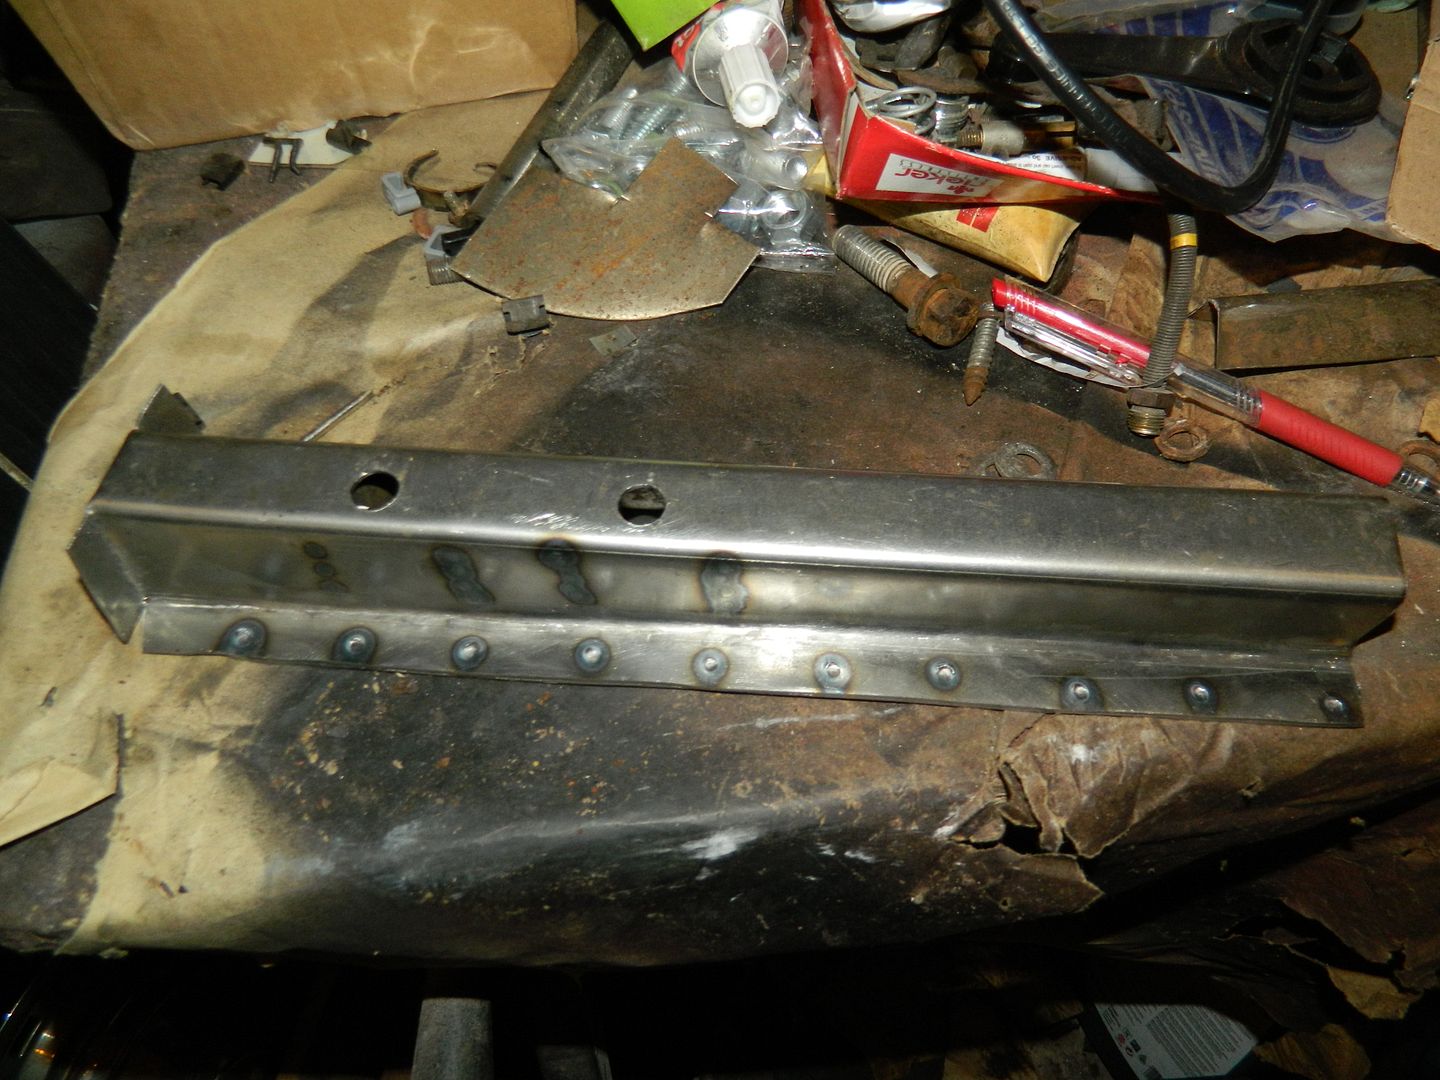 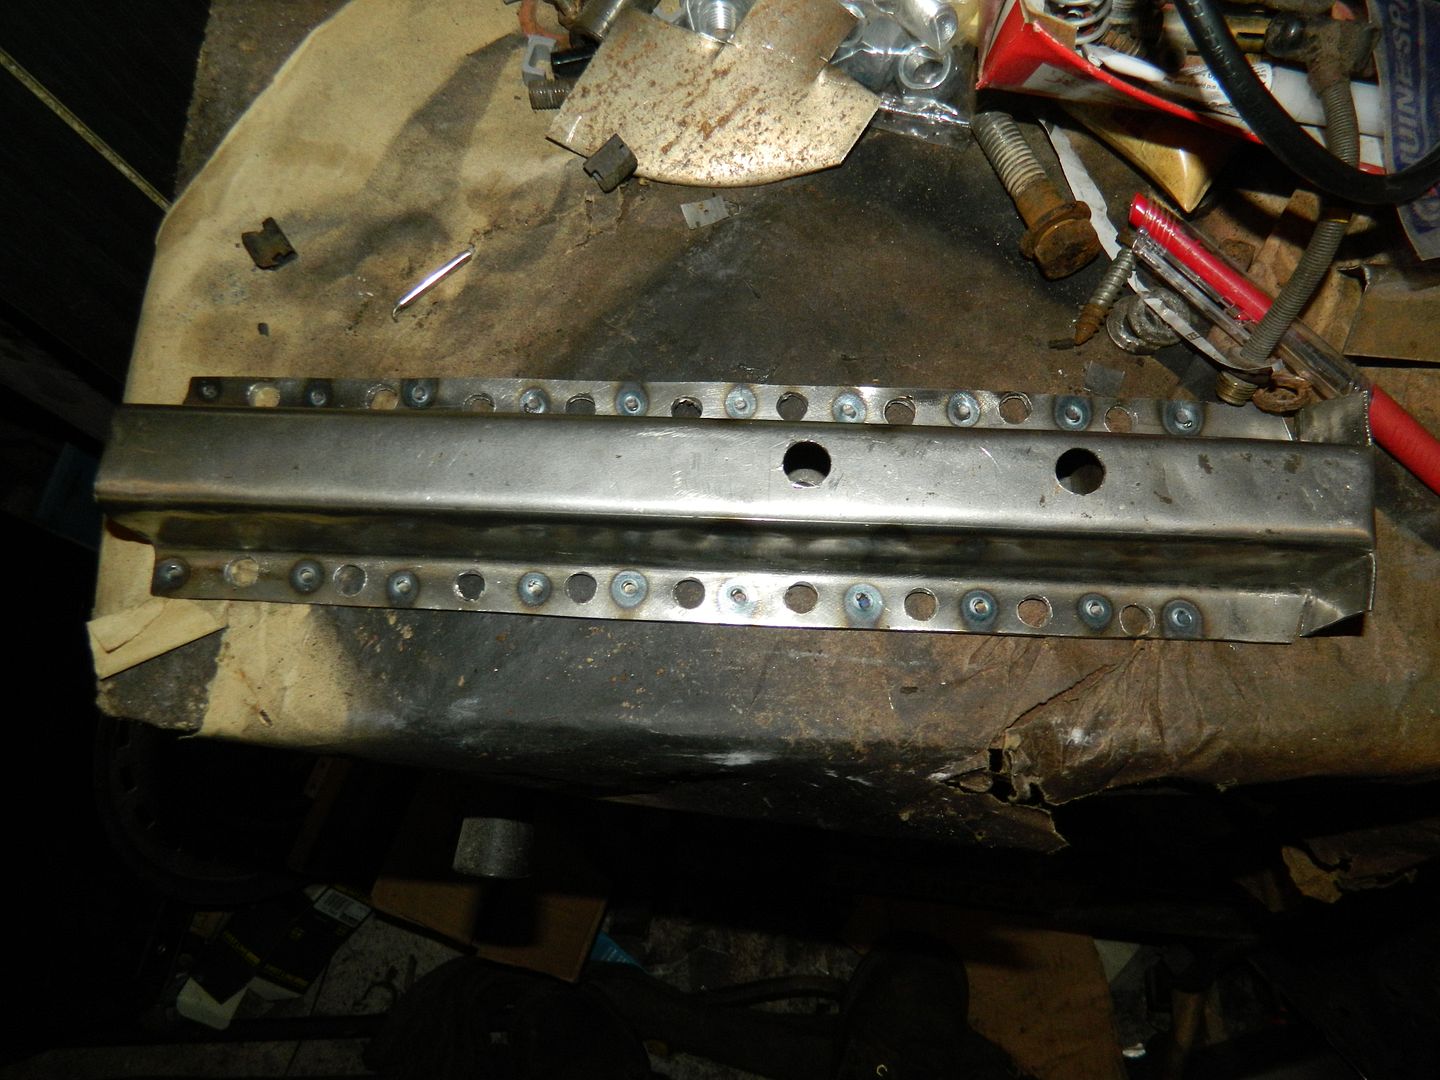 Final pic is Gorgonzola time with the holes in the completed box section ready to be plug welded (upside down) into the boot floor panel. This is now done and I can get on with the other floor, sill and housing repairs. Shouldn't be long now 'til she's back on the road. Chris. |
|
|
|
Post by snoopy11 on May 14, 2016 7:34:41 GMT
You are just showing off your skill now Mr P.
Its looking really good.
|
|
|
|
Post by Penguin45 on May 23, 2016 19:14:38 GMT
Getting there slowly. 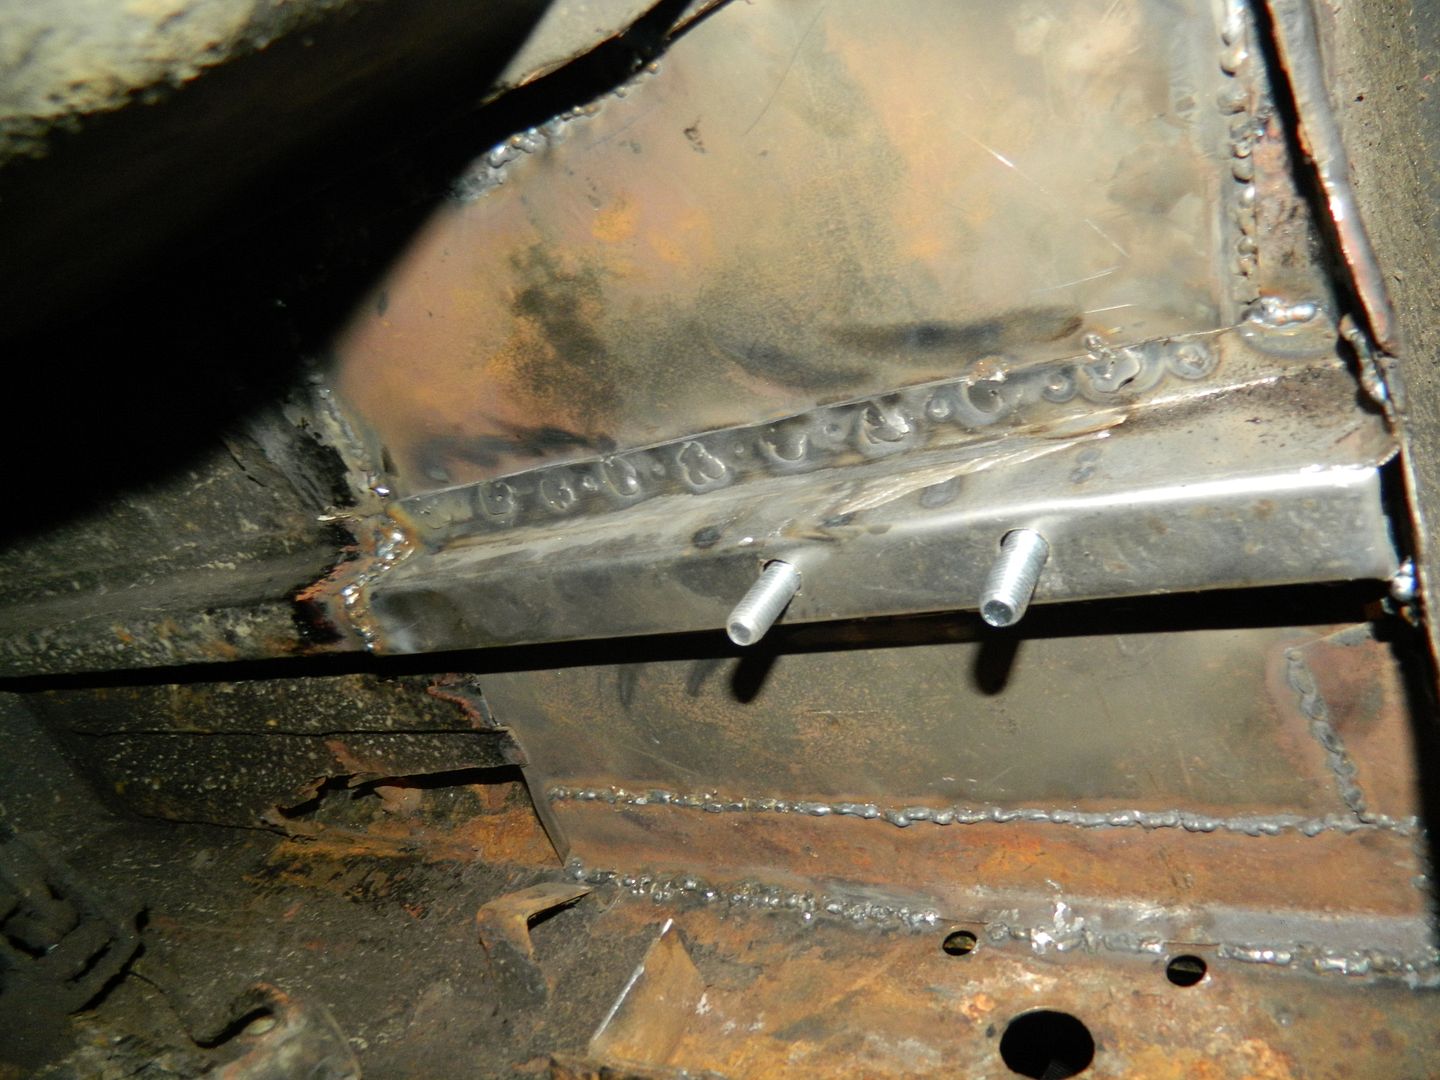 Used suspension carrier to get the mounting holes in the correct place. 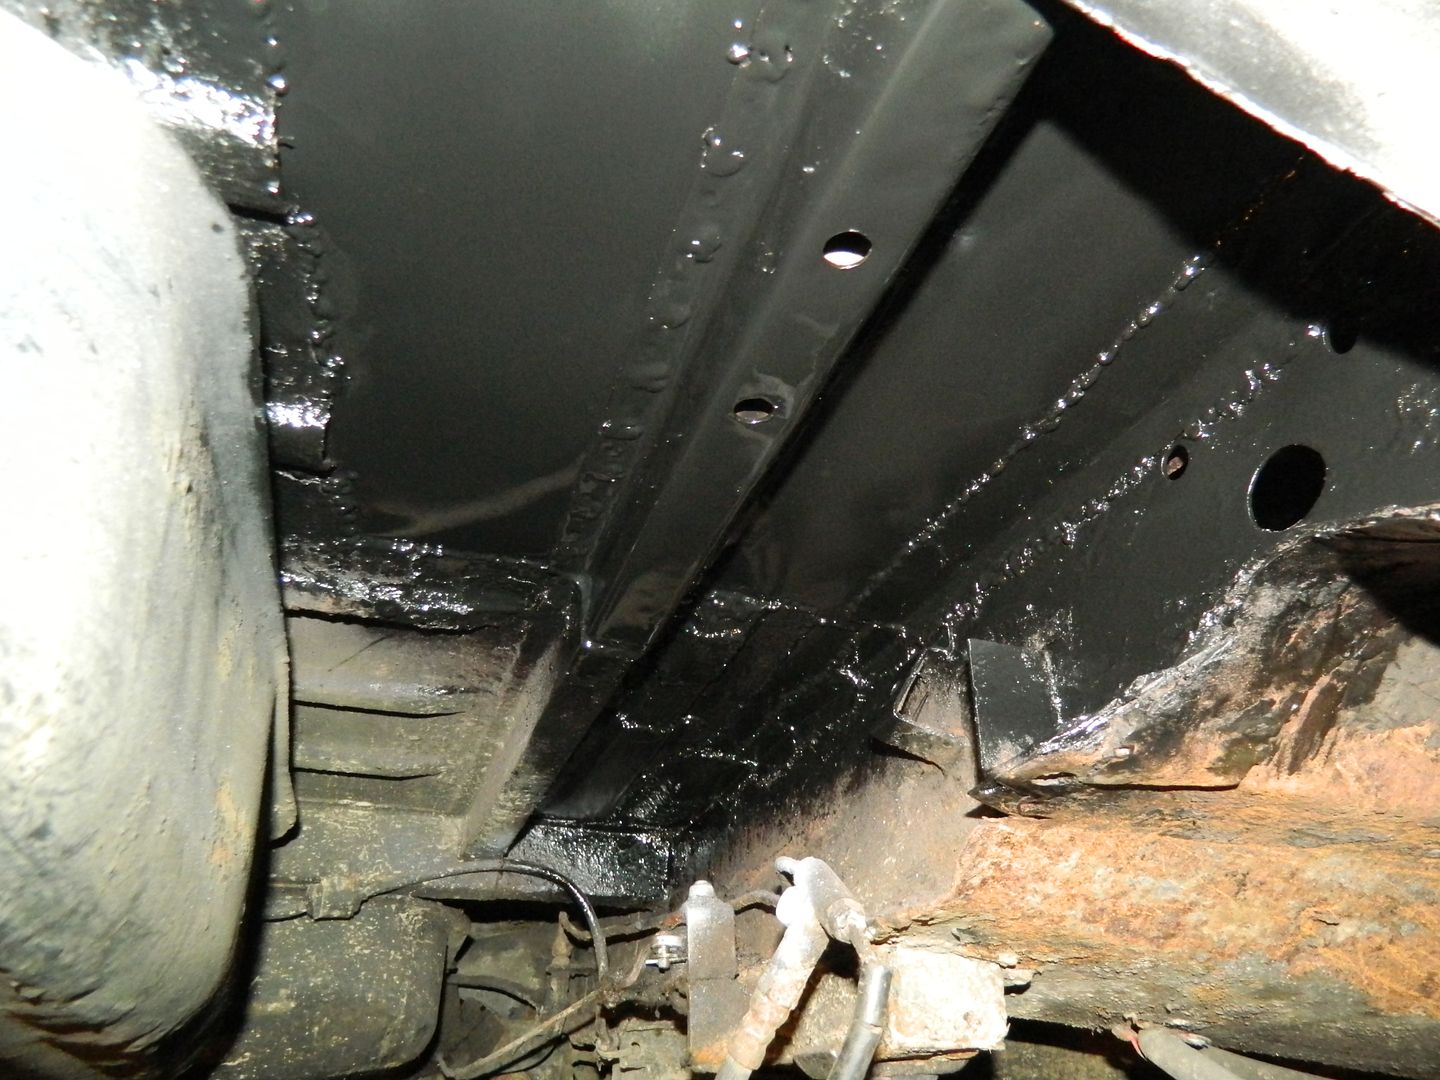 Welds flatted back as best as access allowed, primed and painted. Now shutzed as well. 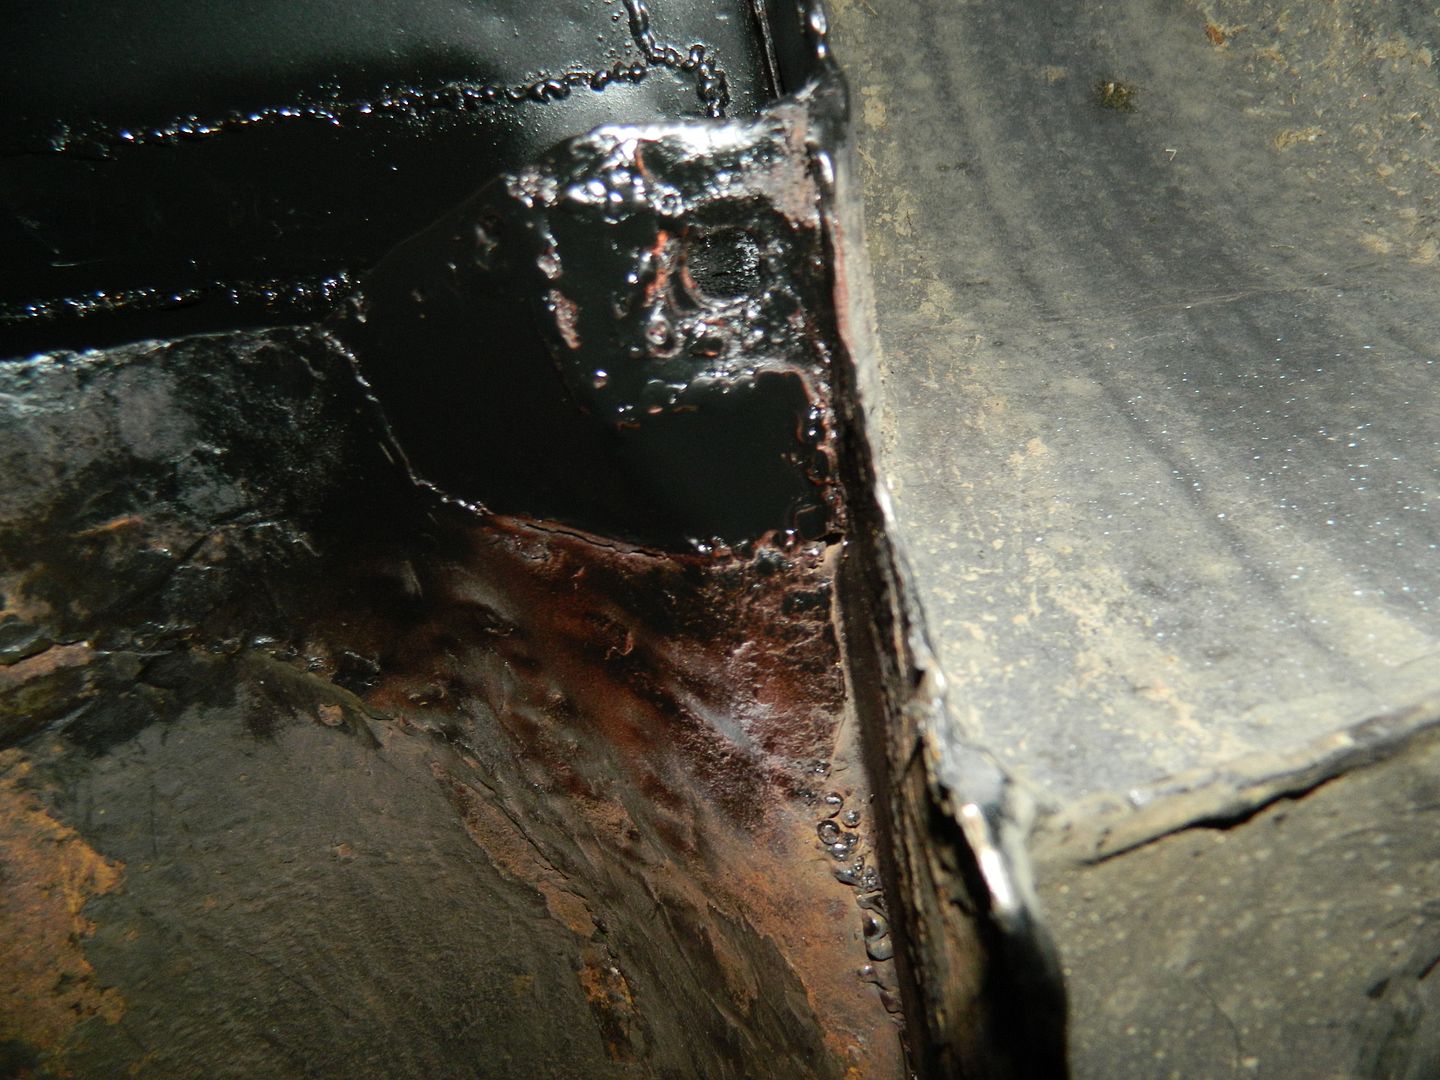 Repair in suspension housing. Sorry, rubbish picture. 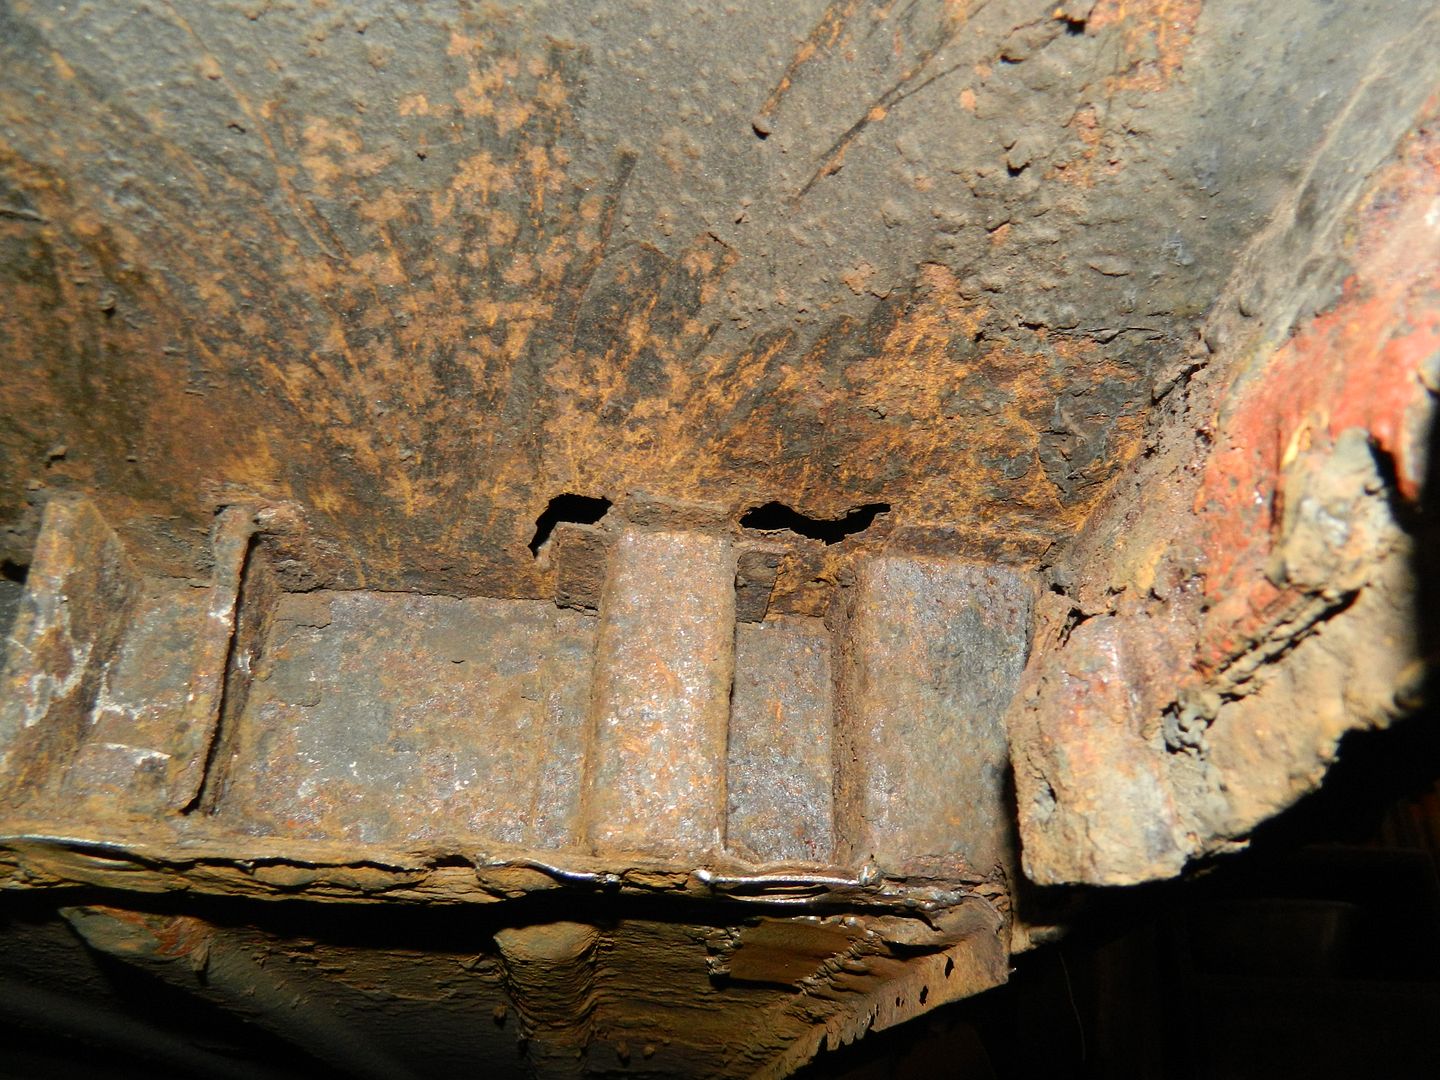 Getting these cleaned up. Not sure how I'm tackling these. Then onto the sill and floor. Got to try and get this finished this week, then MoT next week ready for WOCFest at Tatton Park. Chris. |
|
|
|
Post by Penguin45 on May 24, 2016 17:09:41 GMT
Suspension housing now has some solidity. 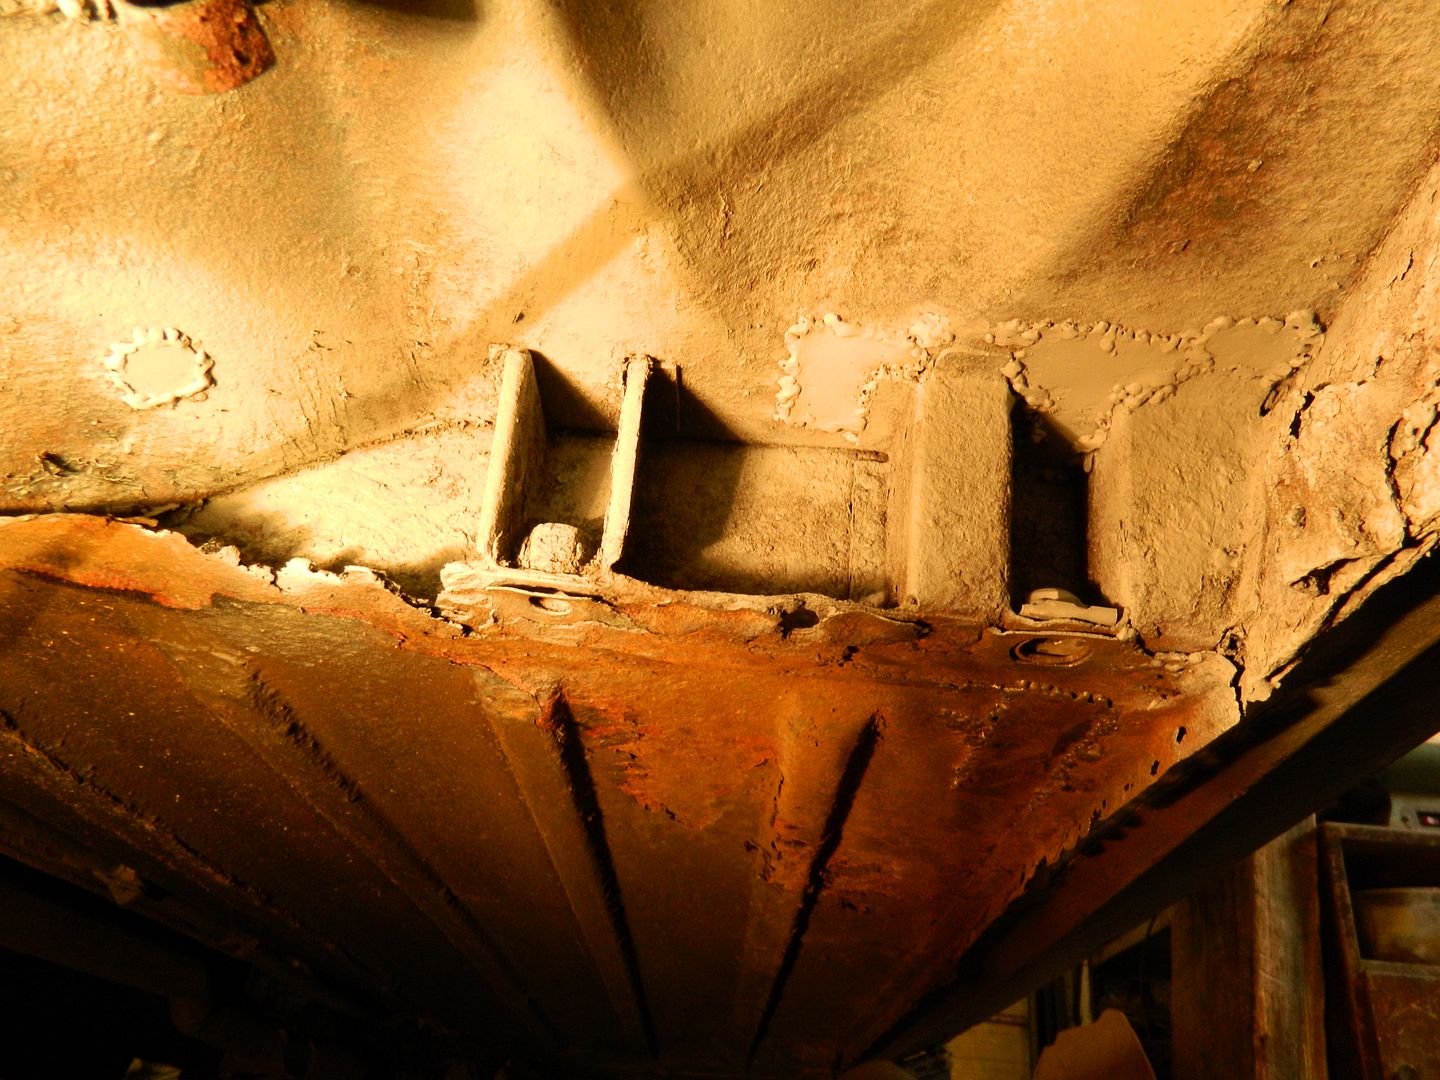 Bottom edge is part of the floor panel, so I think that's coming off, then the bit above and just replace the lot. Chris. |
|
|
|
Post by dave1800 on May 25, 2016 12:48:55 GMT
Chris, do you need to take any special precautions to ensure the carrier angle is true as this is critical to the rear end geometry as seen when the slipflex bearings start to fail? I'm still amazed after all this time just what you are capable of! regards David Suspension housing now has some solidity.  Bottom edge is part of the floor panel, so I think that's coming off, then the bit above and just replace the lot. Chris. |
|
|
|
Post by Penguin45 on May 25, 2016 23:59:46 GMT
There are effectively three mounting points for the alloy carrier - two bolts through the floor, two bolts through the rear bulkhead under the rear seat bolster and two bolts coming up for the suspension carrier to bolt to. I refitted the bulkhead and bottom bolts, then maneuvered the box section into alignment before nipping up the bolts. Using the carrier as the template, I then drilled up through the box section and boot floor. Removed carrier, opened up the holes to clearance size and then dropped a couple of bolts through the floor and box section to line it up for welding. Seems to have worked, as I refitted the carrier properly this evening and everything lined up.
Chris.
|
|


 ).
).


