|
|
Post by Penguin45 on Dec 30, 2015 14:09:39 GMT
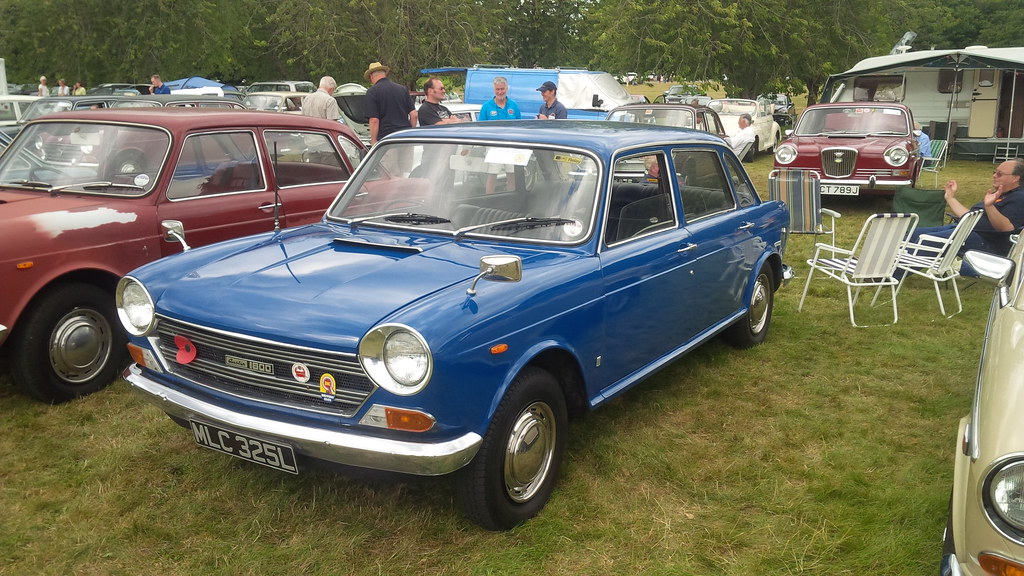
I think it's caused by the hole in the chassis plate. It opens into a void in front of the bulkhead and back under the floor. I have tried to remember to shoot wax up there each year, but obviously that hasn't been effective.
Anyway, this is one area of the car which didn't get restored six years ago, so it's a bit of a voyage of discovery. Hole is now much bigger and much more rust is being discovered. Pictures later.
Chris.
|
|
|
|
Post by Penguin45 on Dec 30, 2015 21:31:20 GMT
Choppy choppy time. It would be fair to say that by tea-time, I owned considerably less Wolseley than I did at 11am this morning. No point in messing about, get rid of all the grot...... 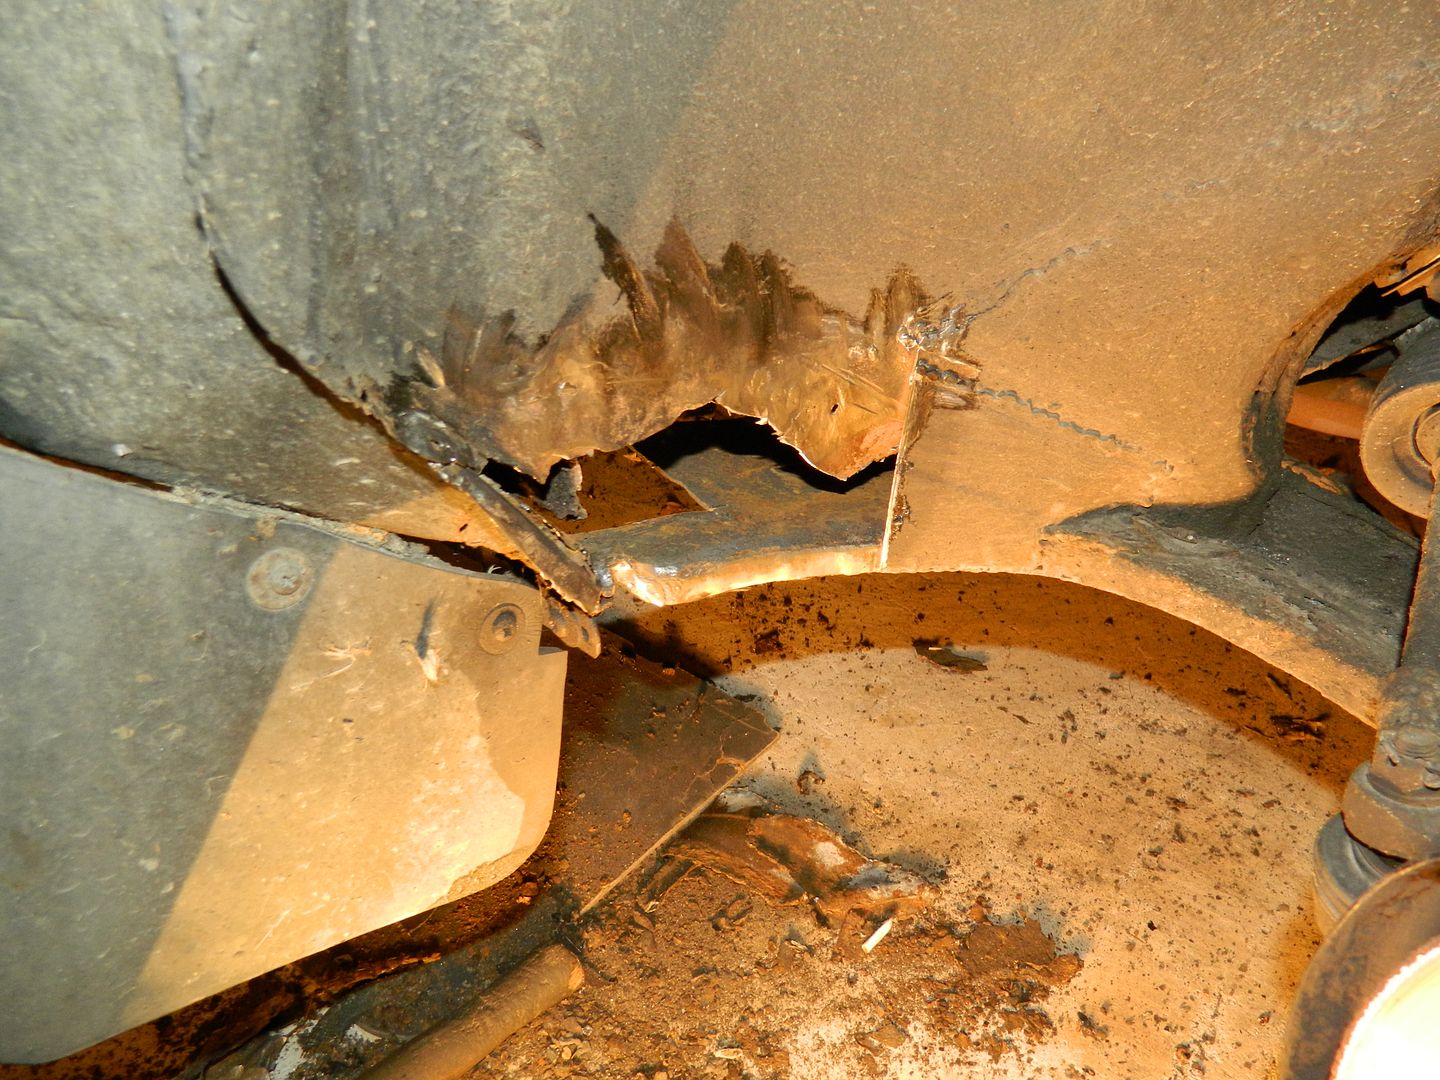 Grot in bulkhead required the repair panel in the wheel arch to go. 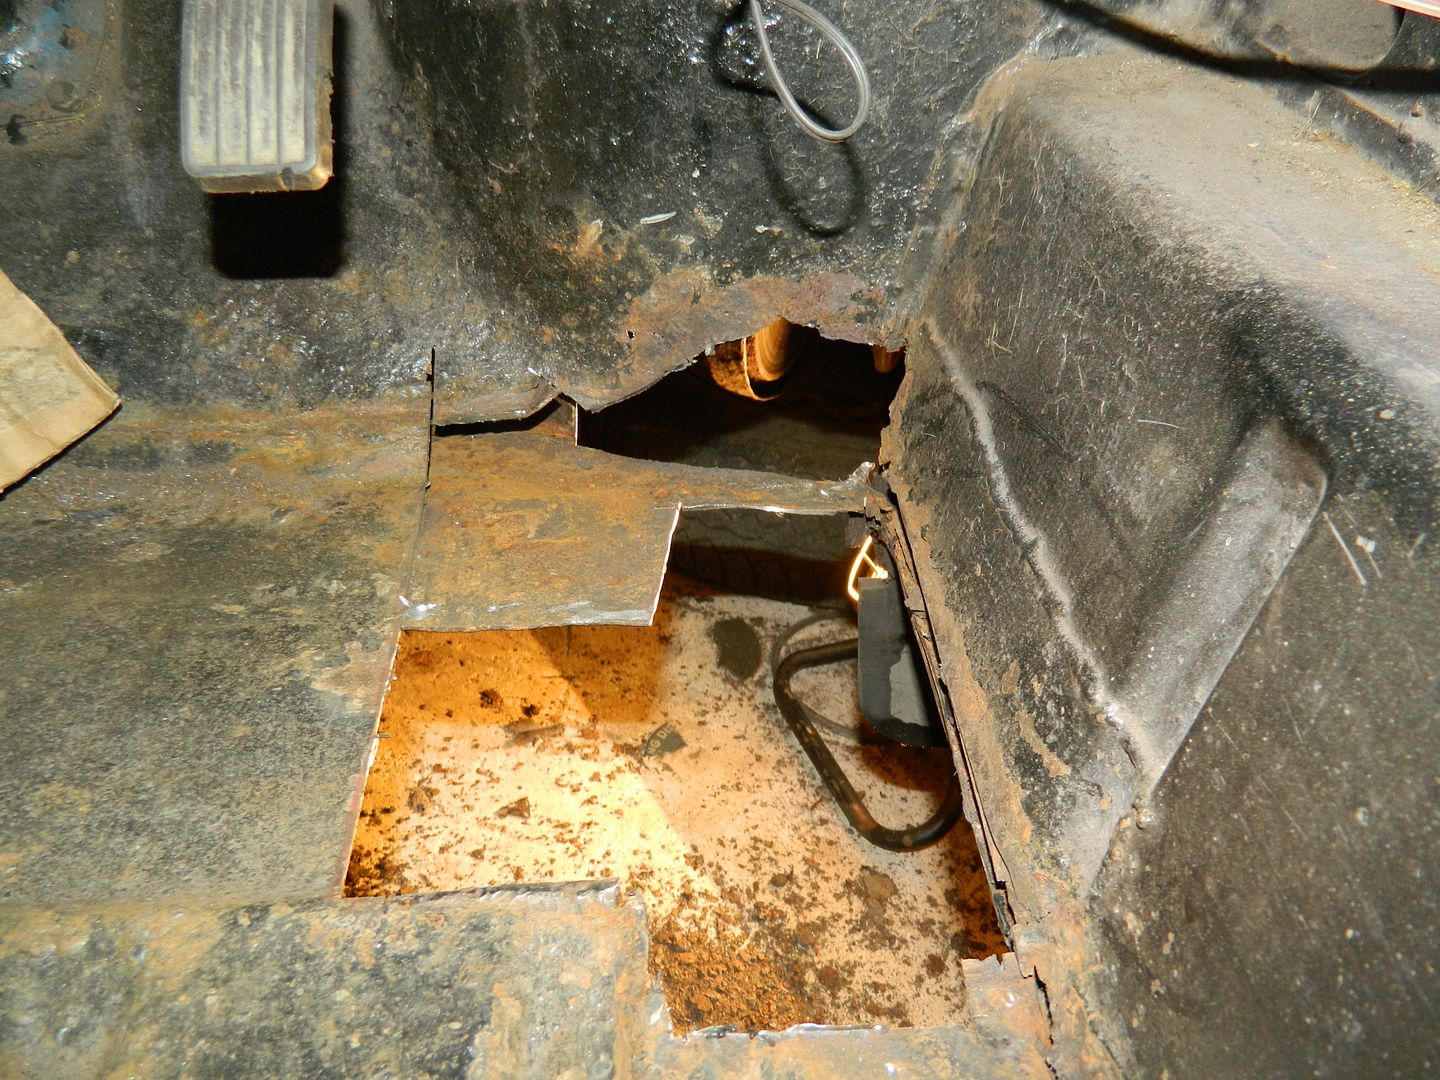 Cut away sizable area of floor, bulkhead and crowsfoot. 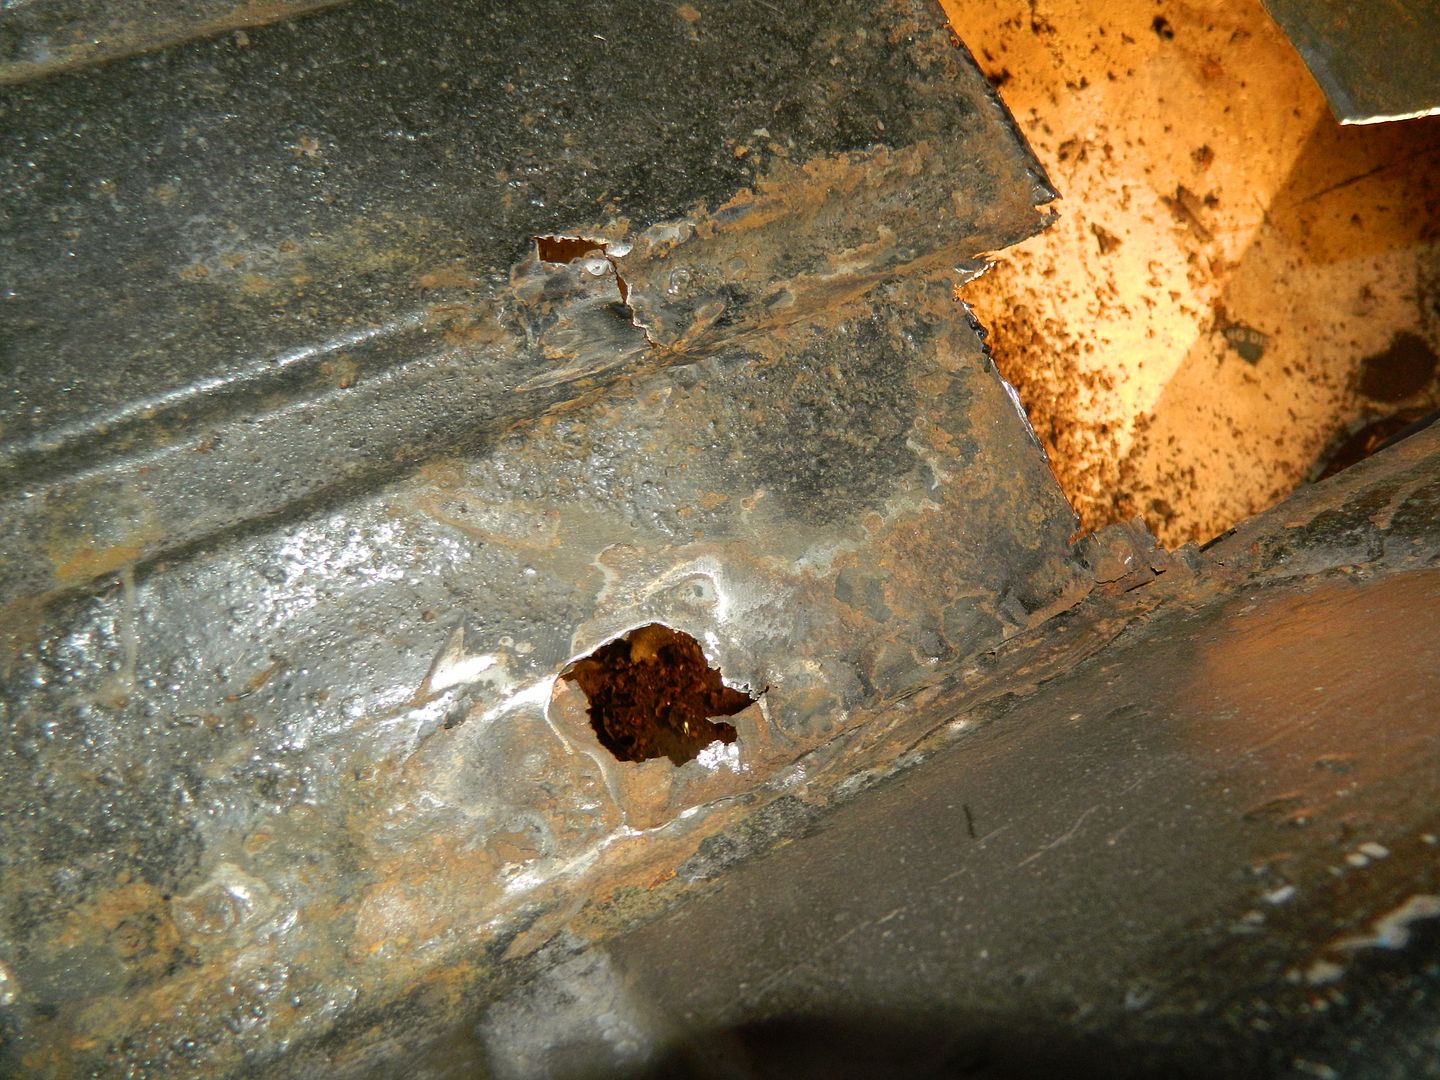 Grot on the floor rather further back. 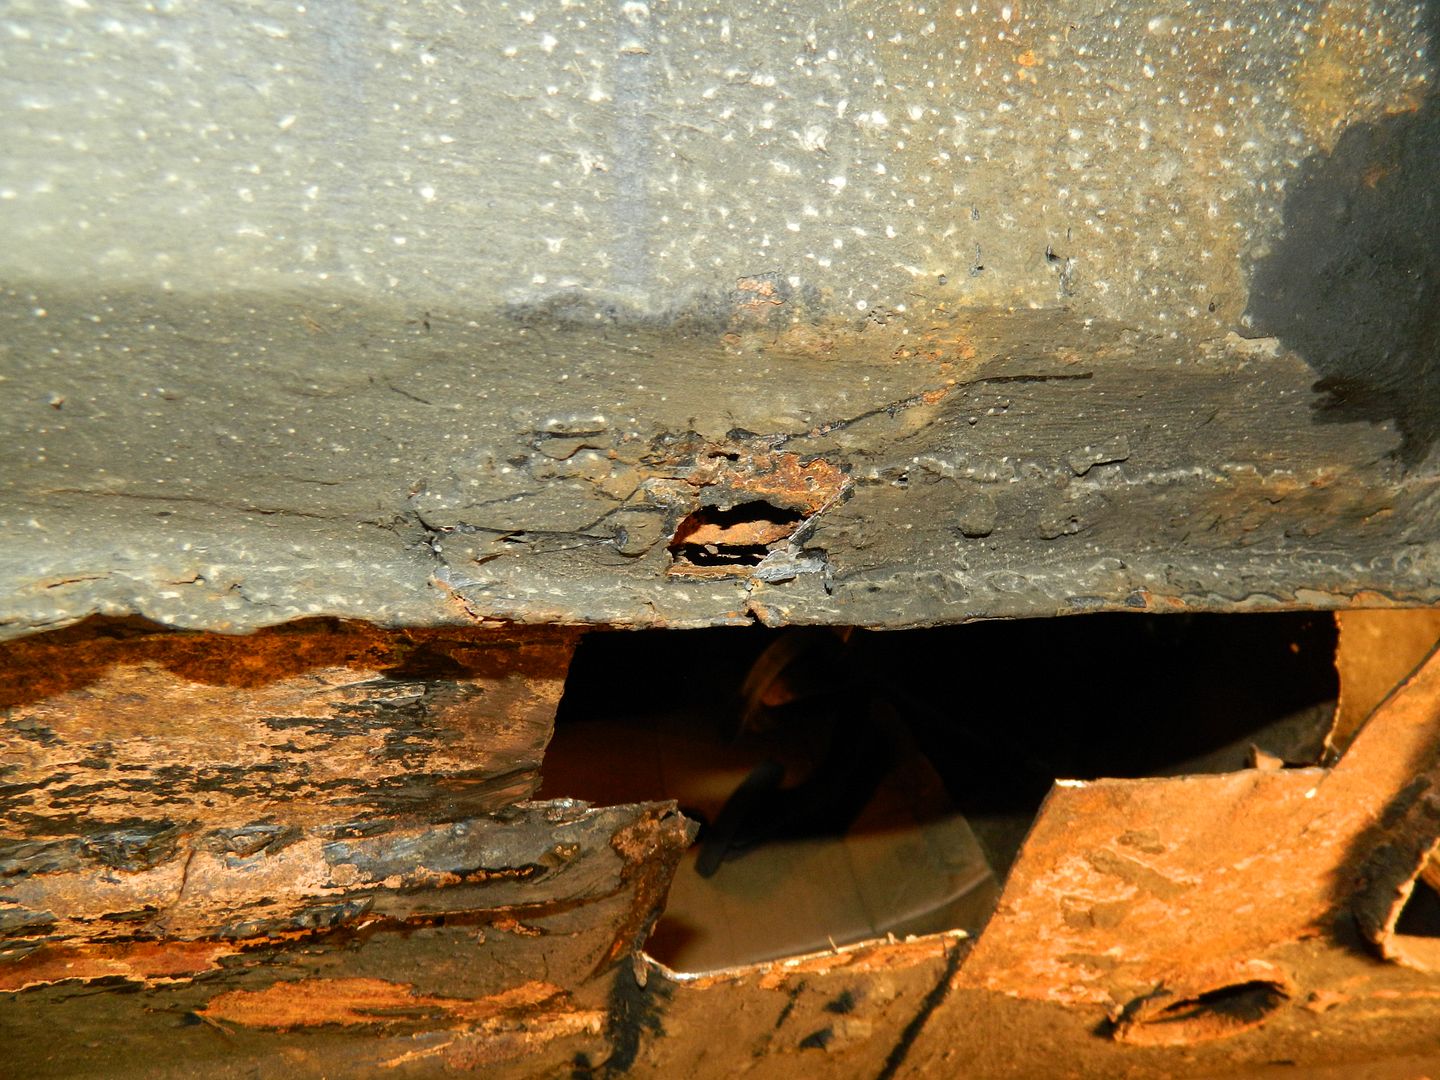 Bottom of sill. 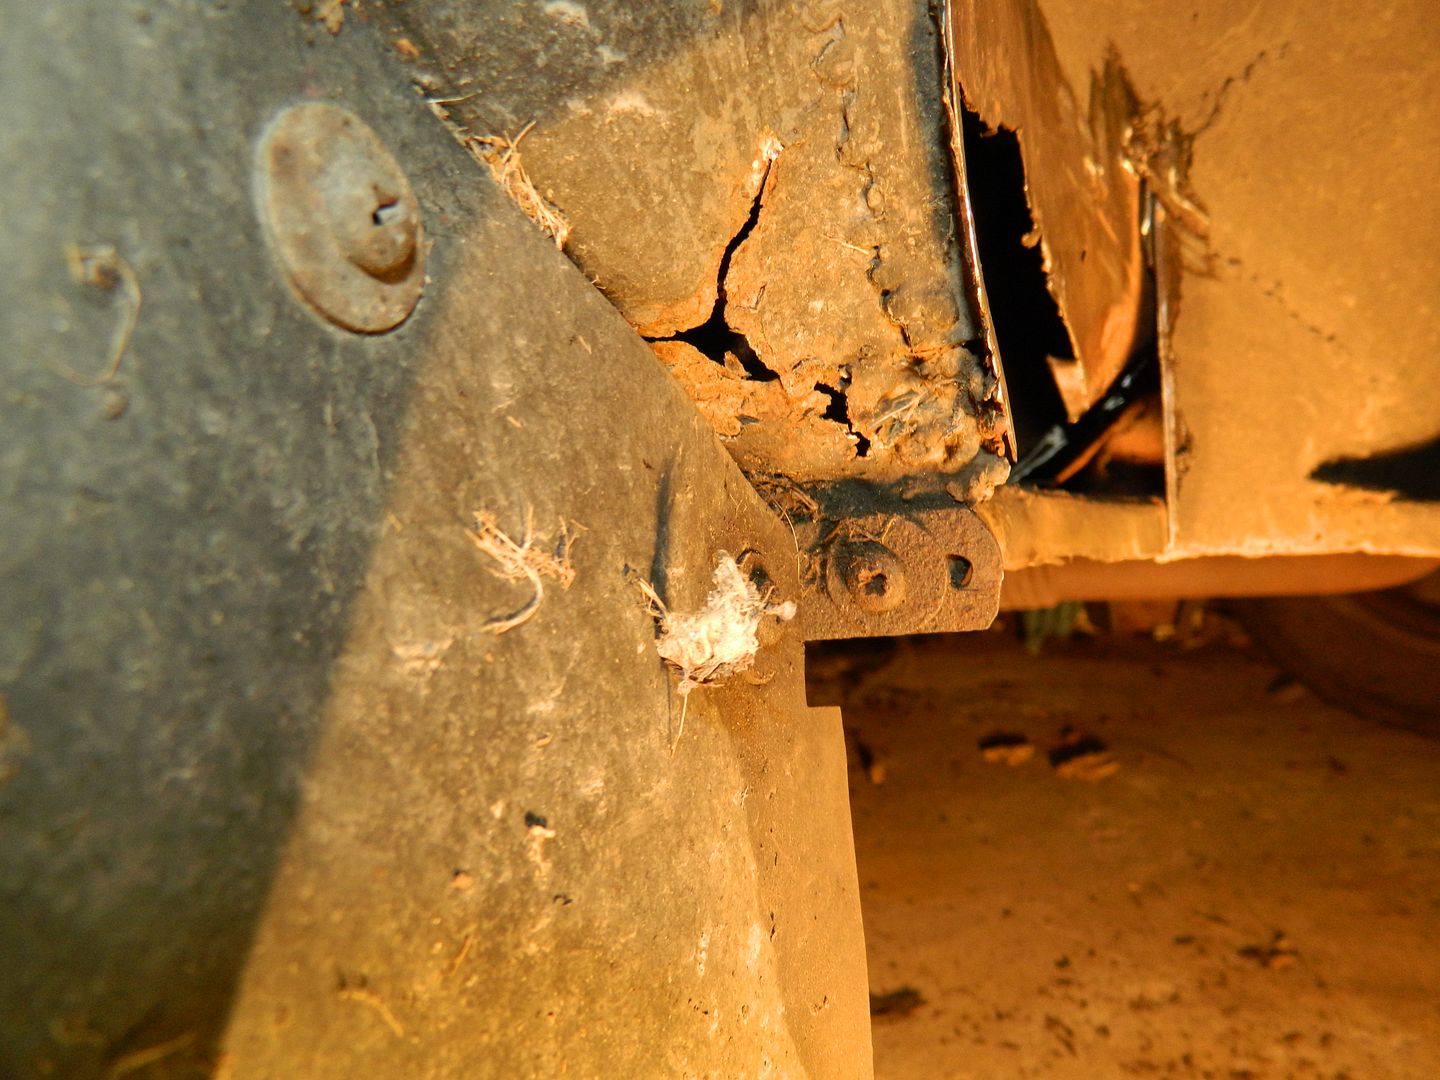 Front end of sill> 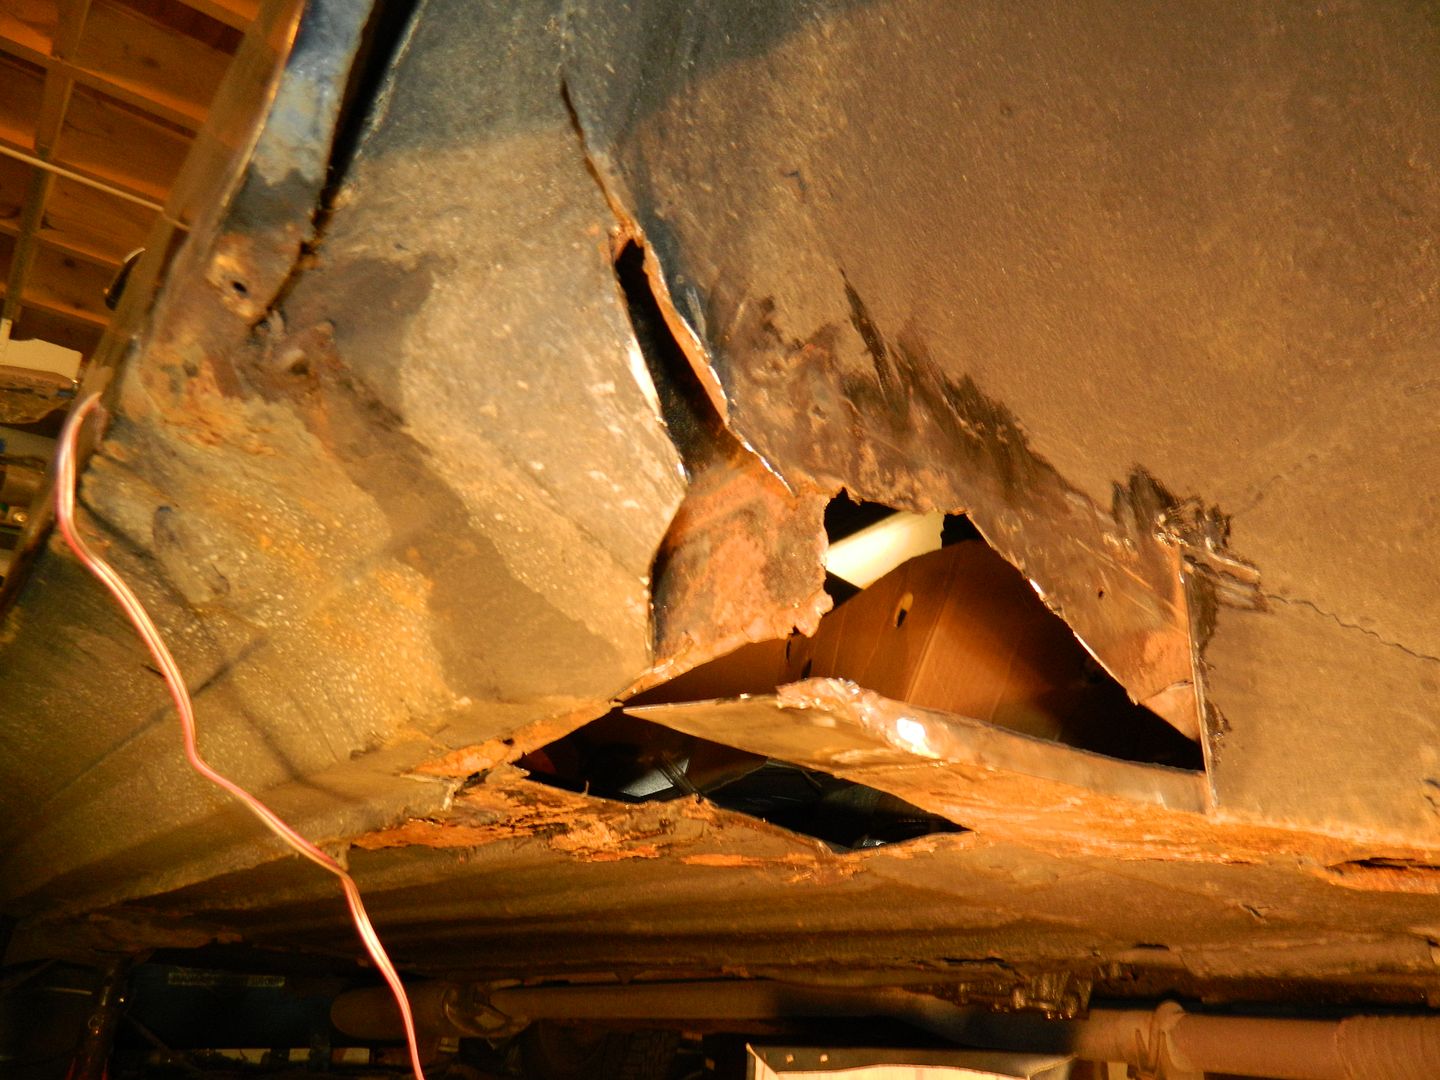 Chop it all off. The voices, I tell you, the Voices made me do it. 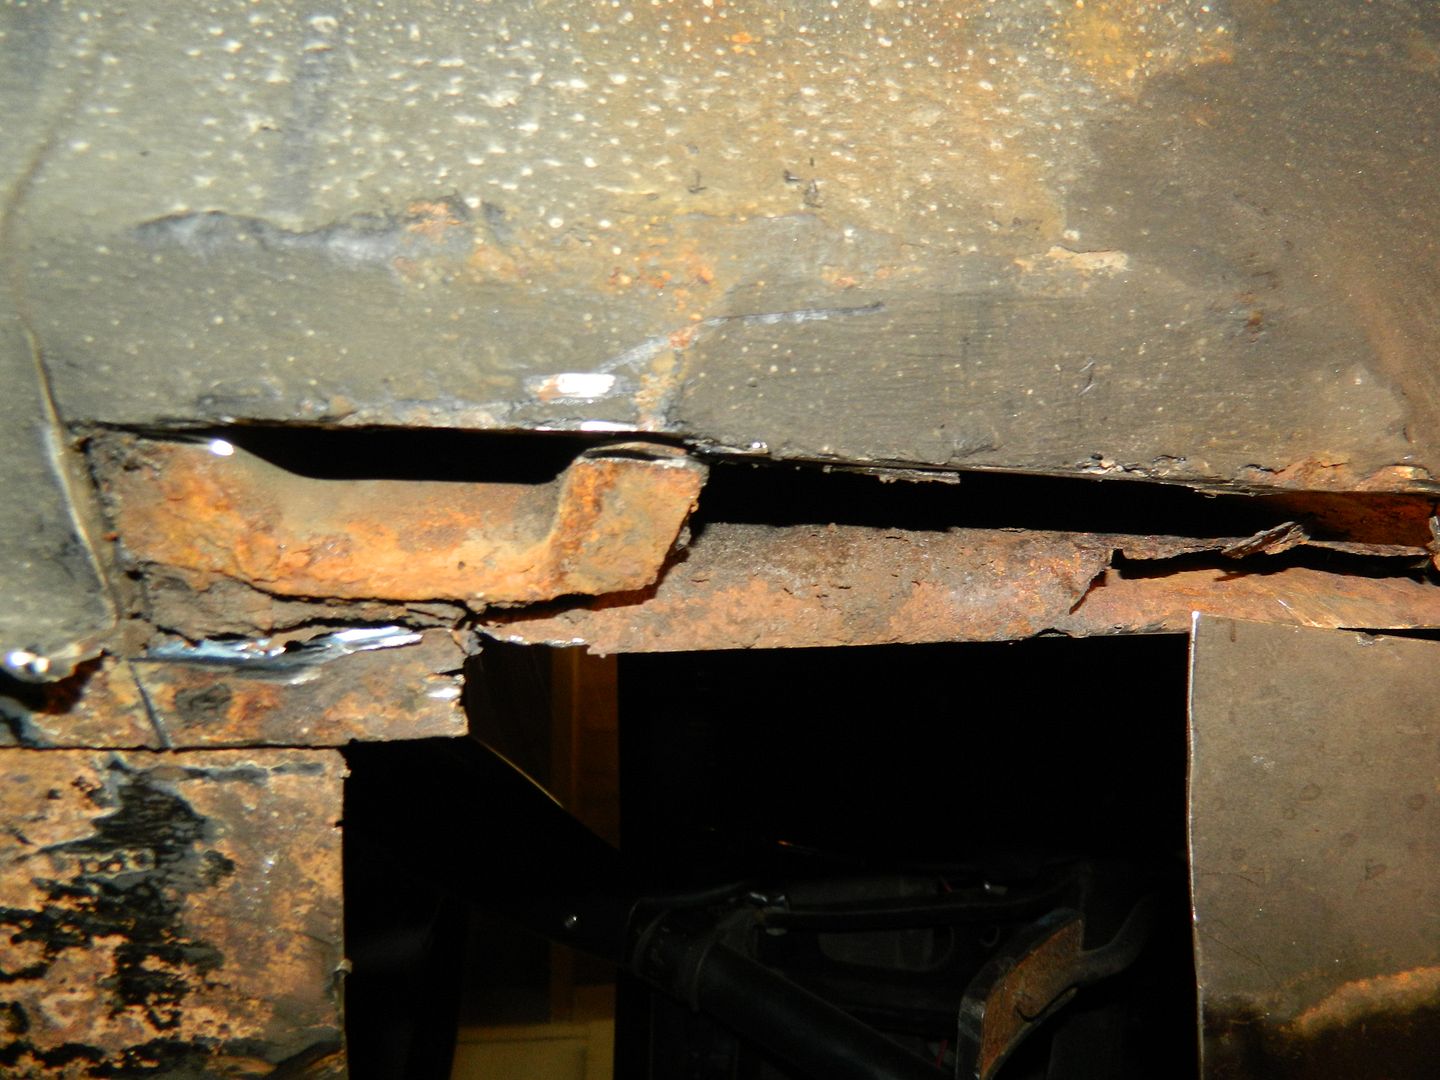 Bottom of sill cut away. 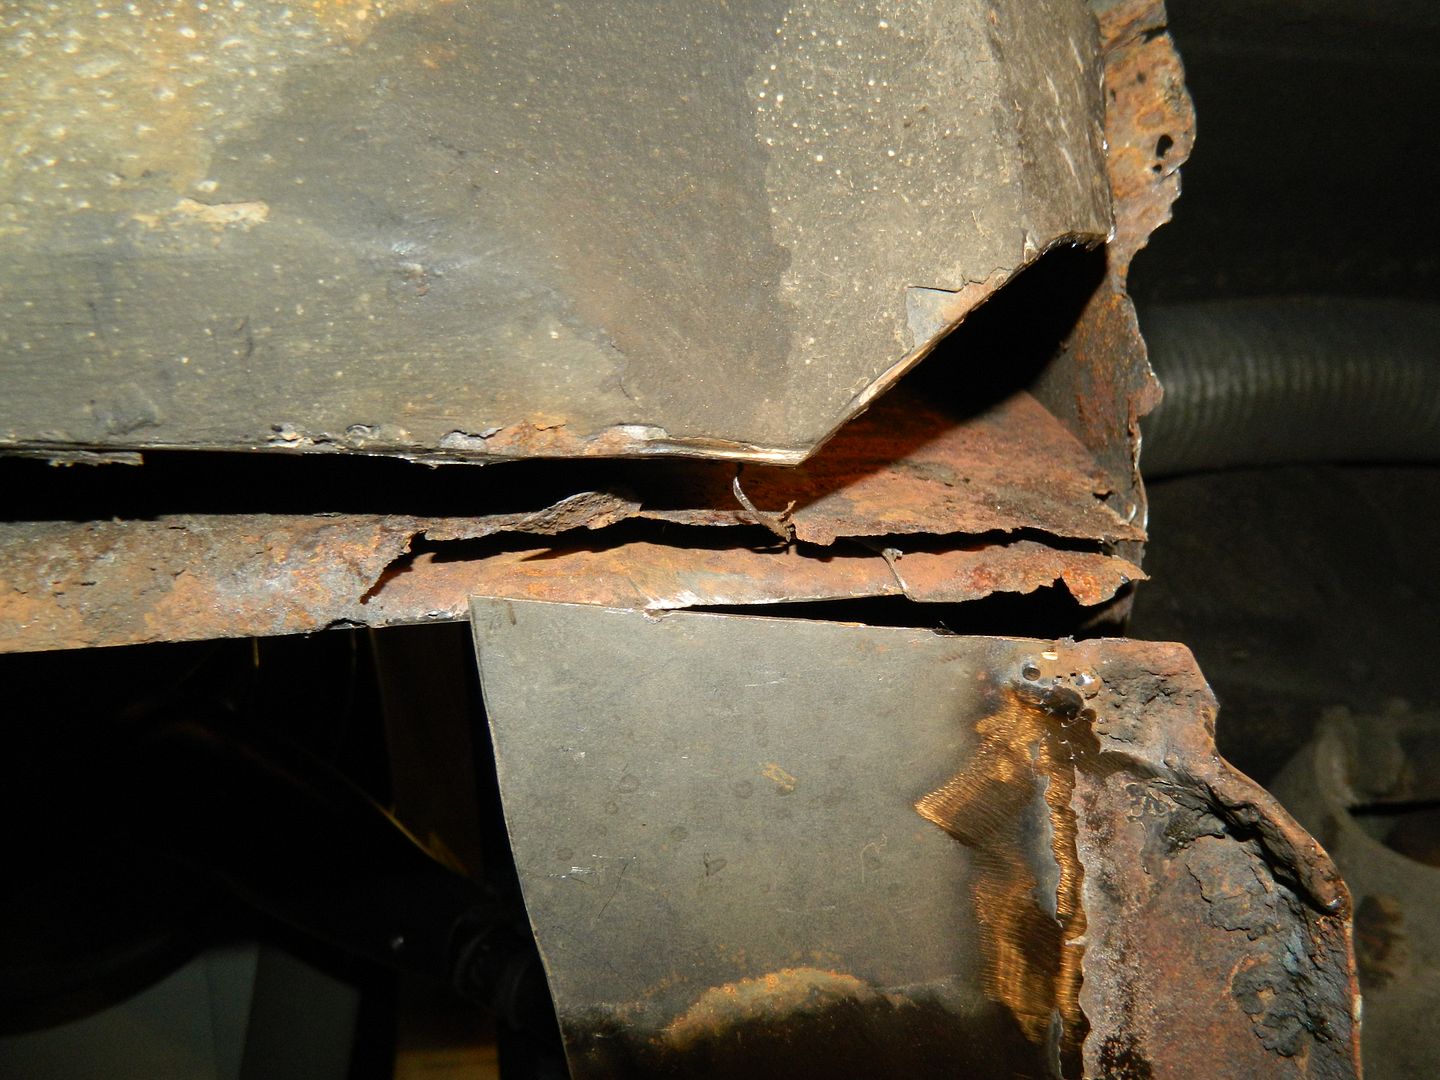 Hang on a minute - why are there two layers of metal there? 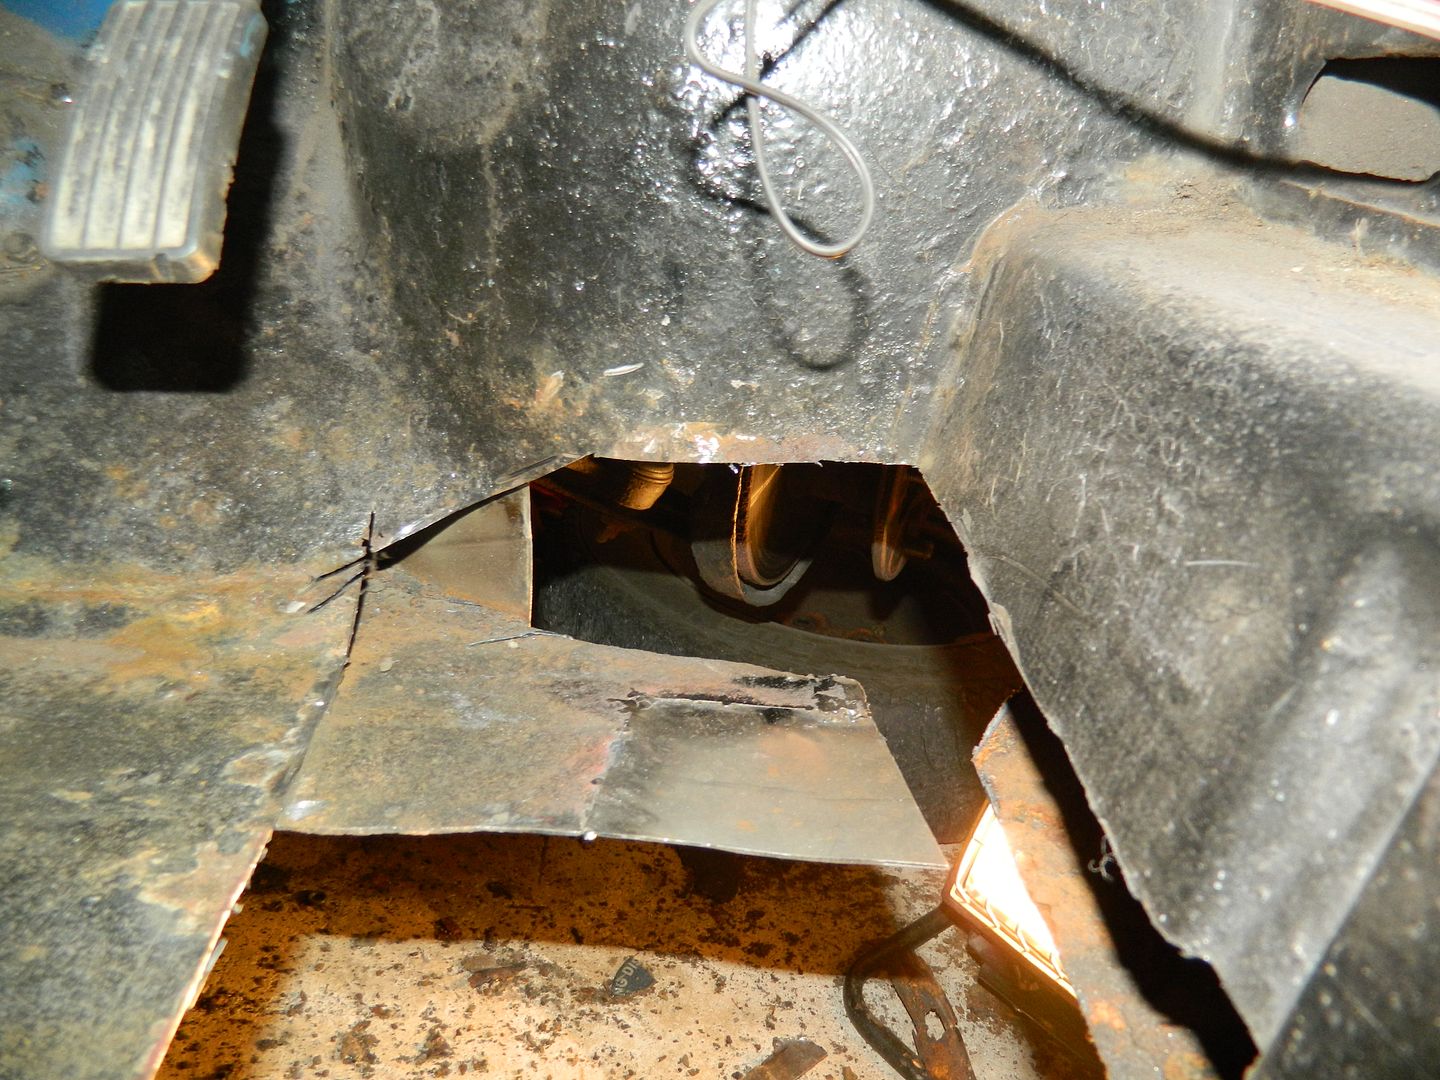 Because Mr Bodger slapped a yarking great panel over a rusty one. Large hole on the right is the result. So, from a split in the floor to a HUGE hole. Tremendously satisfying. Chris. |
|
|
|
Post by Penguin45 on Dec 30, 2015 21:42:51 GMT
Can't leave it like that, so to end the day I wanted to re-establish the lower datum to re-build everything to. 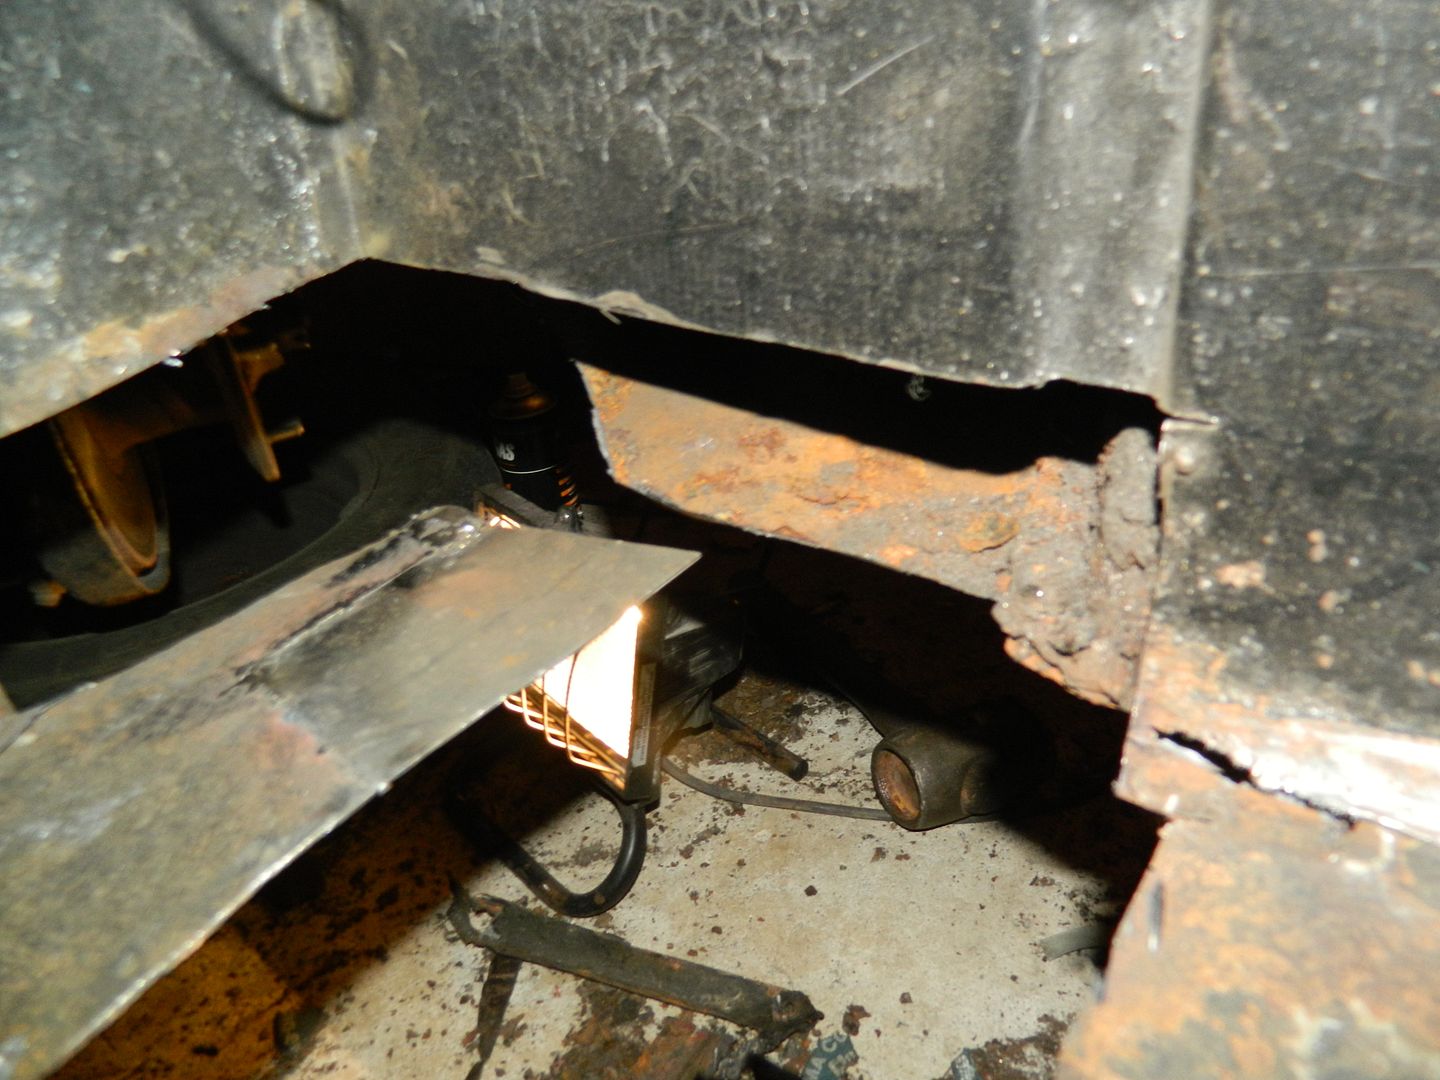 Crowsfoot repaired. This was 2mm thick - you may recall that the Austin one was 3mm. 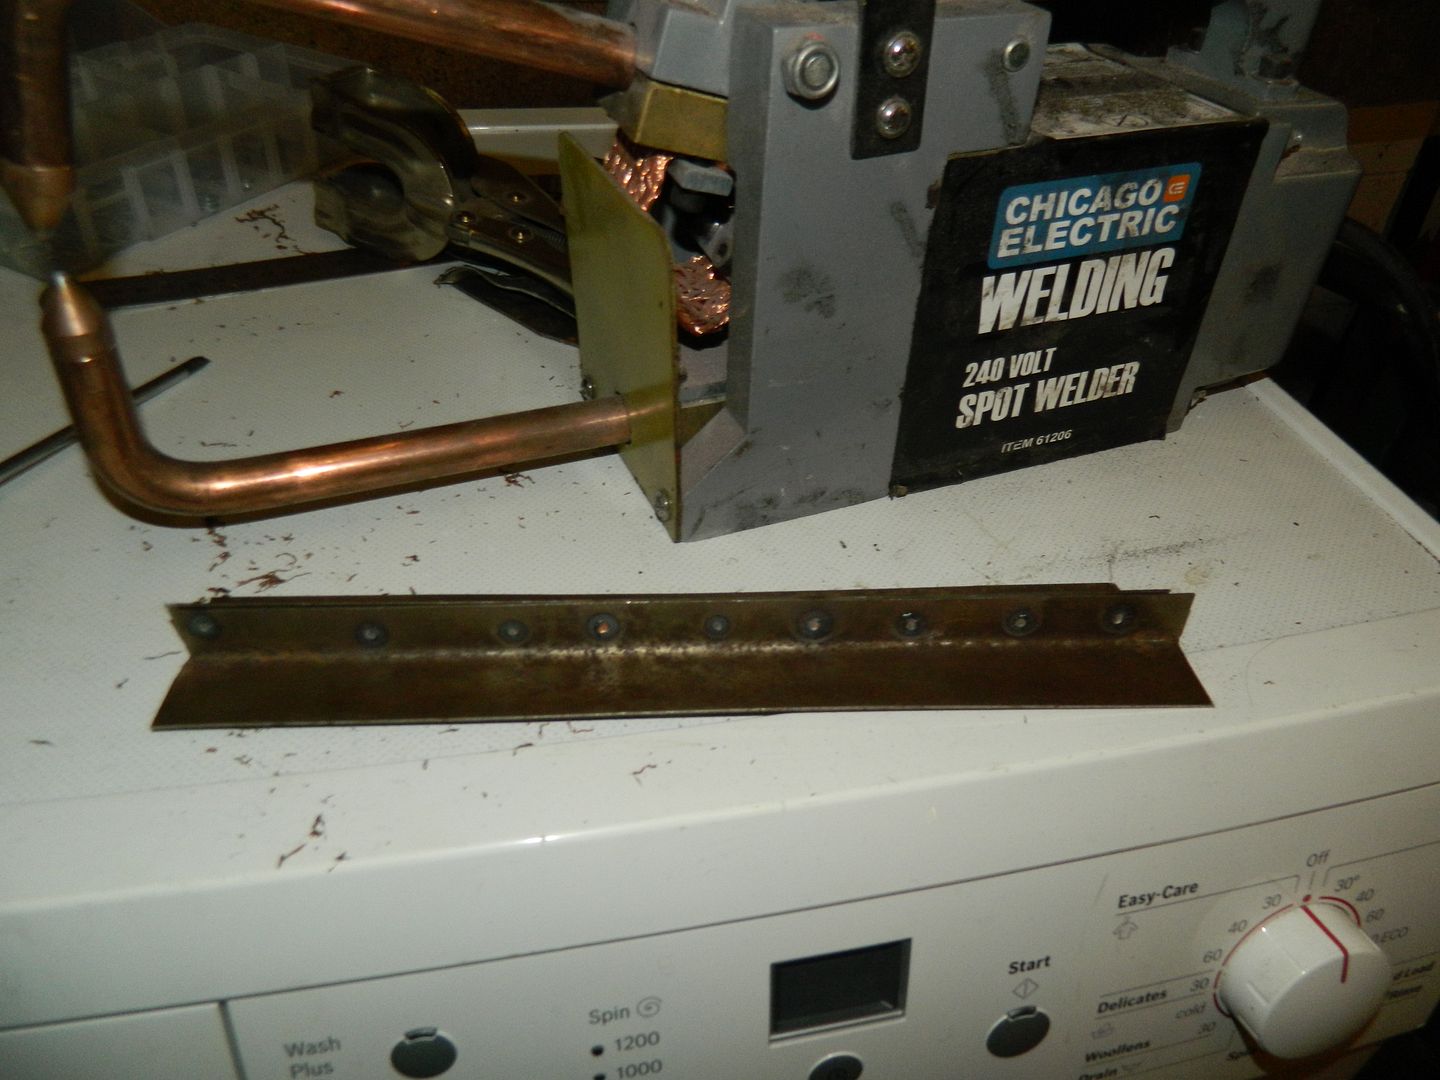 Bent up some angle and used the spot-welder to make a "T" section. Not got a spot-welder? Buy one. Best big boys toy ever! 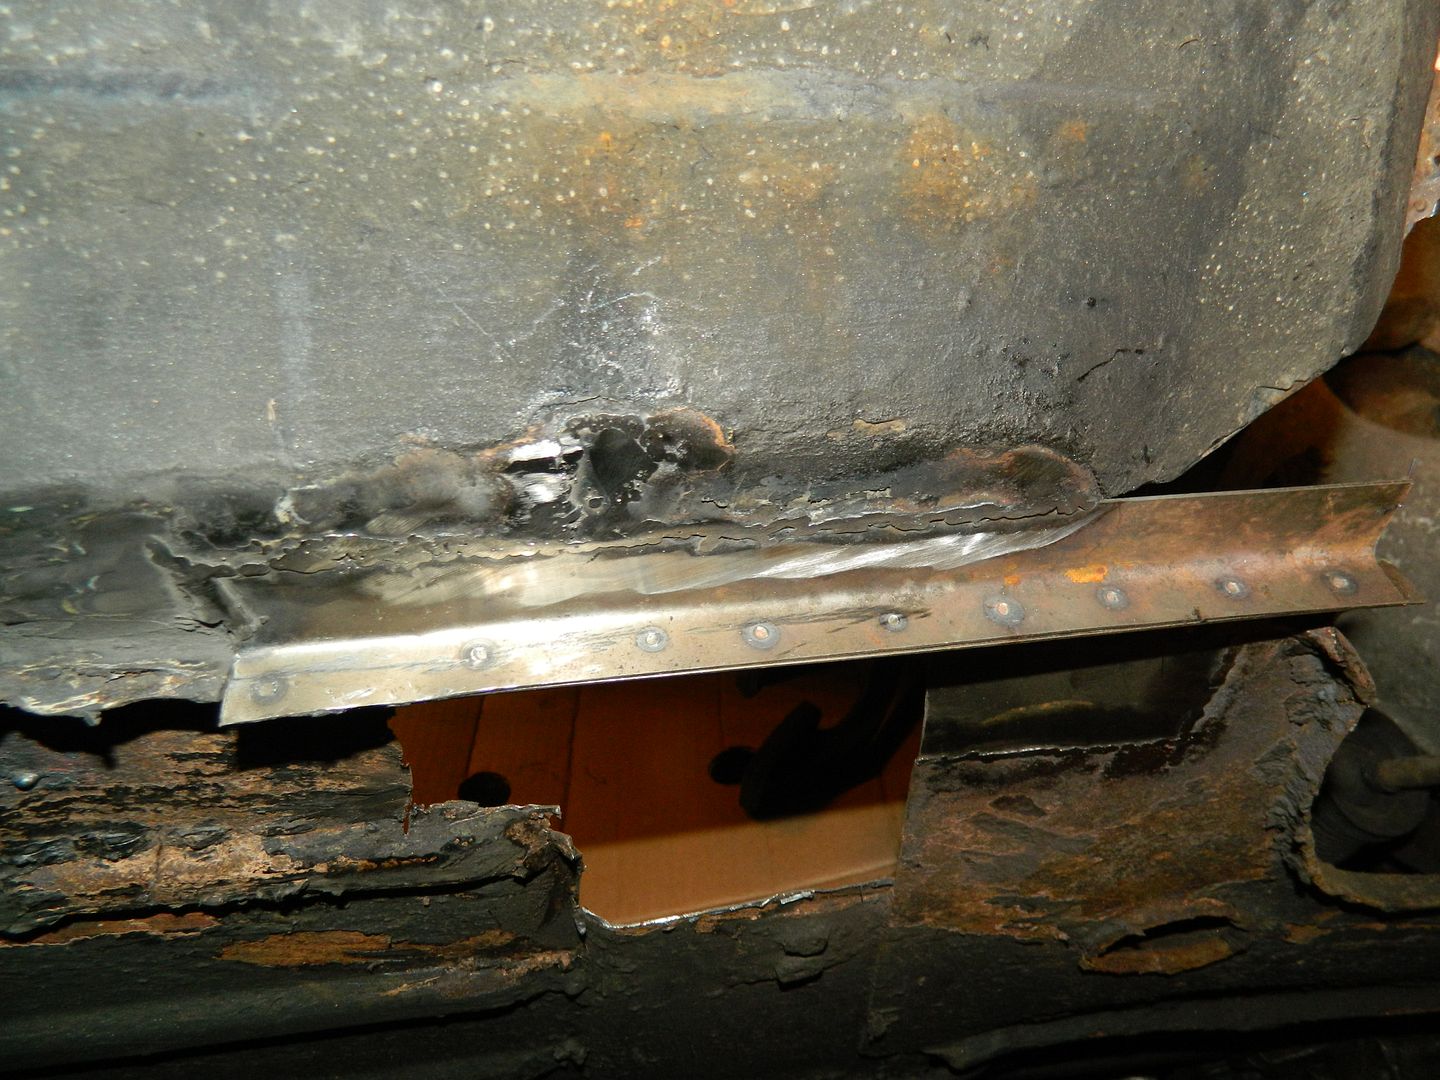 Weld "T" section into bottom of sill. 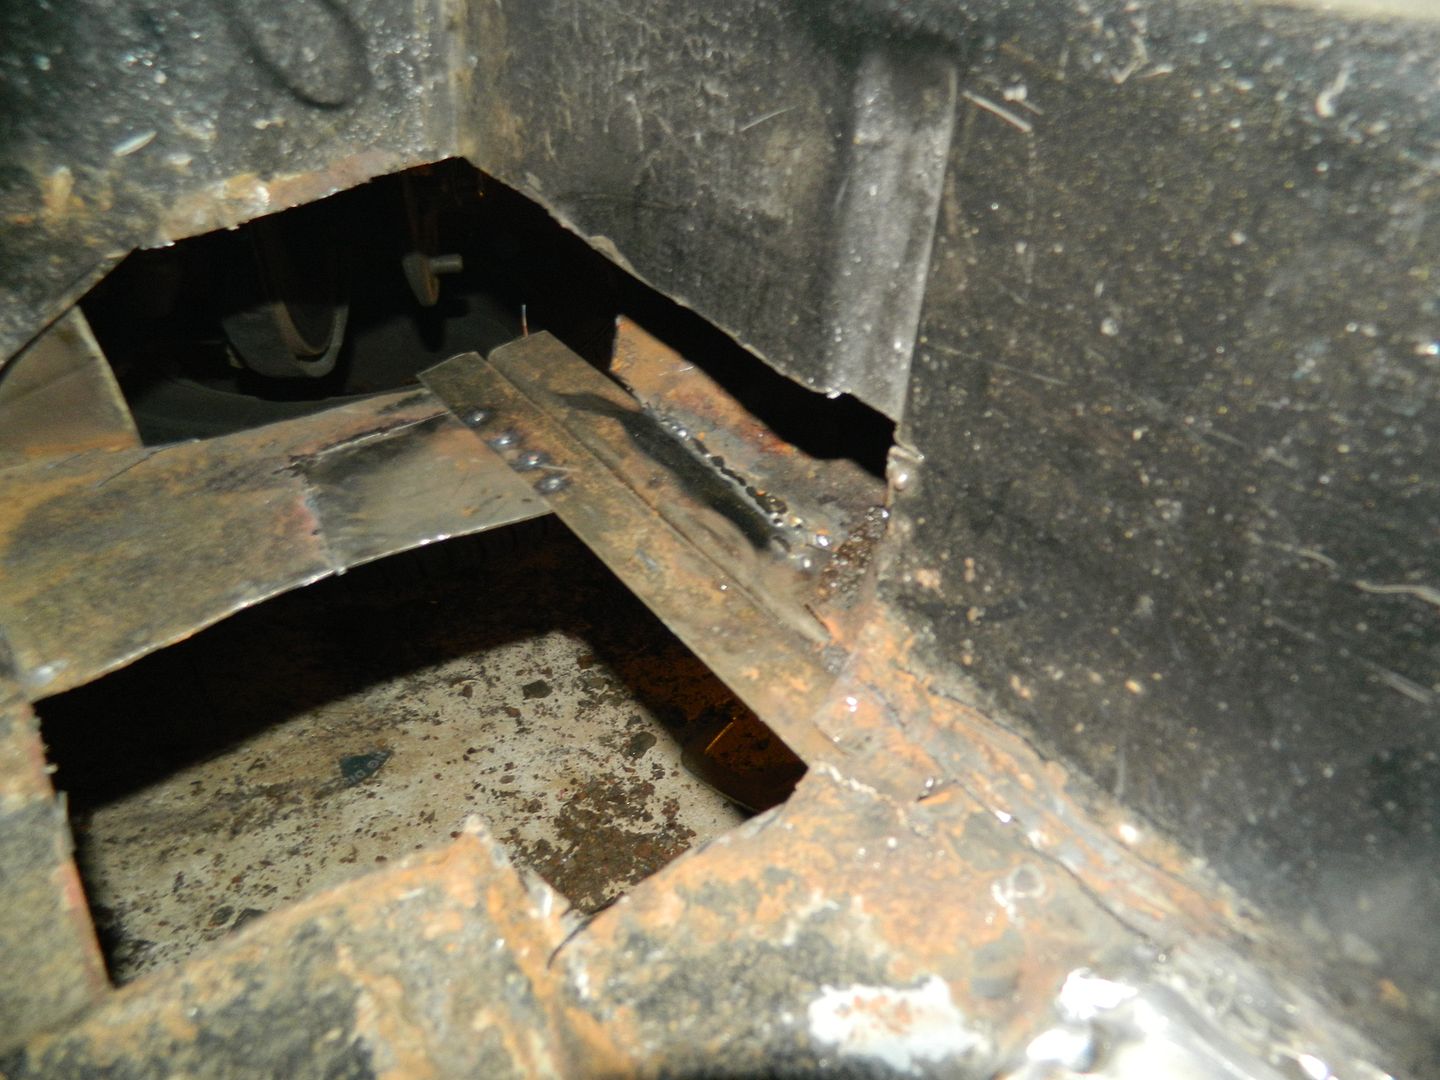 Use spot-welder to attach "T" section to crowsfoot. This is already an immensely strong frame. All I've got to do now is fill in the holes. Tomorrow - rather knackered now. Chris. |
|
|
|
Post by Nick RS on Dec 30, 2015 22:21:25 GMT
Oooh, gratuitous grot. Hope the fix goes well.
I used a spot welder on sub assemblies years ago on the line at Longbridge. Sent the old quartz watch haywire and got a b*ll*cking from the foreman for knocking off early. The magnetic fields or something like that put the watch forward by over an hour during the shift.
Good luck for tomorrow
Nick
|
|
|
|
Post by dave1800 on Dec 31, 2015 2:02:19 GMT
Back in the mid 60s I had a holiday job at an auto parts factory. One of the jobs was spot welding the individual fan blades on an alternator pulley. All the alighnment done visually. I dread to think of the difficult in diagnosing vibrations I must have created on a range of new cars.  Unfortunately it was before the days of quartz watches so I had to endure the whole day! A useful tool indeed but I wonder just what precautions you may need to take to avoid crashing all the computers in the neighbourhood! David Oooh, gratuitous grot. Hope the fix goes well. I used a spot welder on sub assemblies years ago on the line at Longbridge. Sent the old quartz watch haywire and got a b*ll*cking from the foreman for knocking off early. The magnetic fields or something like that put the watch forward by over an hour during the shift. Good luck for tomorrow Nick |
|
|
|
Post by dave1800 on Dec 31, 2015 2:06:09 GMT
Are you sure you haven't got an infestation of metal eating termites? Good luck, I hope this is the full extent of the rot.
Regards
David
|
|
|
|
Post by Penguin45 on Dec 31, 2015 19:20:37 GMT
Cheers chaps. The floor repairs are complete. 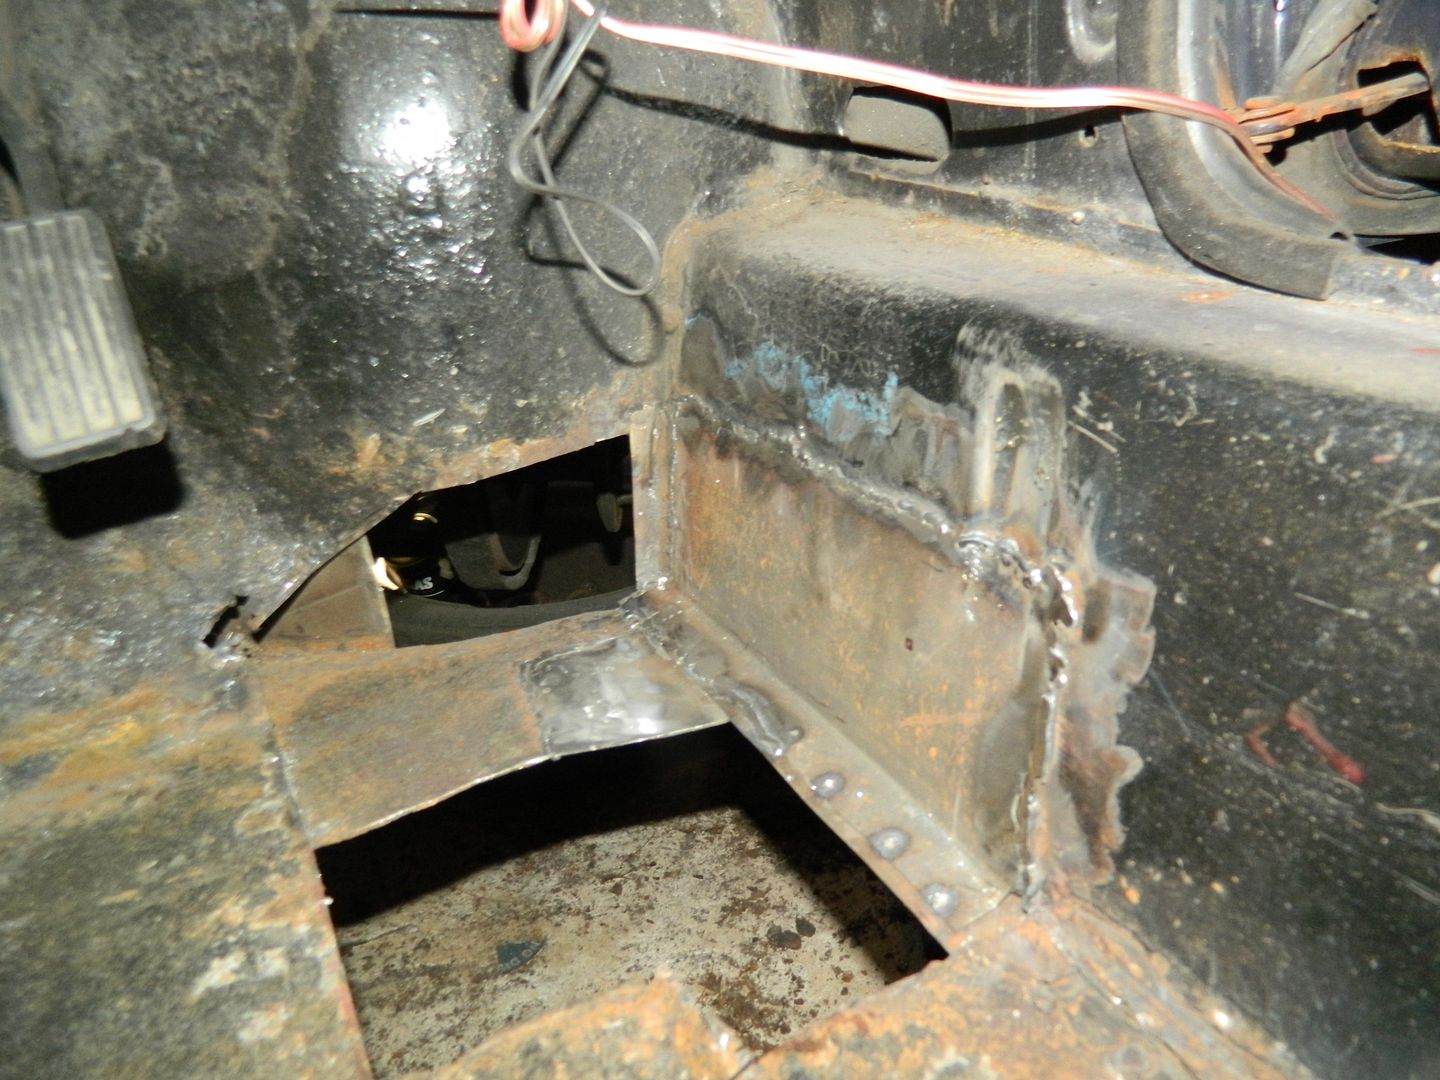 Welded a short length of angle into the front corner to tie everything together and to create a vertical datum. Inner sill repair panel welded home. Note raggedy hole on the left of the bulk head. More metal and floor had to be removed to arrive at sound metal. 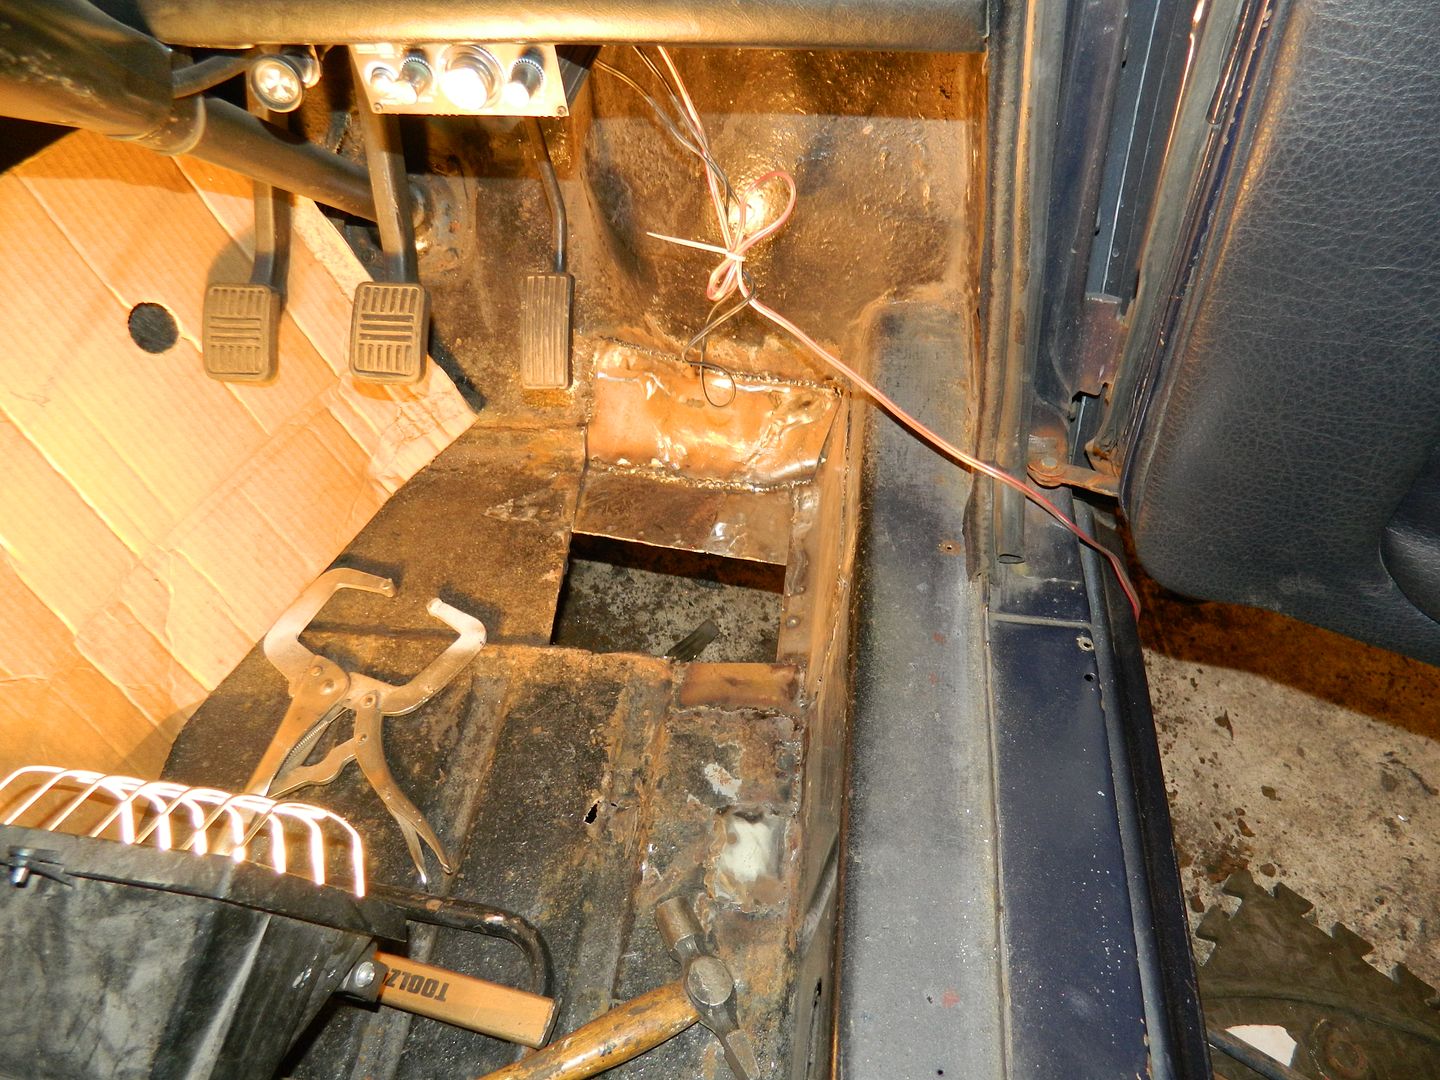 Bulkhead panel welded home. 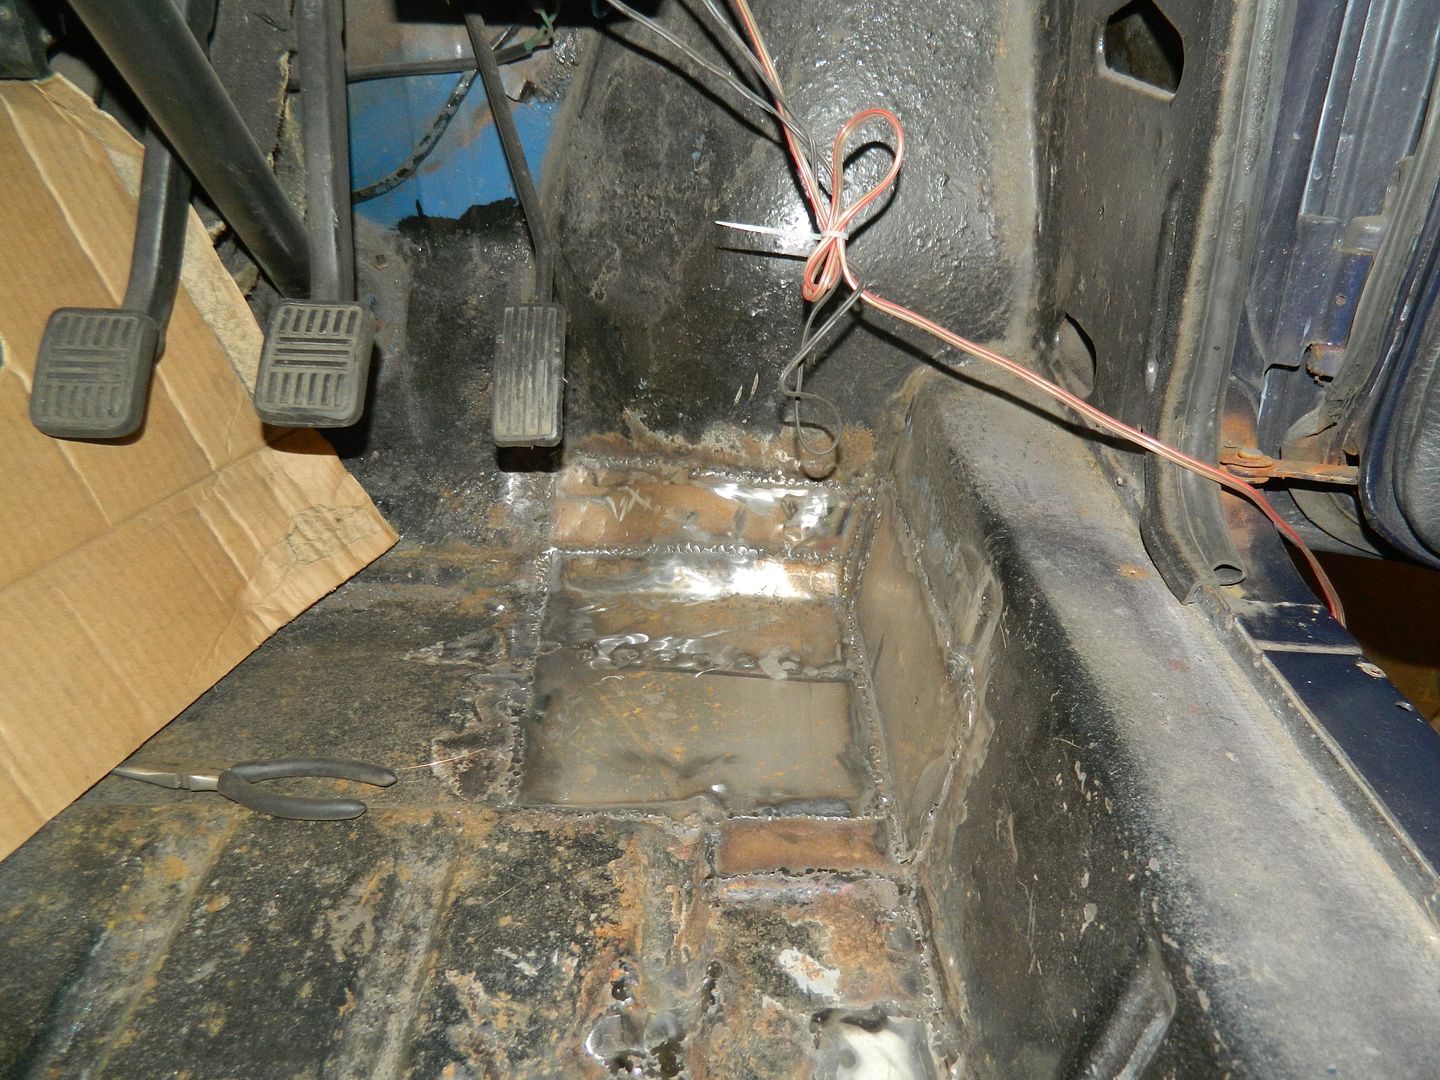 Floor panel in. Seamed around all four sides, then eight plug welds across the crowsfoot. Very solid indeed> 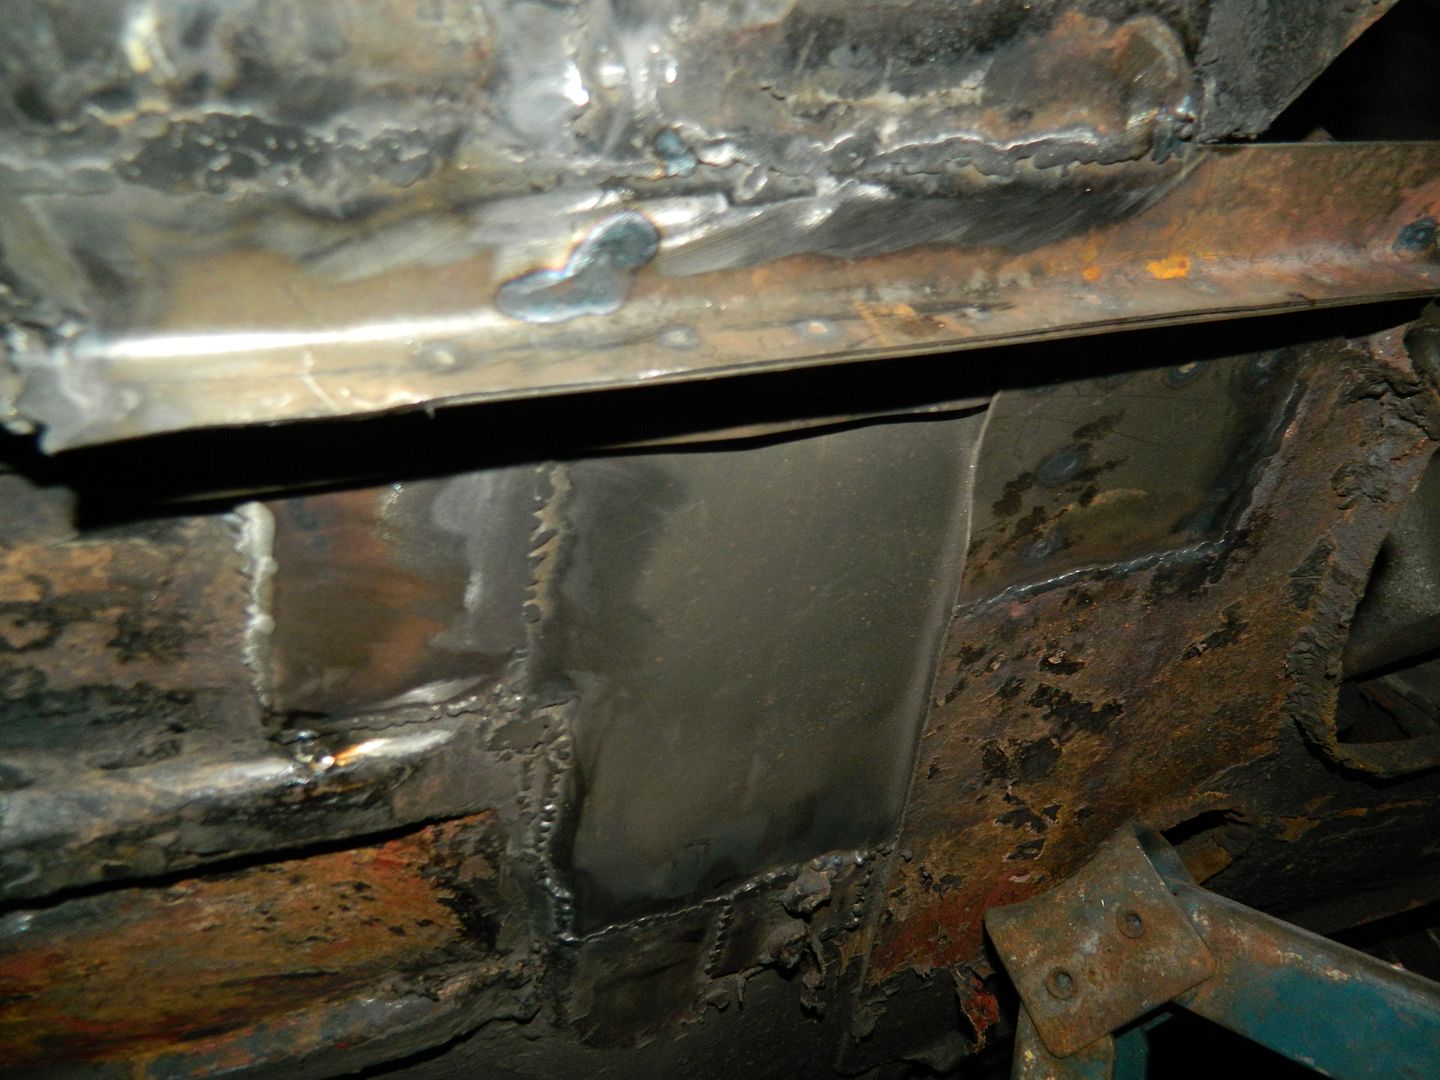 And a little peek underneath. Not a bad days work. I'll make up the wheel arch closing panel and sill end tomorrow. Chris. |
|
|
|
Post by Penguin45 on Jan 1, 2016 18:22:50 GMT
And it's all back in one piece. 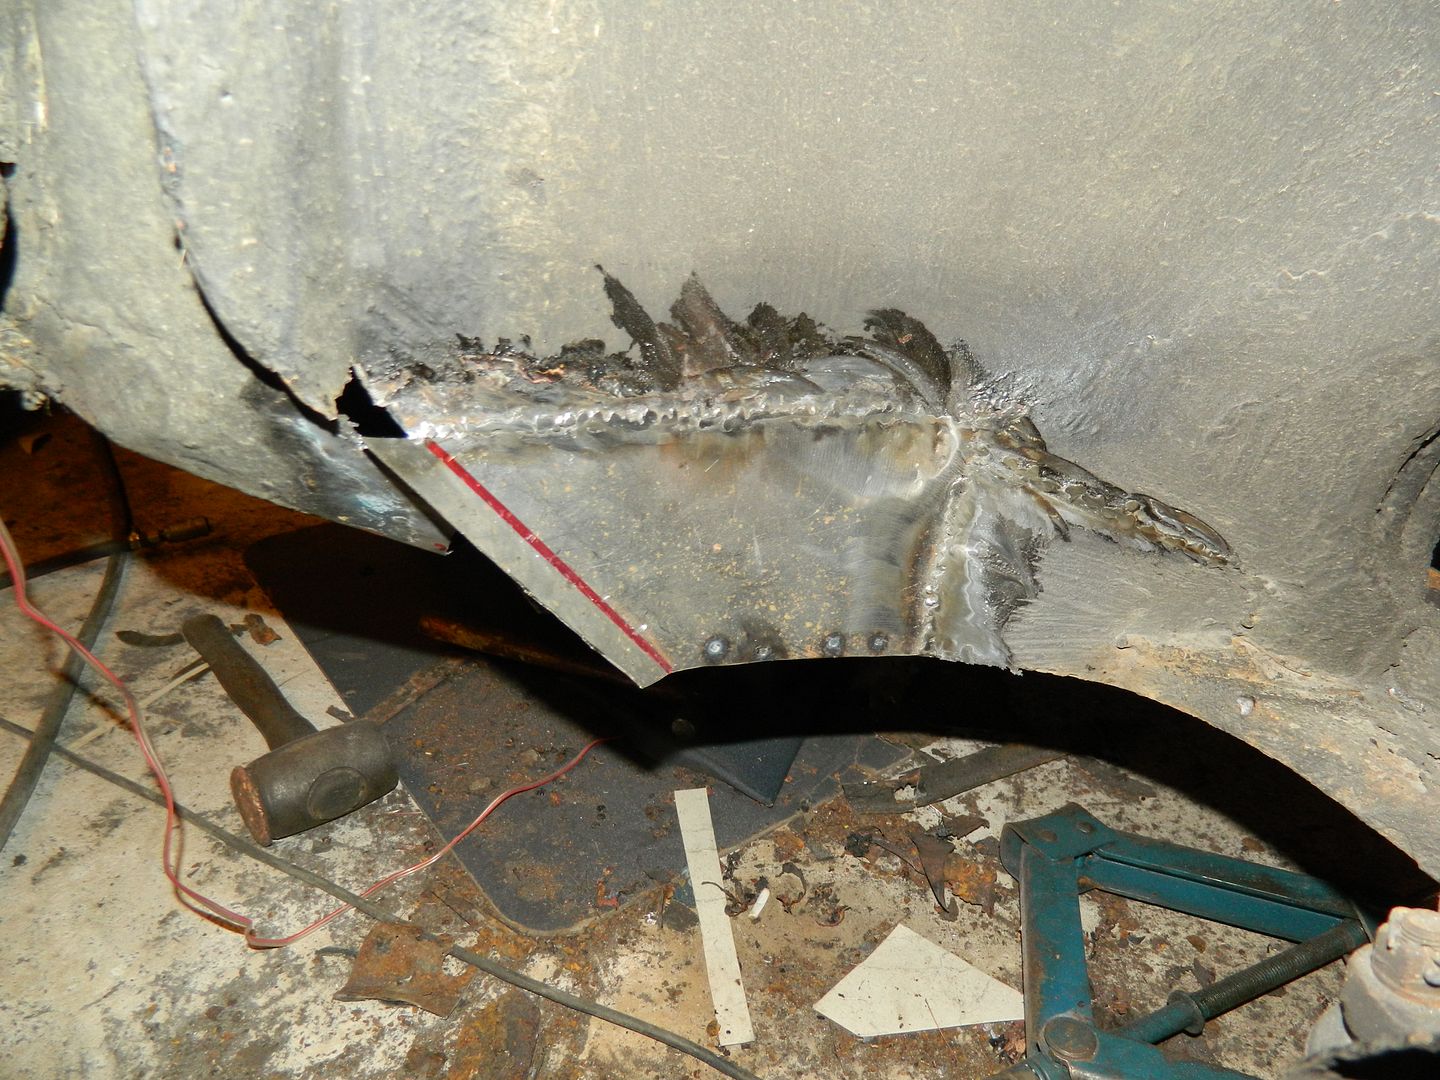 Closing panel in wheel arch. 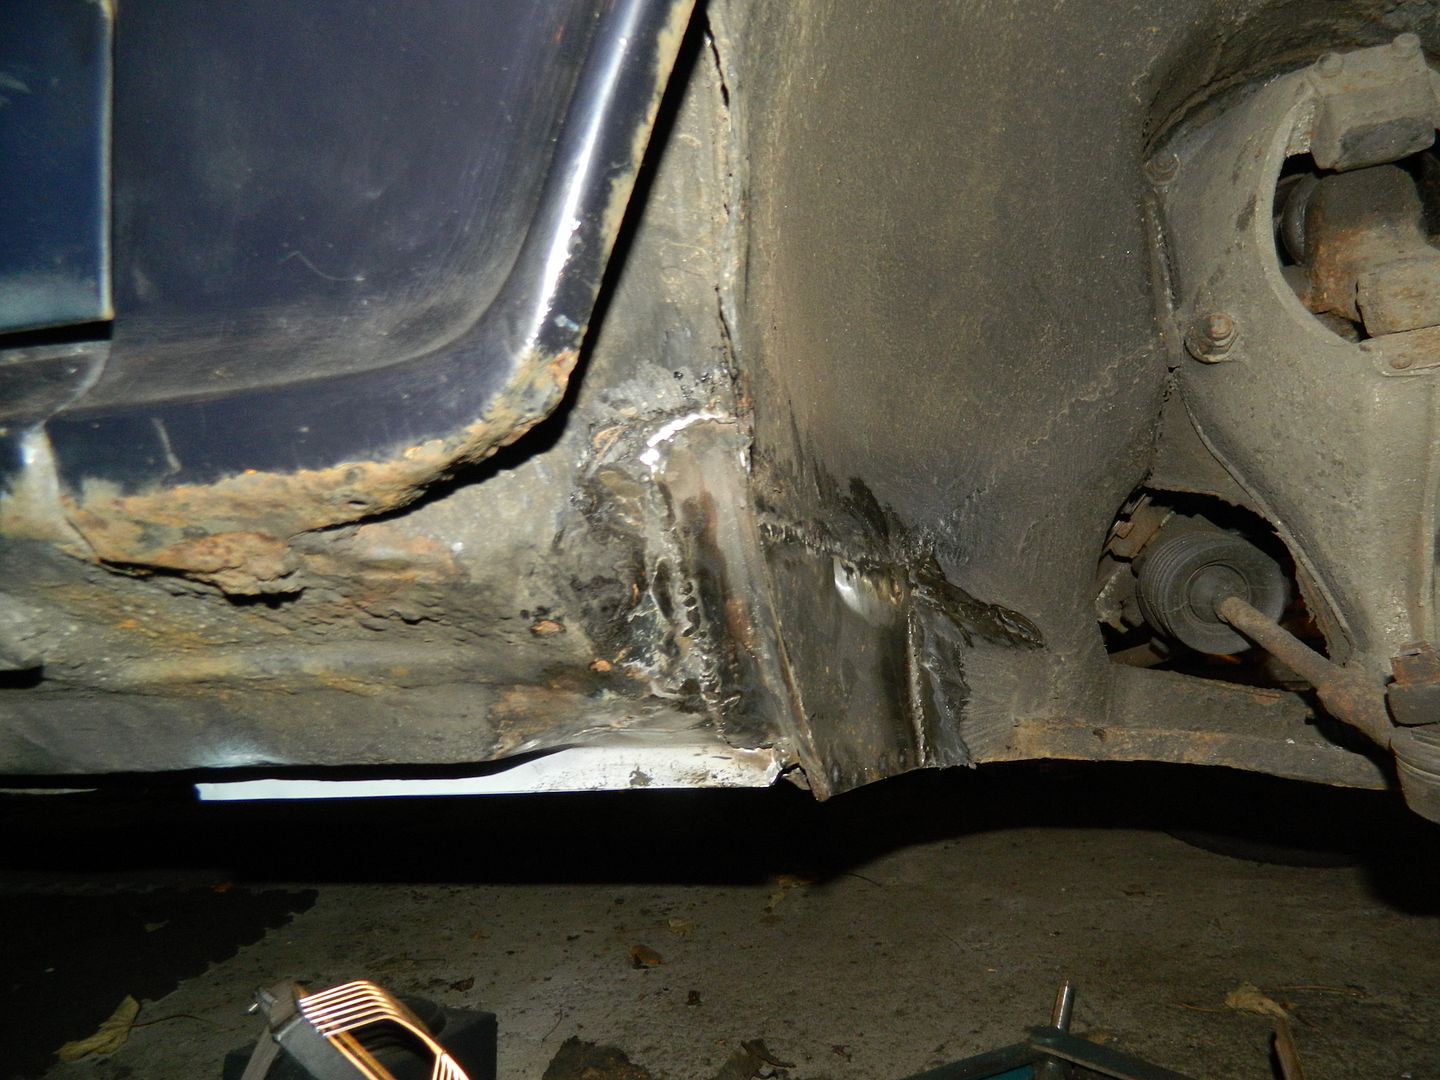 End of sill repaired. Managed to double up the flange at the front, so now hugely strong. All in etch primer and primer. I'll blow some top coat and shutz over everything later. Chris. |
|
|
|
Post by pete1800 on Jan 1, 2016 21:16:46 GMT
Nice tidy job that Chris , wouldn't life be boring with nothing to weld up.
|
|
|
|
Post by peppib on Jan 2, 2016 14:46:50 GMT
You know Chris, you worry me. Not because of your fine welding skills, but because your, and several other cars on here, seem to have great infestations of rot. It worries me that one day mine will go in for MOT and instead of the tester coming in saying 'all is well' he will come with bad news saying the thing is disintegrating! In my 9 years of ownership all I have done is replace the nearside inner sill, and weld up a very small crack in the floor - and they were done about 7 years ago.
As I am no longer fit enough to weld, I am afraid any news like that would probably mean the end to my ownership 
Keep up the good work
Dave
|
|
|
|
Post by Penguin45 on Jan 2, 2016 15:40:34 GMT
Or a quick trip down to Yeadon?
The o/s sill and front floor area was the only area which we didn't do any work on when Theo and I restored the car all those years ago. As you know, everything we touched proved to be rotten, so we were profoundly suspicious and much poking and prodding took place. I think the real lesson is to stay on top of the rust prevention. I noted large areas of flaking underseal below the car when dealing with the new metal, so that is added to the "to do" list.
Chris.
|
|
|
|
Post by Penguin45 on Jan 21, 2016 0:11:56 GMT
Smelt petrol several times Tuesday and then this morning. Had a little look at lunchtime and the fabric coated fuel line from the tank to filter was definitell wet and smelly. Replaced pipe and filter and all seemes to be well.
So, just the handbrake to sort out and the rumble from the front of the car. Wheel bearings are my bet, as the brake pedal travel is a little long on first depression.
Cnris.
|
|
|
|
Post by Penguin45 on Jan 21, 2016 16:24:51 GMT
Handbrake done. Adjusters weren't seized, which was nice. New cable to the off-side as it was starting to fray. Lubricated all the pivots and it grabs quite nicely now.
Chris.
|
|
|
|
Post by Penguin45 on Jan 24, 2016 20:31:34 GMT
N/s/f wheel bearings replaced on Friday. I have taken some pictures and David and I will cook up a "How to" for the Tech section. Inevitabley, a bout of poking with a sharp implement accompanied the task...... 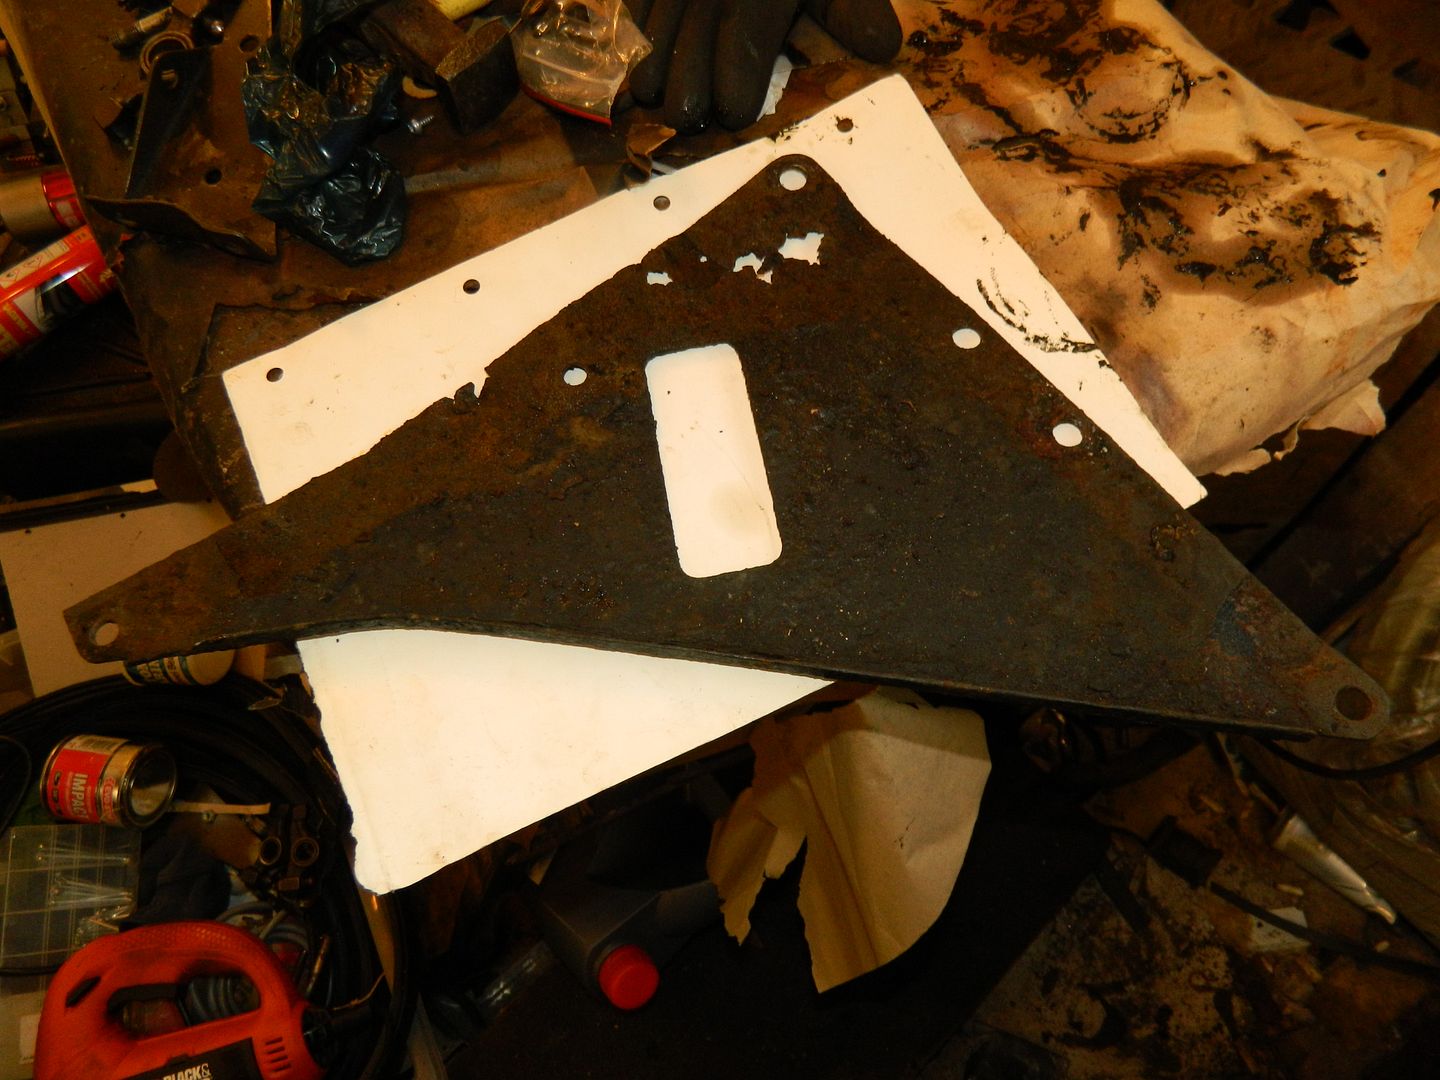 Corner plate rotten. 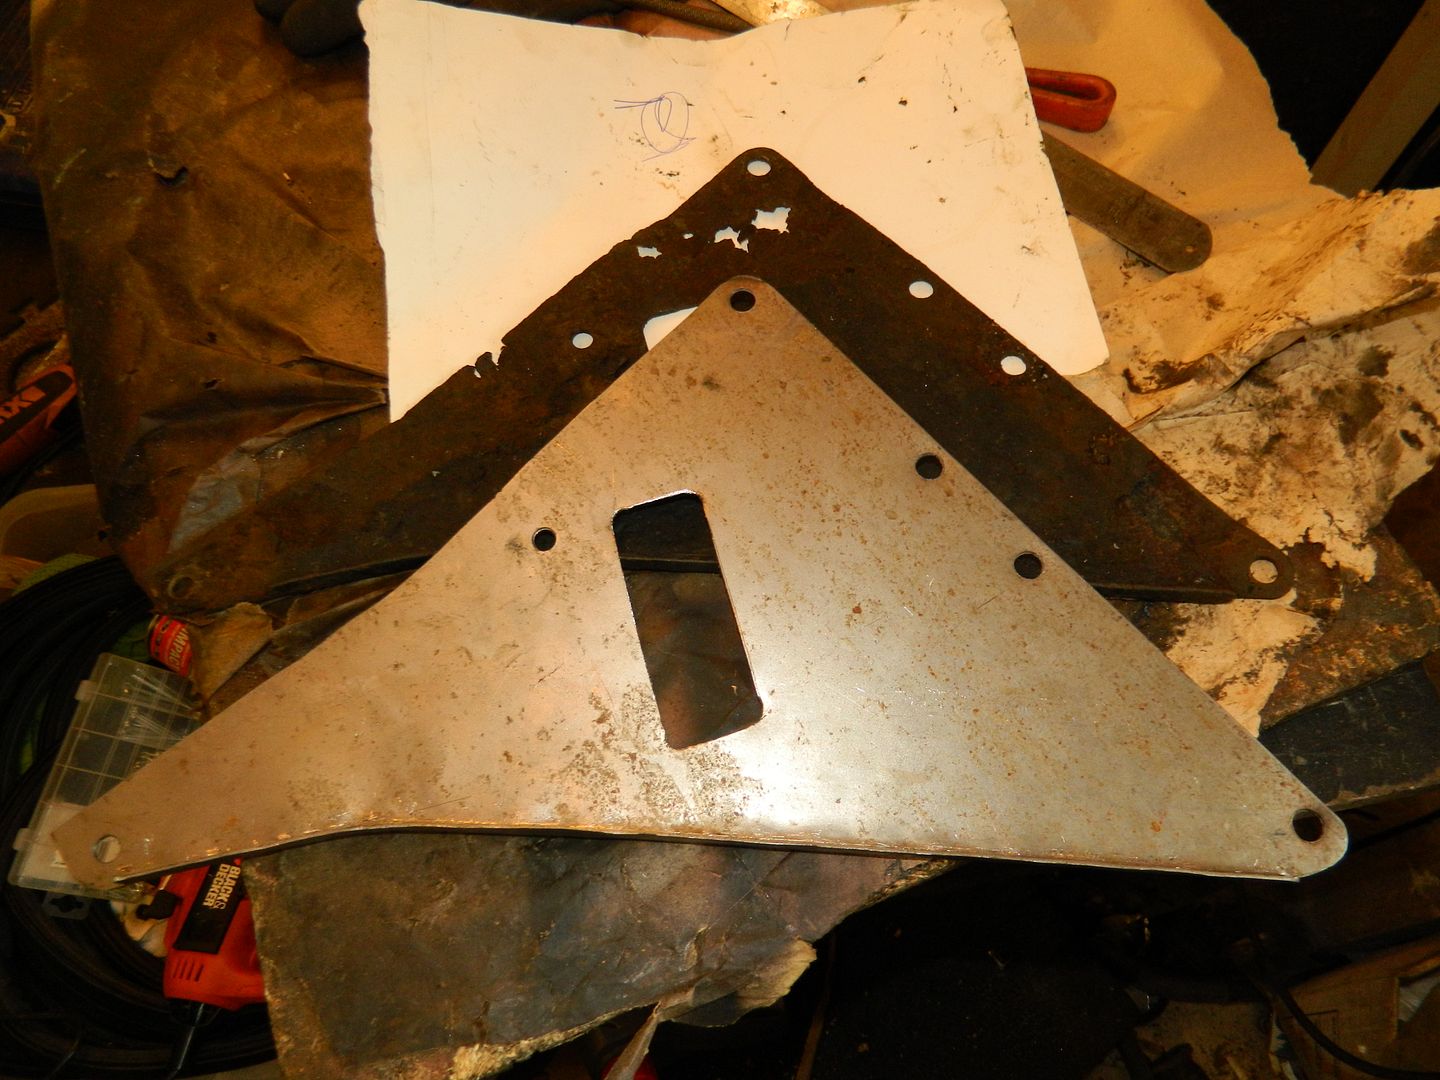 Rattled up a new one - now painted, protected and refitted. 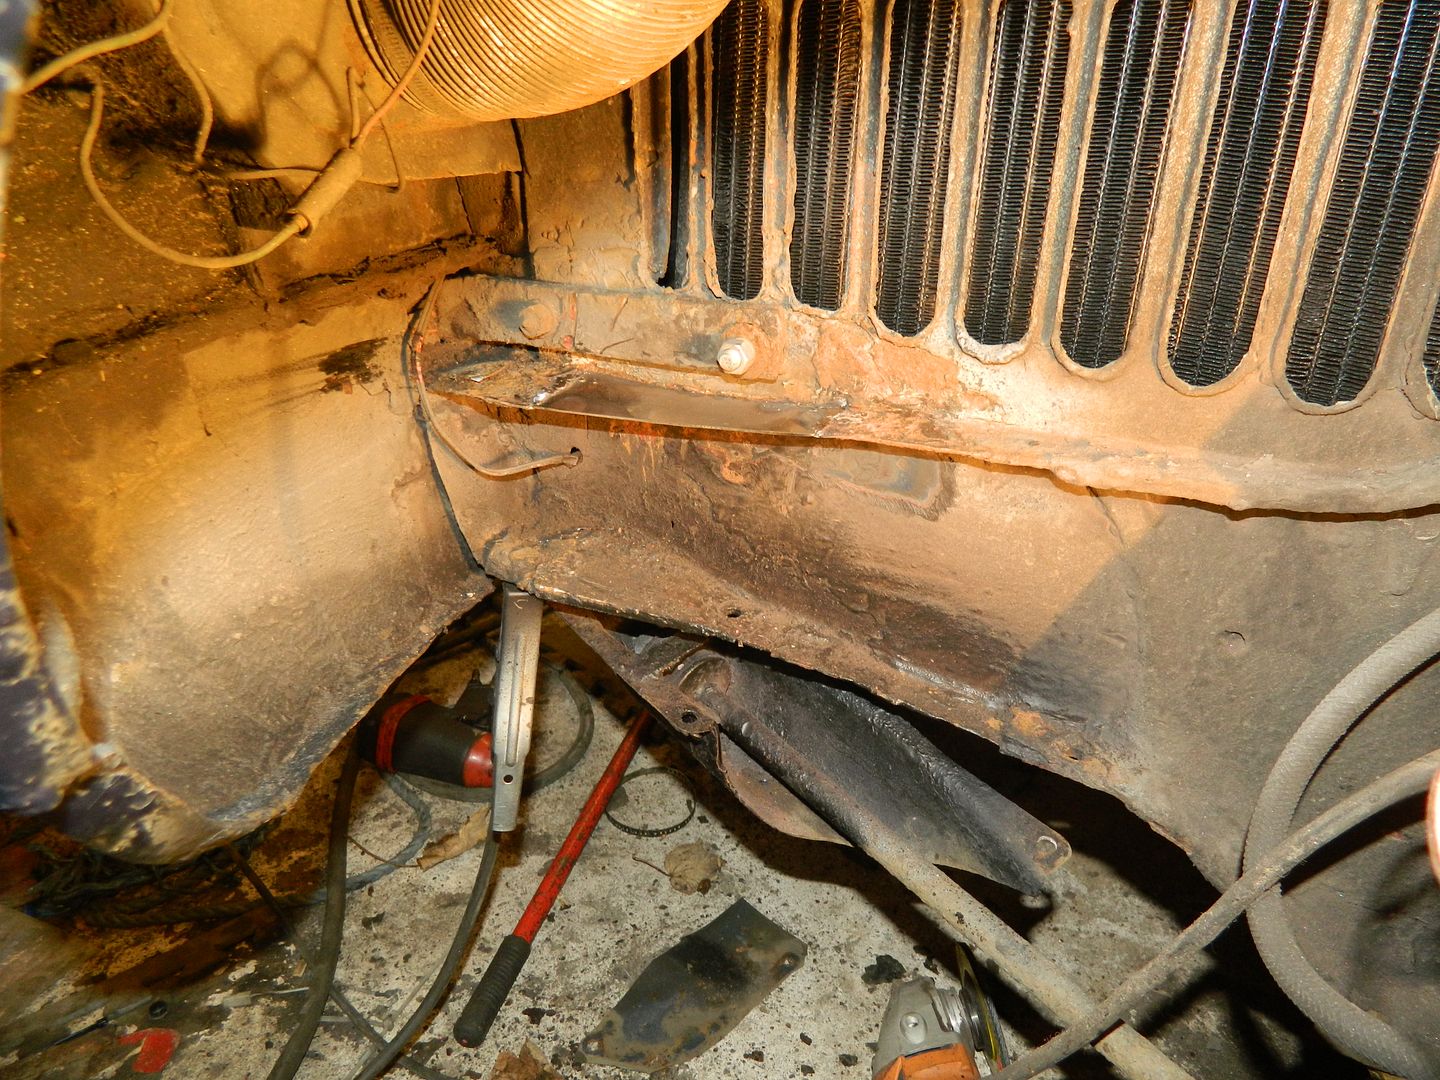 Repair section added into both top and bottom of chassis rail. Bottom one's finished up invisible. Nice. Again, painted and protected. Chris. |
|
|
|
Post by Penguin45 on Feb 21, 2016 18:56:12 GMT
Did a little mini-service this afternoon. Idle and running temperature had crept up over the last week, so re-set timing and points, gapped plugs. Whipped off rocker cover, re-torqued head nuts and set rocker gaps.
Car was leaning to the offside a little when I parked up last night. No obvious sign of a leak, so got the pump out to raise the suspension. Couple of good strokes and the front displacer hose let go. Grrr.
Tomorrow I will buy a new trolley jack and get to work.
Chris.
|
|


