|
|
Post by Penguin45 on Nov 2, 2015 12:03:40 GMT
Cheers chaps.
This is the Gold Seal engine fitted earlier in the thread and has amassed a little over 7k miles since. The spigot bush was a brand new one I fitted at that time and shows no noticable wear. Offering up the clutch primary shaft before reassembly suggested that it was a nice snug fit.
As for depth stops and return springs - money? The bean counters would probably fret over another 1/6d added to the production costs.
Chris.
|
|
|
|
Post by Penguin45 on Nov 2, 2015 16:37:34 GMT
There we go, now with added return spring. 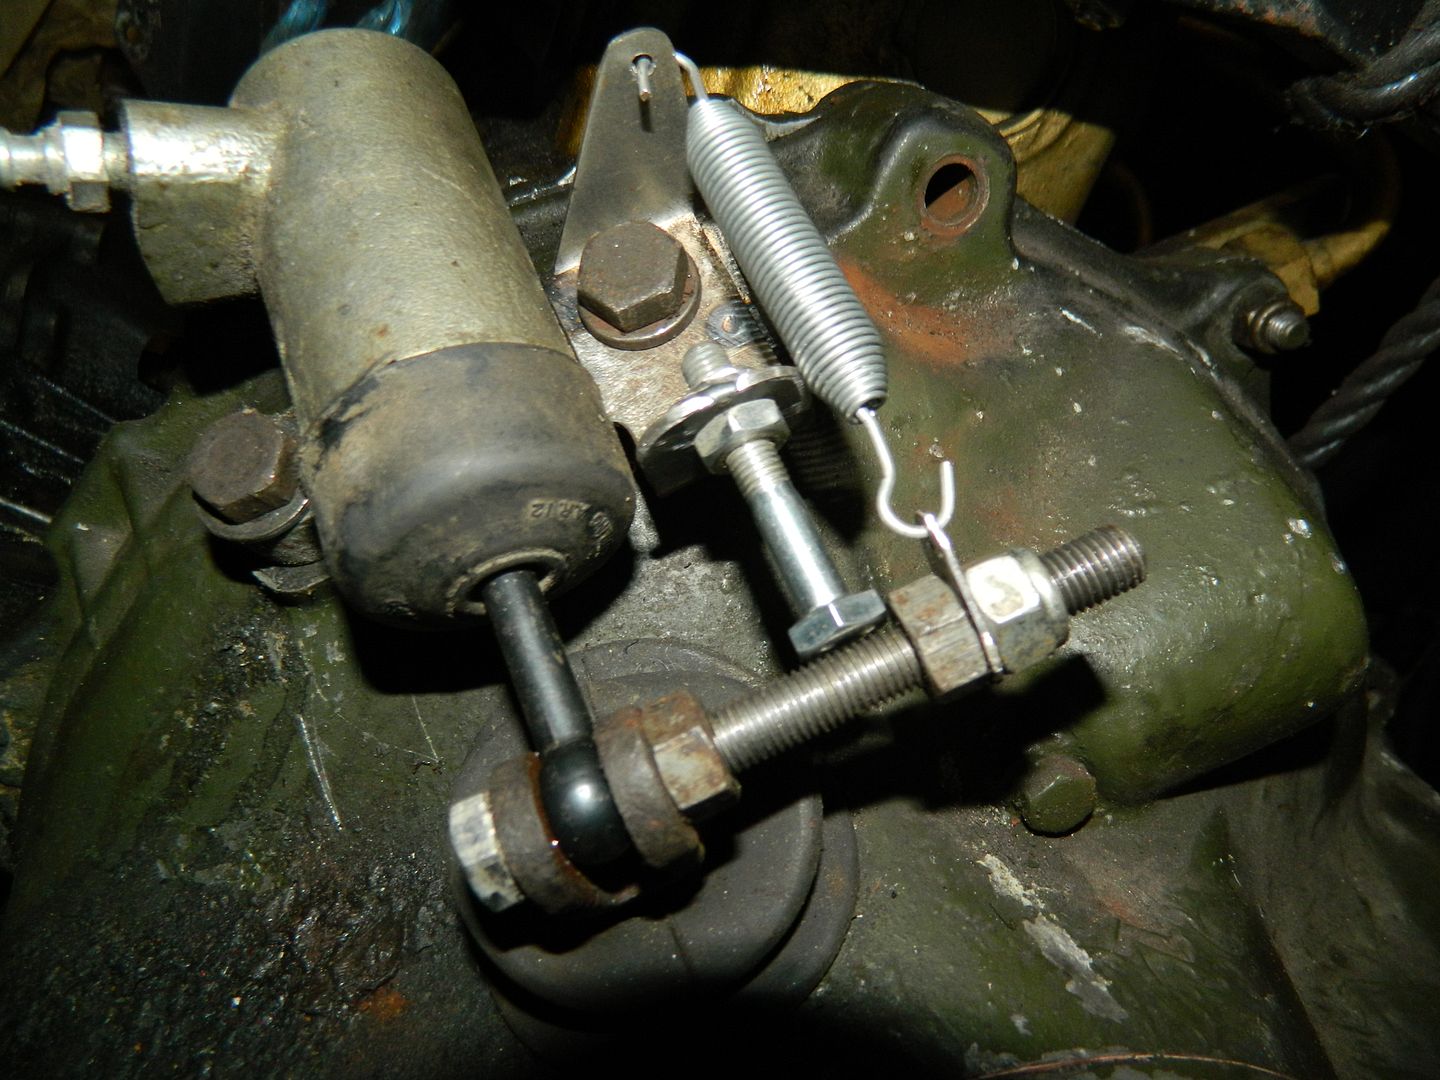 That's a Triumph Spitfire throttle return spring and it's got just enough tension on it to bring the arm back to the stop. Now painted black for that "It came out of the factory, honest" look. Chris. |
|
|
|
Post by tommydp on Nov 2, 2015 17:49:42 GMT
Nice modification! Perhaps a good idea with the original thrust bearing too? I'm pretty sure the hydraulics could prevent it all going fully back after depressing the clutch, possibly leading to extra wear on the bearing surface. At least my white one seems to have less stroke on the pedal sometimes, so it actuates very close to the floor. If I pump the pedal and let it return fast, engine not running, it will become firmer againg and actuates a lot further from the floor. Seems to me the clutch fluid always gets black these days, even with new rubbers. Perhaps I'm uing the wrong brake fluid? Any ideas?
Good tip about checking the spigot bush. I once found one which was absolutely loose.
Should there be grease or oil on the clutch shaft end before it is assembled into the bush?
Tommy
|
|
|
|
Post by dave1800 on Nov 3, 2015 0:24:30 GMT
Lightly oiled, I wouldn't advise grease as it can harden and cause drag. The bush can be soaked overnight in warm oil before reassembly .Also make sure the splines are clean and undamaged. regards David Should there be grease or oil on the clutch shaft end before it is assembled into the bush? Tommy |
|
|
|
Post by Penguin45 on Nov 3, 2015 0:52:56 GMT
When I fitted the spigot bearing in the first place (There wasn't one), I thought "dynamo!" and let the new one soak in a light machine oil for 24 hours before fitting it. Seems OK still, although I did smear some light oil in there before it was reassembled again. You don't want oil and grease flying about inside the clutch housing with nice new friction components.
Chris.
|
|
crabmaster
Member
 
Posts: 44
Attribute: http://www.austineighteenhundred.com.au
|
Post by crabmaster on Nov 3, 2015 10:06:30 GMT
Light machine oil as suggested is the accepted lubricant. The bush itself should be made from bearing bronze, not brass (as you sometimes see on other forums for lesser cars). It is possible to avoid an overnight soaking by forcing the oil into the bush by squeezing with thumb and forefinger. If you press hard enough, you can see the oil seeping out the sides of the bush through the pores. Then you know you have got it fully soaked. For clearance, a "just noticeable" suction effect is about right. Too tight and it may seize if you have a tendency to sit at traffic light with foot on the clutch.
|
|
|
|
Post by Penguin45 on Nov 14, 2015 18:05:46 GMT
Managed to get a bit more done today. First order of business - solve the problem of the broken lug on the manifold. 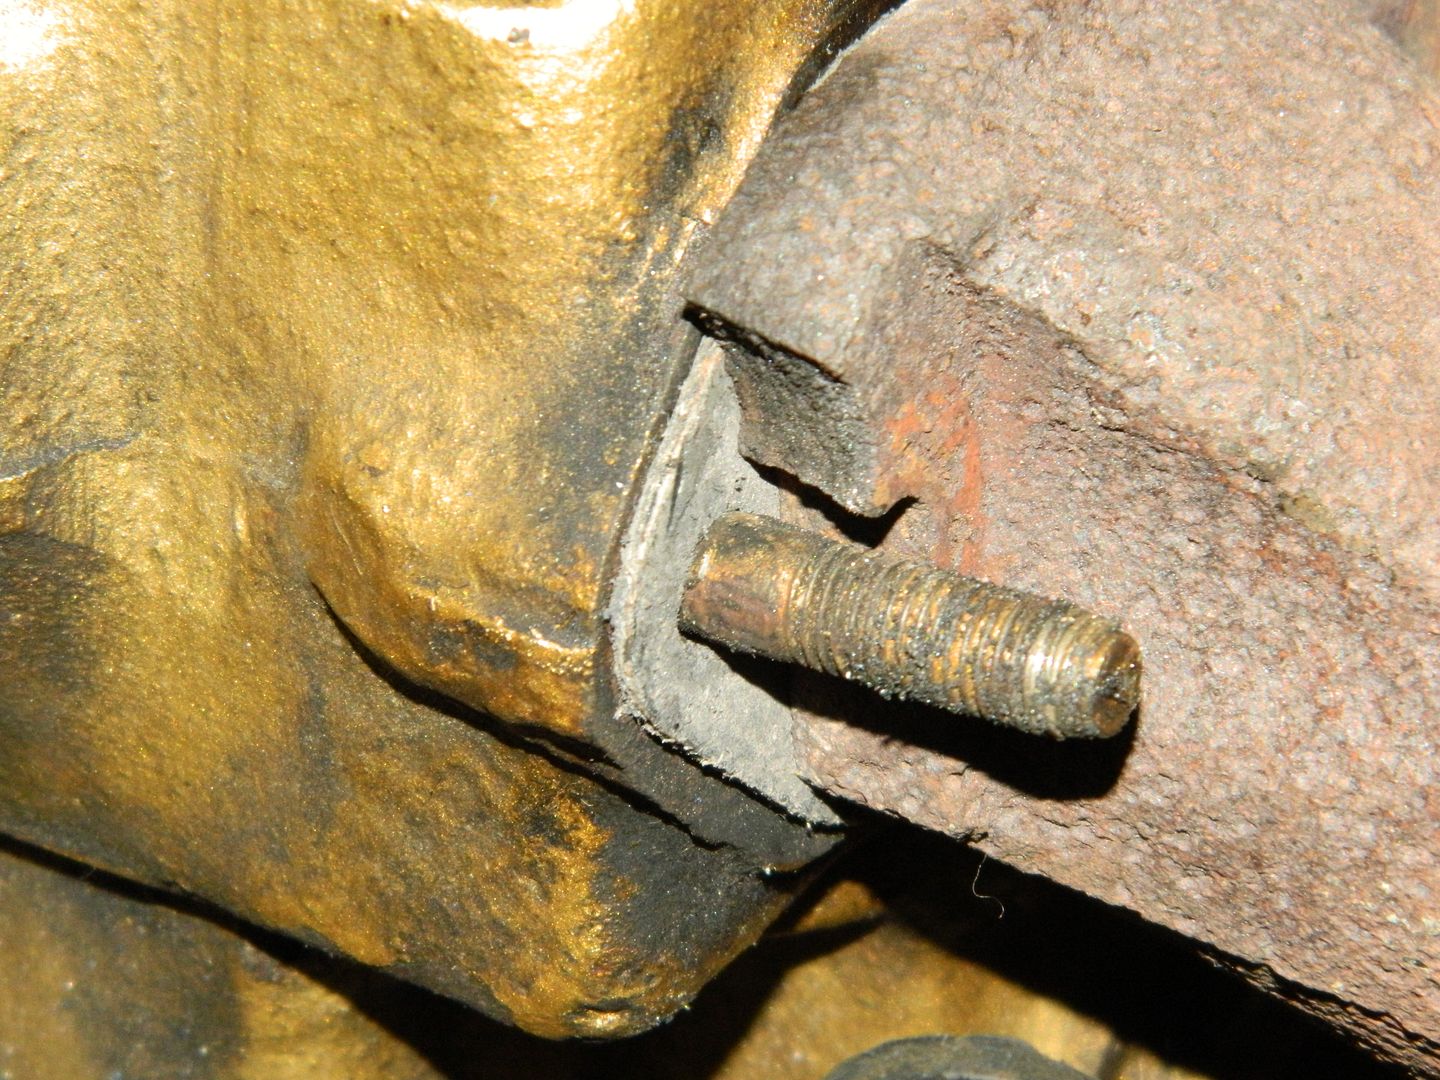 I thought the knackered rocker shaft might be useful for something. It let me make this: 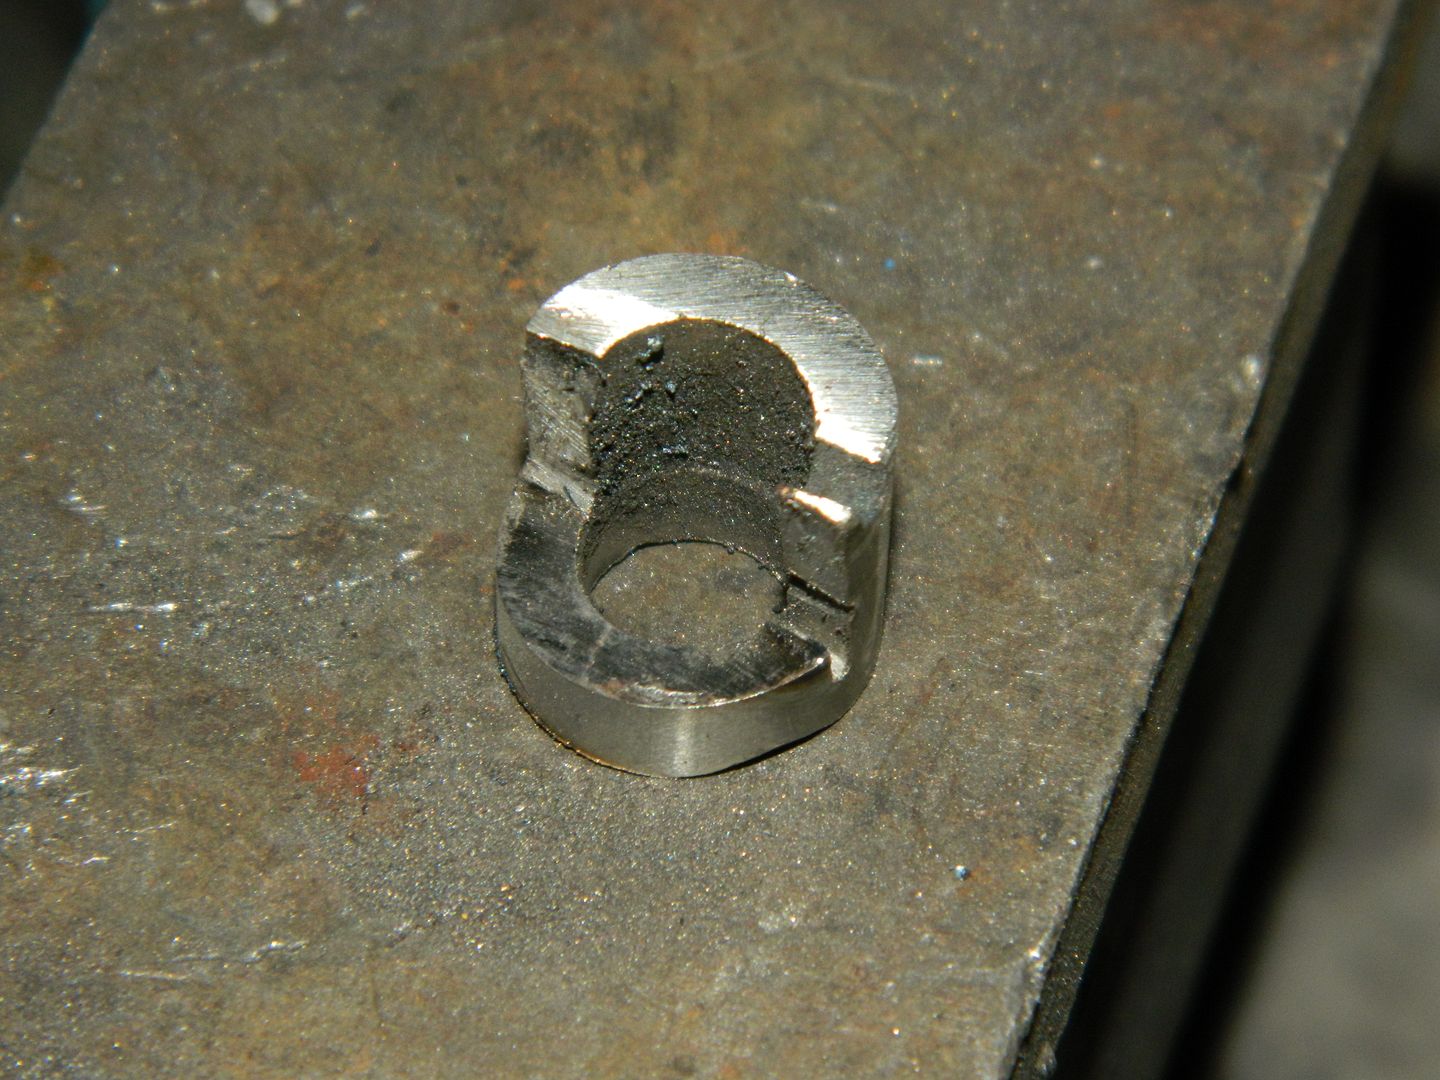 Which, after a bit of tweaking fits like this: 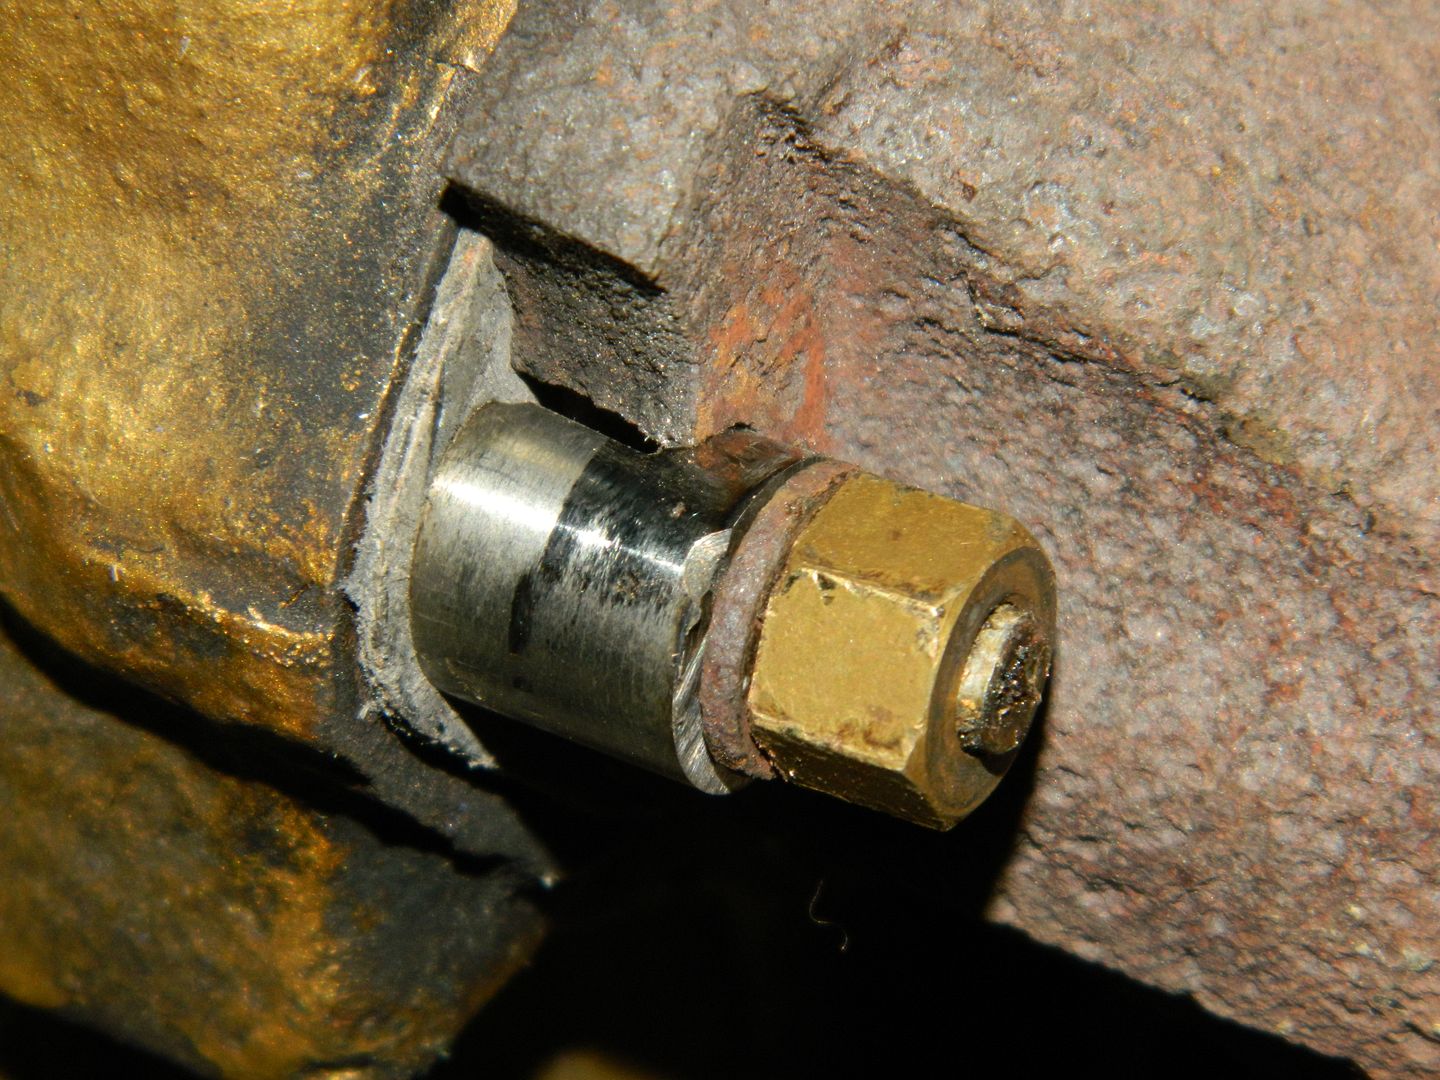 Clamps over the edge quite neatly and was torqued down easily. 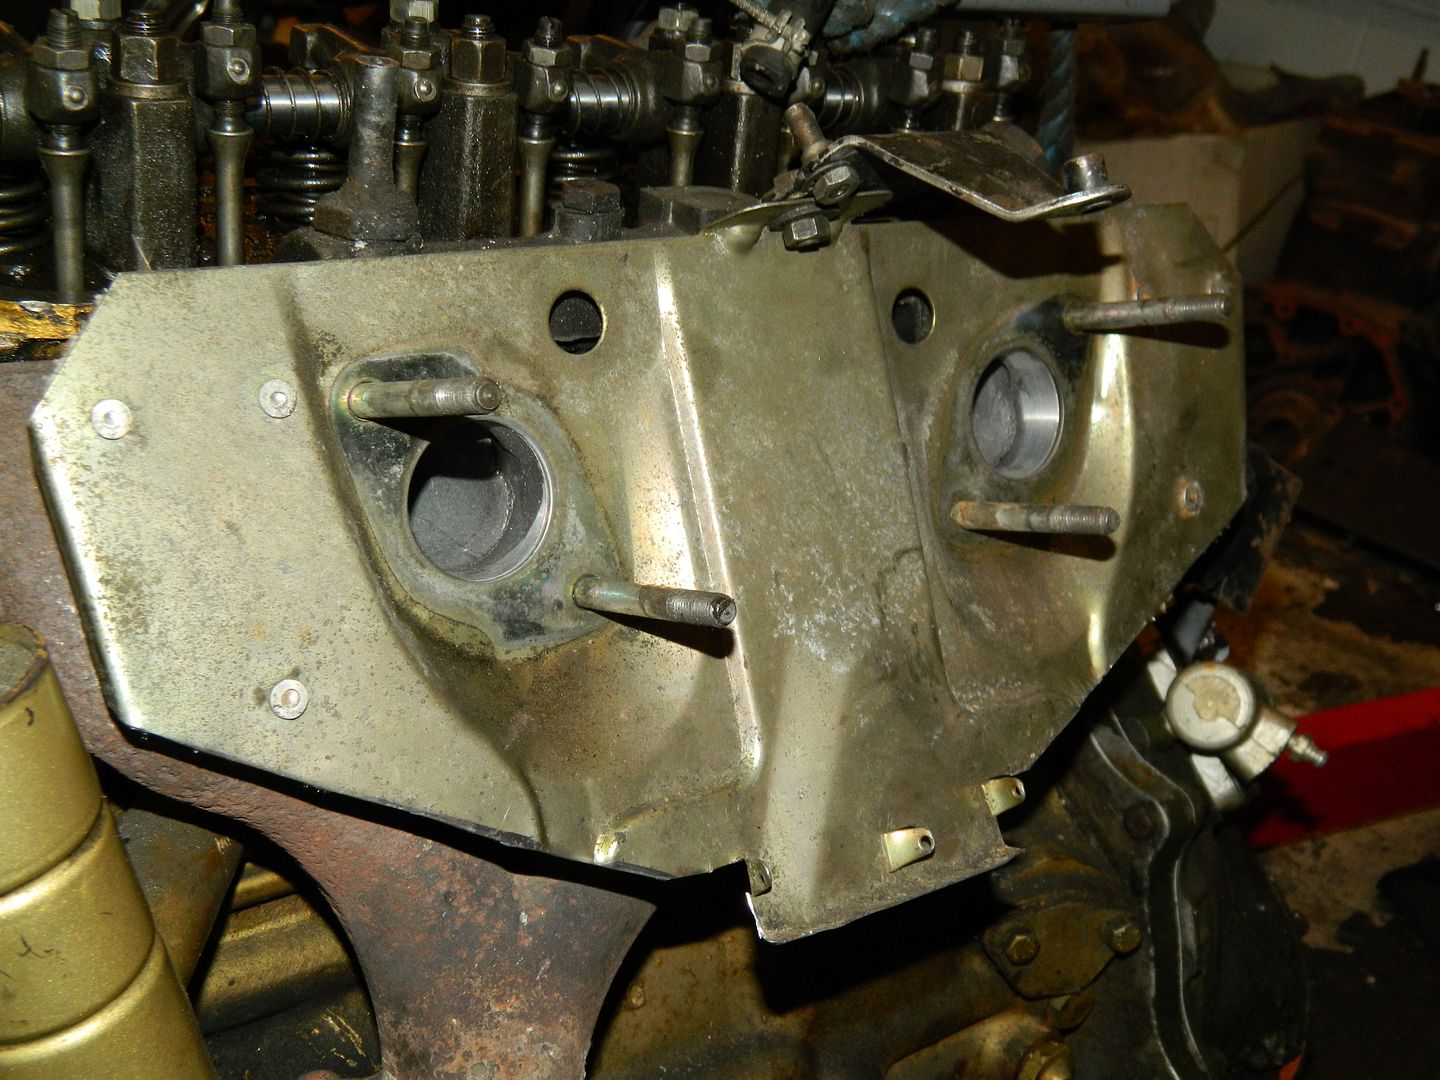 Heatshield trimmed back to allow improved access to the ever troublesome exhaust clamp. Hopefully I won't have to pull the carbs off for access now. 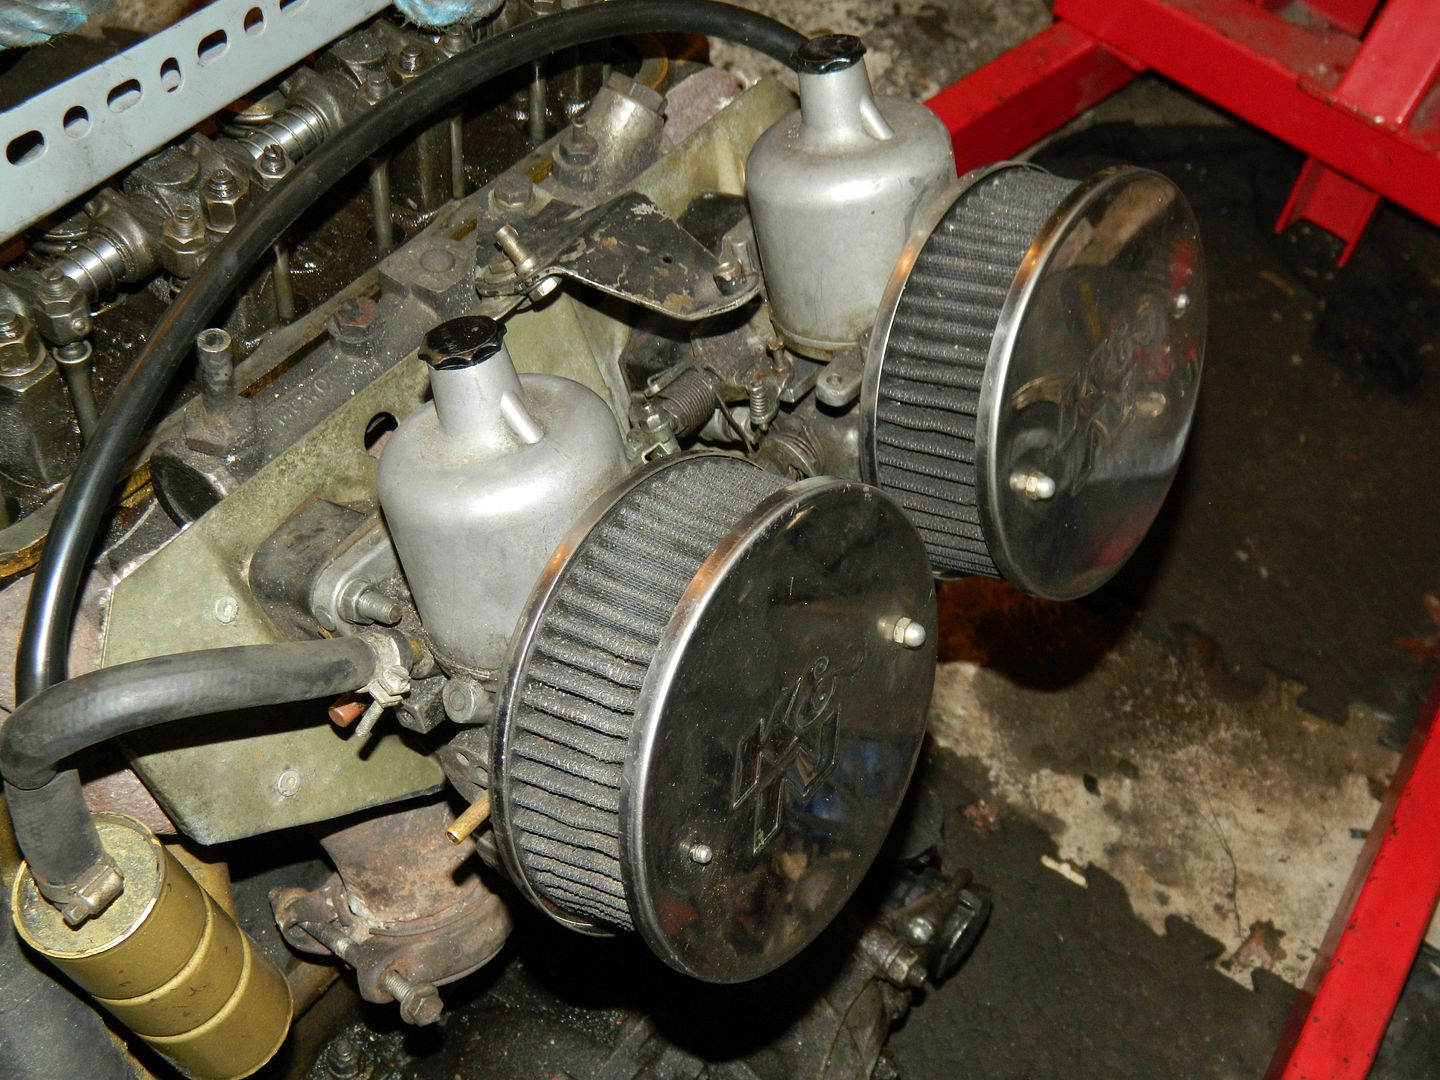 And the carbs back on. Just need to get the radiator back from the repairers and I think the engine can be refitted. Chris. |
|
|
|
Post by charlypm on Nov 19, 2015 5:58:09 GMT
I have a question
I'm going to have to remove the engine out of my Landcrab soon and have been trying to figure out which way is the easiest/best to pull it. Out the top or drop it underneath? Both ways are possible for me. Any pictures of either of these techniques?
Thanks, Charly
|
|
|
|
|
|
Post by Penguin45 on Nov 20, 2015 0:10:28 GMT
Chris is quite right, the engine comes out through the top. Austins and Morrises are easier as the grill and slam panel can be removed. The Wolseley is a big lift... I hope to get the engine back in this weekend as the radiator is now back, in its frame and bolted to the engine. Then we'll find out if the clutch works.
I may as well tell you now that the clutch in the Red Dog has failed in exactly the same way (would you believe it), so I am now without 'Crab. I need to do the cambelt on MrsP's new Matiz, then I will have to hoik the engine out of the red one and sort it out. I will try and do a photo sequence so that people can see what's involved.
Chris.
|
|
|
|
Post by Nick RS on Nov 20, 2015 12:34:04 GMT
The two previous posters have massive knowledge of taking engines in and out of 'crabs. I on the other hand have none. I do however have an old file of top tips collected from one of the defunct chat groups in Australia. There seems to be experience there of fetching it out from the underneath the car. This is what one of them said, I don't have a record of it but I hope they won't mind; but please note our technical advice disclaimer - the yellow bit at the top of the page.
Nick
ENGINE REMOVAL Simplified engine/transmission removal can be attained WITHOUT using a lifting block and tackle using the minimum of tools and equipment:
1. Disconnect battery.
2. Remove engine sump guard.
3. Drain engine oil and water.
4. Remove R/H front wheel and support - place an axle stand under frame beneath front suspension unit.
5. Fit a 1" block between upper arm and rubber. This allows easy removal of the swivel hub.
6. Remove brake caliper and hang it up on an S-hook under mudguard.
7. Remove 2 bolts to the steering arm and fold back out of the way (MKII). Disconnect tie rod on Mk l.
8. Remove nut to lower ball joint and use two hammers, simultaneously striking side on to release taper. A hydraulic jack placed under tension between upper and lower arms will help to release.
9. Remove stabiliser bar and gusset plate to front of vehicle.
10. Disconnect universal joint.
11. Remove upper ball joint nut, strike with two hammers simultaneously. Assembly will fall under it's own weight.
12. Withdraw hub/shaft assembly.
13. Repeat steps 4 to 12 on the L/H side.
14. remove exhaust clamps and fittings throughout and remove complete exhaust system in situ.
15. Remove gear lever inside car and stuff some clean rag into the hole to prevent dirt entering.
16. Loosen the three nuts to the gear-change assembly. Remove the front nut but leave the rear two nuts on at least a couple of threads.
17. Disconnect cables, hoses, etc. to carburettor, speedometer, heater, radiator, manifold and fuel pump.
18. Remove clutch slave cylinder leaving hydraulic pipe attached, carburettor, exhaust manifold completely, solenoid, and all electrical leads to starter motor, coil, distributor, alternator, and temperature unit, (identifying each with masking tape or similar).
19. Remove distributor cap.
20. Place two 3"x 2" timber battens underneath engine.
21. Use two or three jacks in conjunction with the Austin jack, lower car to floor in easy stages. NEVER use two Austin jacks together, as the car will fall sideways.
22. Release the two nuts to gear-change inside car and lower assembly to floor.
23. Remove bolts to engine mounting channel and remove the two rear engine mounts.
24. Remove L/H side exhaust engine mount.
25. Remove R/H side alternator engine mount.
26. Raise the car in easy stages, sufficiently to clear motor and then pull/slide complete motor/transmission assembly forward.
Using this method, the assembly can be removed from the car in two to three hours. An added advantage is the motor can be easily test run before fitting to the car, with the oil and cooling systems filled.
|
|
|
|
Post by charlypm on Nov 21, 2015 2:13:41 GMT
I believe I saw this somewhere while surfing and that's why I was wondering which is more practical. Lifting the motor seems harder since there isn't a good place to attach a chain or cable. Or am I missing something?
Charly
|
|
|
|
Post by dave1800 on Nov 21, 2015 5:23:25 GMT
Probably not a good recommendation but I always preferred to use a good quality tow rope wound around the engine and transmission to attach to the engine hoist. This allowed me to adjust the angles in both planes for easy  removal and replacement. I never had any problems but kept a careful watch on the rope for any damage and replaced it if in any doubt. Regards David |
|
|
|
Post by peppib on Nov 21, 2015 7:50:17 GMT
Doesn't anyone else just use lifting lugs - one attached to the right rocker cover bolt and the other to the second from the left head stud above the plugs? Even I managed to lift the engine out like this, without causing chaos or damage. I have also used this method to remove 4 Moggy engines (much easier and lighter admittedly)
|
|
|
|
Post by dave1800 on Nov 21, 2015 8:10:31 GMT
Having used the lifting lugs on my Morris 1000 / Sprite etc that was what I did the first time of removing the crab lump. However, I found that by using rope I could lift it out/in horizontally but with the rear of the transmission dropping down to the correct angle making it much easier - for me and my particular engine hoist anyway. In my student days we changed Morris 1000 engines without a hoist just manpower at the side of the road. Not an option for the 550lbs of the crab!
regards
David
|
|



 removal and replacement. I never had any problems but kept a careful watch on the rope for any damage and replaced it if in any doubt.