|
|
Post by foglaursen on Oct 15, 2015 8:10:27 GMT
You are right. I have a Goald Seal engine in my Princess. It came without the head. Peter  |
|
|
|
Post by Penguin45 on Oct 21, 2015 15:46:01 GMT
Conversion gasket set has turned up all the way from NZ, so I should be abe to get back underway again. Many thanks to our very own Indy for sorting this out for me.
Chris.
|
|
|
|
Post by Penguin45 on Oct 27, 2015 18:14:17 GMT
Engine now back on gearbox. Bolts and studs torqued to 25lb/ft. Well most of them - six cannot be accessed with the torque wrench. Two of those I managed to get with a crowsfoot. The other four can only be tightened with a spanner and my only option was to lock them by hand and hope I'm reasonably close.
More gasket scraping on the flywheel end of the engine. Deep and profound joy.
Chris.
|
|
|
|
Post by tommydp on Oct 27, 2015 21:31:22 GMT
I'm at the exact same stage with the engine for the blue one, Chris! Now, who finishes first?!? Afraid I won't be that active. Busy days with pupils' and parents' conferences... 23 to go:-/ I'm using the rod change Princess gearbox this time. I've successfully made a groove for the internal circlip on the original rubber type differential shafts, so they go into the differential as far as supposed to. Very happy with that, as this was a very quiet and leak free 'box. Good luck! Remember the four springs... 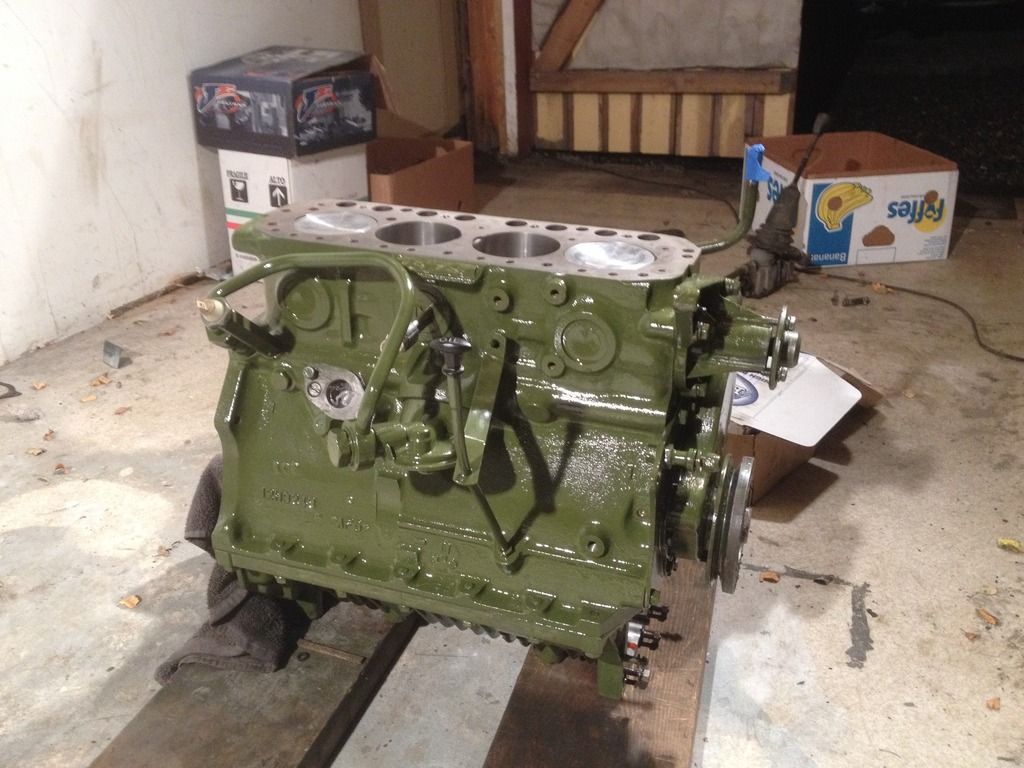 Tommy |
|
|
|
Post by Penguin45 on Oct 28, 2015 0:01:49 GMT
Nice.
The four springs are in their own polythene bags with the relevant bolts. Lot of discipline goes on when you work with Snoopy11.
Chris.
|
|
|
|
Post by indianajones on Oct 28, 2015 8:29:27 GMT
That engine is looking fine Tommy!
And you're welcome Chris for the gasket, hopefully it was the one you were after.
-Andrew
|
|
|
|
Post by snoopy11 on Oct 28, 2015 22:41:50 GMT
|
|
|
|
Post by Penguin45 on Oct 30, 2015 21:45:44 GMT
Adaptor plate on and torqued down. Flywheel on and torqued down and tabbed. Remembered to insert four small springs. It's not as pretty as Tommy's one though.
Chris.
|
|
|
|
Post by tommydp on Oct 31, 2015 8:32:38 GMT
Well done! I think you beat me, no progress here.. Did you fit the rectangular cork seal at the flywheel side? I don't. I think only the earlier models used it. I've never found them on any engines I've opened. I fitted the cork at the timing gear side, successfully I hope. I see some MGB people use silicone "form a gasket". I stick to the original and hope it's oil tight. I'm very happy with the engine paint. I get it from a Norwegian Mini specialist. UK made I believe. This is brush on, which is more glossy than the aerosol version. There are no brush marks, but you have to stay and wait for a while, to catch up some run of paint. Well, some running paint is just authentic BL finish:-) Tommy www.autoclassic.no/product/motormaling-gronn/ |
|
|
|
Post by Penguin45 on Oct 31, 2015 11:14:22 GMT
The paint looks like the same stuff that Moss sell.
I have put the cork seals in. No silicone, but quite well smeared with Loctite 5922. Hopefully I'll have it all back together by this evening.
Having mentioned Moss, I've just popped down and spent £5 on a GAC5058, which is a clutch centralising tool. Should make re-assembly a doddle.
Chris.
|
|
|
|
Post by Penguin45 on Oct 31, 2015 21:30:23 GMT
And - it's more or less done. 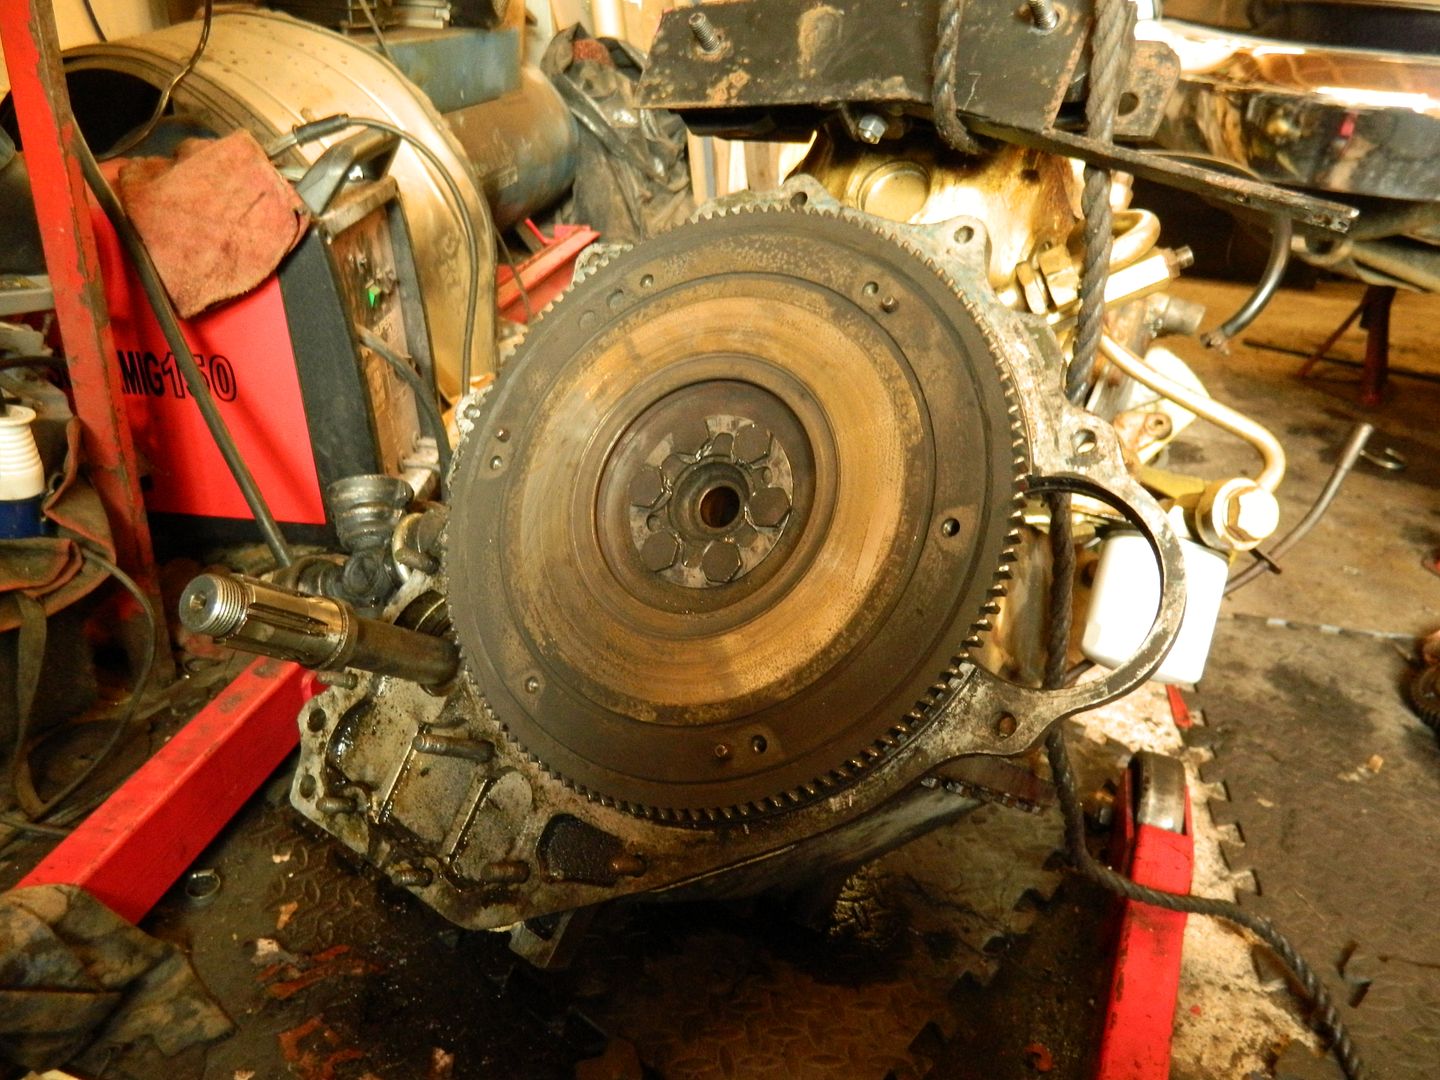 Adaptor plate on. 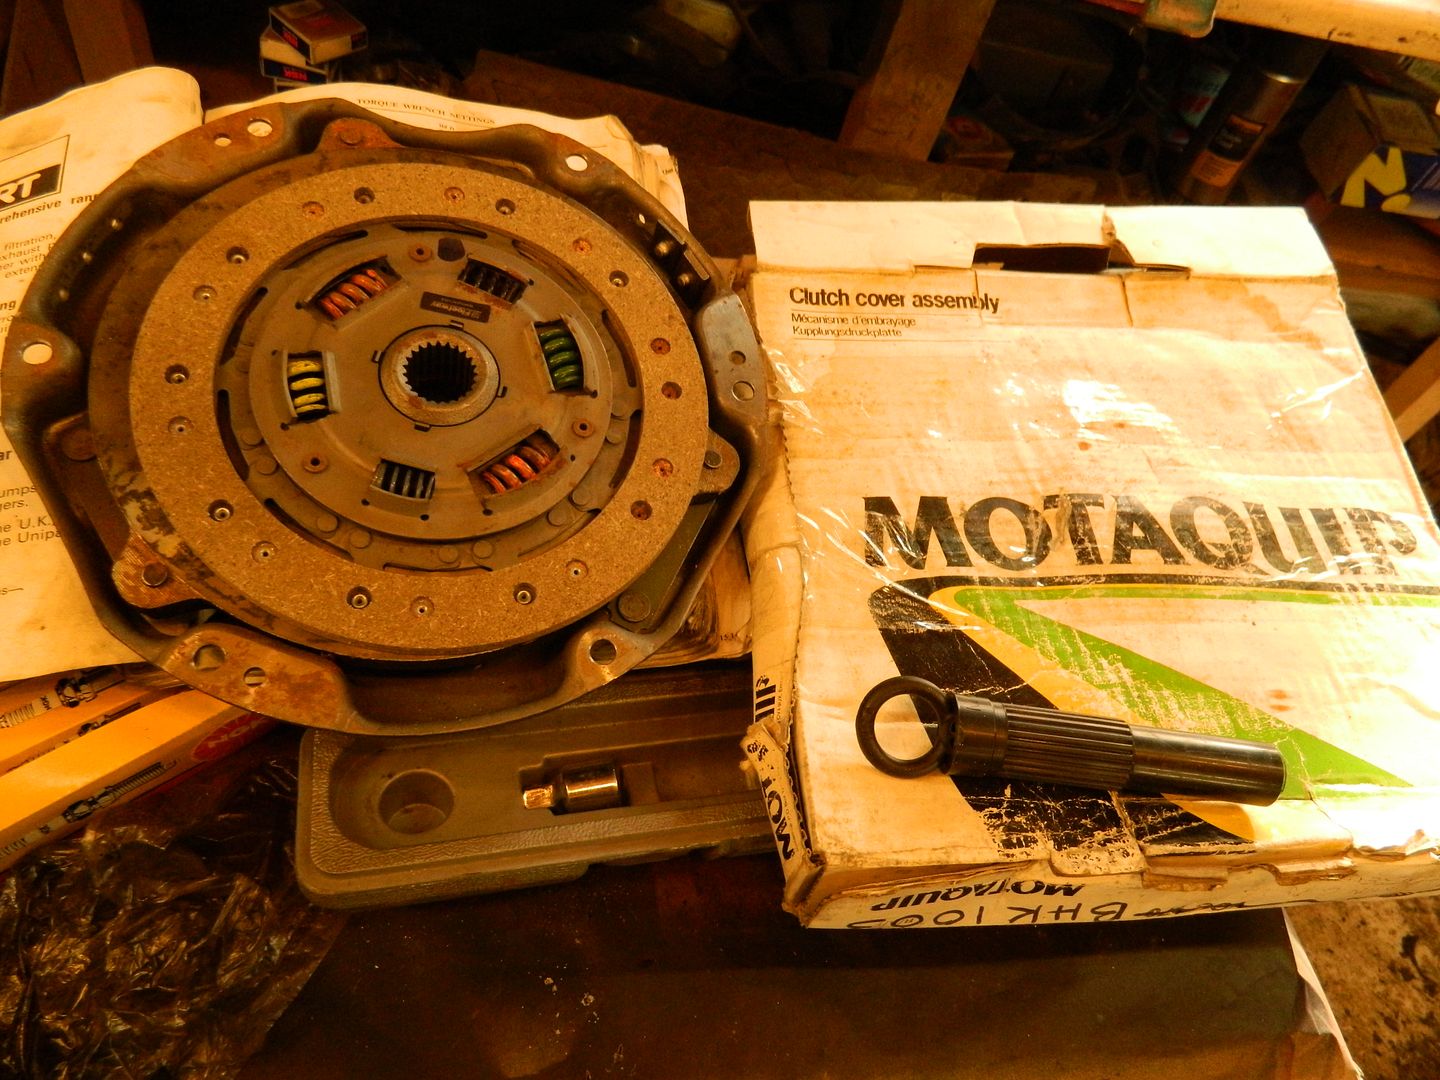 Motaquip clutch plate and cover. Black thing with a loop on the end was the clutch alignment tool. Bargain. 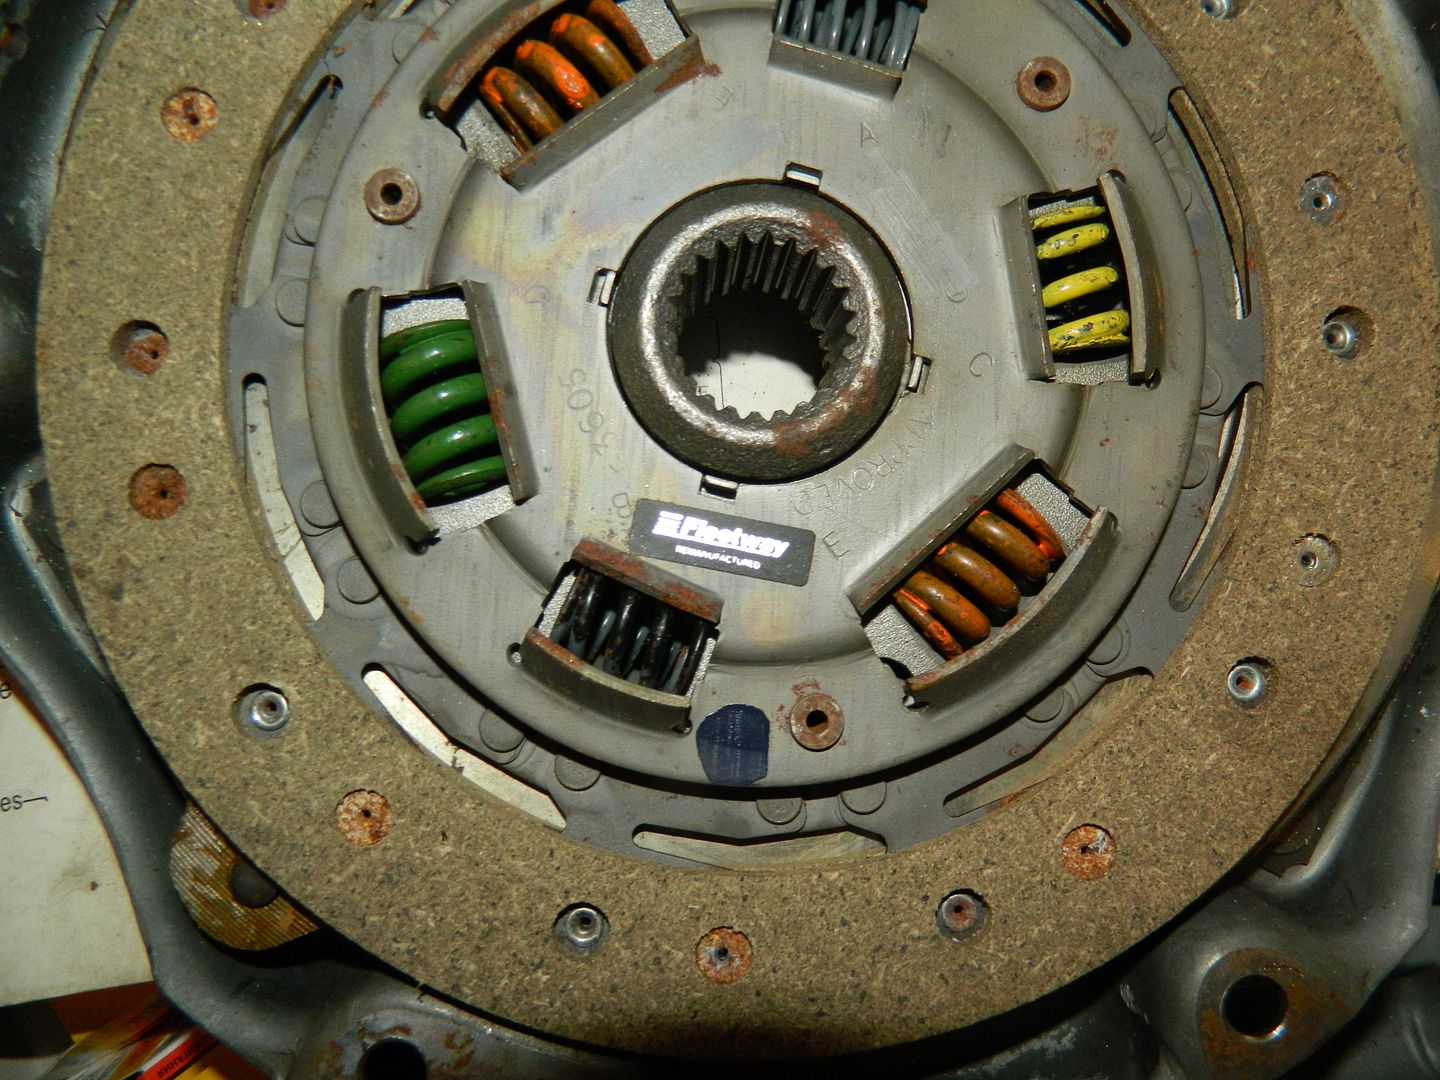 These turn out to be remanufactured units be "Fleetway", whom I've never heard of. 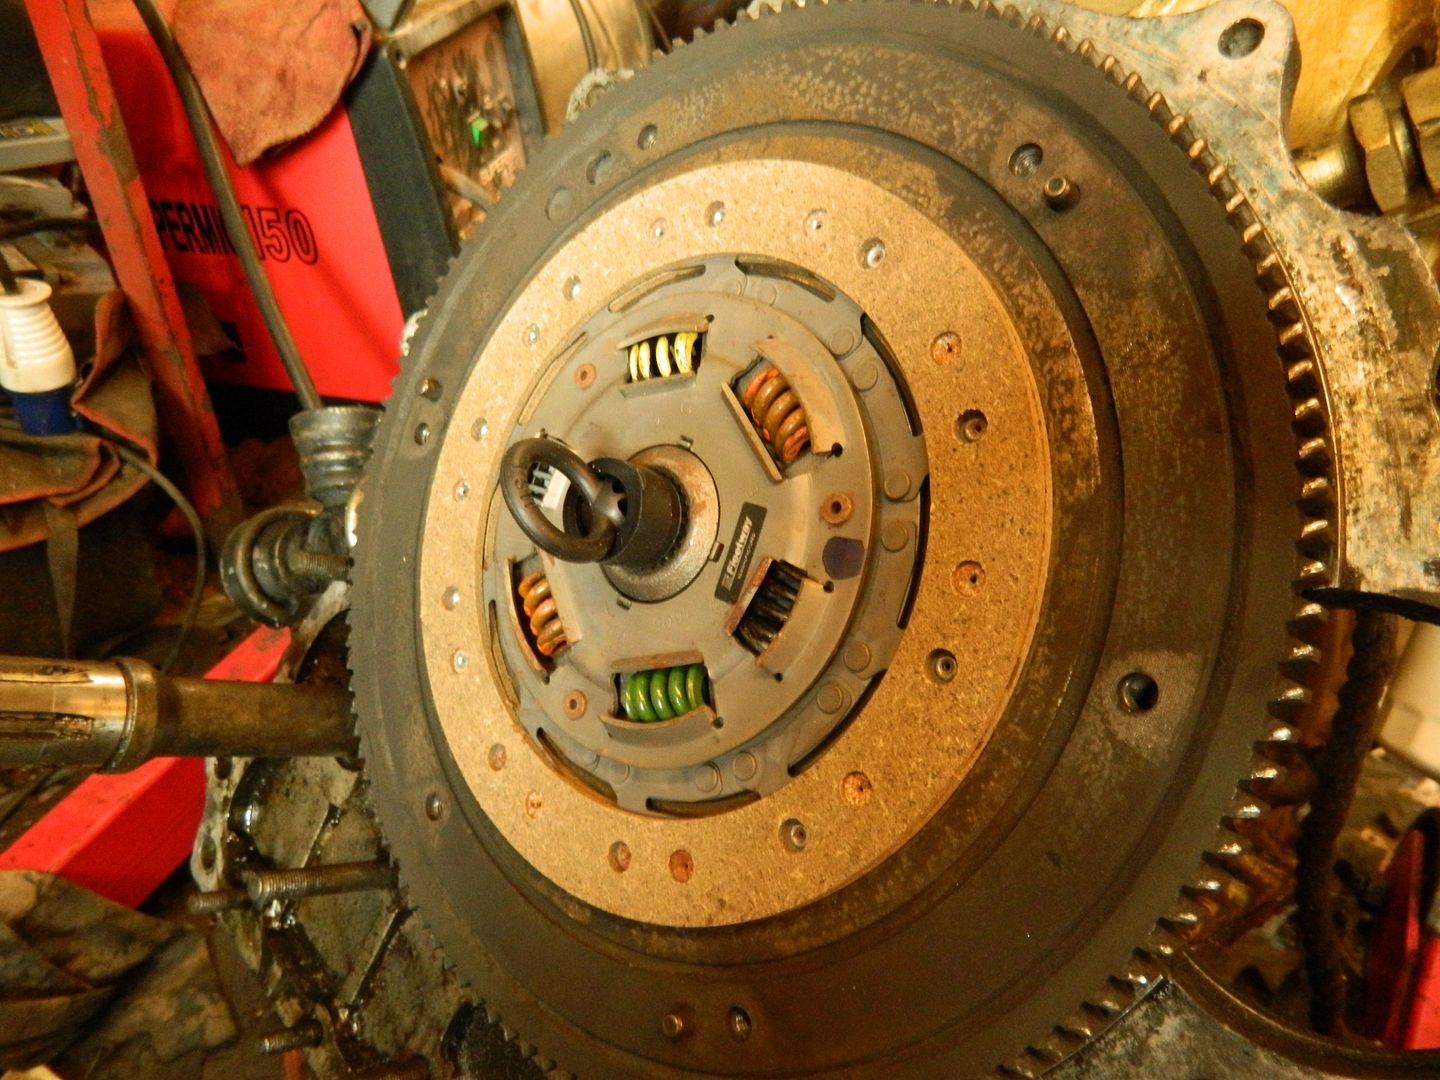 Clutch plate lined up. 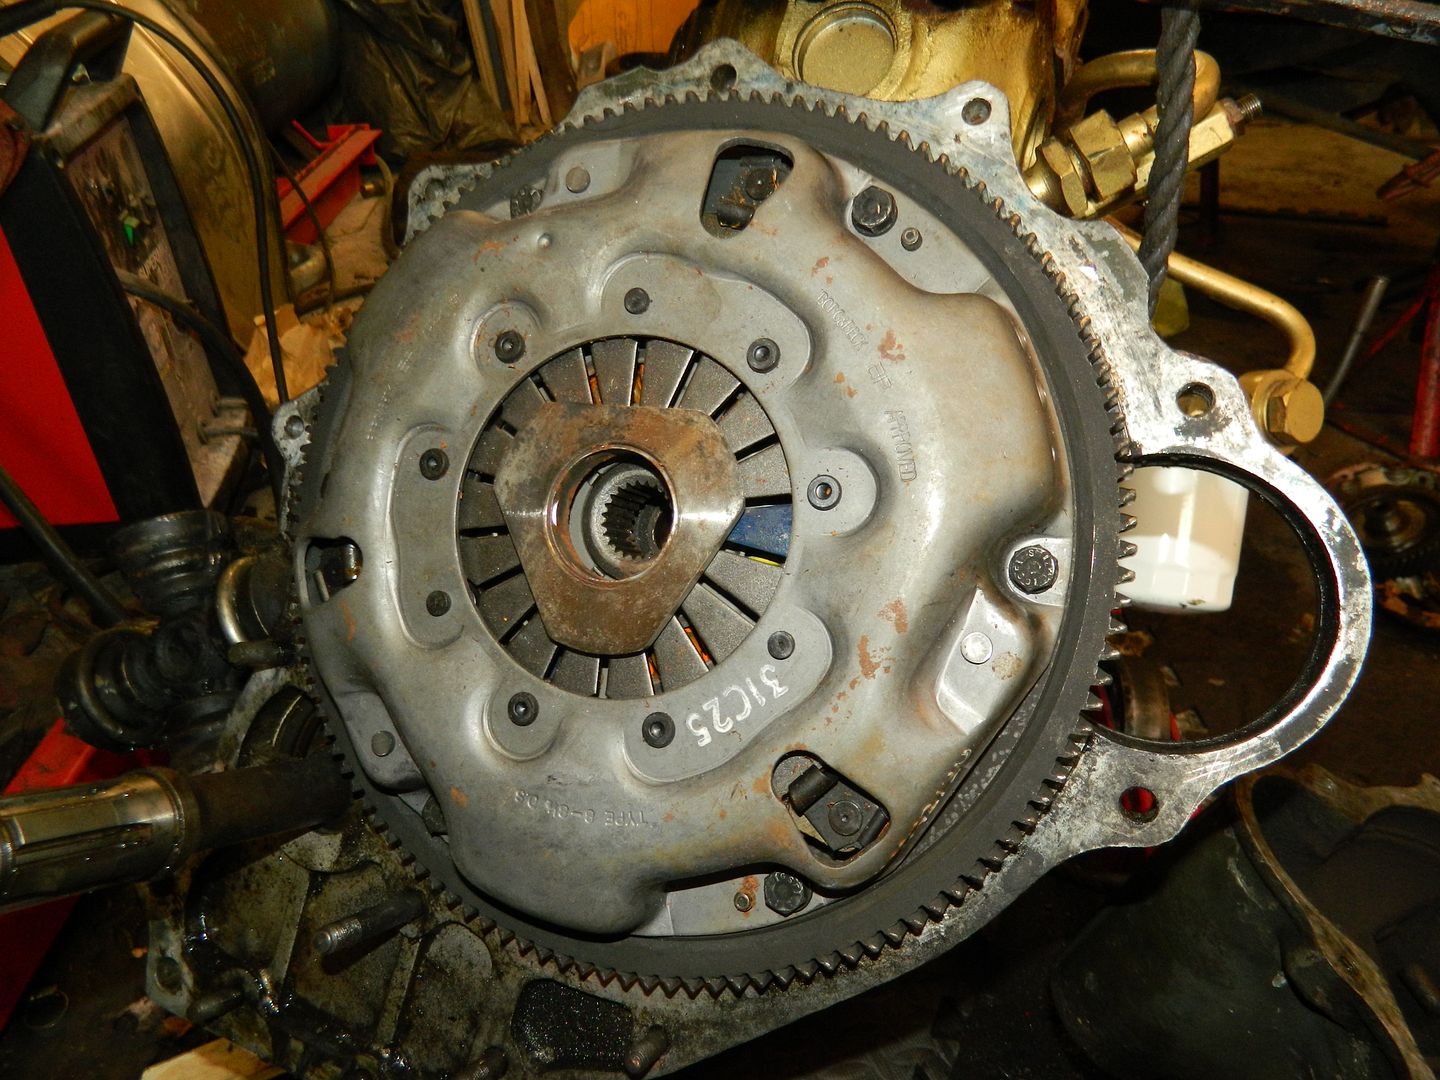 Cover on. If you look very closely, the it's stamped "Approved by AP Borg + Beck". Chance of a bit of quality then. 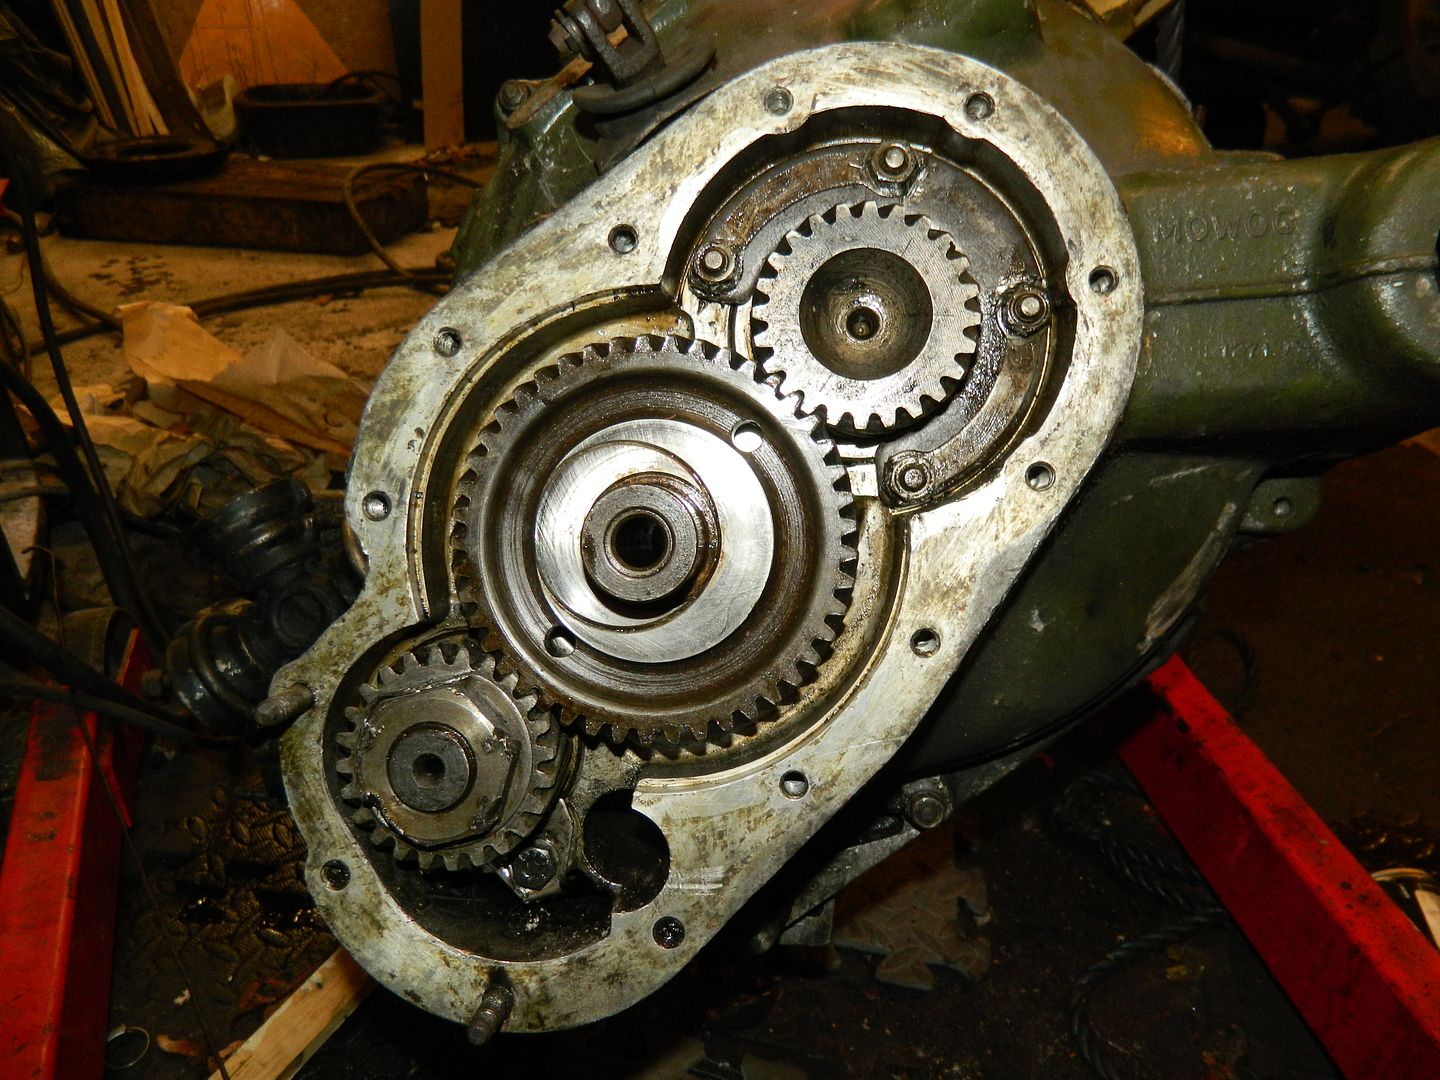 Flywheel cover on, primary gears back home, bearing clamps back in place at the second attempt. The first go had muggins here drop the lower bearing clamp down the hole under the first motion shaft and I had to take the flywheel housing back off again to retrieve it. 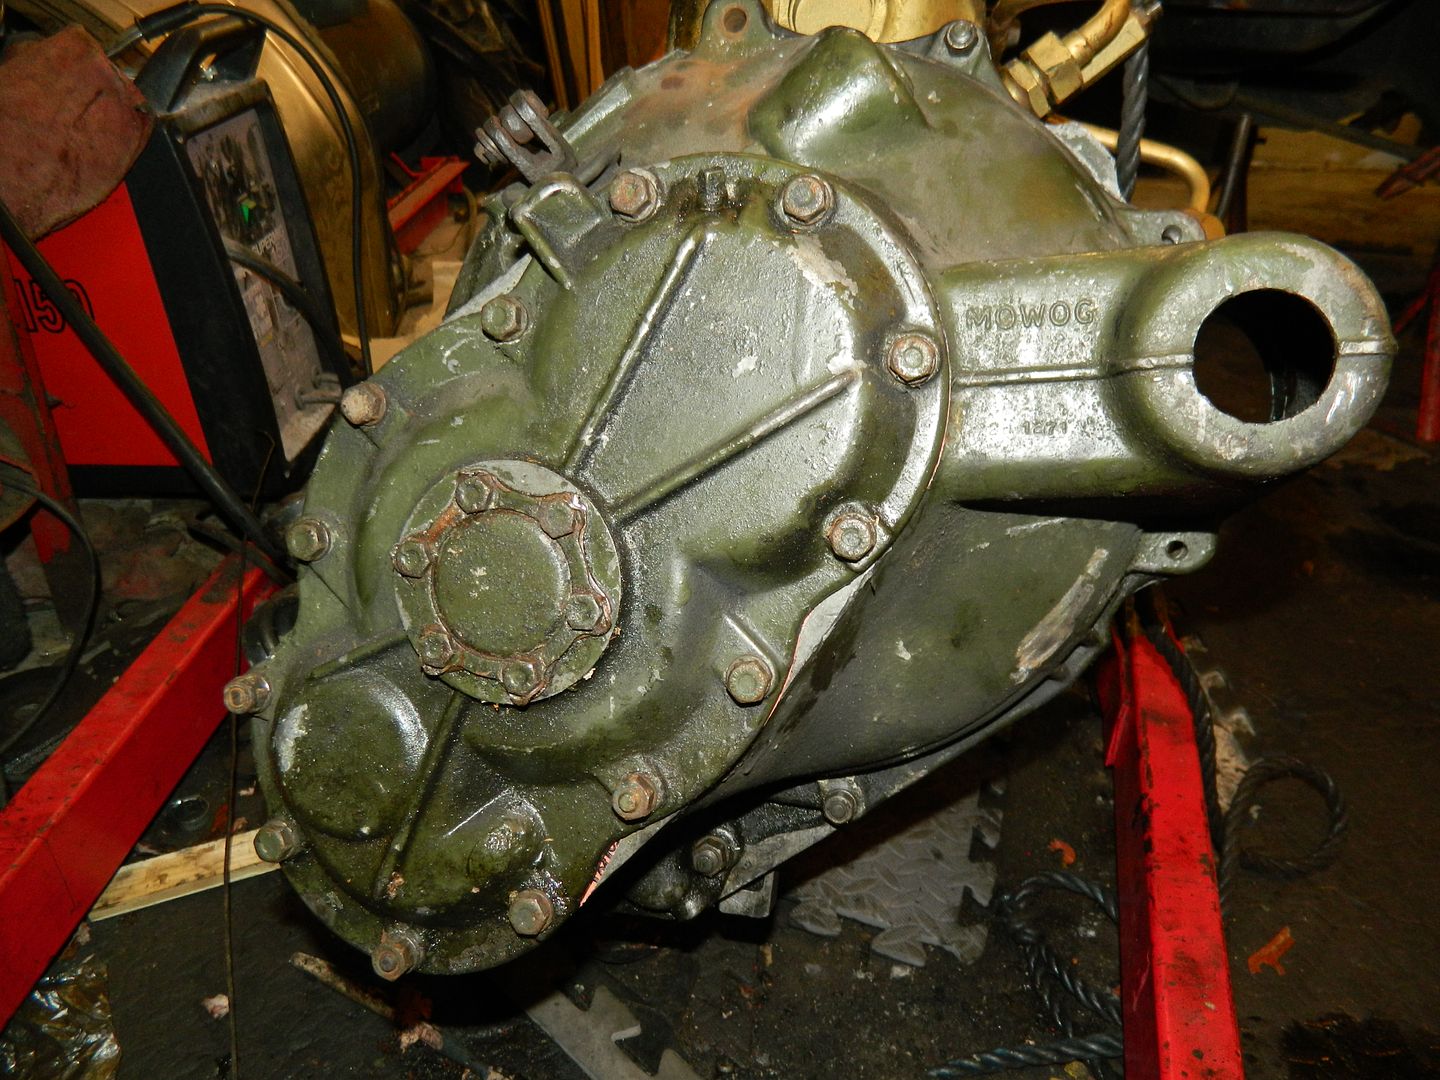 Outer covers refitted, drain plug back in and that's about it. I'm going to have a play with the clutch set-up tomorrow. The new release bearing appears to be lightly touching the pressure plate, so I'll mount a spare slave on there and see about adding a lightweight return spring and perhaps a distance stop. Thoroughly shattered now, so enough for today. Chris. |
|
|
|
Post by Penguin45 on Nov 1, 2015 19:44:54 GMT
Off with the pushrod and clevis pin. 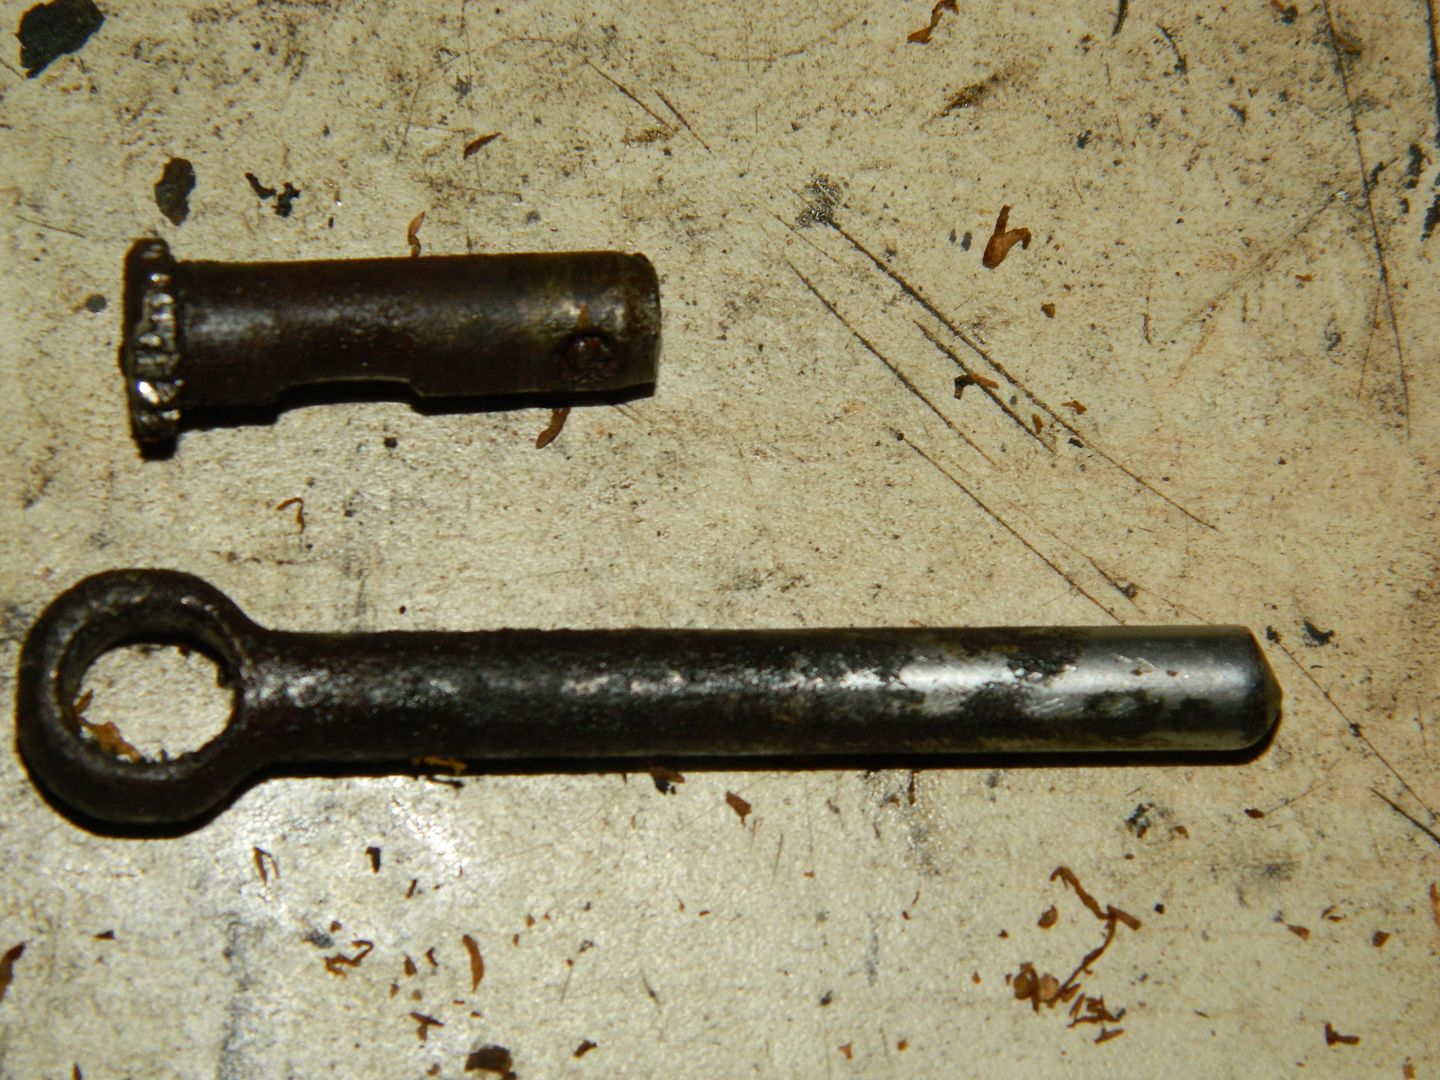 They're knackered then. Fortunately, I have a spare push rod and the clevis pin is no longer part of the latest cunning plan. Chop, drill, weld, hammer, file and we get: 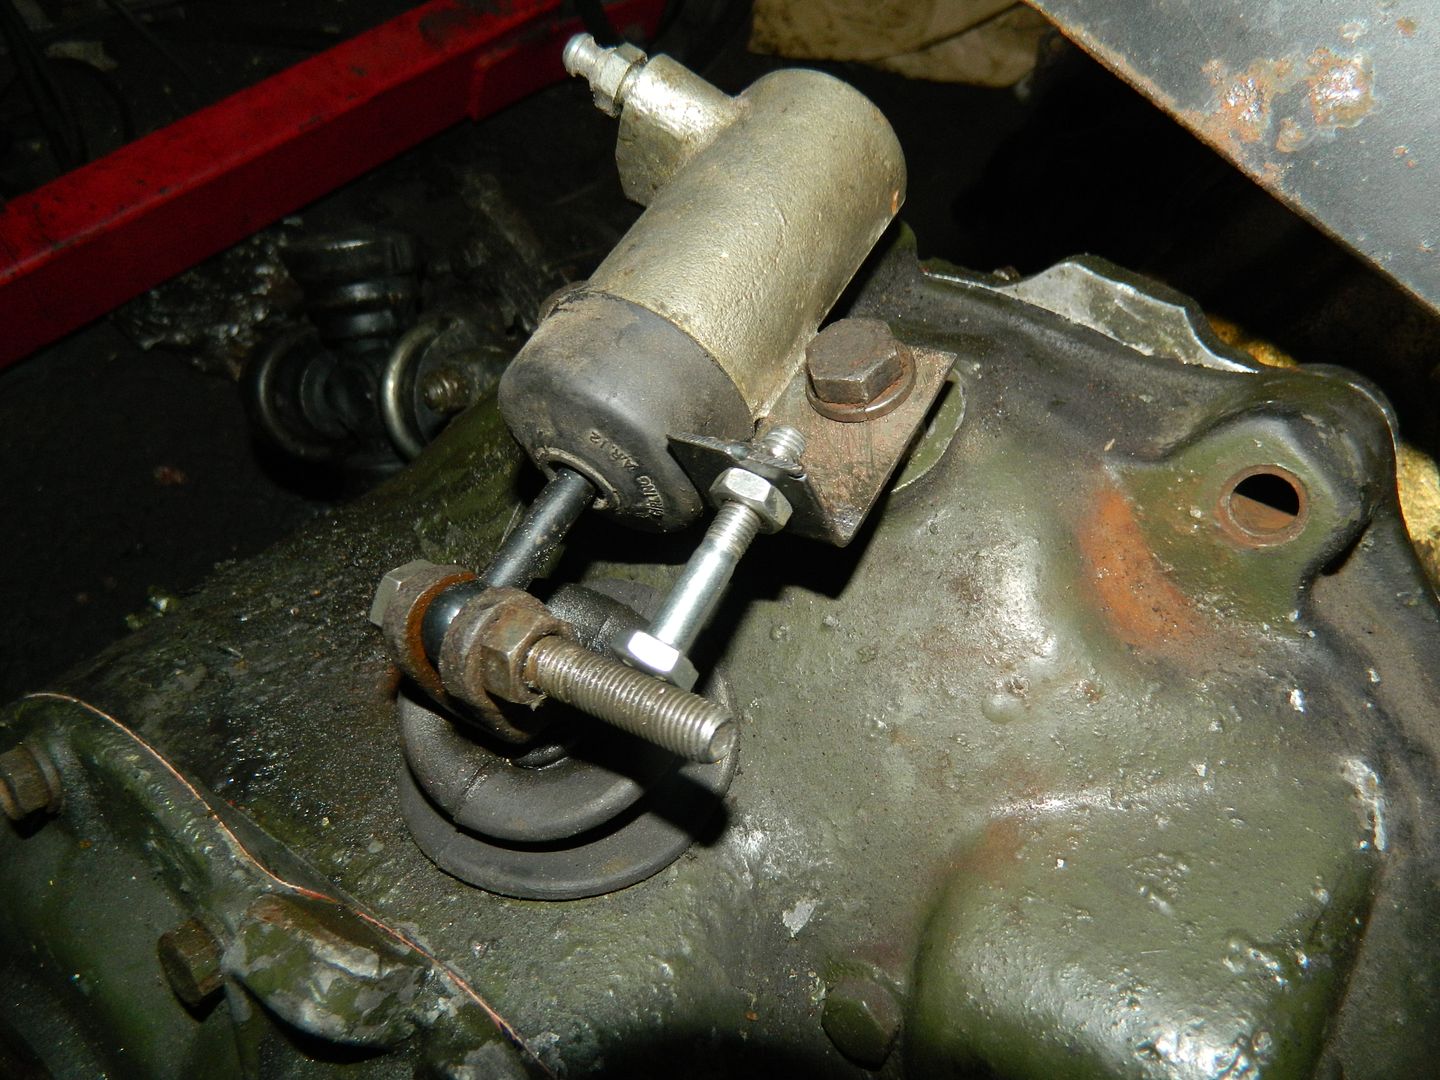 That'll stop it getting too far from the clutch when the lightweight return spring is added. Once that's sorted I'll tidy it all up properly and get it painted. Chris. |
|
|
|
Post by indianajones on Nov 2, 2015 0:07:10 GMT
I approve _b
-Andrew
|
|
|
|
Post by dave1800 on Nov 2, 2015 4:03:04 GMT
That's something I thought about but never got round to trying it. Give the perpetual problems with the clutch bearing wearing prematurely on some vehicles, not others and the seemingly hit and miss engagement height I just wonder why it was never implemented? But sadly there were lots of other faults never addresed in the 11 years of production.
David
|
|
crabmaster
Member
 
Posts: 44
Attribute: http://www.austineighteenhundred.com.au
|
Post by crabmaster on Nov 2, 2015 10:03:56 GMT
It's probably too late to mention this now, but I've found it useful to check the crankshaft bush when one has the clutch in pieces. A worn bush puts a lot of undesirable load on the clutch shaft ball bearing and causes it to wear, and even turn in its alloy housing. A new bush makes the engine run much smoother since the clutch plate will be more central with the axis of rotation. That said, the bush should have enough clearance so that the shaft can slide in and out without a significant piston suction effect - that is, the clearance should not be too tight but a loose fit. How loose? good question. Tony
|
|


