|
|
Post by Penguin45 on May 5, 2018 20:18:33 GMT
|
|
|
|
Post by Penguin45 on May 6, 2018 12:35:13 GMT
|
|
|
|
Post by dave1800 on May 11, 2018 23:48:53 GMT
Is this still work in progress and is the fresh air ducting still available? David [quote author=" Penguin45" source="/post/13237/thread" timestamp="1525610113" Stopped for lunch - more later. Chris.[/quote] |
|
|
|
Post by Penguin45 on May 12, 2018 0:24:13 GMT
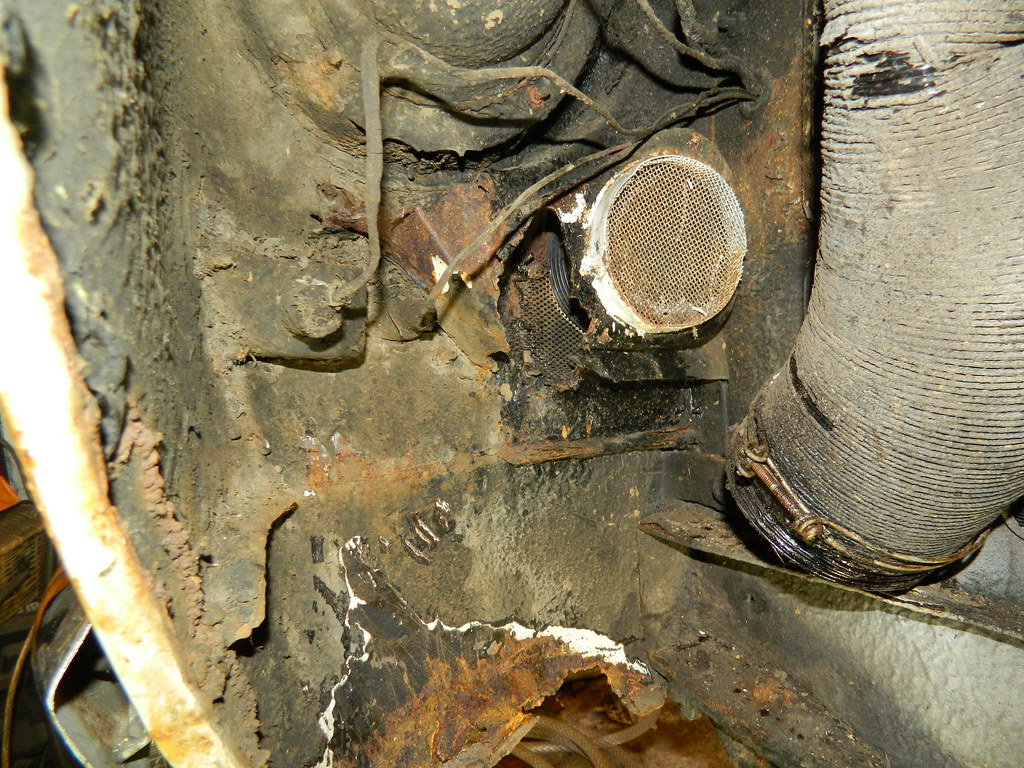
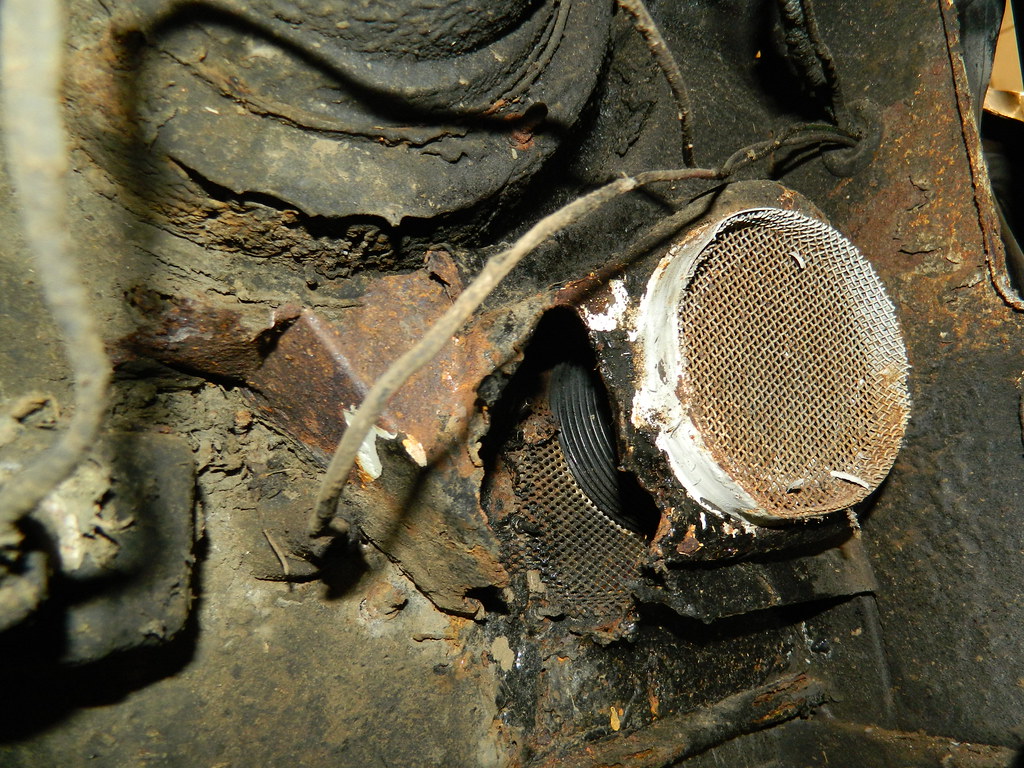
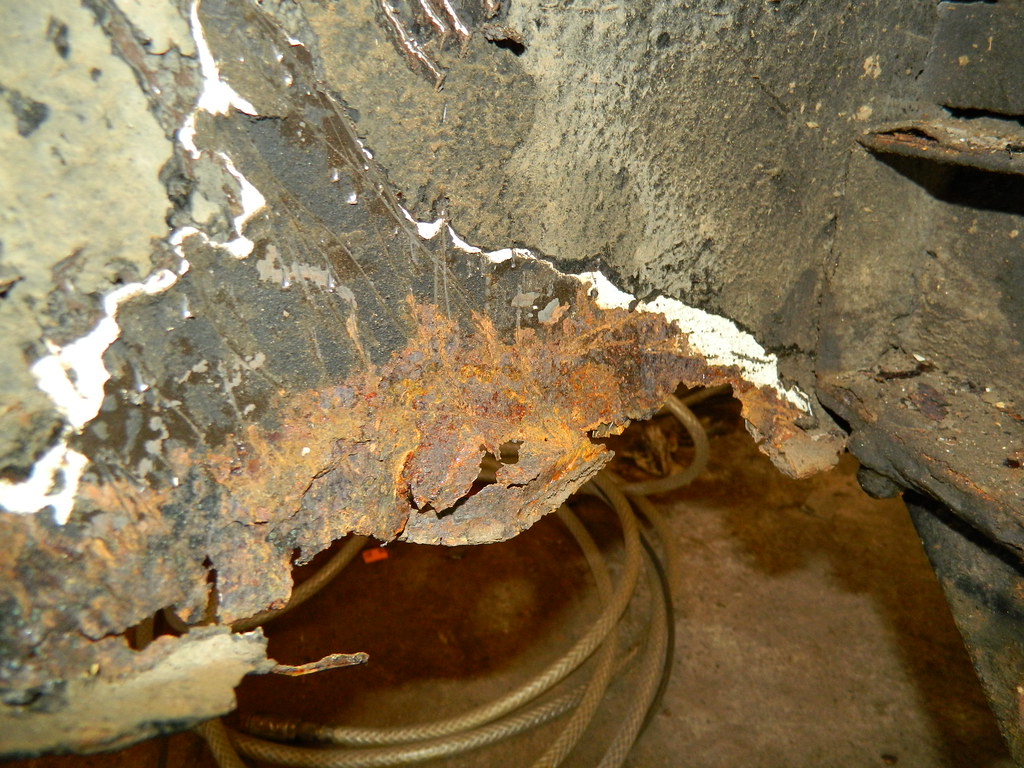
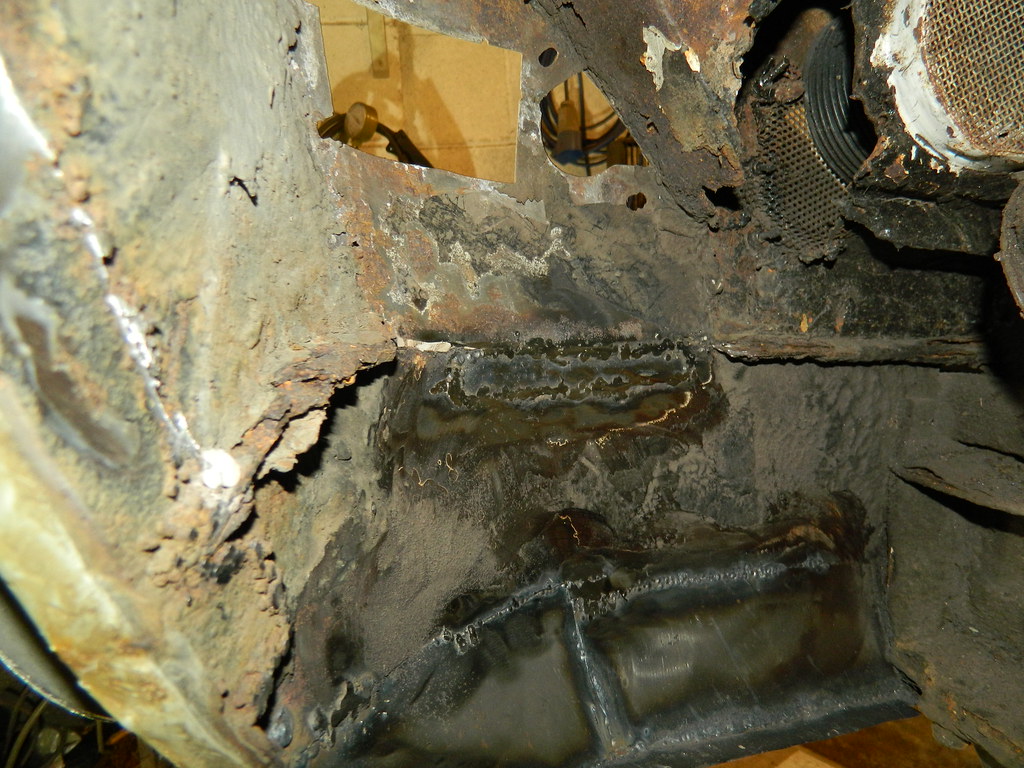
On going - had a dradful week with energy and stamina, so I'm not much further forward. The ducting isn't the problem - it's the box at the front to which it mounts. The tube itself has survived, but the surrounding structure was utterly rotten. I'm trying to make a reasonable facsimile of what was there, but access is awful. There might be some compromises.
Chris.
|
|
|
|
Post by Penguin45 on May 12, 2018 19:33:44 GMT
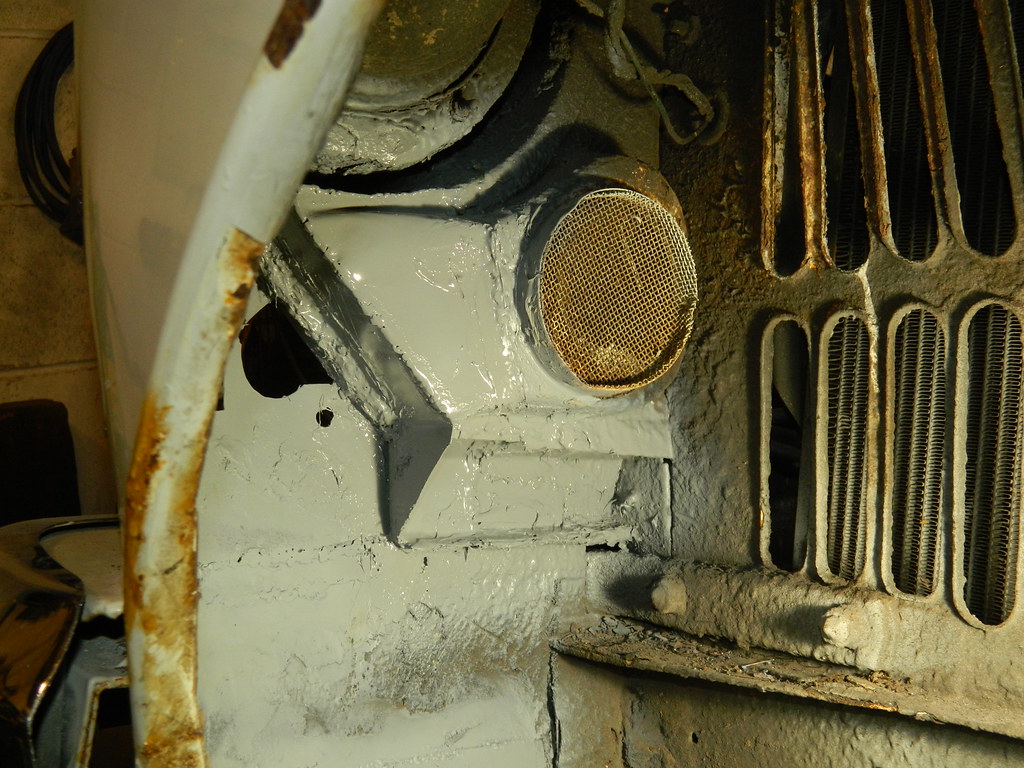 WXC446K WXC446K by Penguin 45, on Flickr 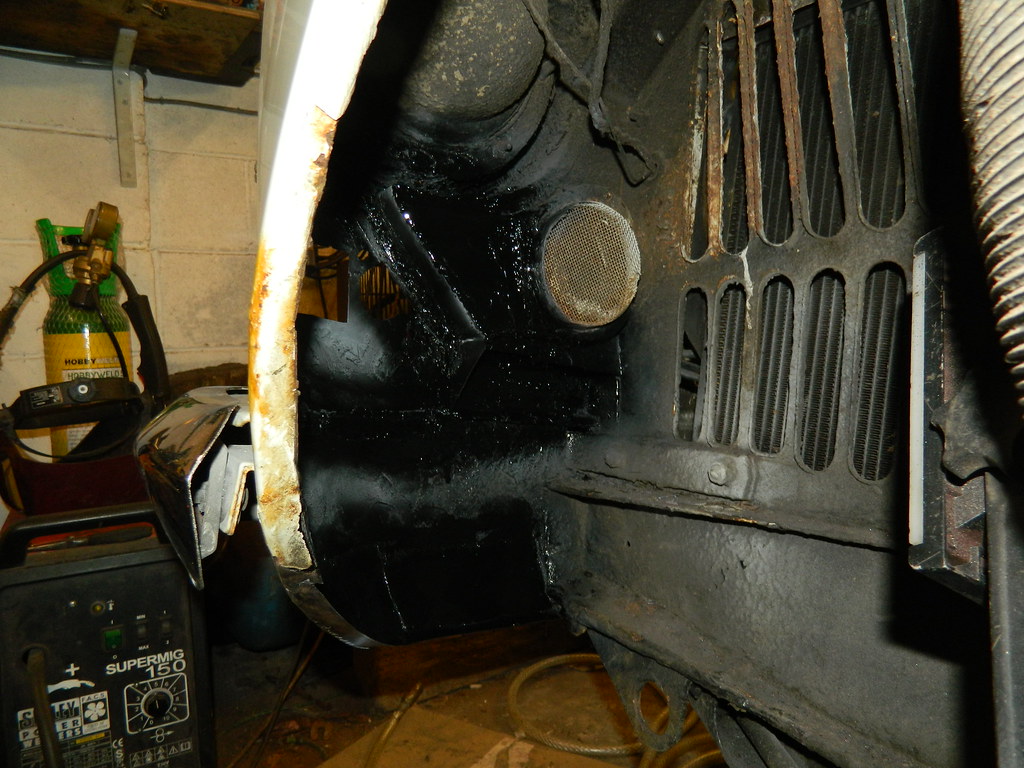 WXC446K WXC446K by Penguin 45, on Flickr There. Definitely a solid box. Not, perhaps quite the same as the original. Etched, seam sealed, primed and shot over with some top coat. Will hit it with the underseal at the final stage. Chris. |
|
|
|
Post by Penguin45 on May 13, 2018 23:54:47 GMT
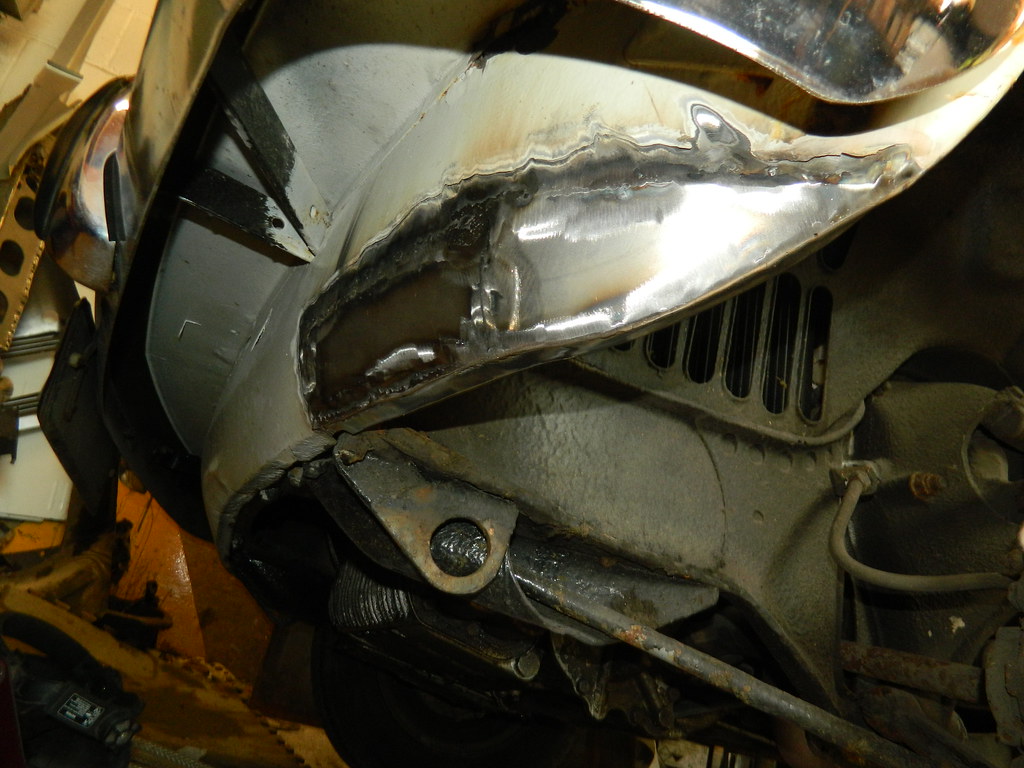
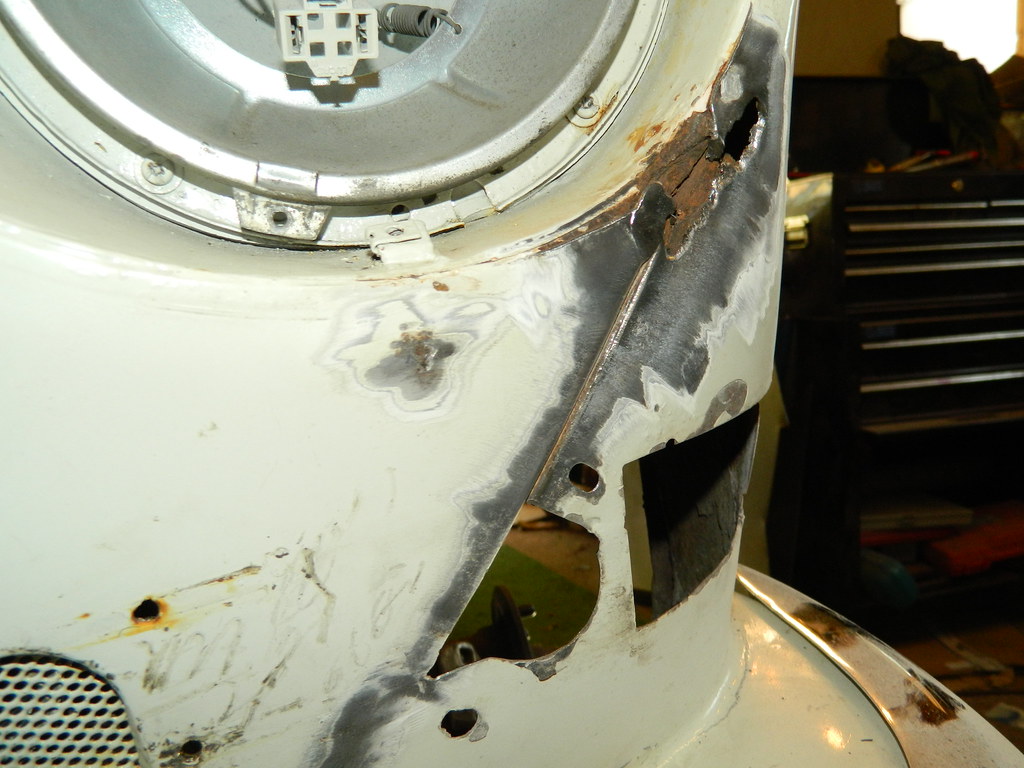
Onwards with the wing. Time for the wheelarch. 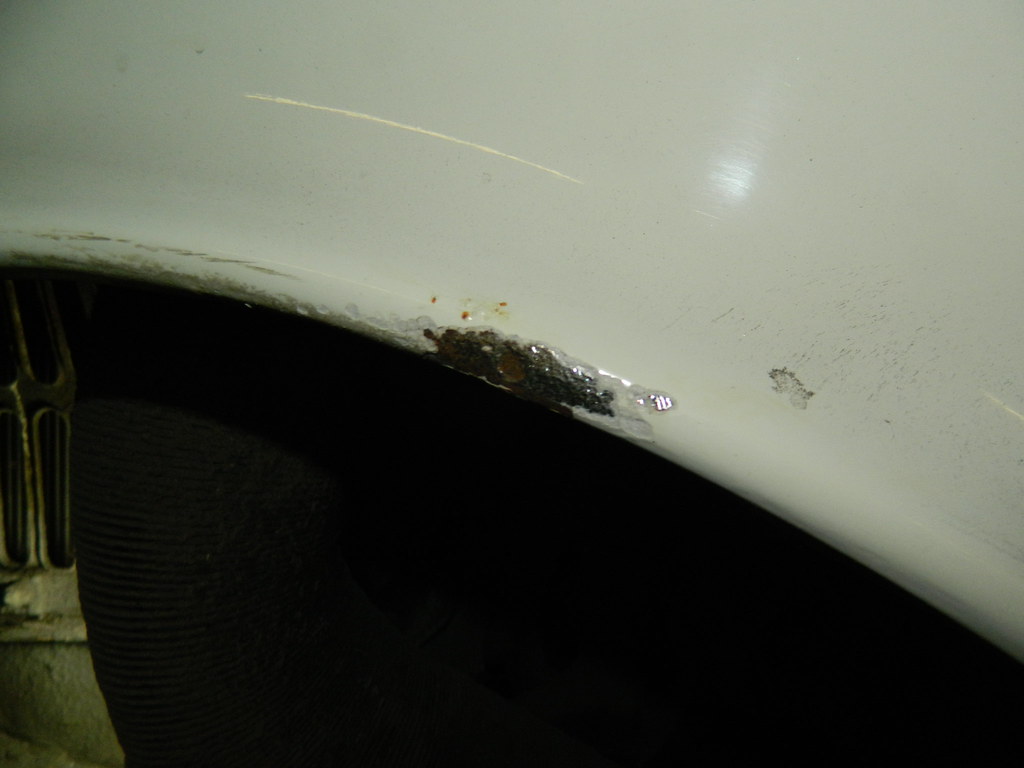 WXC446K WXC446K by Penguin 45, on Flickr 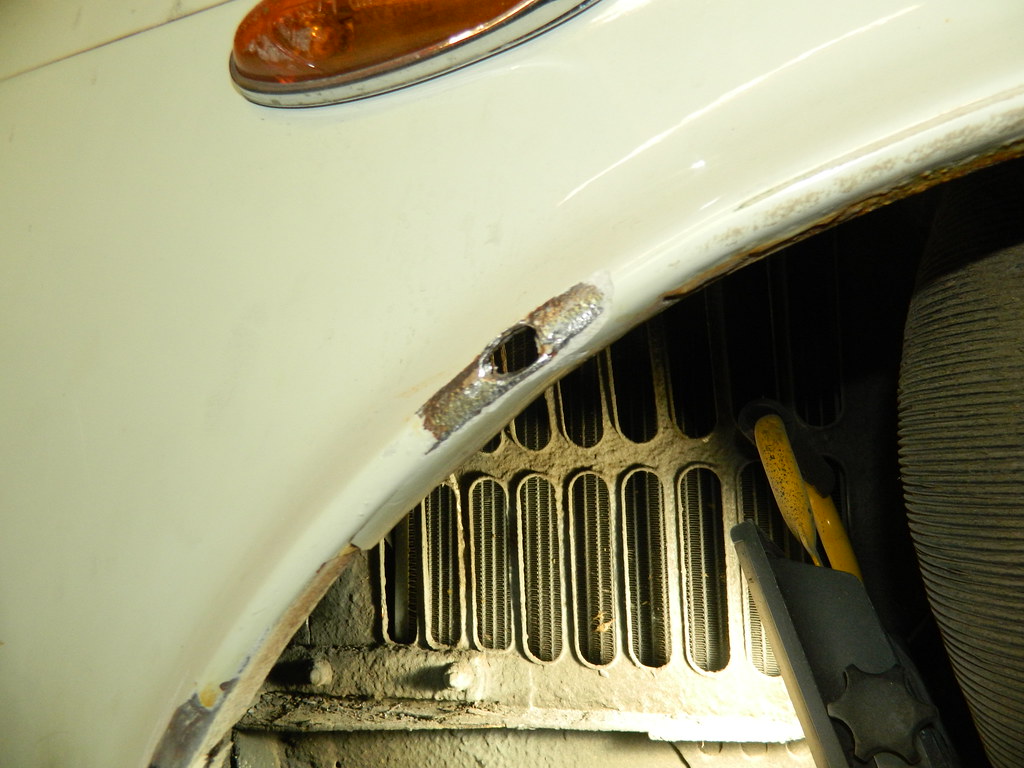 WXC446K WXC446K by Penguin 45, on Flickr 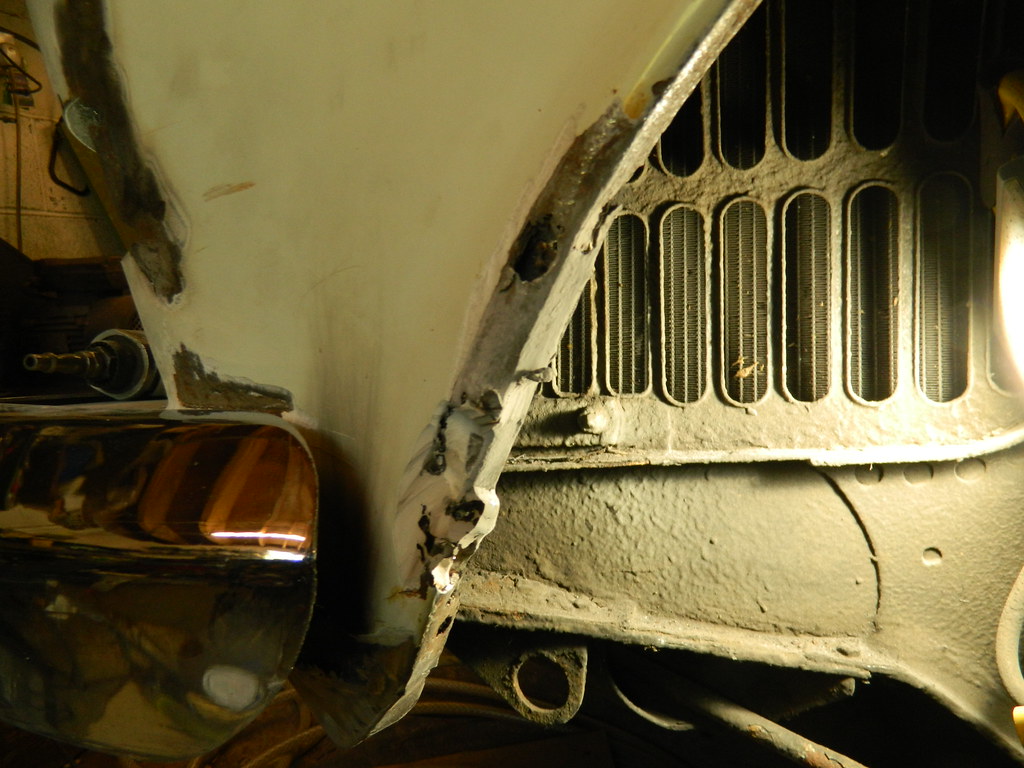 WXC446K WXC446K by Penguin 45, on Flickr That's going to get messy. 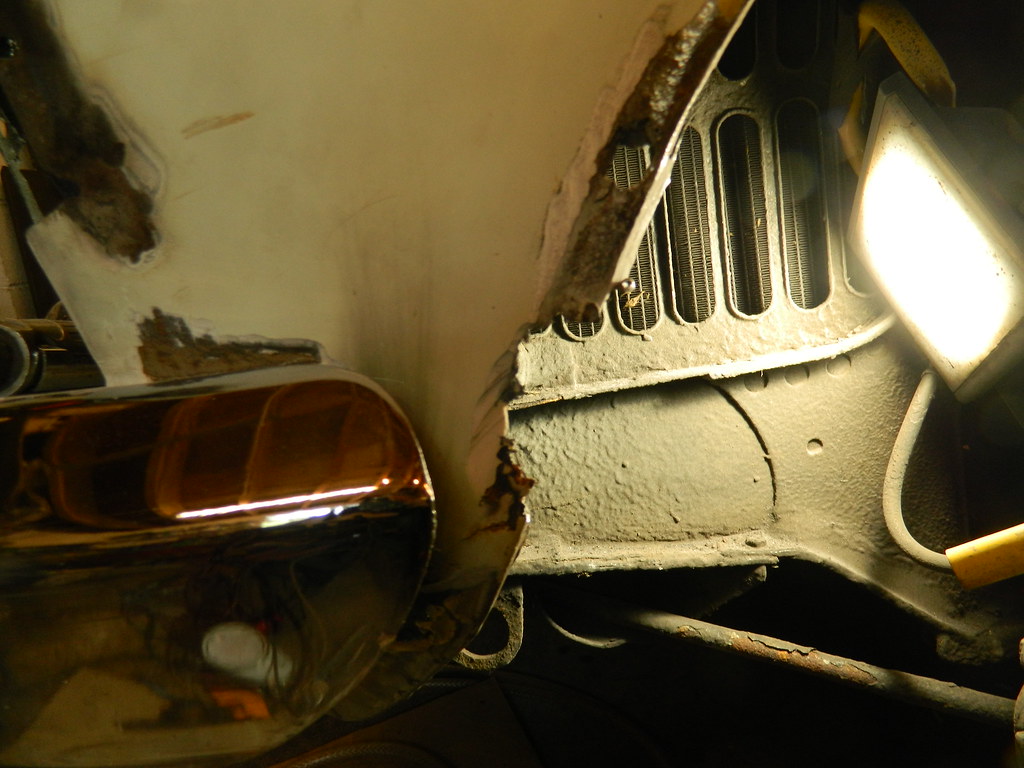 WXC446K WXC446K by Penguin 45, on Flickr Yup. 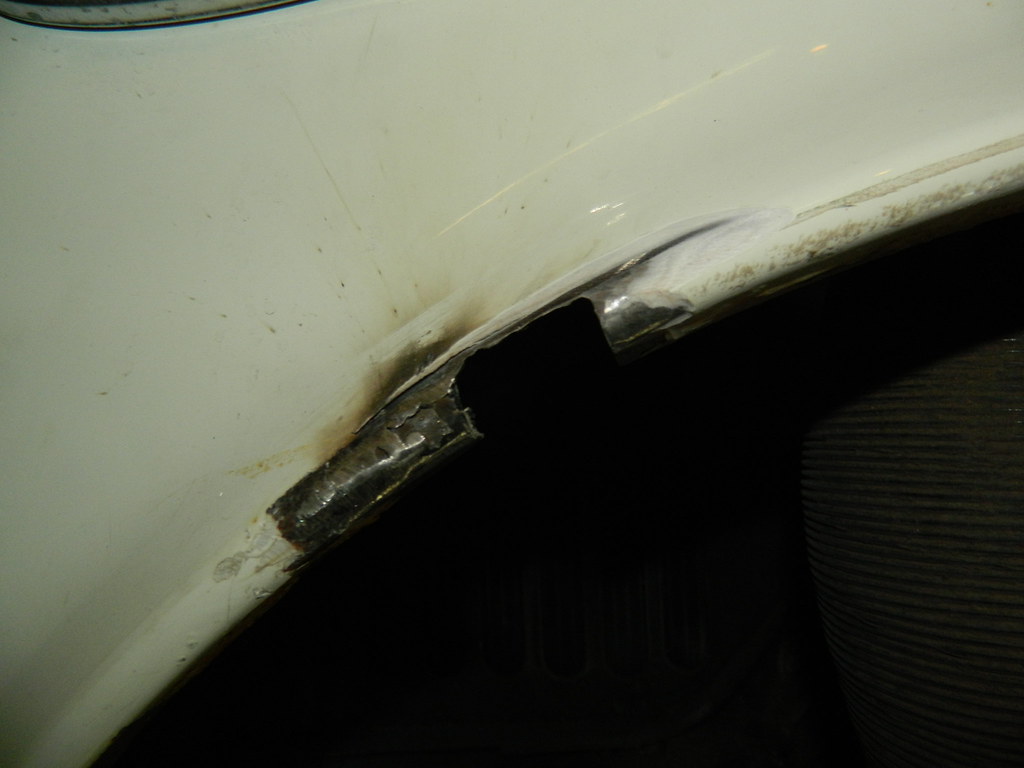 WXC446K WXC446K by Penguin 45, on Flickr Initial attempt to repair this went well. Area to the right just blew apart, so was chopped out. 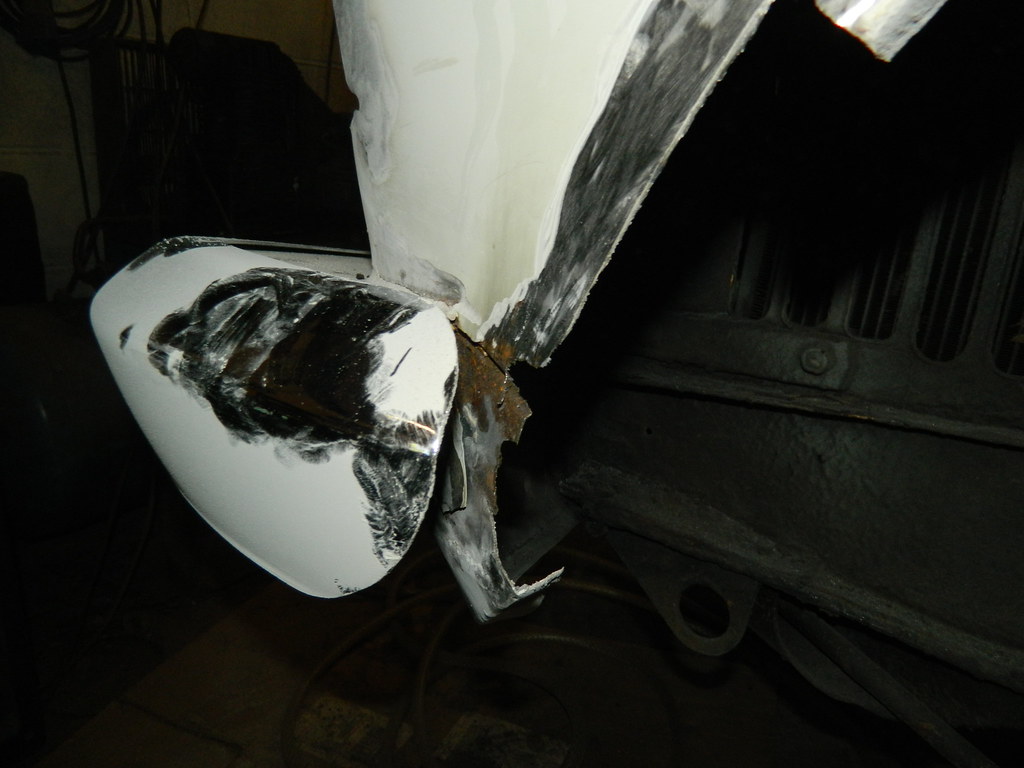 WXC446K WXC446K by Penguin 45, on Flickr As was the bottom of the arch and into the valance. 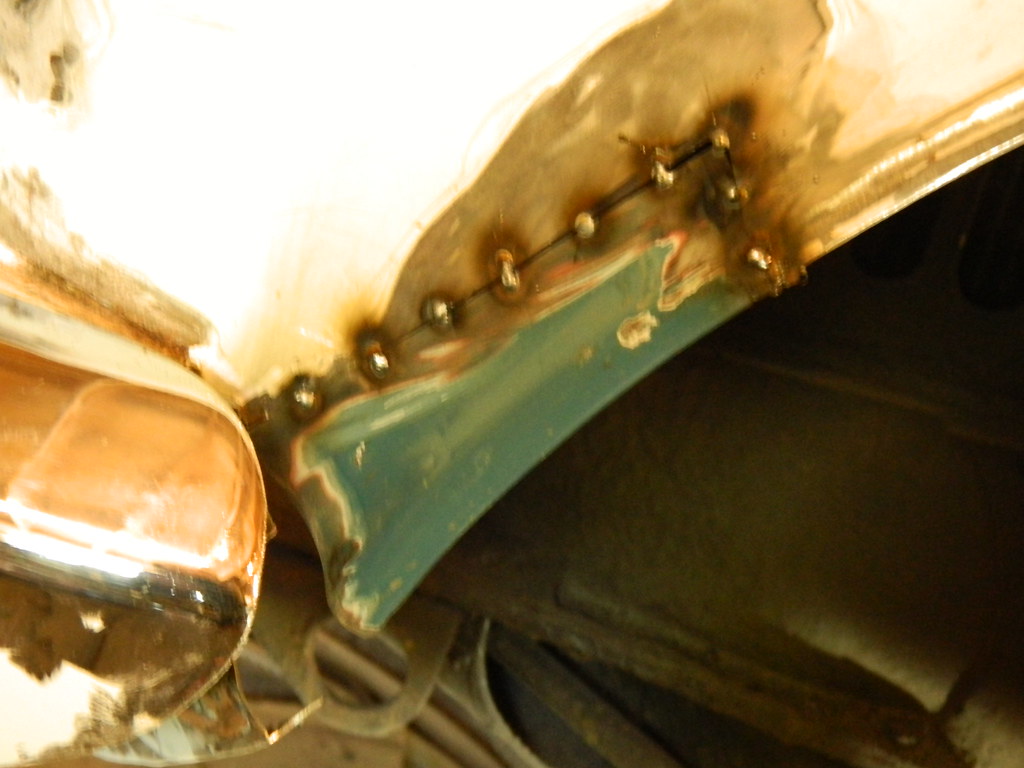 WXC446K WXC446K by Penguin 45, on Flickr Repair panel tacked home. 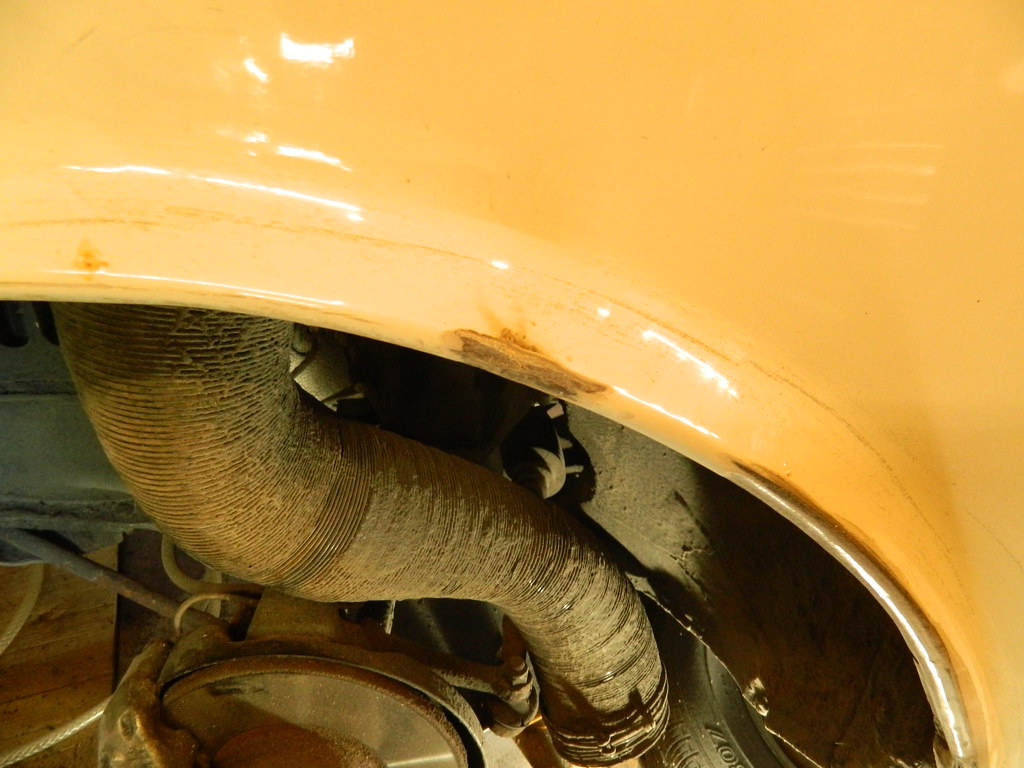 WXC446K WXC446K by Penguin 45, on Flickr That bit filled in nicely. 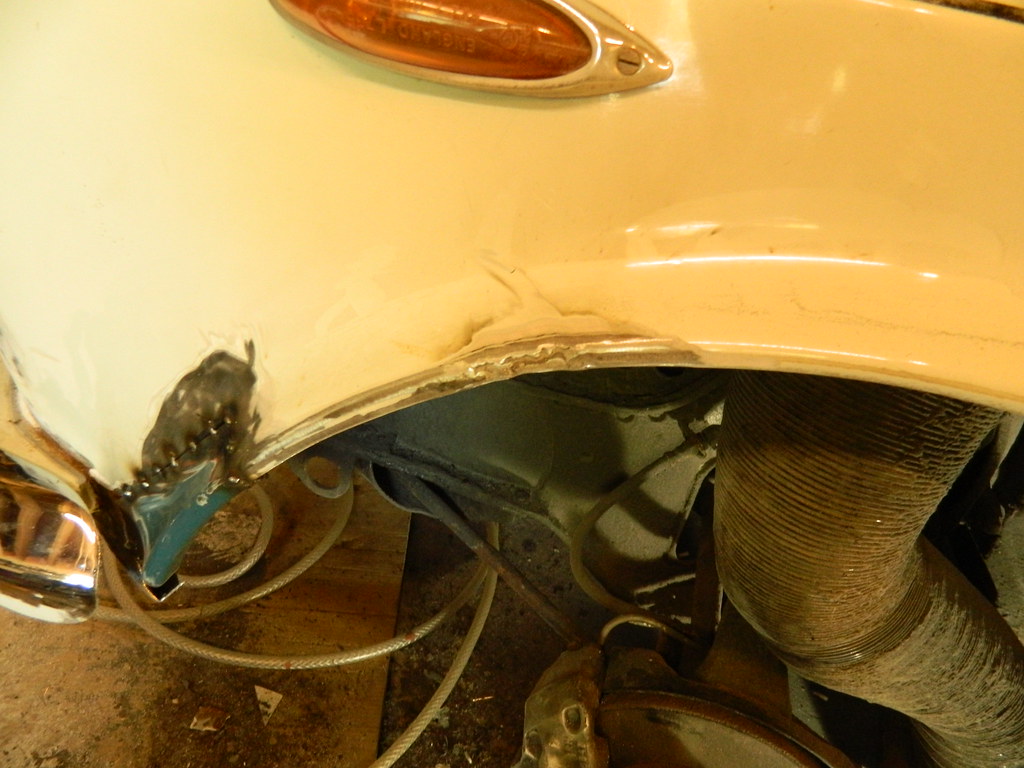 WXC446K WXC446K by Penguin 45, on Flickr This is now solid, but'll need a wipe of filler. 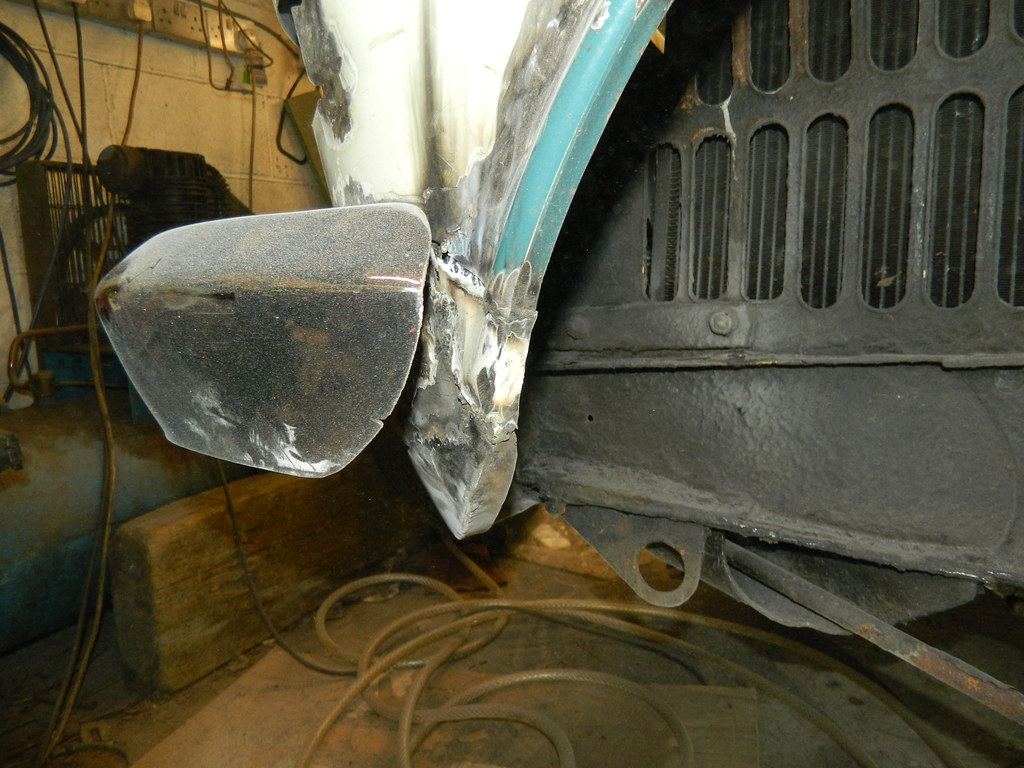 WXC446K WXC446K by Penguin 45, on Flickr Valance panel in and tied to bottom of arch repair. 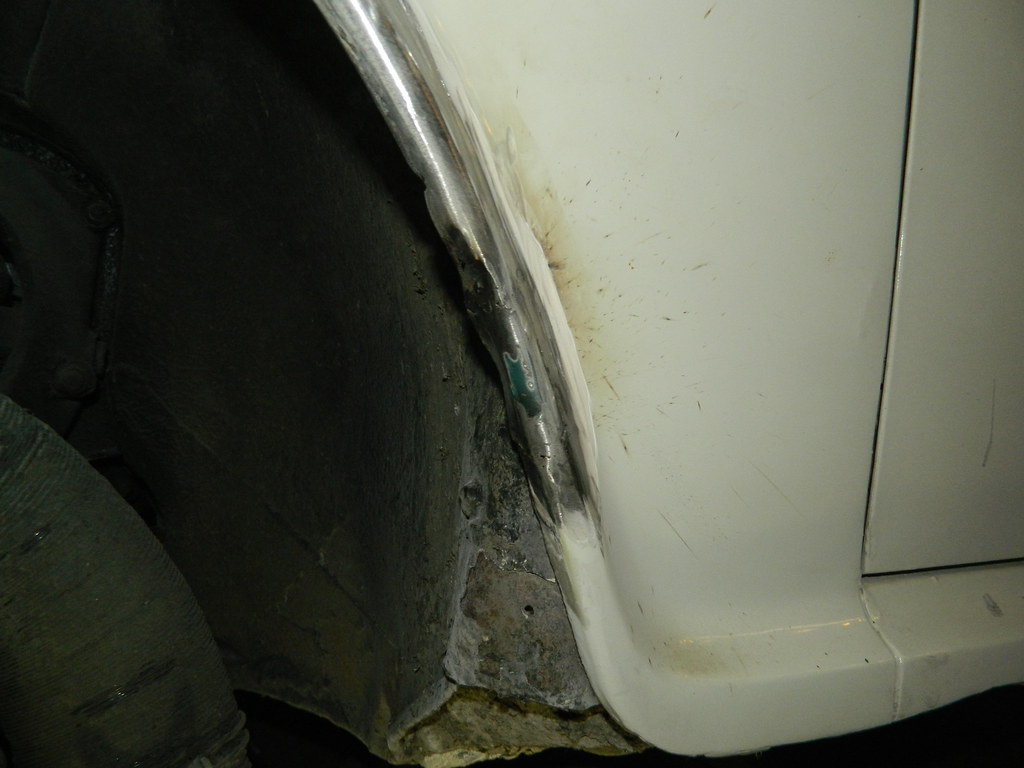 WXC446K WXC446K by Penguin 45, on Flickr And finally a B-awkward little repair panel in the back of the arch. The wing is now solid. Bit of fillering required (as opposed to the great sheets of the stuff that were there before) to finish. Chris. |
|
|
|
Post by dave1800 on May 15, 2018 2:07:16 GMT
A true artist at work. David |
|
|
|
Post by Penguin45 on May 15, 2018 20:14:59 GMT
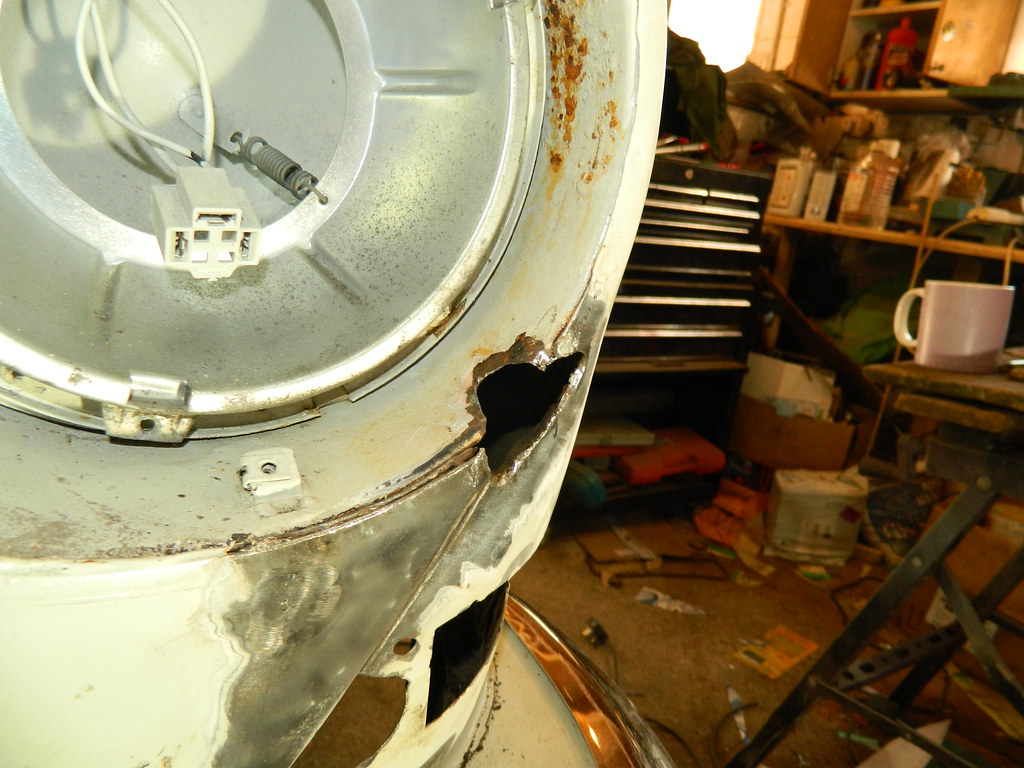
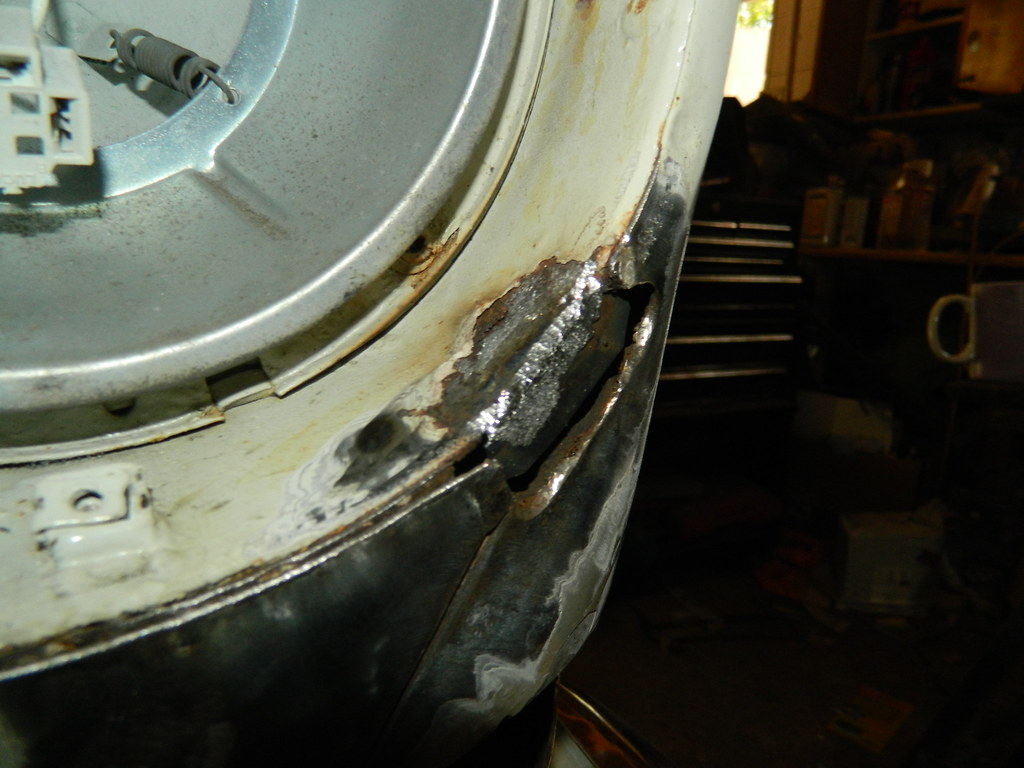
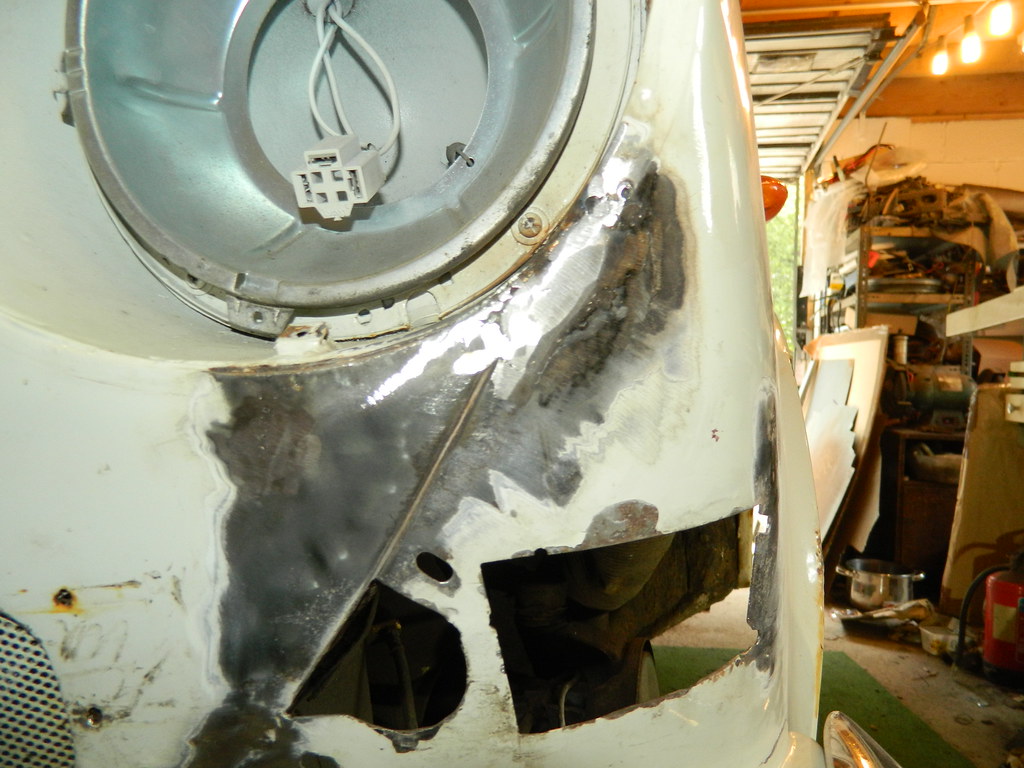
 Not sure about artist. I do have almost unlimited patience, though. On with the mind numbing job of filler. Doesn't need much, but it'sso very fiddly to get right. 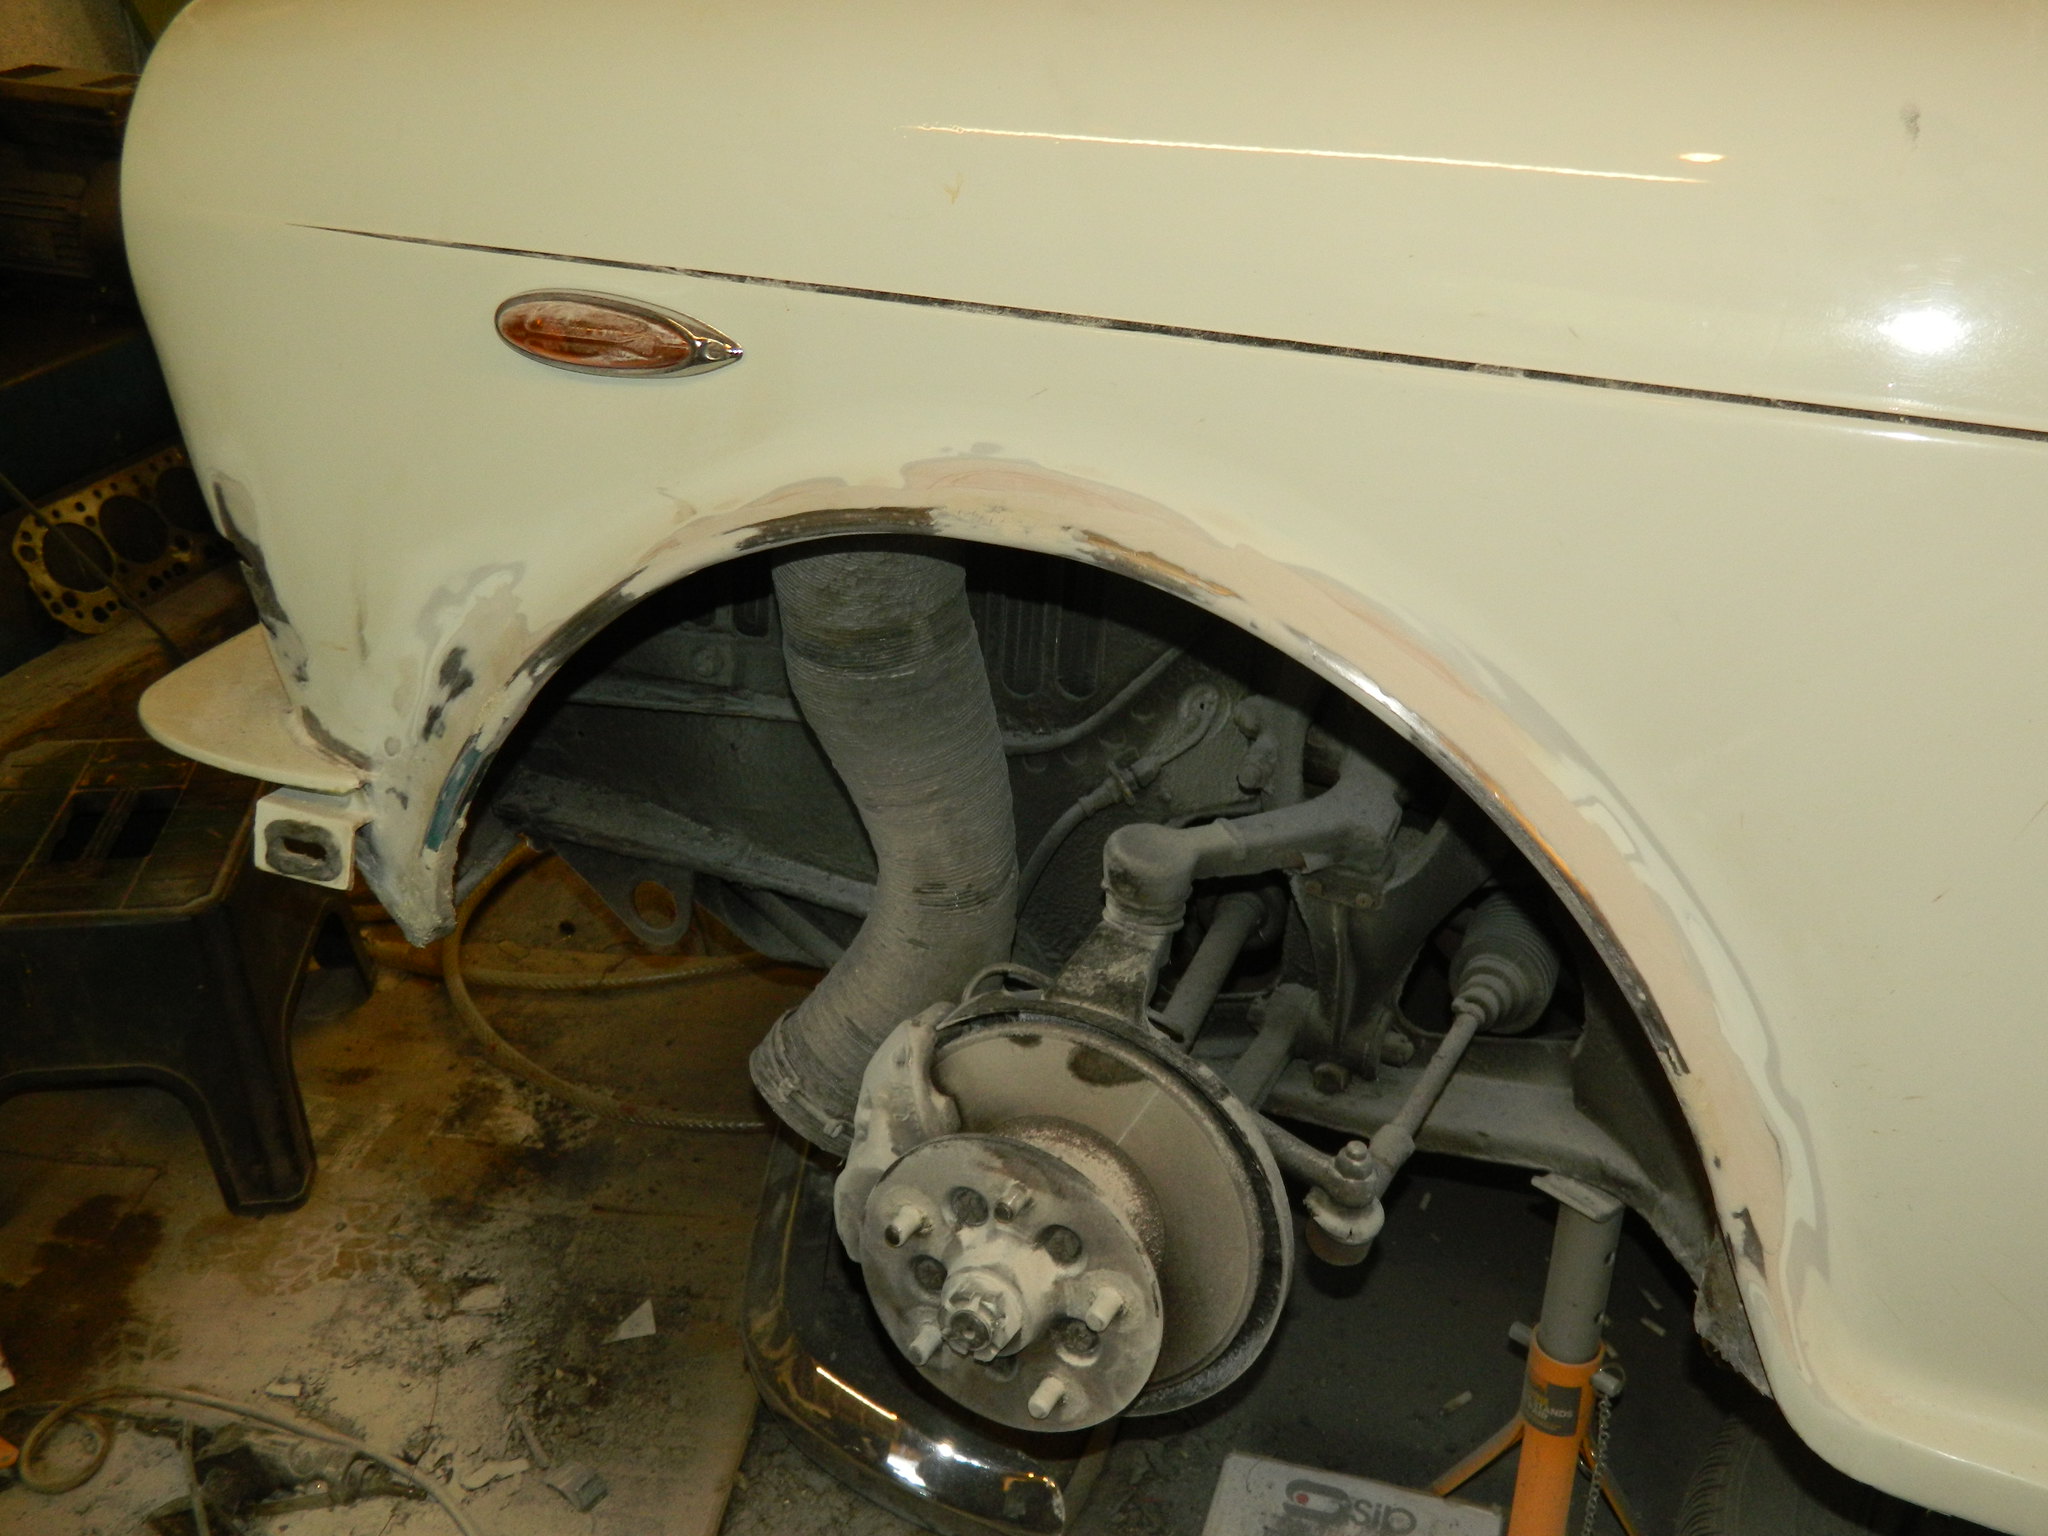 WXC446K WXC446K by Penguin 45, on Flickr 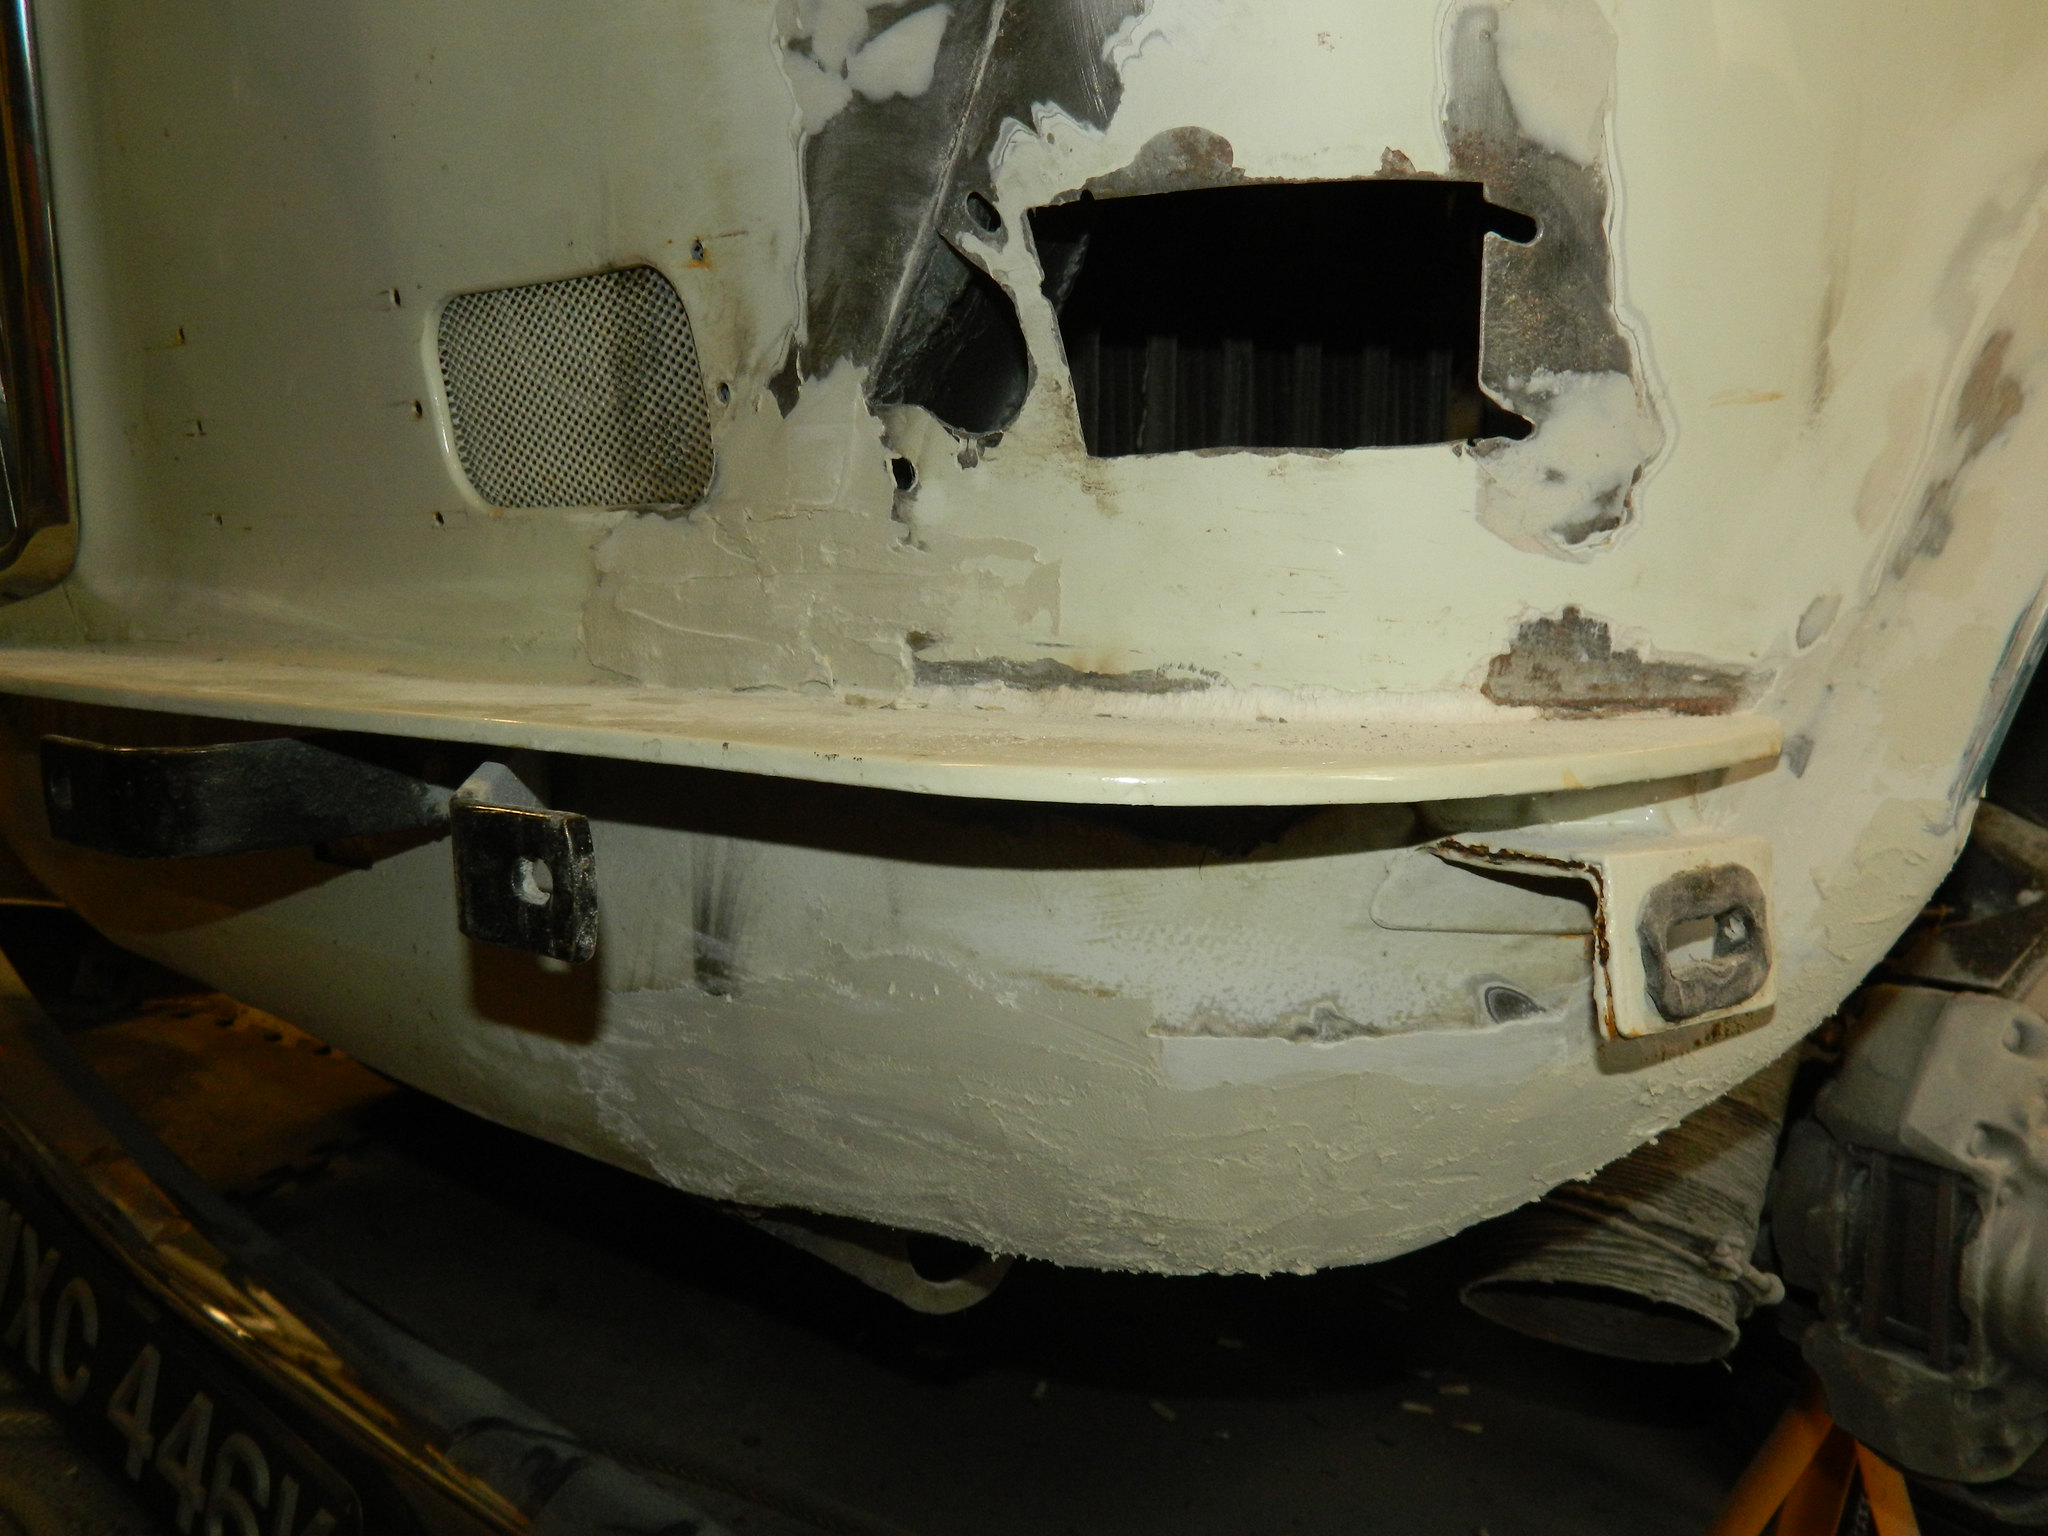 WXC446K WXC446K by Penguin 45, on Flickr These were taken about half way through. Six hours now and I'm still not happy. Chris.
|
|
|
|
Post by Penguin45 on May 28, 2018 19:37:02 GMT
The wing is finished. 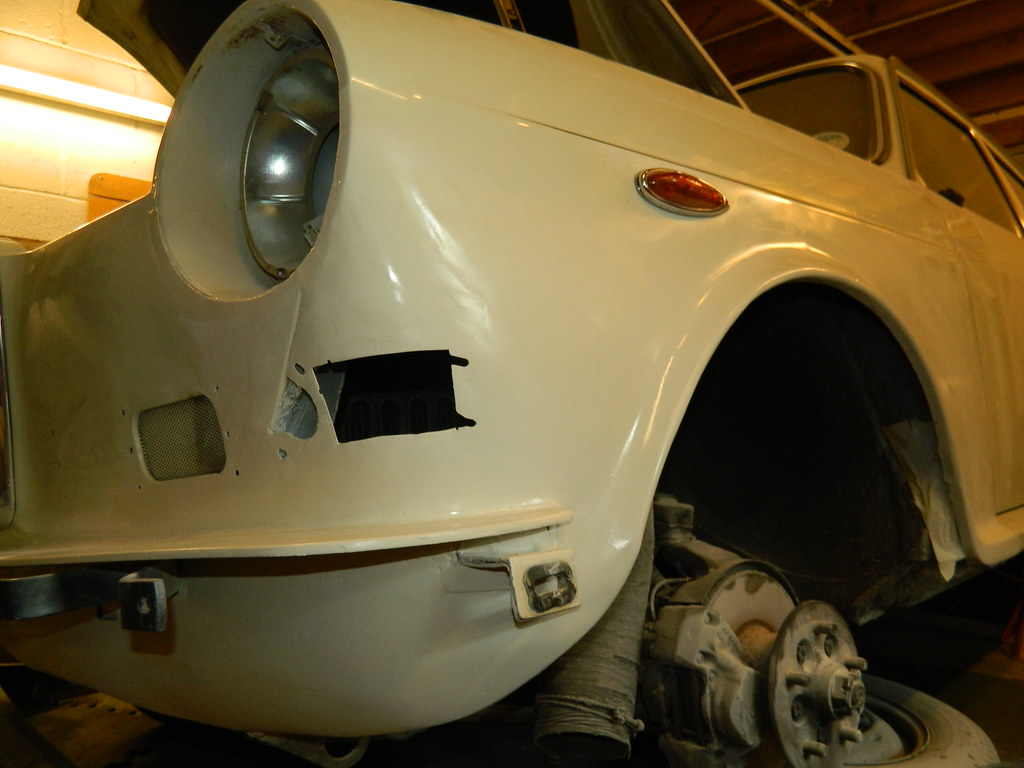 WXC446K WXC446K by Penguin 45, on Flickr Not an exact colour match, but it will keep it tidy until John gets it to the painters. Chris. |
|
|
|
WXC446K
May 29, 2018 12:13:39 GMT
via mobile
Post by snoopy11 on May 29, 2018 12:13:39 GMT
That looks really good Mr P. Have you done something like this before 😀
|
|
|
|
Post by Penguin45 on Jun 24, 2018 19:33:04 GMT
Sunday's fun and games over at Snoopy's were cancelled as it all got dealt with on Saturday. Snoopy came over to Yeadon and helped me get the doors off. 18 screws came out; 6 didn't. Die grinder and drill dealt with them. 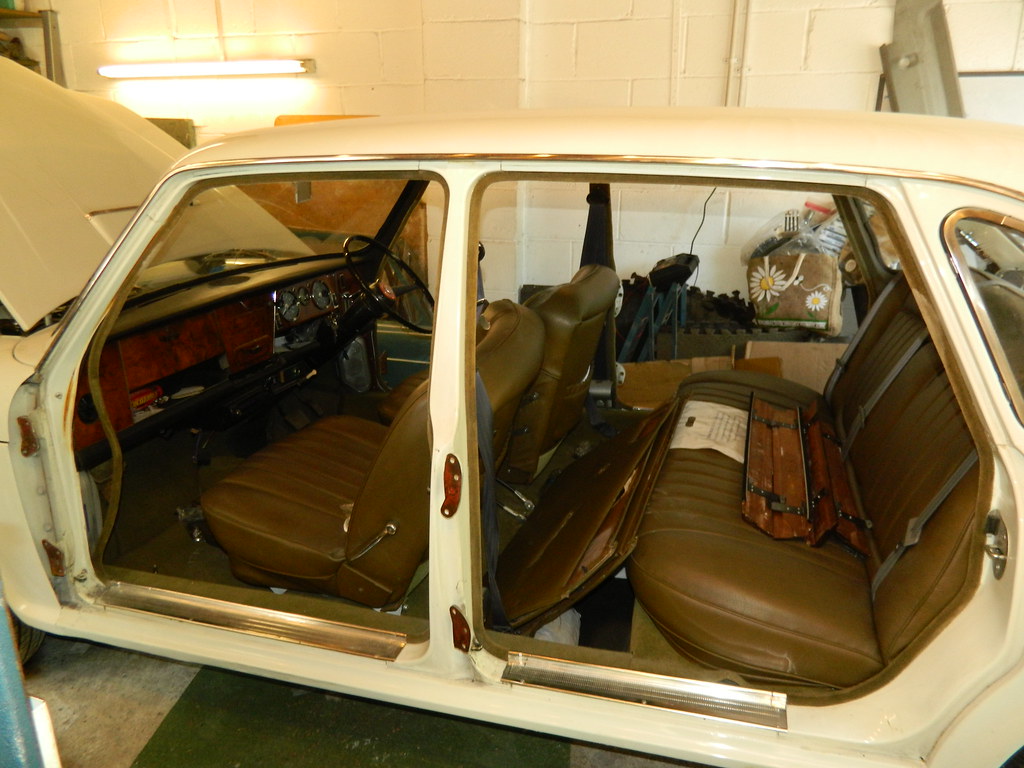 WXC446K WXC446K by Penguin 45, on Flickr Dynamo work carried out as well - definitely a game for two on one of these, as the power steering pump and hoses are in the way. This one also has an oil cooler as well, so it was a complete cow. Again, big thanks to Snoopy - this one is back underway again. Chris. |
|
|
|
Post by Penguin45 on Jul 1, 2018 19:14:36 GMT
Having blown removed the doors, I managed to get stuck in this afternoon. 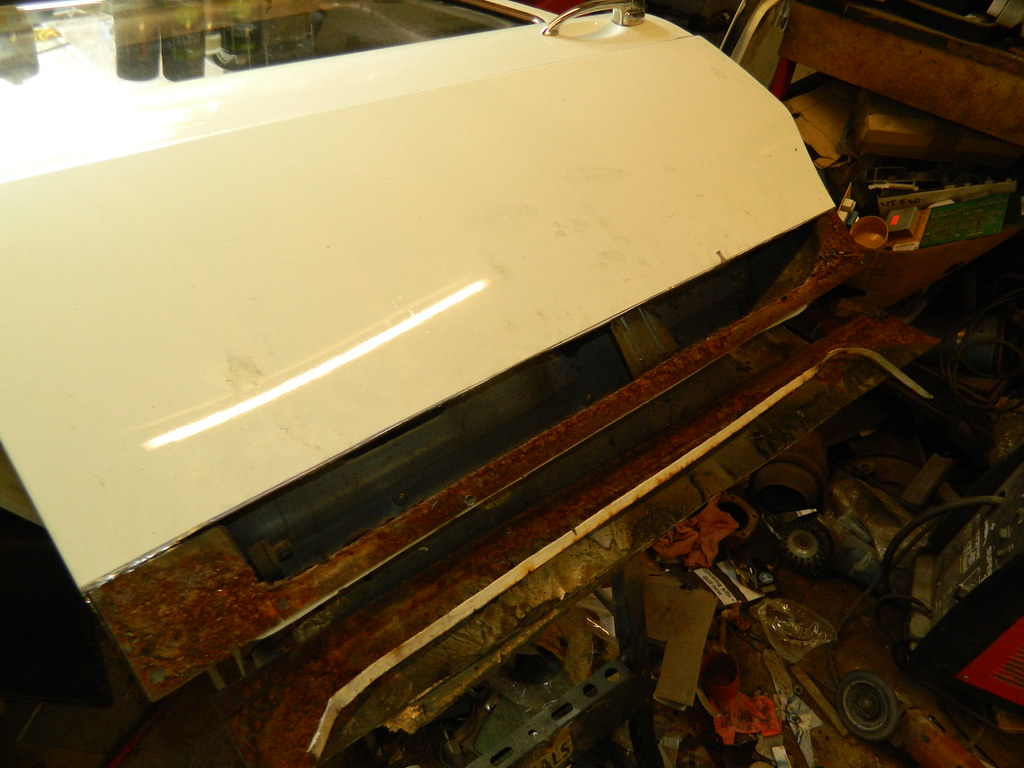 WXC446K WXC446K by Penguin 45, on Flickr Bottom 3" cut away. Always a scary moment, cutting into a panel. Corners are rotten, bottom edge will clean up. 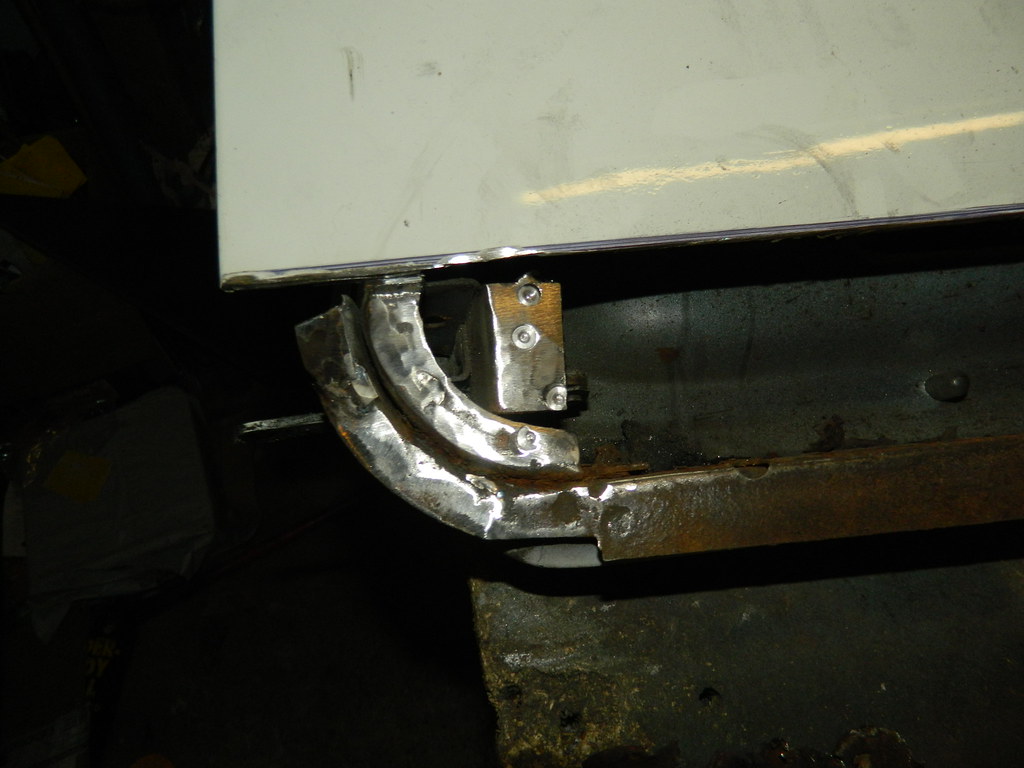 WXC446K WXC446K by Penguin 45, on Flickr Front corner reinforcement cut away and metal below cleaned up. 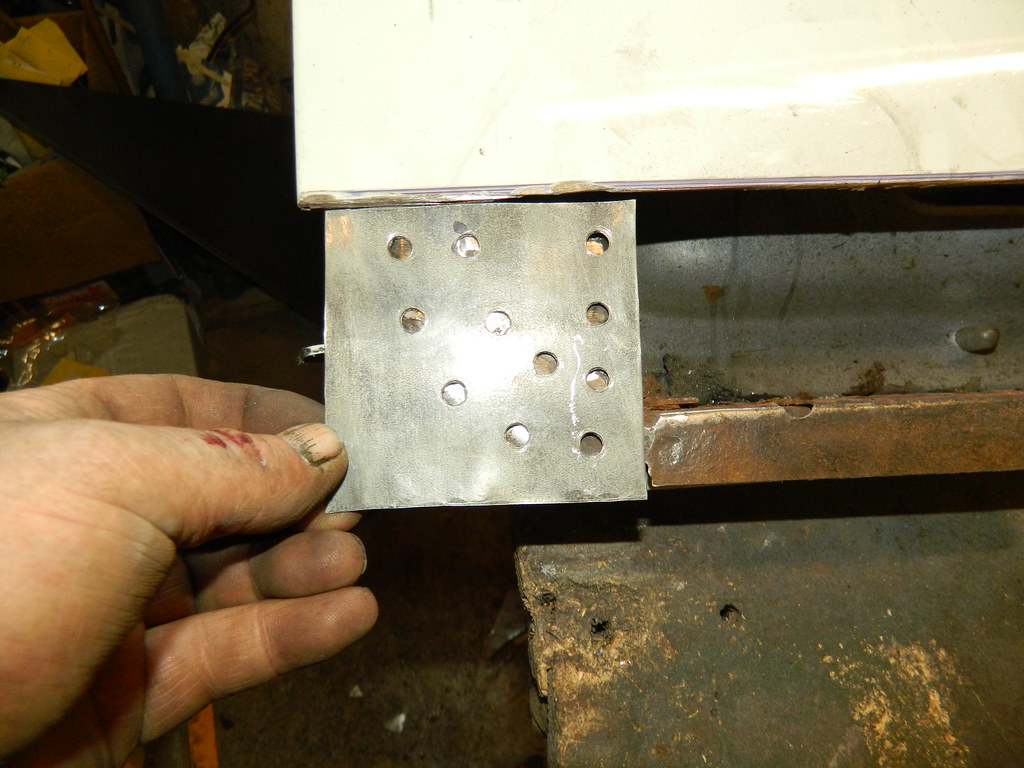 WXC446K WXC446K by Penguin 45, on Flickr Lightly "Gorgonzolad" replacement panel. 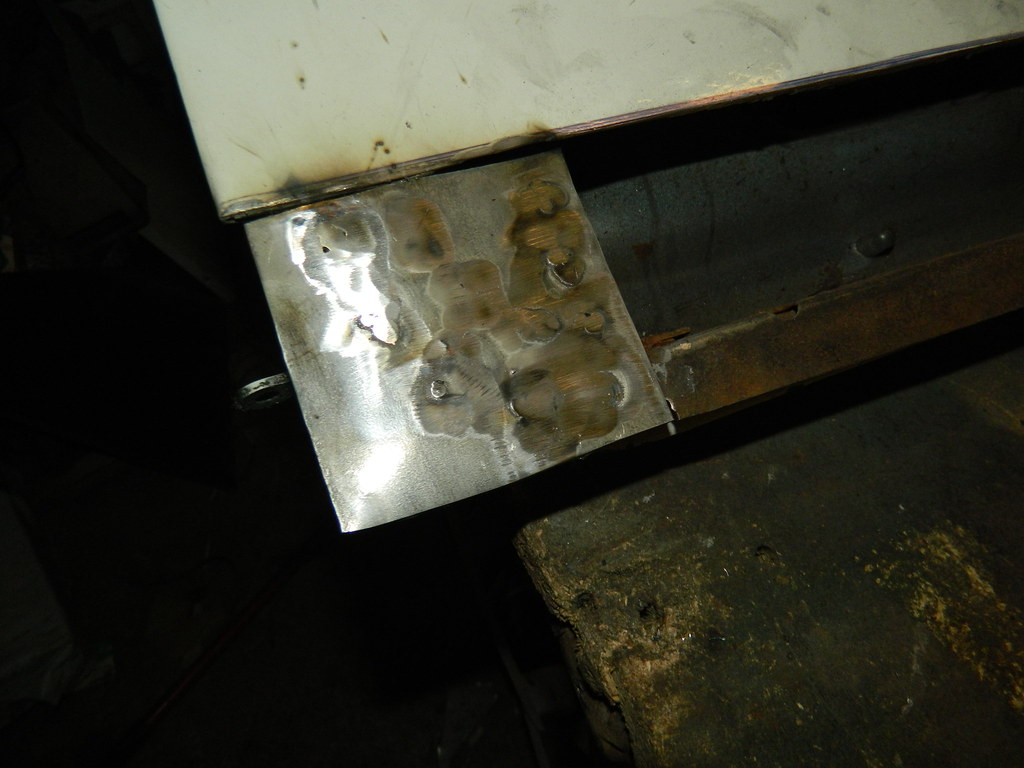 WXC446K WXC446K by Penguin 45, on Flickr Plug welded home and flatted. 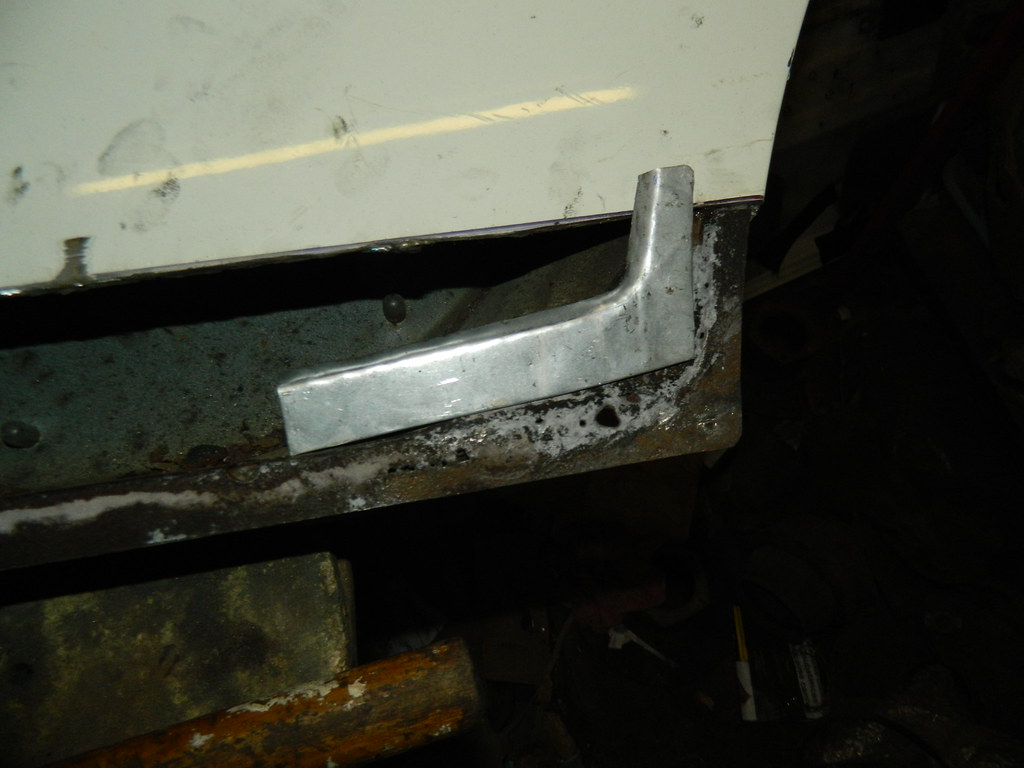 WXC446K WXC446K by Penguin 45, on Flickr Stepped panel for the rear corner. 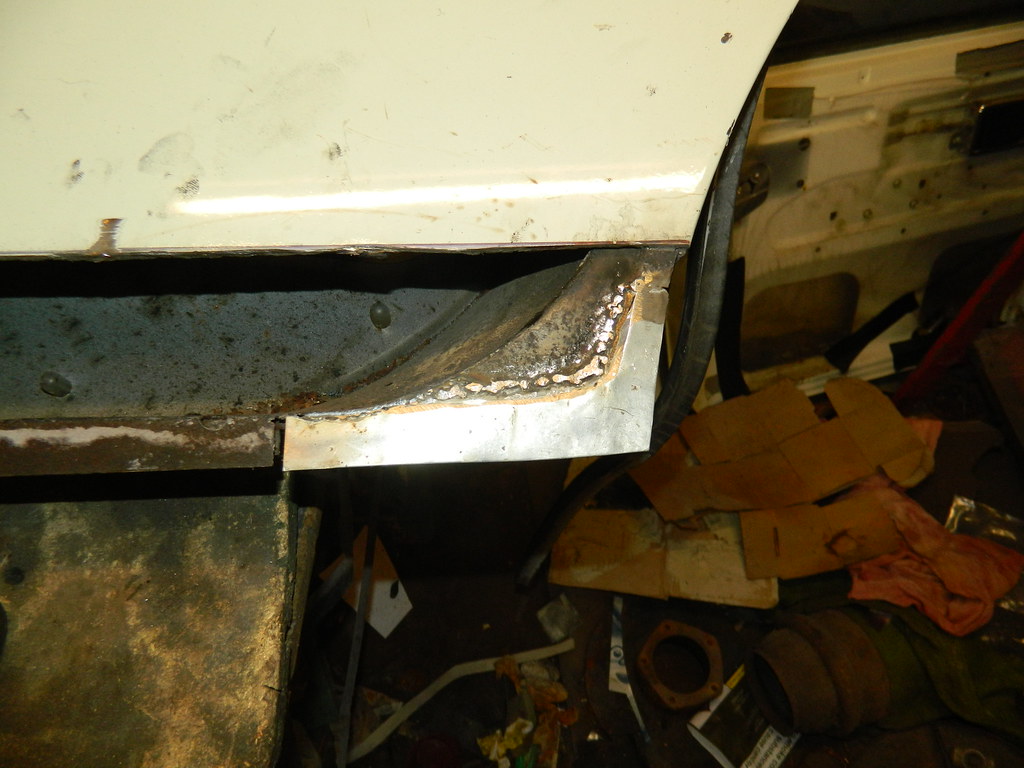 WXC446K WXC446K by Penguin 45, on Flickr And home> Had a first flat; needs some more. Chris. |
|
|
|
Post by Penguin45 on Jul 15, 2018 14:49:45 GMT
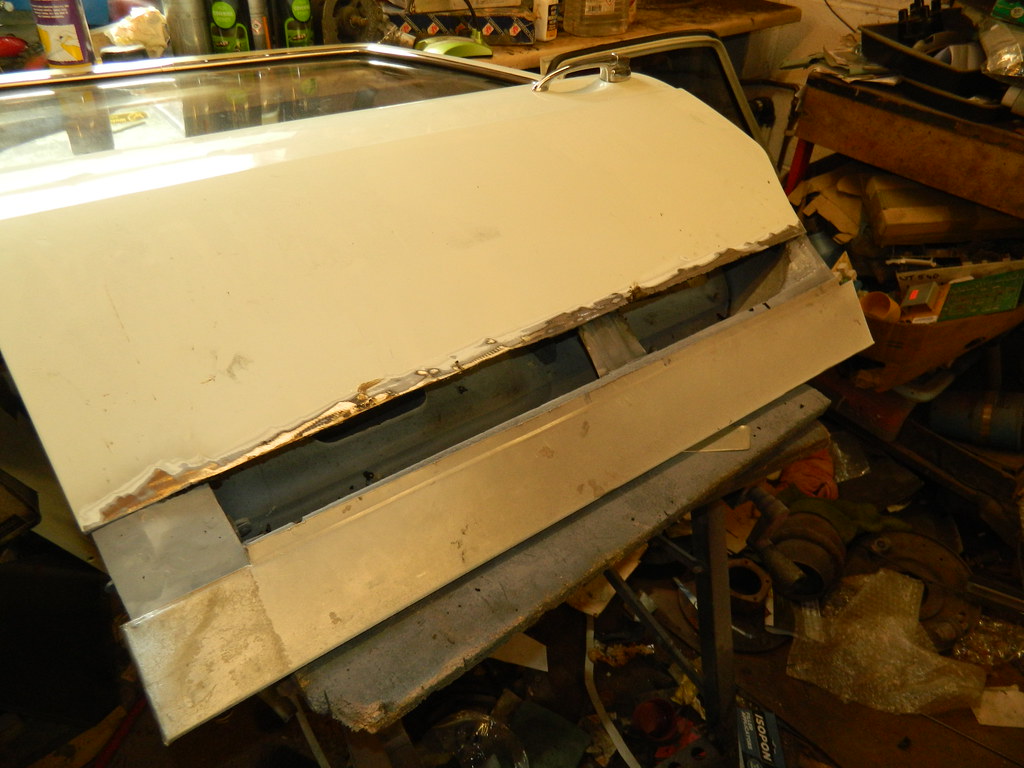 WXC446K WXC446K by Penguin 45, on Flickr Repair panel trimmed for length and flanges at the end folded. 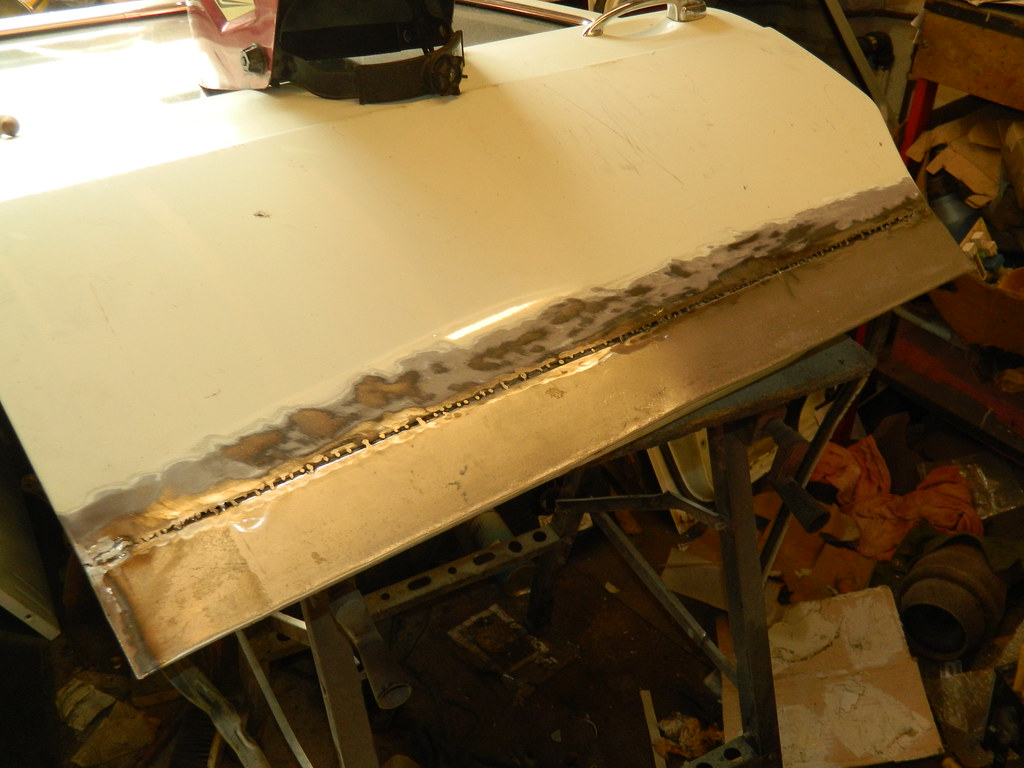 WXC446K WXC446K by Penguin 45, on Flickr Going on. Join the tacks welding to keep the heat out of the panel. 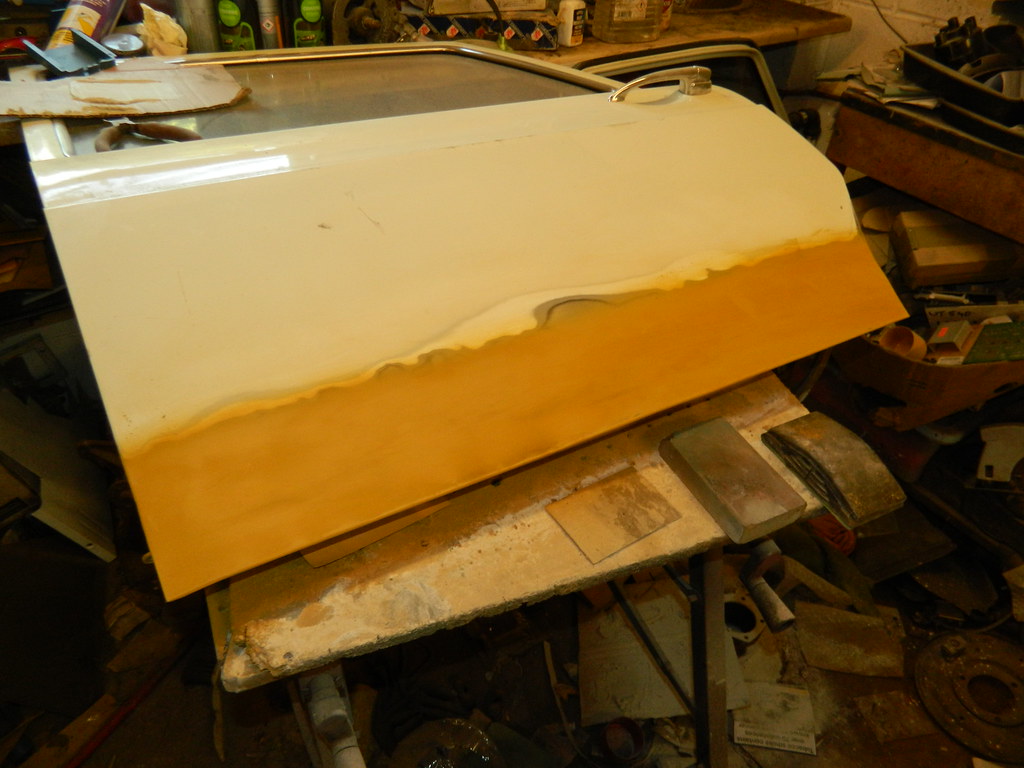 WXC446K WXC446K by Penguin 45, on Flickr Skim of filler, then high build primer. 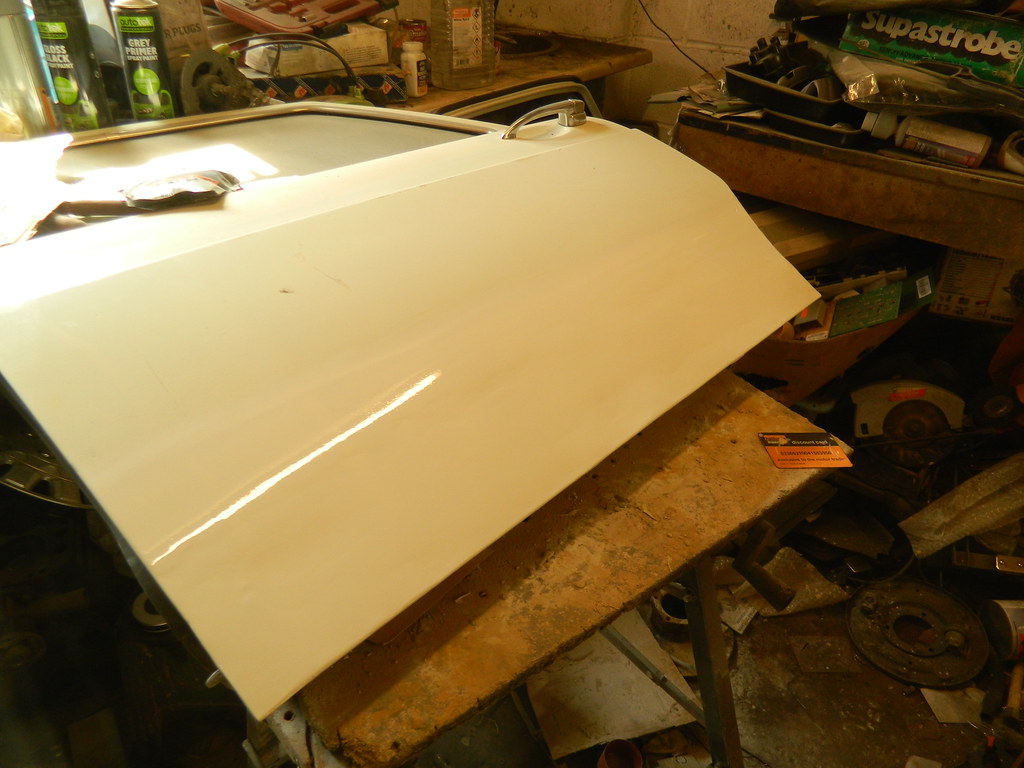 WXC446K WXC446K by Penguin 45, on Flickr Flatted, white primer, then two coats of white top coat. Chris. |
|
|
|
Post by peppib on Jul 16, 2018 6:46:30 GMT
Yet more great welding wizzardry
|
|
|
|
Post by Penguin45 on Jul 22, 2018 19:00:50 GMT
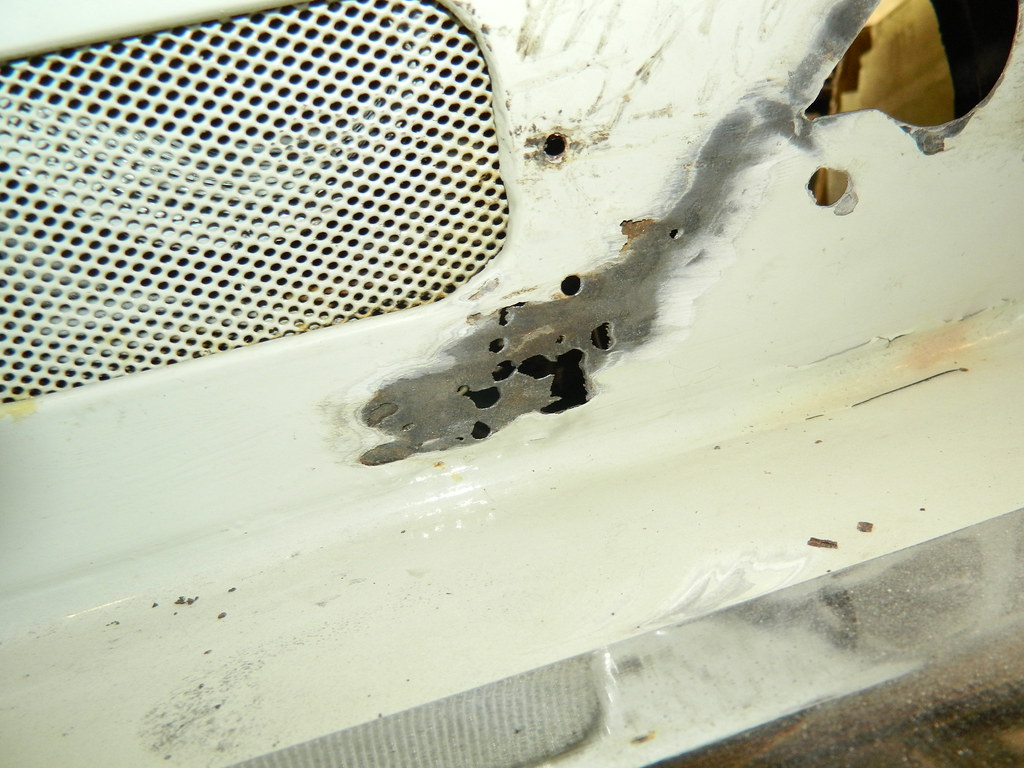
Patience, Dave, it's all patience. 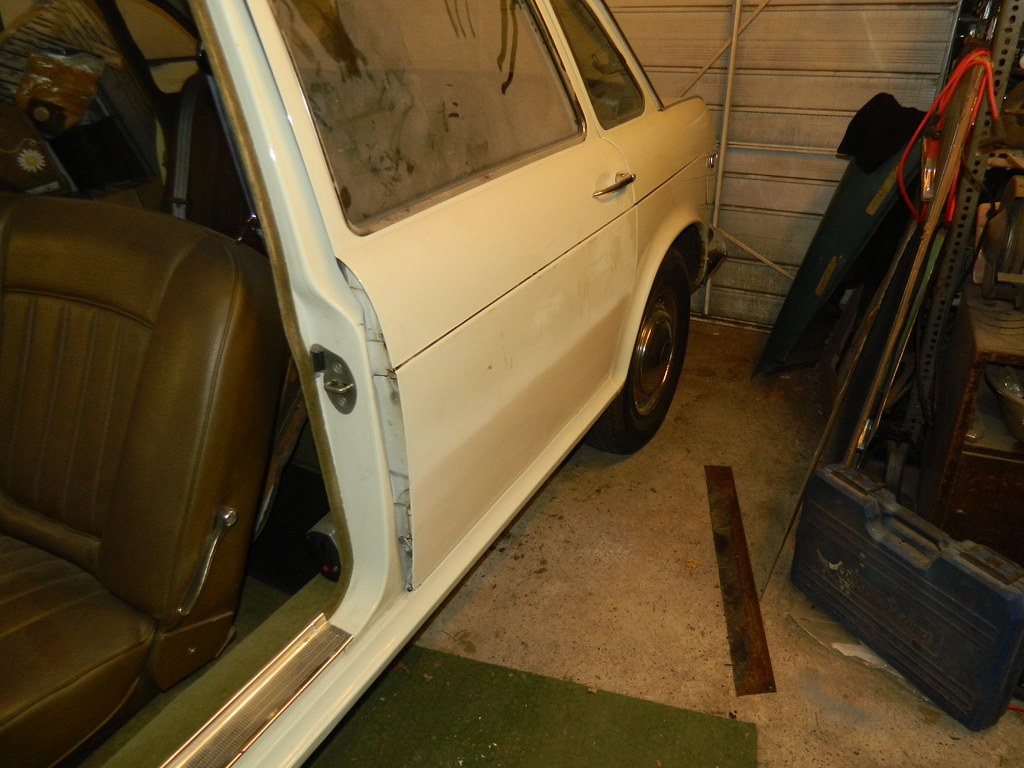 WXC446K WXC446K by Penguin 45, on Flickr Anyway, first one is back on the car, so onto the next. 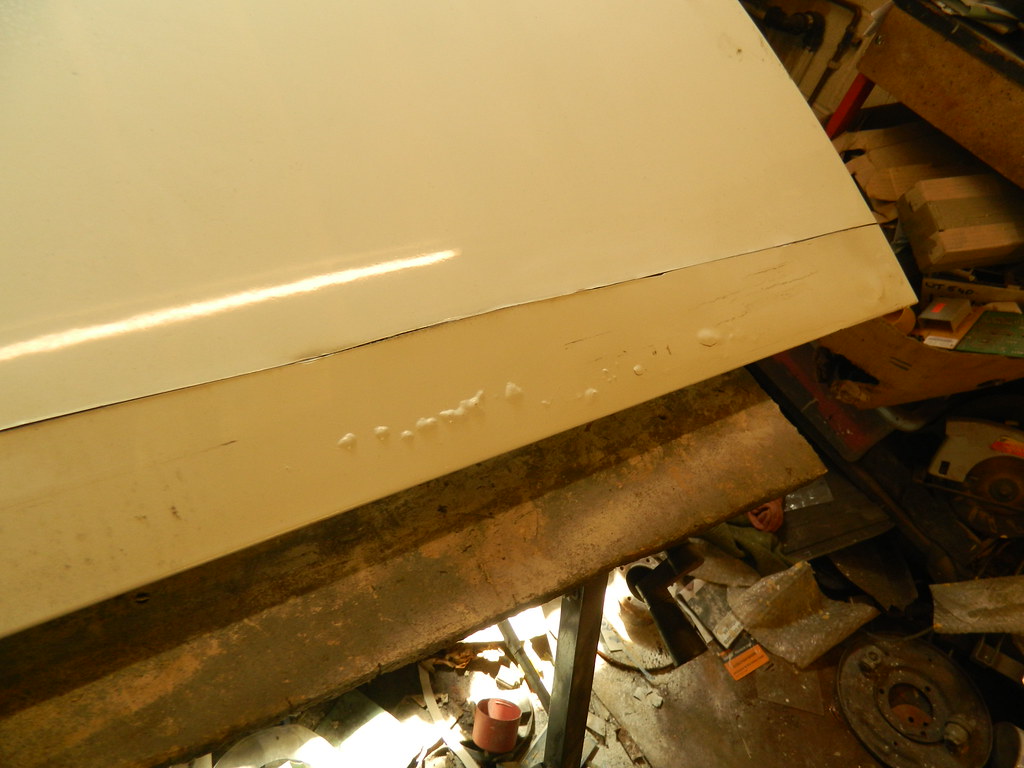 WXC446K WXC446K by Penguin 45, on Flickr Large bubbles. Panel split 3" up, edges to be buzzed off with the angle grinder, revealing: 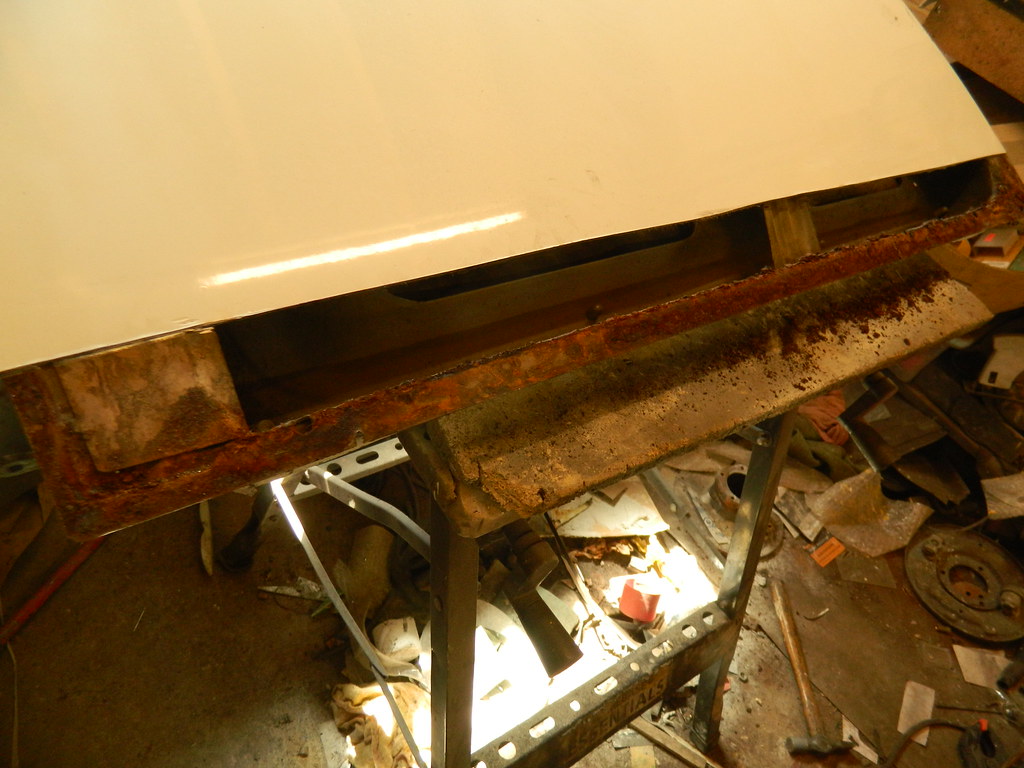 WXC446K WXC446K by Penguin 45, on Flickr 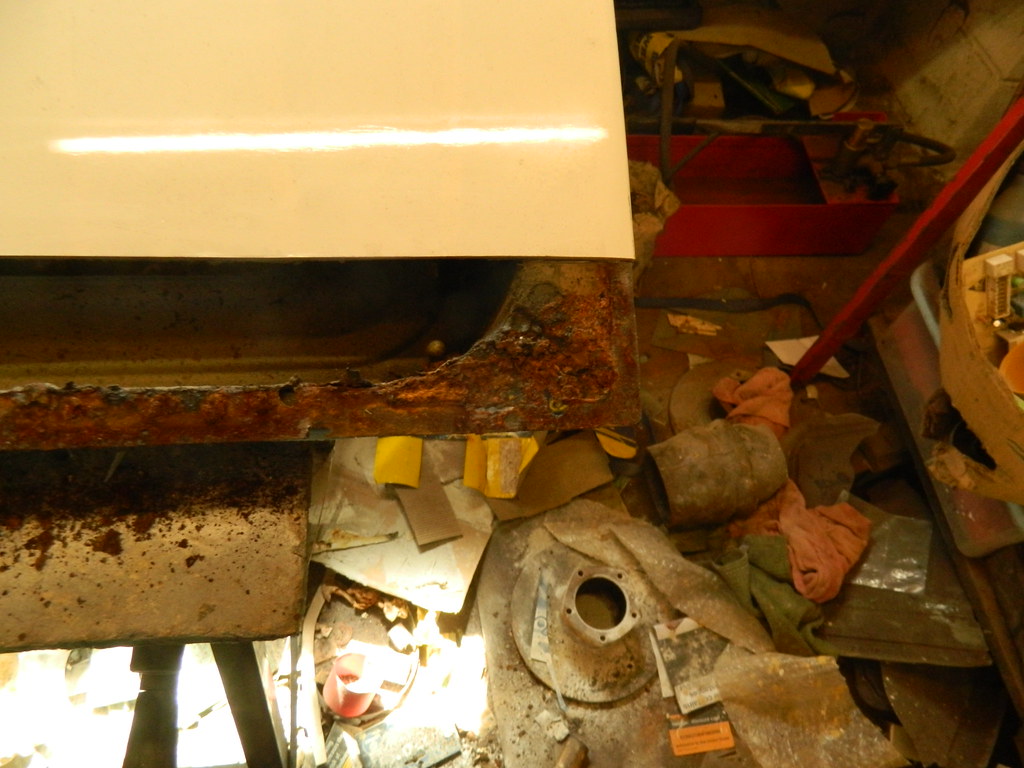 WXC446K WXC446K by Penguin 45, on Flickr Surface rust along the bottom flange and a rotten corner. 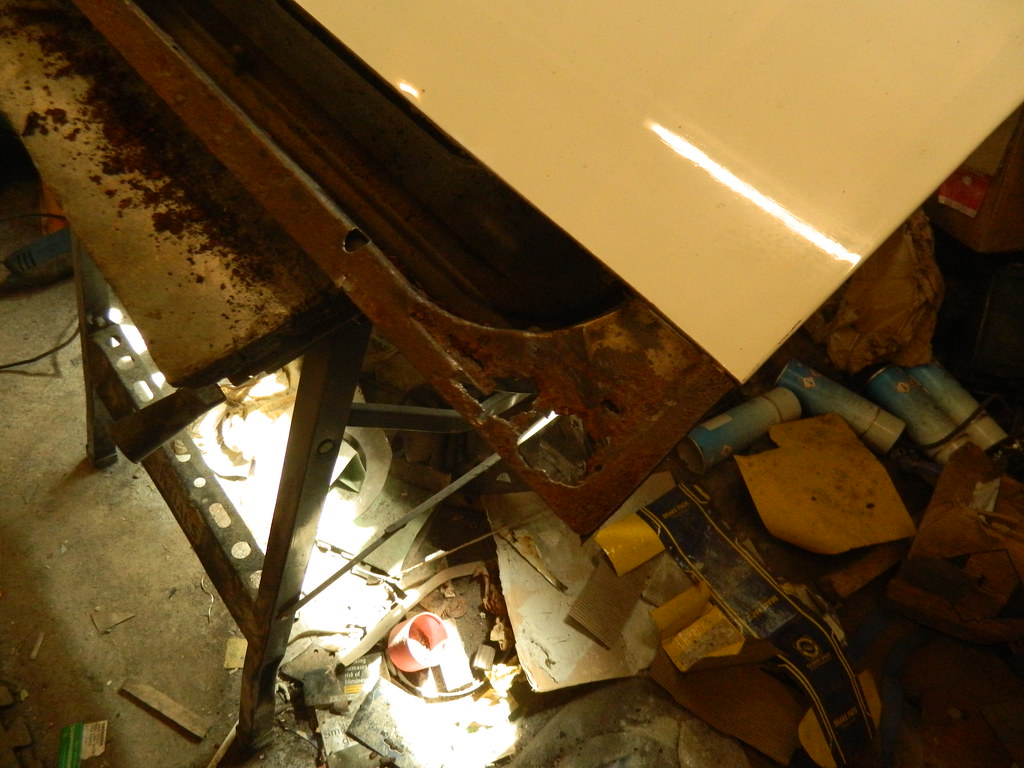 WXC446K WXC446K by Penguin 45, on Flickr Told you it was rotten!  WXC446K WXC446K by Penguin 45, on Flickr Cut away, new stepped panel bent up and welded. Rest of the bottom derusted and treated, whole area shot over with primer before: 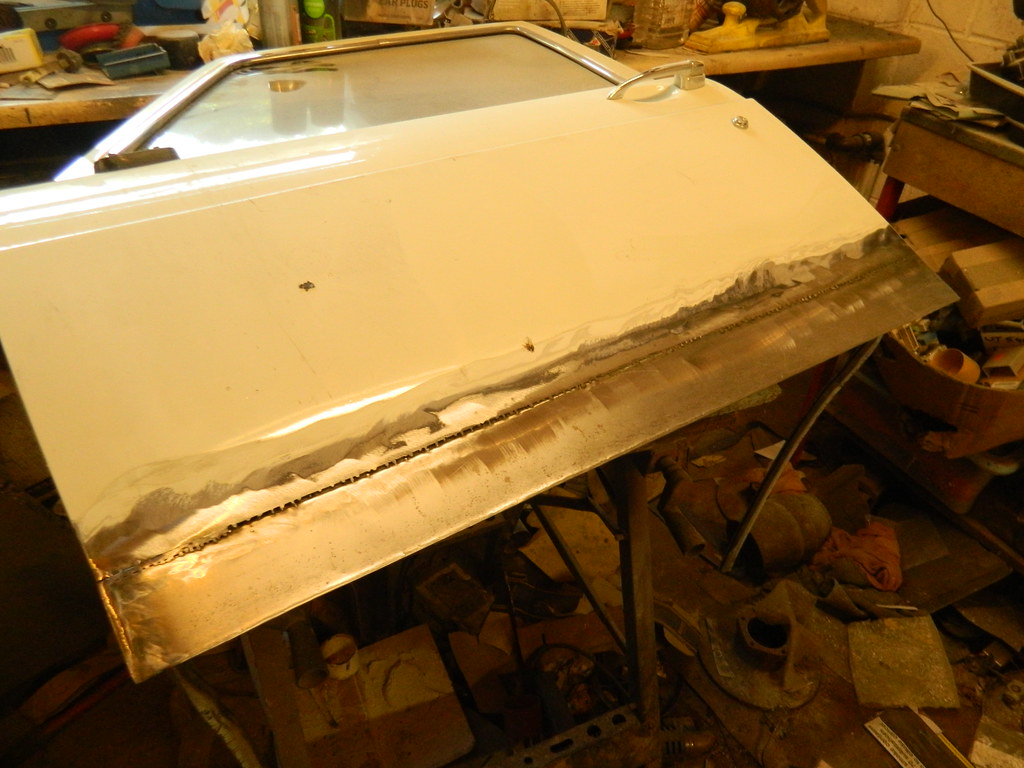 WXC446K WXC446K by Penguin 45, on Flickr Repair panel welded home and edges beaten over. Skim of filler next to tidy everything up. Chris. |
|



 Not sure about artist. I do have almost unlimited patience, though.


