|
|
Post by Penguin45 on Aug 31, 2019 15:16:53 GMT
Mysterious happenings..... One side of the bonnet has been secured to the hinge by only one bolt, due to the stump of a broken bolt in the fitting plate. This makes the bonnet rather floppy with a risk of it chipping the paint. So, plan - cut an access hole, tease out the fixing plate, drill out the broken bolt ad re-tap the thread. Simples, yes?  Bonnet mounting Bonnet mounting by Penguin 45, on Flickr Mark it out.  Bonnet mounting Bonnet mounting by Penguin 45, on Flickr Cut it out. Nut panel won't move. Spot weld?  Bonnet mounting Bonnet mounting by Penguin 45, on Flickr To the right of the slot, you can see four spot welds, which means that the nut plate is actually an "L" section attached to the inner bonnet skin. This exercise is about creating access, so the nut panel was simply bent over to creat an angle to allow me to try amd drill the hole by hand. Set it all up, lined everything up and the broken bolt has disappeared! What? it was there when I started. Anyway, put the drill away, re-tapped the two mounting holes and bent the panel back up into position.  Bonnet mounting Bonnet mounting by Penguin 45, on Flickr Welded up the hole and flatted it.  Bonnet mounting Bonnet mounting by Penguin 45, on Flickr Wipe of filler and blown over. Now back on the car with nice new set screws and washers. Wobbly-ness gone. I am completey mystified by where the broken bit of bolt went. I know it was there, because it was me that broke it. Chris. |
|
|
|
Post by Penguin45 on Aug 31, 2019 11:56:28 GMT
Yes. Doubtless Toyota actually designed that in.  Chris. |
|
|
|
Post by Penguin45 on Aug 31, 2019 11:54:25 GMT
If you are lucky, you may just have a burst hose. Each displacer has a short hose coming coming out of it. These join a connecting pipe front to rear. This was originally a steel pipe, but many have been replaced with a hydraulic hose. Repaired displacers and replacement connecting hoses can be obtained from Tony Wood on spareathought@landcrab.net. Have a look in the SUSPENSION 101 section for a thorough outline of the suspension system and HERE for how to replace your own displacer pipes. Chris. |
|
|
|
Post by Penguin45 on Aug 28, 2019 18:37:16 GMT
I think I understood some of that. And that's just a "basic economy car".
Chris.
|
|
|
|
Post by Penguin45 on Aug 27, 2019 18:53:22 GMT
Two reasons. The door weather seals don't work and the drain holes along the underside of the door get blocked. Door retains water, door rots out.
As Snoopy eloquently described it, chopping off the bottom 3" of the door skin, repairing the bottom section and fitting a new skin section is the only proper way of dealing with it. Then, clear the drain holes and after the doors have been painted, shoot in lots and lots of cavity wax.
Chris.
|
|
|
|
Post by Penguin45 on Aug 27, 2019 18:44:45 GMT
|
|
|
|
Post by Penguin45 on Aug 27, 2019 14:24:17 GMT
|
|
|
|
Post by Penguin45 on Aug 27, 2019 10:53:47 GMT
Speedo cable.... Remarkable how far you can lift an entire car with a speedo cable.....
I would suspect that the 8 nuts are four on each side to release the inner drive shaft from the outer section. Automatics originally came with the Hardy Spicer universal joint type shaft, so removing the nuts and bolts will simply allow the flat flanges to separate. The outer shafts have sliding joints, so can be levered away from the hairy rubber spider if later type shafts have been fitted.
Chris.
|
|
|
|
Post by Penguin45 on Aug 26, 2019 14:50:14 GMT
The other culprit could be the 3AW Ignition warning Light Relay. These suffer from heat oxidization on the thermal switch inside the unit and bad electrical contact as a result. Clean all the terminals of the 3AW and substitute a known good one to see if the fault goes away. C. |
|
|
|
Post by Penguin45 on Aug 25, 2019 19:16:32 GMT
Rather tired looking 18/85 for sale in Shrewsbury - EBAY. 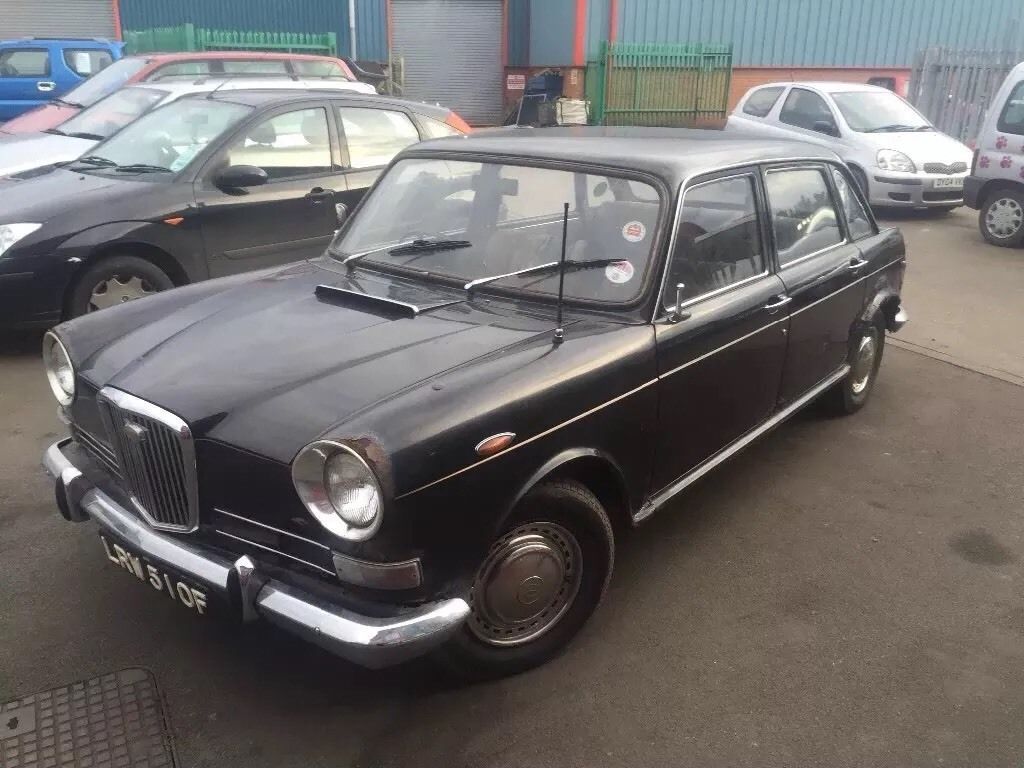 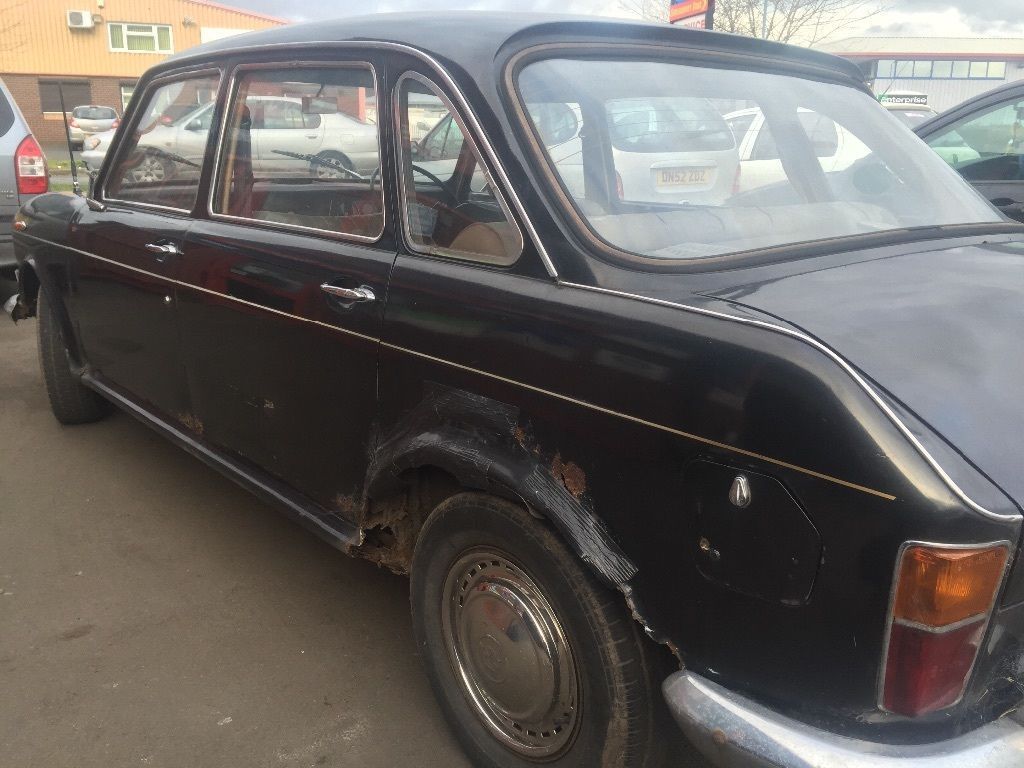 Plenty of work there for someone. Chris. I think the one above is this one, Thought we'd seen it before. That's spme deterioration. Chris. |
|
|
|
Post by Penguin45 on Aug 25, 2019 18:47:39 GMT
|
|
|
|
Post by Penguin45 on Aug 25, 2019 17:10:11 GMT
Got stuck into this today. So much so that I didn't take many pics. Got rather carried away with the welding and flatting.  IMG_7349 IMG_7349 by Penguin 45, on Flickr Here's the inside view of the repair.  IMG_7350 IMG_7350 by Penguin 45, on Flickr Part way through flatting and primer.  IMG_7351 IMG_7351 by Penguin 45, on Flickr And blown over. I'll try buffing it up a bit tomorrow. Chris. |
|
|
|
Post by Penguin45 on Aug 24, 2019 18:51:37 GMT
Bank holiday weekend. What could be finer than to knock out the dent I put in the rear wheel arch a month or so back? It'll be a joy - get my own car in my own (very tidy) garage, couple of hours with a hammer and dolly, skim of filler, lick of paint - perfect.  VOF707J VOF707J by Penguin 45, on Flickr Quick whizz over with the wire wheel.  VOF707J VOF707J by Penguin 45, on Flickr Yes, it's all gone wrong. Annoying really, that's where a section of Austin Maxi was grafted into the corner first time round. Anyway, it can't stay like that.  VOF707J VOF707J by Penguin 45, on Flickr A short time later.  VOF707J VOF707J by Penguin 45, on Flickr And a little later still. That needs fettling to fit properly, so welding tomorrow, methinks.  VOF707J VOF707J by Penguin 45, on Flickr State of garage: Moderate Mess.* More tomorrow. Chris. *Because Snoopy is watching....... |
|
|
|
Post by Penguin45 on Aug 23, 2019 12:16:14 GMT
not sure how to post photos but will keep trying Hi Tiny, welcome aboard. Easiest way to get photos up is through a hosting site. I use Flickr, there are others to choose from. We have very little "on-site" storage for up loading through the forum. Chris. |
|
|
|
Post by Penguin45 on Aug 18, 2019 12:10:17 GMT
Sad news.
C.
|
|


