|
|
Post by dave1800 on Jan 24, 2014 1:17:01 GMT
That is really impressive Chris, well done. But as pointed out on the Practical Classics forum you need to get a better paint match  David Whew. I'd rather not do that again for a while! Chris. |
|
|
|
Post by Penguin45 on Jan 24, 2014 20:57:45 GMT
Ha! - our Alex came out to the garage earlier with a mug of tea. He reckons I should just paint the weld black and leave it as it is. Haven't done a lot today. 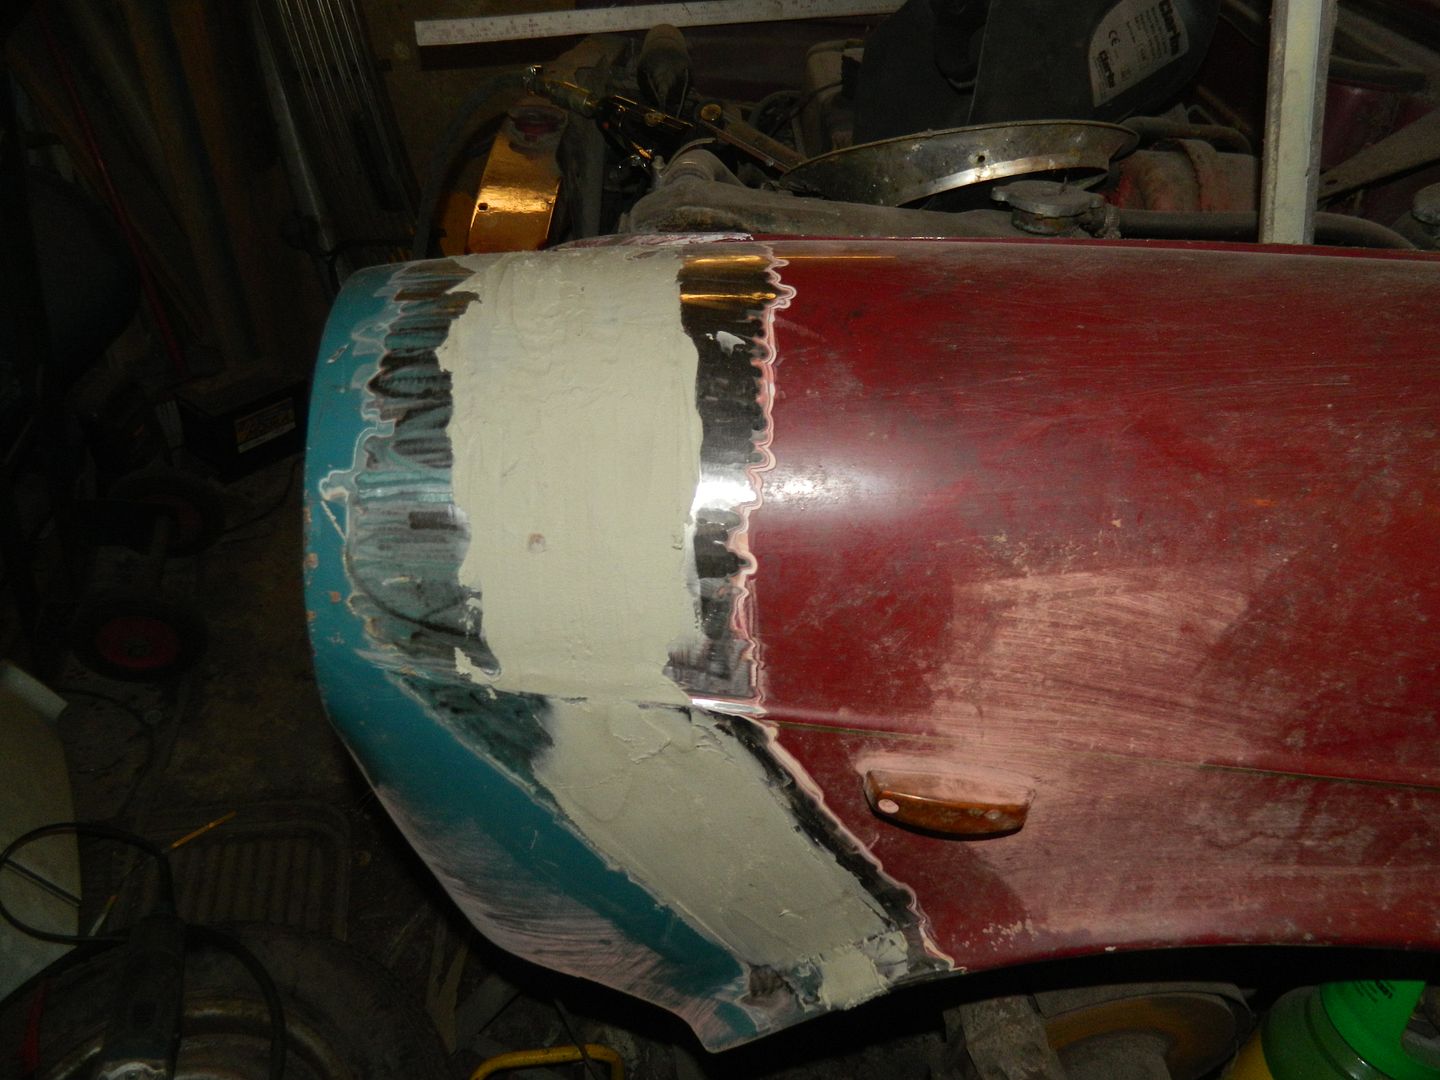 Started the filler thing over the weld on the wing. 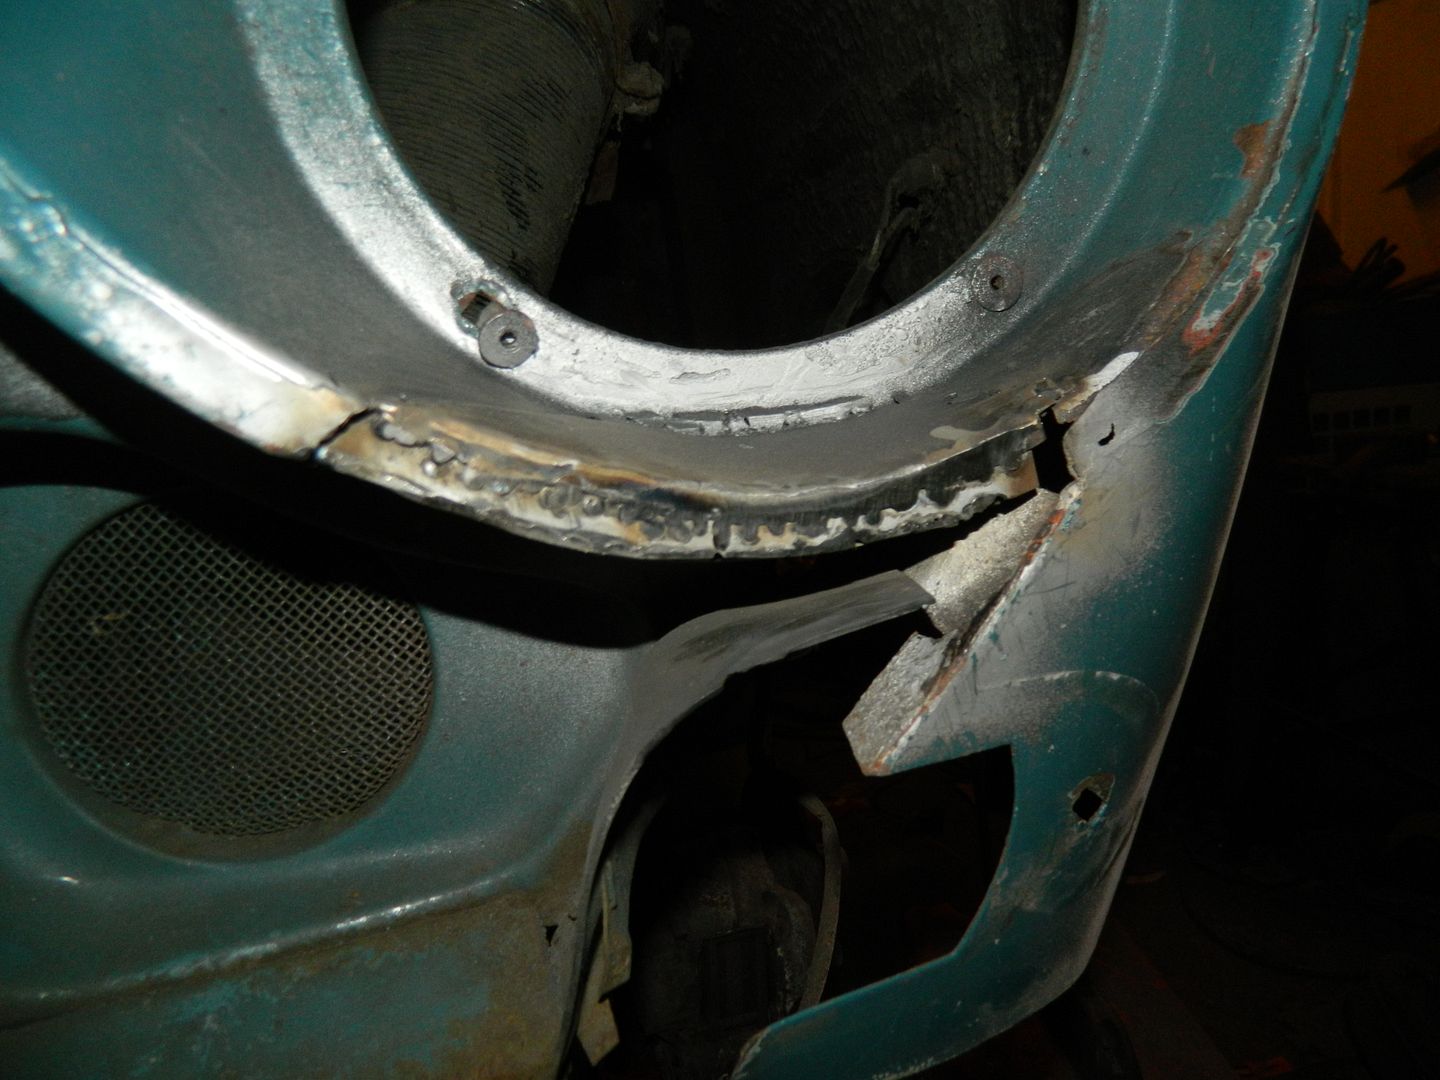 Made the little closing piece for the panel under the headlight opening. I've started marking out the new front panel but I've run out of steam. Chris. |
|
|
|
Post by dave1800 on Jan 25, 2014 1:53:37 GMT
It's good to see you have inspired Paul among others. Very impressive. Just a quick question, where you joined the wing sections together did you make a stepped joint and if so how? I am amazed at how accurate it is and I imagine others will be too. regards David Ha! - our Alex came out to the garage earlier with a mug of tea. He reckons I should just paint the weld black and leave it as it is. Haven't done a lot today.  Chris. |
|
|
|
Post by Penguin45 on Jan 25, 2014 18:41:24 GMT
Just a quick question, where you joined the wing sections together did you make a stepped joint and if so how? I am amazed at how accurate it is and I imagine others will be too. Over the top of the wing and down to the wheel arch is a butt weld, so the panels had to match to within about a millimetre. Down the front panel I had to insert a strip of metal as the gap varied between 5 and 10mm. That got lap welded down both edges. It's not going anywhere, that's for sure. 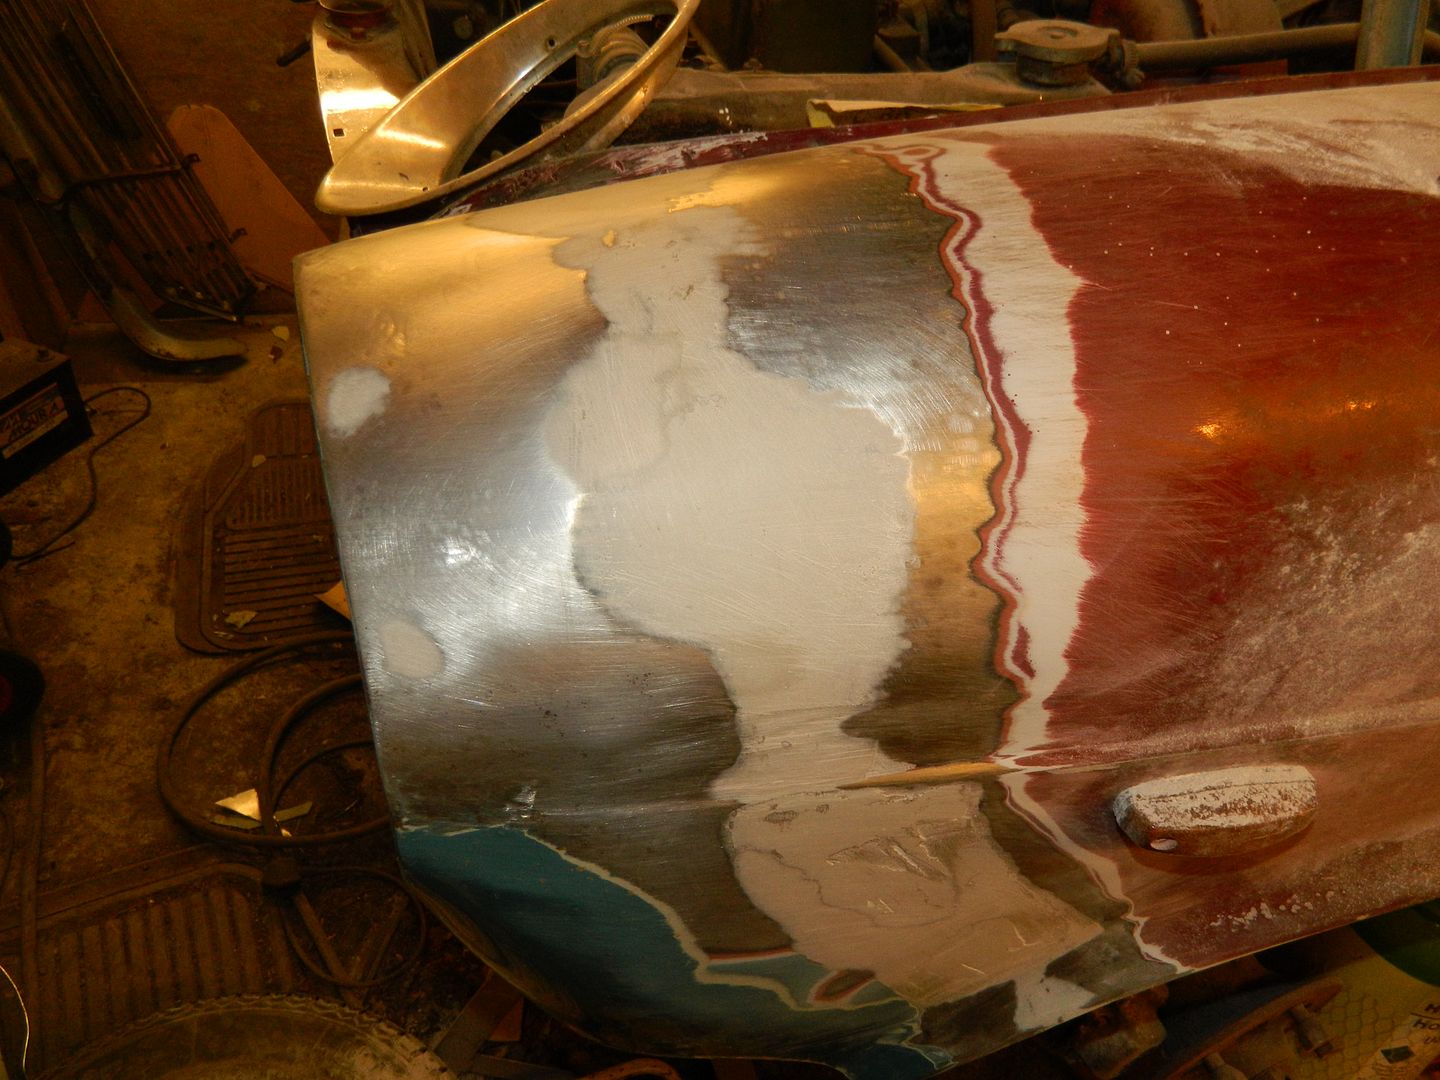 Spent ages flatting back the top of the wing - it's as smooth as a baby's bottom now. Side of the wing is needing more work, but I ran out of stamina. 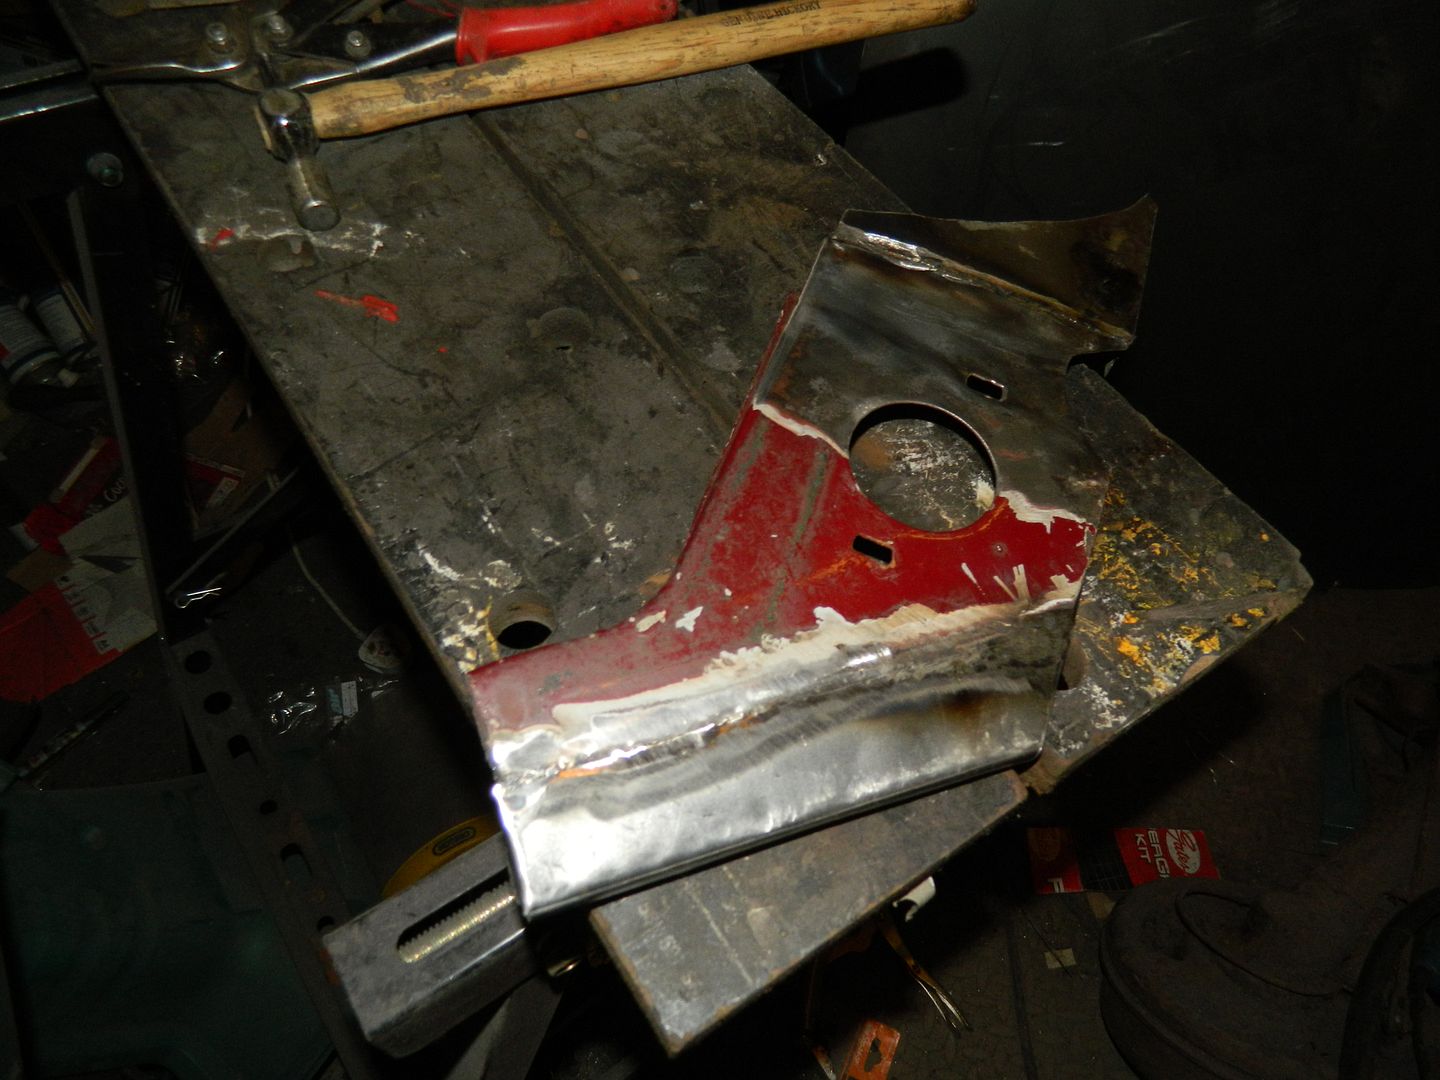 Chopped the rust out of the frontispiece and welded in new metal, as well as re-instating the brackets. I'll see about making the insert for the bottom of the wing and perhaps see about some assembly tomorrow. Chris. |
|
|
|
Post by Penguin45 on Jan 26, 2014 16:40:34 GMT
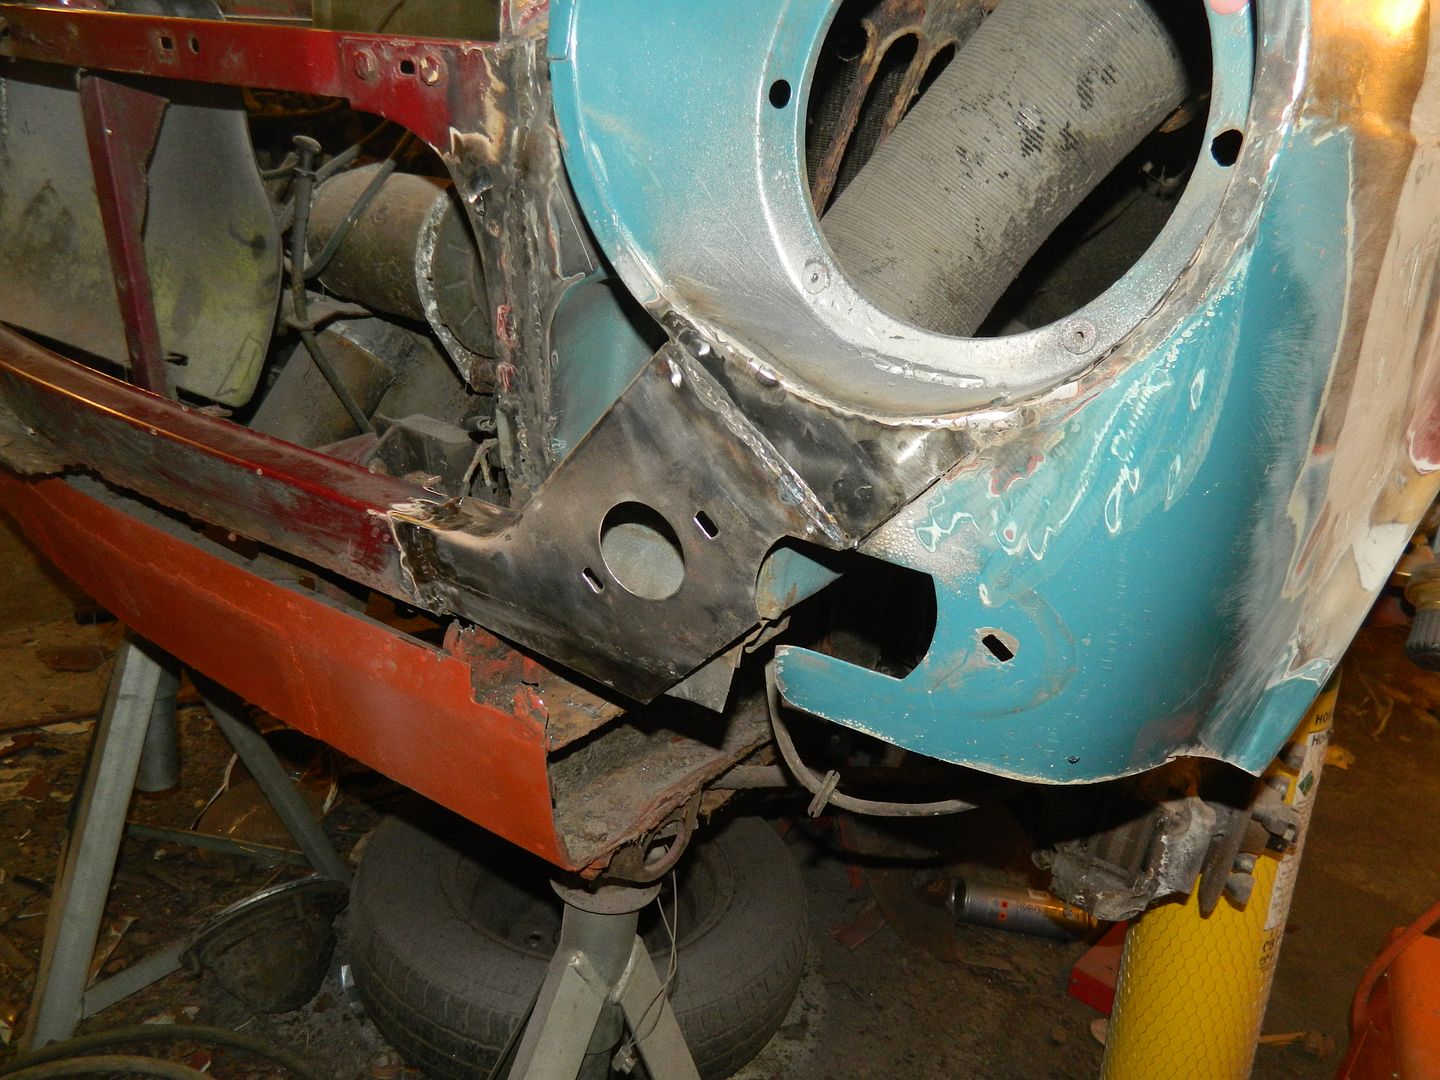 Creeping forward...... Chris. |
|
|
|
Post by Penguin45 on Feb 1, 2014 22:21:03 GMT
Getting sick of the sight of this wing......!  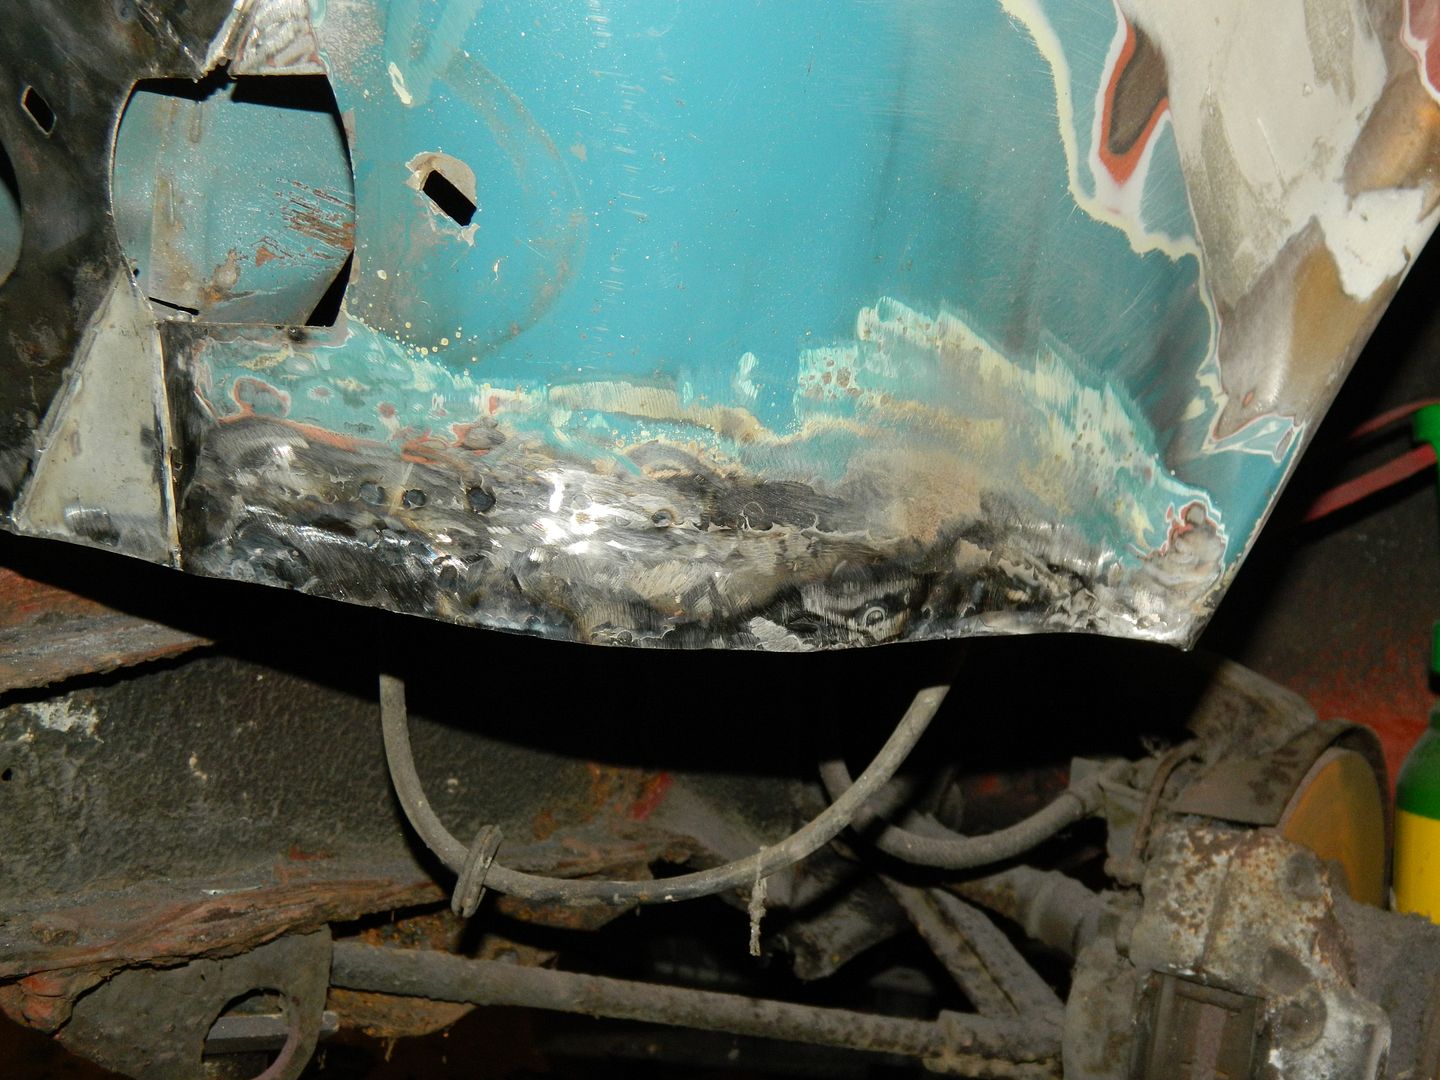 I've made the closing piece under the sidelight, and run in a long strip of metal across the bottom back to the arch to get the wing back to its proper shape. 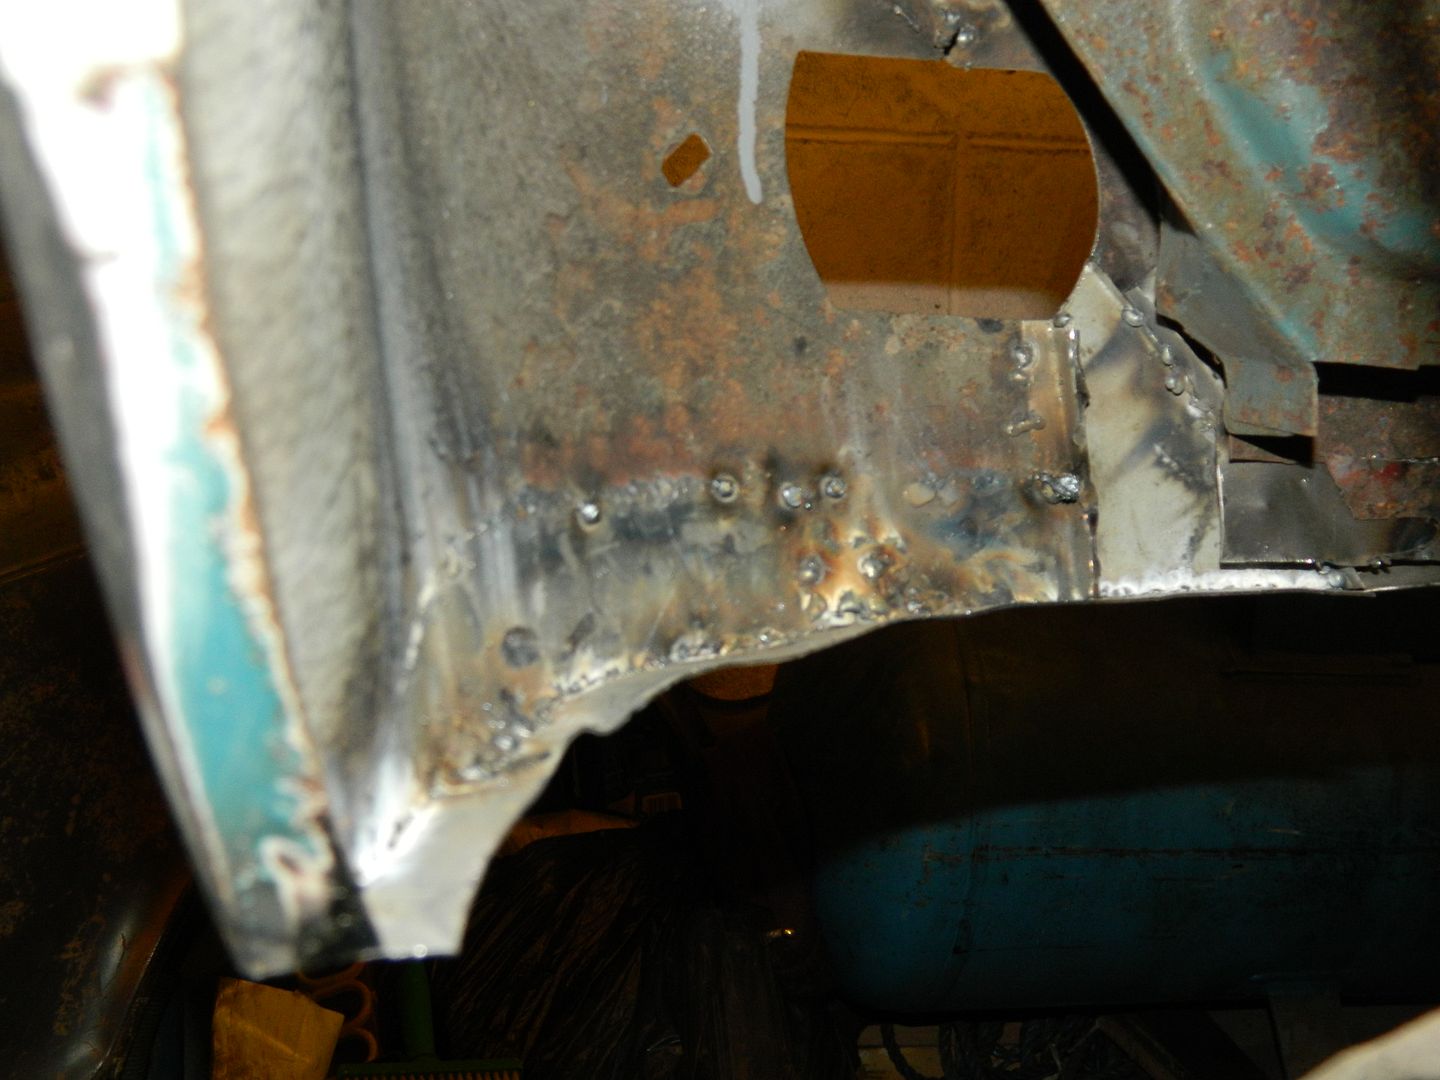 Gusset round the inside for shape, strength and something to weld to. So, having mentioned that there might be a cunning plan for the front valance, it was time to see if it could be made to work. Metal valance is £100. Fibreglass valance is £80. A rear valance panel for a Mini from Minispares.com is £12. I imagine at this point you can see where we're heading  . 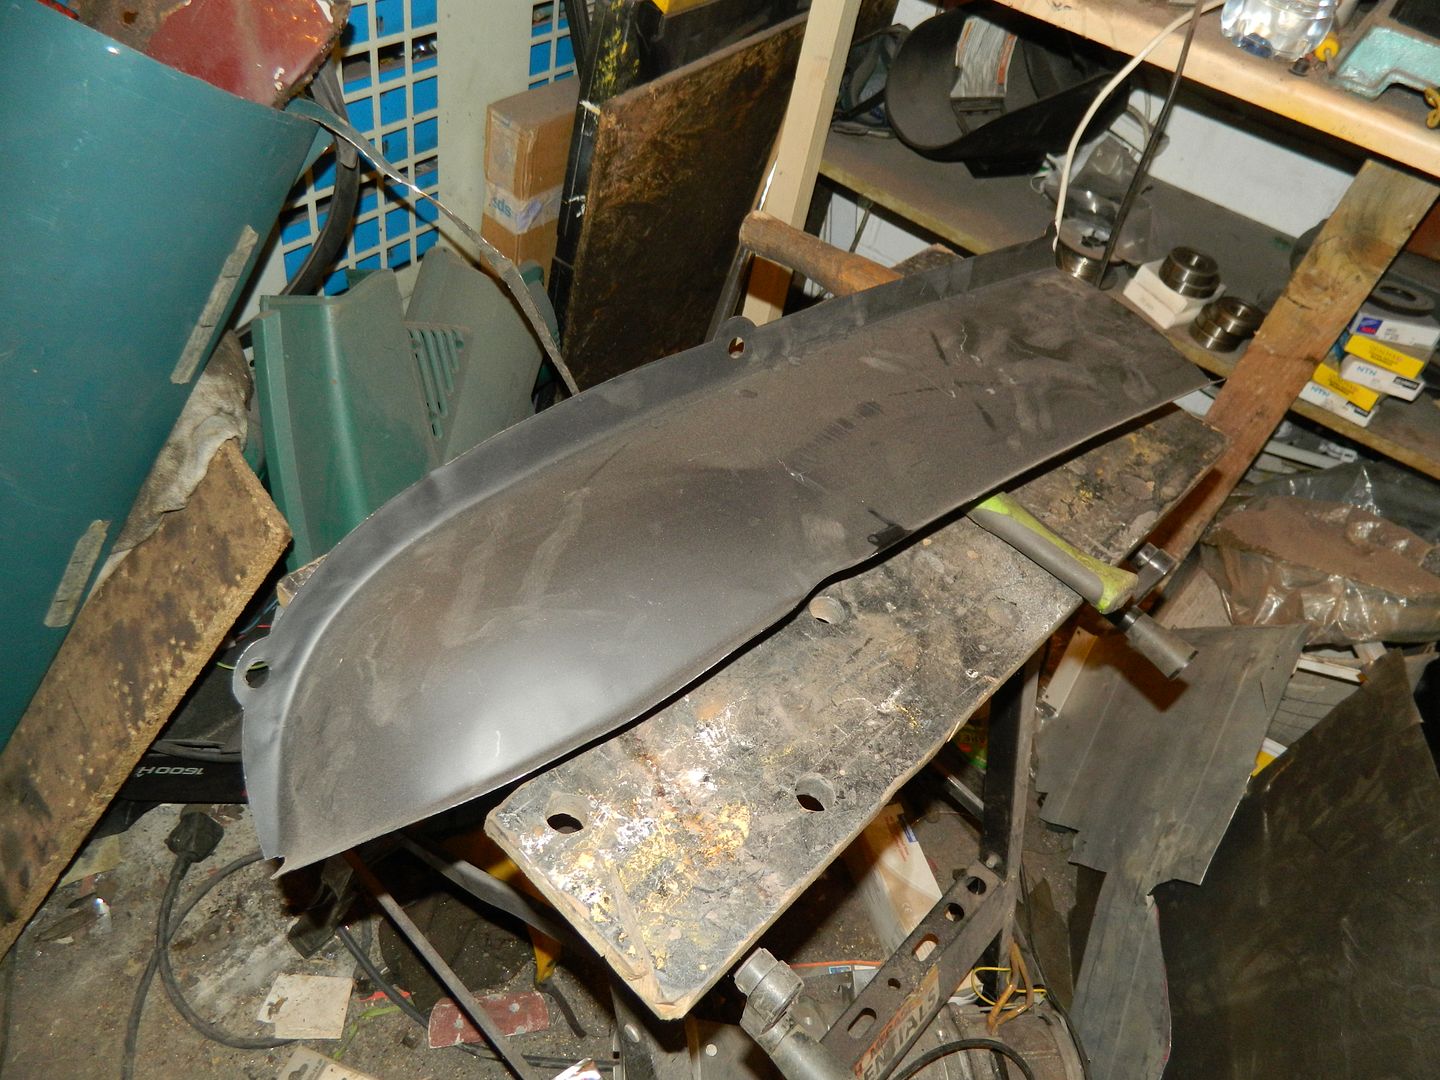 Depth is good, but far too short, so cut in half. 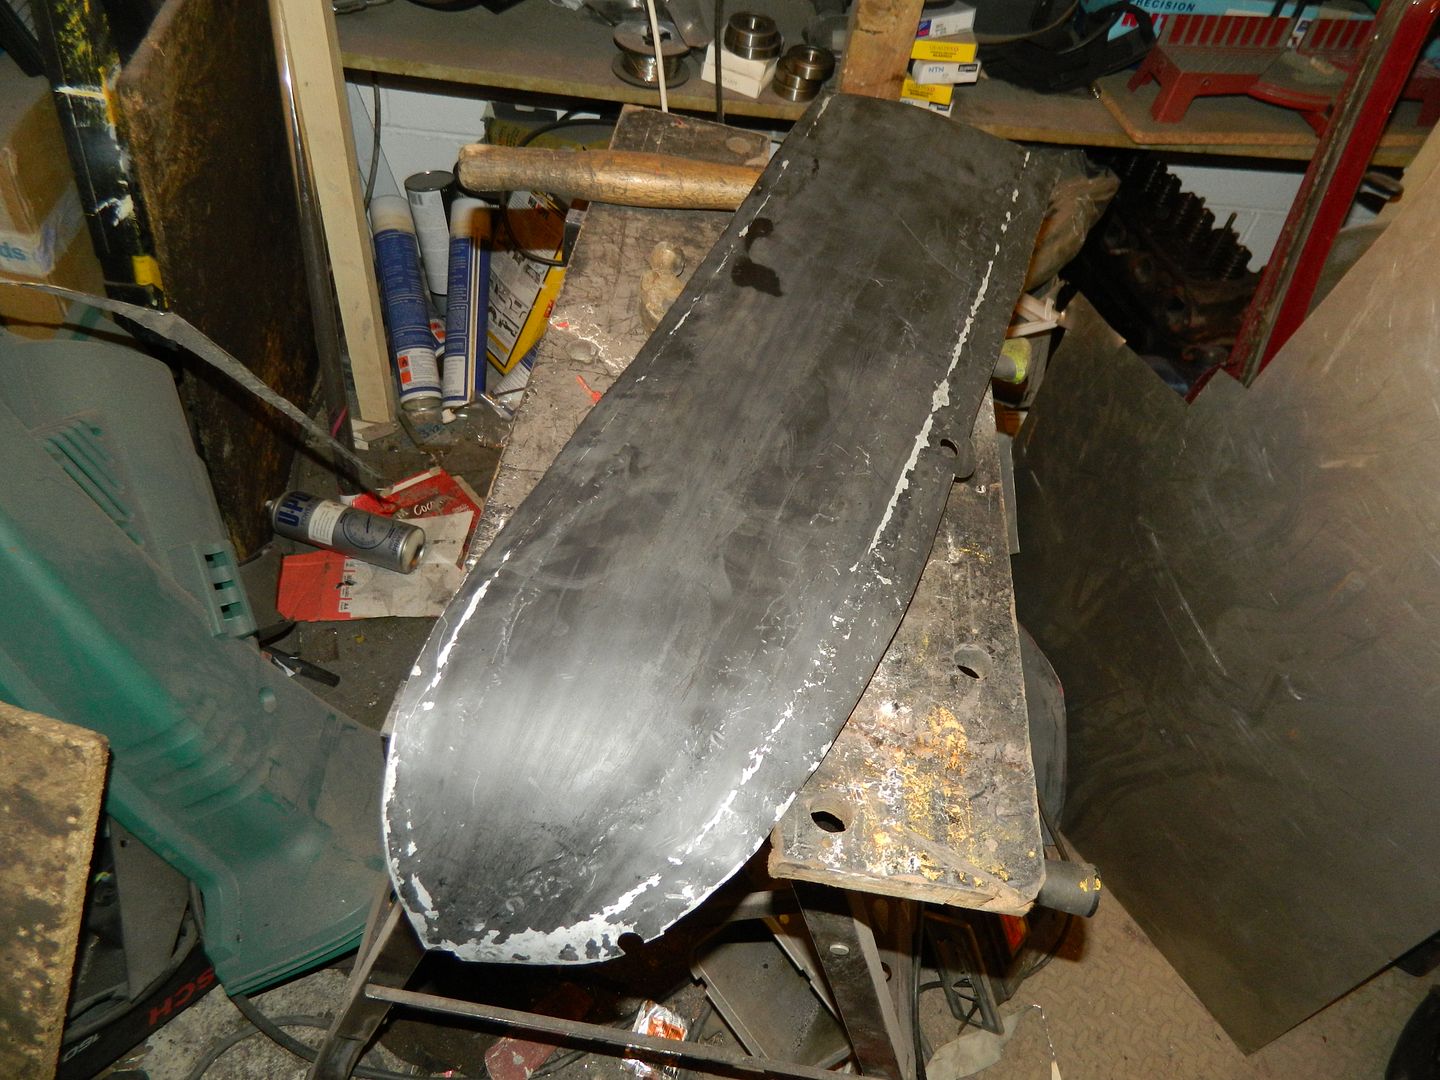 Knock the flanges back flat.  Weld on gusset to match bottom of wing and turn bottom edge back under. 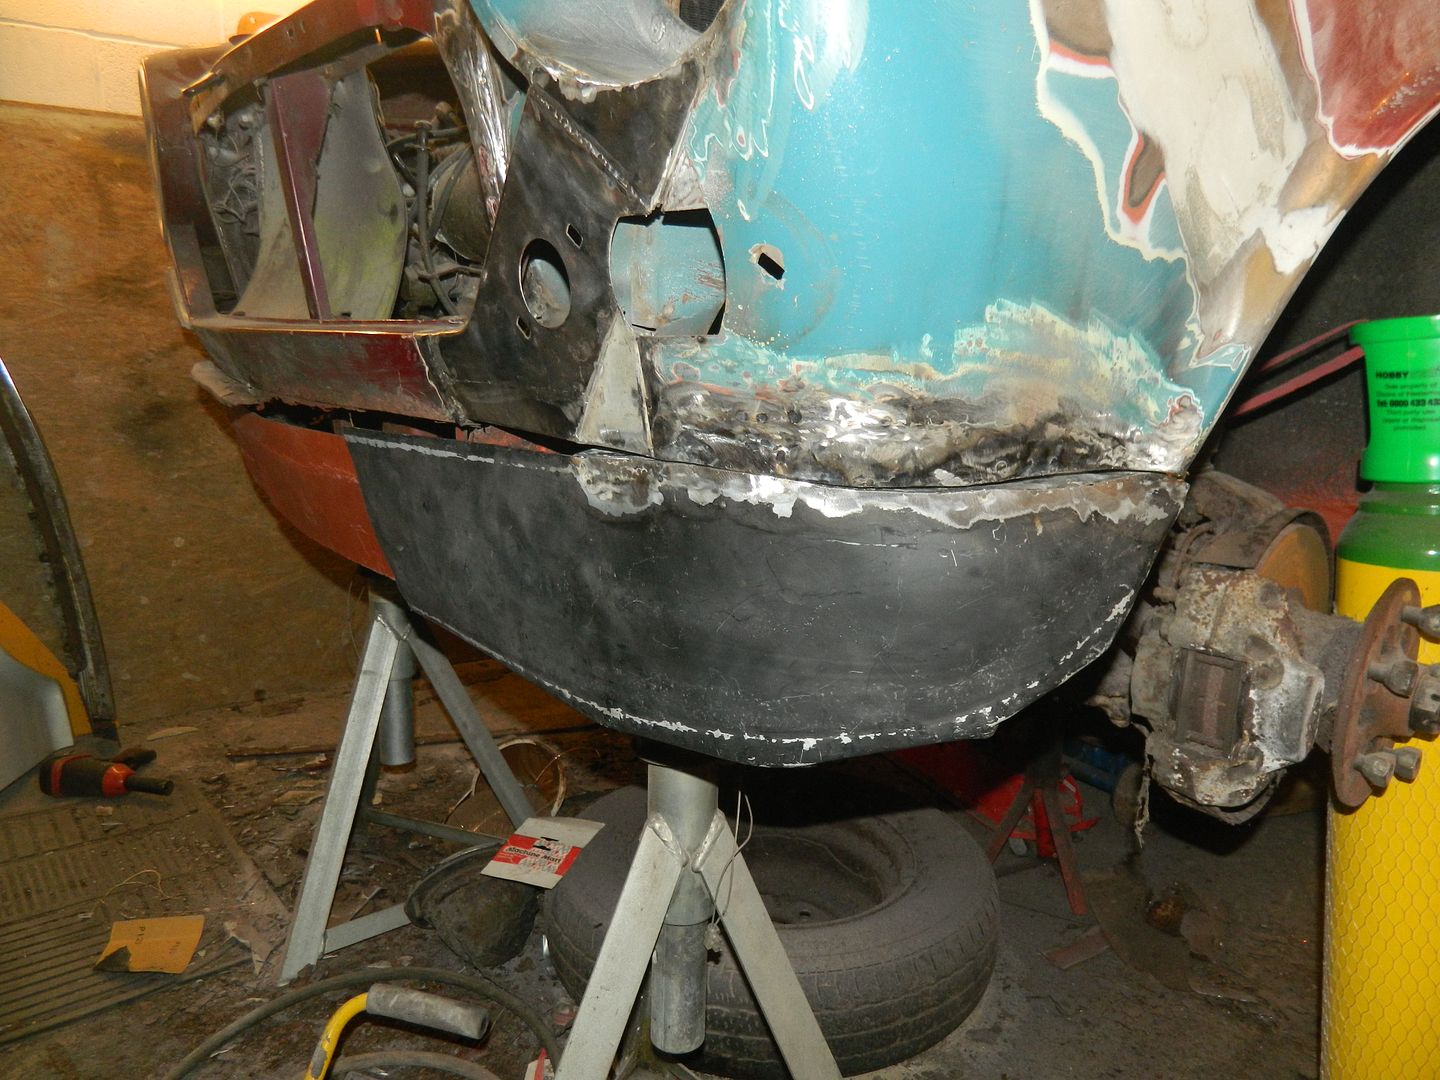 And that'll go like that. 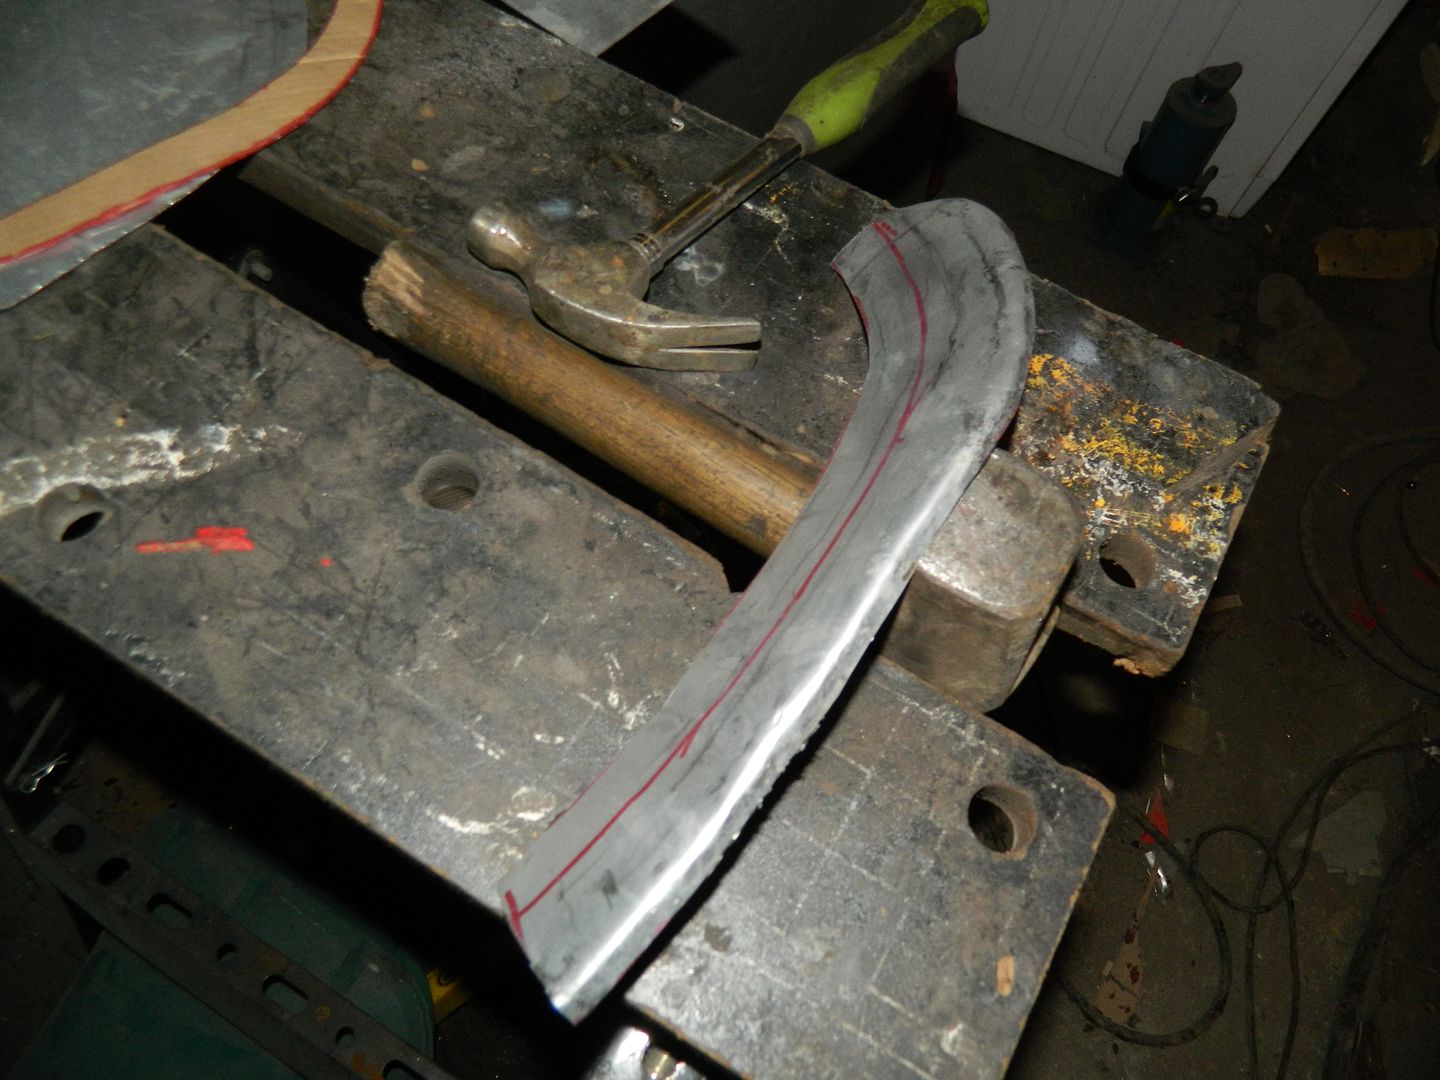 Part of shelf section made. Basic tools required - hammer and dolly to roll the edge over. 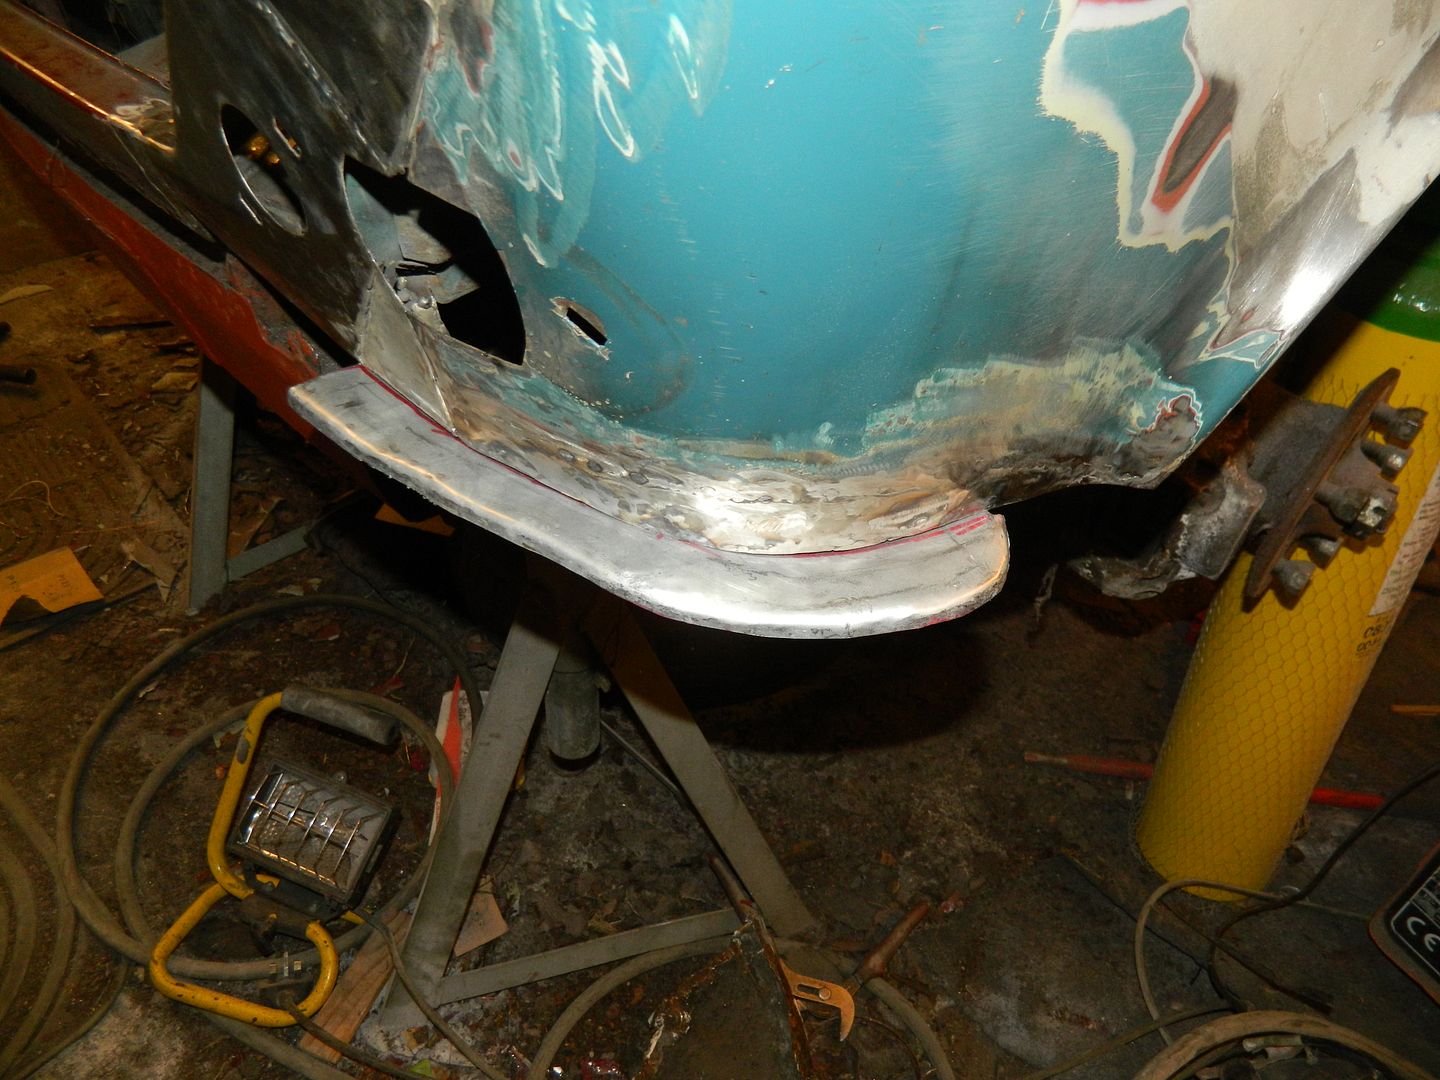 That'll go there. 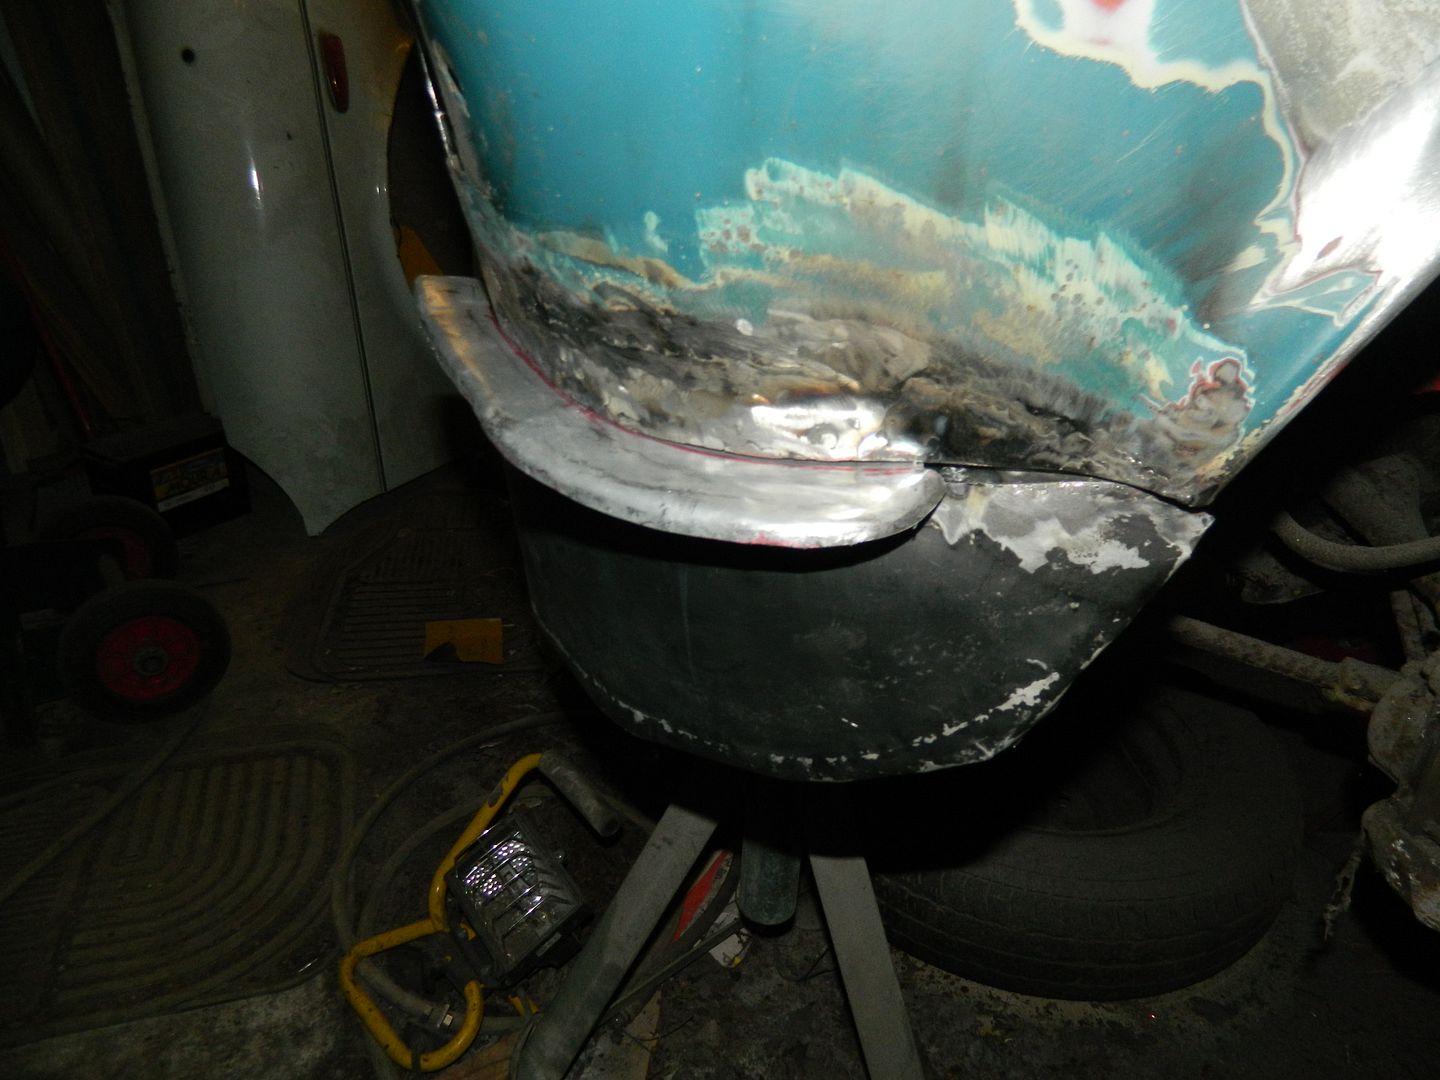 And it should all finish up looking like that. Lots of plug welding to be done, also need to make a shelf section to go to the centre of the front panel. Repeat for the other side, then make a section to fill the centre of the valance. I suspect that I'm going to run out of welding gas tomorrow, so it might have to be continued during the week. Chris. |
|
|
|
Post by Penguin45 on Feb 2, 2014 21:44:13 GMT
No visible progress.  Finished up getting rid of the remains of the shelf across the front, then trimming off what was left and zapping in the pinholes across the front upper panel. Had to be done, but not much to see. Chris. |
|
|
|
Post by indianajones on Feb 2, 2014 21:58:19 GMT
Progress is progress!  -Andrew |
|
|
|
Post by Penguin45 on Feb 5, 2014 20:52:22 GMT
Near side front valance/shelf/corner in place. 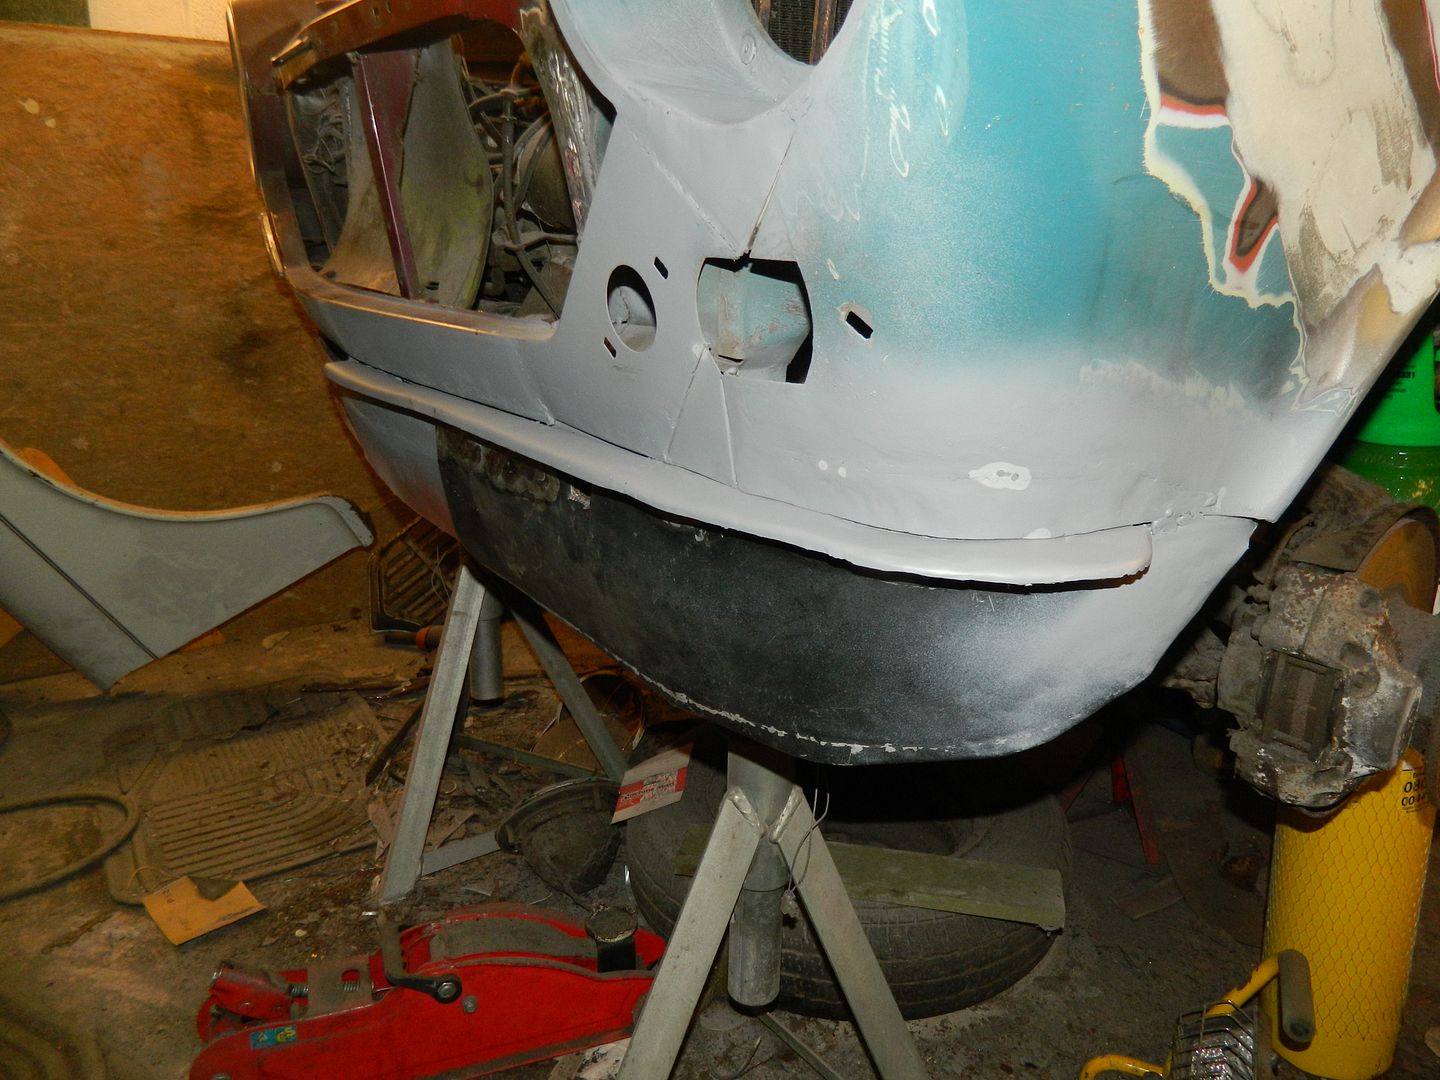 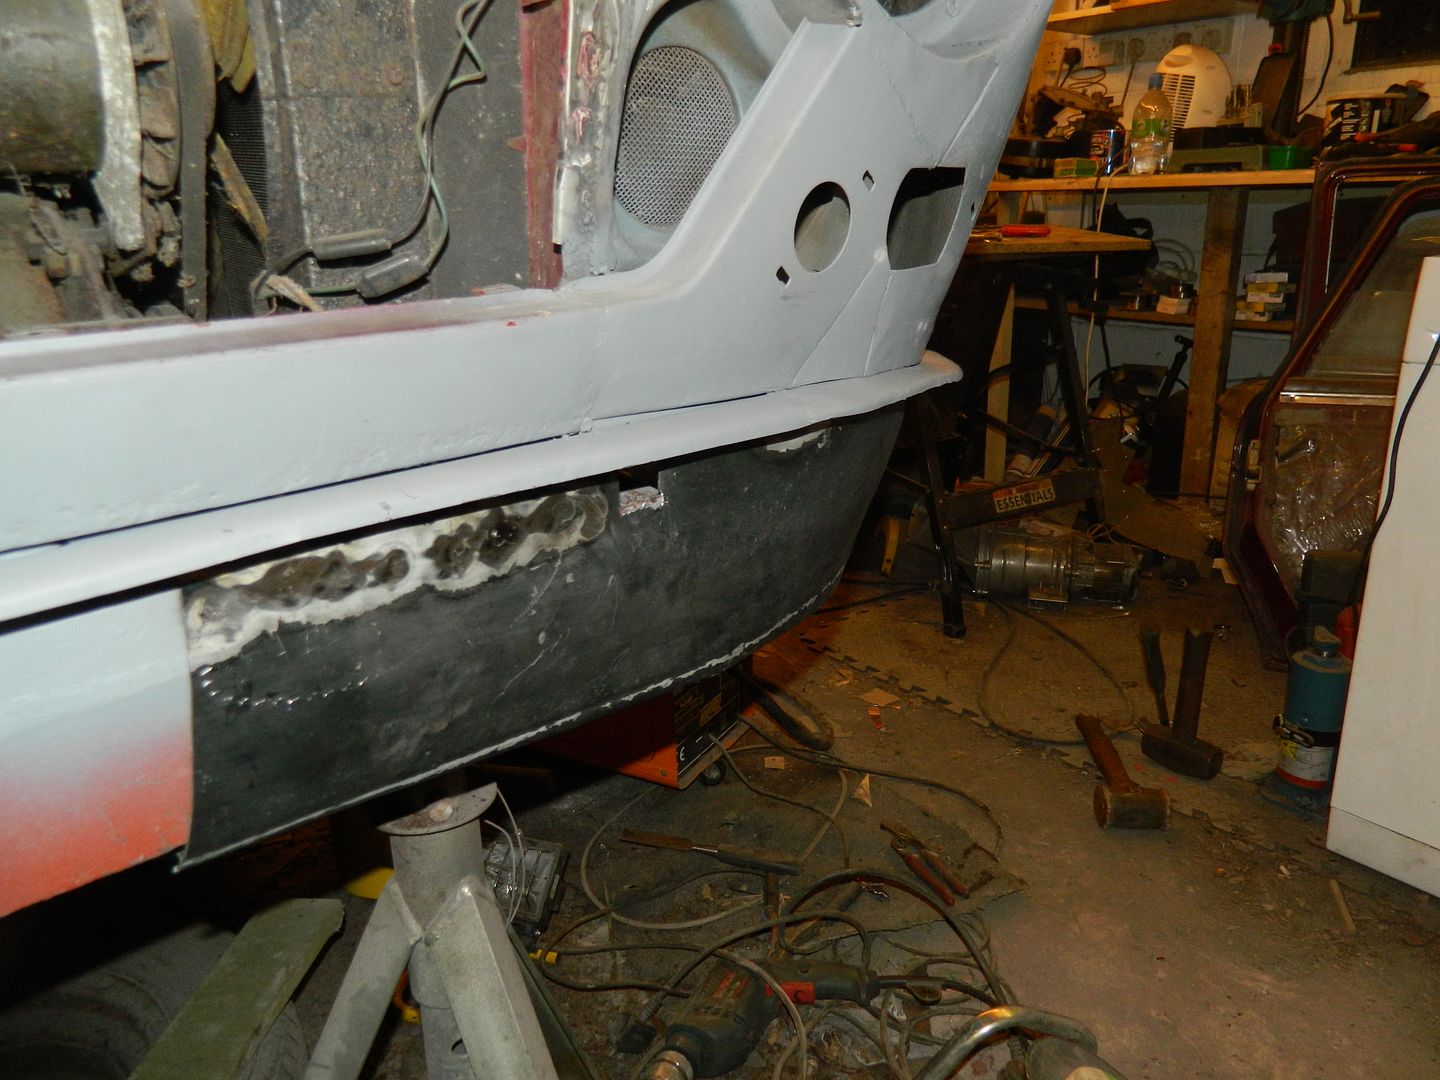 Outside. 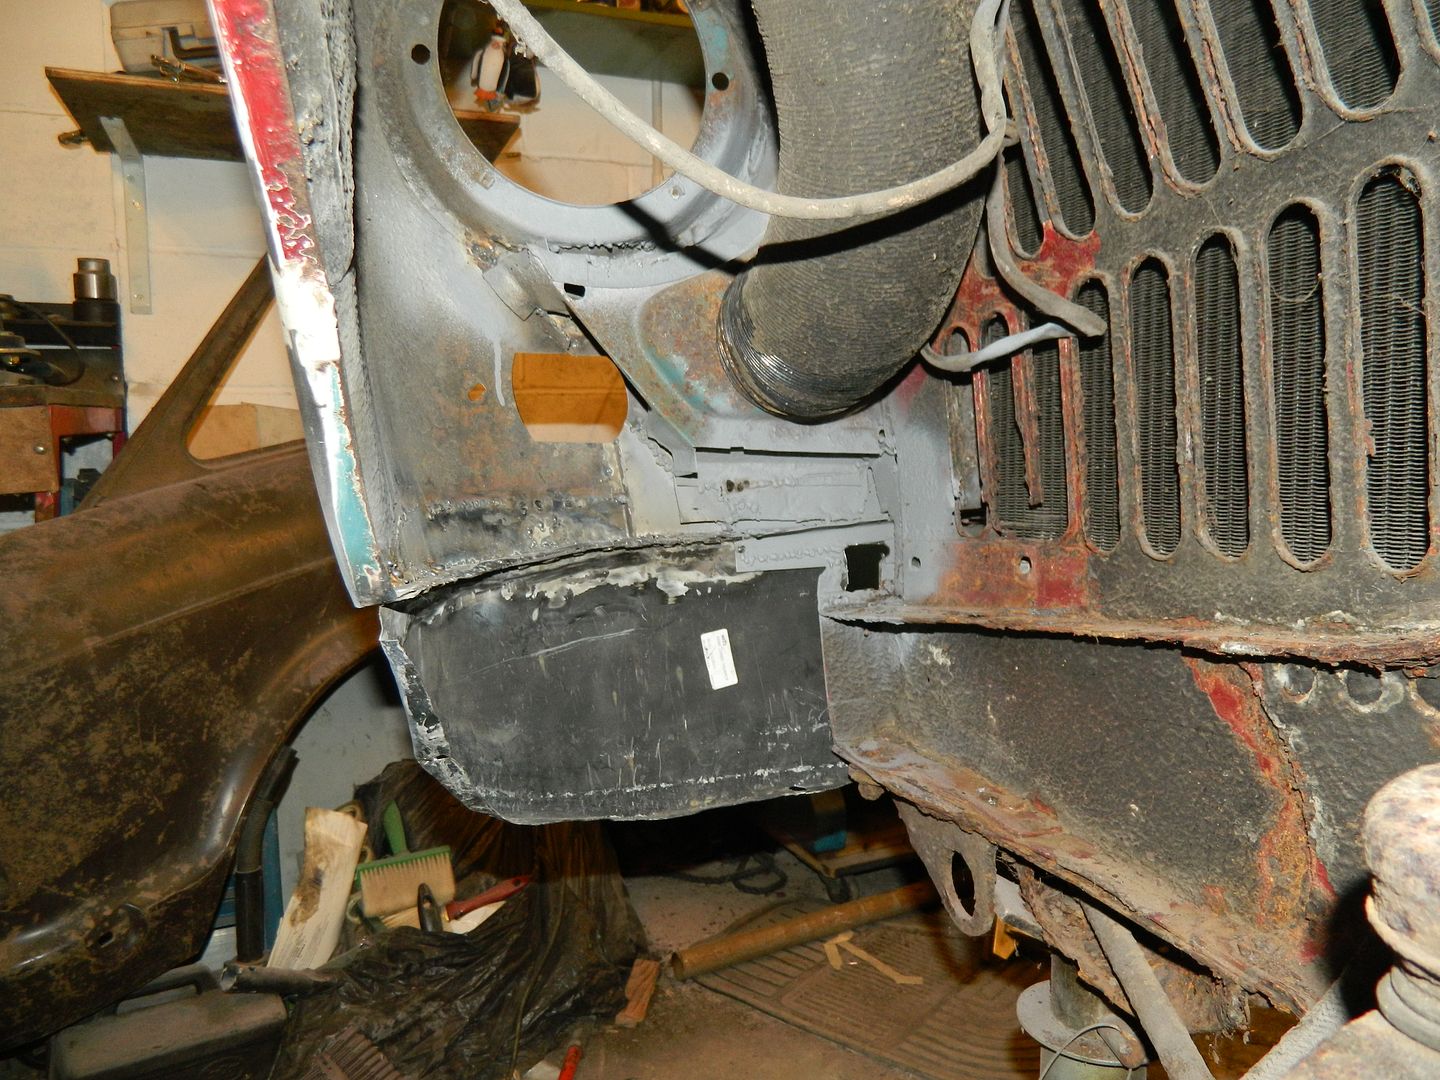 Inside.  Bumper offered up. I think it's going to look OK - comments, please. Chris. |
|
|
|
Post by Nick RS on Feb 5, 2014 22:36:18 GMT
Chris,
Looking good, your patience and determination is paying off. Looking at the last photo I can't tell if you've yet to create the bottom lip / flange. Certainly when the bumper is offered up it all seems to come together and will do so even more when painted. Seems like Eugenie is getting jealous of all the attention lavished on the newbie.
Nick
|
|
|
|
Post by tommydp on Feb 5, 2014 22:50:07 GMT
It looks great, Chris!
I'm impressed, as always, by your welding skills and who else would think of using a Mini rear valance:-) Clever!
You've really done a lot to it, I'm sure it will be a great example in the end! Keep up the good work!
Tommy:-)
|
|
|
|
Post by bullyboy on Feb 6, 2014 8:02:15 GMT
Hi Chris
Looking good, excellent tin bashing skills, i wish i had the proper tools and more space to do some of my metal work, i suppose should off posted earlier but i have a fibreglass valance in good condition now doing nothing if you want it, even if its just for matching up it may be of help, i have purchase a proper metal one.
Paul
|
|
|
|
Post by Penguin45 on Feb 7, 2014 18:38:55 GMT
OK, thanks for that, chaps - so long as we agree that it looks reasonable. Getting started on the other corner:  Next section of shelf across the front. Front edge to be turned down when corner section goes on.  Bottom corner of wing trimmed straight. Pondering taking off that turn down on the flange underneath. I've got to get the corner section of the shelf in there, followed by the flange of the valance. Trimming them to the exact width might prove to be a trifle too difficult. 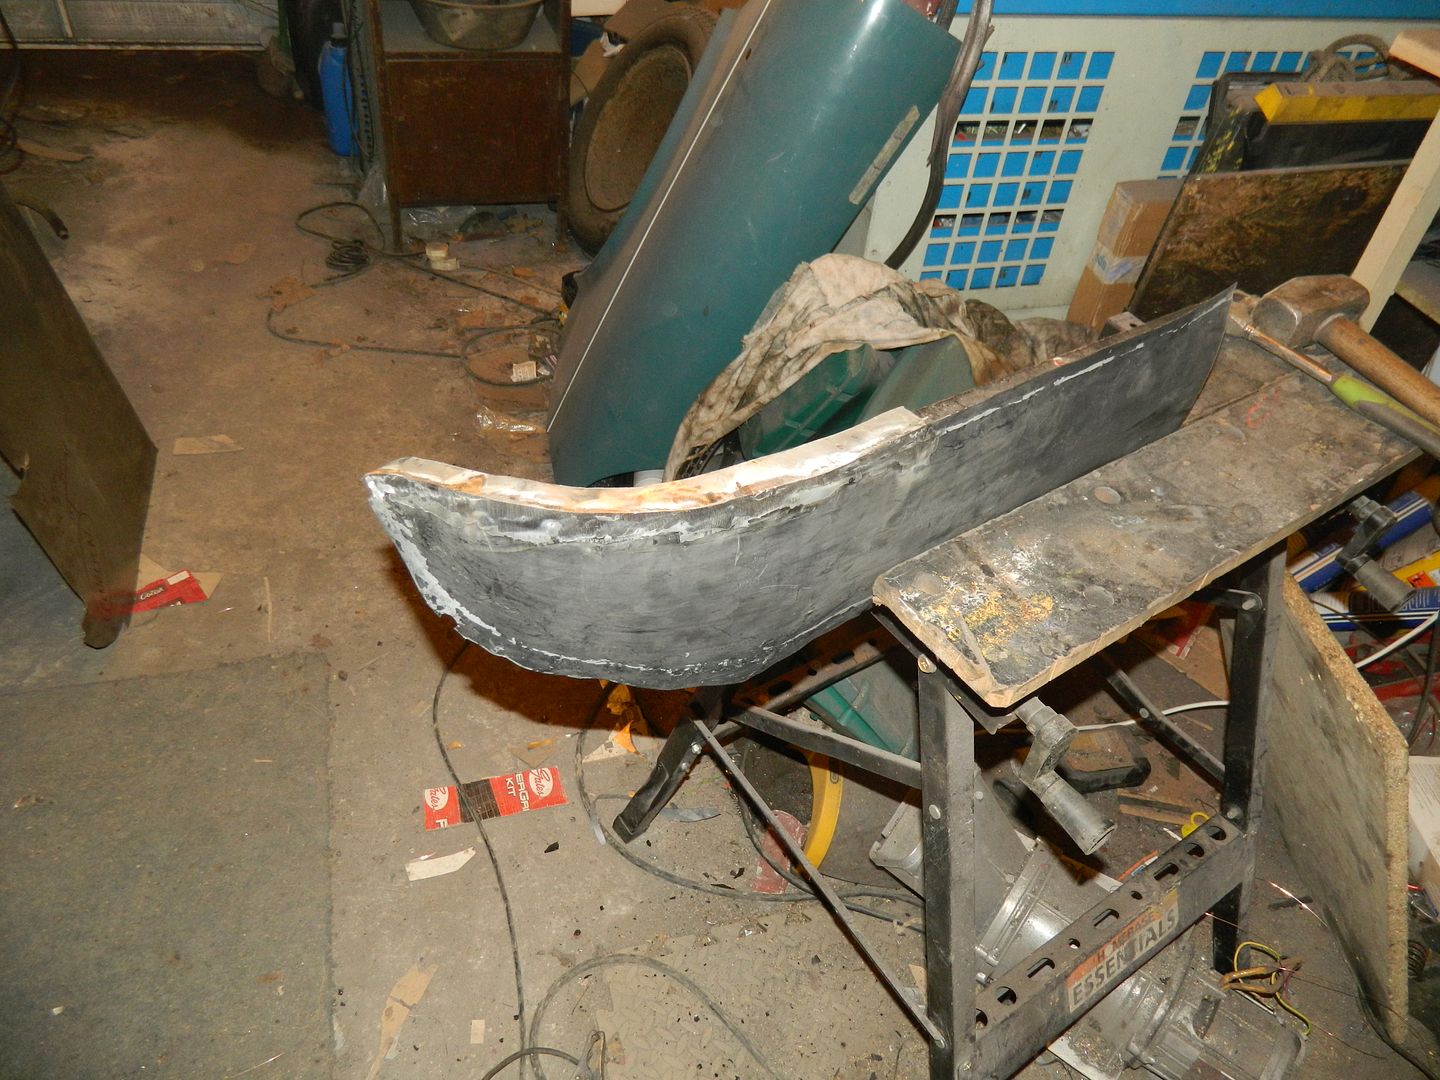 Flange welded onto the other section of valance. Quite pleased with that - good bit of welding! Chris. |
|
|
|
Post by Penguin45 on Feb 8, 2014 21:47:15 GMT
I don't belieeeeeeeeeeeve it...... The end of the front valance was in sight and I've run out of welding wire   . Wouldn't you just believe it. Mind you, it does mean that the car has consumed almost 5kg of wire since I started welding. Halfords are showing 5kg reels in stock locally, so I'll have to finish it tomorrow.  O/s corner completed. I did trim off the extra part of the flange and it hasn't caused any problems. 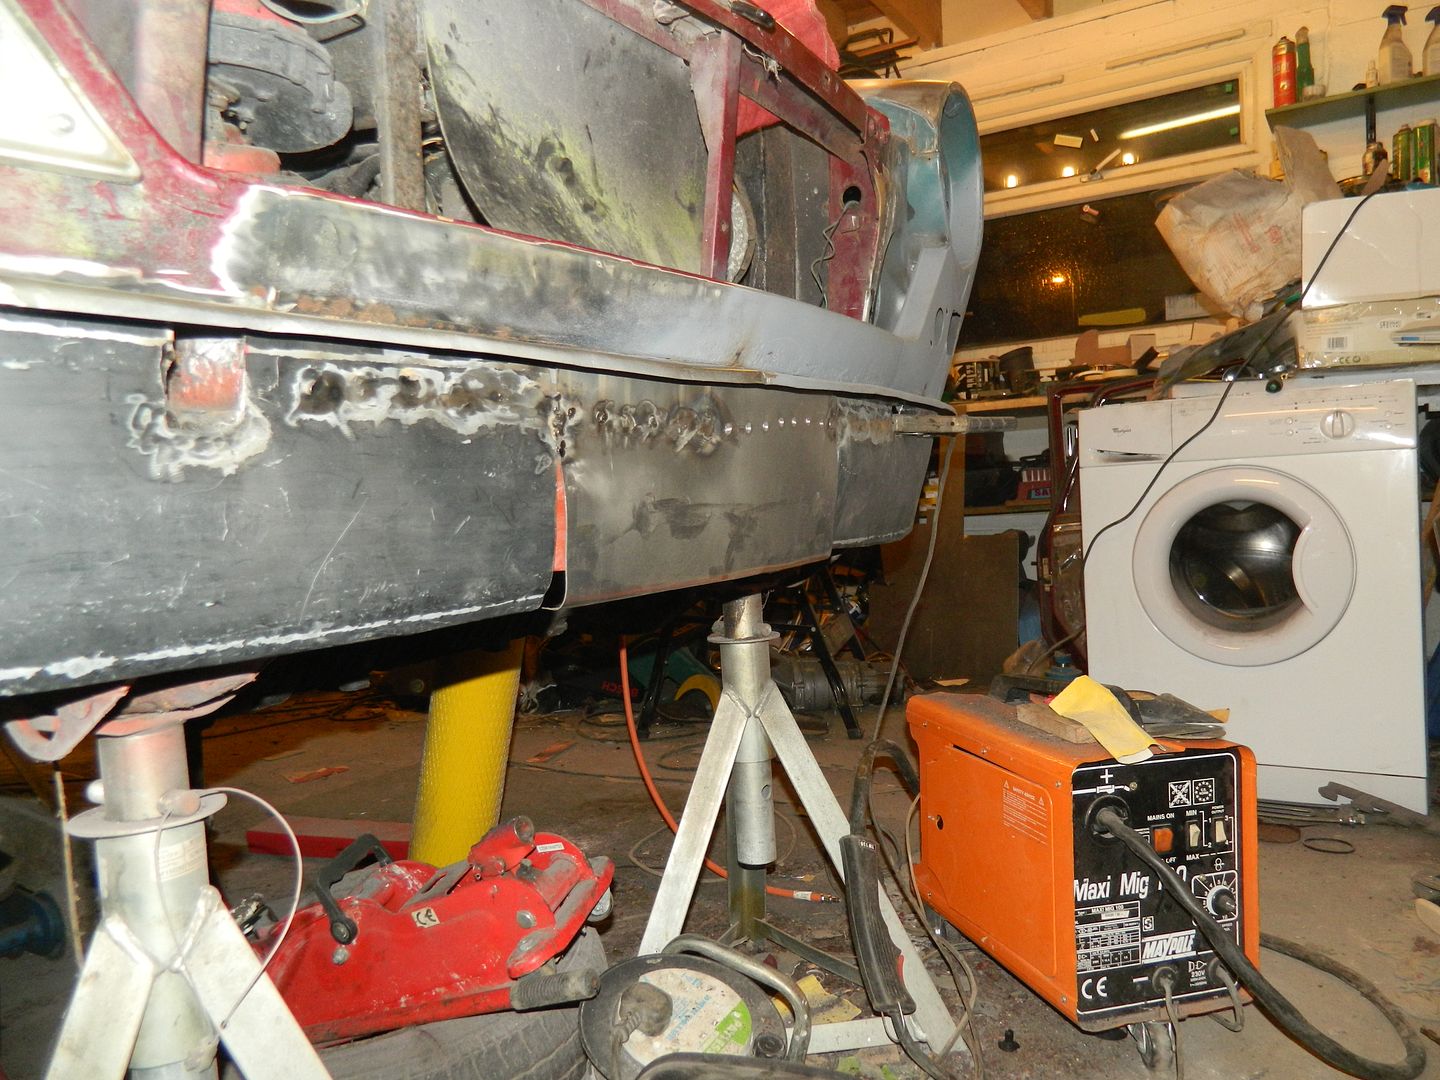 The two sections of Mini rear valance leave a gap of some 17" to be filled in the middle. I have made up the filler panel and started plug welding it home before coming to a stop. Chris. |
|
|
|
Post by charlypm on Feb 9, 2014 18:47:58 GMT
I had similar thoughts of using a MGB front valance when I was reworking my front end. It wasn't rusted, just bent. I used a planishing hammer to pound out the dent, it was then to long, so I had to shrink it with a shrinker/stretcher and some final touches with the stud welder shrink attachment. Came out looking pretty good. |
|


 .
.


 Finished up getting rid of the remains of the shelf across the front, then trimming off what was left and zapping in the pinholes across the front upper panel. Had to be done, but not much to see.


