|
|
Post by foglaursen on Apr 20, 2015 8:43:19 GMT
Very true, Tommy. She ran well, even allowing for the problems. Sorted out the leaking caliper this morning. I didn't think that the pistons would be at fault, as they are brand new and stainless steel. 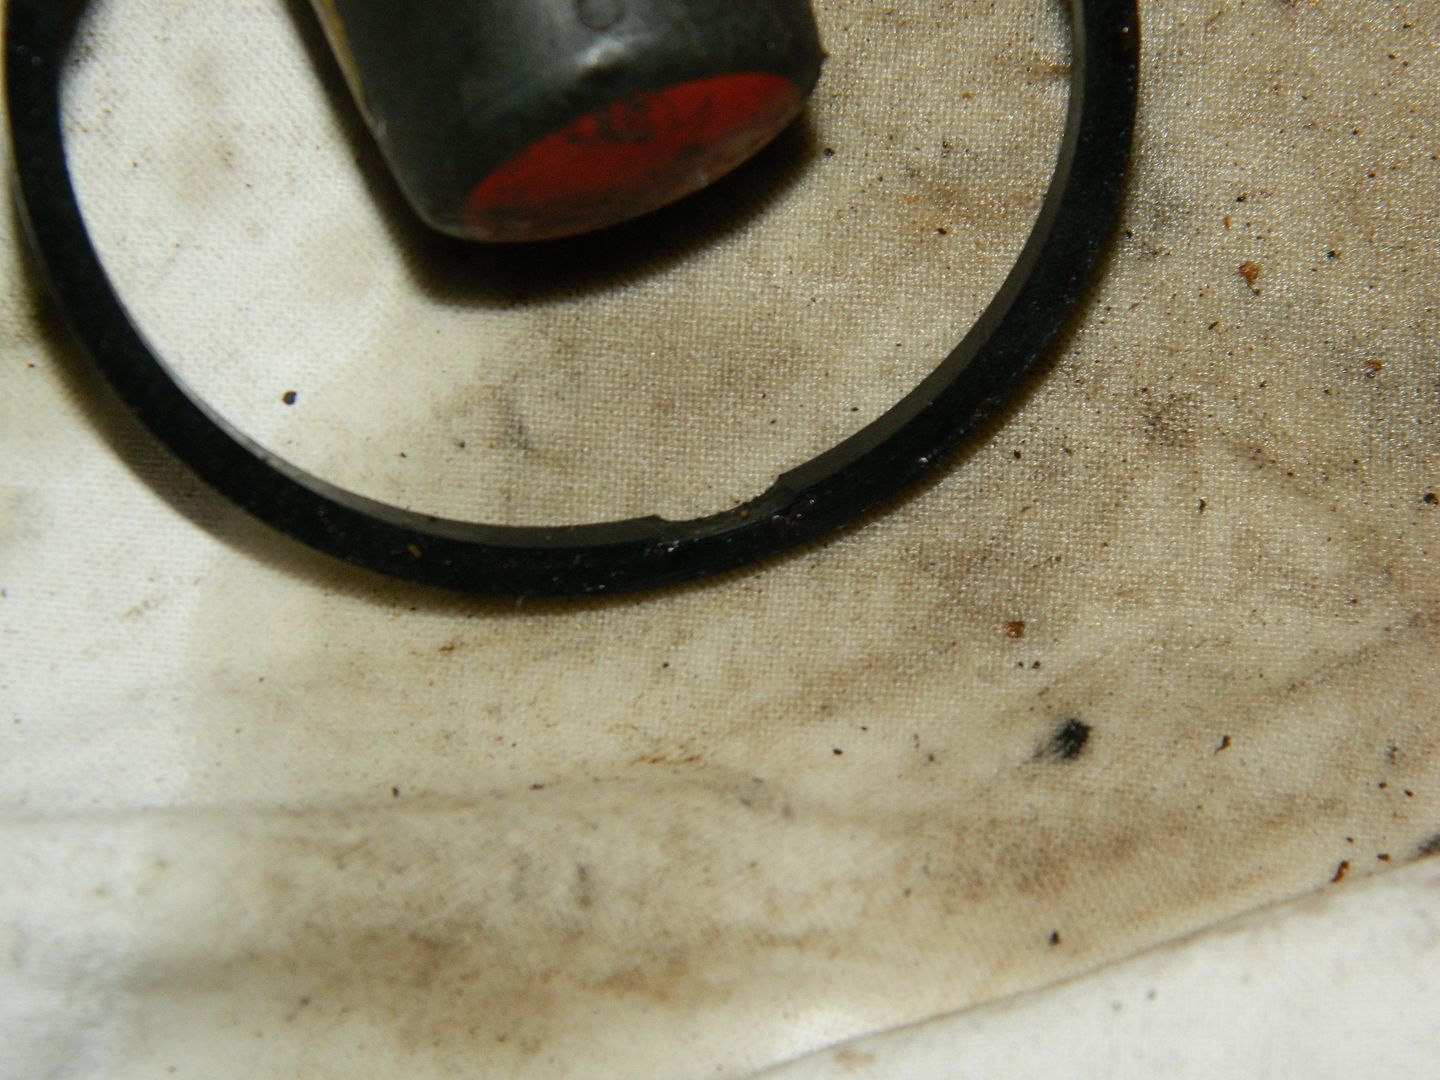 Removed seal and found that it had a bite out of it. No idea what that's about - it was a brand new seal. Anyway, fitted another new one, bled it all off and no more leak. I have just had the same problem although with my Princess. I had reconditioned a caliper with stainless steel pistons and new seals. After that it was leaking from one piston. Taking it apart showed a seal which looked exactly like yours. Strange. Regards Peter  |
|
|
|
Post by Penguin45 on Apr 24, 2015 20:25:41 GMT
What have I been up to then? My lofty fellow student Ken and I re-hung the doors in college on Monday, a tedious process which I suspect owes more to luck than judgement. A marked improvement to the noise levels inside the car has followed, so we must have got it fairly right! We also reset the timing after a titanic struggle to get the distributor moving in the block. Once free, I demolished it, cleaned it, oiled it and generally fettled it, whilst Ken got rid of a surprising amount of corrosion around and in the distributor hole in the block. Reset the carburettor next. As suspected, it was running very rich. Ken wound the jet back a surprising amount before the electronic sniffer really registered an improvement and we could finesse it with the lifting pin. This means I have been able to set the idle correctly, instead of the operating lever just resting on its stop. Much better. Oh, then the battery decided that it would no longer hold a full charge. I think it's been like it for a while, as the starter has been somewhat asthmatic right from the first fire up. New battery and she's kicking off first time most times. Nice sunny day today, so sat out under the gazebo on the patio to remake the n/s/r door card. 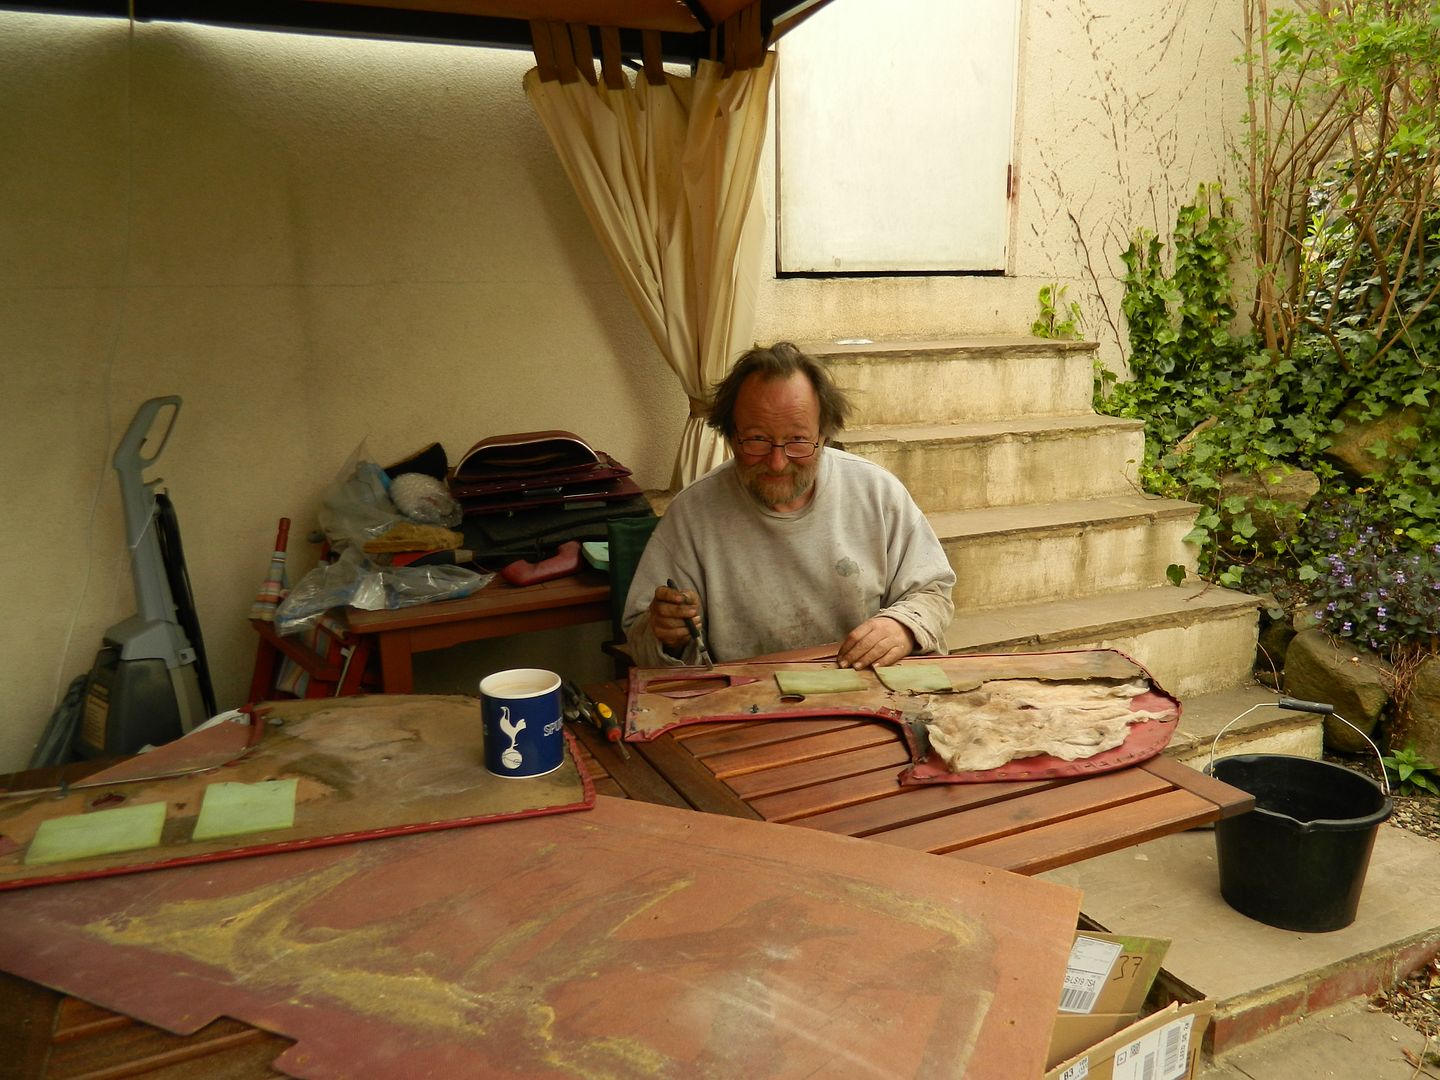 Not much left of that hardboard door card; literally rotted away. And yes, I have had a haircut. 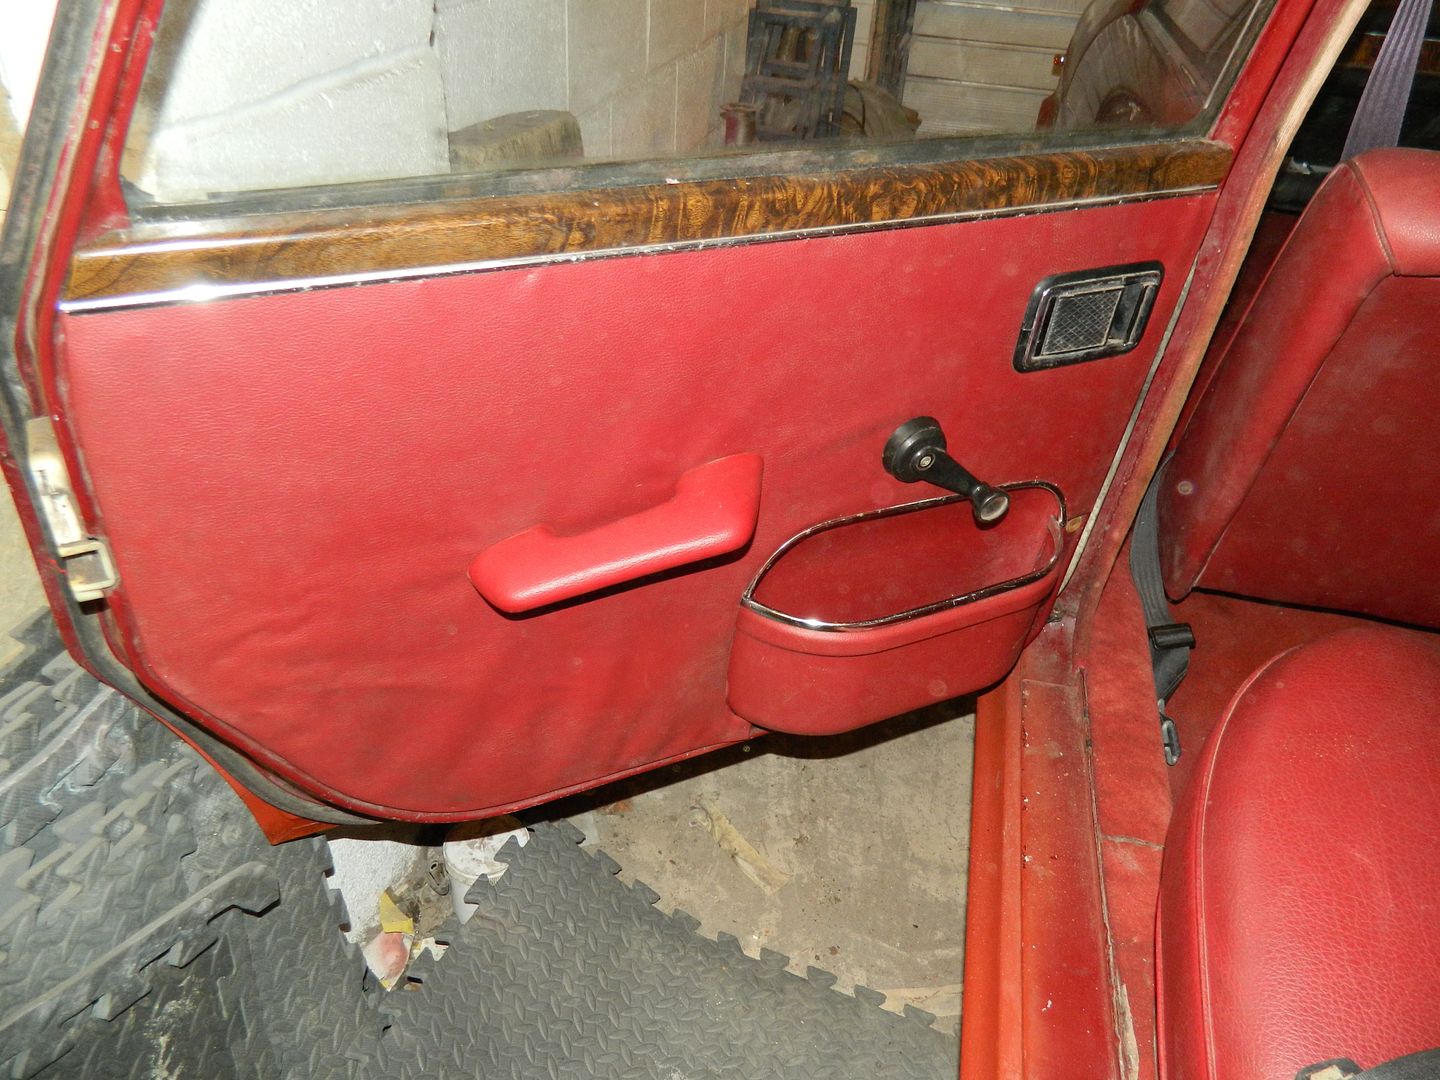 That looks much better, although the padding really needs to be replaced. It'll do for the moment. So, just the drive cone to fit tomorrow and then off down to Gaydon on Sunday for the Wolseley Owners Club AGM. That'll be another 300 mile round trip, so oil service to follow. Cheers, Chris. |
|
|
|
Post by Penguin45 on Apr 25, 2015 13:01:24 GMT
Drive cone replaced. 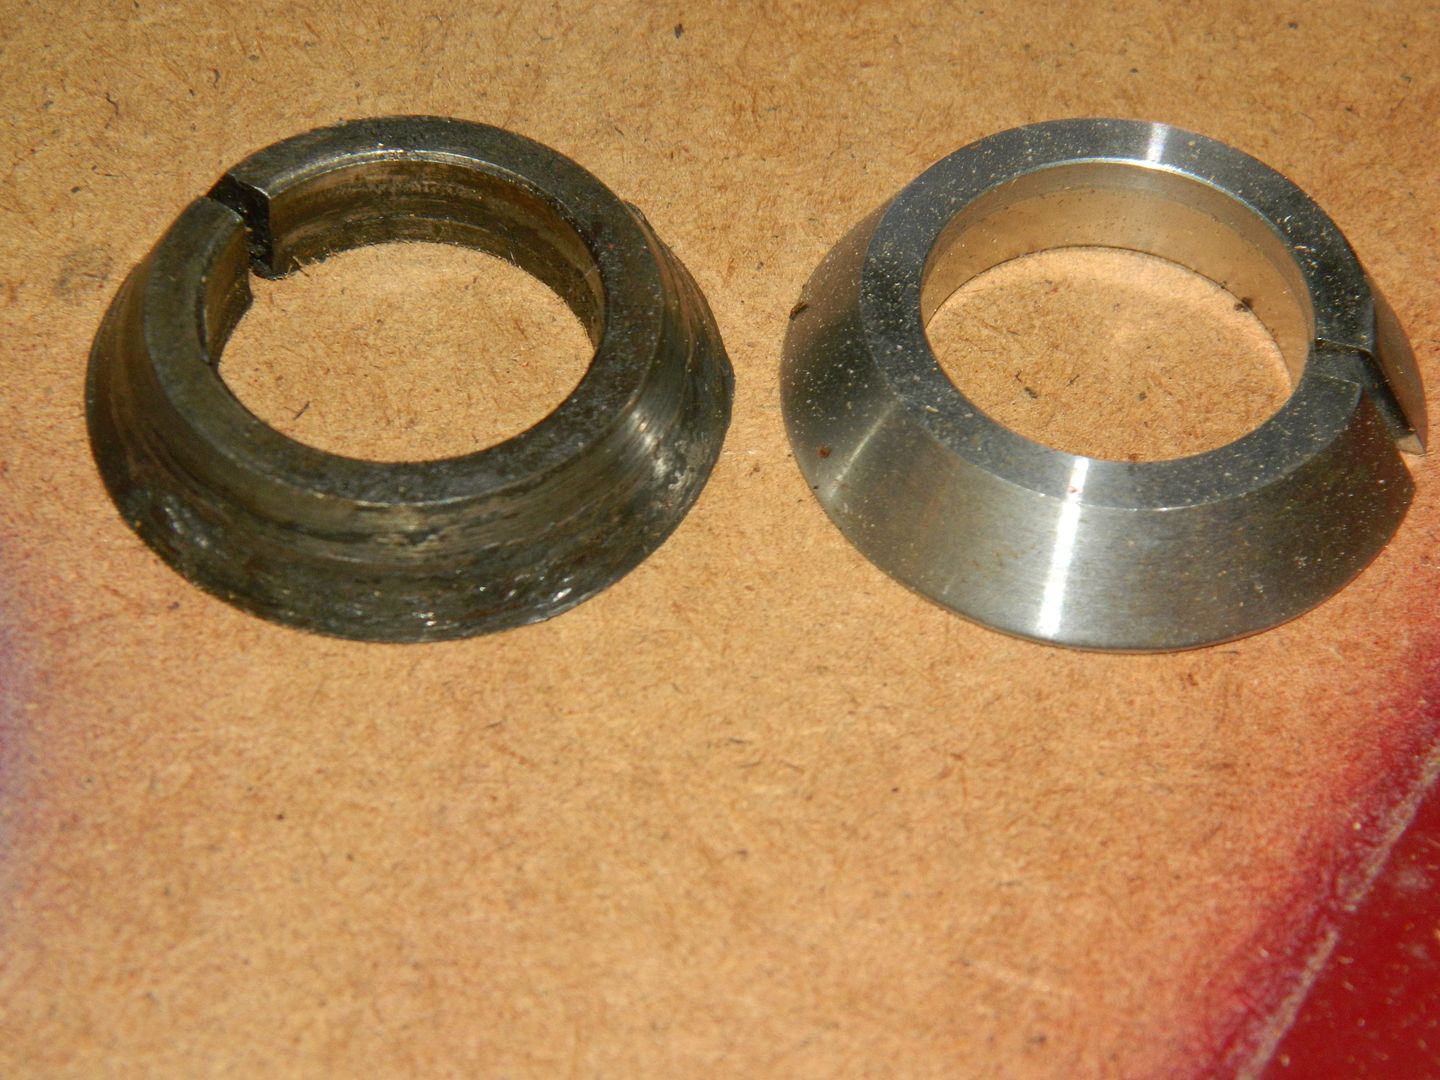 Not all that clear, but the old one has worn edges down the outside edge of the cone. Replacing it is surely the right thing to do. Chris. |
|
|
|
Post by welshbarney on May 2, 2015 9:22:29 GMT
What a fantastic restoration!! Well done Chris, enjoyed every installment!!!......Tremendous amount of work and skill gone into that!!....It's been 35 years, since I was in a "Crab" last, My Dad had a 71 Mk11 Austin 1800 like yours, I remember crying when he eventually part ex'd it, for a Mk1 Granada (Another fine Car, loved that one too!!)......Keep up the good work, I bet she's a joy to drive!!....Thanks Chris!!
|
|
|
|
Post by Penguin45 on May 2, 2015 19:23:38 GMT
Cheers Barney. It's been quite an adventure. 35 years, eh? About time you got yourself another fix!
Chris.
|
|
|
|
Post by Penguin45 on May 4, 2015 16:30:48 GMT
Sorted out last week's act of gross stupidity - reversed into door post of garage. Doh! N/s over-rider took the blow at minimal speed and all but disintegrated. 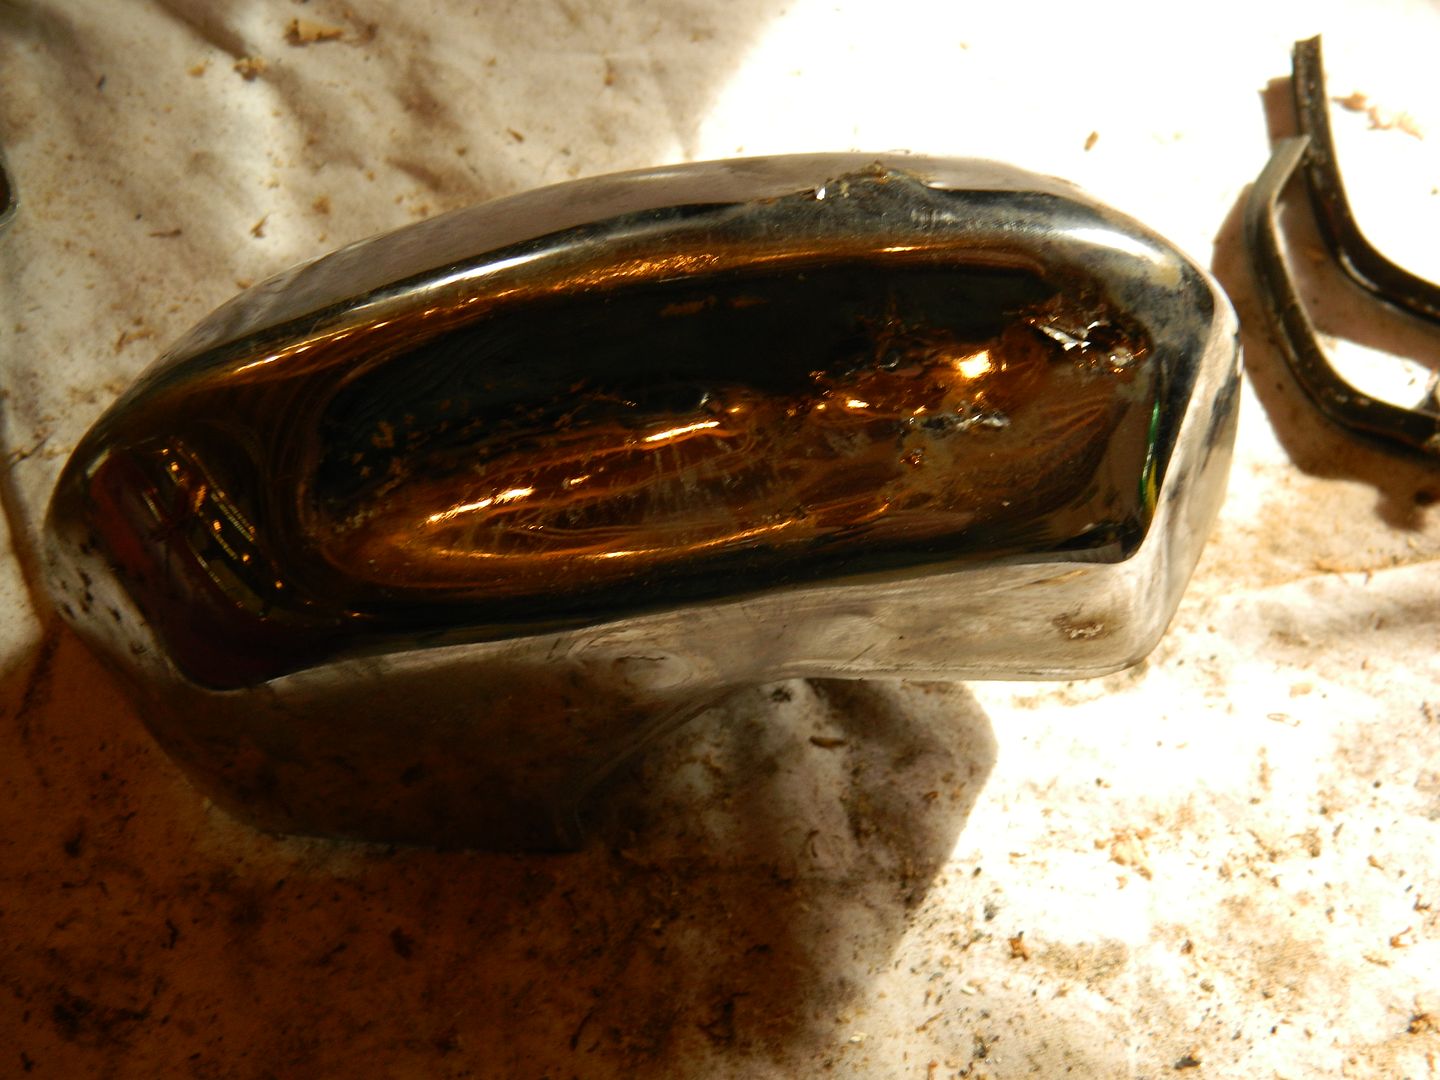 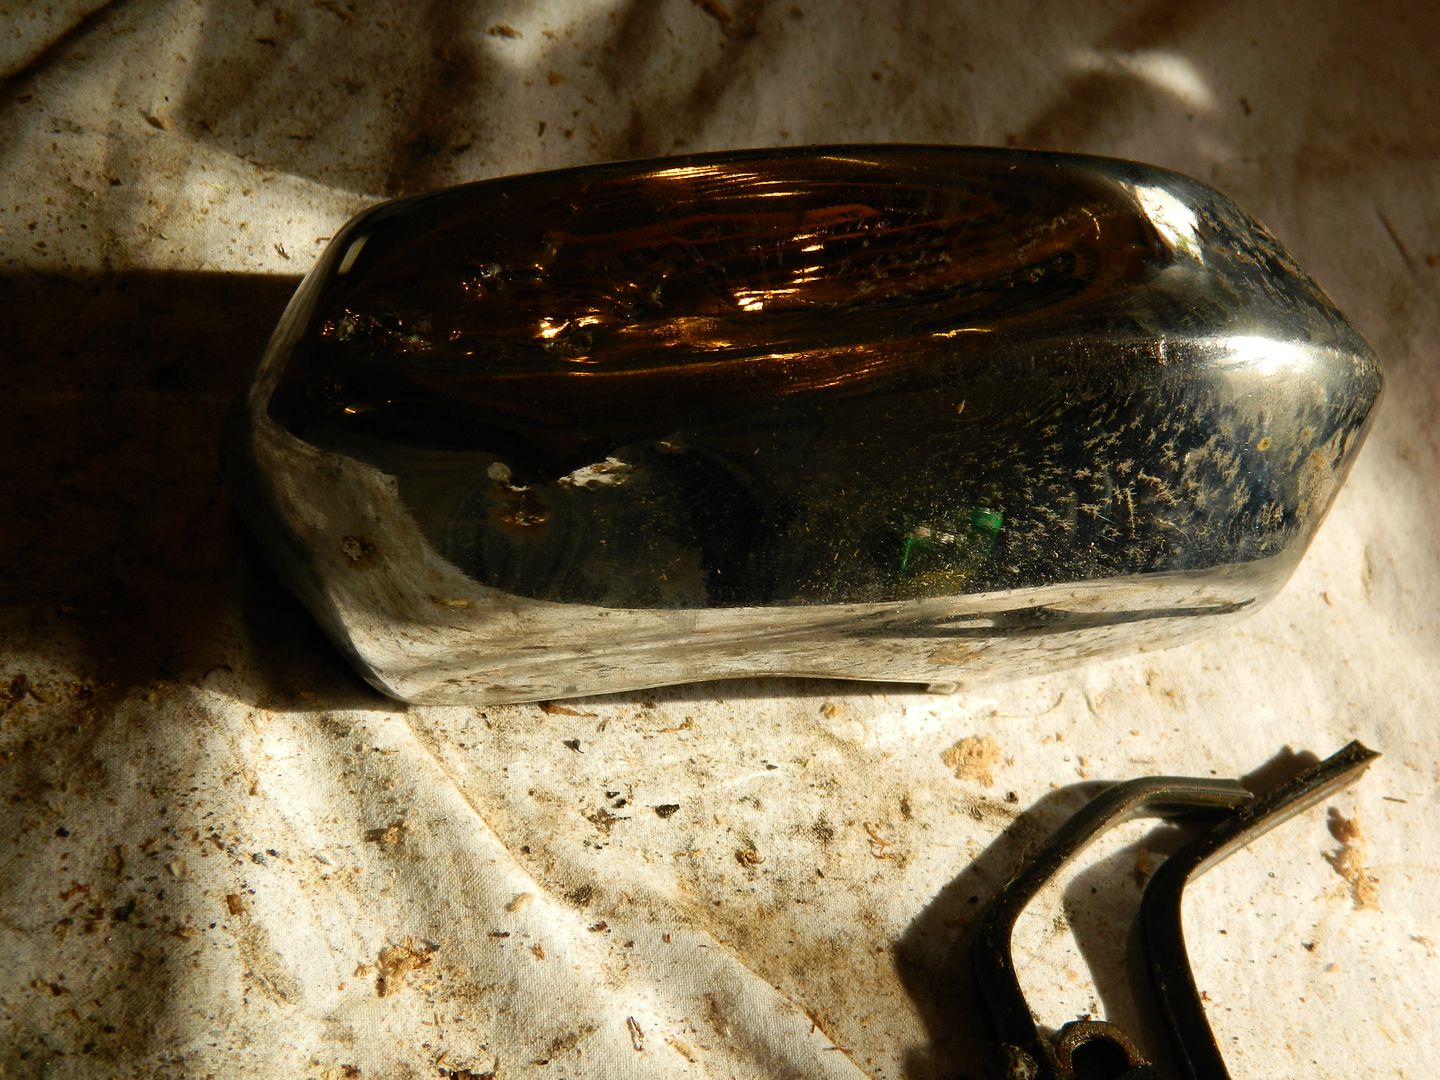 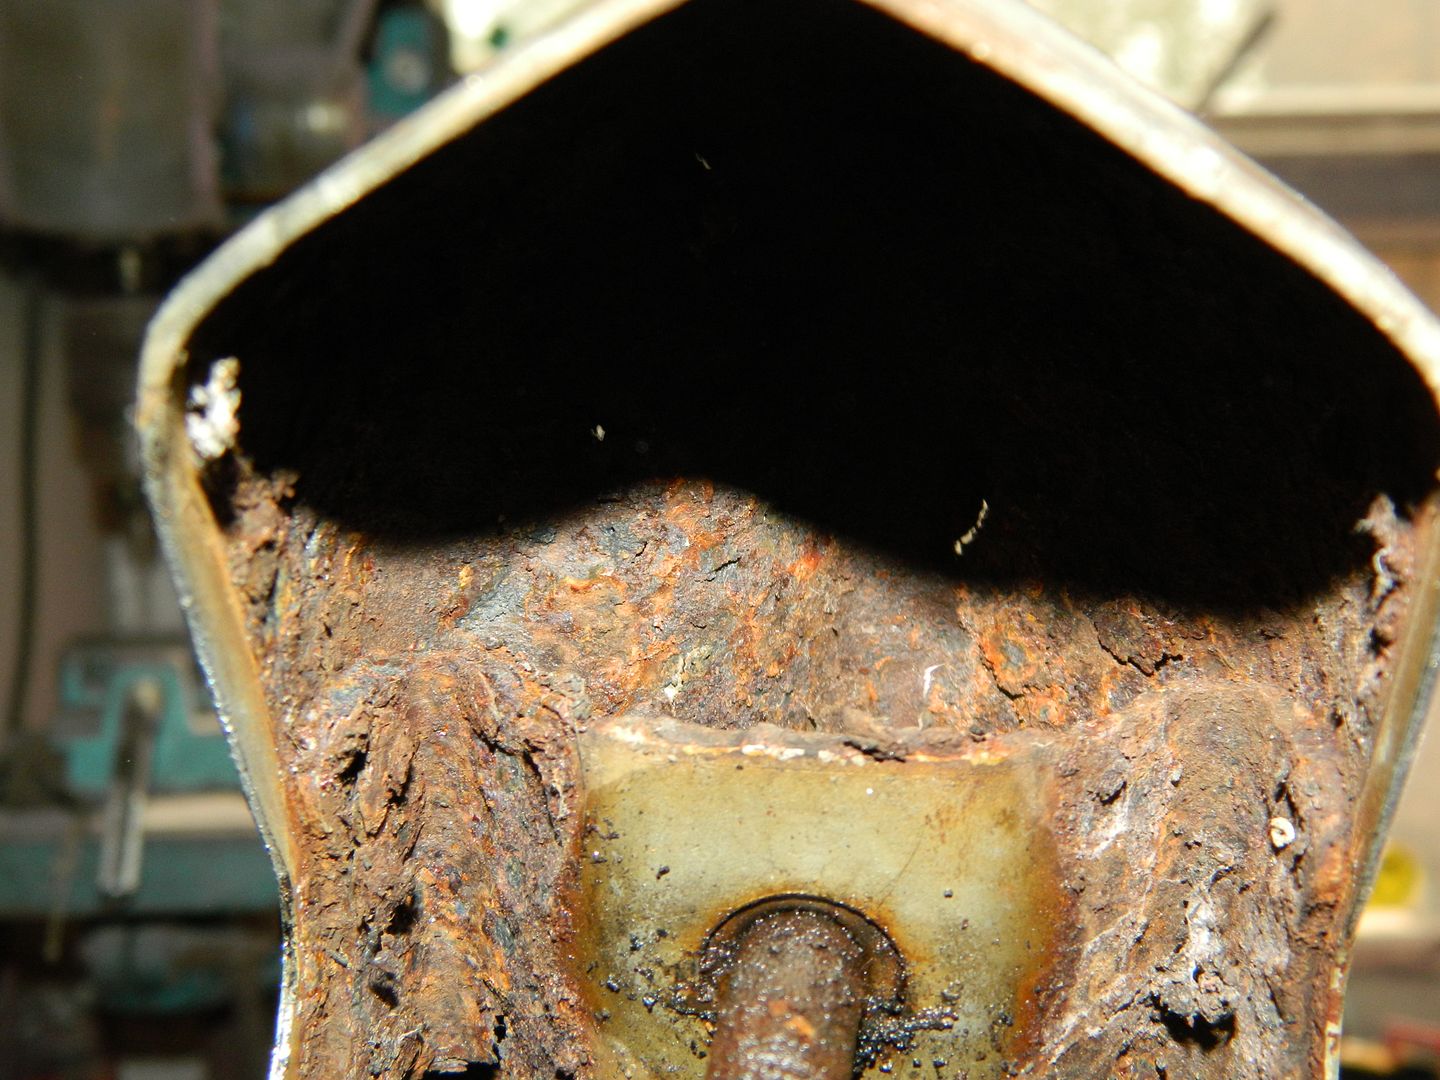 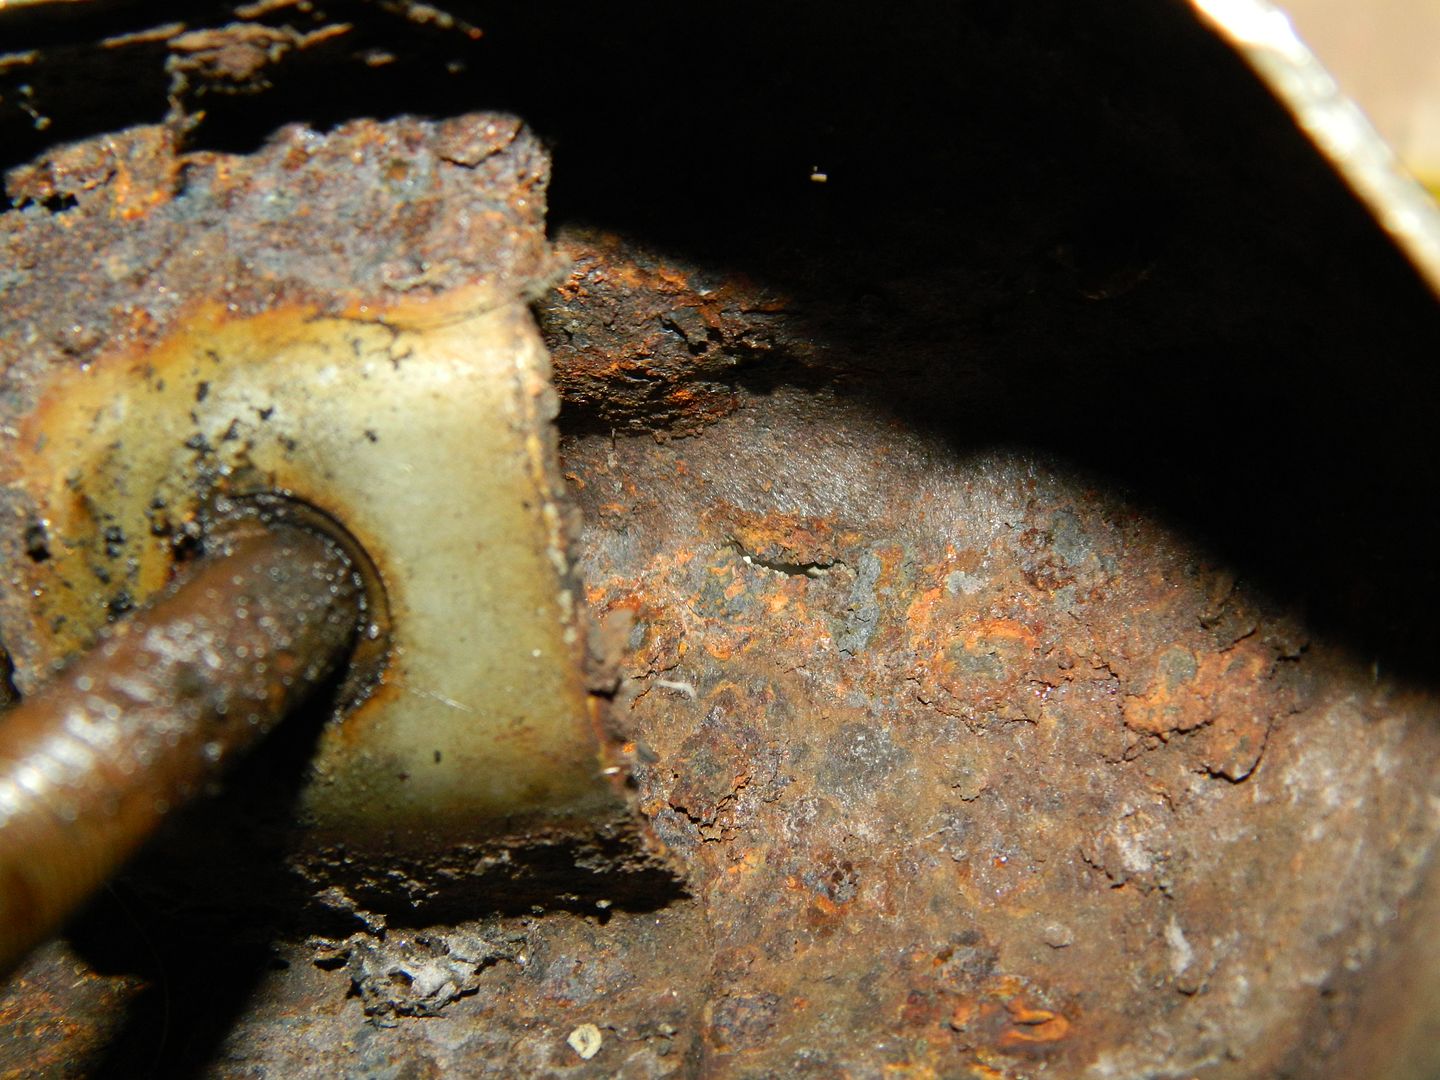 Shiny chrome shell, rotten steel inside. It was very awkward to remove, due to the stud mounting from the over-rider. Nut and washer on the end, then through the bumper iron, then another nut and washer to hold the shelf in the right place. New one is fitted with a bolt and uses a spacer between the iron and the shelf. Much simpler. 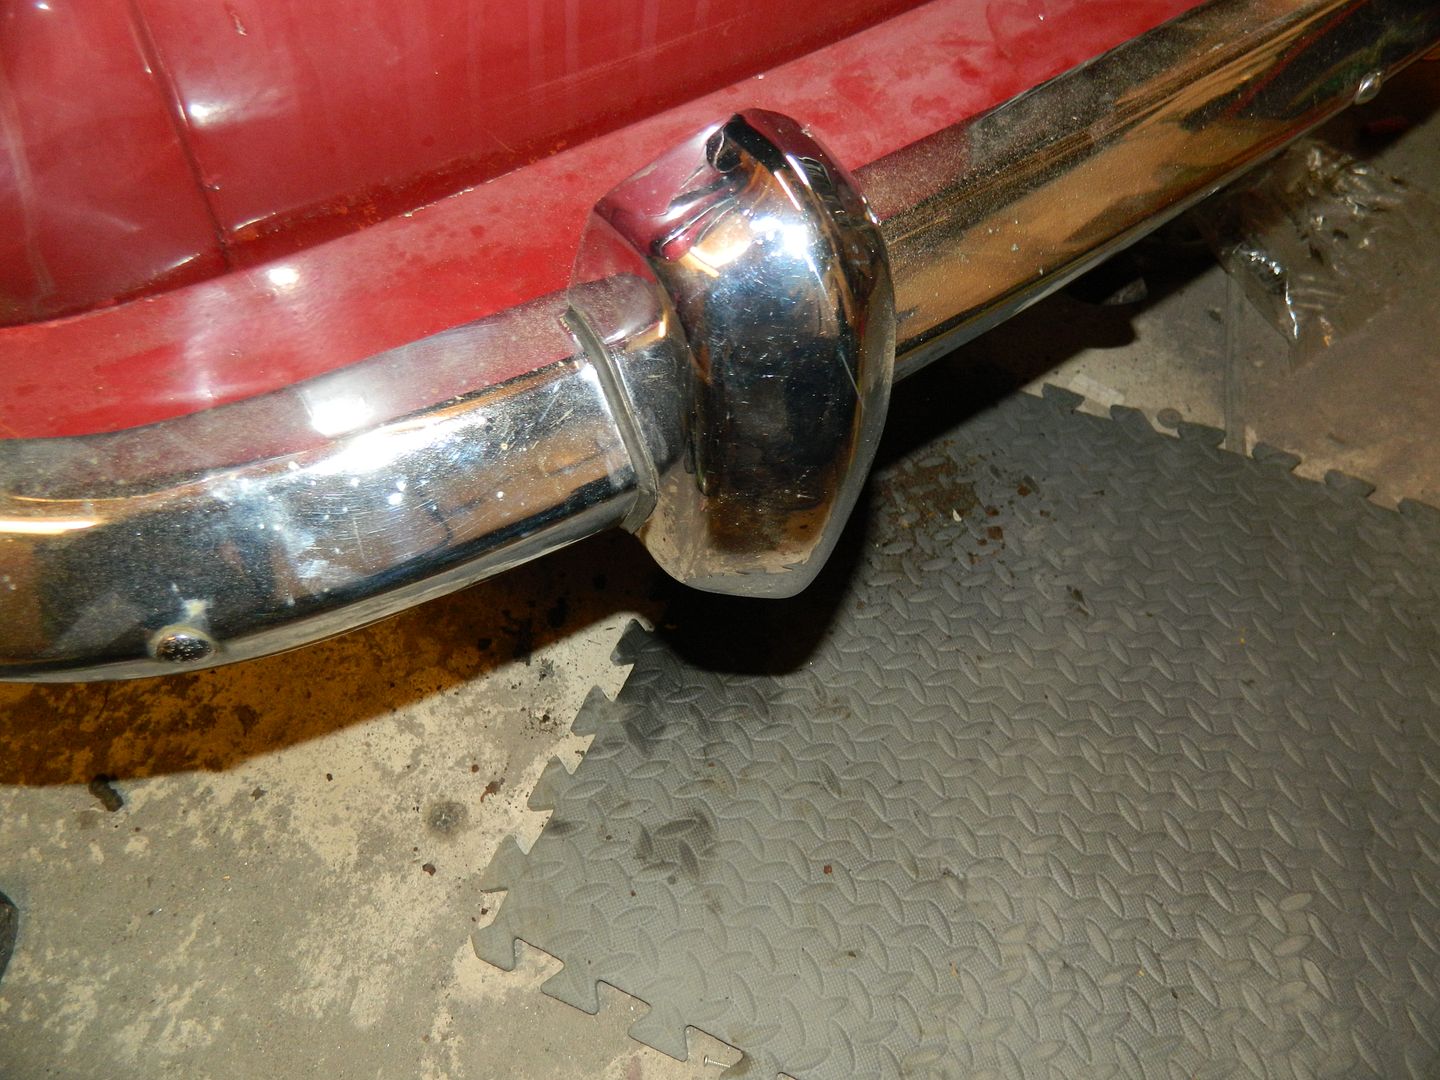 I suppose I'll have to give in and fit some proper mirrors. Chris. |
|
|
|
Post by Penguin45 on May 17, 2015 17:25:58 GMT
Mmm - refurbished carburettor. Nice.
Chris.
|
|
|
|
Post by indianajones on May 18, 2015 20:38:16 GMT
Did you use one of the kits from SU?  also......pics lol -Andrew |
|
|
|
Post by Penguin45 on May 18, 2015 23:47:47 GMT
I'm going to come down there and get you, Jonesy...... I did use a repair kit, a new needle and a sundries kit on the spare carburettor, so there are now some very shiny bits to look at and go "Coo!" over. The camera decided at this point that the SD card had had enough and didn't record any pictures. I'll do the same again fairly soon and restore the carburettor which I took off the car and get some pictures at the same time. So, for the moment, mark this one downa s a "Fail". Car runs nicely, though.  Chris. |
|
|
|
Post by indianajones on May 19, 2015 0:44:09 GMT
Awesome, as long as the car is running nicely, that's the main thing.
Also please feel free to come down here, NZ is awesome lol _b
-Andrew
|
|
|
|
Post by dave1800 on May 20, 2015 0:42:23 GMT
HELP! I'm trying to refurbish a HS6 and need to remove / loosen the jet bearing nut. So far I have tried a variety of penetrating oils (nothing wonderful that I've found here yet), repeatedly tapping the end and side of the nut and tried tightening it a little further. I've eve tried undoing it while my friend taps the head of the nut. No sign of any movement at all. I'm trying to locate a freezer spray but nothing in the local shops to try and shrink the nut. I suspect there is electrolytic corrosion. Any ideas - the needle won't centre 100% so I can't ignore it. Anyone have a magic solution (liquid or otherwise)? Thanks David Mmm - refurbished carburettor. Nice. Chris. |
|
|
|
Post by dave1800 on May 22, 2015 1:14:32 GMT
SUCCESS !!!!!!!!!!!!!!!!!!
This morning I was getting ready for another "session" with the carb and decided almost casually to give the jet bearing nut a quick twist - and it undid with very little torque applied and no damage to either the nut or carb threads.
I still have no idea how I achieved this but I believe it was a combination of the following:
1. Most important - LOTS of patience. I'm not in a position of having to meet a time dealine and the crucial thing was not to damage the carb. Although I did nearly have some John Cleese moments working in the heat as I still can't get into my cool work room.
2. A combination of the following:
Soaking in penetrating oil
Repeatedly tapping the head of the nut for 10-20 mins woodpecker style to try and break the corrosion to allow penetrating oil to creep up the threads
Tapping on the side of the nut to achieve the same
Trying to tighten the nut first (not achieved)
Cooling the carb in the freezer and pouring boiling water over the nut
Soaking the carb in very hot water and applying ice to the nut
Repeating the procedure several times a day and applying more penetrating oil each time.
I believe this combination allowed the penetrating oil to penetrate slowly over the 4 days and bingo!
Hope this helps someone one day. Just don't use excessive force. After 3 days it seemed as though it was welded in place and then ..... It reminds me of when I just couldn't split a taper joint despite lots of persuasion and went inside for a drink. When I came out it had separated under the weight of the suspension.
David
|
|
|
|
Post by andrewa on May 22, 2015 8:16:12 GMT
I reckon the snake gave you a helping hand during the night.......
|
|
|
|
Post by dave1800 on May 23, 2015 0:15:26 GMT
Snake oil maybe  I reckon the snake gave you a helping hand during the night....... |
|
|
|
Post by Penguin45 on May 26, 2015 23:37:29 GMT
I have been busy trying to solve the reason that the wipers won't park. Brain thoroughly addled....
Chris.
|
|


