|
|
Post by snoopy11 on Dec 3, 2014 19:44:32 GMT
We'll done Chris. Quite a monumental moment. Let the bunging up of oil leaks begin  |
|
|
|
Post by dave1800 on Dec 3, 2014 23:57:22 GMT
We have ignition, oh you still have ignition  . Sounds very sweet, well done. David |
|
|
|
Post by Penguin45 on Dec 14, 2014 19:23:58 GMT
Things have not been going to schedule - too bl@@dy cold and I feel it these days. Quite mild today, so I set about the rear o/s door. Even then, I have achieved exactly half of what I set out to do. 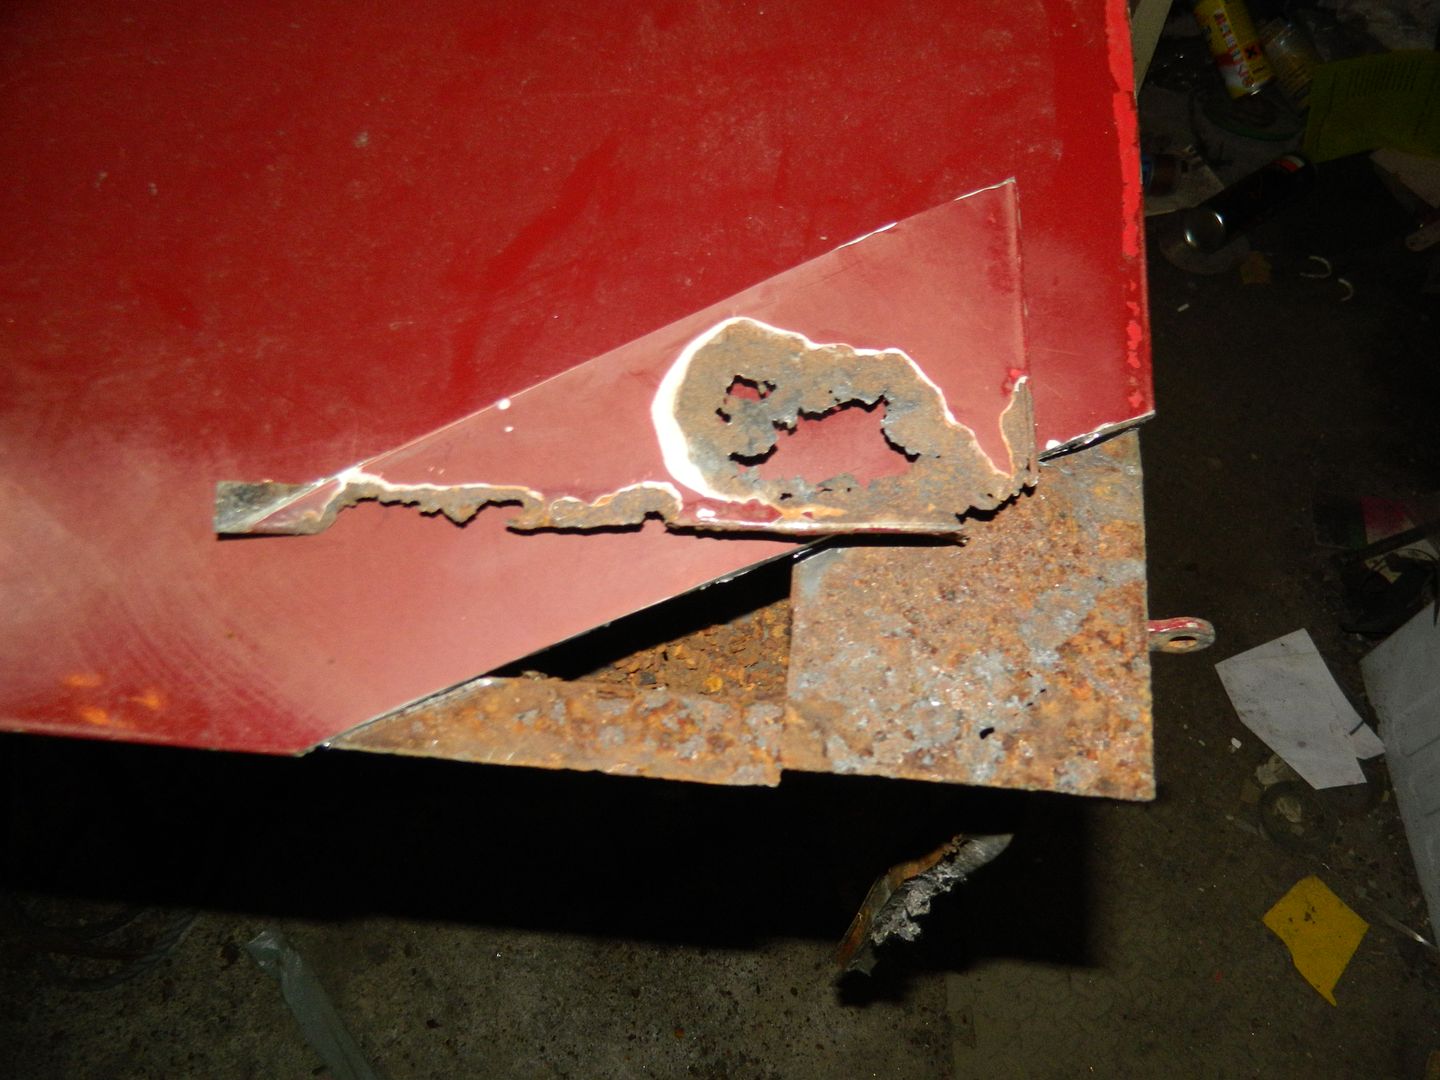 Rusty corner. 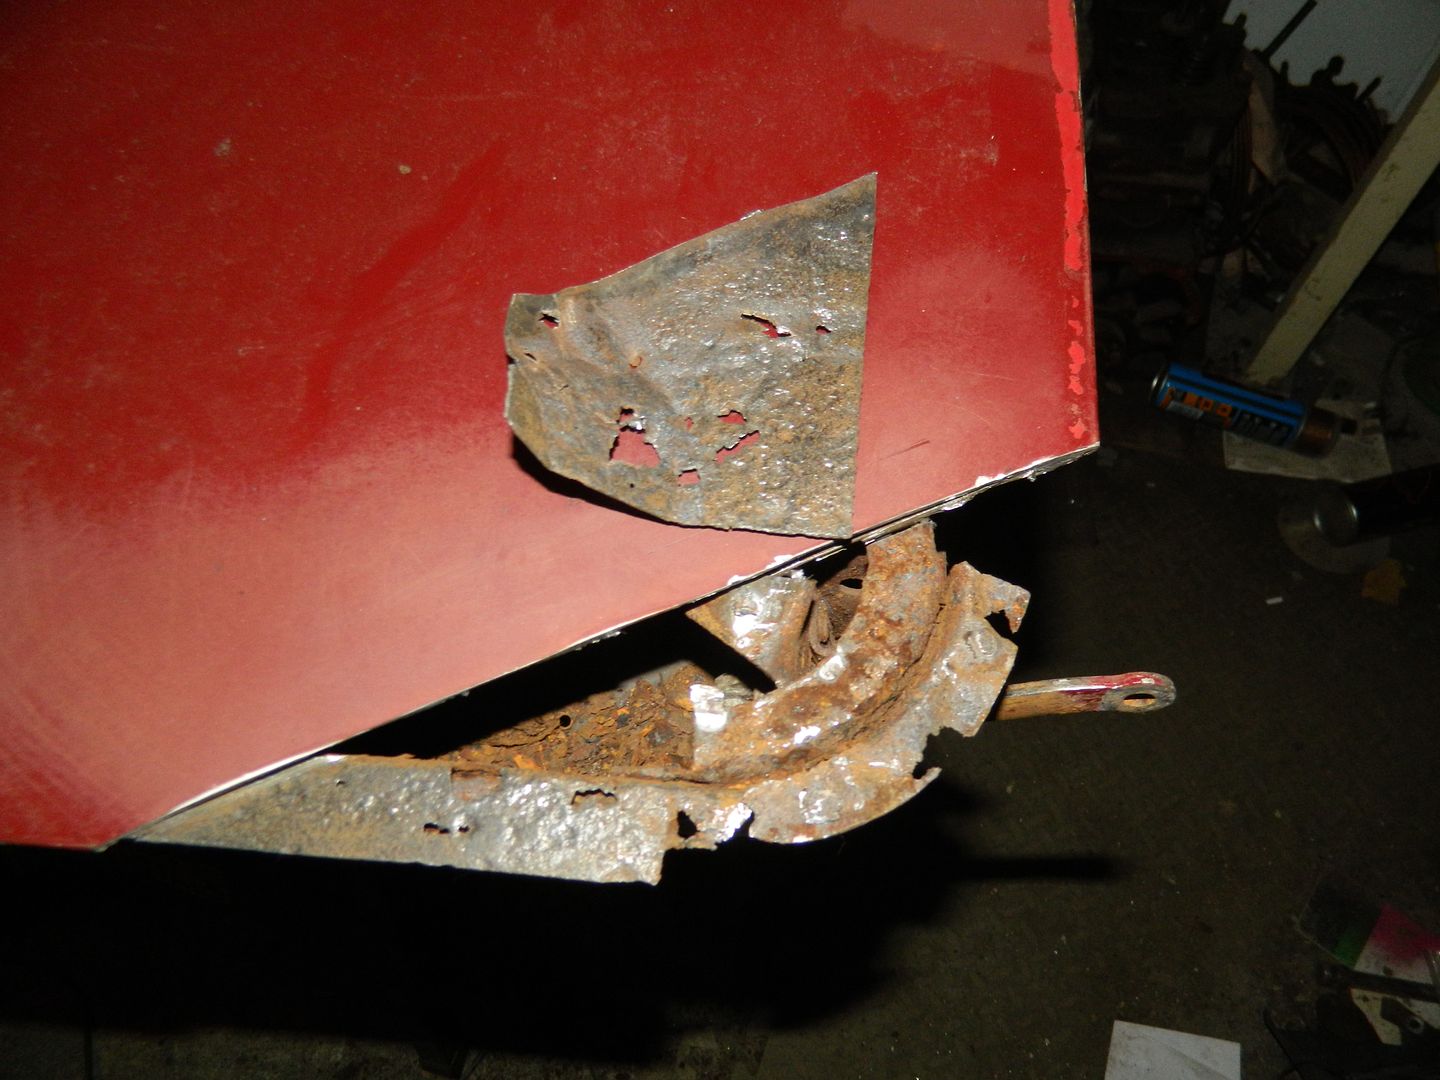 Cut away stiffener to reveal rusty flange. 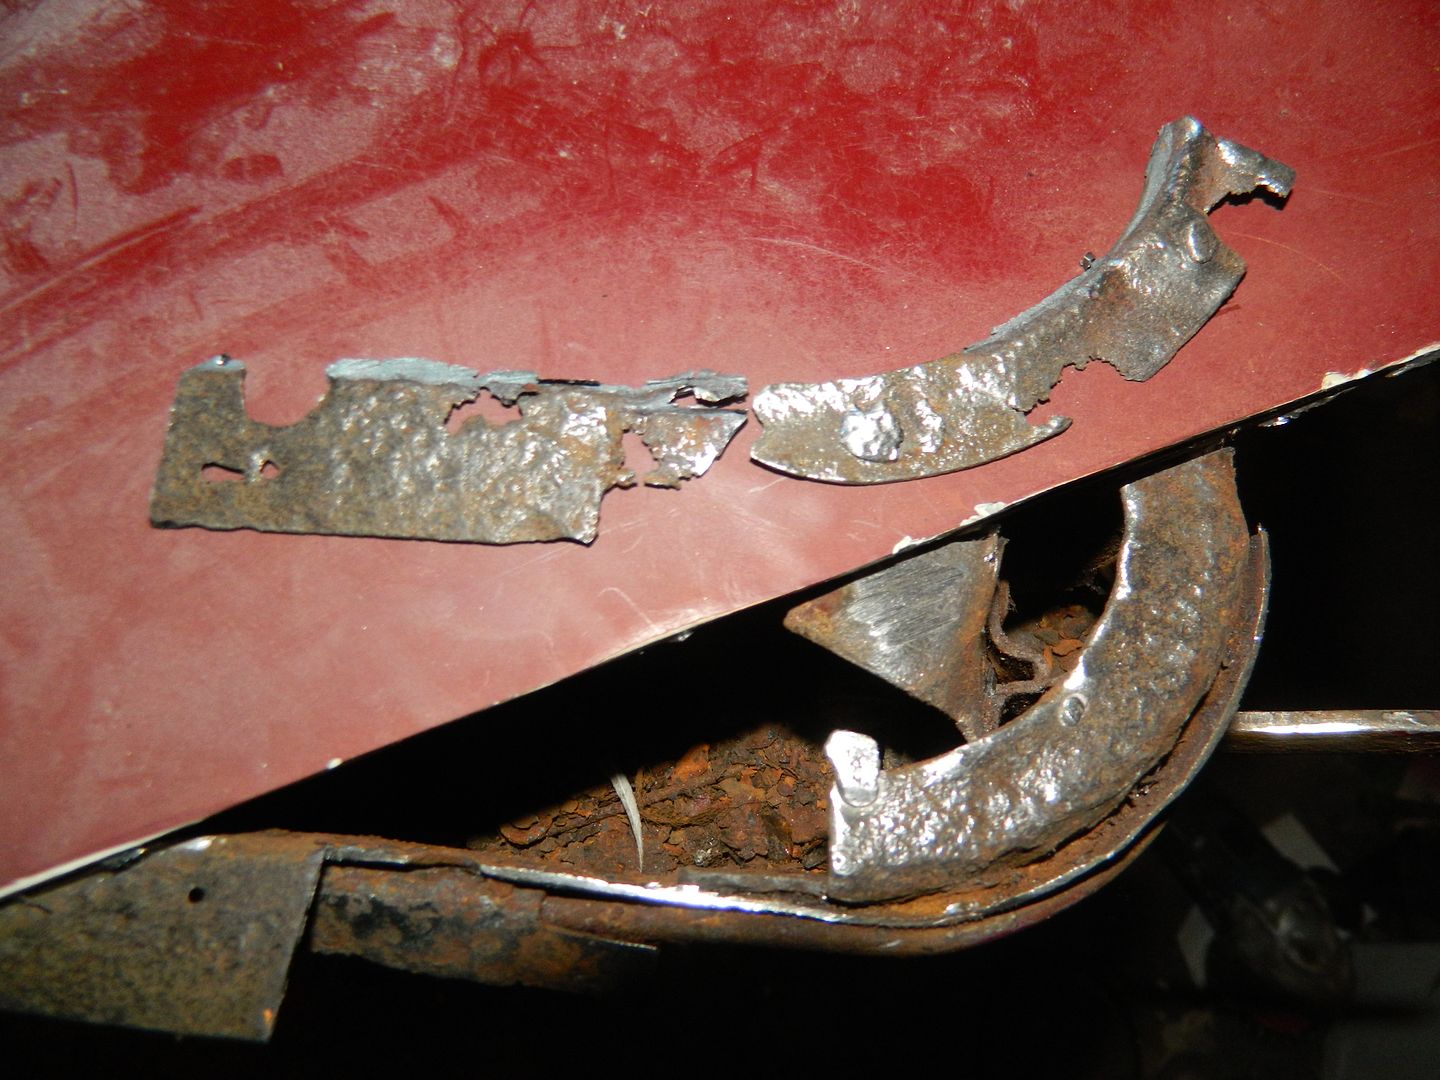 Cut away flange. 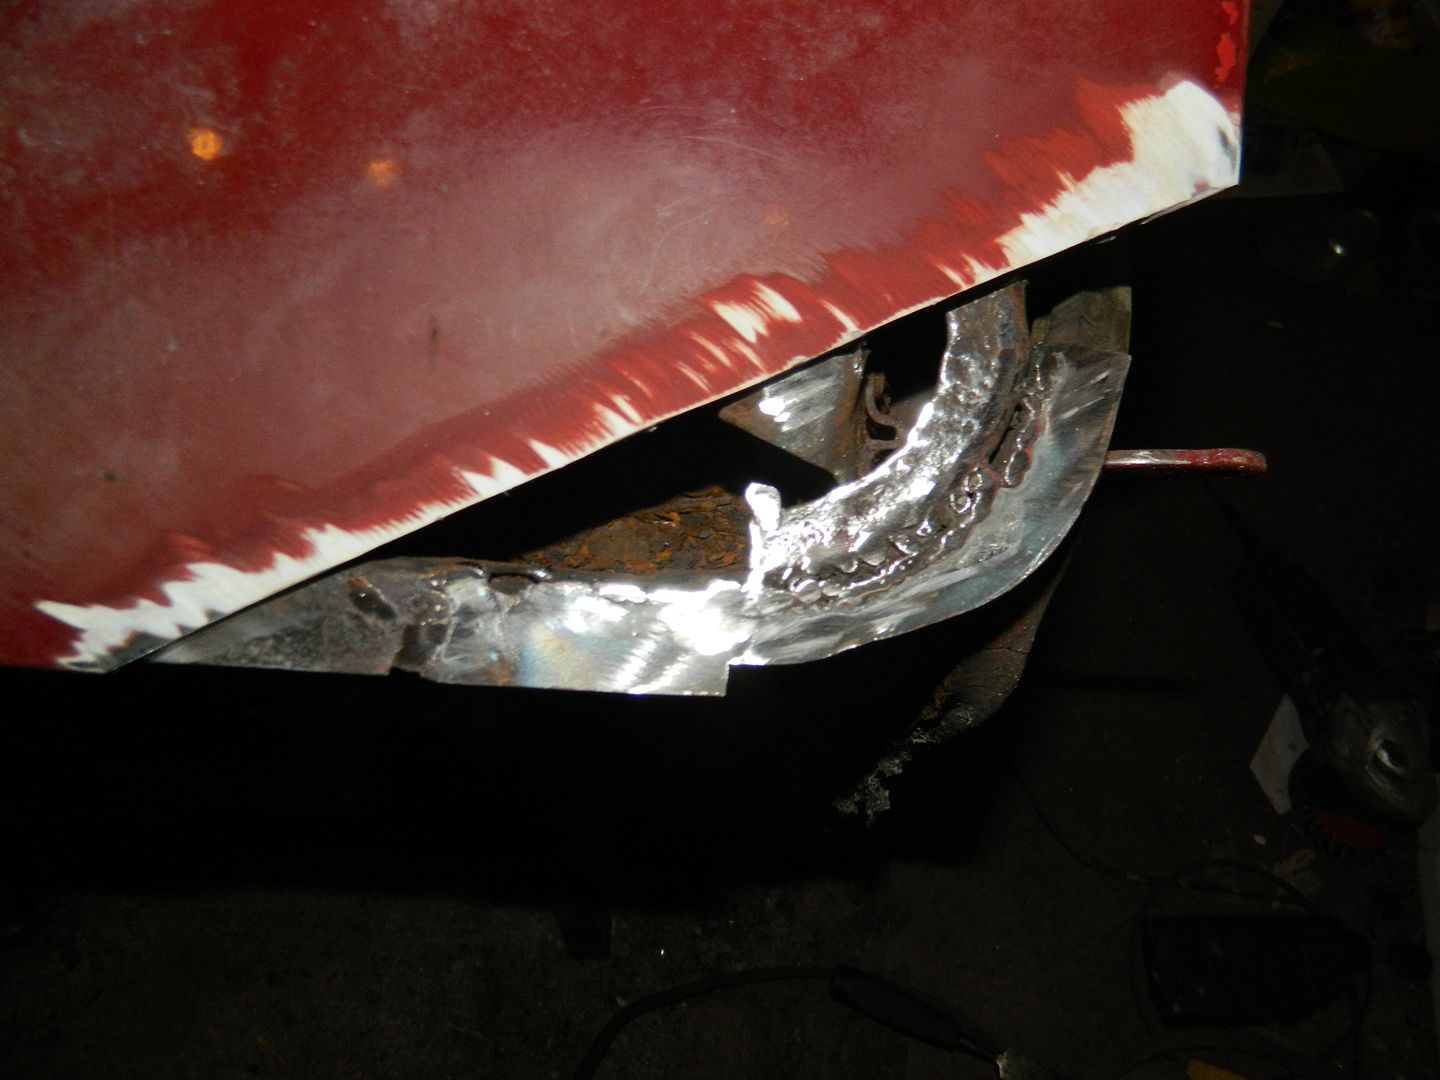 Make and attach new flange. 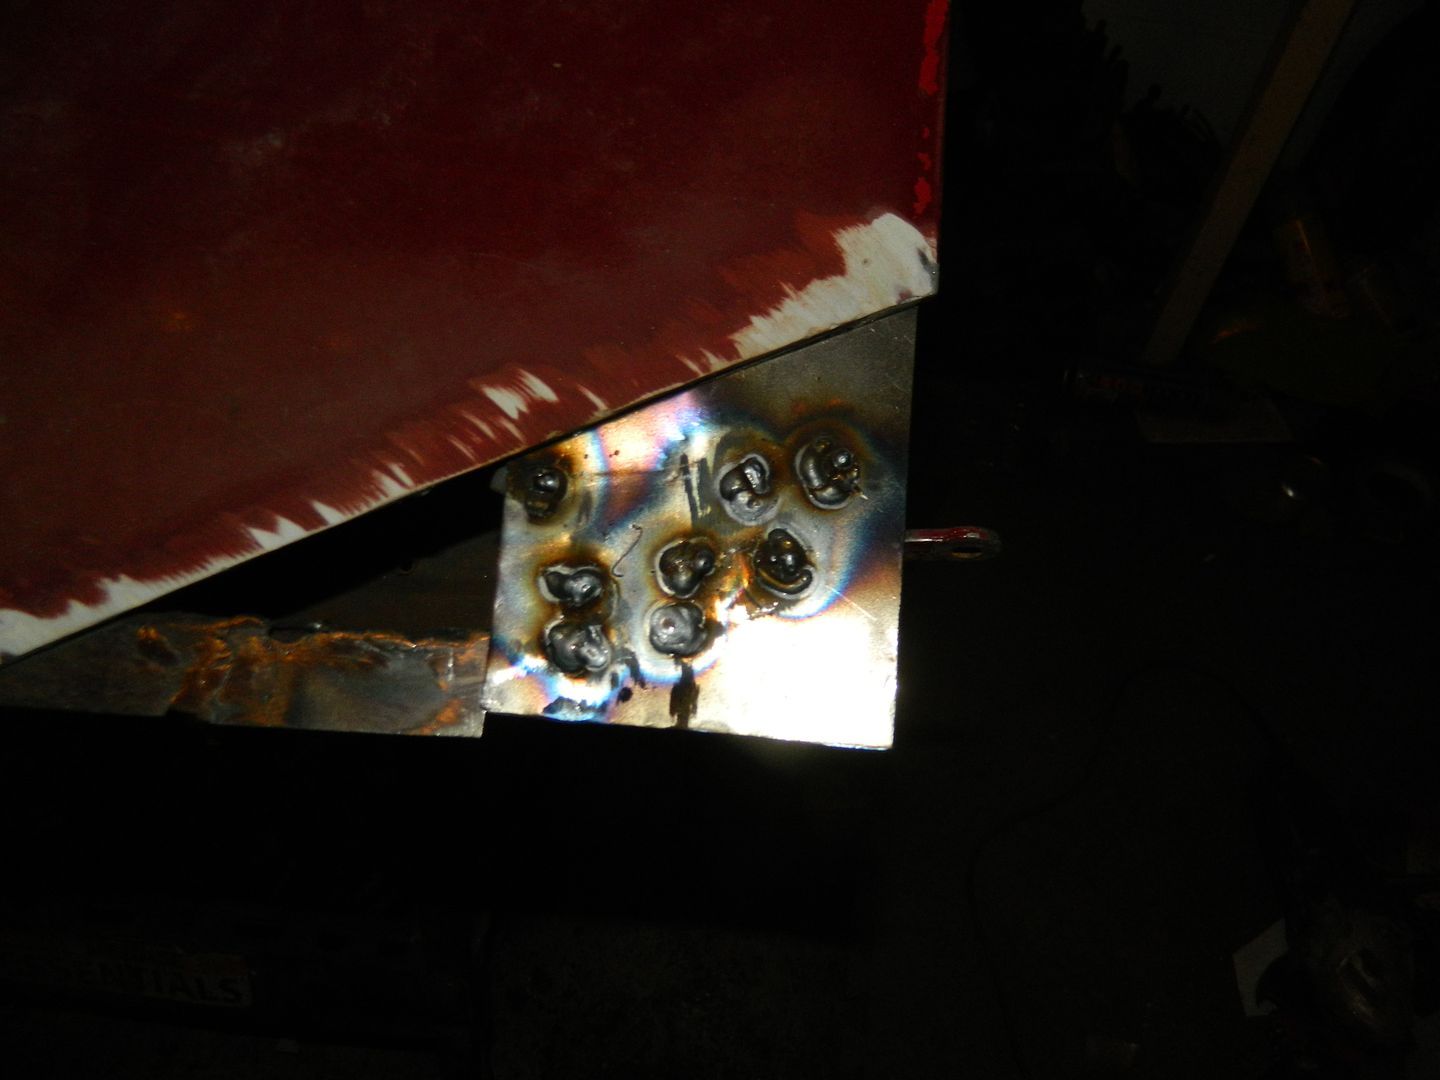 Plug weld new stiffener plate. 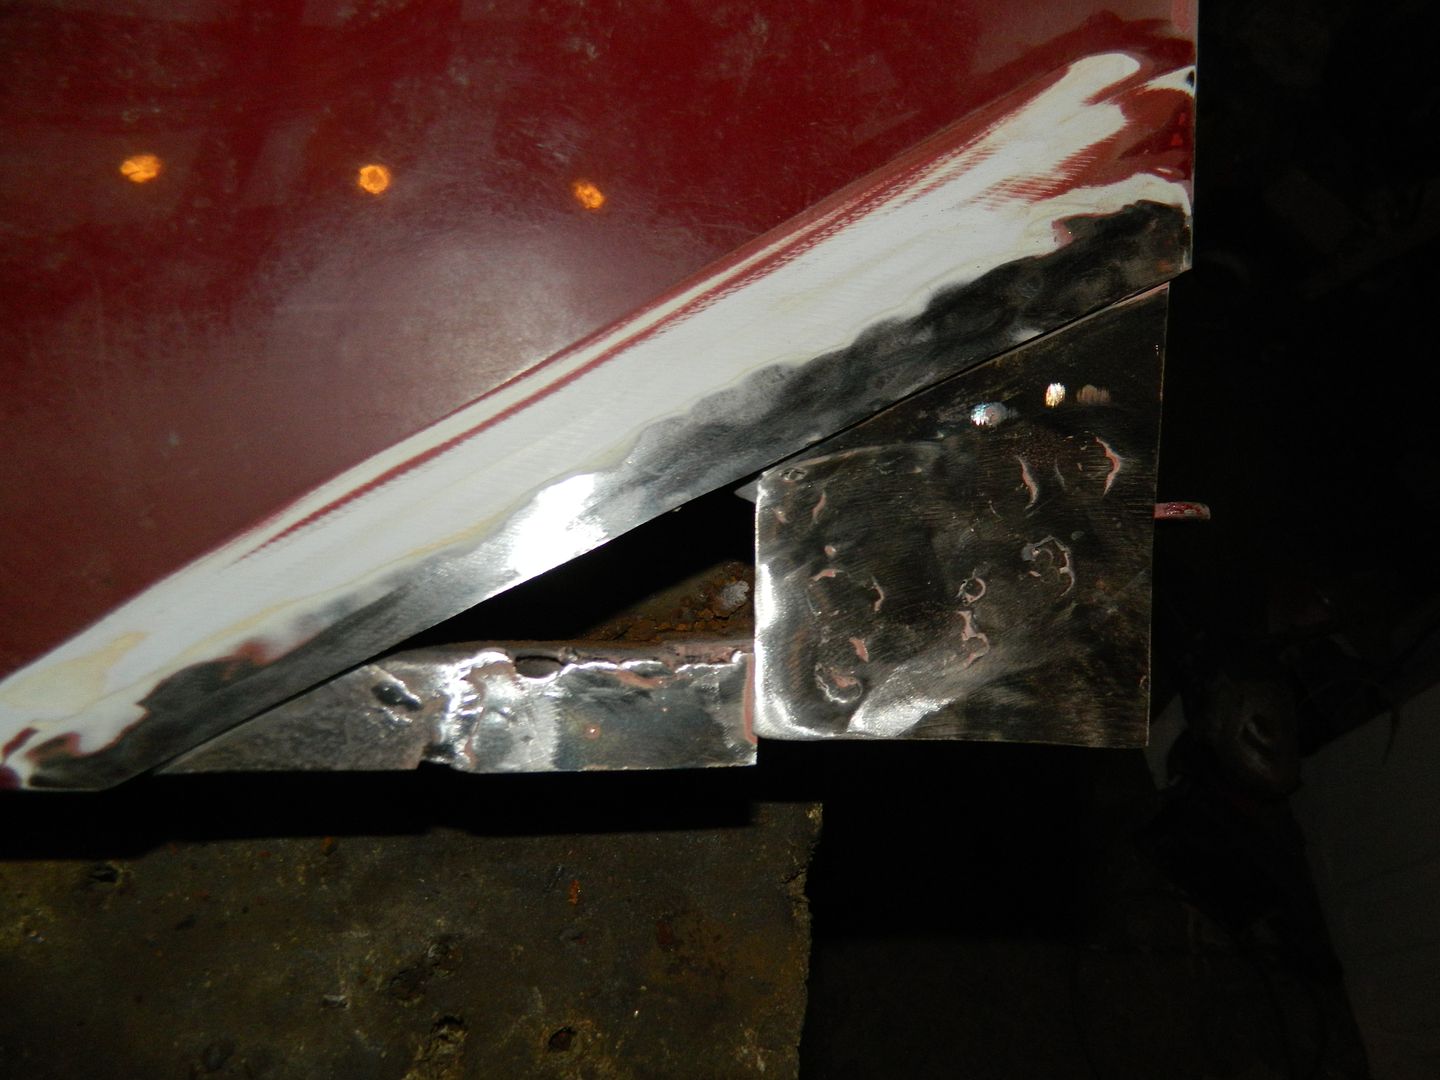 Flat back and tidy up. 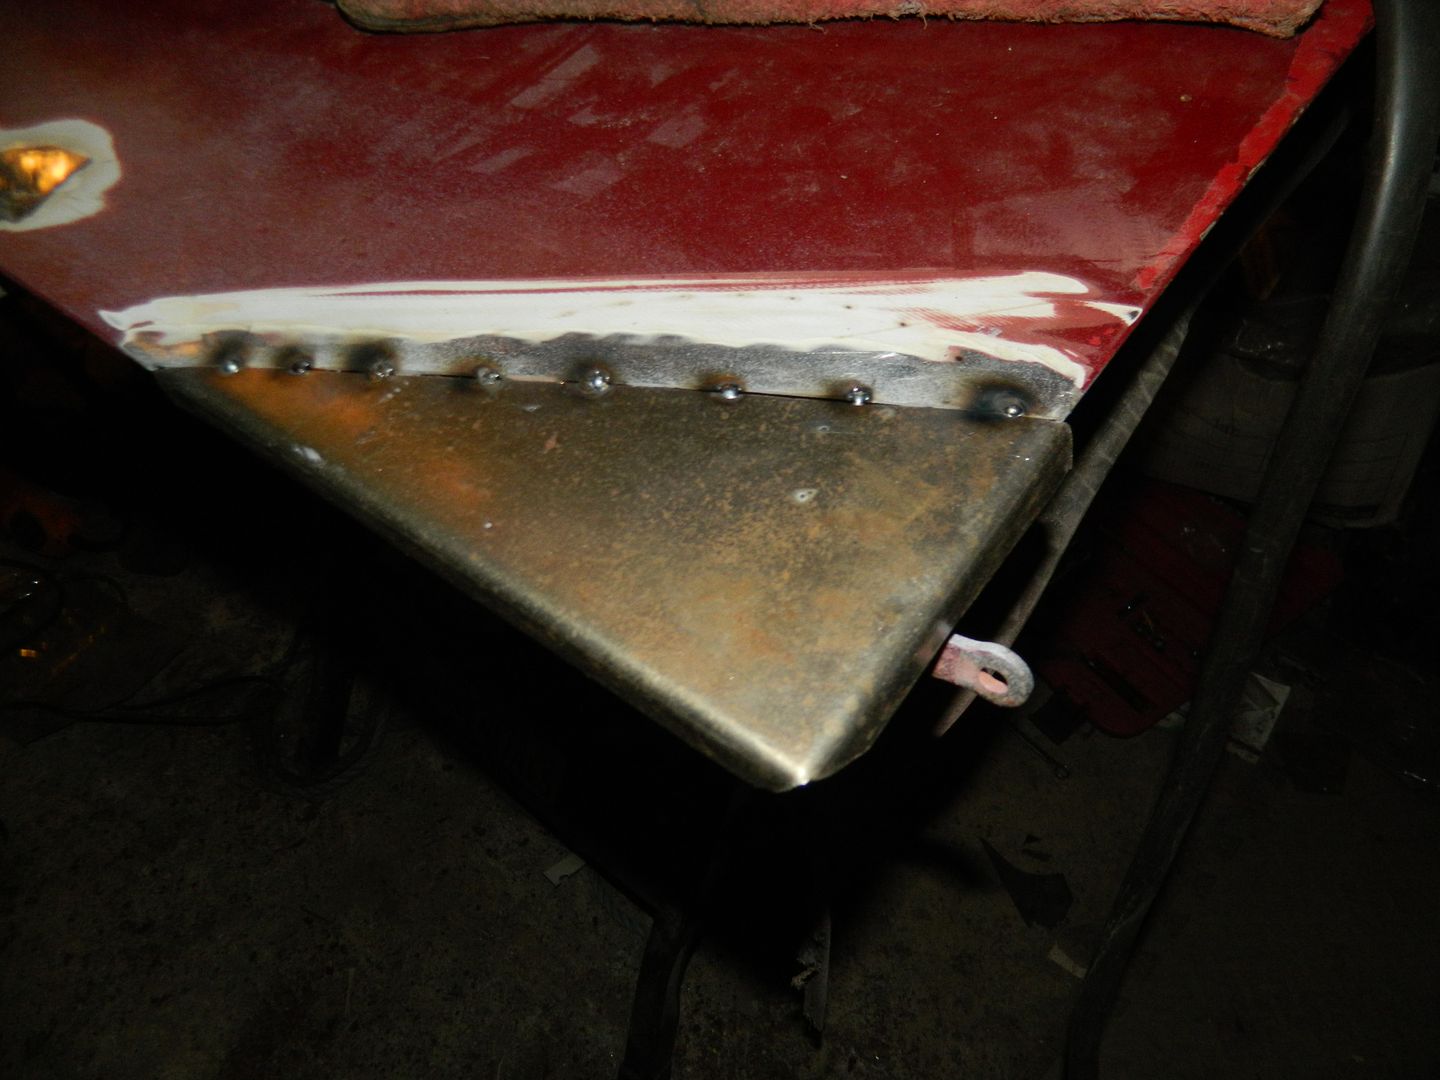 New corner piece tacked on. 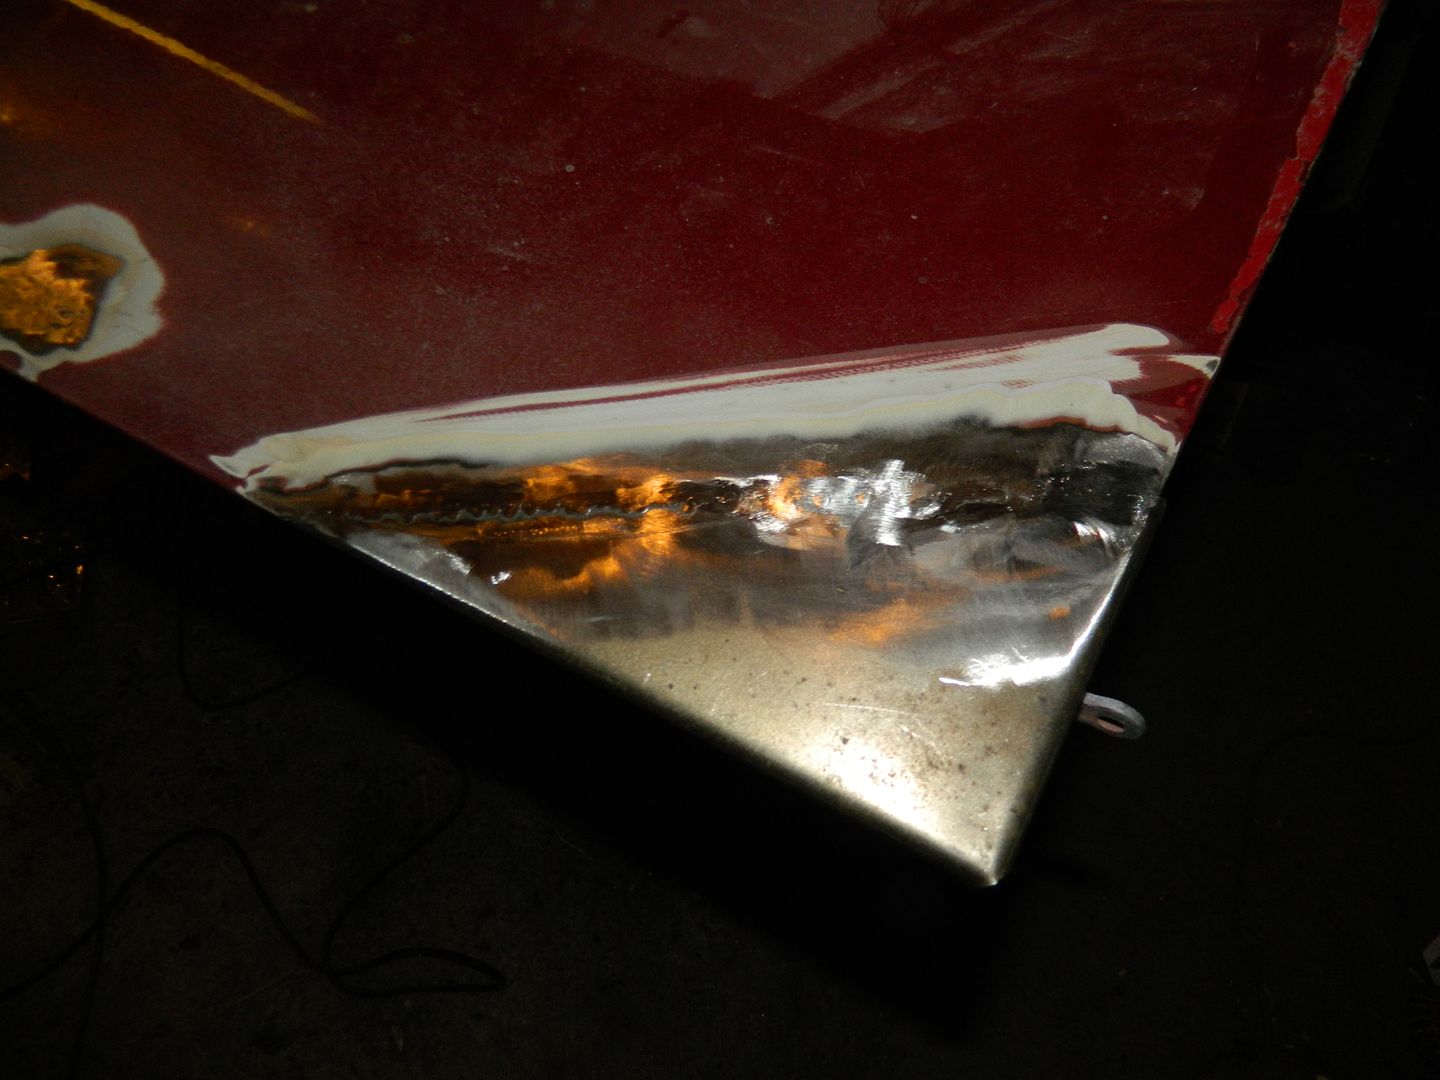 And welded and flatted. Small amount of distortion. Grrr. 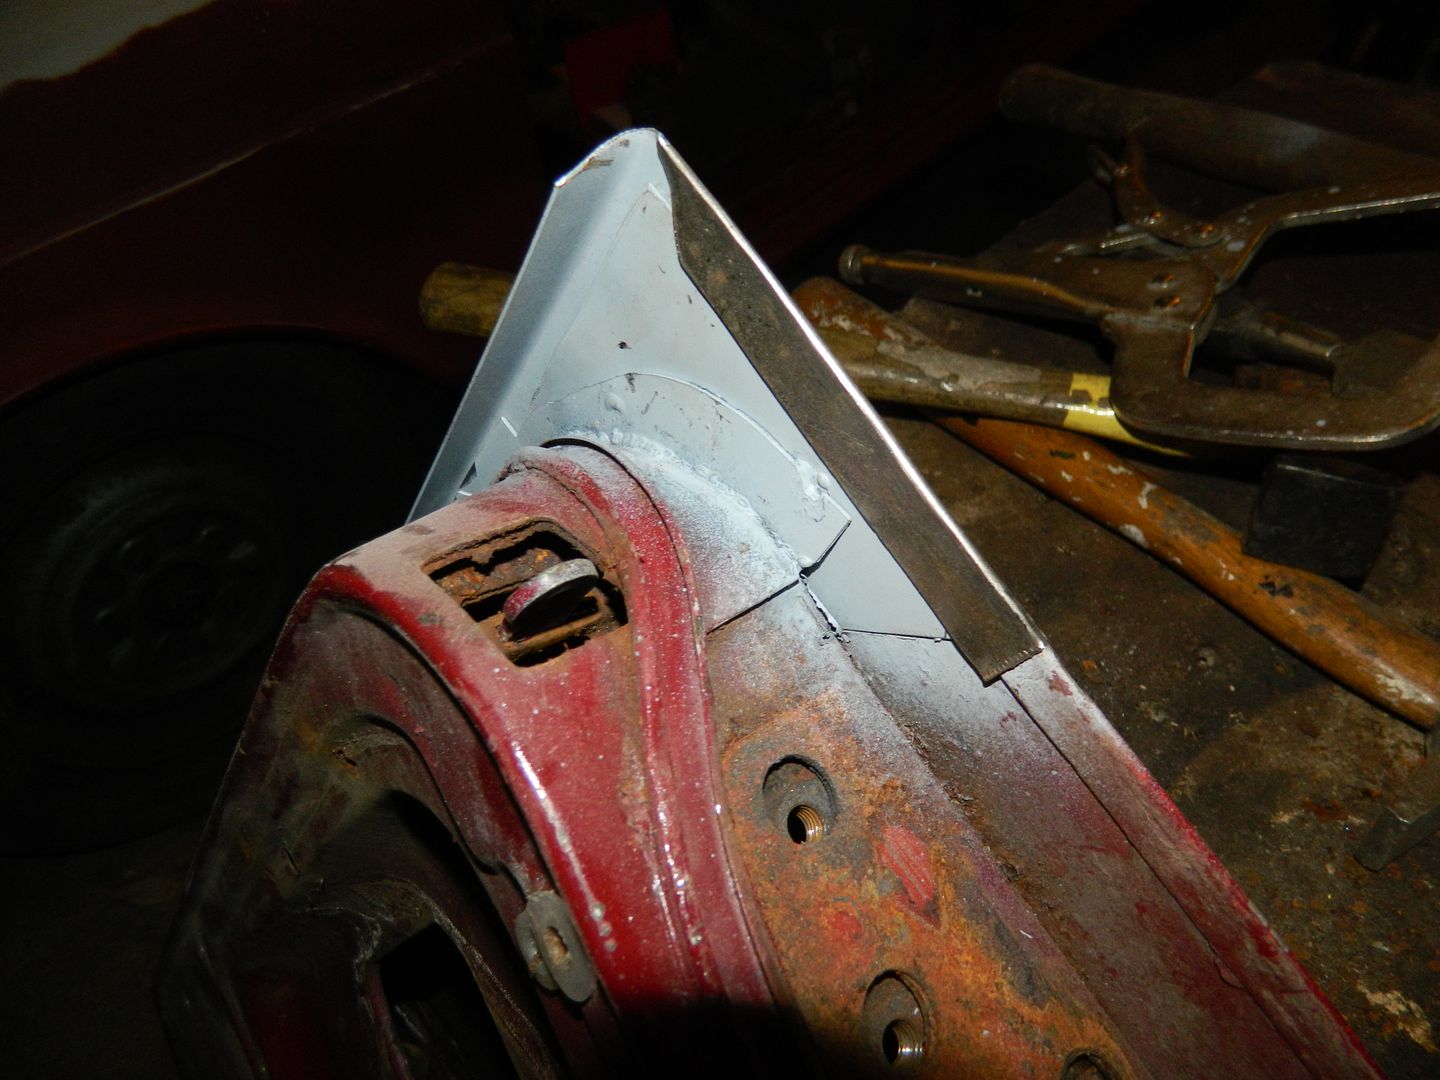 Flange knocked down. Plenty of etch primer applied. Quite pleased with that. Half a job? 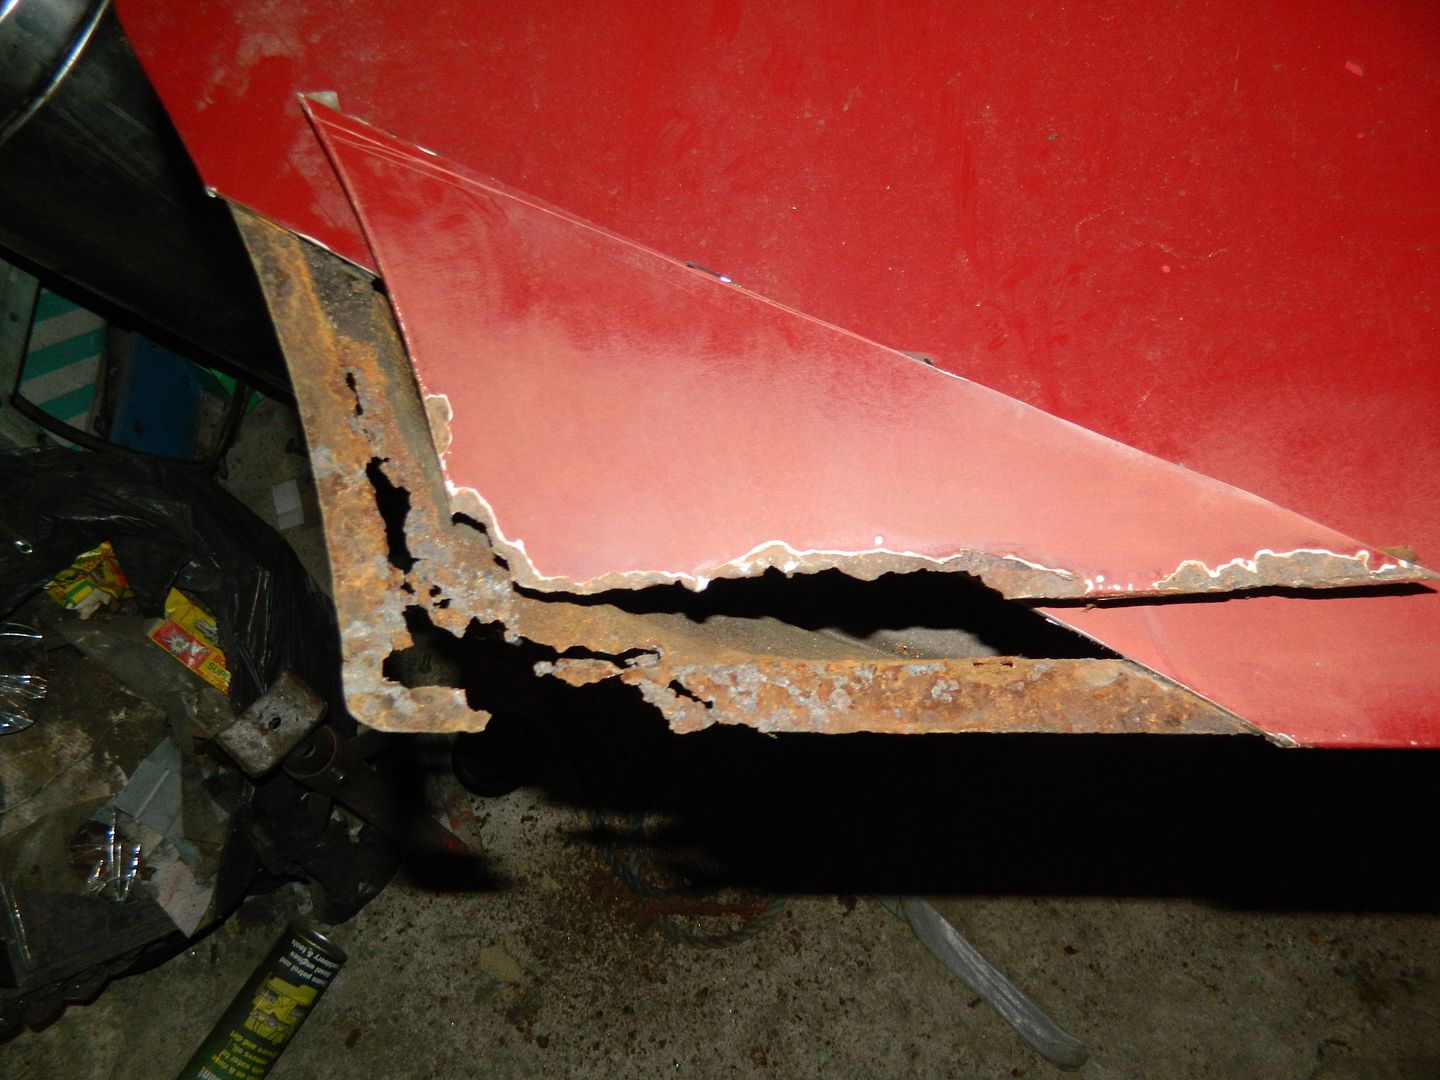 That's the other end........... Chris. |
|
|
|
Post by Penguin45 on Dec 21, 2014 0:50:40 GMT
Frustrating day. Blew up the suspension with my new über pump. Both pipes have pin holes. D@mn.
Washer system re-installed. Brake pads shot back in.
Started on the other end of the door.
Chris.
|
|
|
|
Post by dave1800 on Dec 21, 2014 1:43:56 GMT
This car is really testing you and I think you are winning even if it doesn't feel that way sometimes. I admire your determination! David Frustrating day. Blew up the suspension with my new über pump. Both pipes have pin holes. D@mn. Washer system re-installed. Brake pads shot back in. Started on the other end of the door. Chris. |
|
|
|
Post by Penguin45 on Dec 21, 2014 19:45:00 GMT
Someone said any major task was like eating an elephant - one bite at a time. It feels like this particular elephant is putting on weight..... Other end of door: 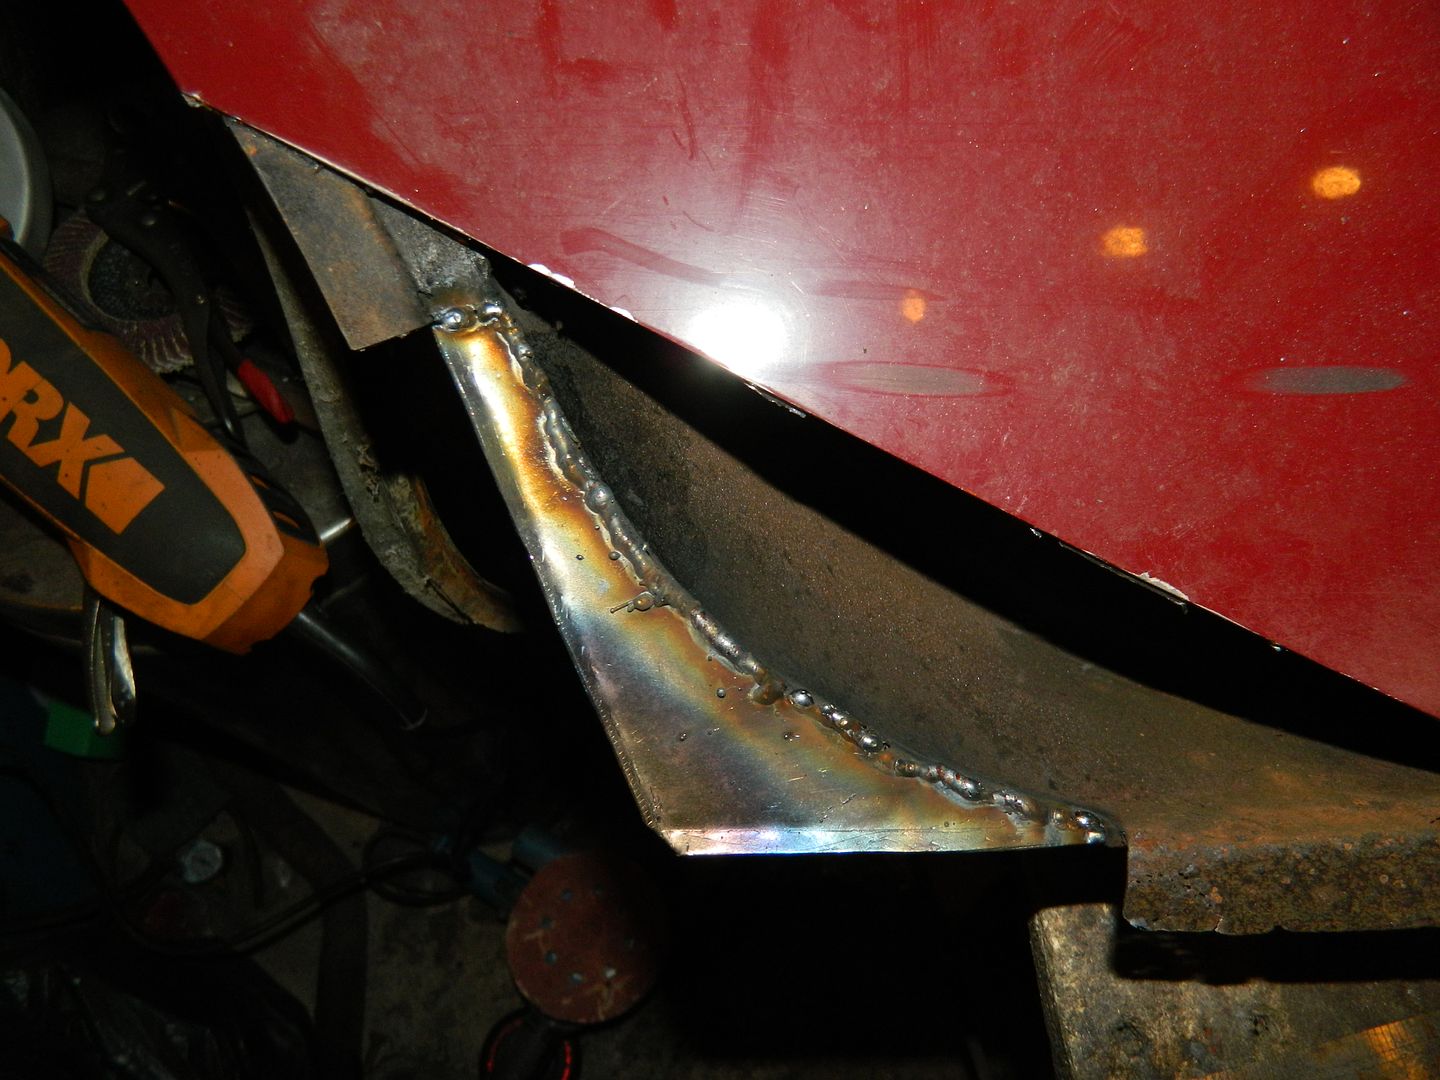 Inner flange welded home. Note raised edge. 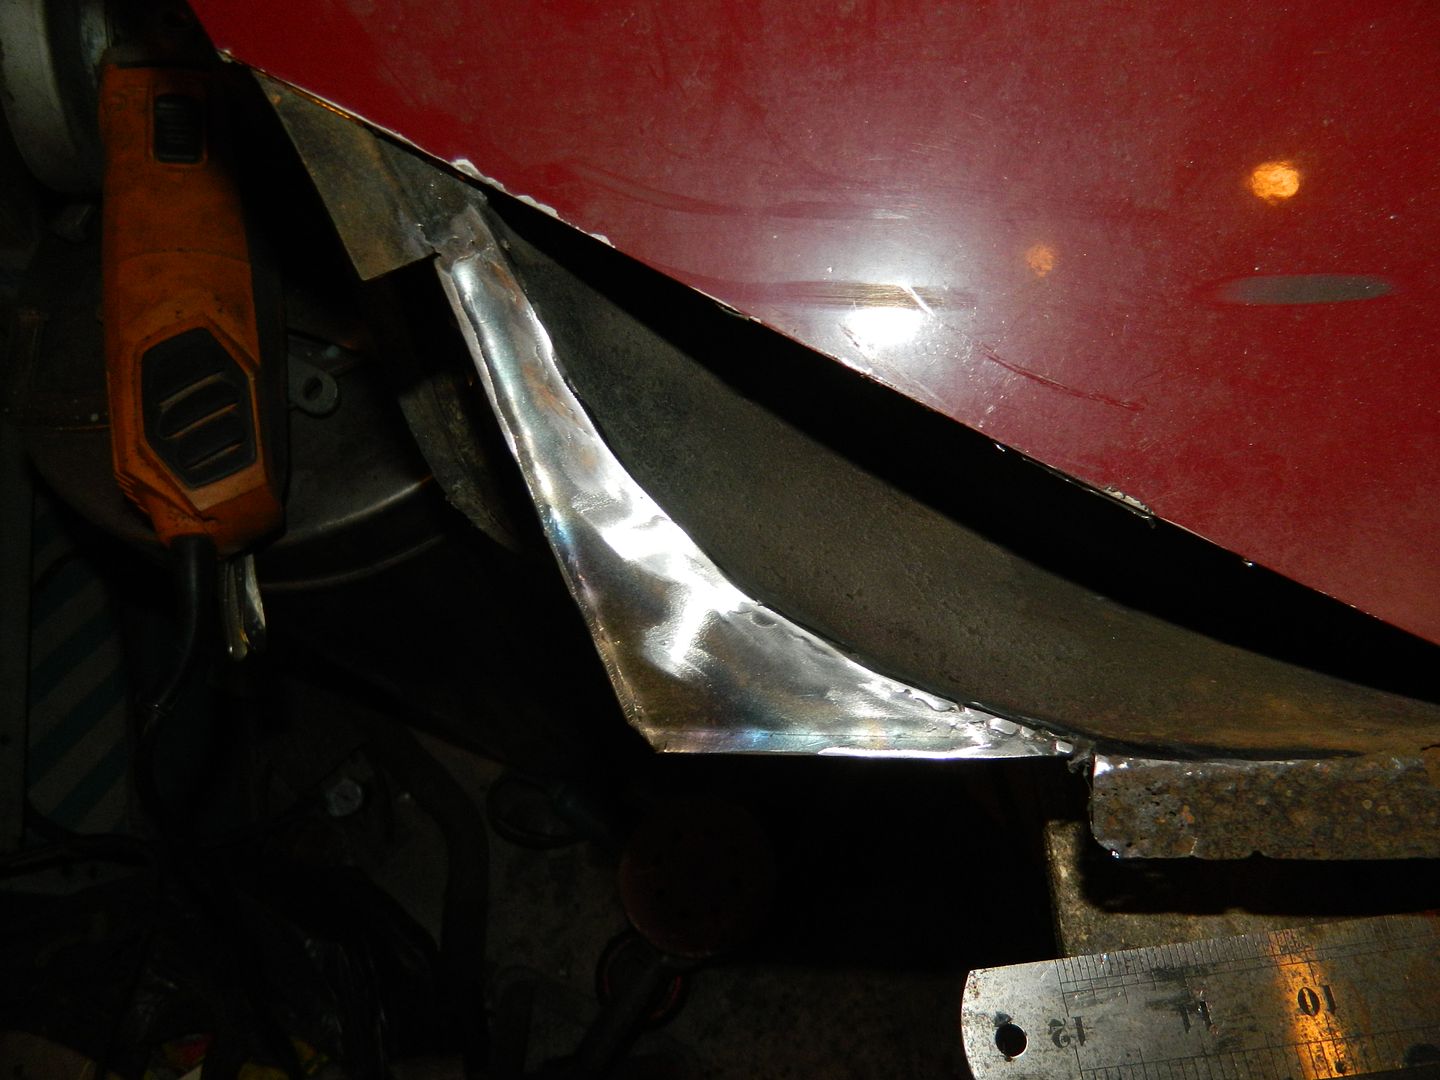 Weld tidied up. 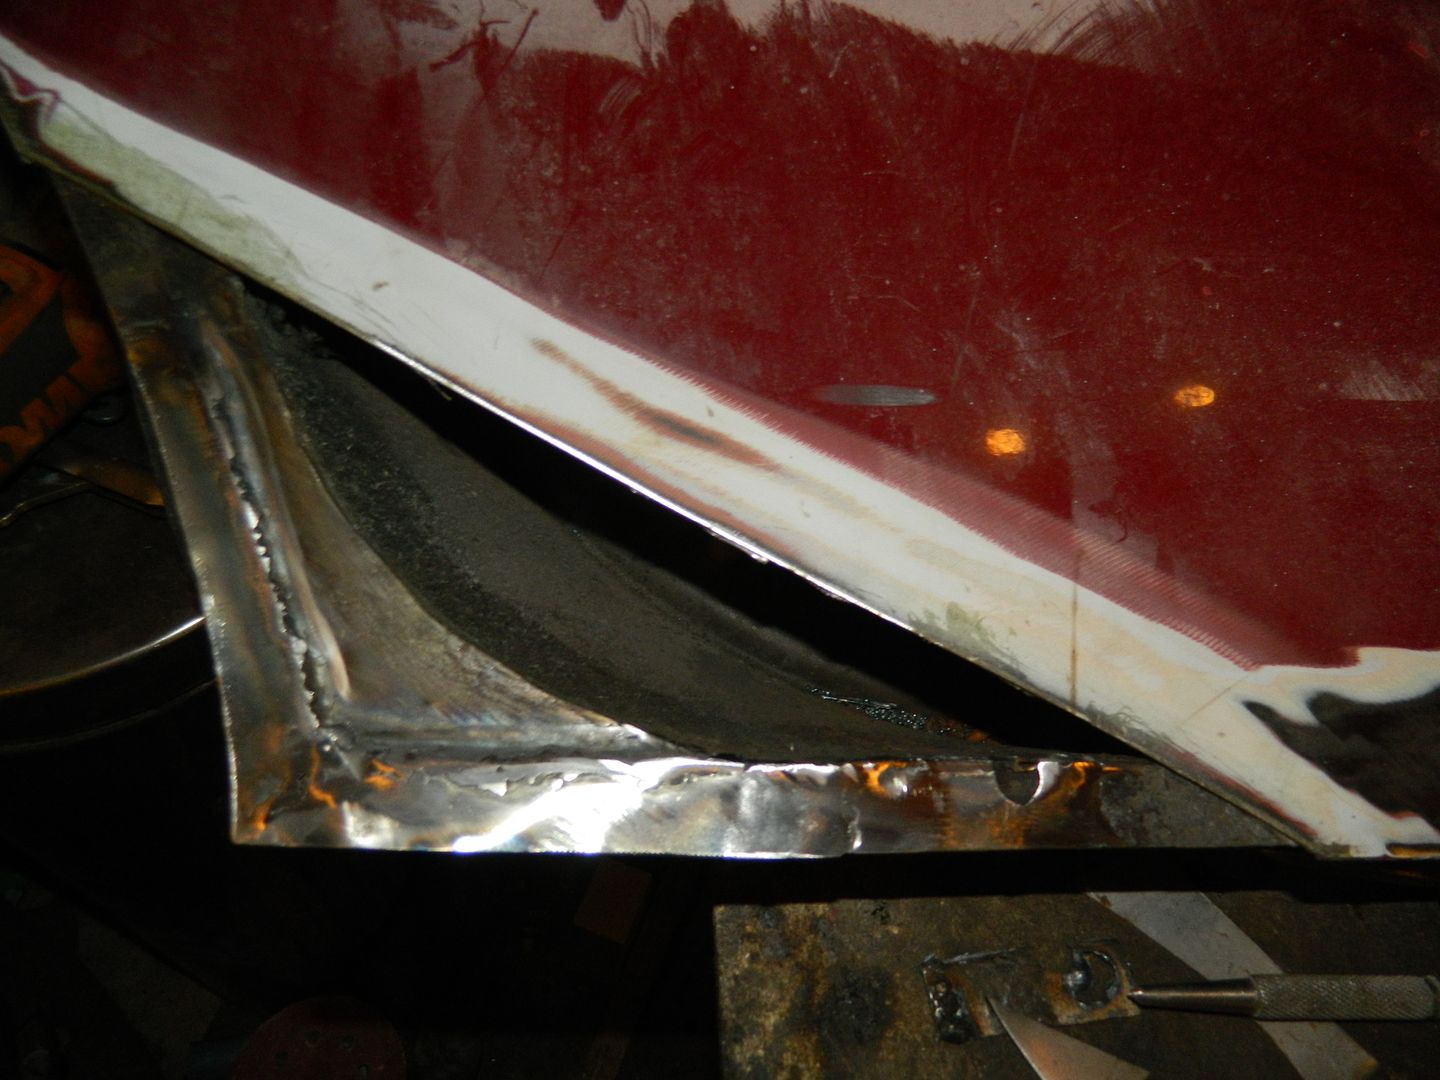 Outer flange welded home. Nice step developed. 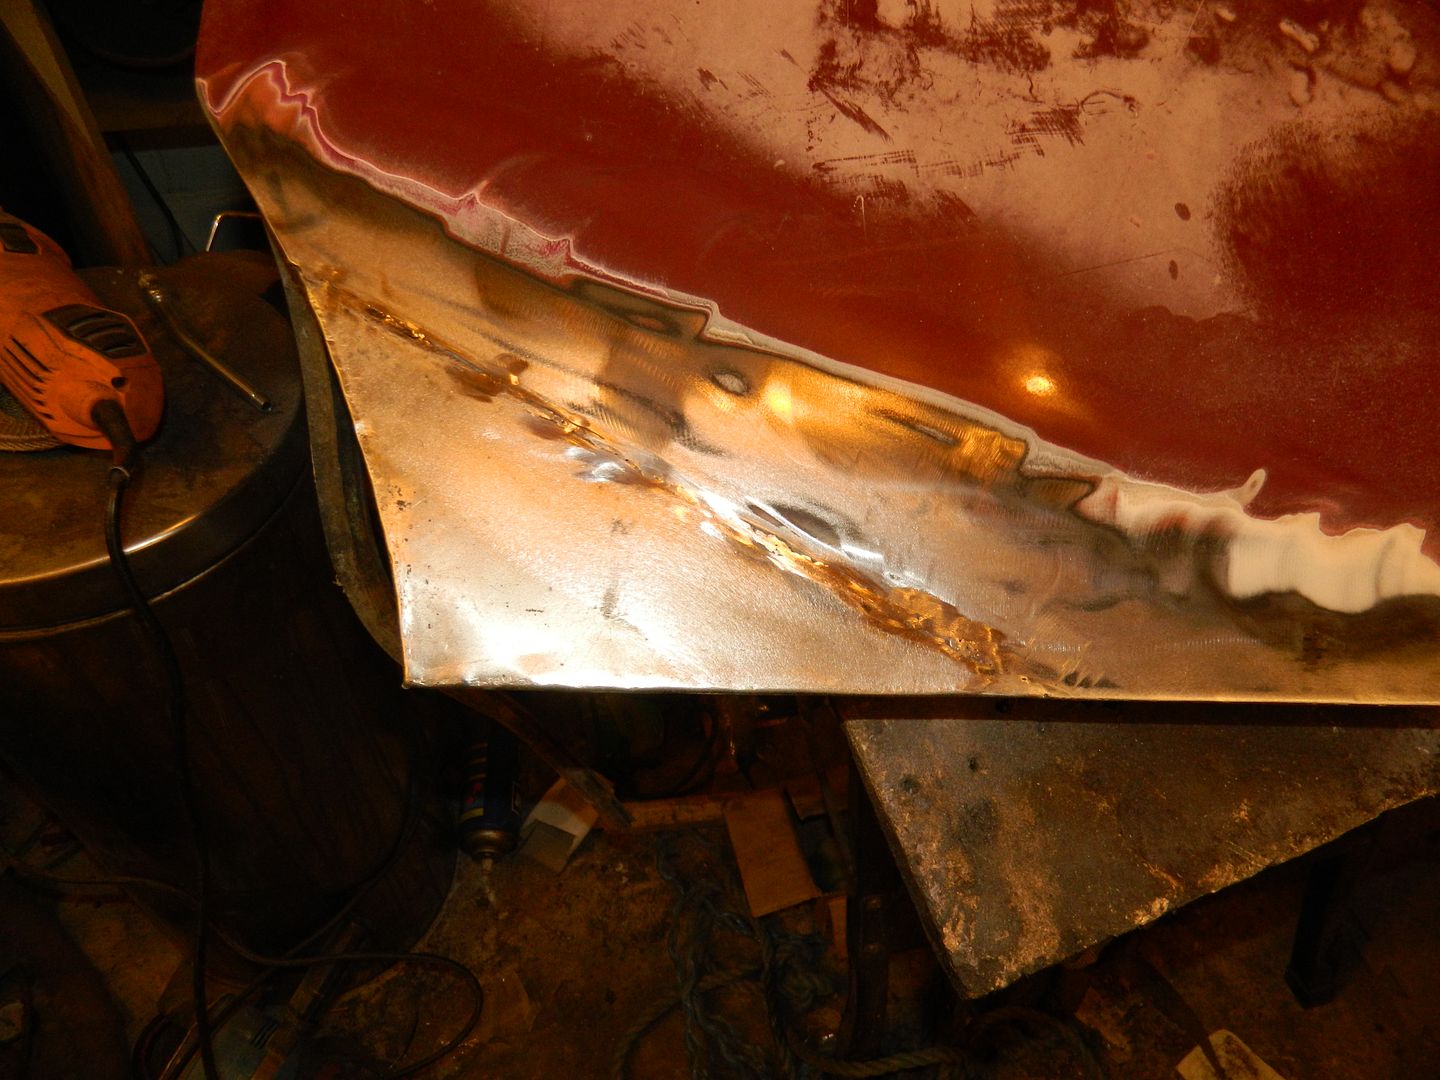 Corner piece welded in and flatted back. 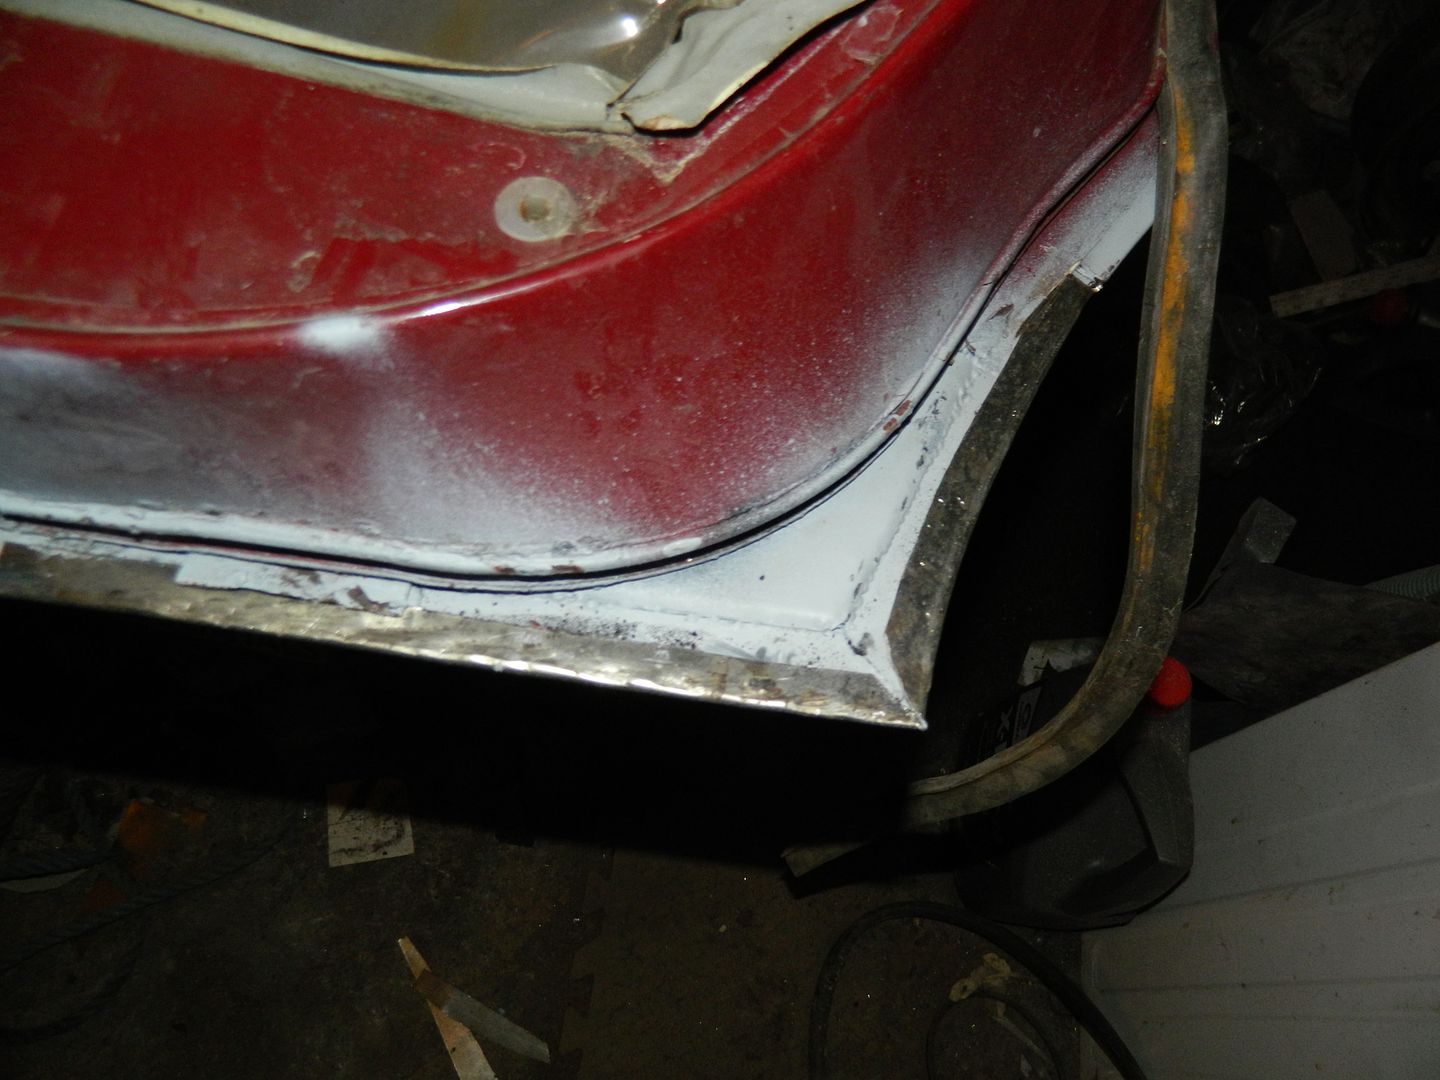 Flanges turned over. Curved one quite tricky to get right. Unfortunately, once again there was a bit of heat distortion. 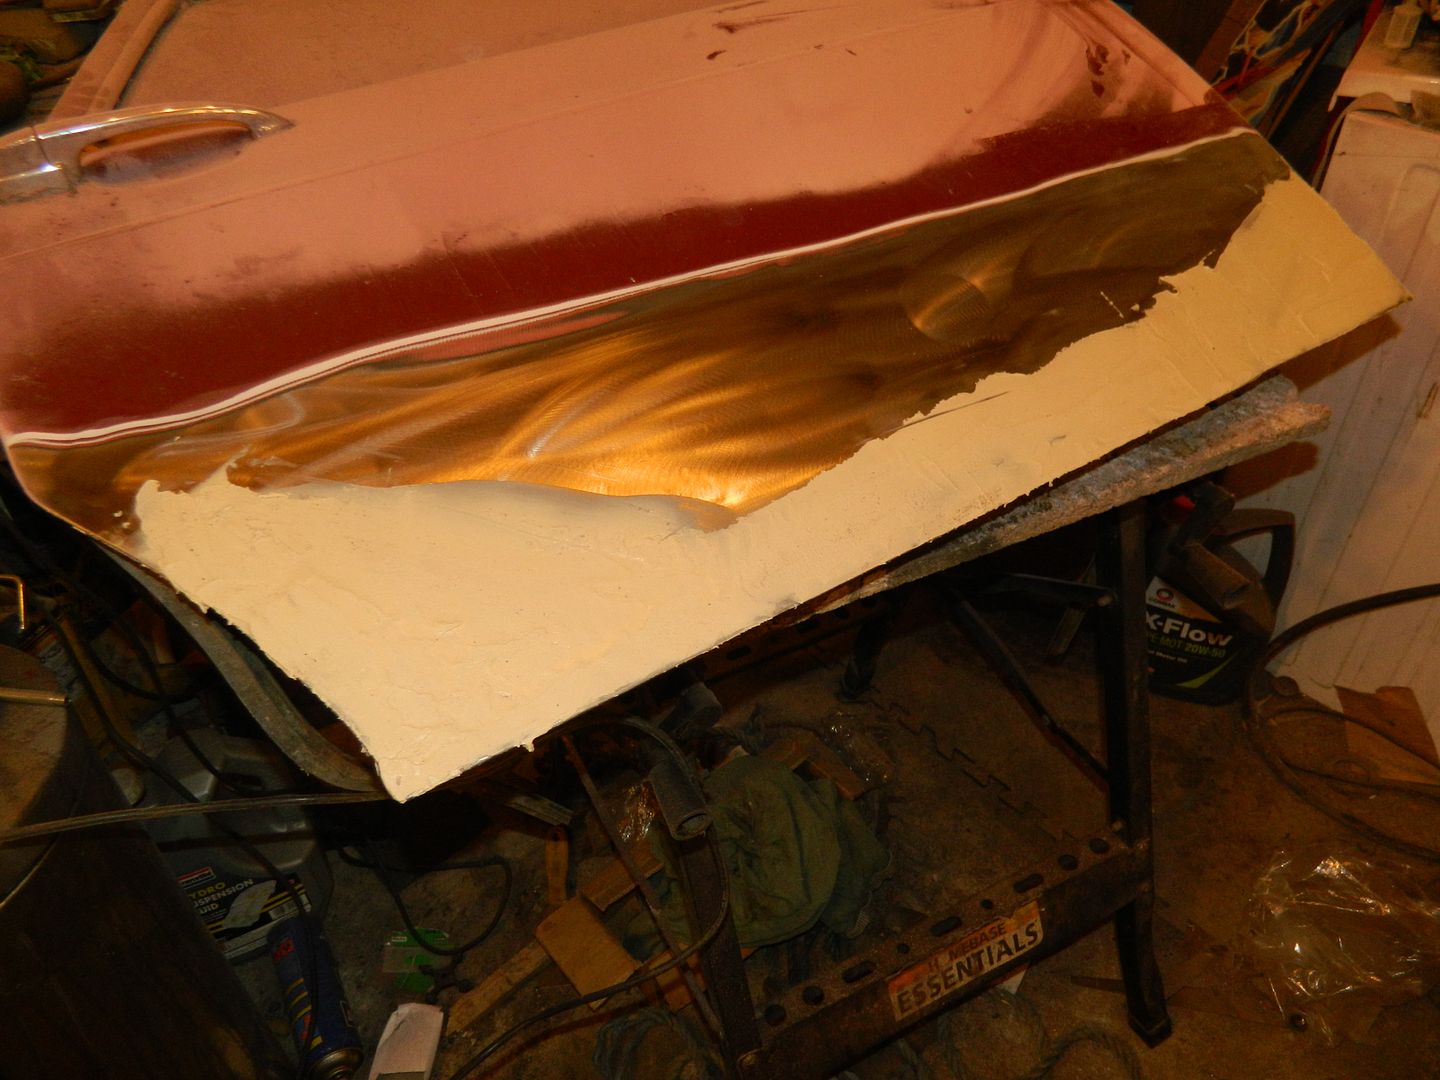 Inevitable consquences - filler. At least it's for shape rather than hiding rust. Chris. |
|
|
|
Post by dave1800 on Dec 22, 2014 3:02:24 GMT
Maybe you have taken on a mammoth task - groan David Someone said any major task was like eating an elephant - one bite at a time. It feels like this particular elephant is putting on weight..... Chris. |
|
|
|
Post by Penguin45 on Dec 28, 2014 20:09:00 GMT
Met up with Tony Wood at the Huddersfield Autojumble today and collected the new hydrolastic pipes. Got them fitted this afternoon and the car is now inflated and standing nicely. Satifying absence of drips.
So far.
Chris.
|
|
|
|
Post by tommydp on Dec 28, 2014 20:15:39 GMT
Great news Chris!
I'm also happy to see someone posting, to keep the forum alive! I was just about to post some pictures of the white one to do so. I suppose people are busy during Christmas, so hope all members will contribute a lot in the new year! It seems around ten of us are keeping it alive.
Hope the Austin is level tomorrow, too! Are you using the rubber type pipes? I've never tried them. Have the original on both cars, so far... Fingers crossed they'll last.
Best regards, Tommy.
|
|
|
|
Post by Penguin45 on Dec 29, 2014 0:33:36 GMT
Bit of a "silly season" is Christmas. Even die-hard car nuts have enough sense to spend time with partners and family. All the fora I post or read on are pretty well dead at the moment. I even turned the snow on........
Yup, I've fitted a pair of rubber hydraulic pipes. It was actually much harder getting the steel ones out with the engine in place than laying in the rubber ones. The Wolseley has been on them for the last 11 years, as it was the first "proper" repair I did to it. The PO had replaced the pipes with 22mm copper plumbing under the car and spliced them to the curvy steel bits with rubber hose and Jubilee clips. It had to go. They've been no trouble at all, although I did notice a few cracks starting to appear in the rubber outer sleeving last time I was under the car. I reckon they've got a few years left in them yet.
That door has been flatted back and looks reasonably respectable. I might re-hang that on the car and get the next one out. Now the car is "up", I'll have a go at getting the brakes filled and bled off tomorrow, seeing as I'll be able to reach underneath.
Chris.
|
|
|
|
Post by Penguin45 on Dec 29, 2014 20:48:58 GMT
Drivers seat re-instated. Started on the brakes. There are 17 unions and four bleed nipples - only two weeping joints. I have managed to get fluid pretty much through the system and the front end is bled off properly. Rear O/S is OK, rear N/S is causing a problem I don't understand. I had quite a job getting the bleed nipple free and finished up replacing it. I've now got fluid to the union where the pipe enters the cylinder, but can't get any fluid out through the bleed nipple. The nipple itself is clear. Anyone got any ideas?
Chris.
|
|
|
|
Post by tommydp on Dec 29, 2014 22:16:54 GMT
Did you replace the bleed screw only, or the whole wheel cylinder?
If you only replaced the screw, are you sure it's the same? I seem to recall I had a similiar issue when trying another bleed screw once. Do you get fluid through if you remove the bleed screw completely?
Tommy.
|
|
|
|
Post by Penguin45 on Dec 30, 2014 0:29:30 GMT
Did you replace the bleed screw only, or the whole wheel cylinder? Bleed screw only. And - I made sure it was clear before fitting it. If you only replaced the screw, are you sure it's the same? I removed it from a spare backplate assembly with a cylinder on it, so yes. I seem to recall I had a similiar issue when trying another bleed screw once. Do you get fluid through if you remove the bleed screw completely? Tommy. No, nothing. I'm assuming that the cylinder is blocked internally, which is something I've never heard of before. You can remove the screw completely and it still doesn't let fluid through. Weird....... I've got a spare cylinder in the boot of the Wolseley, so I'll see about swapping that in tomorrow and see if it works. Chris. |
|
|
|
Post by dave1800 on Dec 30, 2014 11:52:31 GMT
Can you blow backwards through the bleed valve aperture, with the pipe disconnected, it sounds like gunge but only one way to find out.
David
|
|
|
|
Post by Penguin45 on Dec 30, 2014 18:32:13 GMT
I have found the culprit: 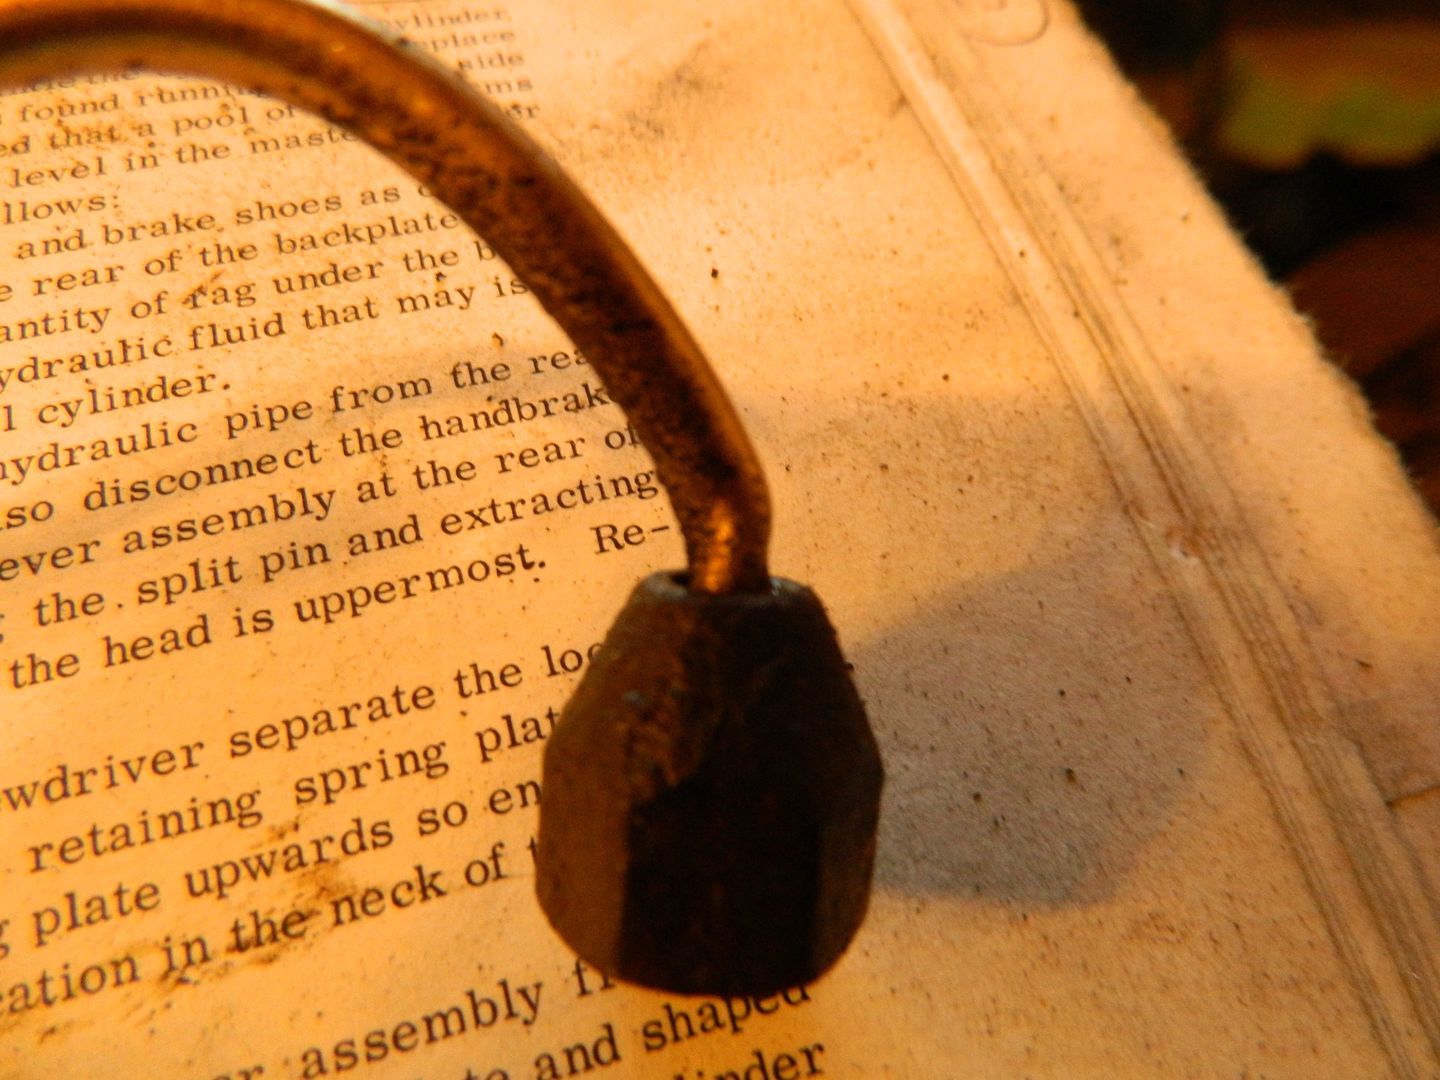 Just nipped, presumably when the last tweak of tightening occured. This was the one from the three way union across to the flexi-hose. It was able to allow a tiny dribble of fluid through, but nothing more. So, that's my own fault as I made the pipe. Changed the rear cylinder anyway, as it was still reluctant to allow fluid through and it was just as well that I did. 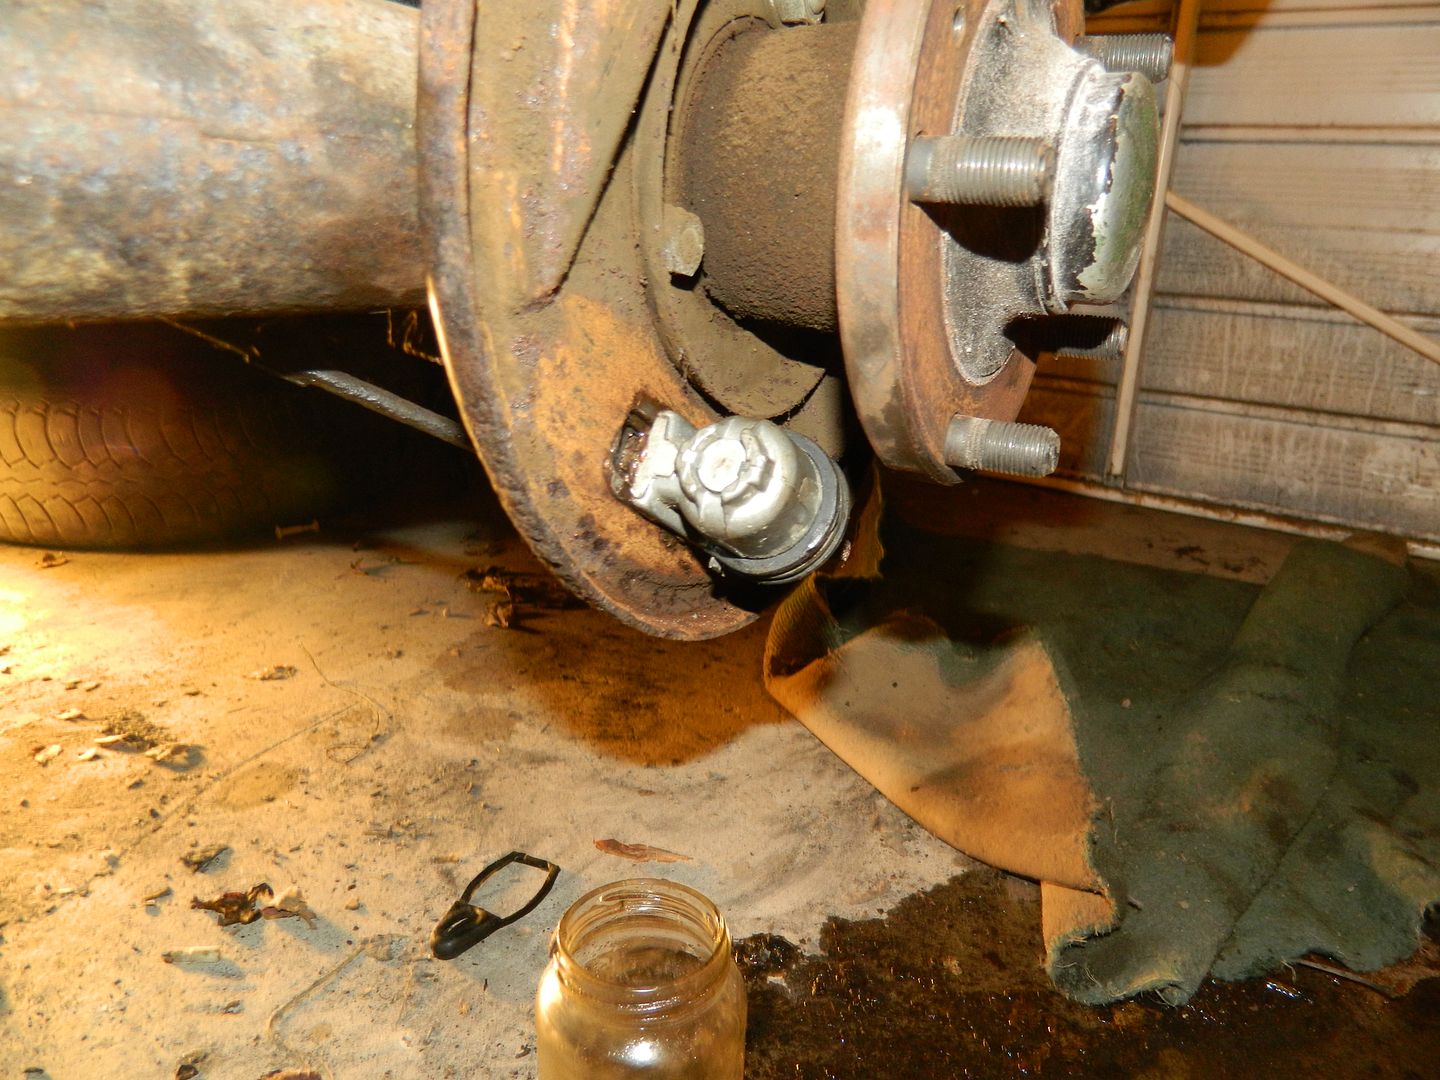 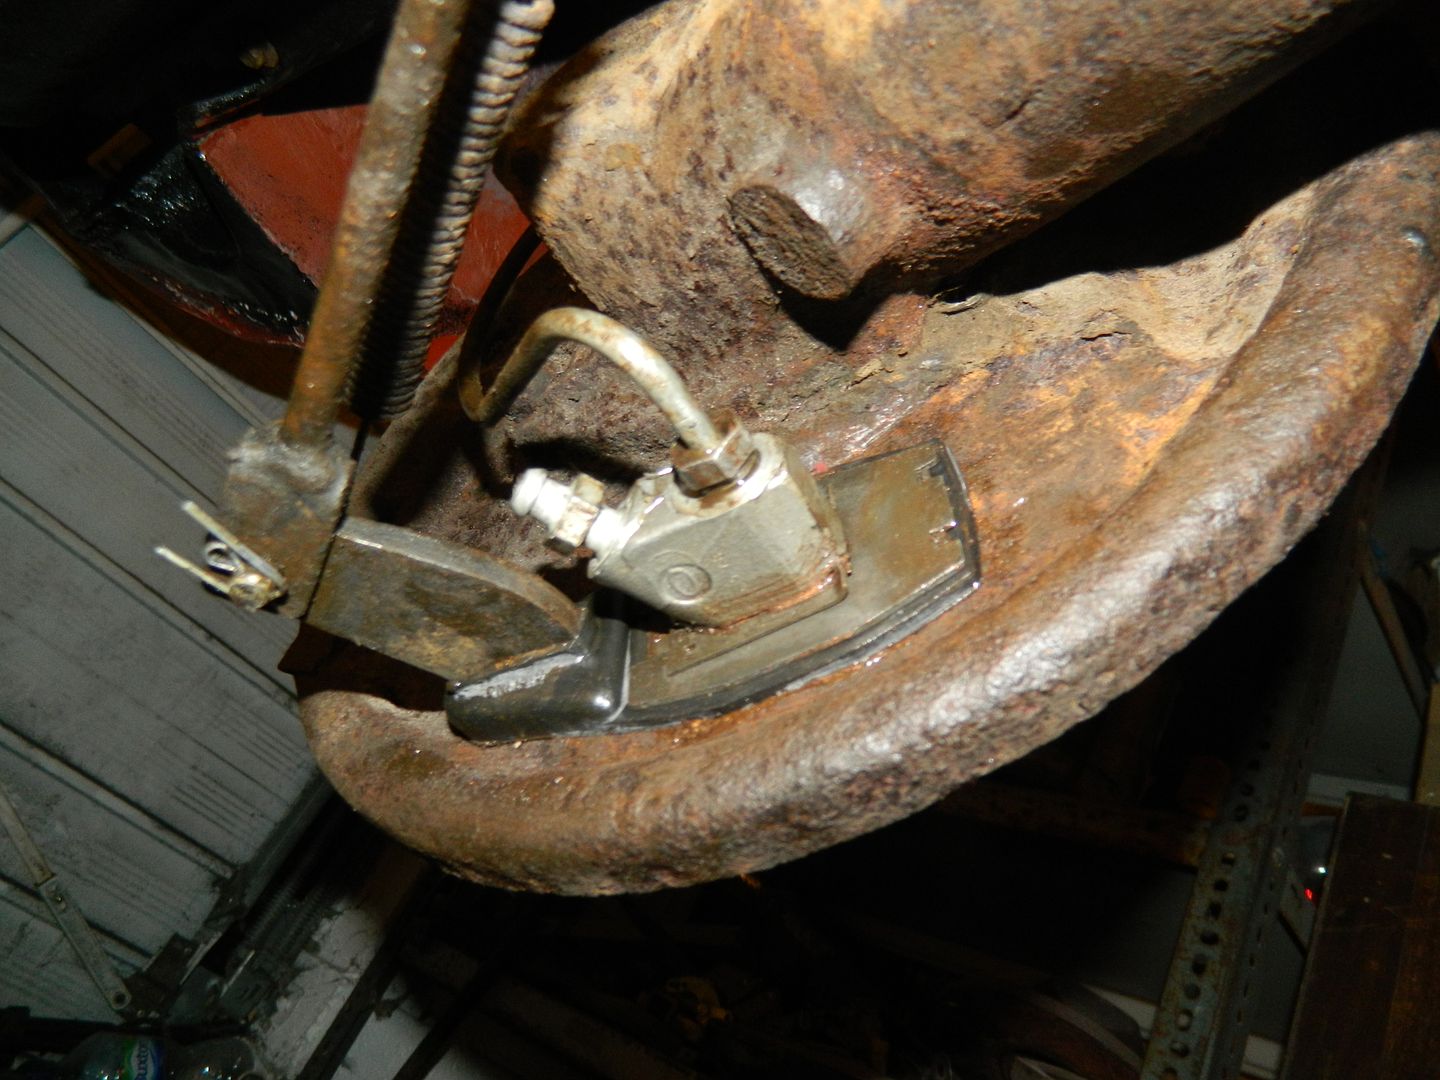 THE BOOK makes this sound like an easy task - "Remove retaining plate". It misses out the bit about working on a concrete floor at 1°C on components that haven't been touched for 40 odd years. I got there. 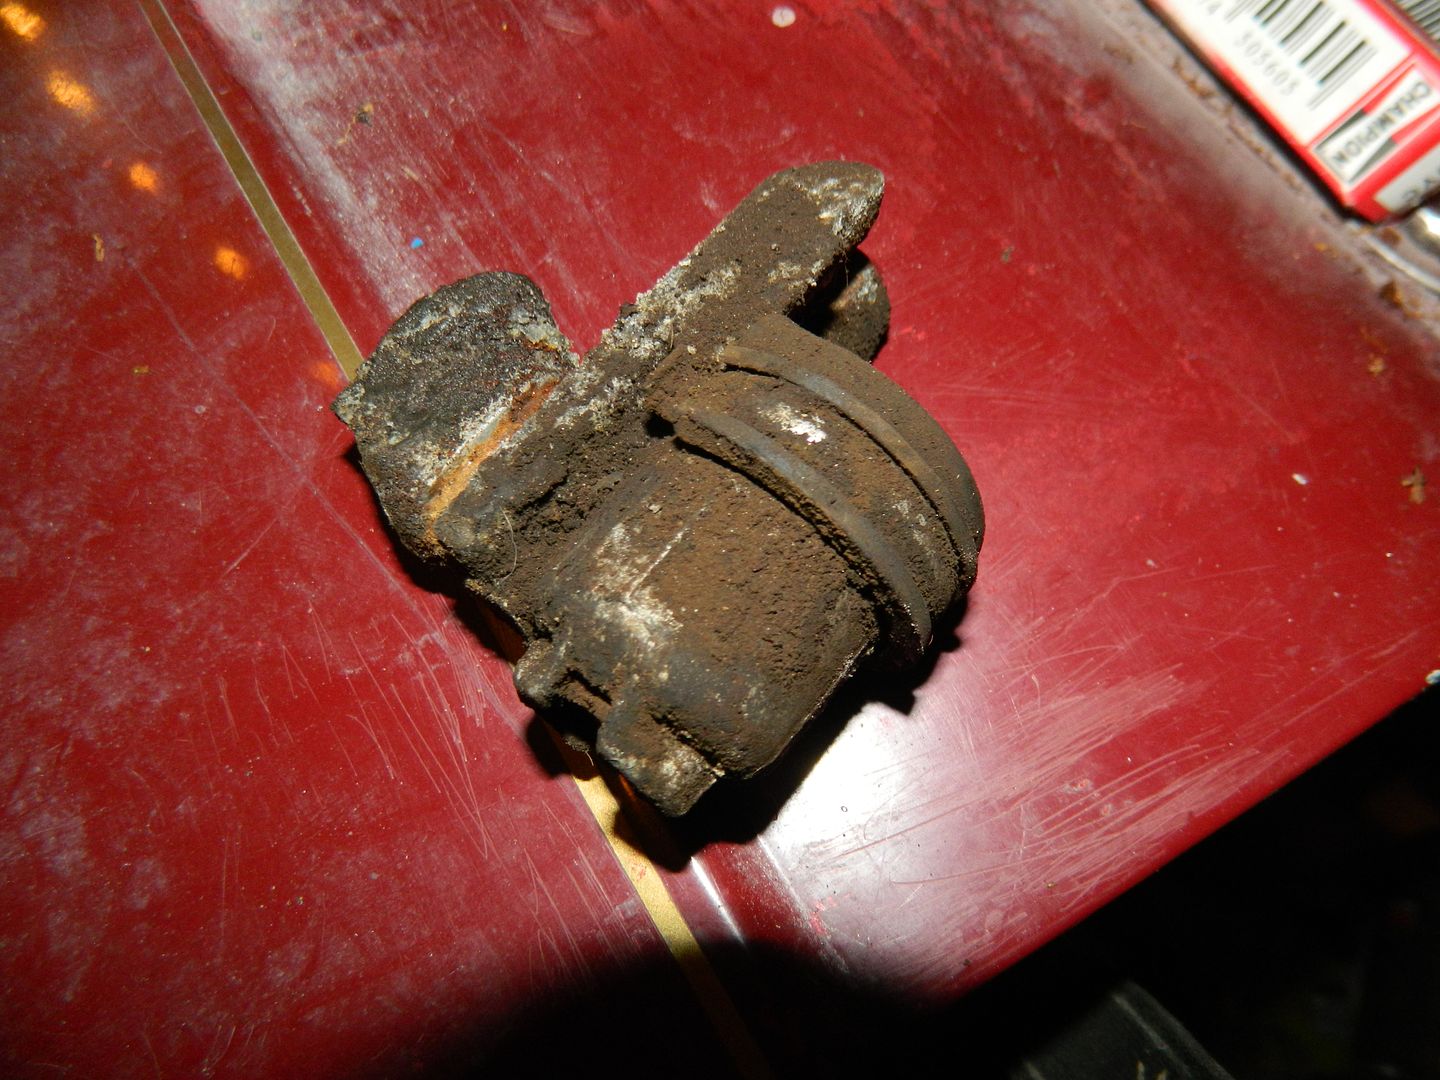 One very old and manky cylinder. 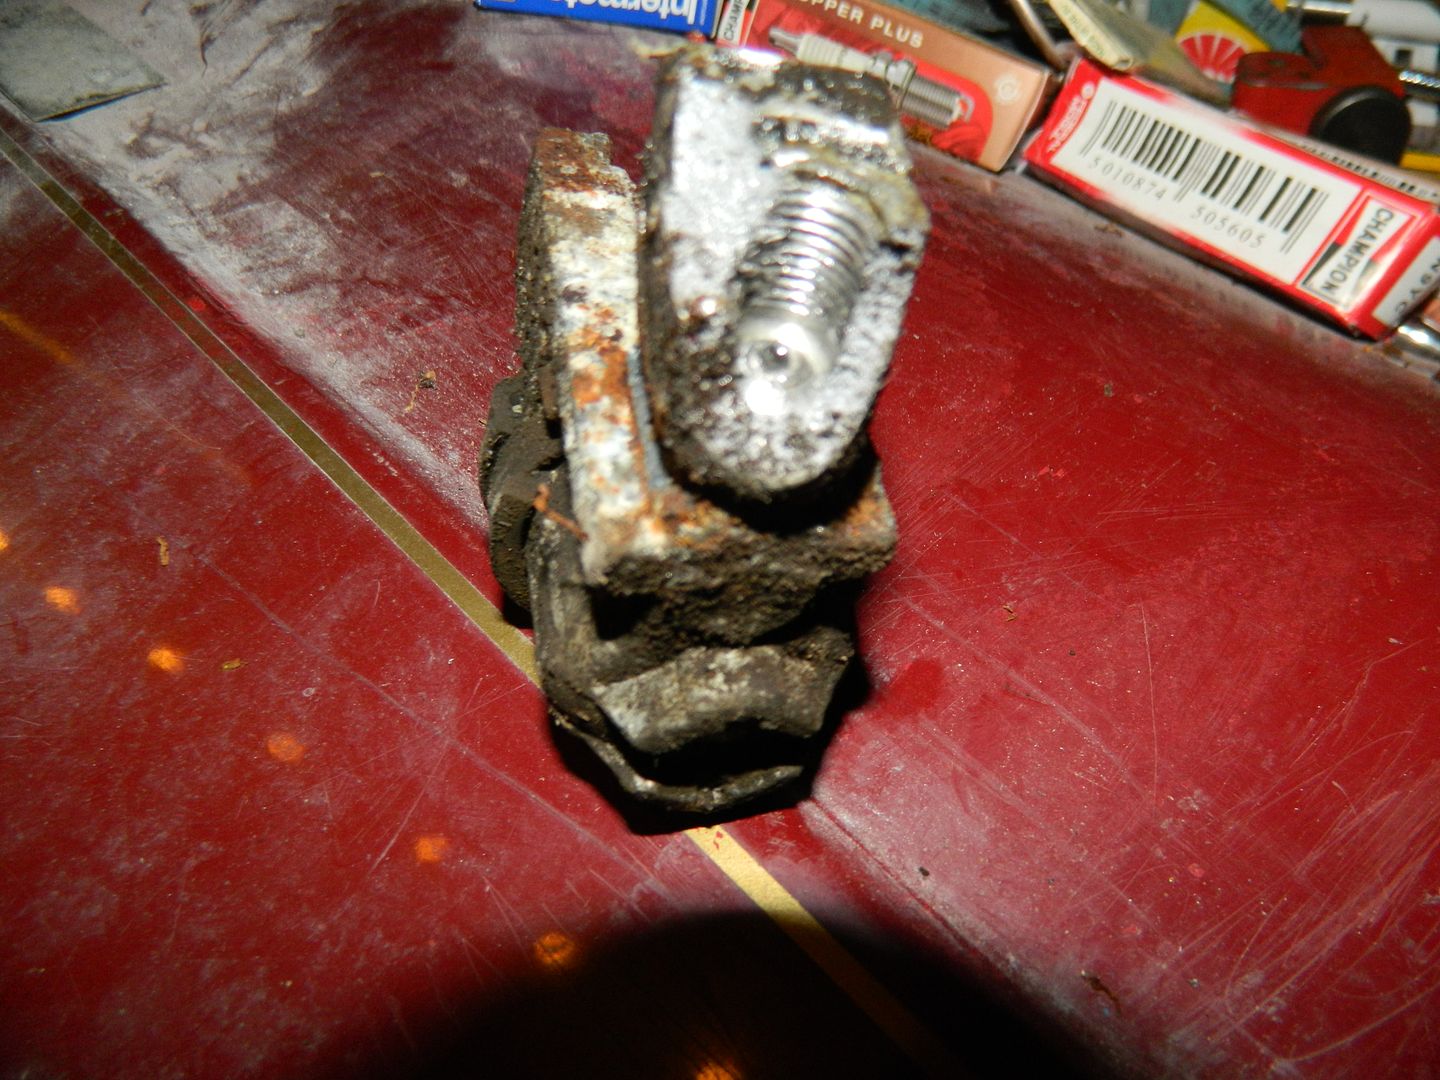 The casting where the inlet pipe comes in fell apart when I poked it. Looking at the dirt marks, it's been partially cracked for some time before I've finished it off. So, I'm not going to get to the bottom of why it wouldn't let fluid through. I've now got fluid nicely through the whole system, it just needs a proper bleed off to finish. Chris. |
|


