Post by Penguin45 on Dec 16, 2012 1:47:46 GMT
I haven't had a great deal of time recently to post stuff up, but I have been busy in odd moments.
As you will know from my restoration thread, I fitted a (supposedly) new Lockheed servo to the car to replace the Girling Powerstop one(s - I have three - none of them work). Whilst not a standard fitment on UK cars, they were fitted on various export cars, so the following may well be of interest.
After about three months use, the front callipers became slow to release. Over the course of the summer, I checked various parts of the braking system until I concluded that it had to be the servo; specifically the air valve piston not moving back. My hand was forced when a fluid leak became apparent from the air chamber, suggesting that the slave cylinder seal had failed.
I've never taken one of these apart before, so it was a journey into the unknown.......
Disconnect brake lines and vacuum hose and remove from car.

LockheedPowertuneServo 021 by ThePenguin45, on Flickr
Here it is.
LockheedPowertuneServo 022 by ThePenguin45, on Flickr
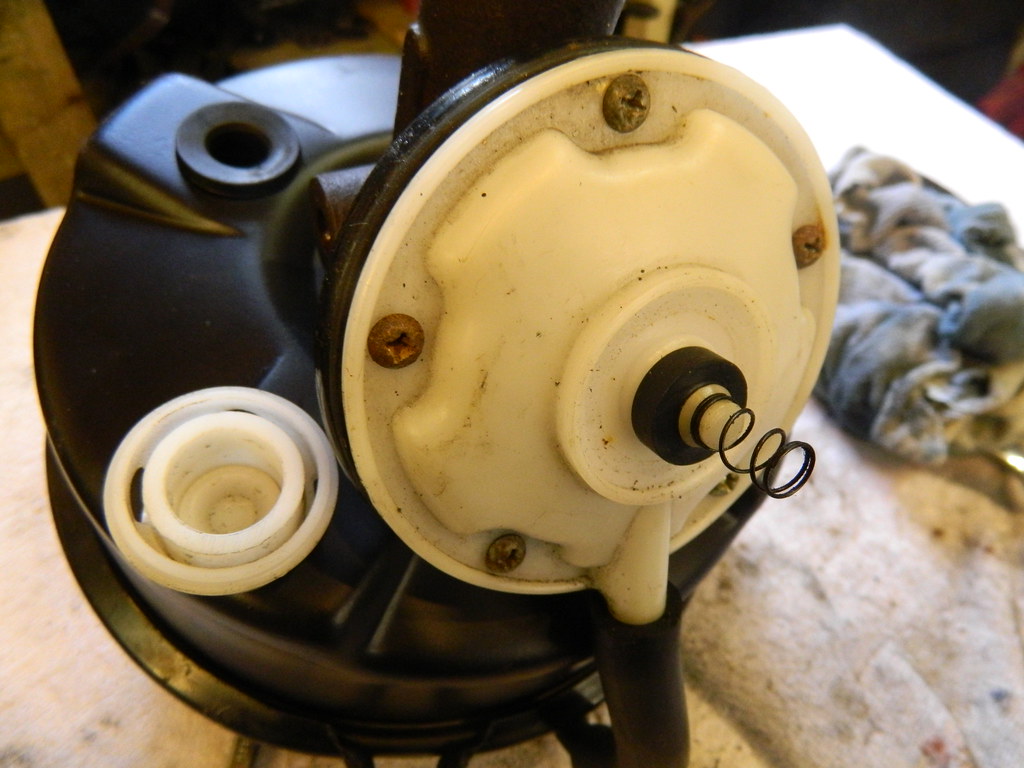
Air filter cover off - clean the filter sponge.
LockheedPowertuneServo 014 by ThePenguin45, on Flickr
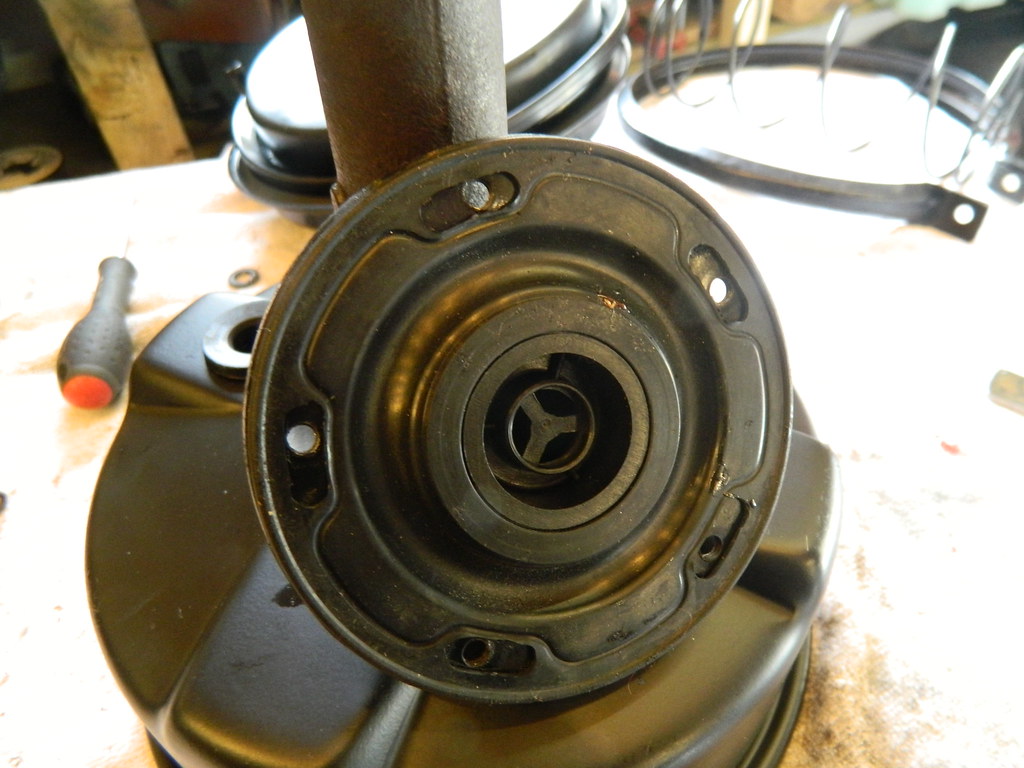
Remove plastic outer cover.
LockheedPowertuneServo 013 by ThePenguin45, on Flickr
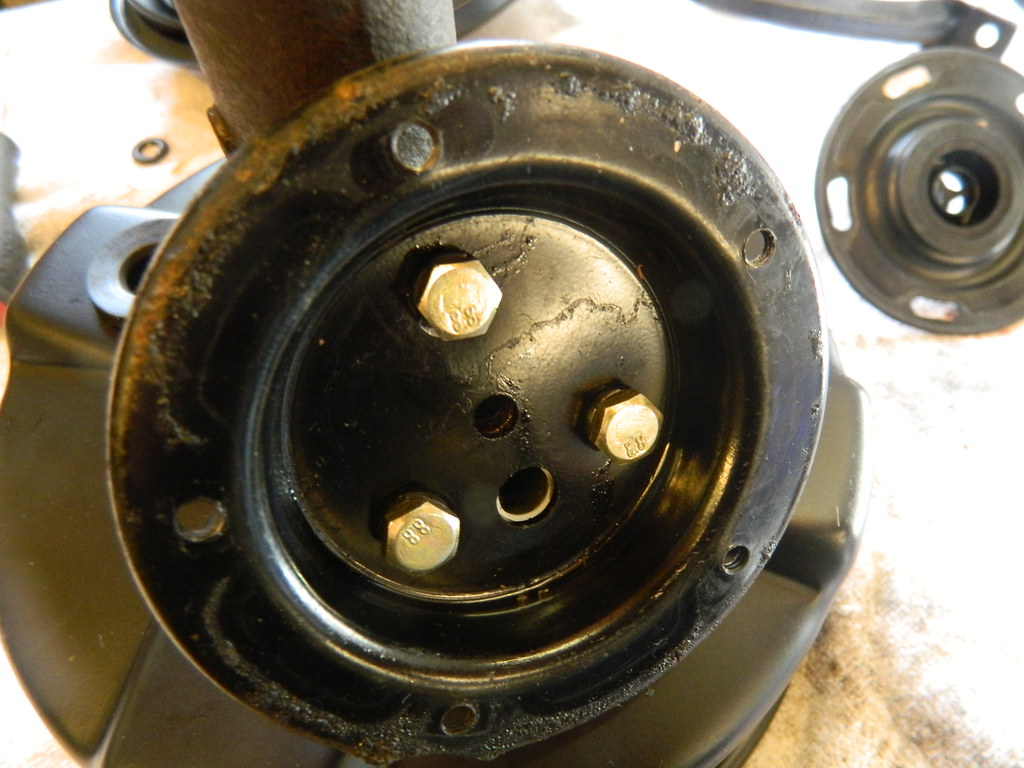
Then the diaphragm.
LockheedPowertuneServo 012 by ThePenguin45, on Flickr
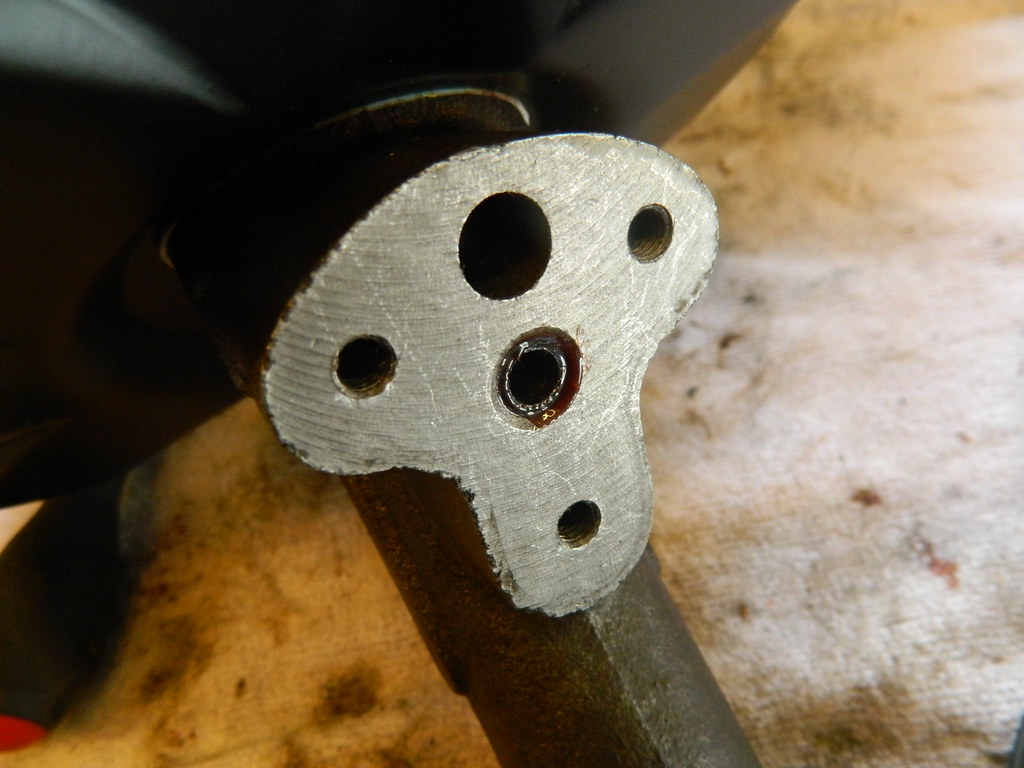
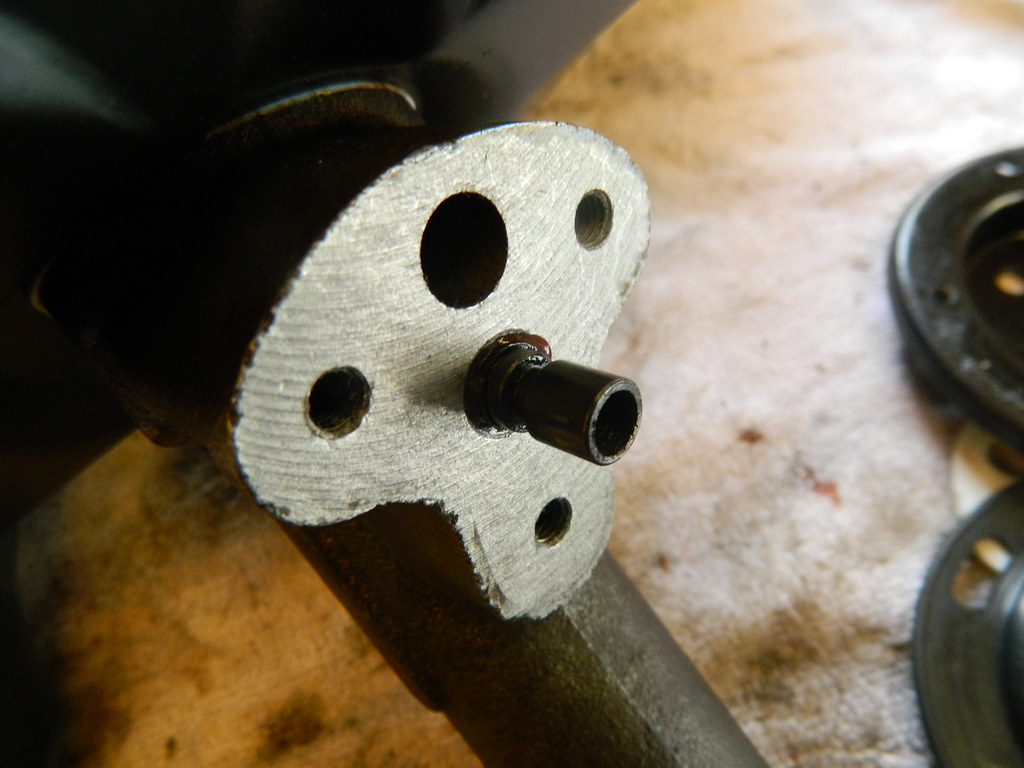
Then the base plate, revealing the air piston. It took several sharp taps on a wooden block for it to move out far enough to be grabbed and removed.
LockheedPowertuneServo 011 by ThePenguin45, on Flickr
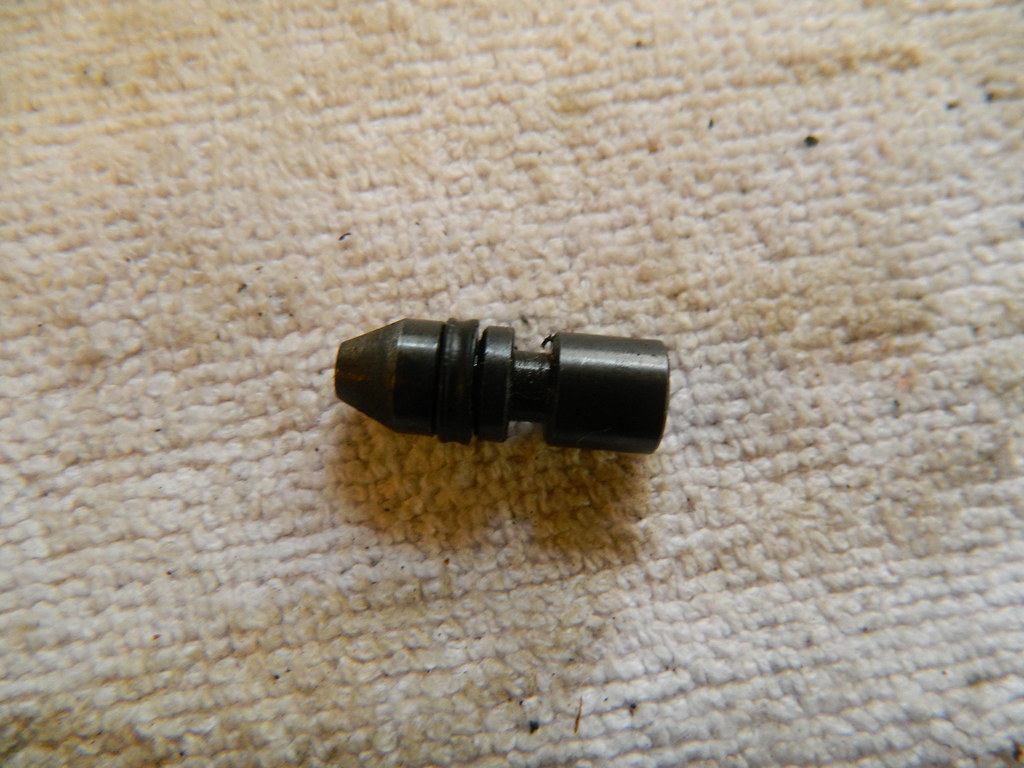
There it is. It is very small - don't lose it.
LockheedPowertuneServo 008 by ThePenguin45, on Flickr
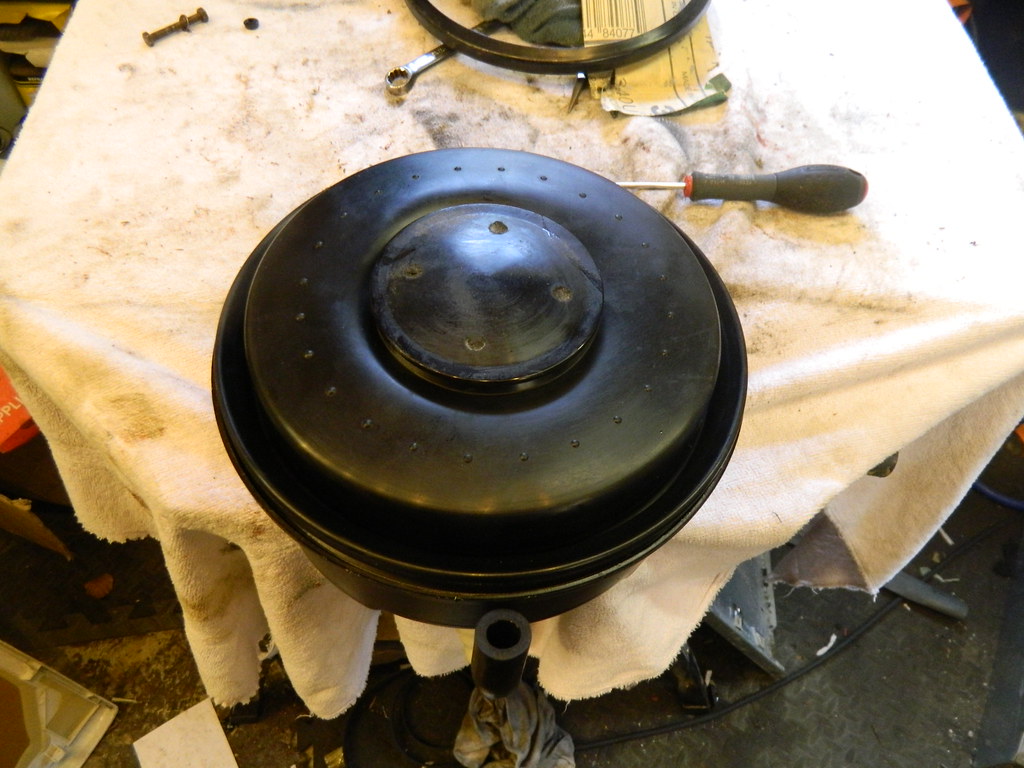
Next, relase the clamp band from the vacuum chamber and remove the back half of the housing.
LockheedPowertuneServo 019 by ThePenguin45, on Flickr

LockheedPowertuneServo 018 by ThePenguin45, on Flickr
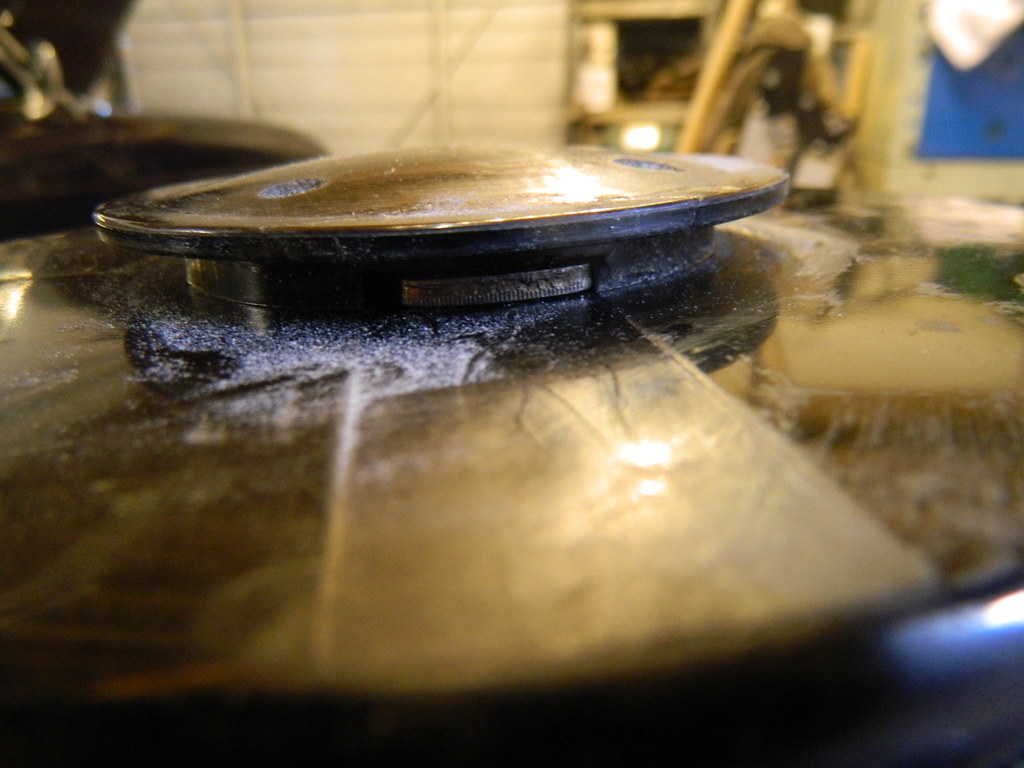
Remove rubber diaphragm.
LockheedPowertuneServo 016 by ThePenguin45, on Flickr
Pressure plate is retained by a sliding lock plate, hidden down here.
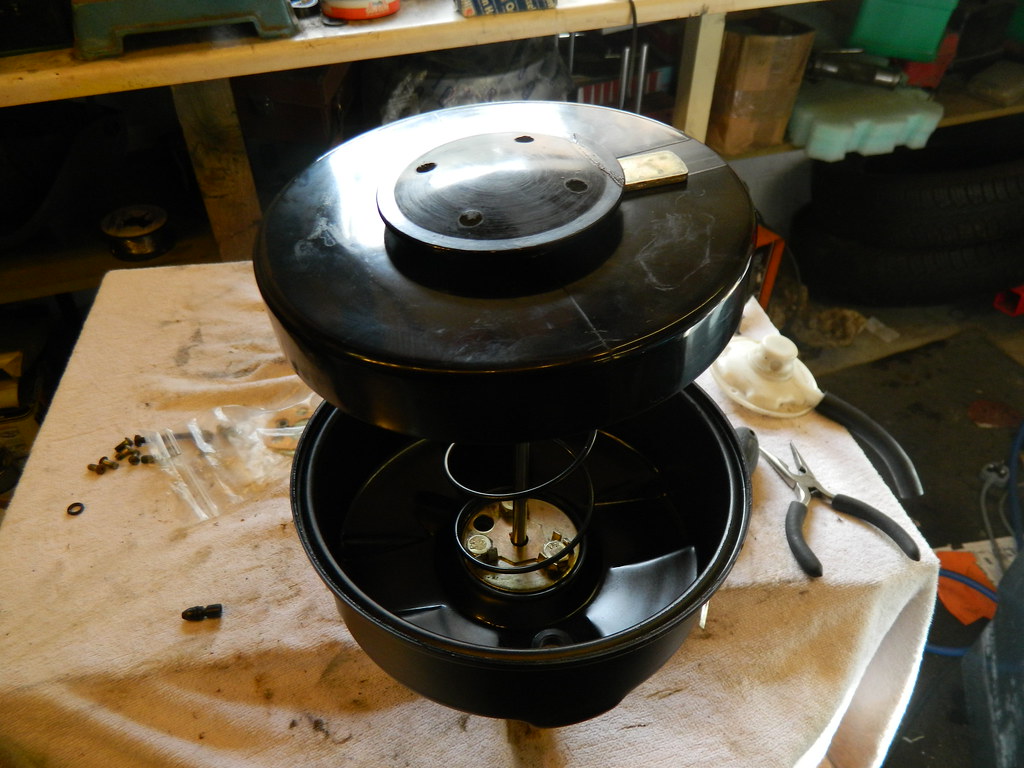
LockheedPowertuneServo 010 by ThePenguin45, on Flickr
Light pressure on the plate followed by violent shaking will release the locking plate. Be prepared for a considerable release of pressure as the return spring comes free. Note the resemblance to Zebedee from The Magic Roundabout.........
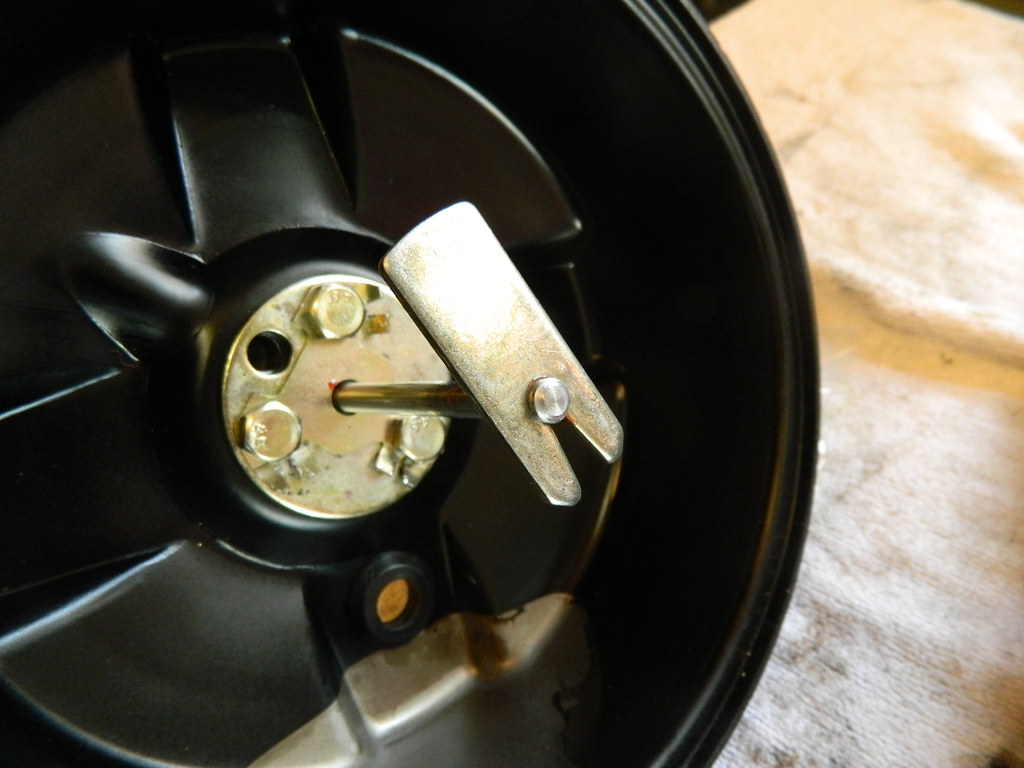
LockheedPowertuneServo 009 by ThePenguin45, on Flickr
Locking plate shown without pressure plate.
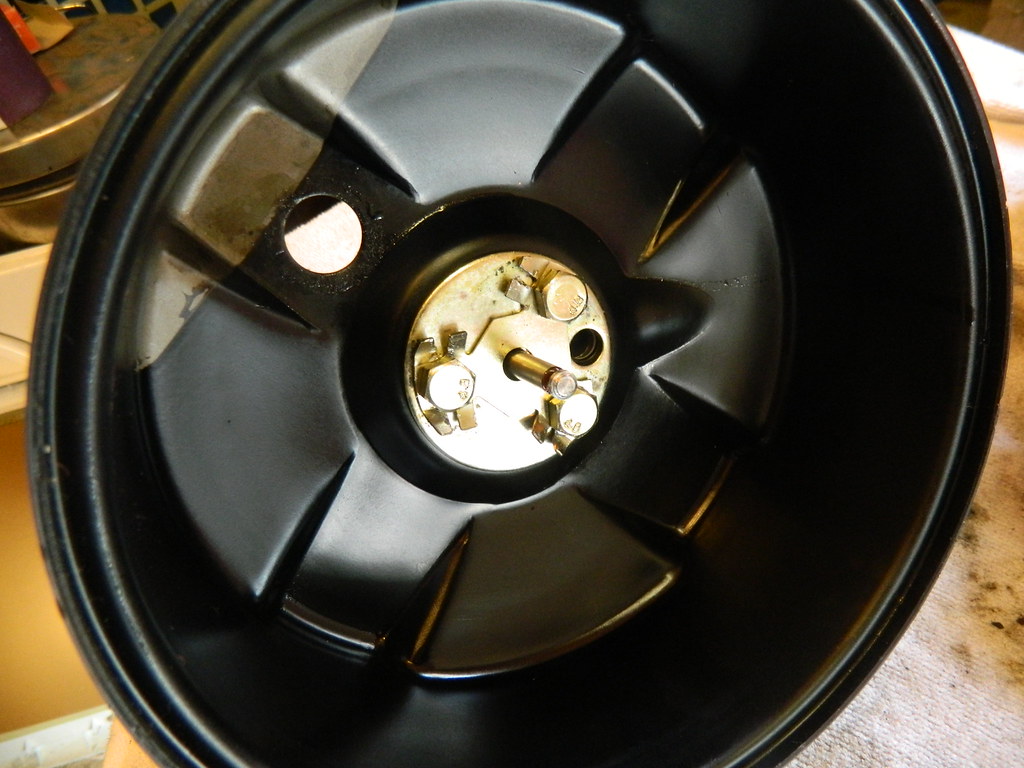
LockheedPowertuneServo 006 by ThePenguin45, on Flickr
Unbolt slave cylinder from vacuum housing.
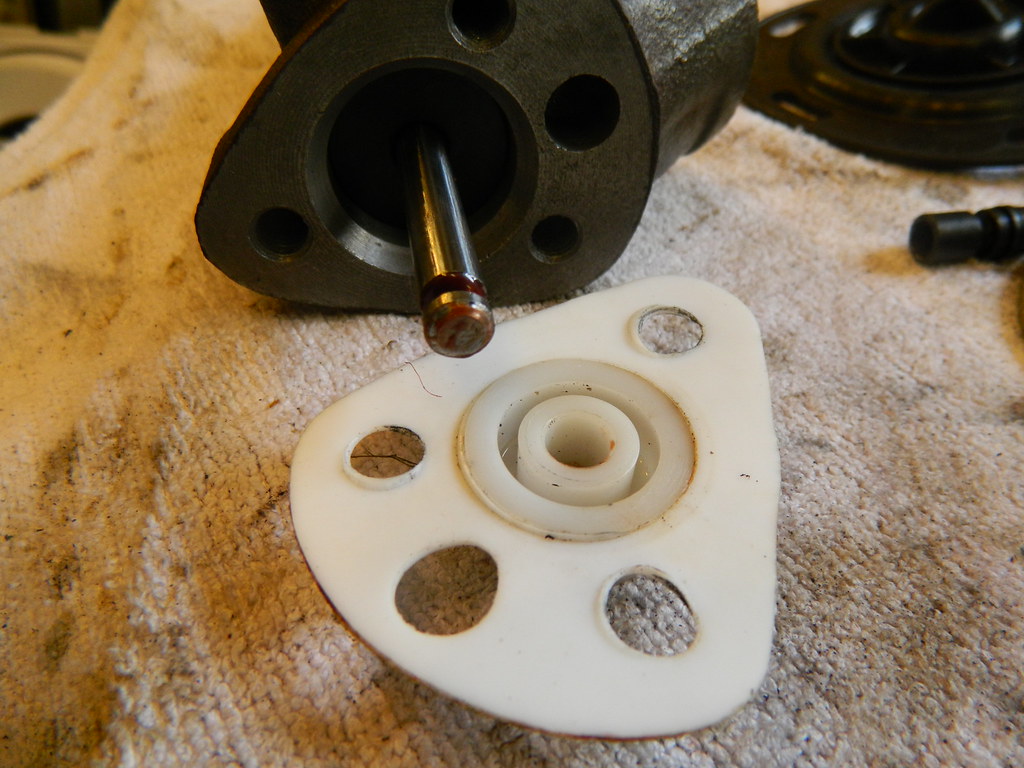
LockheedPowertuneServo 005 by ThePenguin45, on Flickr
Remove gasket and guide bush.

LockheedPowertuneServo 004 by ThePenguin45, on Flickr
Remove slave piston.
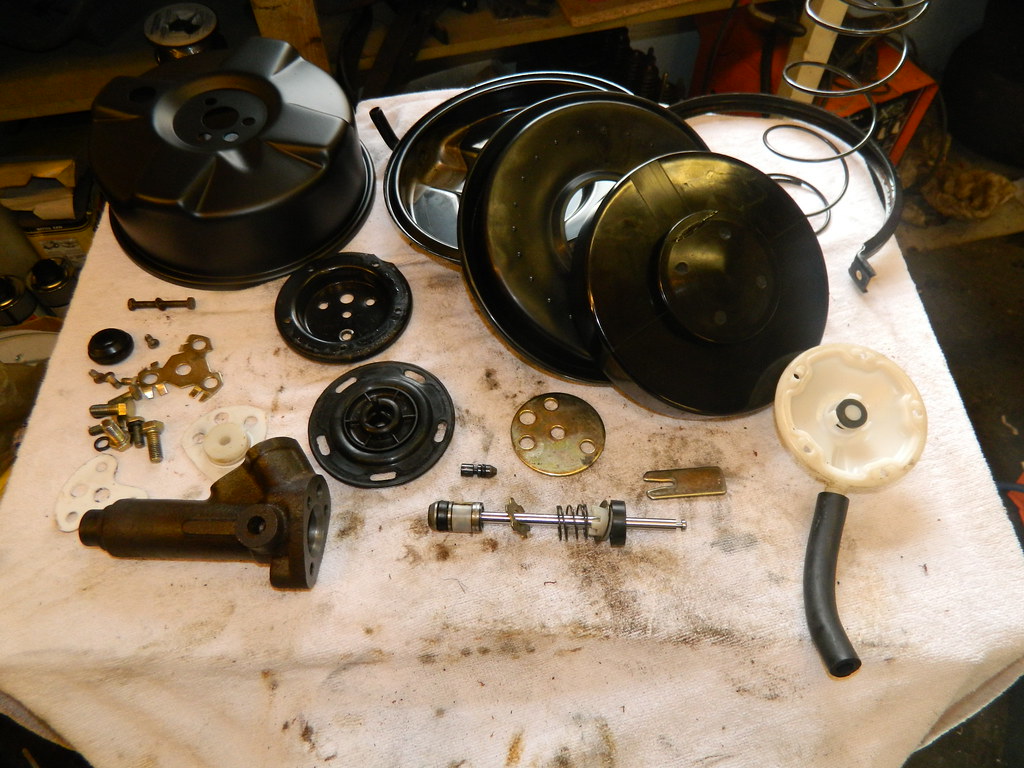
LockheedPowertuneServo 002 by ThePenguin45, on Flickr
Which should leave you with a pile of parts looking like this. Clean everything scrupulously. The two hydraulic bores were lightly cleaned with fine wet and dry paper soaked in oil to remove what appeared to be sediment deposits, before new seals were fitted.
"Assembly is the reverse of disassembly" - J. H. Haynes.
Anyway, used copious quantities of rubber grease on reassembly and things appear to be fine. There are a surprising number of components in the servo, so a bit of order and method is essential.
Seal kit was obtained from POWERTRACK BRAKES for about £20.
Chris.
As you will know from my restoration thread, I fitted a (supposedly) new Lockheed servo to the car to replace the Girling Powerstop one(s - I have three - none of them work). Whilst not a standard fitment on UK cars, they were fitted on various export cars, so the following may well be of interest.
After about three months use, the front callipers became slow to release. Over the course of the summer, I checked various parts of the braking system until I concluded that it had to be the servo; specifically the air valve piston not moving back. My hand was forced when a fluid leak became apparent from the air chamber, suggesting that the slave cylinder seal had failed.
I've never taken one of these apart before, so it was a journey into the unknown.......
Disconnect brake lines and vacuum hose and remove from car.

LockheedPowertuneServo 021 by ThePenguin45, on Flickr
Here it is.

LockheedPowertuneServo 022 by ThePenguin45, on Flickr
Air filter cover off - clean the filter sponge.

LockheedPowertuneServo 014 by ThePenguin45, on Flickr
Remove plastic outer cover.

LockheedPowertuneServo 013 by ThePenguin45, on Flickr
Then the diaphragm.

LockheedPowertuneServo 012 by ThePenguin45, on Flickr
Then the base plate, revealing the air piston. It took several sharp taps on a wooden block for it to move out far enough to be grabbed and removed.

LockheedPowertuneServo 011 by ThePenguin45, on Flickr
There it is. It is very small - don't lose it.

LockheedPowertuneServo 008 by ThePenguin45, on Flickr
Next, relase the clamp band from the vacuum chamber and remove the back half of the housing.

LockheedPowertuneServo 019 by ThePenguin45, on Flickr

LockheedPowertuneServo 018 by ThePenguin45, on Flickr
Remove rubber diaphragm.

LockheedPowertuneServo 016 by ThePenguin45, on Flickr
Pressure plate is retained by a sliding lock plate, hidden down here.

LockheedPowertuneServo 010 by ThePenguin45, on Flickr
Light pressure on the plate followed by violent shaking will release the locking plate. Be prepared for a considerable release of pressure as the return spring comes free. Note the resemblance to Zebedee from The Magic Roundabout.........

LockheedPowertuneServo 009 by ThePenguin45, on Flickr
Locking plate shown without pressure plate.

LockheedPowertuneServo 006 by ThePenguin45, on Flickr
Unbolt slave cylinder from vacuum housing.

LockheedPowertuneServo 005 by ThePenguin45, on Flickr
Remove gasket and guide bush.

LockheedPowertuneServo 004 by ThePenguin45, on Flickr
Remove slave piston.

LockheedPowertuneServo 002 by ThePenguin45, on Flickr
Which should leave you with a pile of parts looking like this. Clean everything scrupulously. The two hydraulic bores were lightly cleaned with fine wet and dry paper soaked in oil to remove what appeared to be sediment deposits, before new seals were fitted.
"Assembly is the reverse of disassembly" - J. H. Haynes.
Anyway, used copious quantities of rubber grease on reassembly and things appear to be fine. There are a surprising number of components in the servo, so a bit of order and method is essential.
Seal kit was obtained from POWERTRACK BRAKES for about £20.
Chris.


