Post by Penguin45 on Dec 15, 2012 22:10:47 GMT
I give in, it had to be done. Bought a kit from Moss Europe, mainly for speed and convenience.
Wolseley Alternator Conversion 001 by ThePenguin45, on Flickr
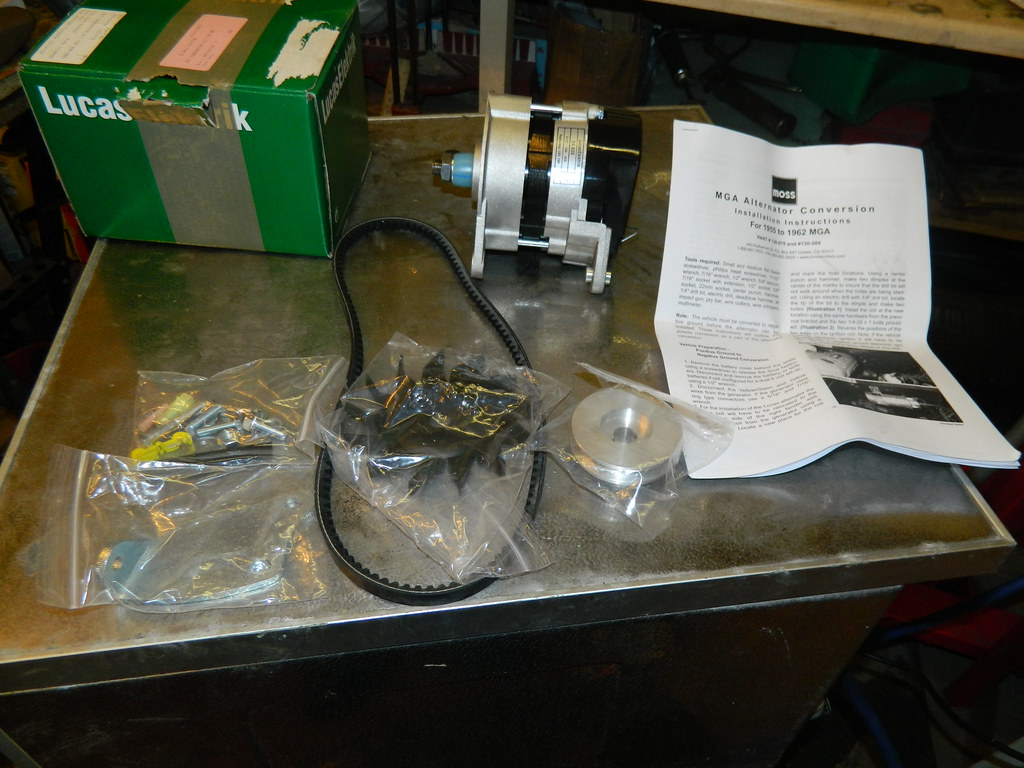
All nice and new and shiny. Principal bits are the alternator itself, a heavy duty bracket and a belt. The belt is a 10 x 900; I actually needed a 10 x 950, which I popped out to buy this morning at my local motor factors. Except, they didn't have one, and I had to make do with a 10 x 940 instead. It did fit quite easily.
Wolseley Alternator Conversion 002 by ThePenguin45, on Flickr
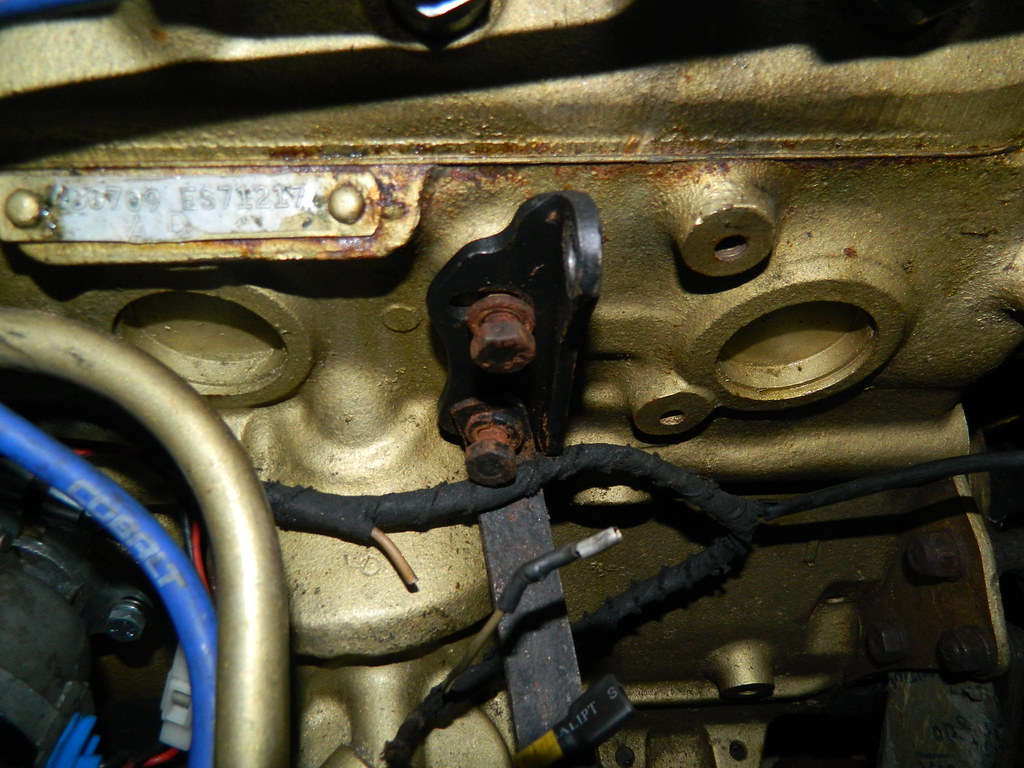
Dynamo off, this bracket gets replaced.
Wolseley Alternator Conversion 004 by ThePenguin45, on Flickr
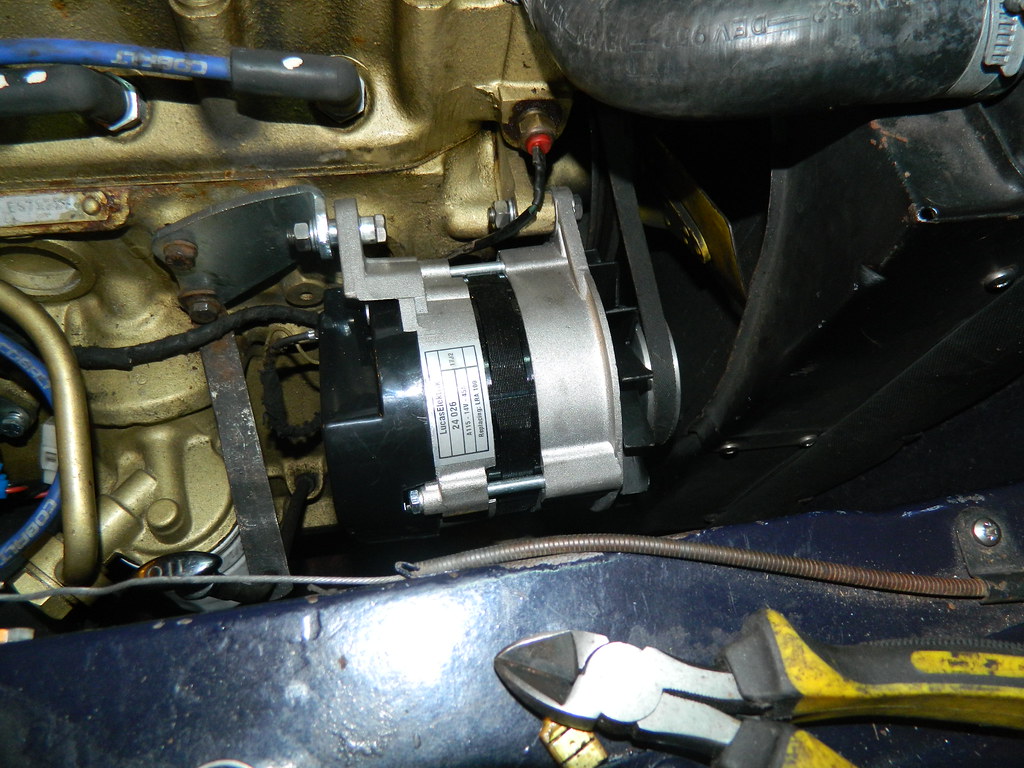
New bracket, dynamo in place. Lower locking post needs a thick spacer on the inside of the bracket to stop it bending out of line - not included in the kit.
Wolseley Alternator Conversion 005 by ThePenguin45, on Flickr
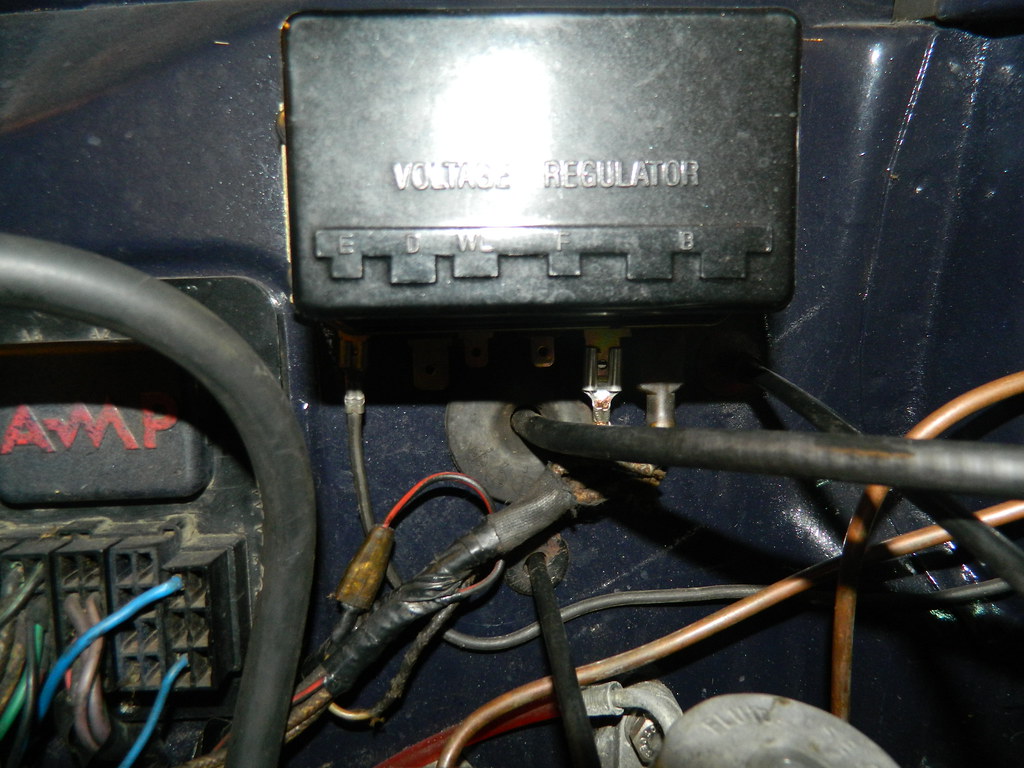
New terminals fitted at the alternator end. Rewire at regulator box required. Wire at "D" is joined to the three wires on "B". Regulator is now redundant, so used the "B" terminals as the connector. I will do something a bit more permanent. Secondly, the wire at "F" is joined to the wire at "WL" and that's it.
The explanation of this in the supplied instruction sheets is absolutely rubbish; however a quick swat in the wiring diagrams for the alternator cars made this pretty obvious.
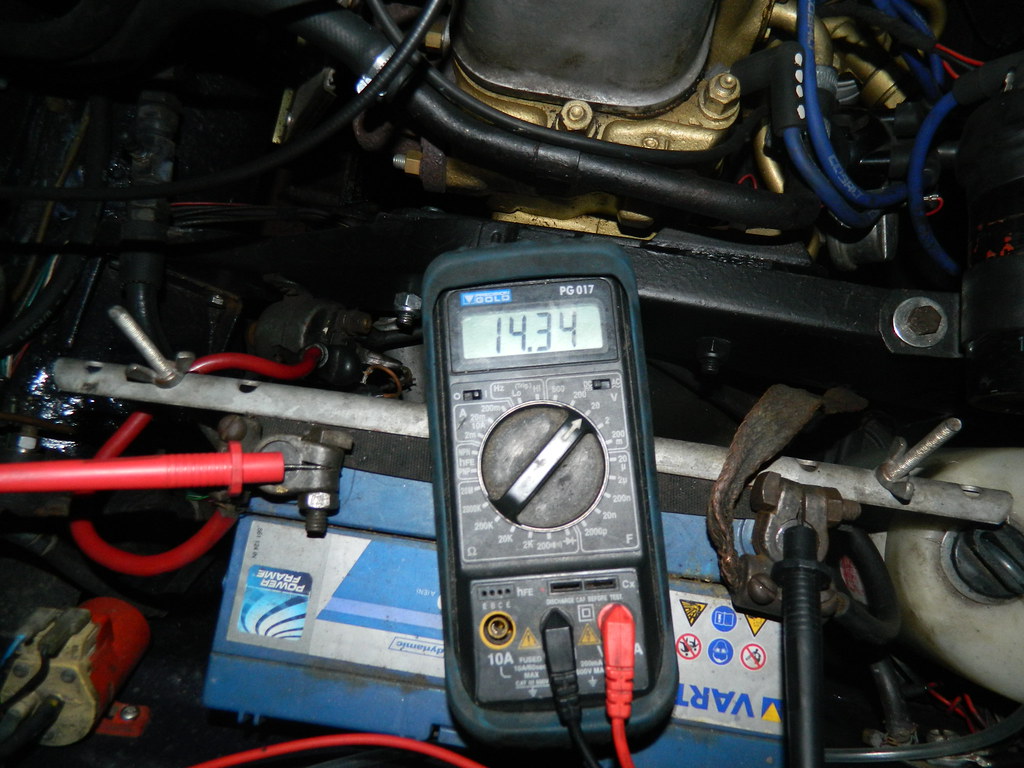
Wolseley Alternator Conversion 006 by ThePenguin45, on Flickr
Behold! it works. Picture taken at fast idle, plenty of output there.
The bracket is apparently available separately for those of us with time to nip down to the scrapyard and find an ACR - bear in mind the 10 X 950 belt required.
Anyway, I can now run around with all electricals running without worrying about flat batteries.
Chris.

Wolseley Alternator Conversion 001 by ThePenguin45, on Flickr
All nice and new and shiny. Principal bits are the alternator itself, a heavy duty bracket and a belt. The belt is a 10 x 900; I actually needed a 10 x 950, which I popped out to buy this morning at my local motor factors. Except, they didn't have one, and I had to make do with a 10 x 940 instead. It did fit quite easily.

Wolseley Alternator Conversion 002 by ThePenguin45, on Flickr
Dynamo off, this bracket gets replaced.

Wolseley Alternator Conversion 004 by ThePenguin45, on Flickr
New bracket, dynamo in place. Lower locking post needs a thick spacer on the inside of the bracket to stop it bending out of line - not included in the kit.

Wolseley Alternator Conversion 005 by ThePenguin45, on Flickr
New terminals fitted at the alternator end. Rewire at regulator box required. Wire at "D" is joined to the three wires on "B". Regulator is now redundant, so used the "B" terminals as the connector. I will do something a bit more permanent. Secondly, the wire at "F" is joined to the wire at "WL" and that's it.
The explanation of this in the supplied instruction sheets is absolutely rubbish; however a quick swat in the wiring diagrams for the alternator cars made this pretty obvious.

Wolseley Alternator Conversion 006 by ThePenguin45, on Flickr
Behold! it works. Picture taken at fast idle, plenty of output there.
The bracket is apparently available separately for those of us with time to nip down to the scrapyard and find an ACR - bear in mind the 10 X 950 belt required.
Anyway, I can now run around with all electricals running without worrying about flat batteries.
Chris.

