|
|
Post by mistersocks on Mar 20, 2011 21:58:07 GMT
she's a beaut chris! super jealous, anytime you need to downsize..... cheers! rich  ps. 45 amps battery's are on all me crabs, its a big ol' lump of iron to swing over... |
|
|
|
Post by Penguin45 on Mar 21, 2011 0:12:50 GMT
Cheers, Rich.
Starter motor is rather lazy, although it does pick up after the first couple of attempts. Beware - there will be a "Starter Motor Re-build" thread at some point fairly soon.
I do love her to bits and with the work that went into getting her back on the road, I doubt that I'd really wish to part with her.
I am miffed about the doors. Two of us spent (quite literally) days working on them and this is how they repay us. Unfortunately it is rust breaking through, so the paint has got to go and I'll start again. The worst door is the front passenger one. Ironically enough, this was a brand new old stock door. It had been badly stored and had a huge amount of time spent on it getting it cleaned up before we painted and fitted it. It has been a pain in the behind ever since, as it doesn't fit the apeture very well. The window mechanism is unbelievably stiff to operate and I am coming more and more to the conclusion that it is majorly distorted in some way.
I may start looking for a decent used replacement - it could be an easier option.
Chris.
|
|
|
|
Post by Keef on Mar 21, 2011 10:07:04 GMT
(Nearly) Spring Review.Bodywise, things are not so good. Sorry to hear/see that Chris. I still have quite a selection of doors here and might be willing to part with one or two if you prefer to start with a better "base". We still have to arrange your collection of these door cappings, so perhaps a trip south is a good idea? |
|
|
|
Post by Penguin45 on Mar 26, 2011 1:45:36 GMT
Further to the Spring review, things have got rather interesting. MrsP's 806 has been in the garage for the last 3 weeks for major works and on Tuesday my Scudo work van ate its clutch big time. Which left Eugenie......... Tools in the boot, guess the customers problems, grab some parts and get on with the job. By 5pm, the charging light came on. Get home, strip dynamo - one of the brushes is completely gone, after only 1000 miles(ish). Haven't got a spare, so....... Bosch washing brush is the right thickness, but too long 'cos it goes in a motor longways instead of sideways. Trim it to width and away we go. Charging light all over the place. Put battery on charge and locked the garage door. Wednesday, the charging light started coming on and off at random, before coming on and staying on. At this point, I was (of course) 15 miles from home and it was dark. Lights on, go for it and hope the ring road is clear. I made it back, just. I had called in at John Cooper and Sons at lunchtime and picked up a pair of brushes, so the dynamo was off again after dinner. Output 2.4vDC - obviously a fail then. A bit of research suggested that this pointed to a field coil problem, so a search through my various boxes of spare parts yielded 4 starter motors (!) before I found a rather scabby looking dynamo. Stripped them both, swapped the field coils over and it still didn't work. Pulled it off again, and swapped the armature as well from the scabby one and Lo! After sparking it off, it was knocking out 12vDC, rising with speed. Charging light didn't go out though. Thursday, back to Cooper's. RB340 control box? £23 and some pence later a Durite RB340 was mine. Fitted it - charging light didn't go out. I had to go to a funeral to see Mick off. On the way back, the charging light went out and has stayed out ever since. Mick's last throw? Dunno - he never knew anything about cars! 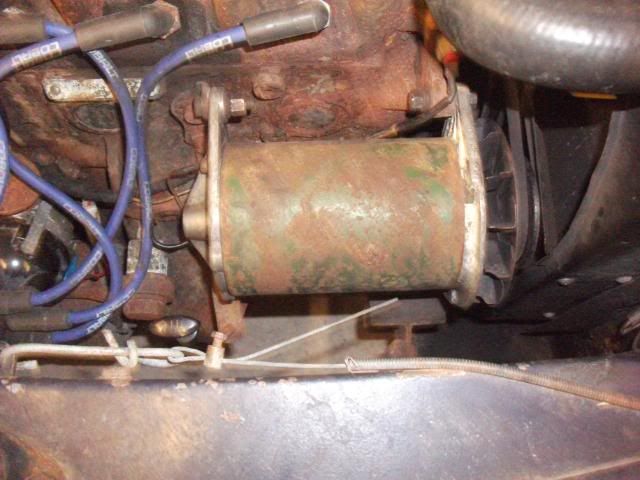 Replacement dynamo rattled up in under an hour. Don't knock it - it works. 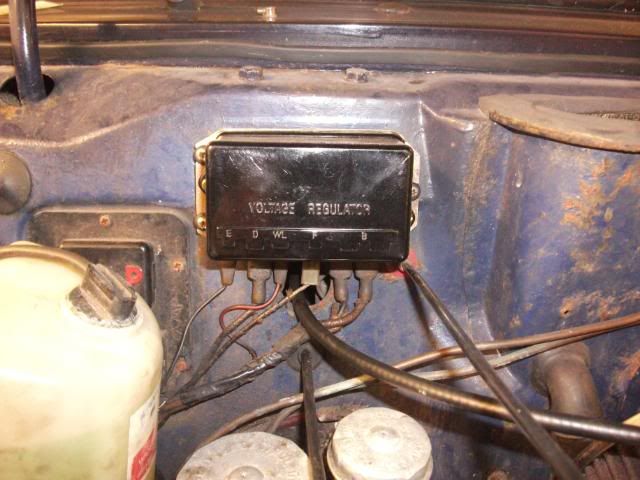 New control box. For the record, Steve at Cooper's explained that this was a classic if unusual (Therefore forgotten!) problem. Faulty switching in the box can send voltage back to the dynamo as well as to the battery. The dynamo does not want to be a motor at the same time as being a generator, so things go a bit pear shaped. In the meantime, the middle exhaust hangers gave way whilst pottering the mean streets of Leeds. The major droop (Ooh, er Mrs...) which followed cracked the back of the stainless silencer box. Much loudness ensued. Fix the hangers first: 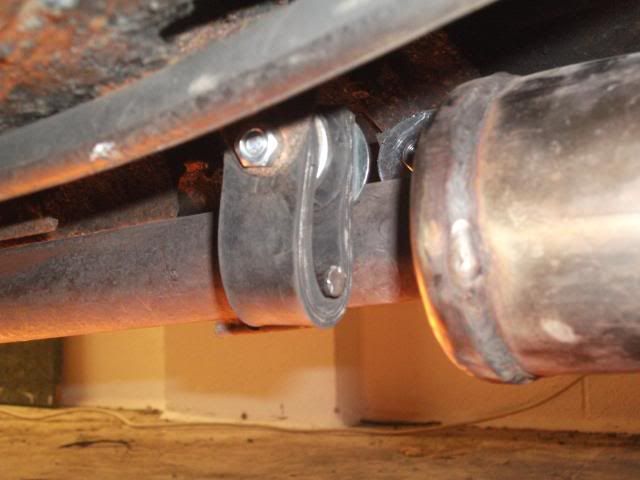 Made up two of these. 3/8" canvas reinforced straps with a Mini exhaust bobbin as a mount-cum-spacer. They're pretty substantial, so hopefully these will last. 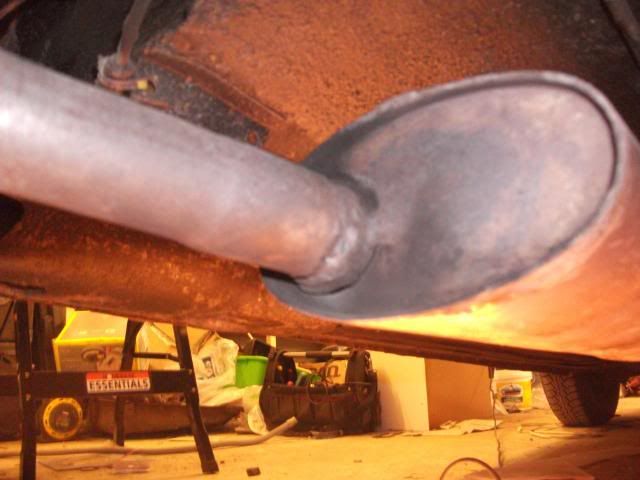 Back of silencer split open - welded that up this evening, although I still needed a smear of GunGum to make it fully gas tght. Just to make things better: 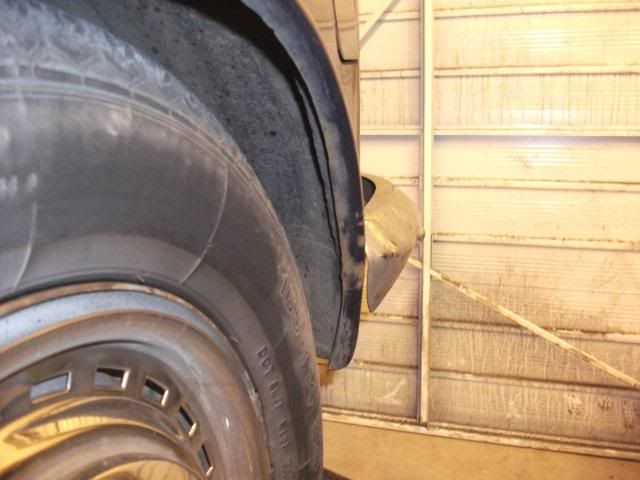 Crawling round the garage floor revealed rust on the wheel arch. Add it to the list............  Chris. |
|
|
|
Post by Keef on Mar 26, 2011 2:35:28 GMT
Wow! You don't do things in halves do you?  Best I can manage is a replacement of Yoko's rear flexi-hose. Usual cover yourself in brake fluid job, before finding that replacement is wrong thread at one end.  Luckily spare front hose off an ado16 fits, so no more locking on of rear brakes.  Tip: small piece of plastic bag held on with elastic band on top of master cylinder cuts down on fluid loss. |
|
|
|
Post by Penguin45 on Mar 27, 2011 23:55:21 GMT
Spent the day sorting out and setting up the garage. 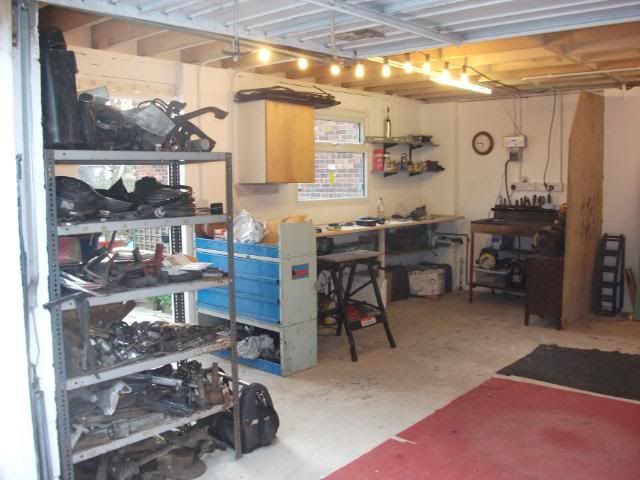 General view. 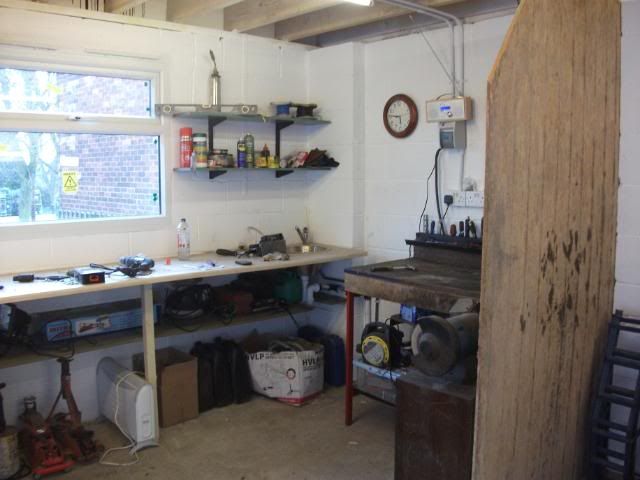 Working area. 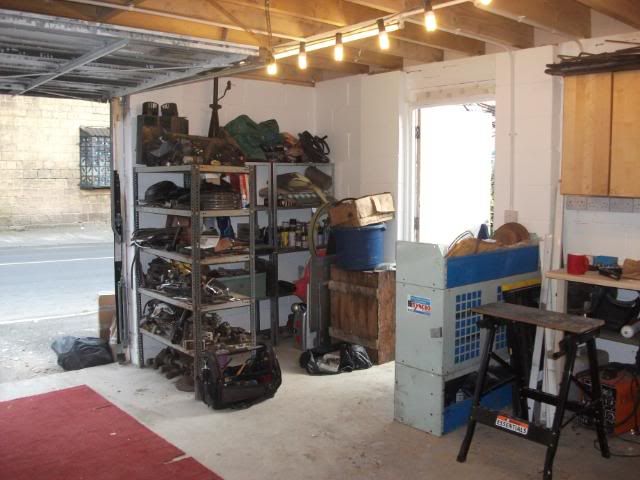 Storage area. All spares now sorted and put up on the racks, extra shelves added in the workinga area, masses of rubbish disposed of; it's all good to go. No work on the car - I don't get many opportunities for this kind of days work, so seized the day. I think it was worth it. Spotted this as well: 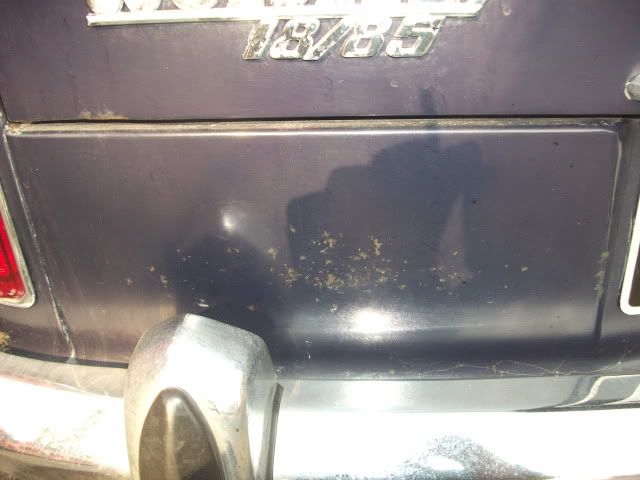 Can't imagine why it's broken out there. P45. |
|
|
|
Post by Keef on Mar 28, 2011 2:25:04 GMT
Oh yes! I usually spend ages looking for things, because I put them somewhere "safe". I have about half a dozen places. Having pre-defined areas would make much more sense. Can't imagine why it's broken out there. Same area on Reckless had a GB sticker on. Perhaps ....... |
|
|
|
Post by Penguin45 on Apr 3, 2011 19:02:26 GMT
Managed to get started on the repairs yesterday. Being as the doors are going to be the major time consuming job, I started on the front valance, which had become surprisingly scabby. Scrubbed off about the bottom 1.5" and treated with rust converter. I then applied two coats of Rustoleum, two coats of stone chip, two coats of Simoniz Very Tough Paint and finally two coats of top coat. Between treatments and layers, I have undersealed the bottom of the car, touched in around the headlamps and fitted my nice new shiny wiper arms with stainless blades. I even went mad and polished up the bumpers to remove the winter rust staining. Anything but the doors........... 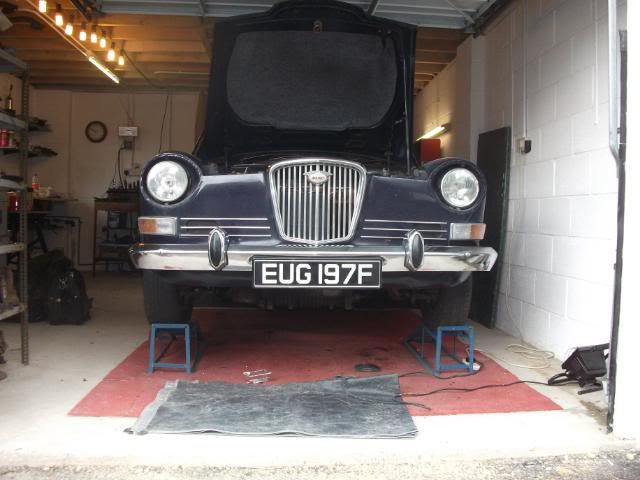 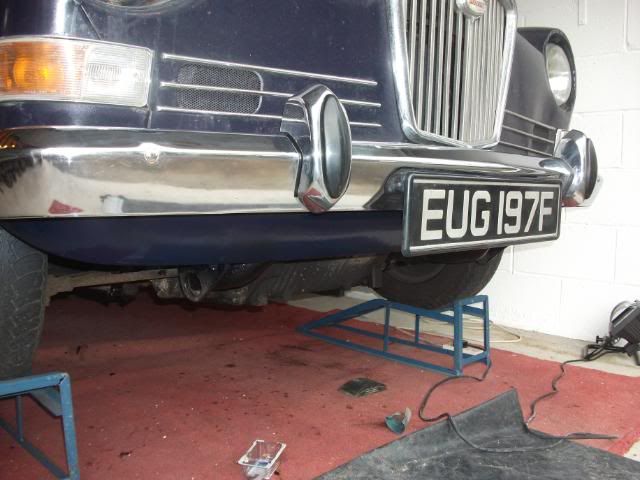 In the end, there was nothing else for it: 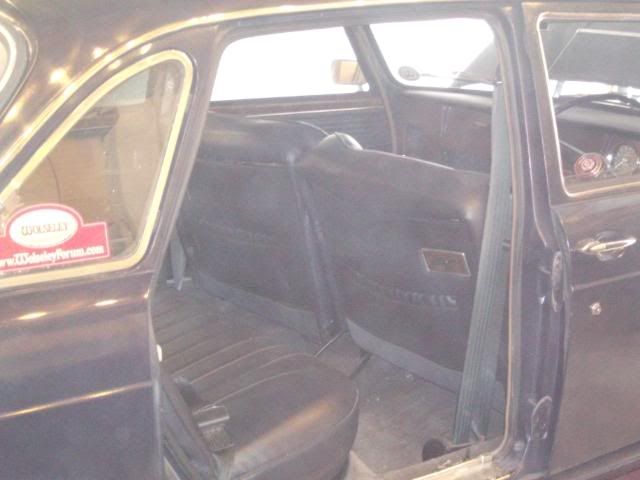 Hole. 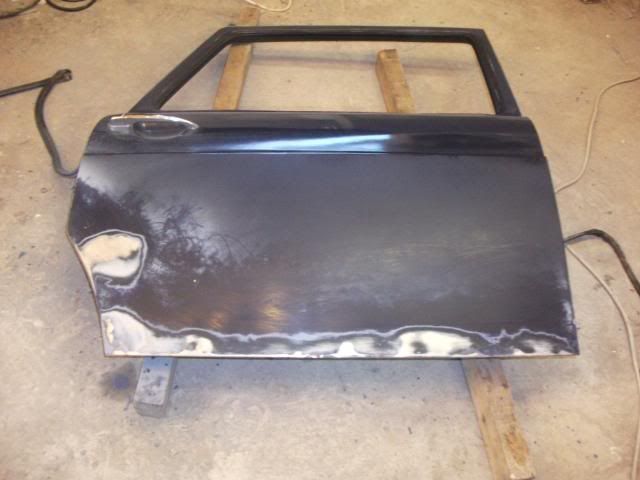 This was the least affected door, so I've started by stripping off the grot, then rust converter and a blow over with primer........ 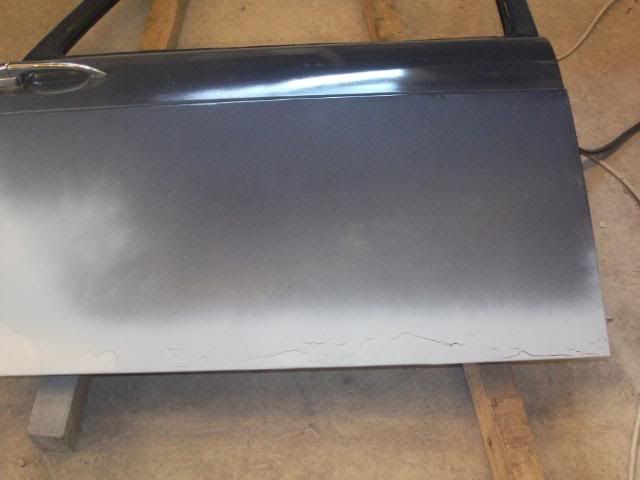 .........which promptly crazed and split. Scrubbed it all off again and called it a day. P45. |
|
|
|
Post by Keef on Apr 3, 2011 19:55:43 GMT
Bet it's great to have a dedicated comfortable work area now.
Shame about the paint on the door: maybe too dry?
|
|
|
|
Post by Penguin45 on Apr 3, 2011 20:42:05 GMT
Hi Keef,
Just rushing. I was getting very tired, so thought I'd just seal the surface until I could get back to it. No big deal, it'll get sorted.
Chris.
|
|
|
|
Post by sherpa on Apr 3, 2011 22:22:02 GMT
Between treatments and layers, I have undersealed the bottom of the car, touched in around the headlamps and fitted my nice new shiny wiper arms with stainless blades. I even went mad and polished up the bumpers to remove the winter rust staining.
Well done Chris - I wish I could do that much multitasking in a day!
Re: paint to the doors, did you use a panel wipe the surface before to remove any trace of contaminants? Did you use an etch primer to the bare bits?
|
|
|
|
Post by Penguin45 on Apr 3, 2011 23:50:30 GMT
Don't worry - when I get to the serious bit of the operation, the NHS will be proud of me. Tack rags, panel wipes, the lot. I need to look at the panel properly - I think some filler will be needed to level the surfaces before I can start blowing paint.
This was just a blip, as all that was required was to seal the surface for a day or two.
Chris.
|
|
|
|
Post by Penguin45 on Apr 7, 2011 20:01:03 GMT
Flatting and sanding, flatting and sanding. Primer, spray putty, high build primer, flatting and sanding.........
And I'm still just on the first door! Getting reasonably pleased with the state of it now.
Chris.
|
|
|
|
Post by dave1800 on Apr 8, 2011 1:45:47 GMT
I found that one of the best ways to keep the bottom of the doors rust free once they had become pitted was to use a good rust killer inside the door allowing it to run down the seams. When this had plenty of time to act, I would then use a thinned down polyester resin (as used with fibreglass) and fill the bottom of the door. The resin would seep through the seams and into any pinholes which could then be flattened. After repainting I would then give it a liberal coating of wayoyl. This seemed to keep all moisture and air out effectively preventing any future rusting. Flatting and sanding, flatting and sanding. Primer, spray putty, high build primer, flatting and sanding......... And I'm still just on the first door! Getting reasonably pleased with the state of it now. Chris. |
|
|
|
Post by Penguin45 on Apr 8, 2011 20:49:16 GMT
Finally making some proper progress with this door.  Just a bit of stopper to flat back and it'll be ready for paint. I had a day off today and I've been working on that d@mn door on and off for all of it. Dave, the door bottoms and lower skins are fine, but I will be re-filling the doors with Dinitrol cavity wax once the painting is out of the way. Ho hum, three more to go. Chris. |
|


