|
|
Post by Penguin45 on Feb 19, 2012 20:05:39 GMT
One bit of good news is that tonights visit to the pub has revealed a source to a 100L compressor going very cheap. It turns out to be a 150L semi industrial monster. Fortunately it will still run on a 13amp supply and it's far too cheap to say "no" to. Looks like we're organising a moving party during the week. Got started on the engine. Started at the clutch end. Outer casing came off suspiciously easily.  Next step is to remove the nut from the 1st motion shaft, then the clutch housing can be removed. 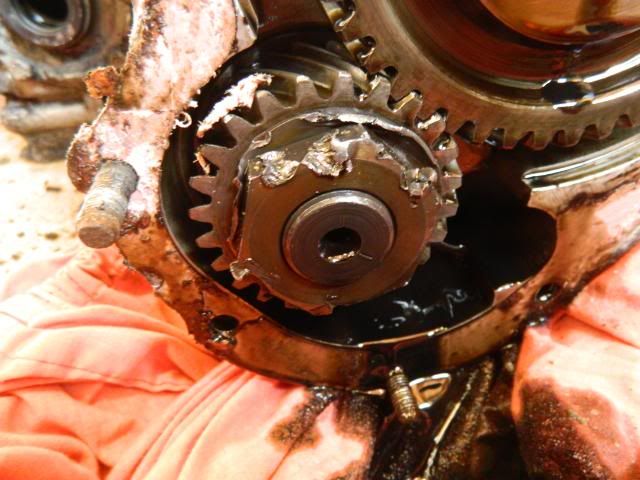 Someone's been in here before me - just look at the state of that nut. Disgusting. Had to take the angle-grinder to it before the 1-3/4" socket would even fit. At this point it became a sloppy fit and turned out to be 1-11/16" - which, of course, I haven't got. So that put an end to that part of the afternoons fun. I did lock the gearbox however in readiness. Remove selector cover and flip the top two levers across, job done. 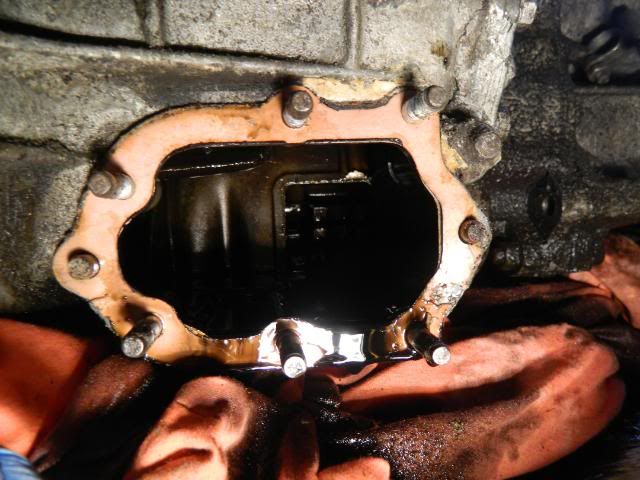 Started stripping off most everything else. 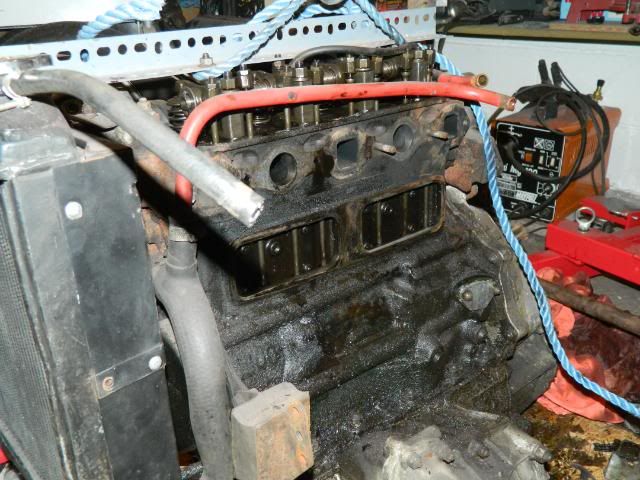 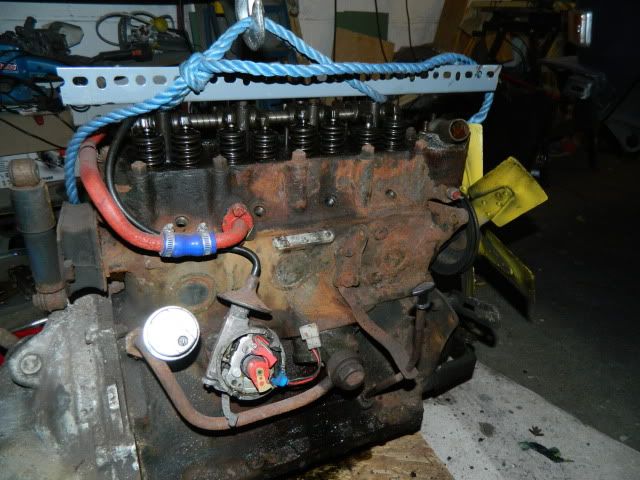 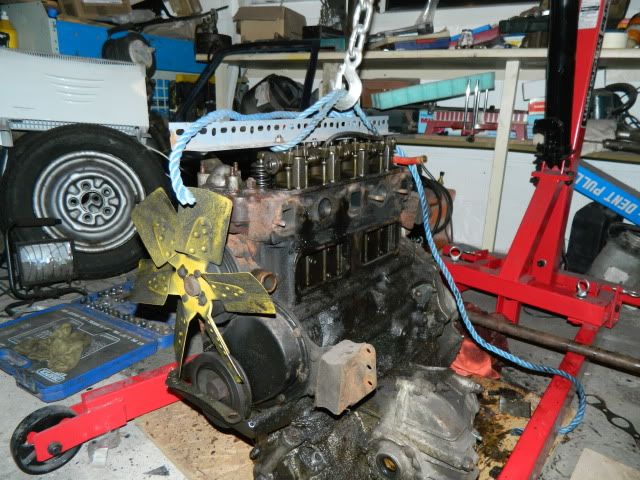 Starting to look a little naked.......  Top radiator bracket has broken.  Plugs look interesting. 1 + 4 look normal, 2 + 3 look very sooty. It'll be interesting once the head is off to see what's happening. 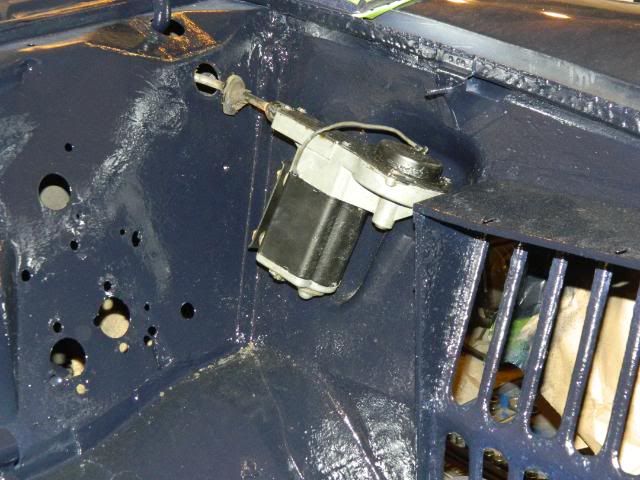 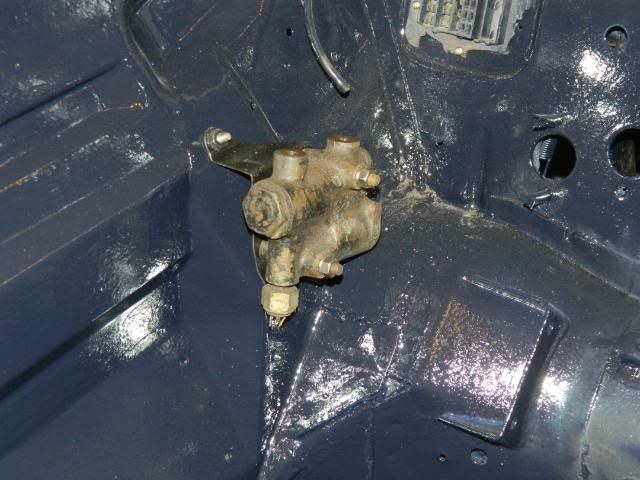 Bolted a couple of bits back in, just so as I made some progress for the day. Chris. |
|
|
|
Post by Admin on Feb 19, 2012 21:16:26 GMT
Hi Chris,
I haven't been on for ages, but good to see Eugenie getting some well-deserved attention! The clutch on these engines looks a major headache, wouldn't fancy doing one myself.
Richard
|
|
|
|
Post by indianajones on Feb 19, 2012 22:29:38 GMT
The clutch on these engines looks a major headache, wouldn't fancy doing one myself. Really? I was keen to do my clutch if/when I ever got my engine out  Anyways as I said in the other place Chris, keen to see how you get on as I will have to do this myself down the line. I need to stop filling your thread with spam also lol -Andrew |
|
|
|
Post by Penguin45 on Feb 20, 2012 0:55:15 GMT
Actually doing the clutch is pretty straightforward and with the engine out, access is excellent. It's just getting there in the first place that's the problem..... Richard - nice to see you. Did the 'Crab go to a good home? Indy - If you don't ask, you'll never know, so carry on. If you could also come up with 6 numbers and a bonus ball between 1 and 49 for next week's lottery, I'd be eternally grateful.  Chris. |
|
|
|
Post by indianajones on Feb 20, 2012 1:47:35 GMT
Sweet as, I like asking questions _b I'd imagine with the engine out the job would be made much easier (i.e. impossible to do in place just about?) As for the lotto, funny you mention that, I just won $64 on the weekend  -Andrew |
|
|
|
Post by Penguin45 on Feb 21, 2012 22:30:49 GMT
As for the lotto, funny you mention that, I just won $64 on the weekend  You can go off some people, you know.......  Actually, send it over; it'll just about cover the £28.25 the 1-11/16" socket cost. I'll put the receipt in the business paperwork and see if MrsP notices. Anyway, correct sized socket, 4' scaffolding pole and bracing myself against the cylinder head allowed me to finally crack that d@#m nut loose. 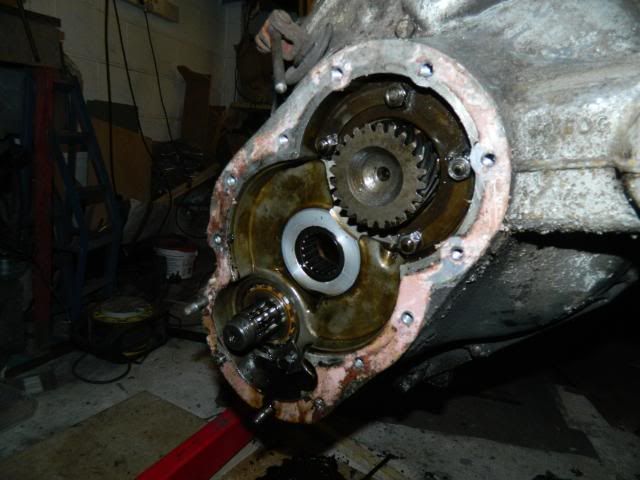 Then undo all the nuts and bolts around the top half of the clutch housing, then the nuts on the studs round the bottom half. Then find the secret nut down the hole next to the lower shaft bearing. Break the seal with my trusty old paint scraper and it came away quite easily. Surprisingly light, as well.  Note hole at the 4 o'clock position.  Clutch housing. 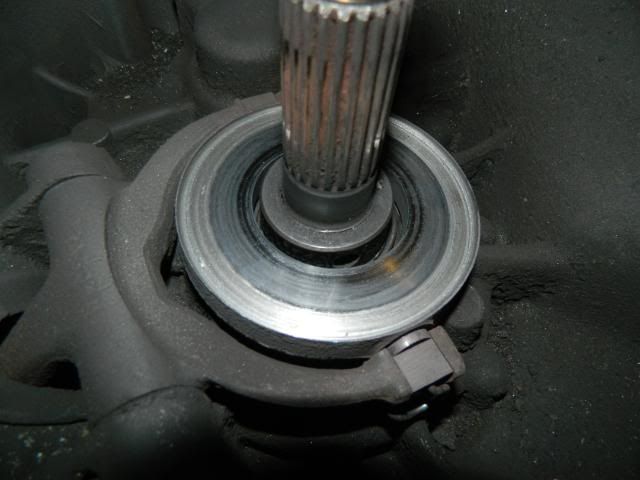 Release bearing - utterly goosed. There is actually a raised edge around the outside, it's worn that badly. 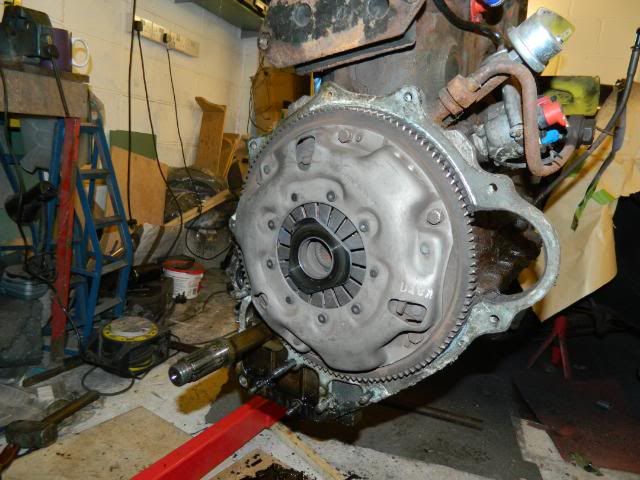 Clutch cover - 6 bolts to release. Jam flywheel teeth with a cunningly placed screwdriver, otherwise you'll never get them moving. 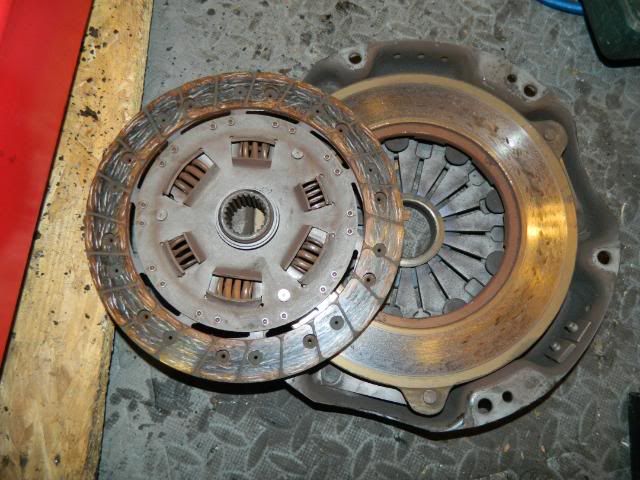 Clutch plate and cover don't look all that bad.  Flywheel itself very nice and smooth. Mike suggests that I might like to get the reverse side machined down to leave about 5/8" thickness. This will apparently improve engine pick up. Note spigot bearing in the centre - this was a slack fit. Might have to do a bit of measuring of the hole and bearing before re-assembly. Enough for today. Chris. |
|
|
|
Post by dave1800 on Feb 21, 2012 23:50:20 GMT
A really great set of photos Chris. I would think hard about machining the flywheel. Yes, it will improve engine pickup, but these are crude old engines and you may find the result very disappointing, most un-Wolseley like. The mass of the flywheel is what dampens out the vibrations. It's a lot of work to change it back! regards David Flywheel itself very nice and smooth. Mike suggests that I might like to get the reverse side machined down to leave about 5/8" thickness. This will apparently improve engine pick up. Chris. |
|
|
|
Post by indianajones on Feb 22, 2012 0:16:07 GMT
Nice photos mate, following this very keenly. No idea abouth flywheels etc, but if dave1800 is right about it keeping the vibrations down, I'd be keeping it stock  -Andrew |
|
|
|
Post by Penguin45 on Feb 22, 2012 1:07:34 GMT
I'll have a chat with Ady about it. He races Yamaha RD250s in a classic race series and is a demon machinist. He also says (All too often  ) that imbalances on his bike can cause Vibration White Bottom, never mind Finger. At the moment, it's just a thought to be investigated. Chris. |
|
|
|
Post by dave1800 on Feb 22, 2012 13:27:02 GMT
If you want to go this route, you need to balance pistons, crank and clutch. Also the front pulley would need to be rematched to the lighter flywheel to avoid premature crank failure through torsional vibration. Great for racing, but in my view if you want to improve the engine just get all the crank components matched and balanced. It should last longer and feel nicer. This engine is basically a 1940s design and the heavy flywheel is there for a purpose! regards David I'll have a chat with Ady about it. He races Yamaha RD250s in a classic race series and is a demon machinist. He also says (All too often  ) that imbalances on his bike can cause Vibration White Bottom, never mind Finger. At the moment, it's just a thought to be investigated. Chris. |
|
|
|
Post by Penguin45 on Feb 25, 2012 1:22:49 GMT
 It's arrived........ It took three of us to manhandle it in - it's a monster. 150L 3hp Thorite compressor; it'll solve a lot of mechanical things. Unfortunately, I can't just switch it on and go for it, as it has been stood for 10 years to my certain knowledge. Still, it's all still free and moving, the water valve has been left open underneath, so it's dry and corrosion-free. A once over with the Insulation Tester (500v.....) suggests that the electrics are serviceable. I have secured the guards and repaired the start/stop/pressure valve unit, so I just need to pop over to Thorite and see about a recommissioning kit for the compressor itself. It was only made in 1988, so it should still be available. I also need to get it on some feet and anti-vibration blocks, as you don't want this wandering around on its own. Given that the purchase budget is untouched (Thanks, Rick! - may you bathe in beer.), I have some funds available to set the thing up with filters, hoses and tools. Quite excited, really. P45. |
|
|
|
Post by Keef on Feb 25, 2012 1:34:17 GMT
That's a beast!  |
|
|
|
Post by Penguin45 on Feb 25, 2012 20:57:09 GMT
That's a beast!  Yeah! Good, innit? I had hoped to get to the core of the engine this afternoon. 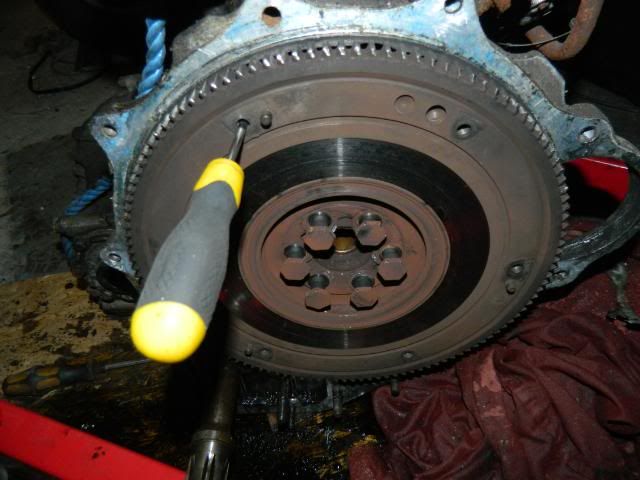 Jammed flywheel, knocked back the tabs on the jumbo lock washer and removed the bolts and flywheel. 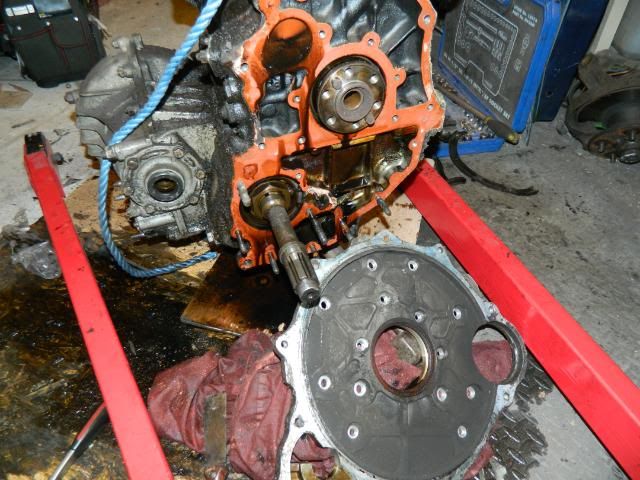 Then off with the adaptor plate. Care will need to be taken with refitting this, as there are two sizes of bolt used, but three threads. Dig the 70's-tastic groovy orange gasket, man. 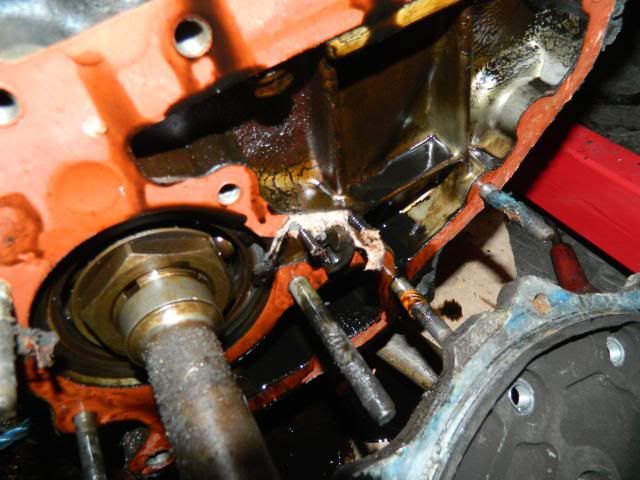 Need to find out what those two little springs are for. 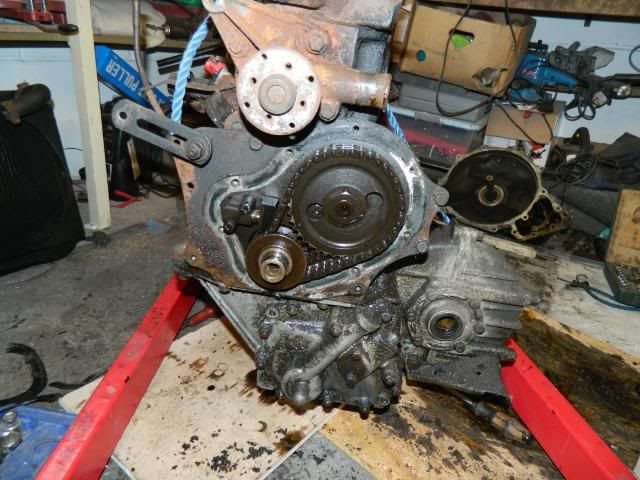 Pulley and timing cover off at the other end. This makes access to two of the gearbox bolts easier. Speaking of which - undo six nuts and eleven bolts and the gearbox now falls off. 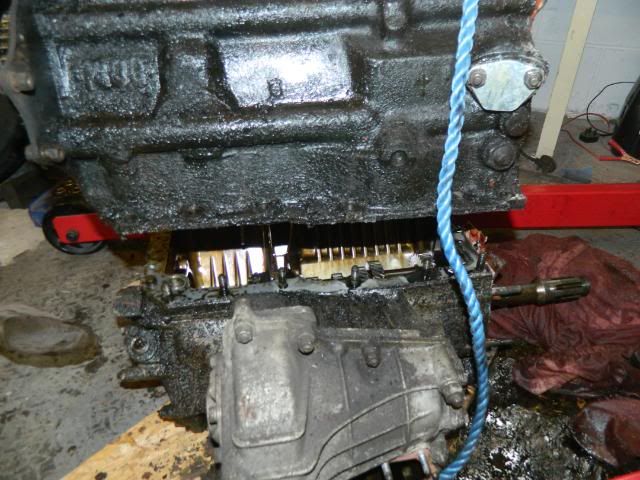 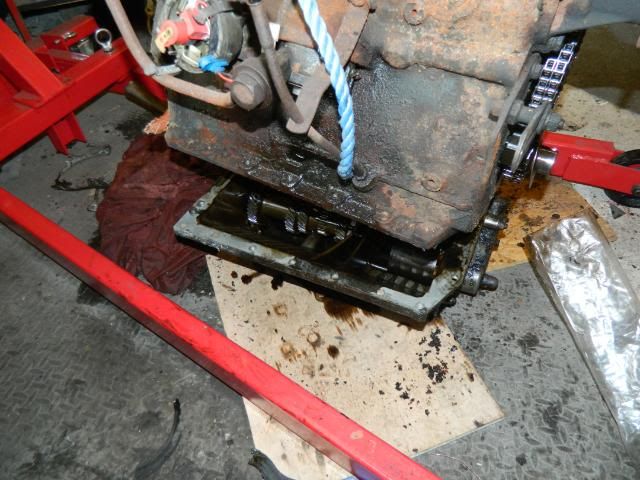 Lifted the engine off with the crane. What's in the box? 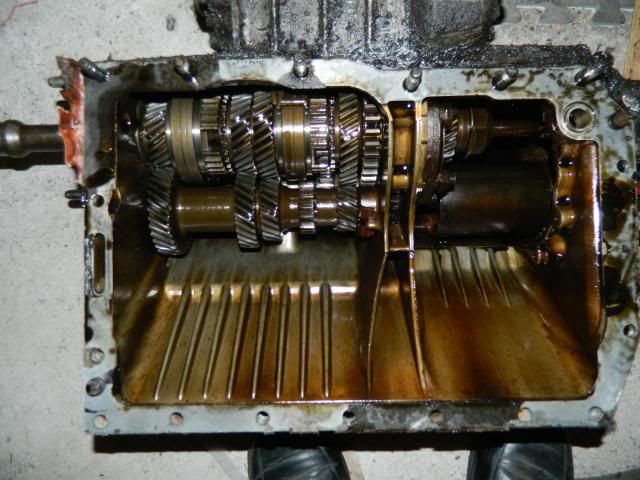 Surprisingly little actually, for such a large casting! At a glance it all looks in good order, but I'll have a proper investigate once we've been through the engine. It's tucked under the car in the meantime. Which means it was head time. I didn't put this head on, let me be absolutely clear about that. The nuts are supposed to be at 50-55ft/lbs. I had to use a breaker bar and a lot of force to start the nuts moving. Even then, I've got four headstuds come out, rather than the nuts. And the head isn't coming off........ It has started to move across the back edge, but the front isn't going anywhere. I suspect that there is an issue with headstud no. 3. I've dosed all the remaining front studs with penetrating fluid and left the engine on the crane, just off the floor. Who knows? Gravity might do the trick........ Chris. |
|
|
|
Post by indianajones on Feb 26, 2012 1:19:30 GMT
Great pics Chris. The 70's gasket is very groovy  And bugger, it is a big case compared to what actually lives in it! -Andrew |
|
|
|
Post by tommydp on Feb 26, 2012 17:19:30 GMT
Great work Chris! Oh, yes those screws with different threads...
I always keep the screws in a spare adaptorplate to keep them in the correct place. Often someone else have been there, messing up though..
I guess you know but the rear crankshaft seal and flywheel lock plate is identical to MGB, so readily available through MG specialists.
There are four of these springs, I guess two of them were still behind the rest of the gasket when you took the picture.
They are vital, but I'm not sure what they do:-) It's impotant to remember to fit them before putting the gasket and adaptor plate on.
Keep up the good work:-)
Tommy:-)
|
|


 ) that imbalances on his bike can cause Vibration White Bottom, never mind Finger.


