|
|
OKR
Jul 6, 2021 1:10:37 GMT
Post by 1800heap on Jul 6, 2021 1:10:37 GMT
Did this work a while ago but Flikr decided to update the app which stopped me being able to upload pictures from my phone to the site when taken with the camera rather than in the app. I have since discovered that if you screen shot the picture it will upload the screen shot to the app sometimes! The wings are W6 and because time was a factor before I left for Oz I kept the lights as W6. This was the change over to make them to the correct pattern and fix some hidden rust. With the paint and filler off you can see the quick conversion I did 20 years ago and some more rivets!  Section cut out.  More cut out to get to rust!  Repairing the cut out bit.  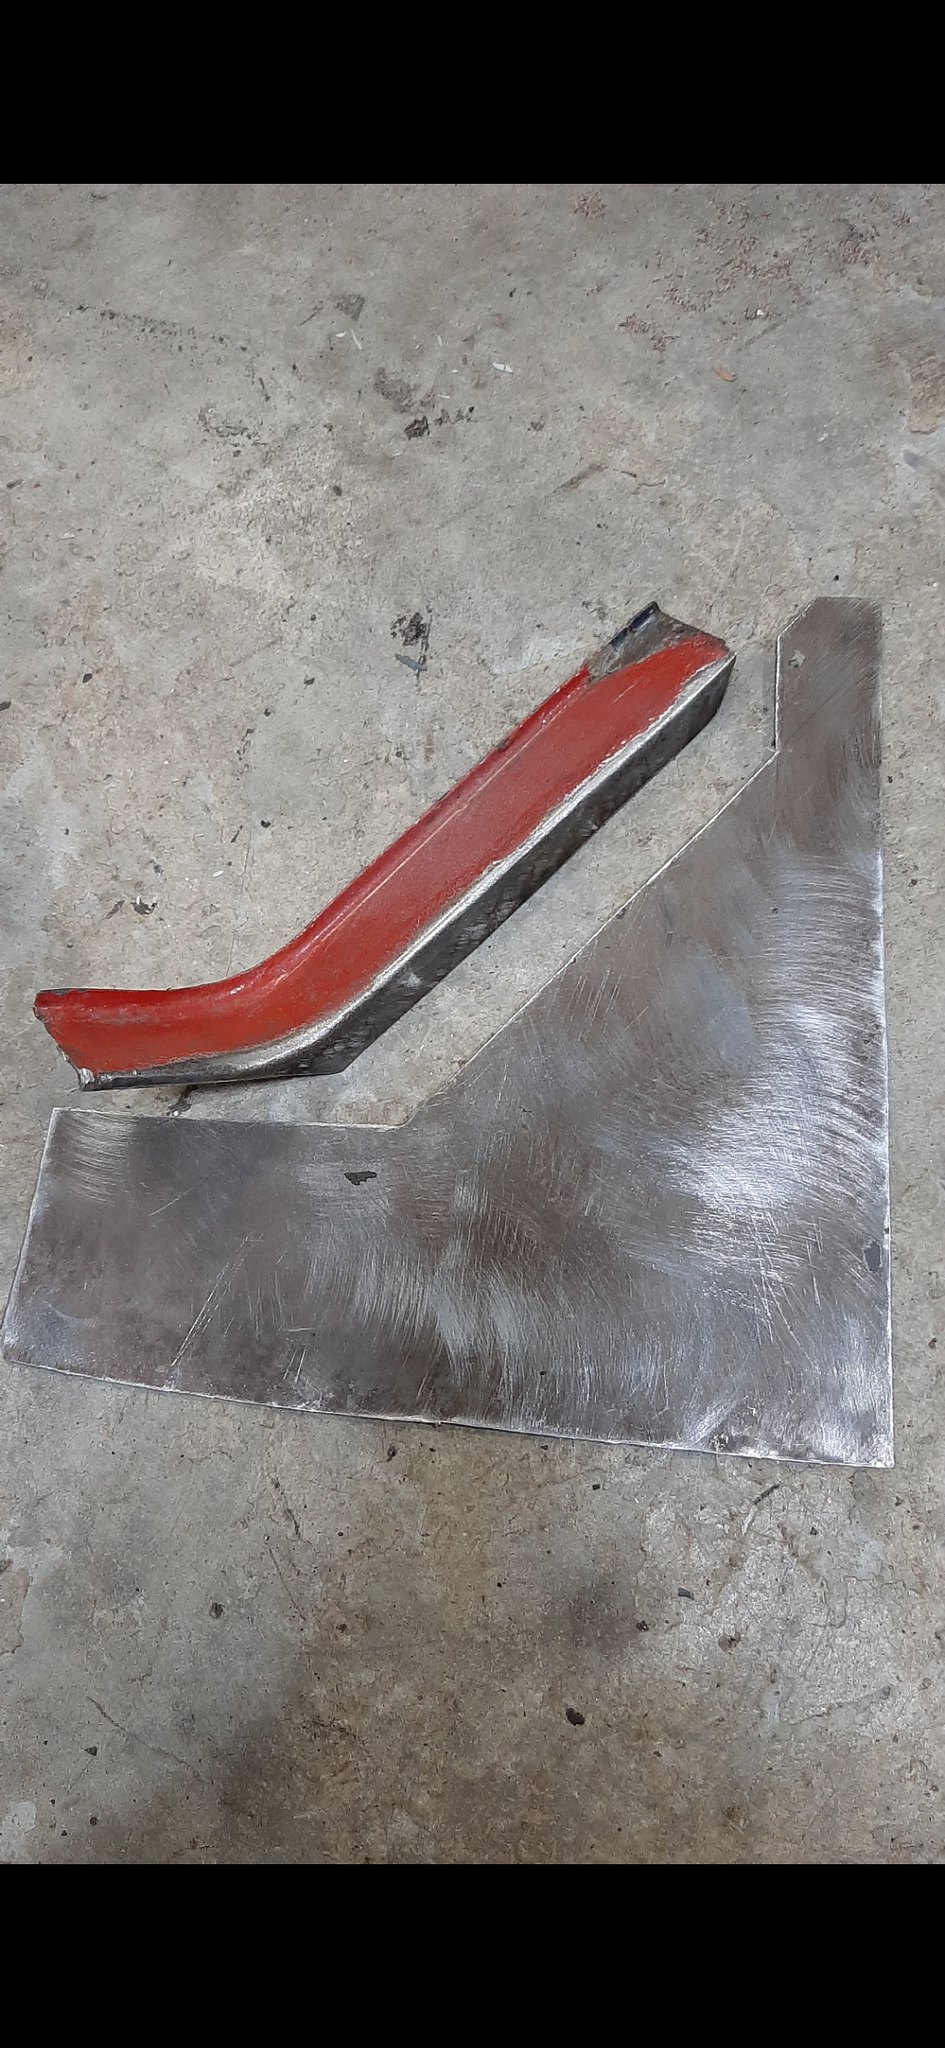 I forgot to take a photo of the welding before it got tidied with the grinder and etch primed.  More to come. Nick |
|
|
|
OKR
Jul 6, 2021 17:38:10 GMT
Post by Penguin45 on Jul 6, 2021 17:38:10 GMT
Nice one. I had to make that bit:  VOF707J VOF707J by Penguin 45, on Flickr Very satisfying when it actually fits! C. |
|
|
|
OKR
Jul 7, 2021 4:47:22 GMT
Post by 1800heap on Jul 7, 2021 4:47:22 GMT
It is nice when the difficult bits fit Chris after all the effort I agree. I then cut too much off the side while trimming it to fit. That killed the good mood somewhat! Filling in the W6 light holes and having a slightly rough welding day. Stopped because of the warp. 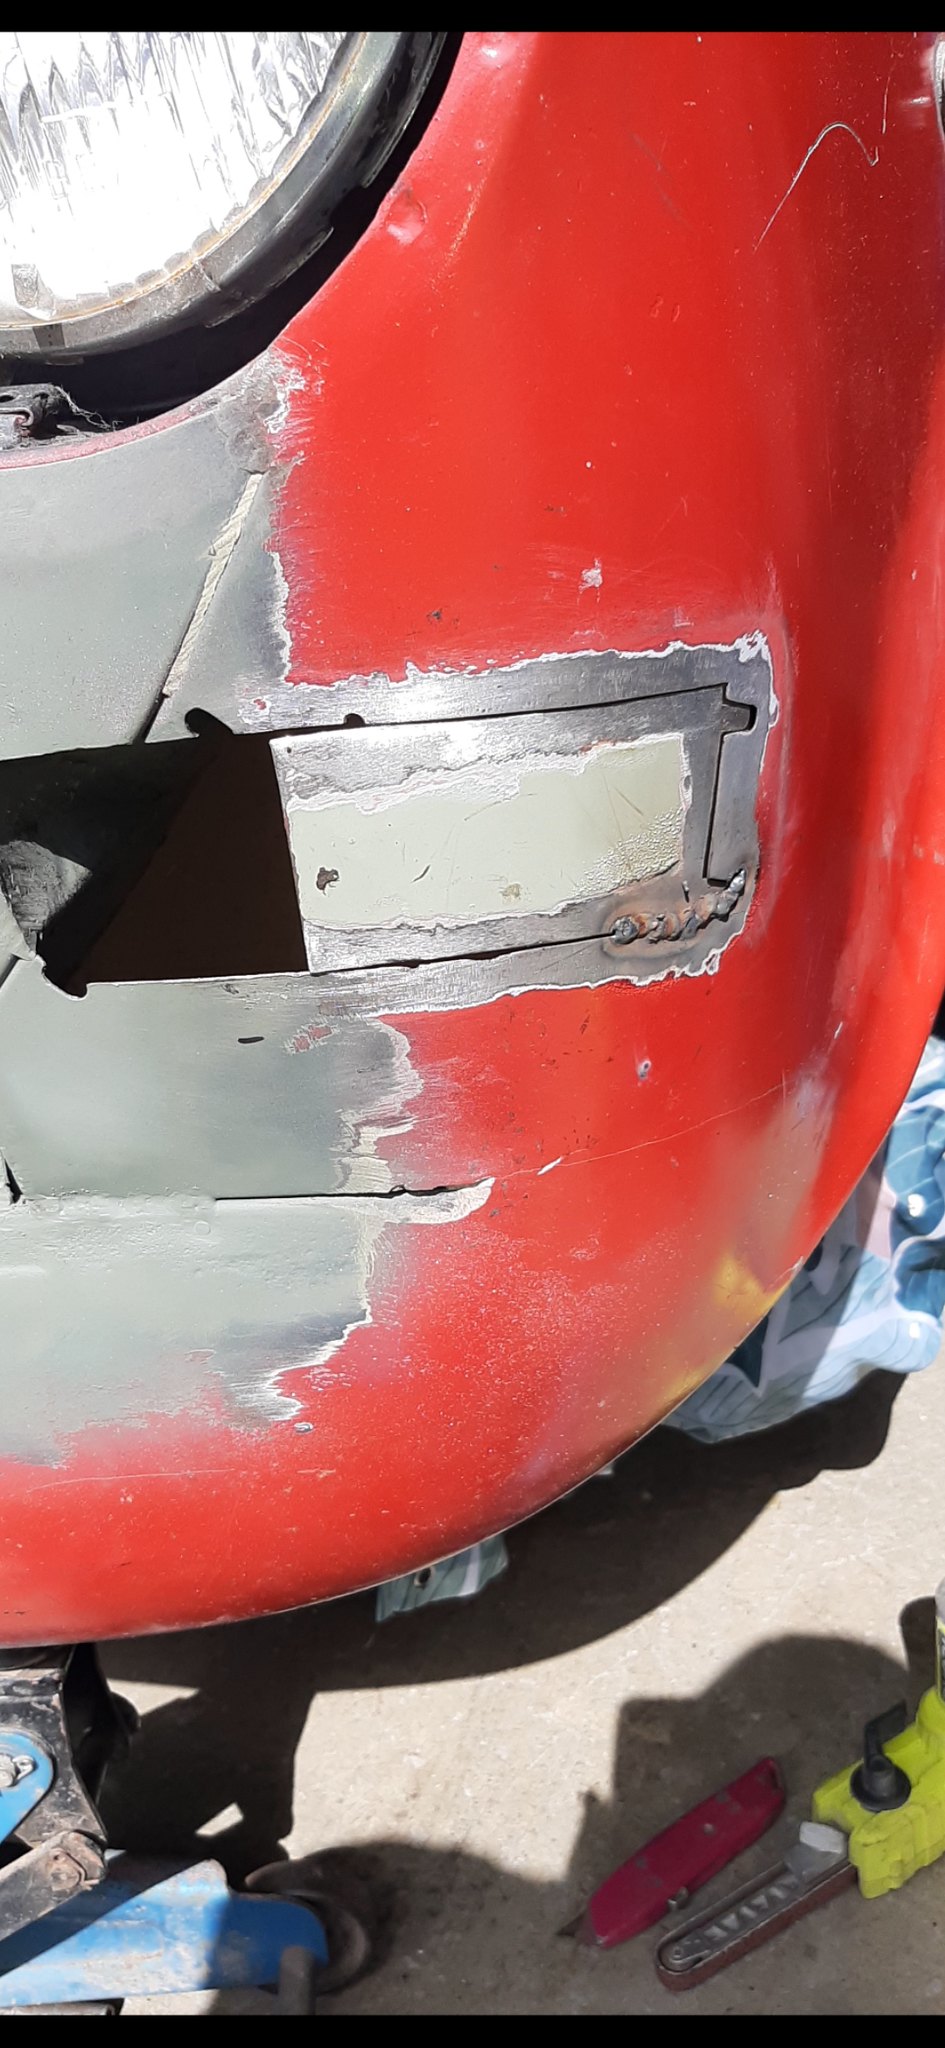 Grind and hammer flat to get rid of the warping a bit. Probably poor welding technique going a bit quick.   Going nice and steady after the first warp. Probably good I didn't tack it all the way round which helped me keep it flat. I did trim it a bit to keep the gap as I went round. The two horizontal welds I did from the back so I didn't have to grind off the weld. Then touched up the front where required before grinding it flat.  It is good to go a bit past where you want with the metal so that the edge is nice, as it is hard not to mess up the edge when welding.   Fill in the old holes.   Remove the rivets, plug well instead and paint ready for the outside bit. I wire wheeled the paint where I wanted to weld and it is high temperature caliper paint, so not so easy to burn when close to a weld.  Here you can see the self inflicted gap at the top. Lucky just close enough to weld with copper behind. 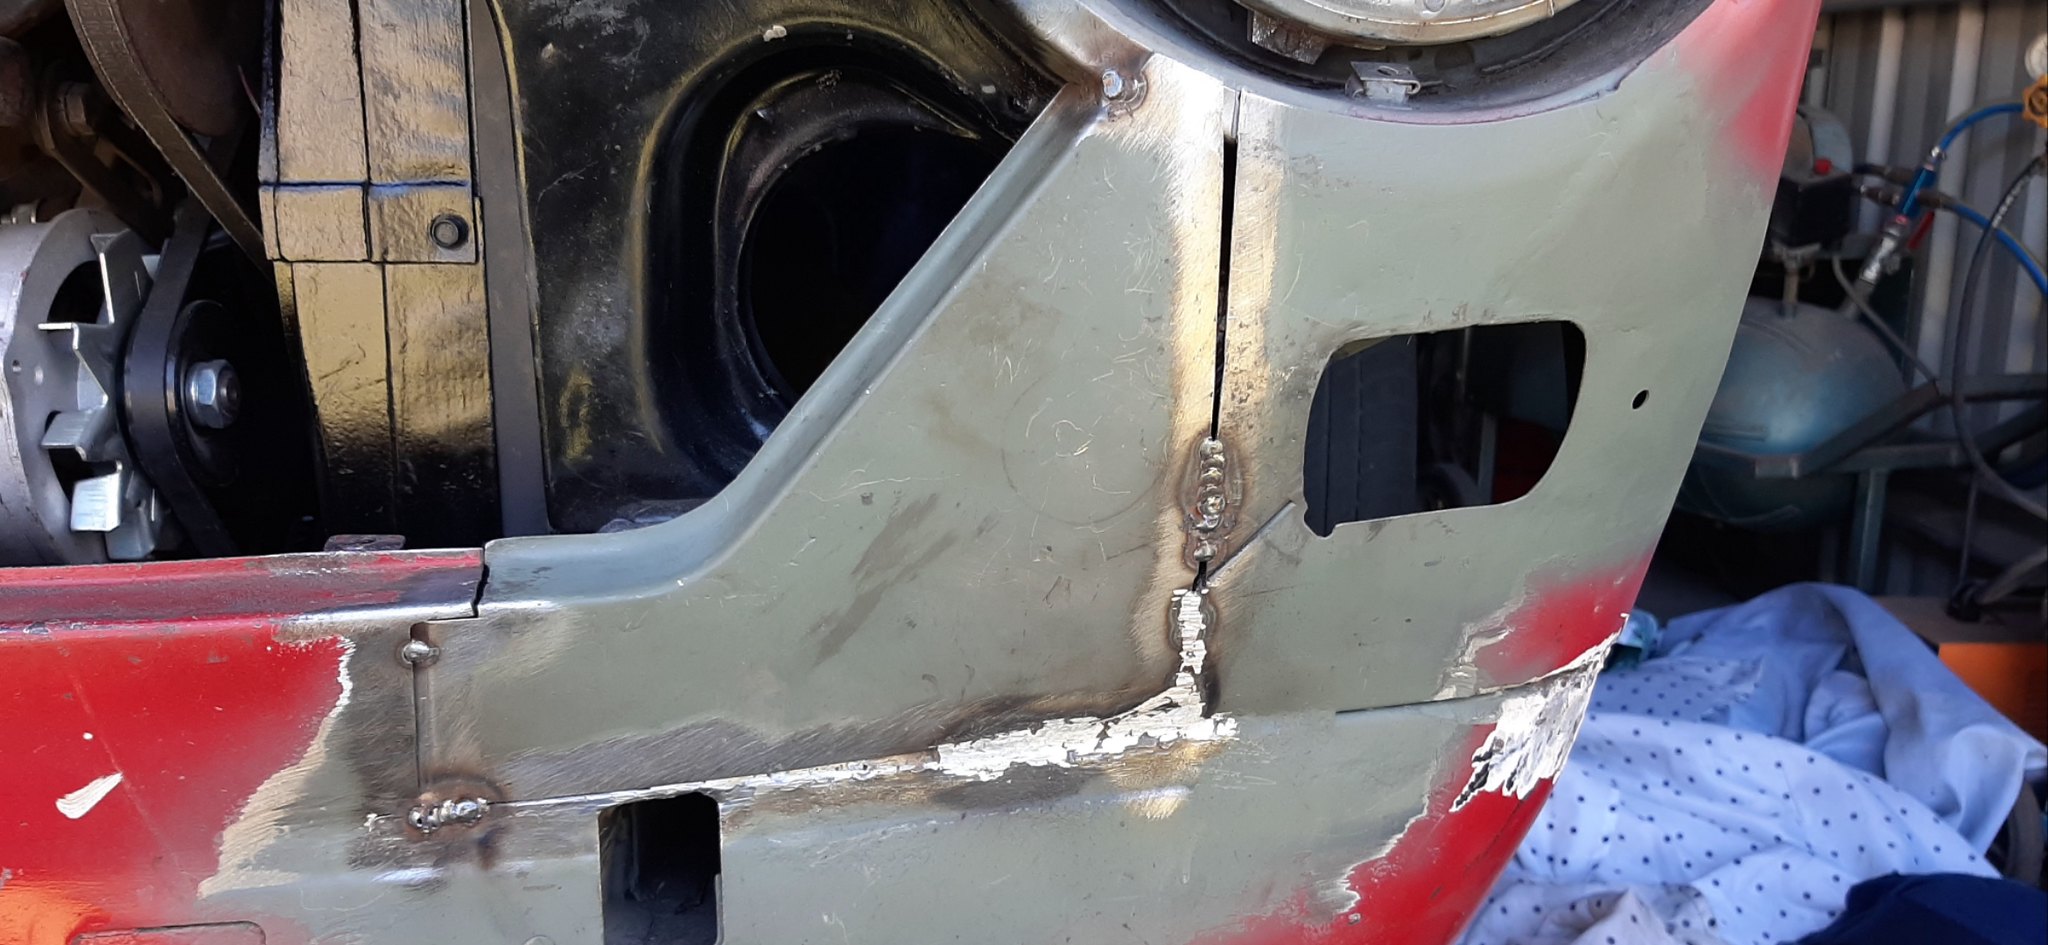  Next weld the seam and finish off with some filler. Only etch primer at this point . I was very pleased with the shape. Should only need a mm or two of filler rather than the 10mm+ it had before. Nick |
|
cybercontroller
Member

Posts: 103
Attribute: Waiting for the right Landcrab
|
OKR
Jul 7, 2021 8:31:14 GMT
Post by cybercontroller on Jul 7, 2021 8:31:14 GMT
Great work. Always nice to see good progress.
|
|
|
|
OKR
Jul 8, 2021 9:46:09 GMT
Post by dave1800 on Jul 8, 2021 9:46:09 GMT
At least you know you weren't blasting asbestos  well done David .....Had a crack with the sand blaster today. Man I am glad I put up the sheets. I had to stop after a while due to lack of visibility from all the crud in the air! A while ago I rigged an air supply from outside the back of the shed with a fan from a ducted fan RC aircraft. It pushes air down some drain pipe then down a pool cleaner hose to a sand blast hood. All a bit heath robinson but saves me breathing the bad air. Also works for spraying. Very useful but you can only tell the air is thick with crud by the visibility which is not that great anyway with the scratches on the face guard. Anyway it looks a bit better under the car now. It still needs quite a bit of clean up but getting there. Nick |
|
|
|
OKR
Jul 8, 2021 17:33:27 GMT
Post by Penguin45 on Jul 8, 2021 17:33:27 GMT
Funny thing, the brain. First picture in the thread shows OKR in all her glory head on, with her Six sidelights and none of us noticed. OKR1800Heap OKR1800Heap on Flickr Chris. |
|
|
|
OKR
Jul 8, 2021 23:09:20 GMT
Post by 1800heap on Jul 8, 2021 23:09:20 GMT
It is good to look back at photos and remind yourself you are actually making progress, especially when you find unexpected holes! The intention was to do the main repairs to get the Oz cert but like Andrew "while it is apart" you know the thing. There are plenty of self inflicted bits to fix up that were done years ago to keep the car going with minimum effort. There is also the 20 + years of sitting around with no maintenance so none of it is a surprise really. When it gets on the road I plan to use it as my main transport so much TLC required. Great work. Always nice to see good progress. I am glad I know the asbestos status David for sure. I have found that the last bag of abrasive for the sand blaster seems to be very dusty. It is from a different supplier as they were a bit cheaper! I shall correct my mistake and get it from the old place and pay the 4 dollars extra I think. Lesson learned and hoping it was not contaminated with something nasty! Nick |
|
|
|
OKR
Jul 8, 2021 23:13:43 GMT
Post by 1800heap on Jul 8, 2021 23:13:43 GMT
It looks a bit odd with the wrong lights but you may have missed it because of the lack of bumper which makes it look quite different in itself Chris. Its is also a MK3 so has the wrong grill. The grill is from my dads MK2 1800 which got me started with the cars and is a link to the old girl. There are also some other bits from ALF on the car. I learned to drive sitting on my dads lap in ALF.
Nick
|
|
|
|
OKR
Jul 10, 2021 0:18:36 GMT
Post by 1800heap on Jul 10, 2021 0:18:36 GMT
|
|
|
|
OKR
Jul 13, 2021 4:08:51 GMT
Post by 1800heap on Jul 13, 2021 4:08:51 GMT
Made a little progress on the rear in the last few days. More clean up plus weld the existing inner sill repair to whats left of the old inner sill. I didn't do it at the time because I didn't want to remove the rear suspension to get to it. I only spot welded it on the inside which was accessible before the sill went on . A short cut I have now rectified 30 years later! Its is a bit rougher that I would have liked but I will be going over it anyway when the outer repair goes on.  Cardboard template the only way to go.  Today I cut out the template from and Oz 1800 door skin and had a play around getting it to fit OK.  2021-07- 2021-07- Gave up once it was a reasonable fit. Another couple of hours work done. I will weld along the inner sill over the first weld to attach it, then tidy up the two welds. Should be nice and strong then. I will probably weld up the shaping cuts before it goes on. Hopefully I can get some done tomorrow too. I will probably remove a bit more of the existing metal but have left it there for now to help me shape the new bit. Nick |
|
|
|
OKR
Jul 13, 2021 12:04:41 GMT
Post by dave1800 on Jul 13, 2021 12:04:41 GMT
It looks as though you have managed to free up some time to sort out your car at last. Impressed with what you are tackling.
David
|
|
|
|
OKR
Jul 13, 2021 21:55:51 GMT
via mobile
Post by 1800heap on Jul 13, 2021 21:55:51 GMT
Thanks for the encouragement David. I am trying to put as much time in as possible. I have come to the conclusion it is now or never. It has been a very long and expensive journey so far as you know. I don't want all the effort and stress to be wasted by leaving OKR in the garage for years here in OZ. I think I can see some light now at the end of the tunnel. Still plenty to do but getting there! Nick It looks as though you have managed to free up some time to sort out your car at last. Impressed with what you are tackling. David |
|
|
|
OKR
Jul 15, 2021 0:38:56 GMT
Post by 1800heap on Jul 15, 2021 0:38:56 GMT
Slipflex replacement! I replaced one of these on the car many years ago. I believe it was the driver side rear. I am hoping it is still OK and checking it is on the things to do list. It was a complete pig to get out as I remember. I was hoping this time it would not be so bad. With the help of a tool acquired to do some work on the Ford suspension I got it out this time with much less effort.  First up remove the washers by going to work on the pressed end of the pivot where it is beveled to hold the washer in place and lever it off. Grinder or chisel work OK for that. 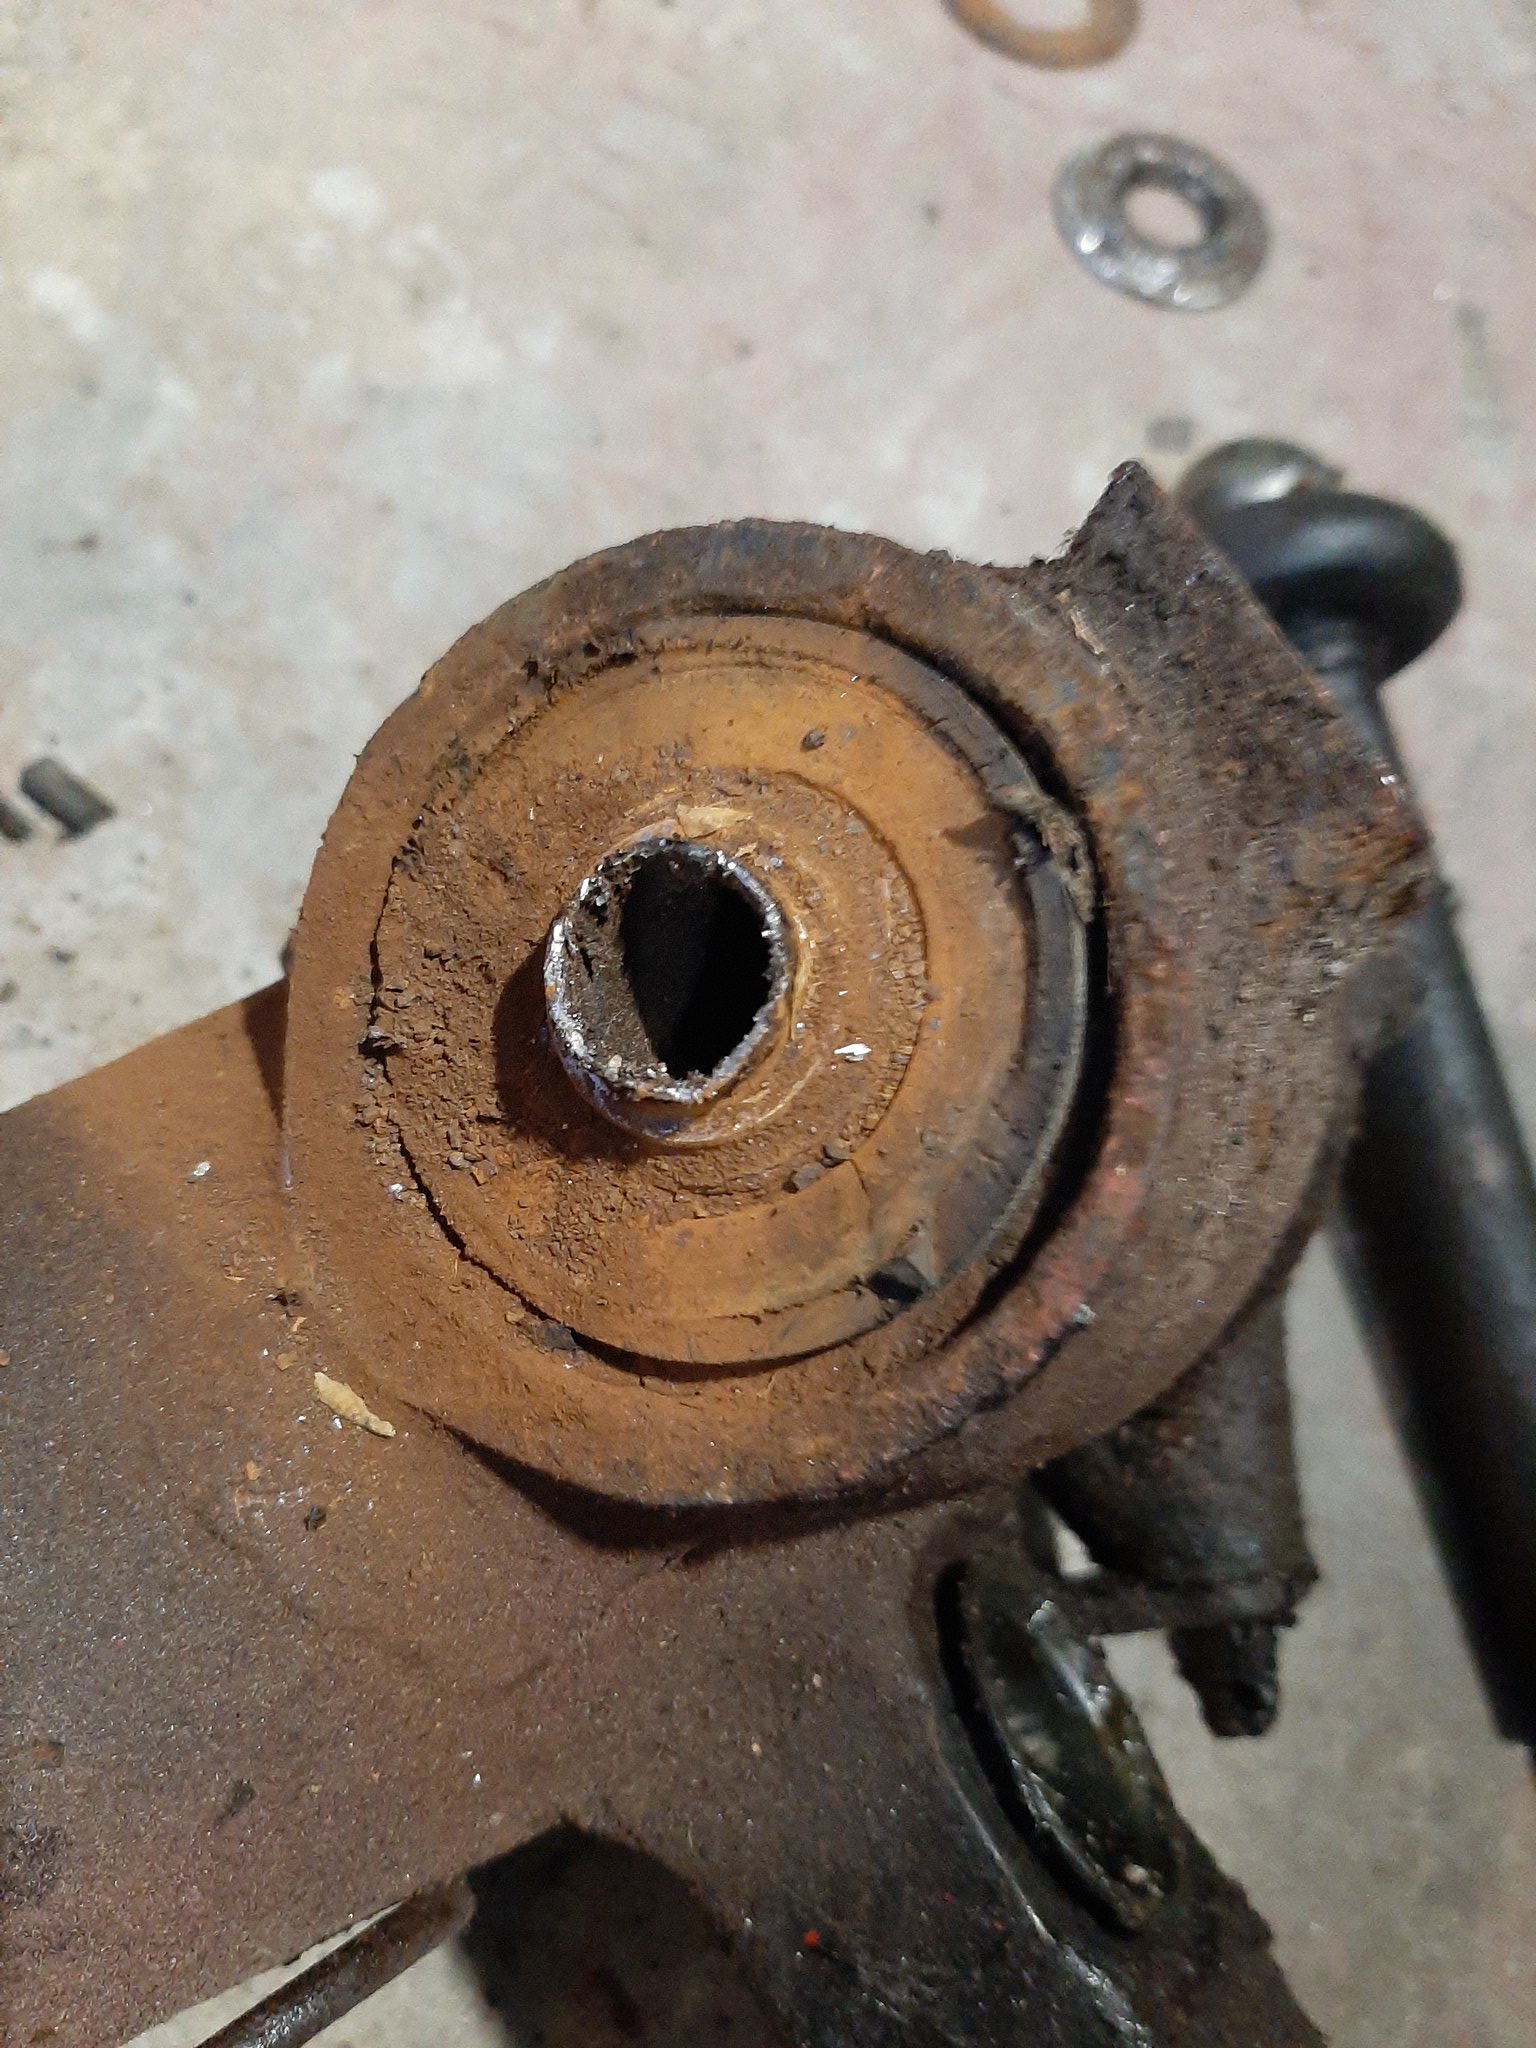 Get rid of the rubber from the end.  With my pressing tool I had to do this both sides as the opening on the tool is too small for it to fit through. With other bigger presses this may not be required.   I needed to remove the press a couple of times to get rid of rubber bits and reposition it.  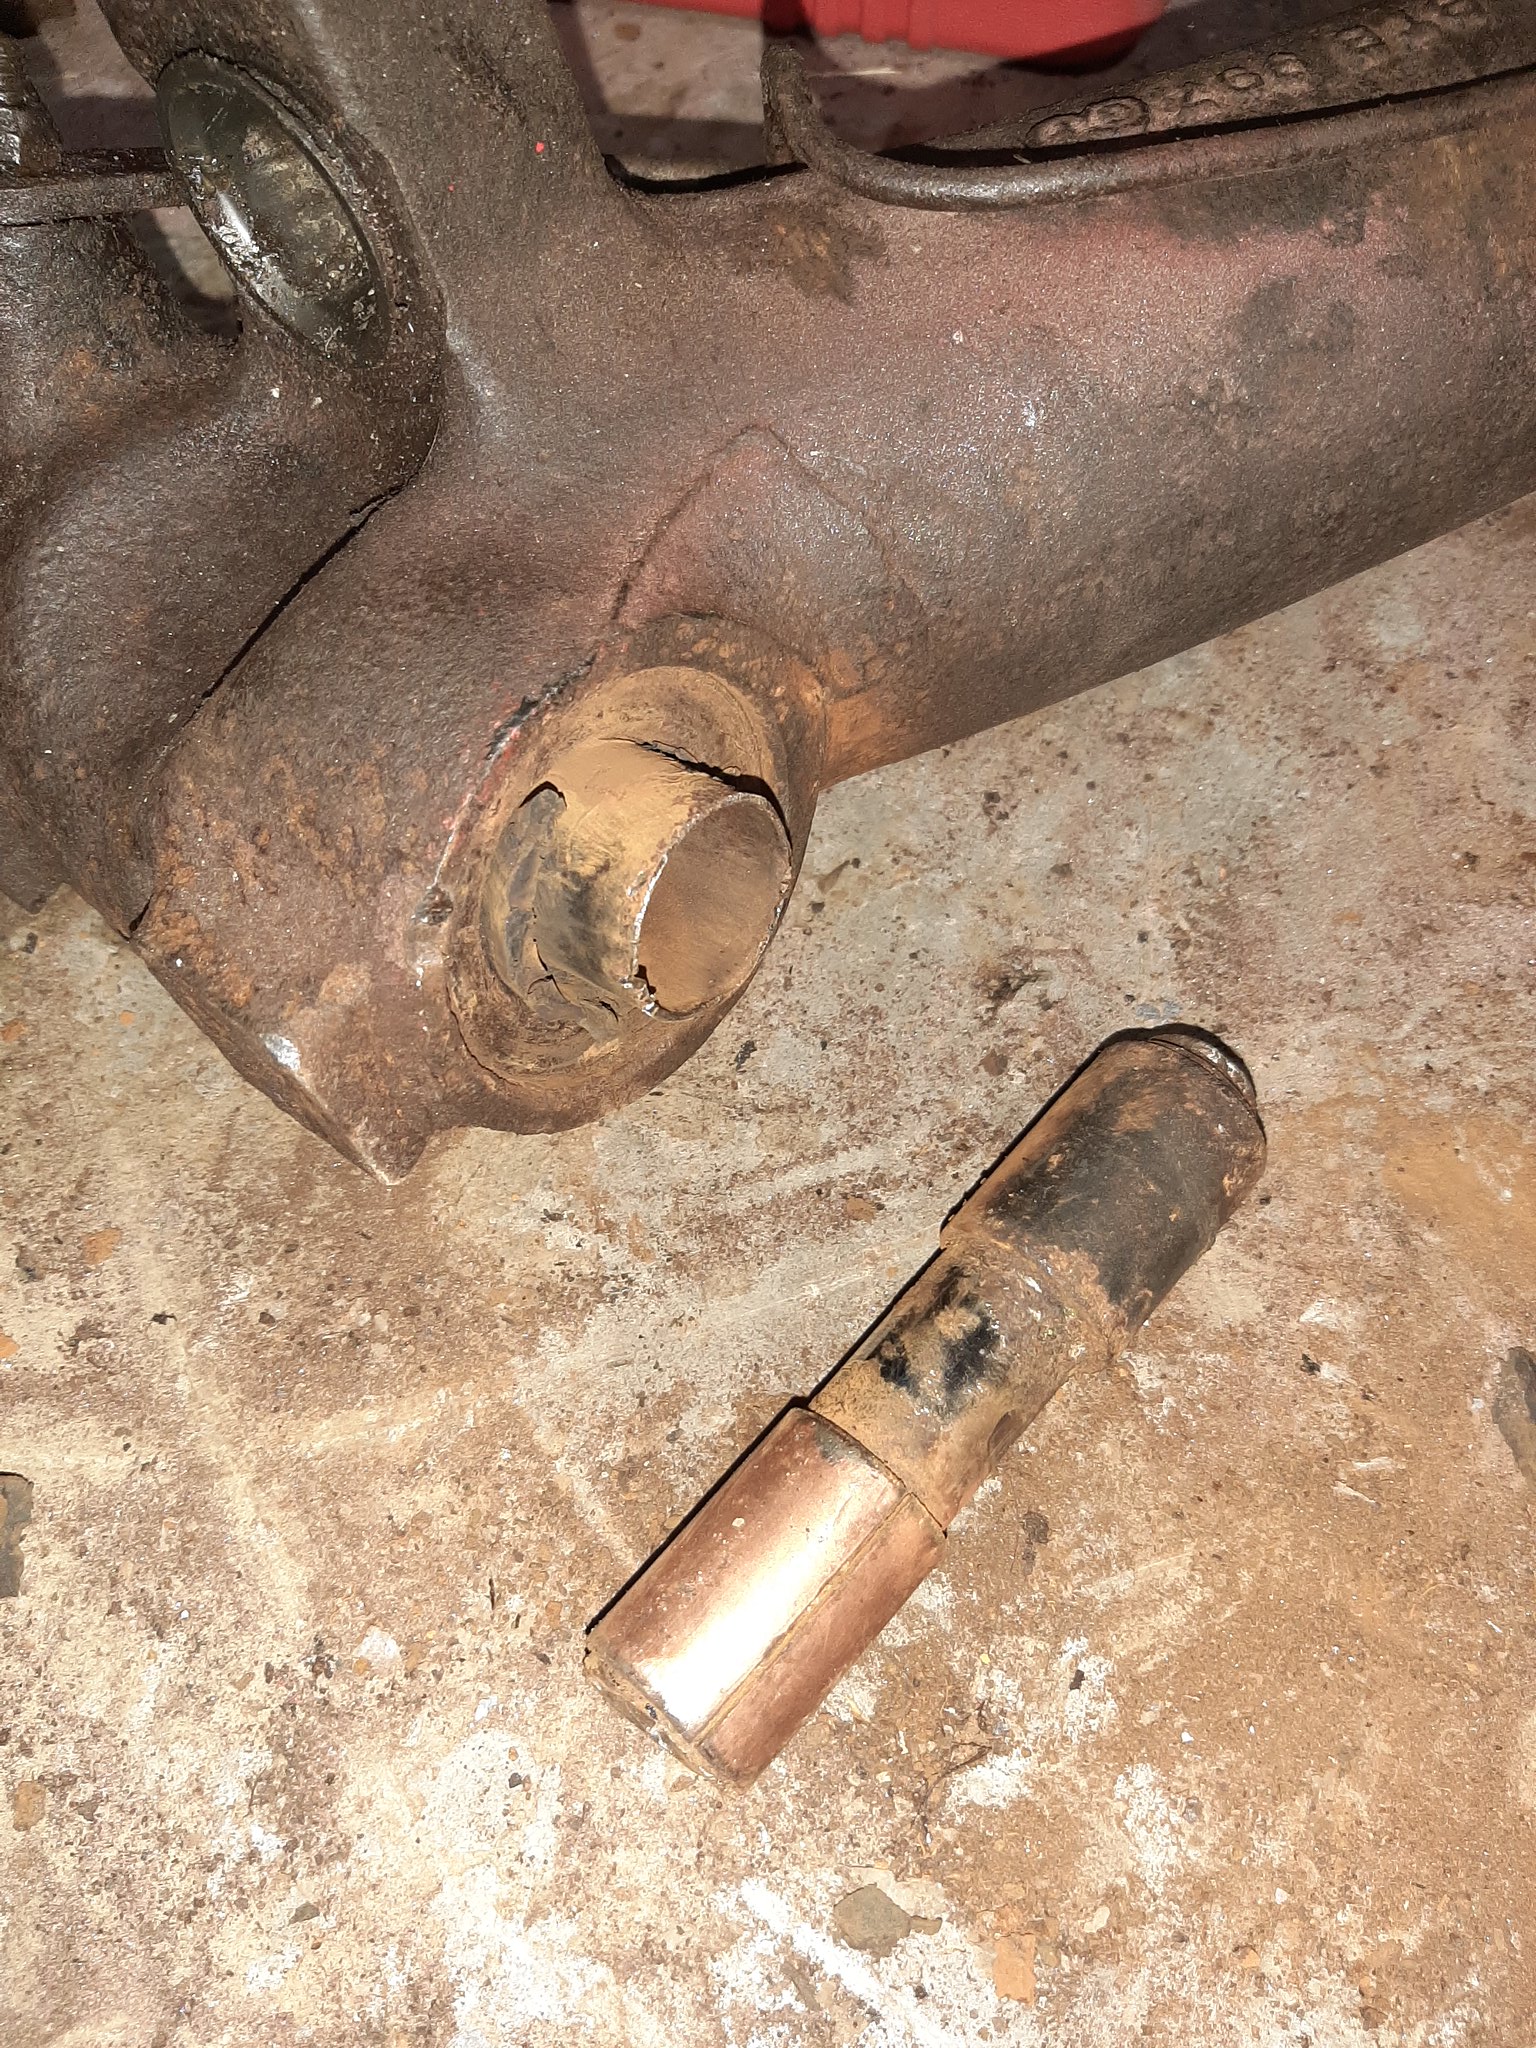 As you can see even with the press it took a fair bit of mangling to get it out. At one point I had quite a big lever on the end of the press bolt to get enough tightening force to make it move.   Next job clean up. Nick |
|
|
|
OKR
Jul 15, 2021 17:06:39 GMT
Post by Penguin45 on Jul 15, 2021 17:06:39 GMT
Looks like good messy fun. Is that last pic the remains of both bushes, or just the one?
|
|
|
|
OKR
Jul 15, 2021 22:03:25 GMT
Post by 1800heap on Jul 15, 2021 22:03:25 GMT
It is the remains of the bushing from one rear arm minus a few small bits of rubber that didn't get put in the pile. So that is the outer and inner bush and the pivot pin that make up one slipflex. The rubber part of the joint was ok but the bearing part was seized so although the car did not have an issue with camber on that side it would not have taken long for the rubber to be destroyed by the suspension movement. Nick Looks like good messy fun. Is that last pic the remains of both bushes, or just the one? |
|


