|
|
Doors.
Nov 26, 2017 16:15:31 GMT
Post by Penguin45 on Nov 26, 2017 16:15:31 GMT
A new first. Four doors to restore, rather than a whole car. The shells are reasonably solid and Carl has supplied a full set of skins. I had hoped to get further faster with this, but I've had a stinking cold all week and it's been pretty cold as well. 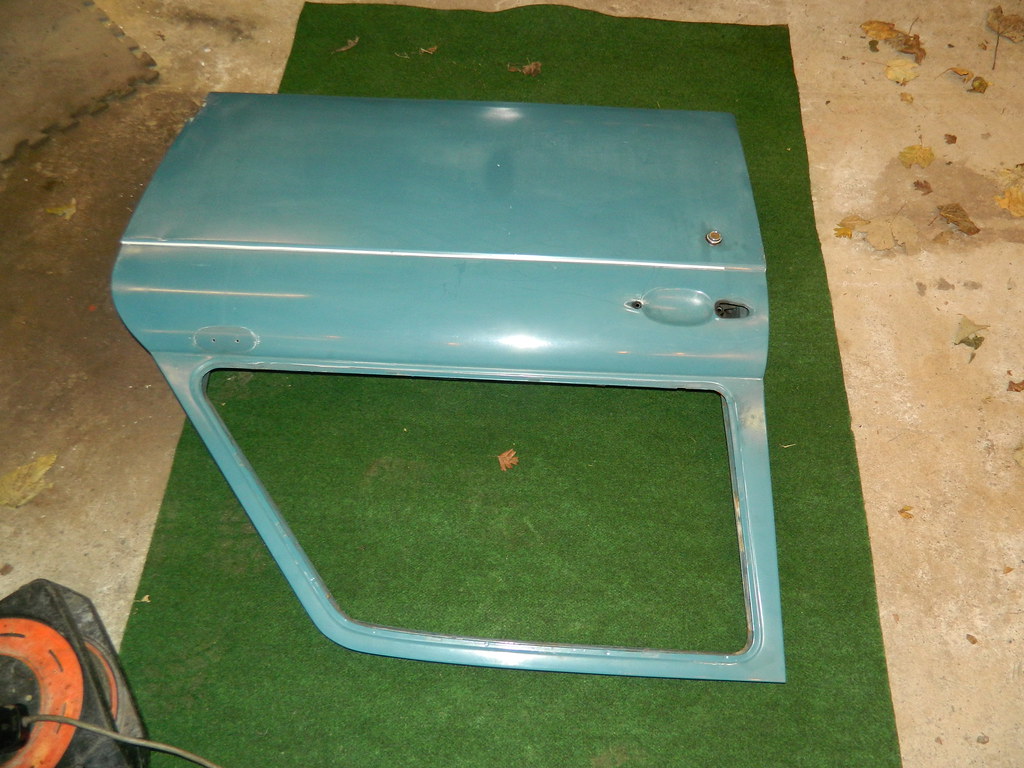 DSCN4698 DSCN4698 by Penguin 45, on Flickr First problem - find the spot welds. Most door skins will have a spot weld somewhere each end to locate the skin. Investigation showed that the inner edge of the window surround has 16 alone! 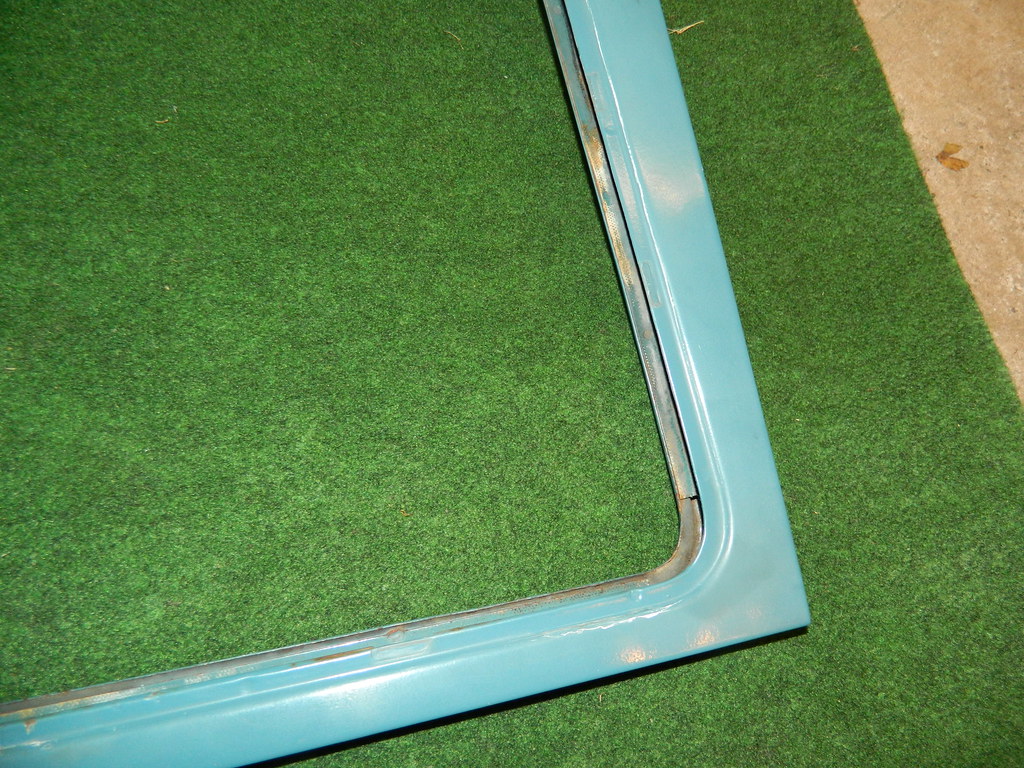 DSCN4699 DSCN4699 by Penguin 45, on Flickr You can see some here. Very small, so a 6mm spot weld drill was used at a dead slow setting for accuracy. 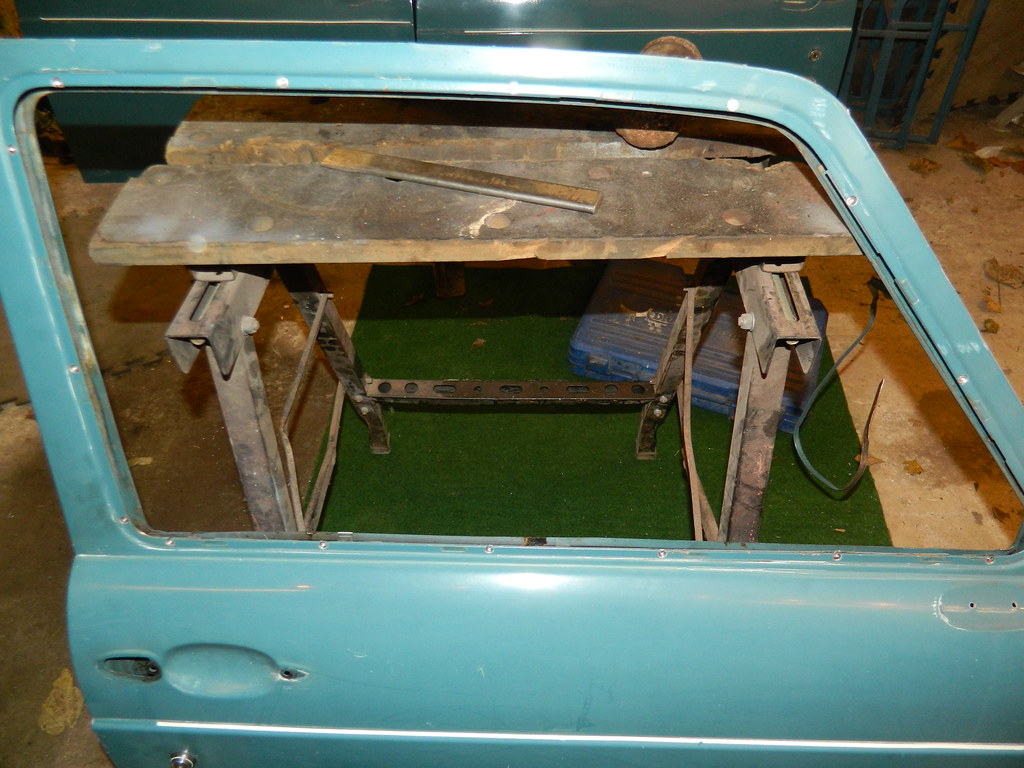 DSCN4700 DSCN4700 by Penguin 45, on Flickr I quickly realised that trying to get the skins off in a salvagable state by unfolding the crimped edge was going to prove impossible, so the flap wheel was used to cut the outer fold, followed by the cold chisel to split things apart. This revealed that there were further spot welds along the bottom edge and up the sides. Drilled them out and the shin peels away. 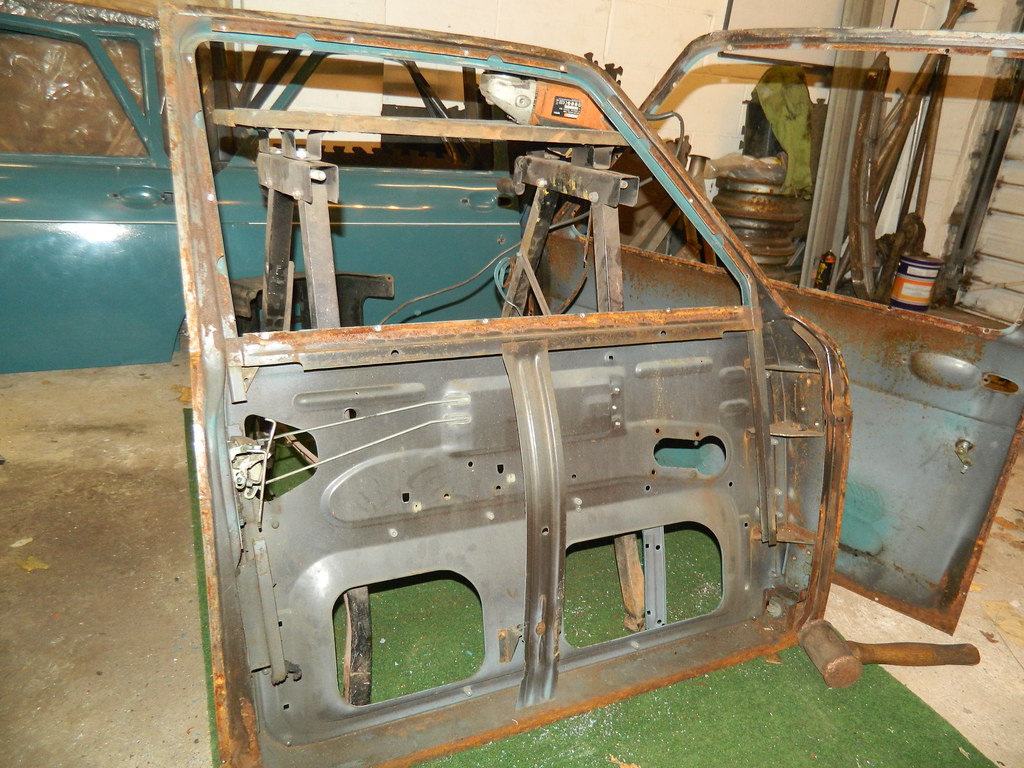 DSCN4701 DSCN4701 by Penguin 45, on Flickr Shell is pretty solid and doesn't appear to need any welded repairs. Buzz that surface rust off, treat it and paint it then the new skin can go on. Chris. |
|
|
|
Doors.
Dec 2, 2017 18:22:50 GMT
Post by Penguin45 on Dec 2, 2017 18:22:50 GMT
Managed most of a day in the garage today. First door frame now cleaned up, de-rusted, etched and primed. 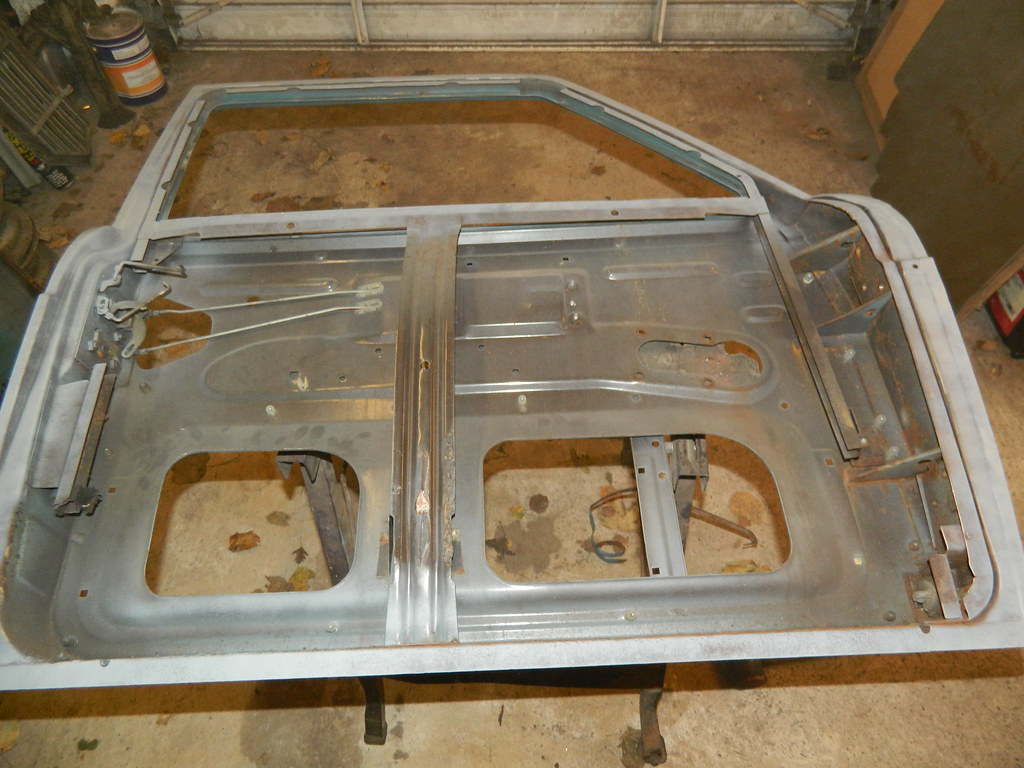 Landcrab doors Landcrab doors by Penguin 45, on Flickr Whilst that was drying off (It's a bit chilly up here in Yorkshire), I attacked the next one. 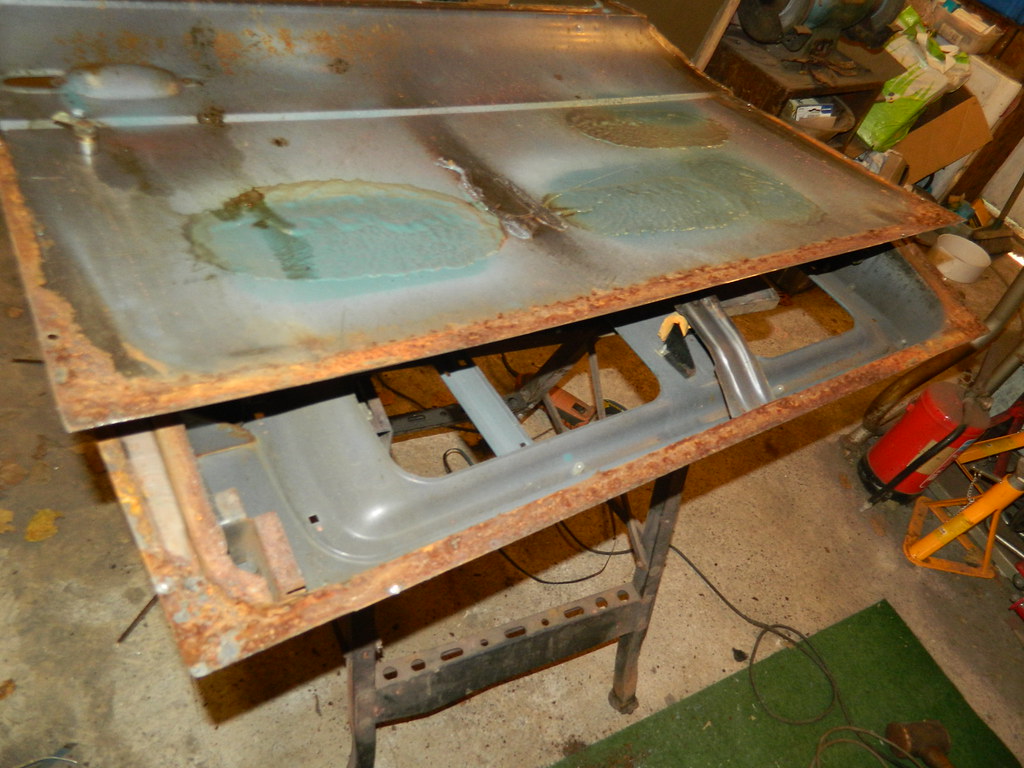 Landcrab doors Landcrab doors by Penguin 45, on Flickr This one required more work, as you can see how water has attacked the door bottom and the inner skin. It wasn't actually through and the door frame was mainly surface rust, but a few pinholes had to be zapped in with the mig. 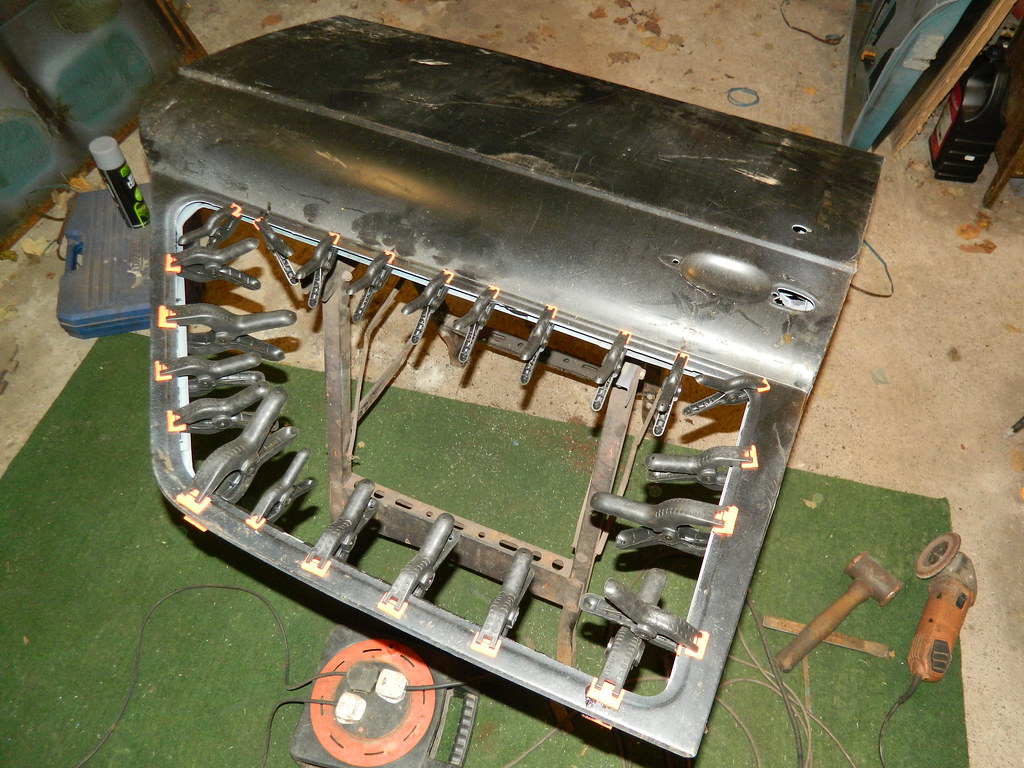 Landcrab doors Landcrab doors by Penguin 45, on Flickr In the meantime, the first door had fully dried. Rather than try and weld the window surround into place, I have bonded it home using U-pol Tiger Seal. This will form a watertight seal between the inner and outer skins, whilst being amazingly strong. It is the 21 st century after all. As you can see, a few clamps were required. I'll leave that all clamped up until tomorrow. The second door has been cleaned up, etched and primed, so whilst that is drying, I set about the third door. 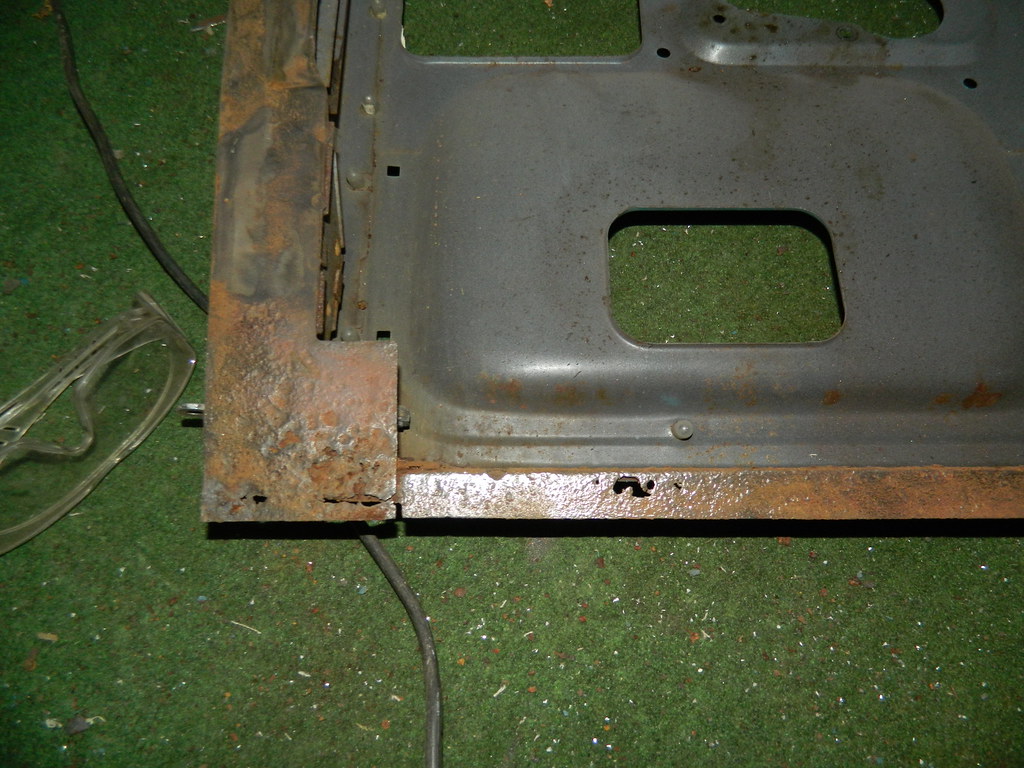 Landcrab doors Landcrab doors by Penguin 45, on Flickr This has some more serious rust. That corner plate is going to have to be cut away and replaced, as well as a section of the bottom flange. Quite straightforward stuff really, although I have noted that each succeeding door has been worse than the previous one. What will door four be like? Hopefully I'll find out tomorrow. Chris. |
|
|
|
Doors.
Dec 3, 2017 20:03:56 GMT
Post by Penguin45 on Dec 3, 2017 20:03:56 GMT
Managed a few hours on these today, between Jag welding, driving practice with No. 1 twin and repairing our old dining room table. Wood. Horrible stuff. Can't weld it. 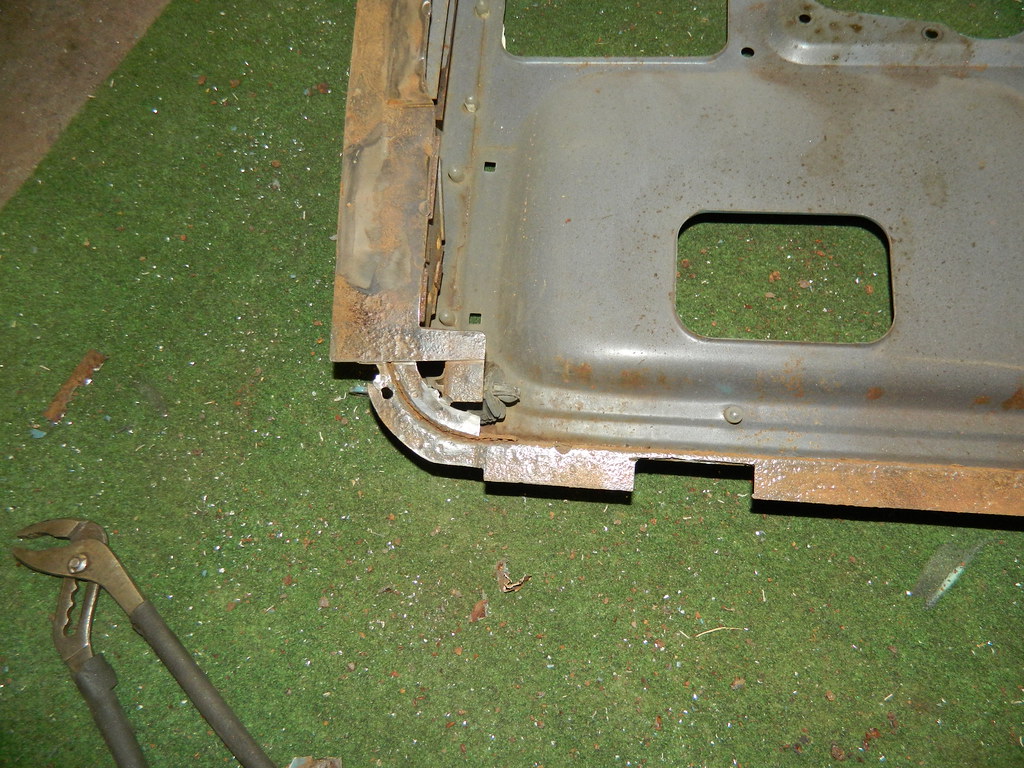 Landcrab Doors Landcrab Doors by Penguin 45, on Flickr Rust cut out of door three. 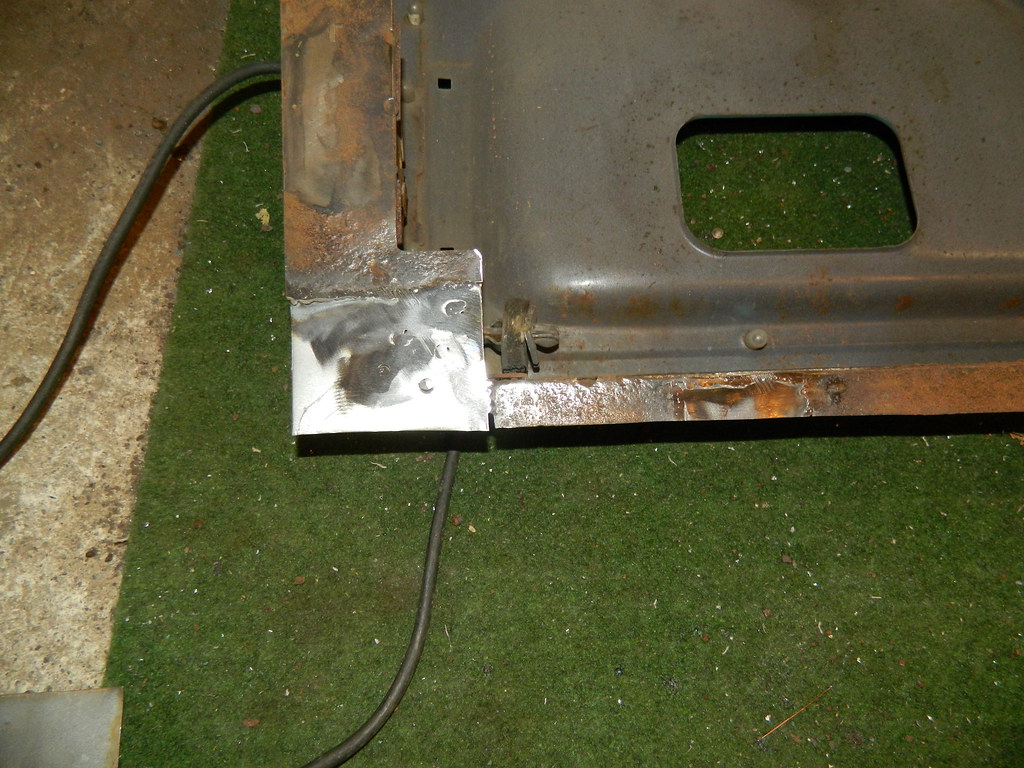 Landcrab Doors Landcrab Doors by Penguin 45, on Flickr And replaced. Surface rust treated, etch primed and now primed. 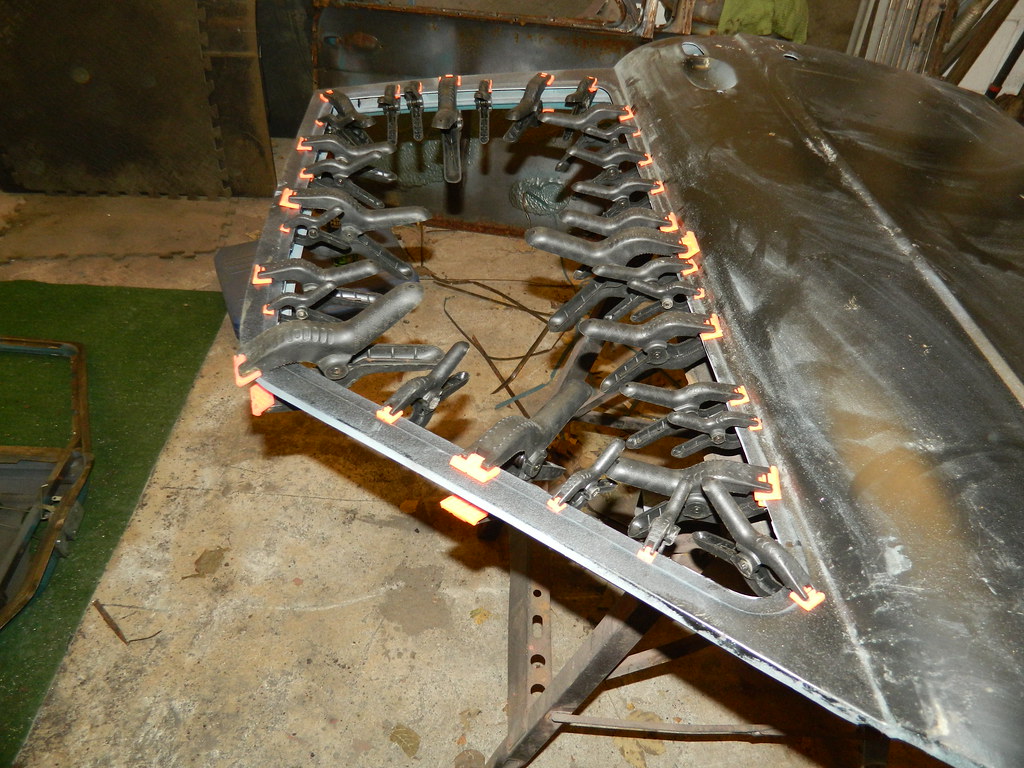 Landcrab Doors Landcrab Doors by Penguin 45, on Flickr Meantimes, door two has had the skin bonded on around the window frame. Just 36 clamps. All for now. Chris. |
|
|
|
Doors.
Dec 4, 2017 8:06:28 GMT
Post by peppib on Dec 4, 2017 8:06:28 GMT
Interesting stuff. I like the use of glue - useful for duffers like me who can no longer weld. In the late 80's/ early 90's some Rover cars had their suspension glued in place (Family used to have a dealership and I was shown this when they put a brand new car up on lift)
|
|
|
|
Doors.
Jan 1, 2018 17:43:29 GMT
Post by Penguin45 on Jan 1, 2018 17:43:29 GMT
Temperature has staggered over zero by a few degrees, so time to get on with the last door. Frame buzzed round with the wire brush, treated with rust killer and the rusty corner addressed.  Landcrab doors Landcrab doors by Penguin 45, on Flickr 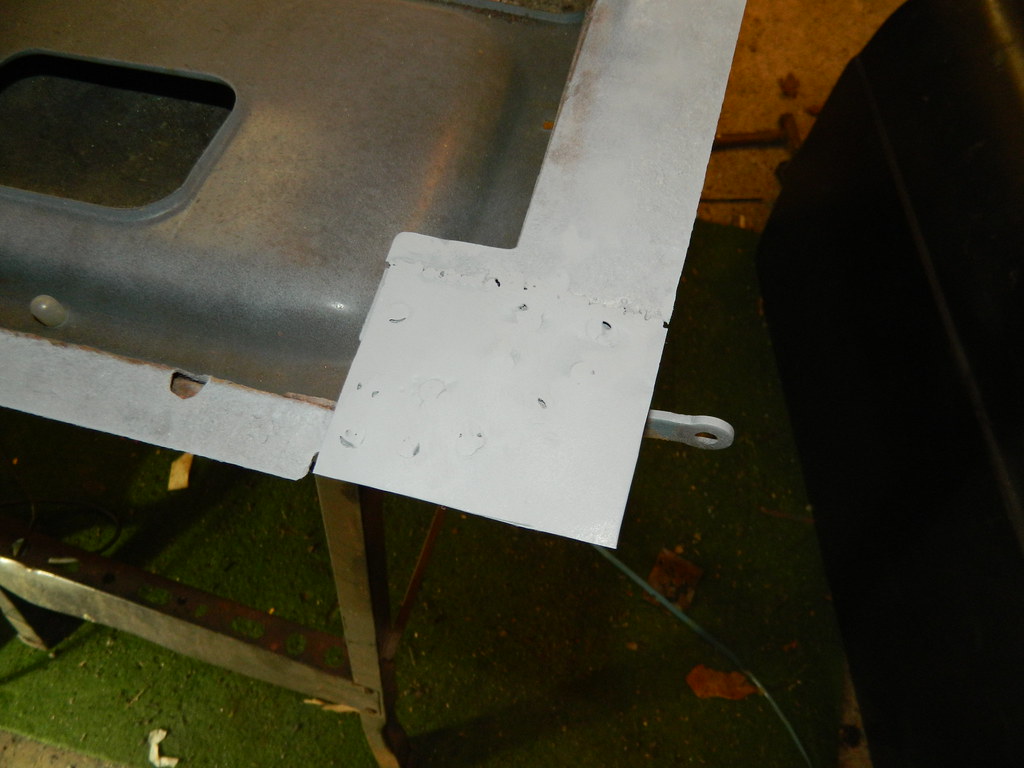 Landcrab doors Landcrab doors by Penguin 45, on Flickr Corner replaced and dusted over with etch primer. All exposed surfaces have now been fuly primed. Nearly there. Chris. |
|


