|
|
Post by Penguin45 on May 19, 2019 16:39:20 GMT
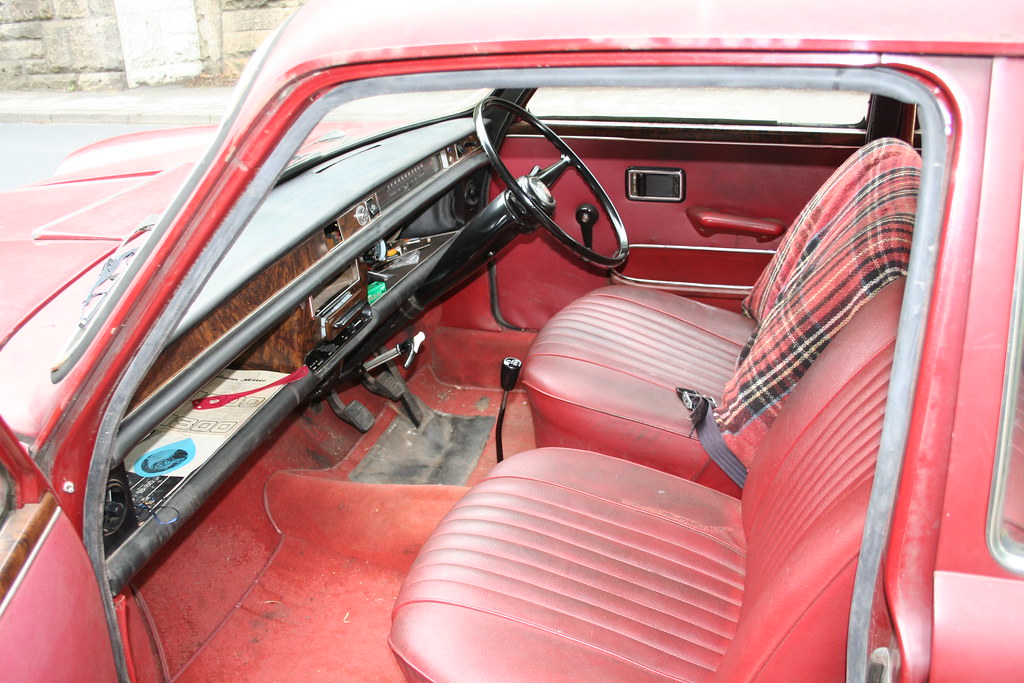
Wobbly door lock. This makes actually locking the door awkward and will damage the paint. Bought a little kit from MGBHive.  VOF707J VOF707J by Penguin 45, on Flickr There are actually enough bits to do two locks.  VOF707J VOF707J by Penguin 45, on Flickr It does that.  VOF707J VOF707J by Penguin 45, on Flickr And goes in there. Nice easy little job and it works. You can buy the kit HERE. Chris.[/a] |
|
|
|
Post by Penguin45 on Jul 10, 2019 20:14:39 GMT
The Mobelec electronic ignition - is absolutely fine! I have managed to find the matching Mobelec ignition coil to suit the C series units. Fitted it. Runs. That is all.
Chris.
|
|
|
|
Post by Penguin45 on Jul 20, 2019 16:27:01 GMT
The "Great Blitz" of the garage has made it a nice place to hide from The Wife work in again, so big thanks to Snoopy for bullying me into it and his Project Management skills - "Get on with it!"; "In the bin" and "It migh have come in handy five years ago, but it's still here!". To that end, I have undertaken a series of mini projects, starting with my indicator stalk. I broke it on the way to the Tatton Park Show. A hunt through the autojumble yielded a Ford Escort MkI stalk, which was tweaked to fit. Tuesday saw a dirty 'orrible 'Crab stalk being refurbished. Contacts cleaned, plastic endy bit painted black and even went mad and painted the button on the end with some chrome paint. Not 100% convincing, but smart enough. Came to fit it and the usual battle with the column shroud commenced. Inspiration struck and I removed the steering wheel. Shroud back on in approximately 3 minutes. Which left me with a faded, rough and sticky steering wheel. Seeing as it was off.... The sticky deposits came off eventually with a vigorous rub down with white spirits, followed by a comprehensive light sanding. Degreased it and applied three coats of gloss black and it looks lovely. And it isn't sticky, which is nice.  VOF707J VOF707J by Penguin 45, on Flickr. Today I have hopefully dealt with the wind noise issue. Front passenger door has been particularly bad. Despite various re-positionings and even an attempt to bend the top of the frame in slightly. I got nowhere with it. So, on with a new door seal. Looks lovely, but what a mind-numbingly tedious task easing the edge of the seal into the channel on the door is.  VOF707J VOF707J by Penguin 45, on Flickr We had also discovered the rest of the door aperture trim I bought at Tatton Park some years ago. The faded red Furflex had a certain charm, but wasn't really doing much. This stuff has a squidgy tube seal on it, so it's bound to help make an airtight seal.  VOF707J VOF707J by Penguin 45, on Flickr Nice shot of my thumb but you get the idea.  VOF707J VOF707J by Penguin 45, on Flickr There we go - all four done. Note Grandad rug over driver's seat. Covers a split in the seat back.  VOF707J VOF707J by Penguin 45, on Flickr Remains of Furflex.  VOF707J VOF707J by Penguin 45, on Flickr Remains of door seal. It really was in very poor condition. Tomorrow - windscreen filler strip. And no doubt plenty of bad language.  Chris. |
|
|
|
Post by Penguin45 on Jul 20, 2019 18:58:10 GMT
Bonnet trim back on. Favourite welding helmet repaired.
Going to run out of jobs.....
Chris.
|
|
|
|
Post by snoopy11 on Jul 22, 2019 17:04:08 GMT
Going to run out of jobs..... Chris. Really I have a list you can start on. And Mrs P has mentioned something about the garden |
|
|
|
Post by Penguin45 on Jul 22, 2019 22:59:01 GMT
I have a list you can start on. List received. Date arranged. C. |
|
|
|
Post by peppib on Jul 23, 2019 7:02:59 GMT
No chance for my wheel bearing and handbrake then! 
Dave
|
|
|
|
Post by Penguin45 on Jul 23, 2019 17:10:06 GMT
Hi Dave,
Still unsure as to what your intentions are. Will be away for a week from August 2nd.
Chris.
|
|
|
|
Post by peppib on Jul 23, 2019 18:57:14 GMT
I was just getting the required parts together before transporting her back to you - thought I had said
Dave
|
|
|
|
Post by Penguin45 on Aug 12, 2019 20:05:50 GMT
Week away in Cornwall, nose now firmly re-applied to grindstone. 830 miles covered without incedent. Just under a pint of oil used, MPG around 36. Not bad.
Chris.
|
|
|
|
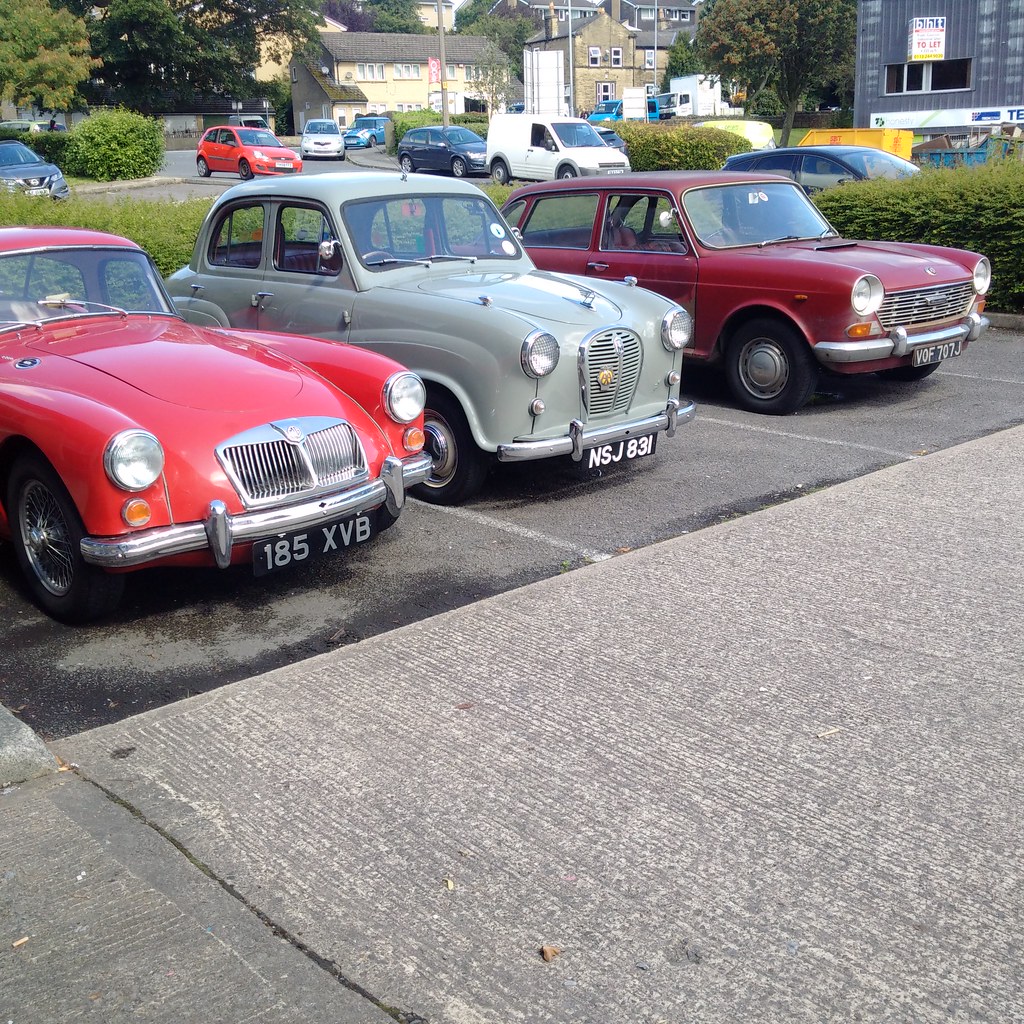
Post by Penguin45 on Aug 15, 2019 14:31:48 GMT
|
|
|
|
Post by peppib on Aug 16, 2019 5:09:08 GMT
😀
Ah, the class of the 50’s/ 60’s
D.
|
|
|
|
Post by Penguin45 on Aug 24, 2019 18:51:37 GMT
Bank holiday weekend. What could be finer than to knock out the dent I put in the rear wheel arch a month or so back? It'll be a joy - get my own car in my own (very tidy) garage, couple of hours with a hammer and dolly, skim of filler, lick of paint - perfect.  VOF707J VOF707J by Penguin 45, on Flickr Quick whizz over with the wire wheel.  VOF707J VOF707J by Penguin 45, on Flickr Yes, it's all gone wrong. Annoying really, that's where a section of Austin Maxi was grafted into the corner first time round. Anyway, it can't stay like that.  VOF707J VOF707J by Penguin 45, on Flickr A short time later.  VOF707J VOF707J by Penguin 45, on Flickr And a little later still. That needs fettling to fit properly, so welding tomorrow, methinks.  VOF707J VOF707J by Penguin 45, on Flickr State of garage: Moderate Mess.* More tomorrow. Chris. *Because Snoopy is watching....... |
|
|
|
Post by Penguin45 on Aug 25, 2019 17:10:11 GMT
Got stuck into this today. So much so that I didn't take many pics. Got rather carried away with the welding and flatting.  IMG_7349 IMG_7349 by Penguin 45, on Flickr Here's the inside view of the repair.   IMG_7350 IMG_7350 by Penguin 45, on Flickr Part way through flatting and primer.  IMG_7351 IMG_7351 by Penguin 45, on Flickr And blown over. I'll try buffing it up a bit tomorrow. Chris. |
|
|
|
Post by Penguin45 on Aug 31, 2019 15:16:53 GMT
Mysterious happenings..... One side of the bonnet has been secured to the hinge by only one bolt, due to the stump of a broken bolt in the fitting plate. This makes the bonnet rather floppy with a risk of it chipping the paint. So, plan - cut an access hole, tease out the fixing plate, drill out the broken bolt ad re-tap the thread. Simples, yes?  Bonnet mounting Bonnet mounting by Penguin 45, on Flickr Mark it out.  Bonnet mounting Bonnet mounting by Penguin 45, on Flickr Cut it out. Nut panel won't move. Spot weld?  Bonnet mounting Bonnet mounting by Penguin 45, on Flickr To the right of the slot, you can see four spot welds, which means that the nut plate is actually an "L" section attached to the inner bonnet skin. This exercise is about creating access, so the nut panel was simply bent over to creat an angle to allow me to try amd drill the hole by hand. Set it all up, lined everything up and the broken bolt has disappeared! What? it was there when I started. Anyway, put the drill away, re-tapped the two mounting holes and bent the panel back up into position.  Bonnet mounting Bonnet mounting by Penguin 45, on Flickr Welded up the hole and flatted it.  Bonnet mounting Bonnet mounting by Penguin 45, on Flickr Wipe of filler and blown over. Now back on the car with nice new set screws and washers. Wobbly-ness gone. I am completey mystified by where the broken bit of bolt went. I know it was there, because it was me that broke it. Chris. |
|


