|
|
Post by dave1800 on Nov 12, 2013 3:52:48 GMT
Chris The usual method here is body filler. Not only is it incredibly cheap, I have seen large tins (1 gallon paint tin size) in retail outlets for circa £2-3) but the expertise in carving and smoothing it has to be seen to be believed. With no frost it can actually last ten years, low power magnets are essential pieces of kit. You have raised an interesting point. Do you go for the honest and low priced (or free!) car where you know wysiwyg or something that sets you back a few £000s and you may end up doing almost as much? I guess the answer for someone like you with welding skills is that the free car is attractive, but for those of us without those skills it is time to learn or face big bills. I am lucky here, assuming I get the car, that labour rates for welding are a tiny fraction of the UK as I don't fancy wearing the gear is temperatures of 35C  David David, any pro bodyshop should have a folder and a roller. The overall length of a sill is really the problem. I would have thought it unlikely that you'd need the entire section? Paul, I suppose in some ways this is a more "honest" car. Free and horrible was always going to be a low base to start with, so miracles weren't to be expected. Being free gives a few more pounds to the budget as well, so the real problem is time. I think it's going to need a lot. Chris. |
|
|
|
Post by Penguin45 on Nov 17, 2013 0:43:59 GMT
Not right happy - things are getting a little complicated. Managed to finish at a sensible time this afternoon, so got a good few hours in. The arch sections have not turned up yet, so I decided to tackle the inner sill problems. Started off easily enough....... 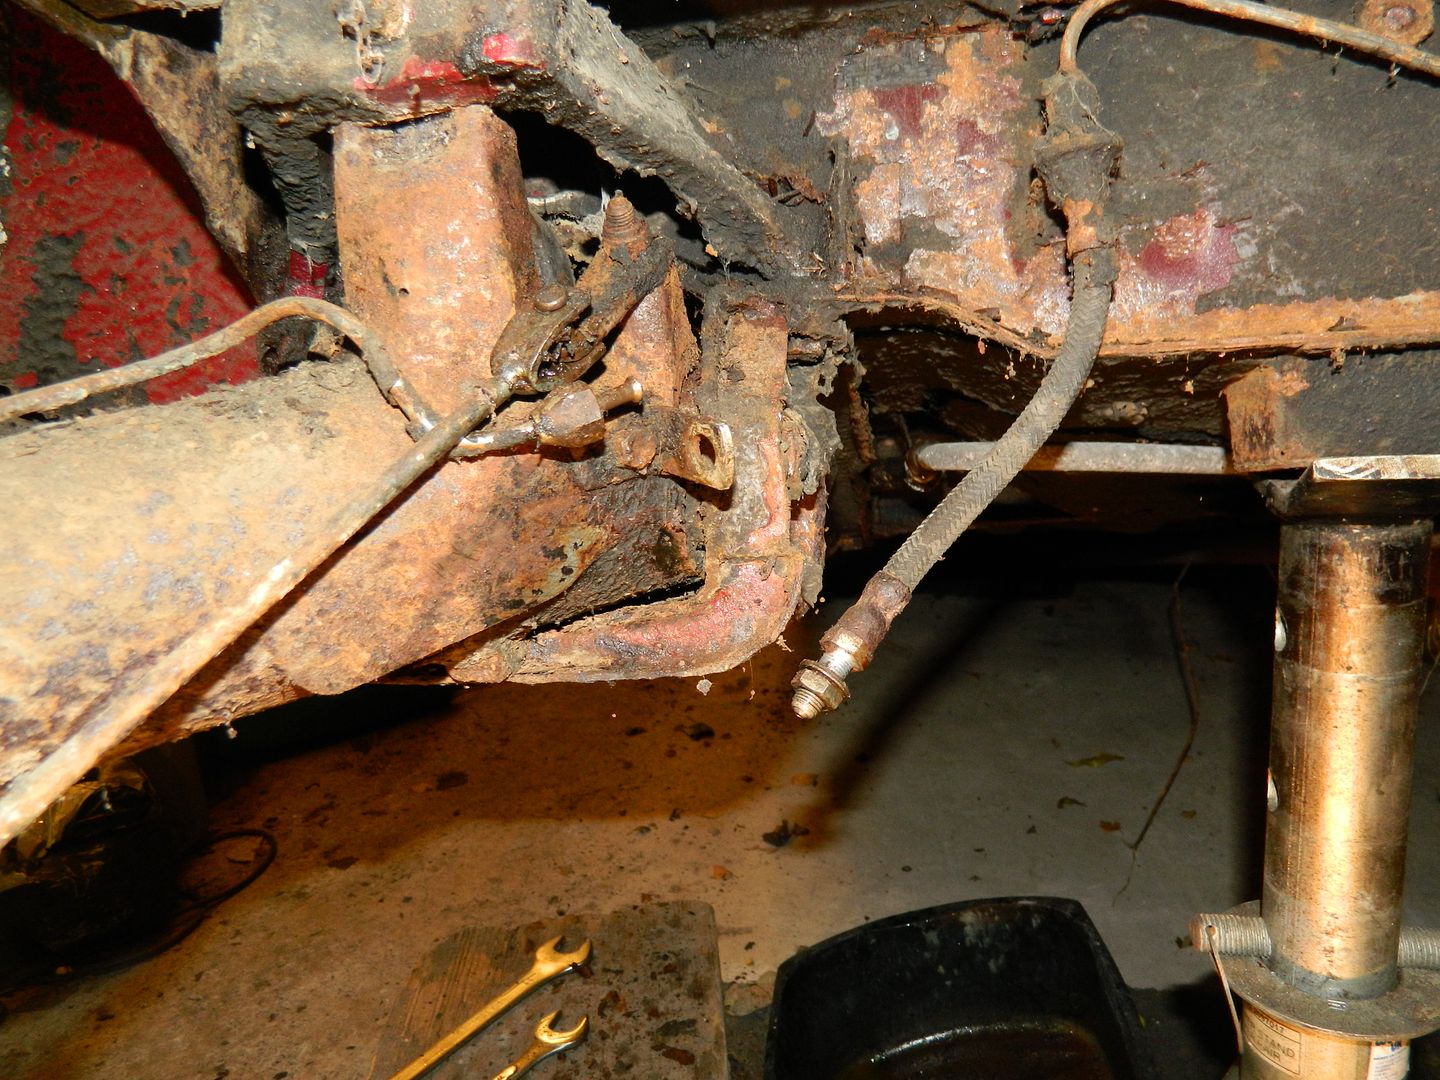 Disconnected handbrake and hydraulic brake lines. 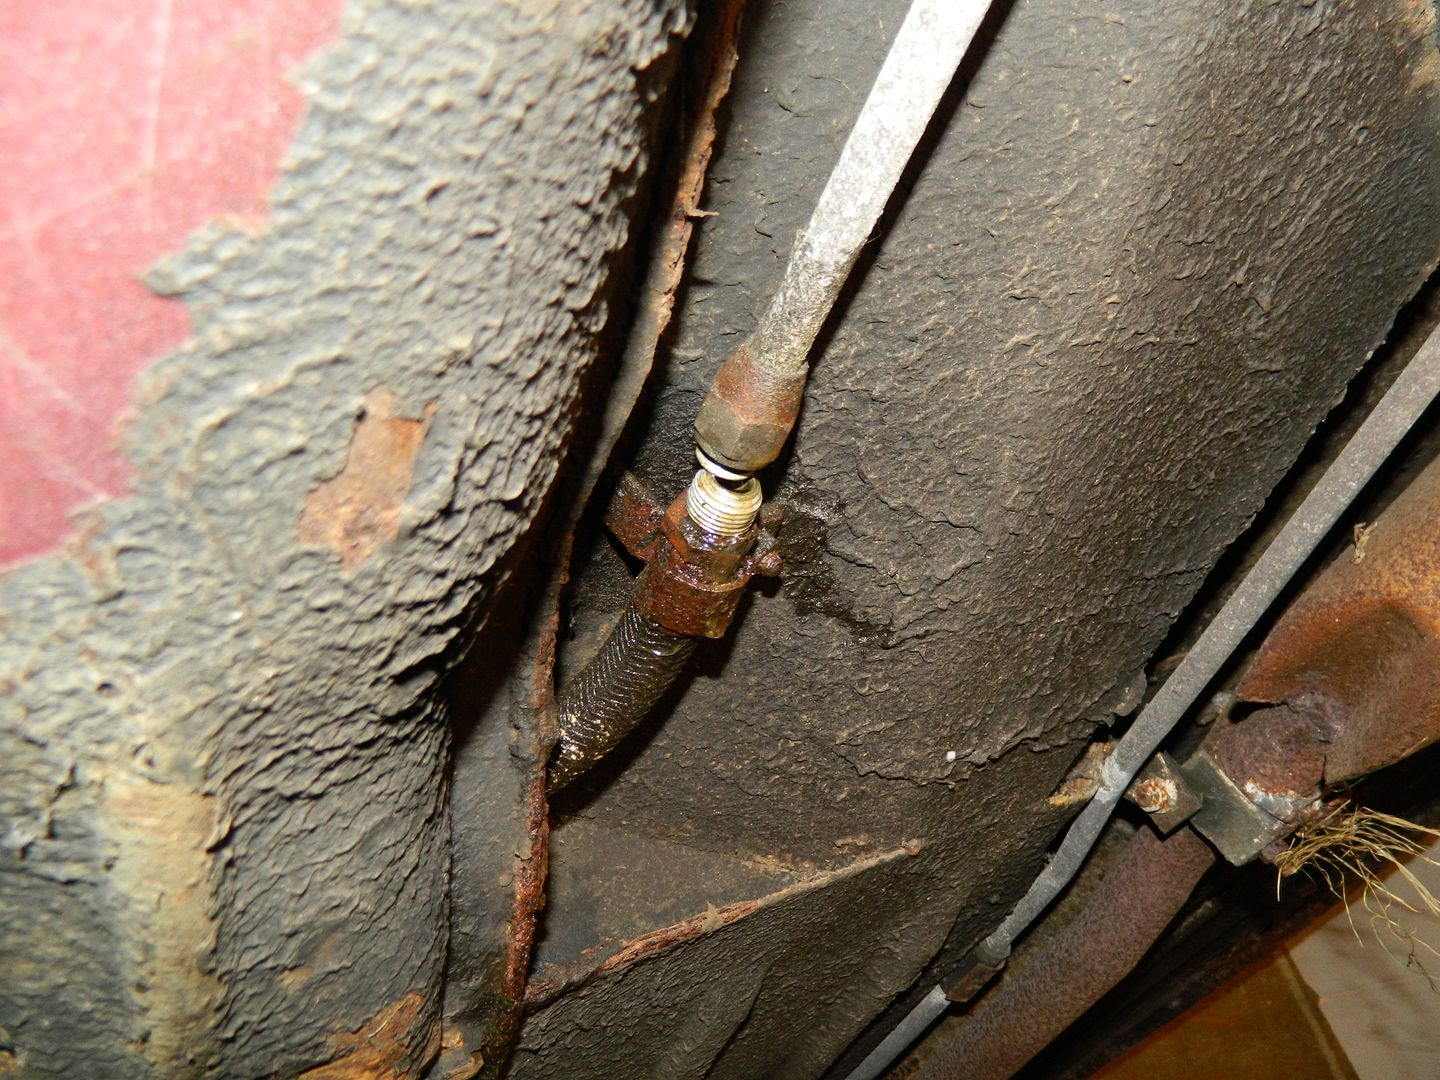 And the rear displacer. It all came apart without a fight, which was nice. 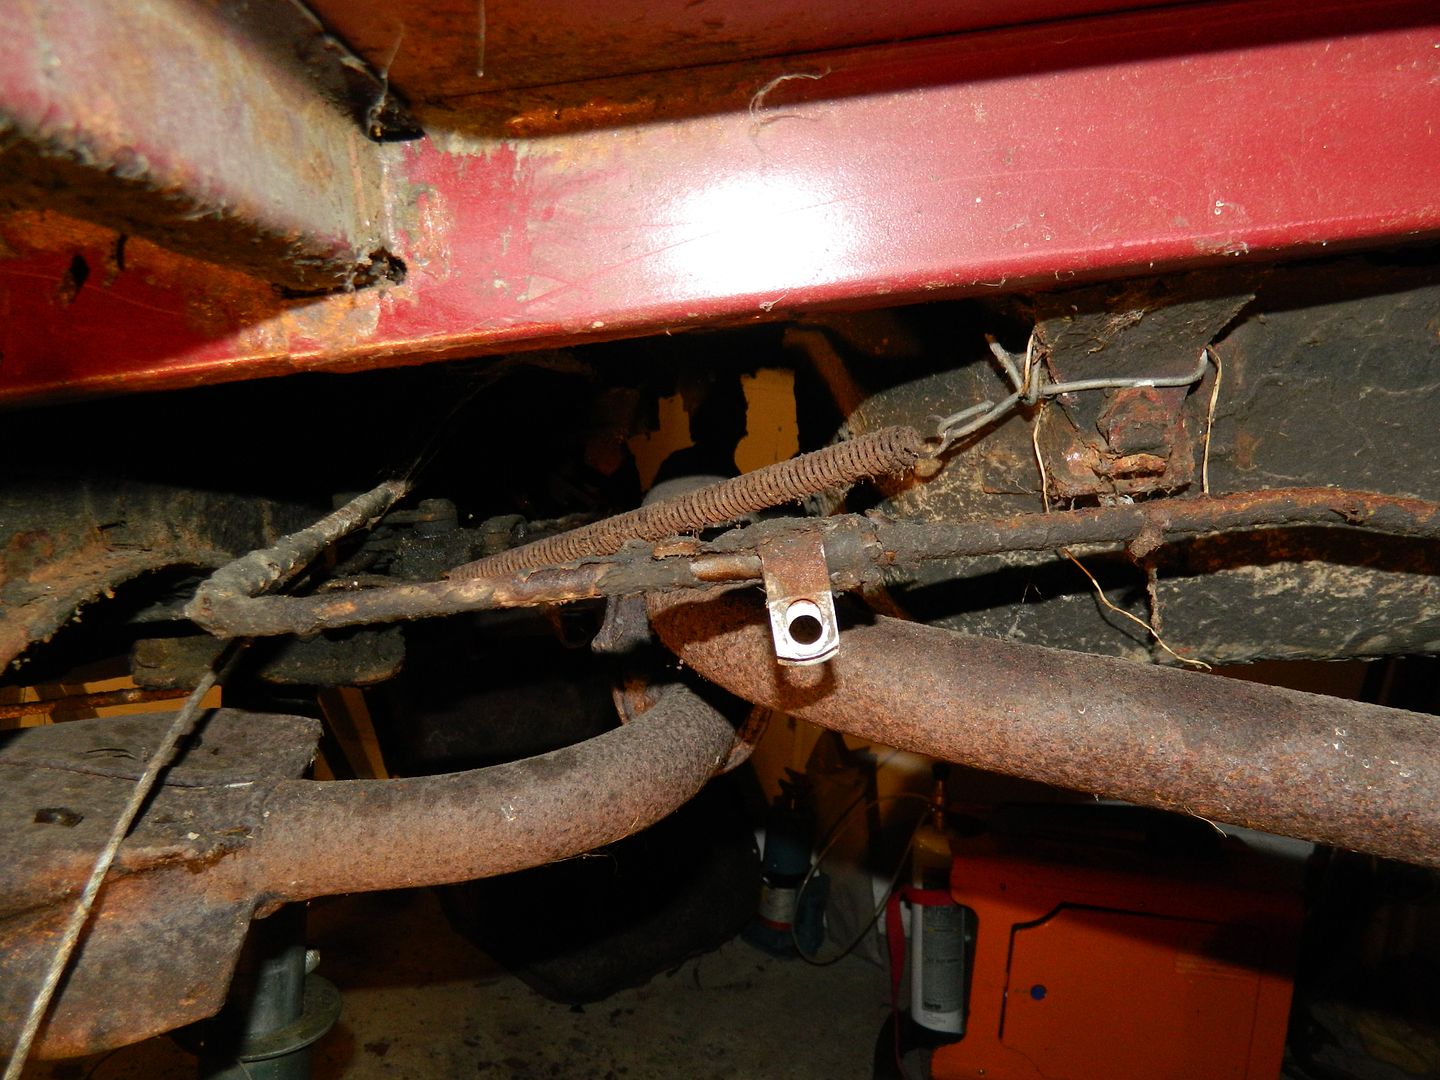 Auxiliary spring on the handbrake centre bellcrank. What's that about? And it was fouling the exhaust. No likey..... 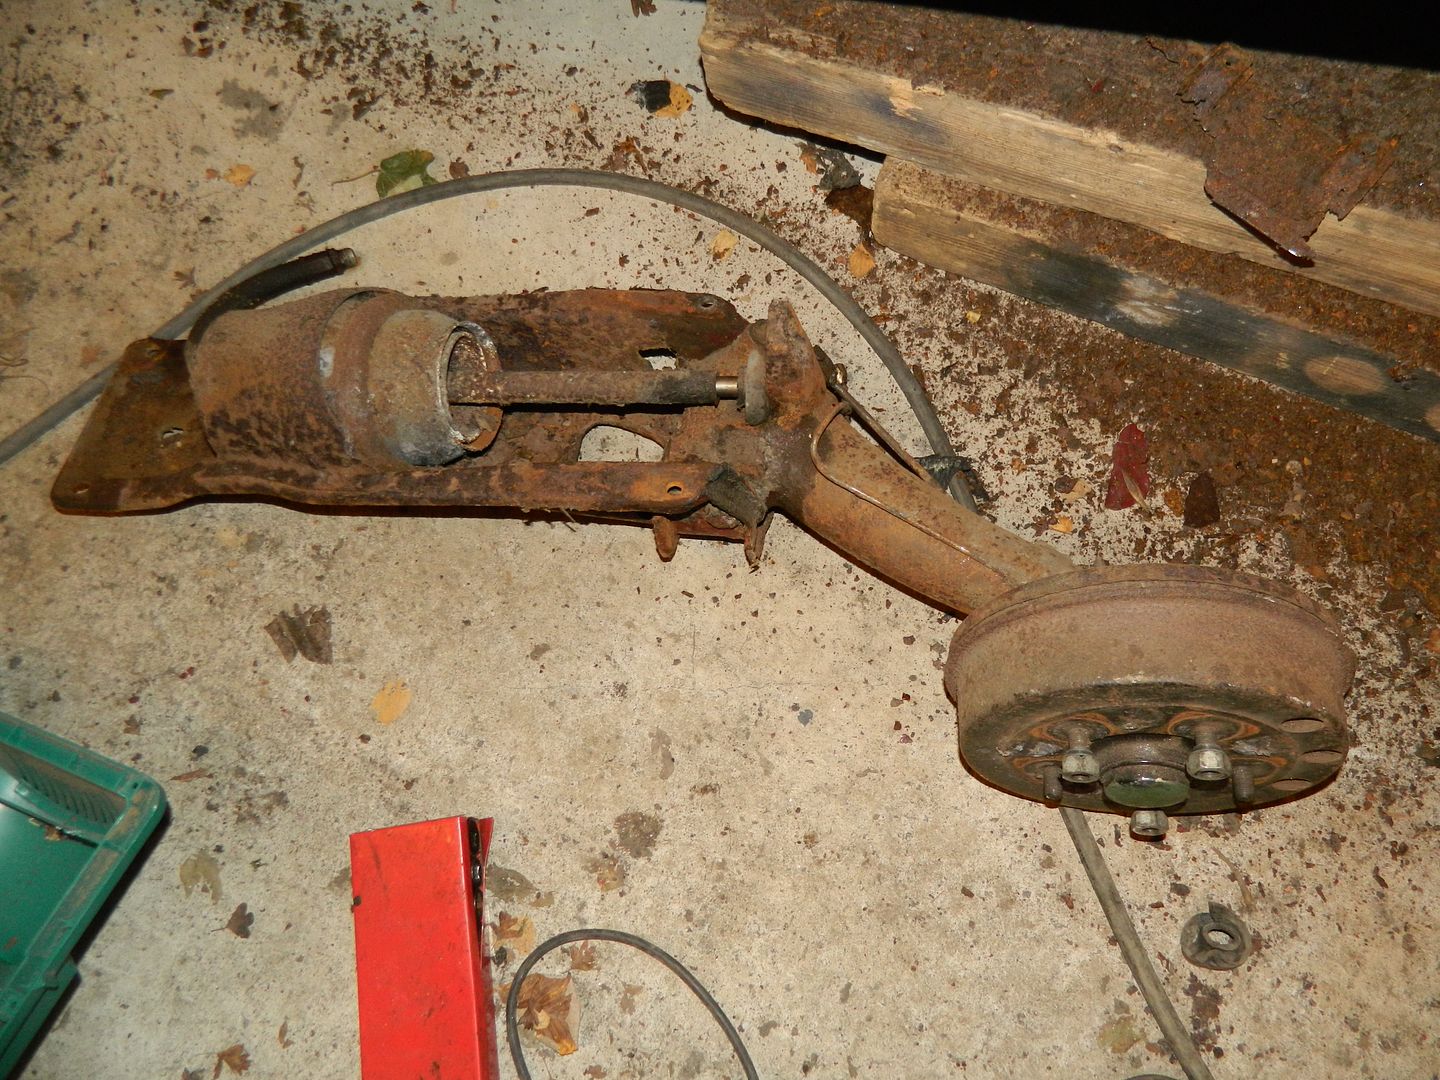 Nearside suspension assembly removed. Typically, one of the bolts into the alloy carrier sheared off, so that will need drilling out and re-tapping. Unless, of course, the spare one were to come back from Bolton.......  Housing is rather grotty with surface rust, so that'll need buzzing back and a lick of paint before it goes back. A mere bagatelle compared with what was to follow! 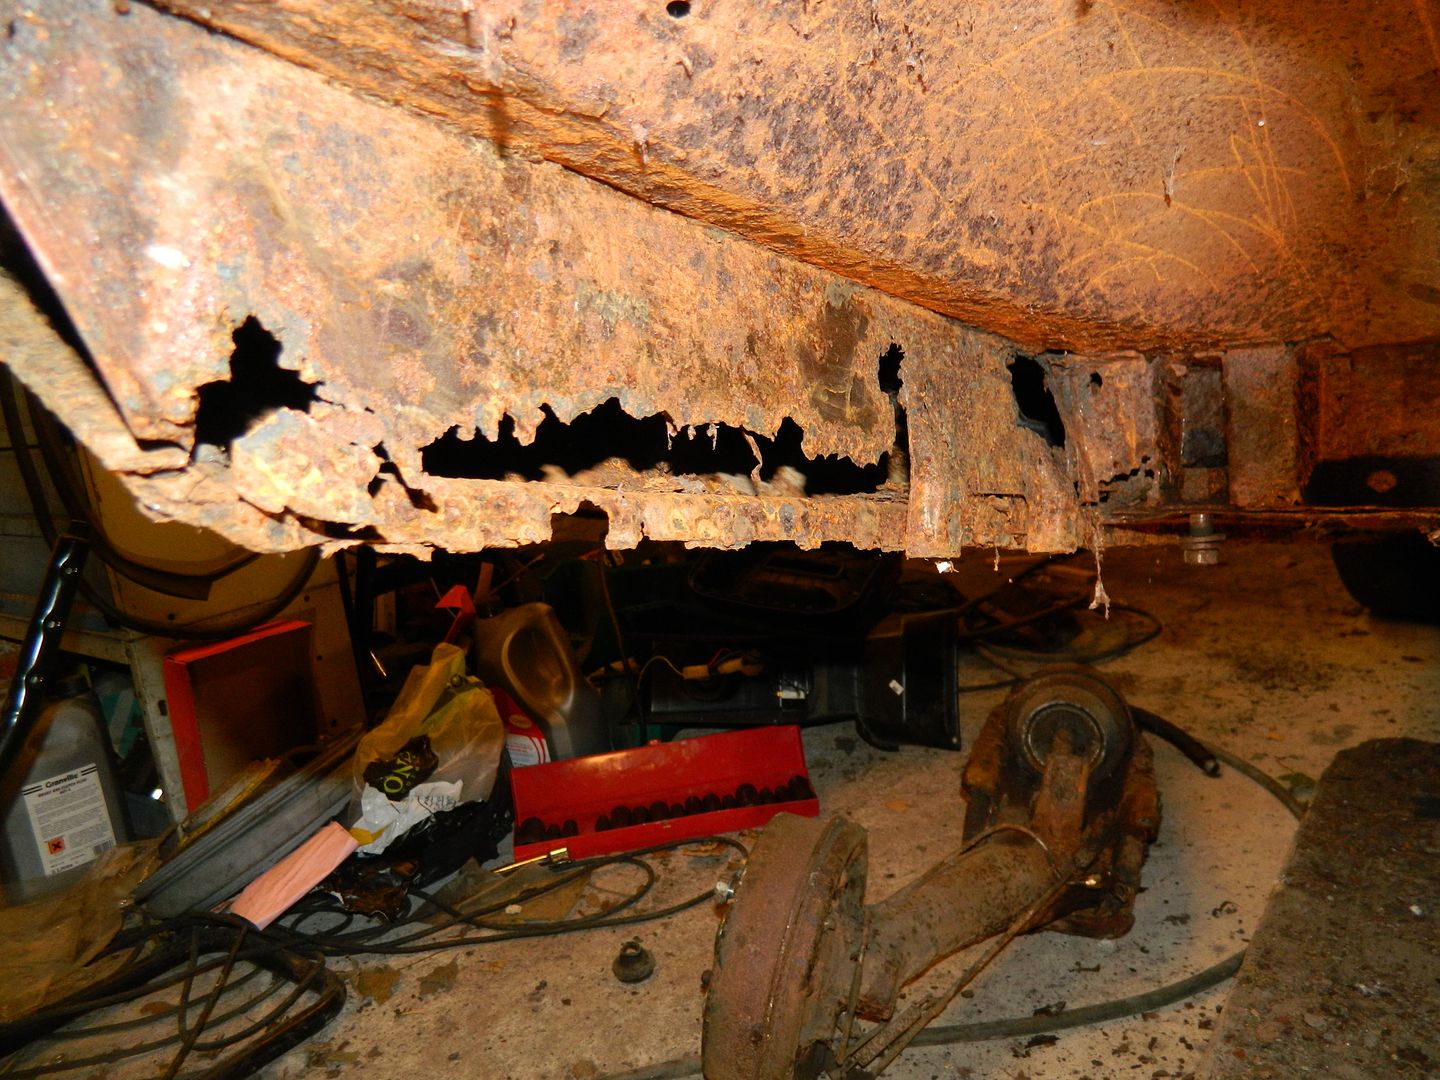 N/S inner sill. Looking into the hole suggests that the car has had a sill replacement at some point. The old sill has been cut off below the narrow side profile, and the new one attached over the top. The jacking point is badly corroded and the tube actually stops short of the panel. More worryingly is the lower seam of the sill, which does not appear to be attached along much of the bottom edge. There is evidence of welding, but it seems to be occasional snibs along the edge, rather than spot/plug welds holding the panels together. The centre membrane doesn't appear to have been welded home at all. Methinks that Mark didn't quite get the repairs he paid for. 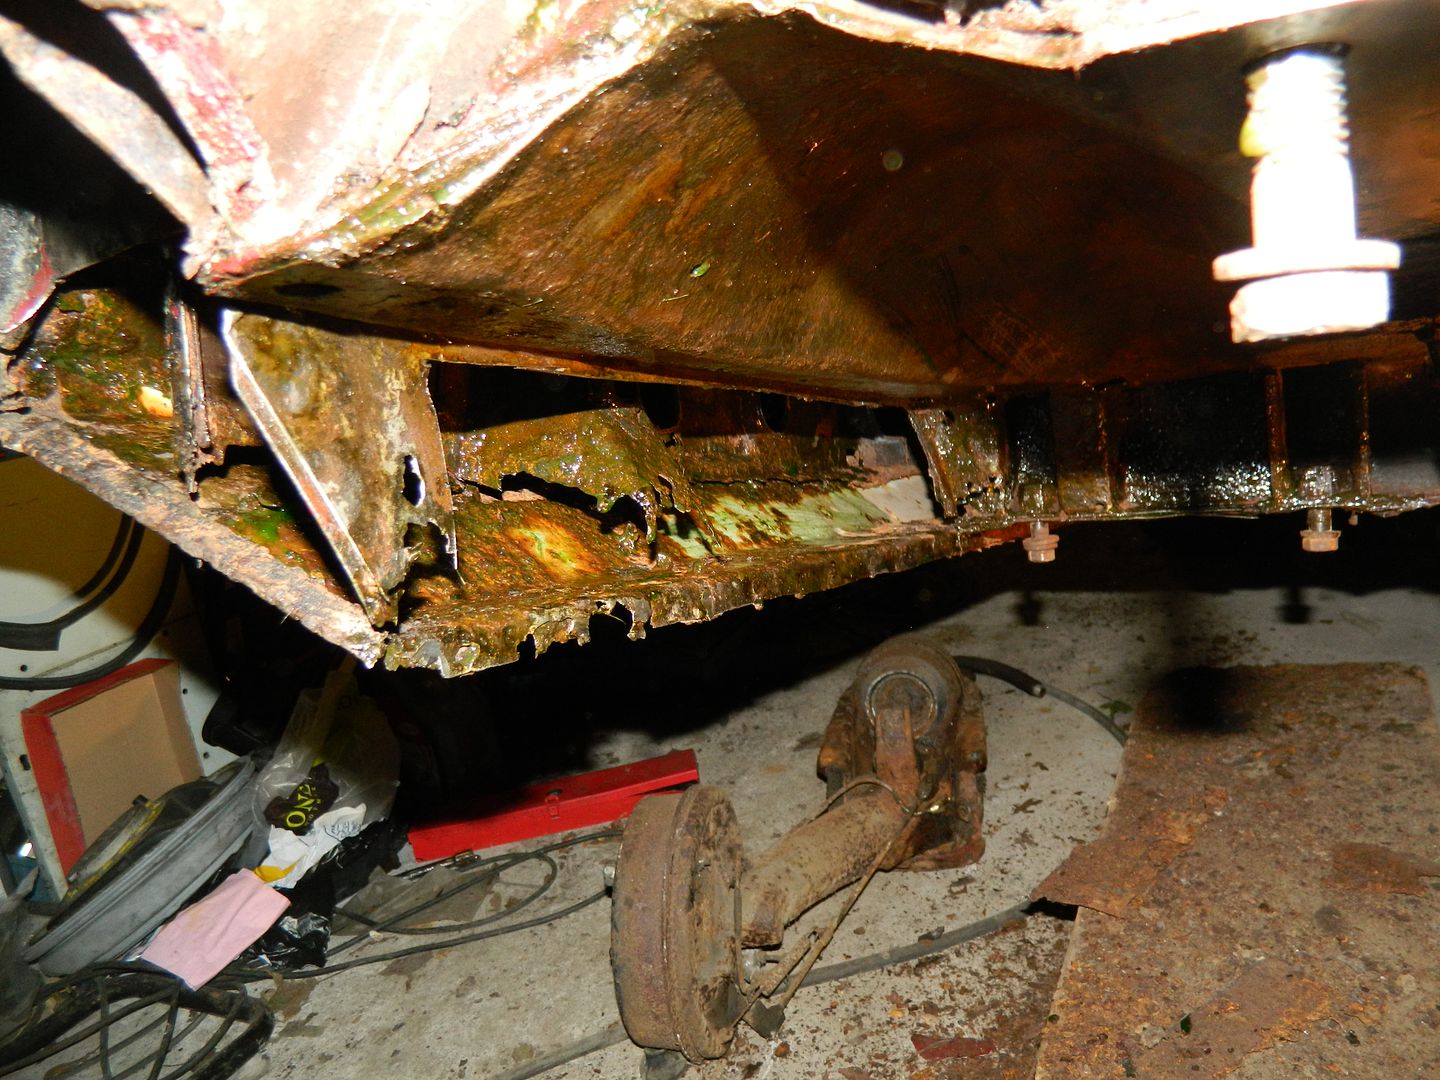 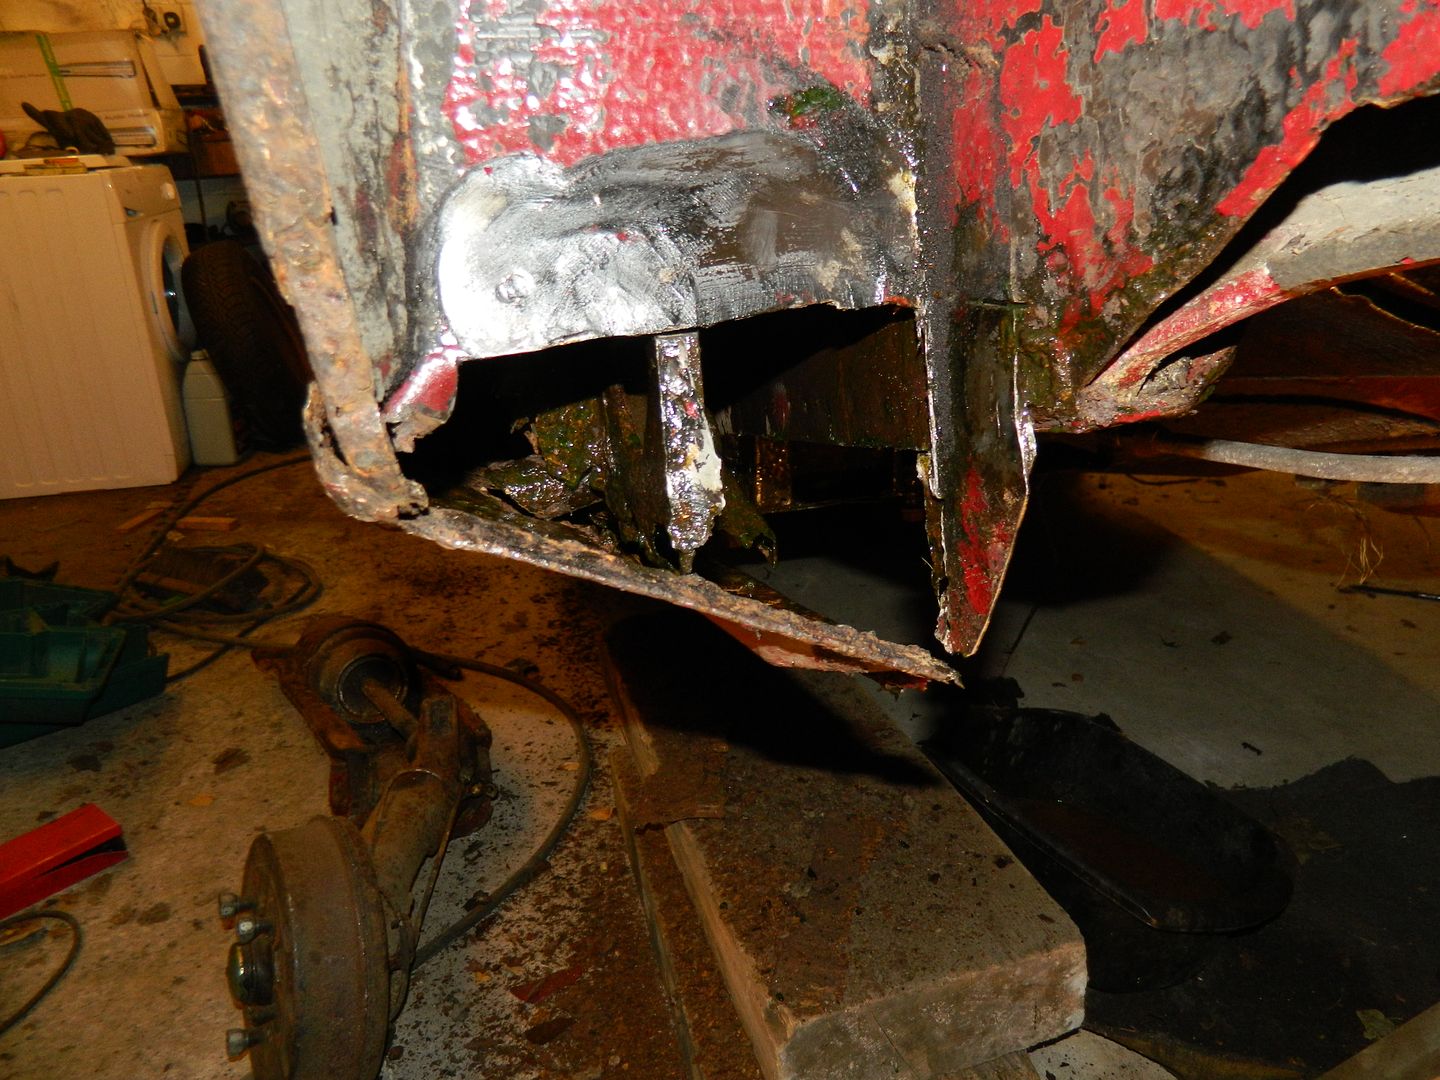 Chop it all out - it's the only way. The green slime is rust converter. I think I will have to cut out at least part of the lower part of the sill to deal with the jacking point. The tube looks reasonably intact, but the support structure definitely isn't. Going to be fun tomorrow............  Chris. |
|
|
|
Post by dave1800 on Nov 17, 2013 8:12:36 GMT
I've just looked up the definition of "fun" . I guess we all get our enjoyment in different ways  . You've certainly found the right car to demonstrate the rust repairs. There is a lesson here perhaps for those having welding done, to only go somewhere that is prepared to show you photos of the whole process and that you need to understand what is required. Have "fun" David Going to be fun tomorrow............  Chris. |
|
|
|
Post by andrewa on Nov 17, 2013 14:23:11 GMT
I'm sure it's no comfort, but you're cheering me up!
Mine's ground to a standstill as welding chap is on holiday for a week - mine not quite as bad as yours but have ended up doing all the sills. a lot of metalwork around the suspension carriers and the rear inner wing. Engine out next week to do the front end, then back down the other side! As it will be a sort of rally car once it's finished am taking the opportunity to do other jobs while the interiors out eg. fixings for "rally seats" although originals will go back in for the time being, enlarging the "humps" under the rear seat for wider suspension carriers. Seemed to have lost the knack of posting pictures but will post some more under my resto when more to report.
Cheers
Andrew
|
|
|
|
Post by Penguin45 on Nov 17, 2013 20:43:06 GMT
We aim to please........  Highly frustrating day today. Mike came round after lunch to have a poke and a prod at the car. "All standard stuff", he said. Anyway, the upshot is that the nearside sill is going to have to come off. Mike brought back the pair of sills I gave him for his last project (I'm sure that these have gone back and forward several times!), as well as a couple of scrap wings. I should now be able to do the head lamp hole with a repair panel, rather than fabricating a patch. To get the sill off, the rear end of the arch section needs to be chopped off (Fair enough, that's part of the repair panels on their way), the front wing trailing edge released and unbolted to allow it to swing out, and the top edge of the sill chopped through. To do that, the doors have to come off. Guess what? They won't. There are 12 countersunk screws in the hinge plates. All of them required an impact driver before they decided to budge at all. The rear door has two that started to move and now absolutely won't after the others broke free; the front door I've got them all moving, but the bottom-most screw of the bottom hinge is obstructed by the hinge pin, which is standing quite proud. Presumably replaced at some point and not driven home, it is now stubbornly refusing to move in any direction at all. I can't cut it with a hacksaw blade and access is too restricted to get the grinder in. At the moment, we have an impasse. Anyway, I successfully poked a couple more holes in the floor. 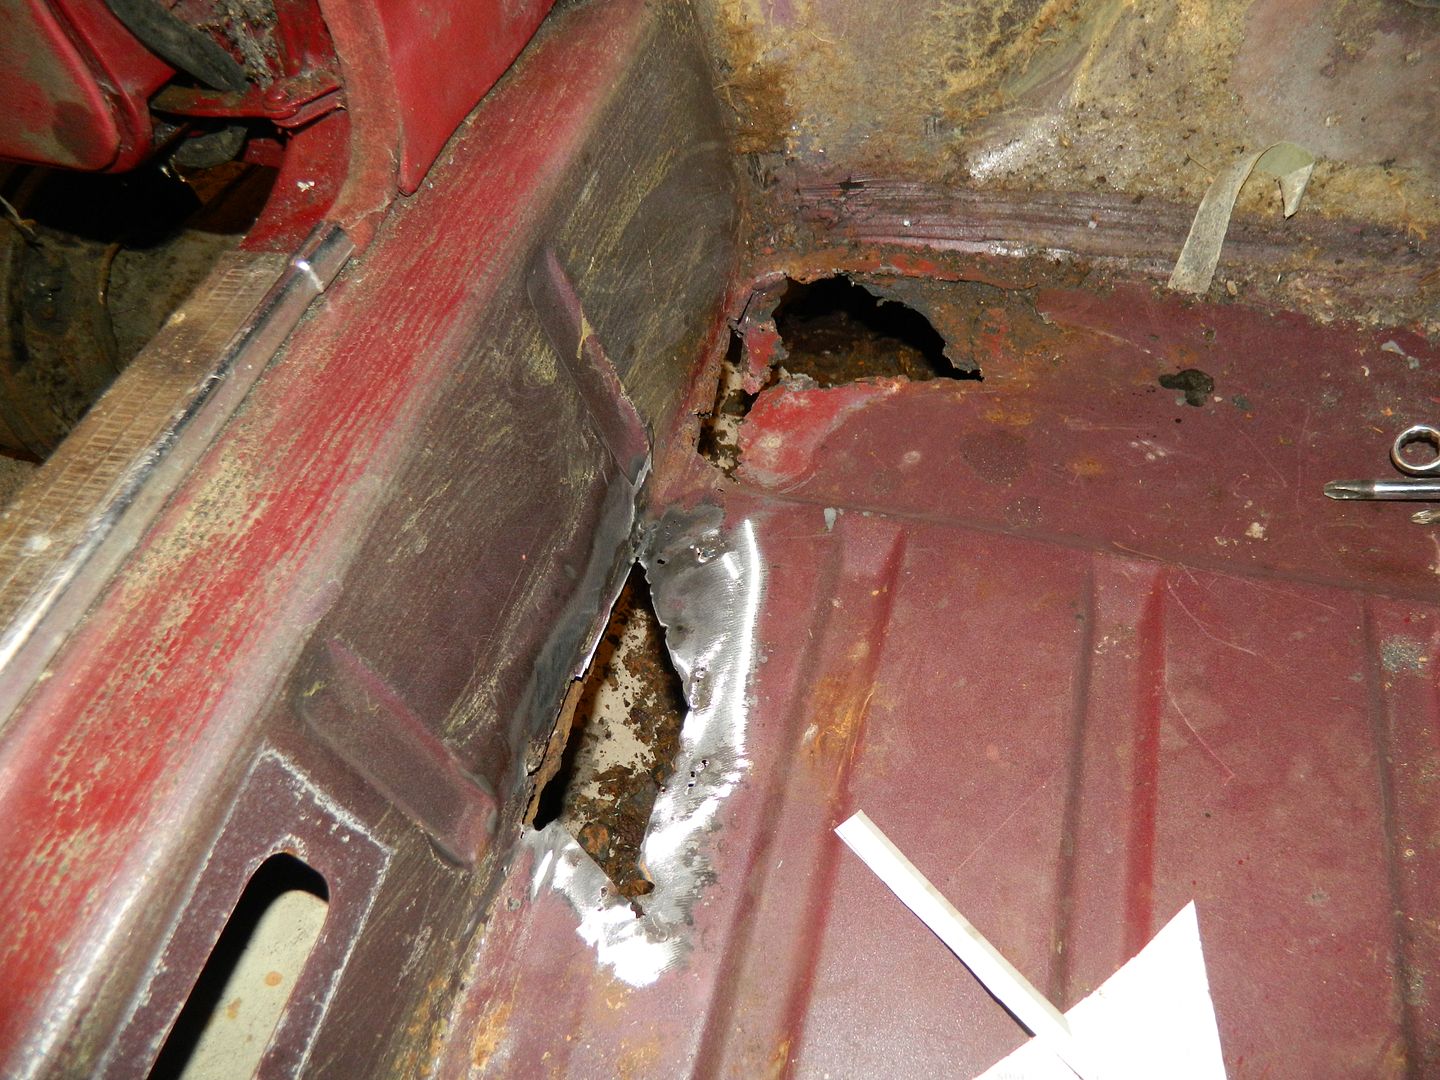 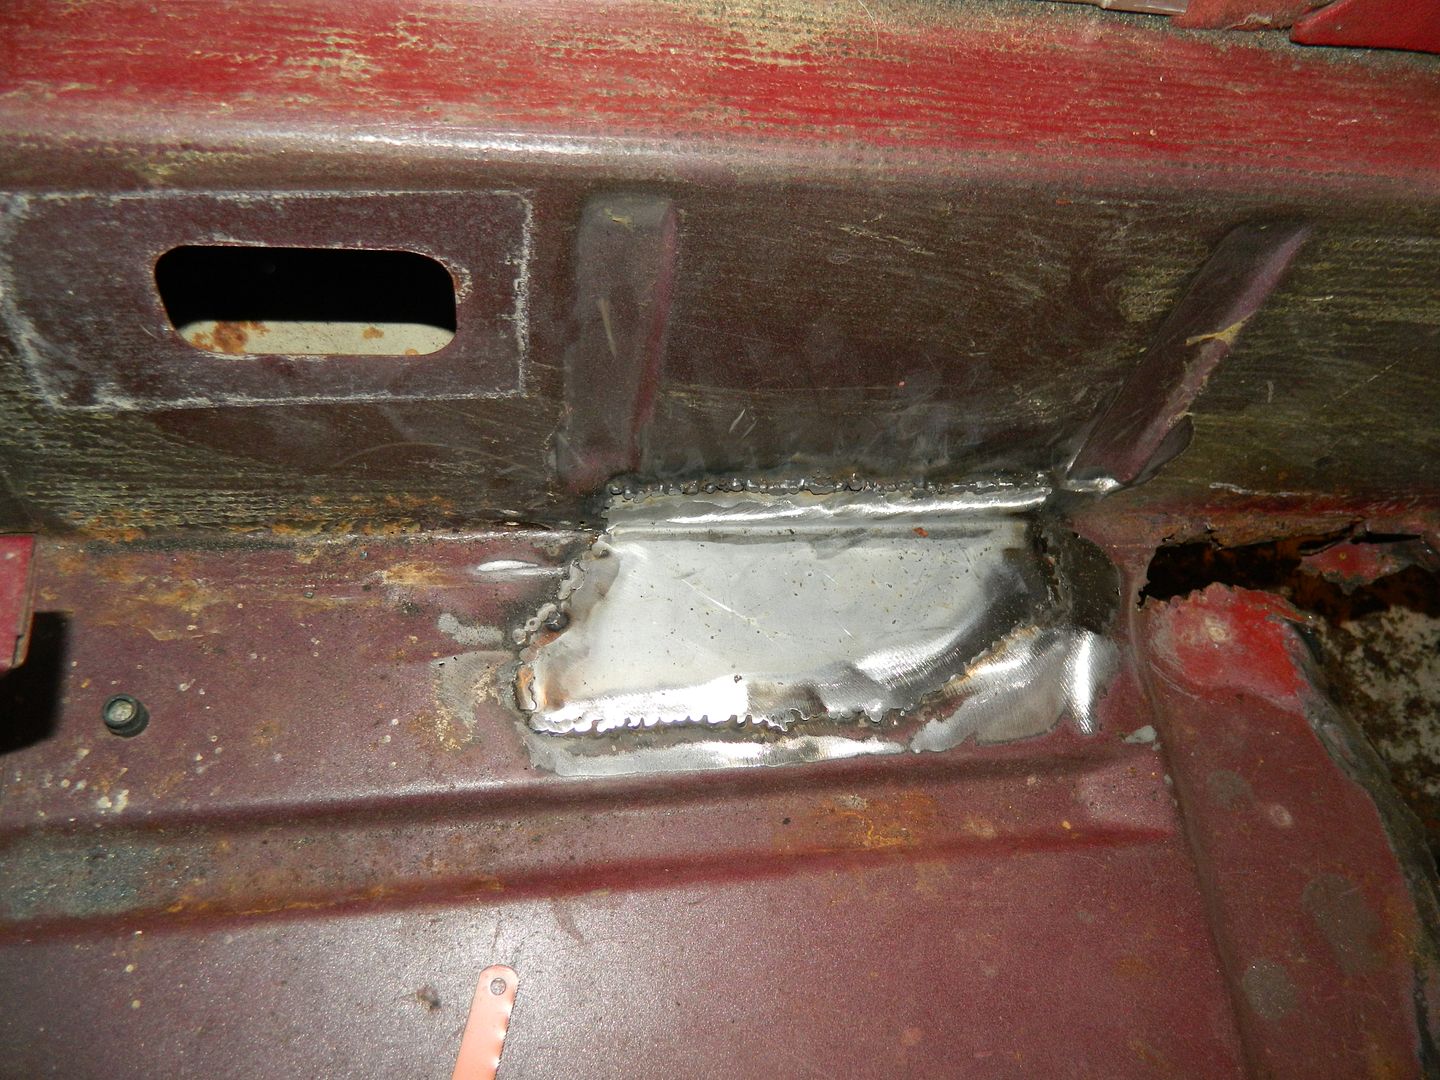 And welded one of them back up again. The one at the front needs the crosspiece under the floor sorting first, as it's non-existent. Now being stumped on the fabrication front, I cleaned up the suspension housing and treated it to a coat of rust converter. 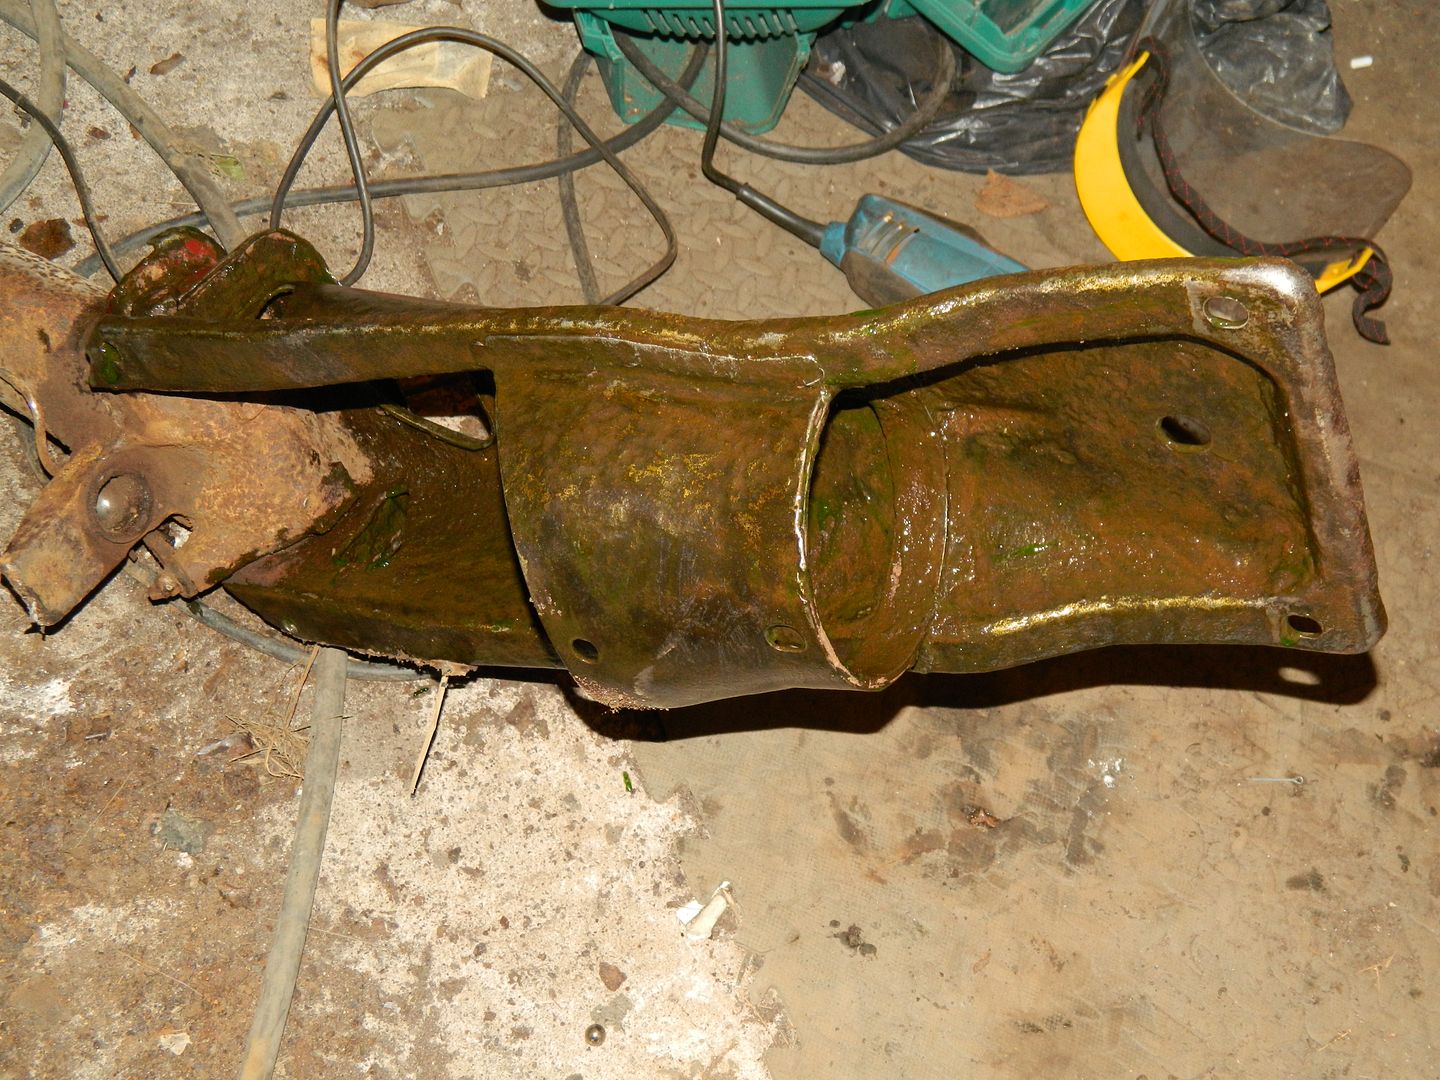 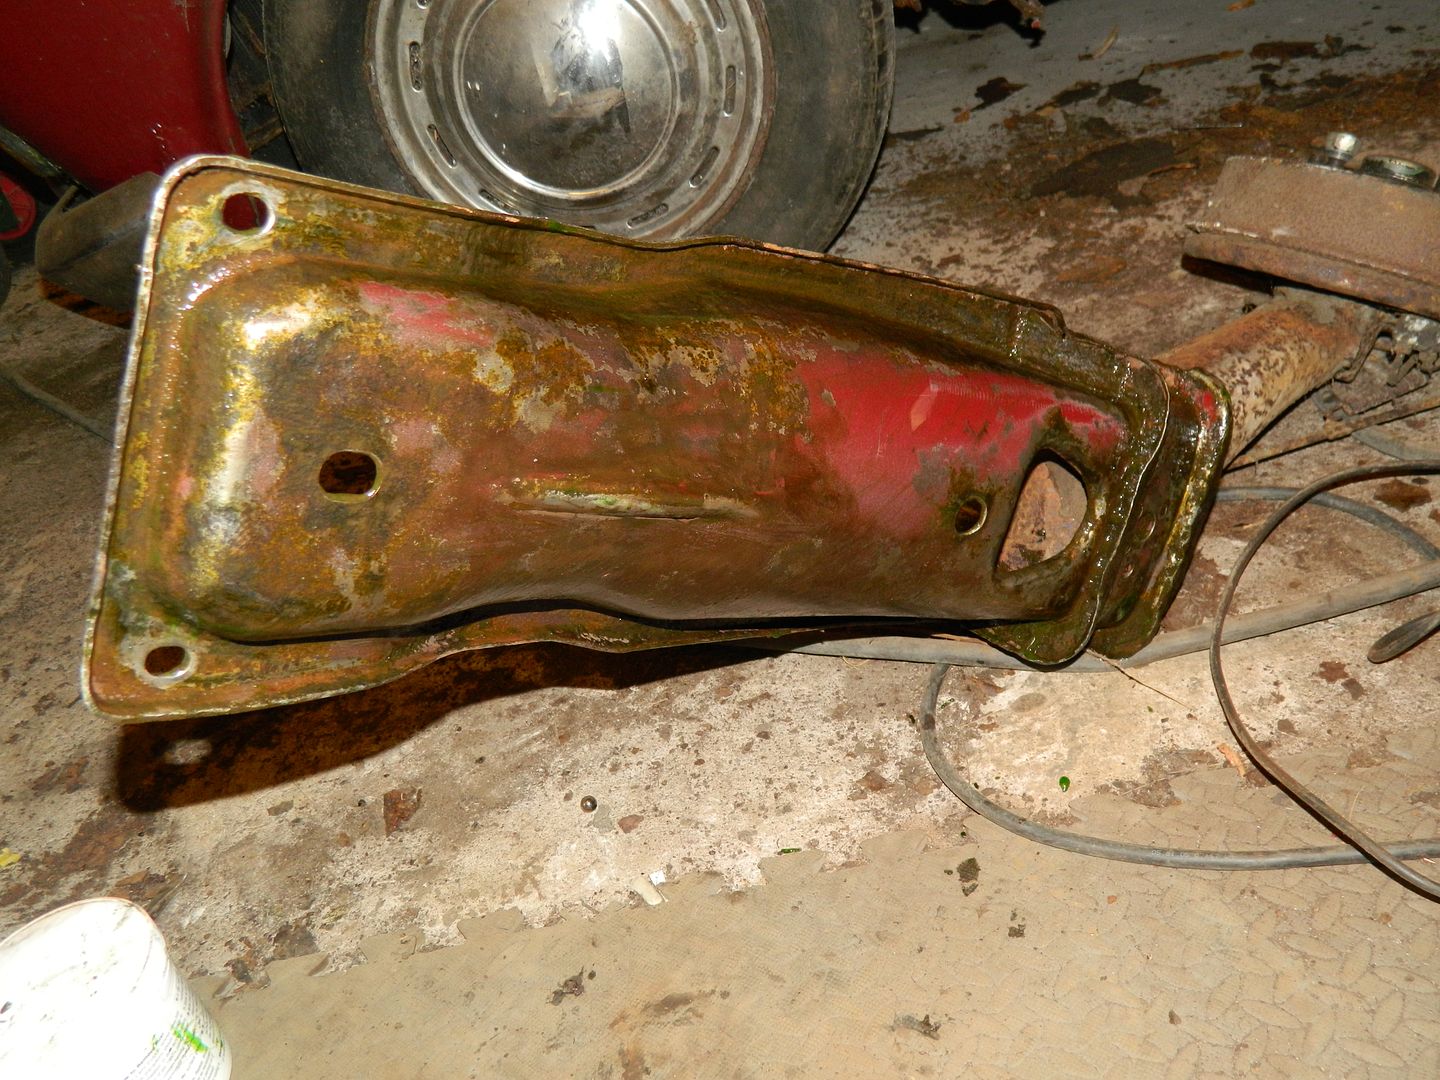 I suppose I achieved something with the day. Chris. |
|
|
|
Post by tommydp on Nov 17, 2013 22:52:39 GMT
I'm very impressed with your work Chris! Keep it up, you'll get there!
I've had some battles with those door screws too.. I'm sure you have thought of it, but have you removed the door cards which will give you access to the reinforcement plate the screws go into? Using lots of penetrating oil/ WD 40 onto that area has helped me on some. Others, I've had to drill out.
Best regards, Tommy
|
|
|
|
Post by Nick RS on Nov 18, 2013 21:31:02 GMT
Chris, very impressed with you getting 'stuck in'.
David's suggestion of getting restorers to photograph what they do is a good one, just a pity that it should be necessary. I wonder how you could bodge up something structural like a sill, charge for it, then sleep at night. It would be nice to think that this one was done in good faith and just not well executed.
Nick
|
|
|
|
Post by Penguin45 on Nov 19, 2013 0:28:03 GMT
I think that you two have rather more faith in my abilities than I do right at the moment. Mike seemed to think that the sills are "cover sills". These are rather lightweight copies designed to be slapped on over the rotten remains of the originals. It looks like the original sill on the nearside was cut below the vertical section on the outside, then the cover stuck on. It'll be interesting to see what we get when I get enough access to chop it off. As the restorer, I will take pictures.........  The hinge pin needs to be ground back with one of those motorised "finger files". I think that's the only way I'm going to get in there. Chris. |
|
|
|
Post by Penguin45 on Nov 19, 2013 22:15:31 GMT
Repair arch sections arrived today. 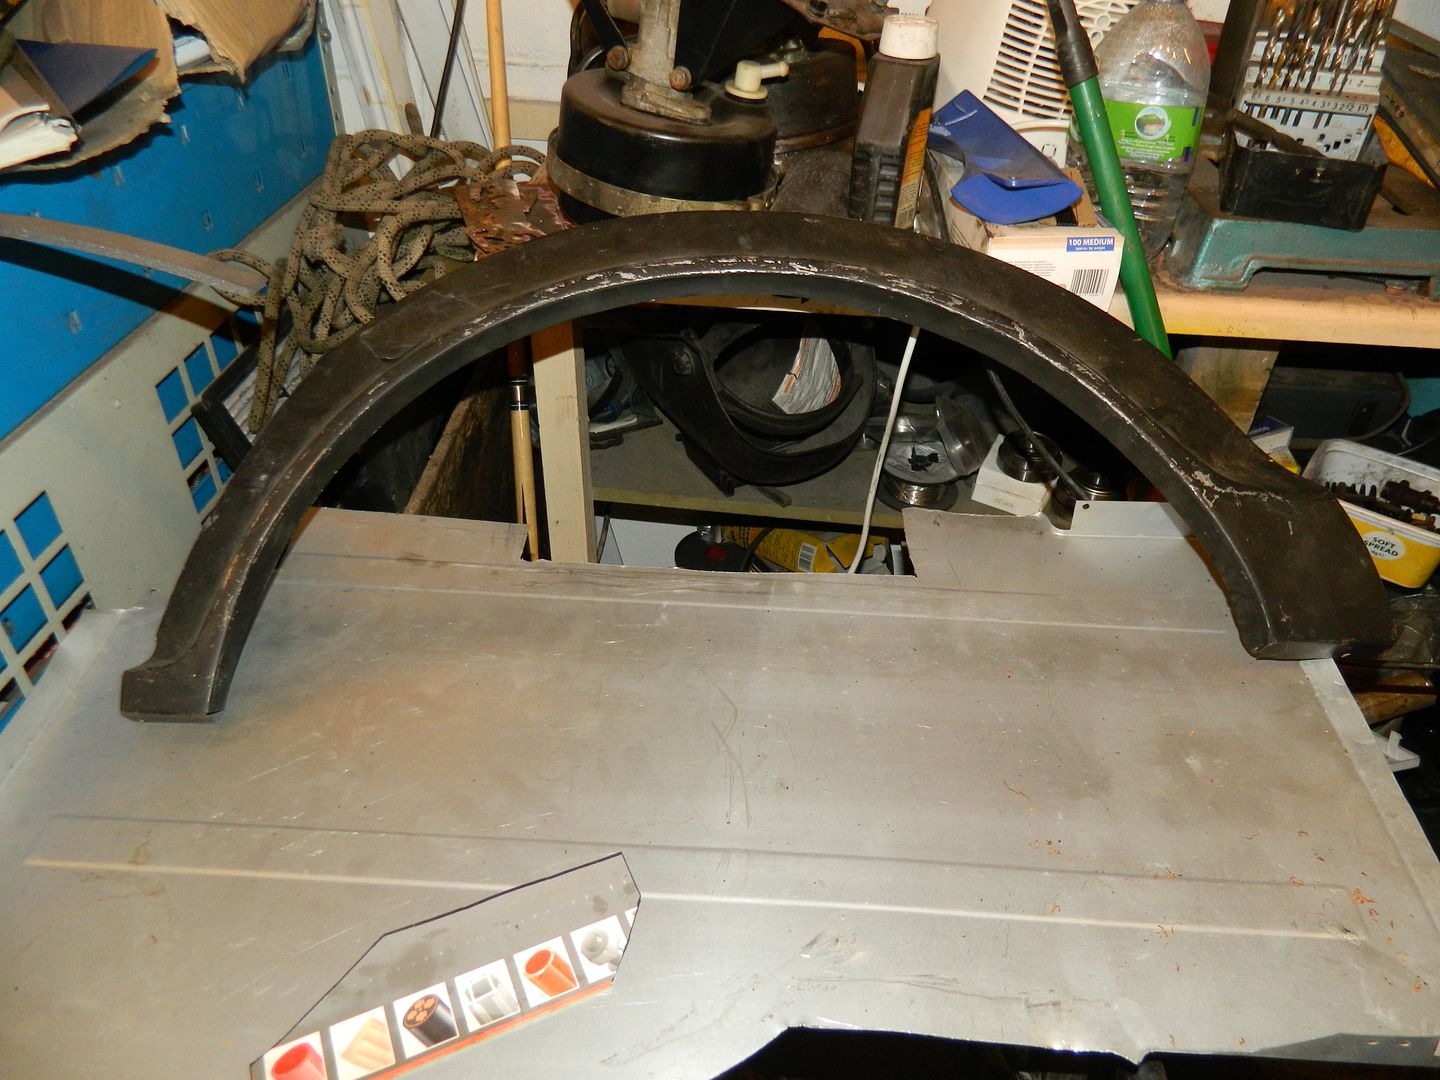 Nearside. 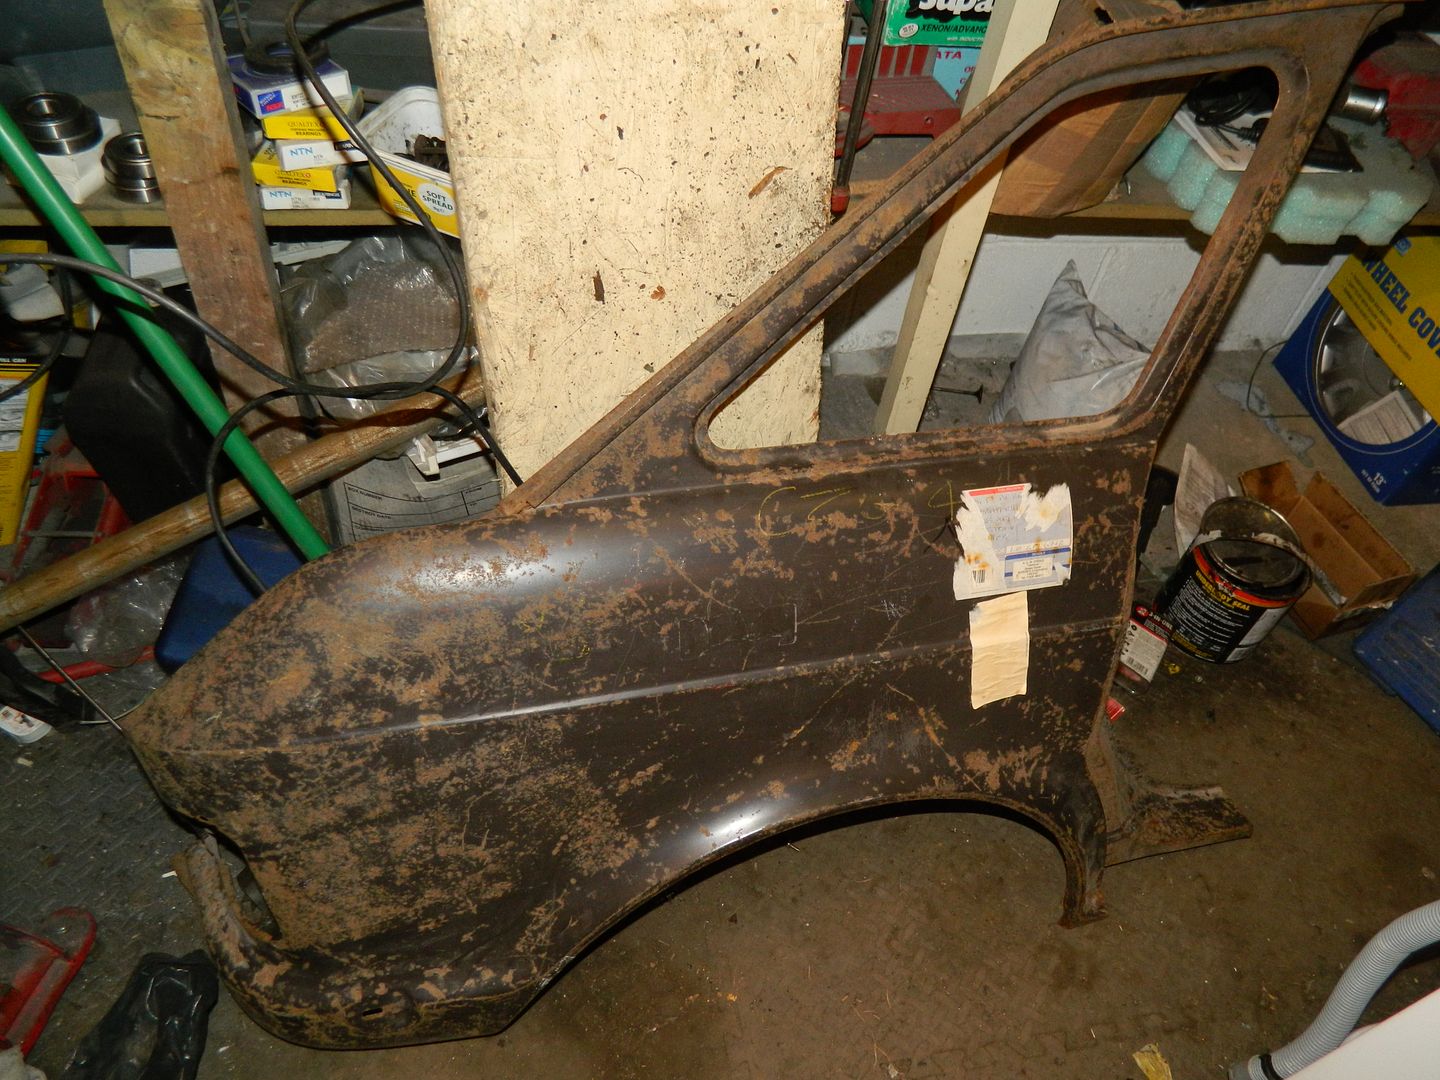 Offside! I appear to have bought a 1/ 4 of an Austin Maxi. My thanks to Ernie Jackson, spares guru from the Austin Maxi Owners Club for supplying me these. 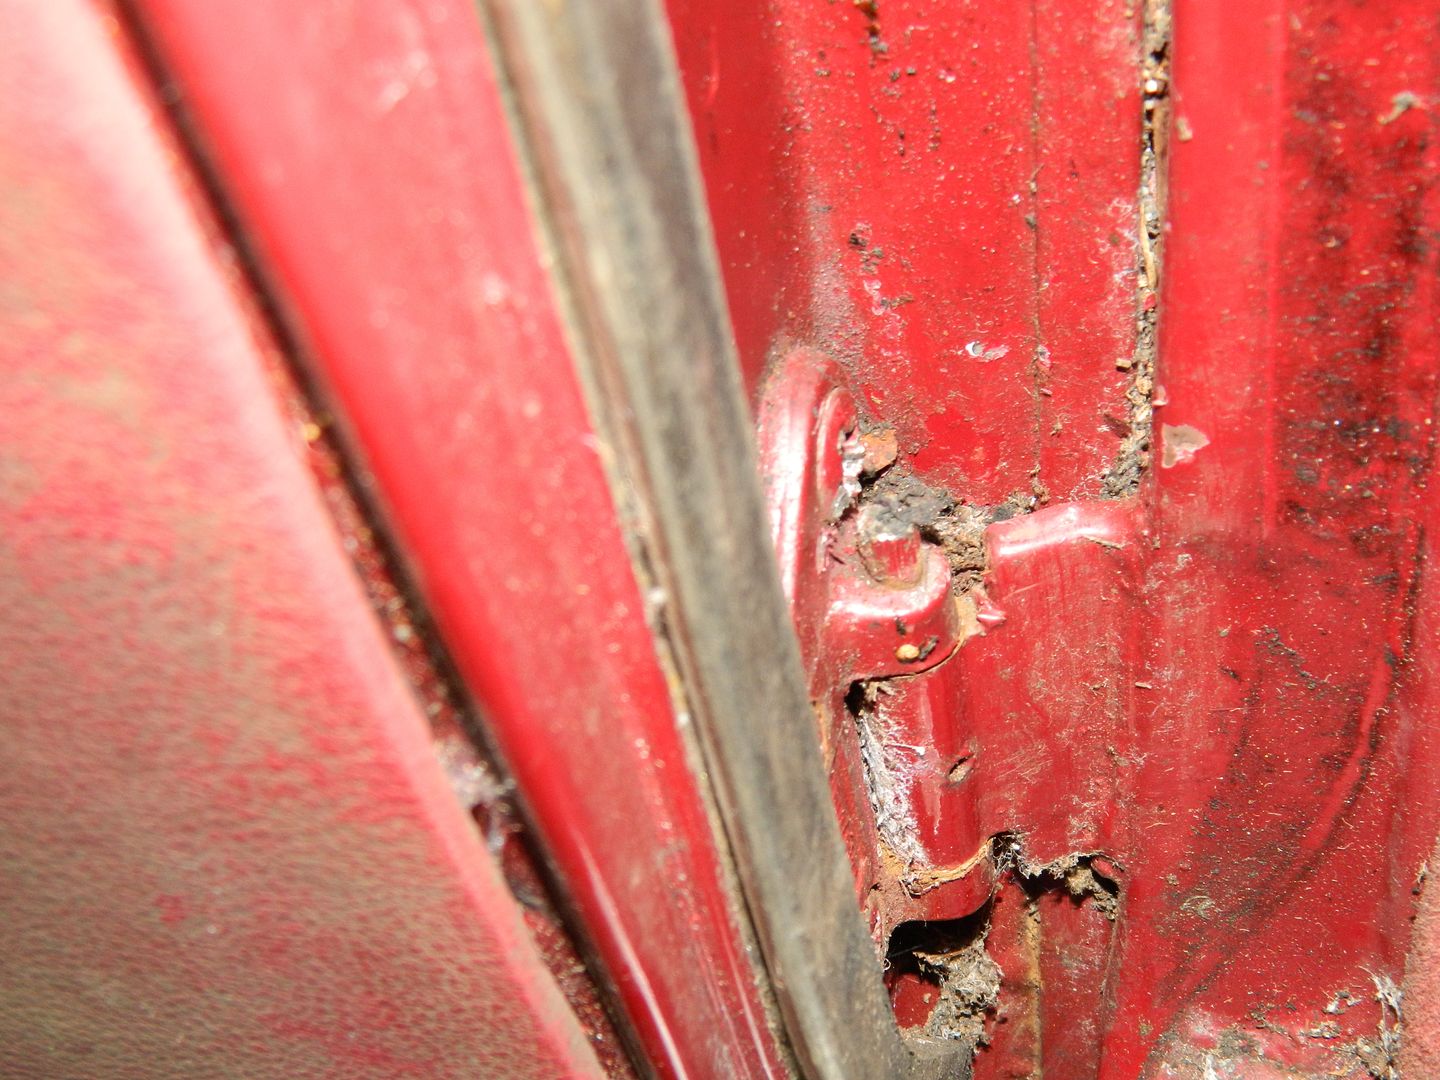 Recalcitrant hinge pin. 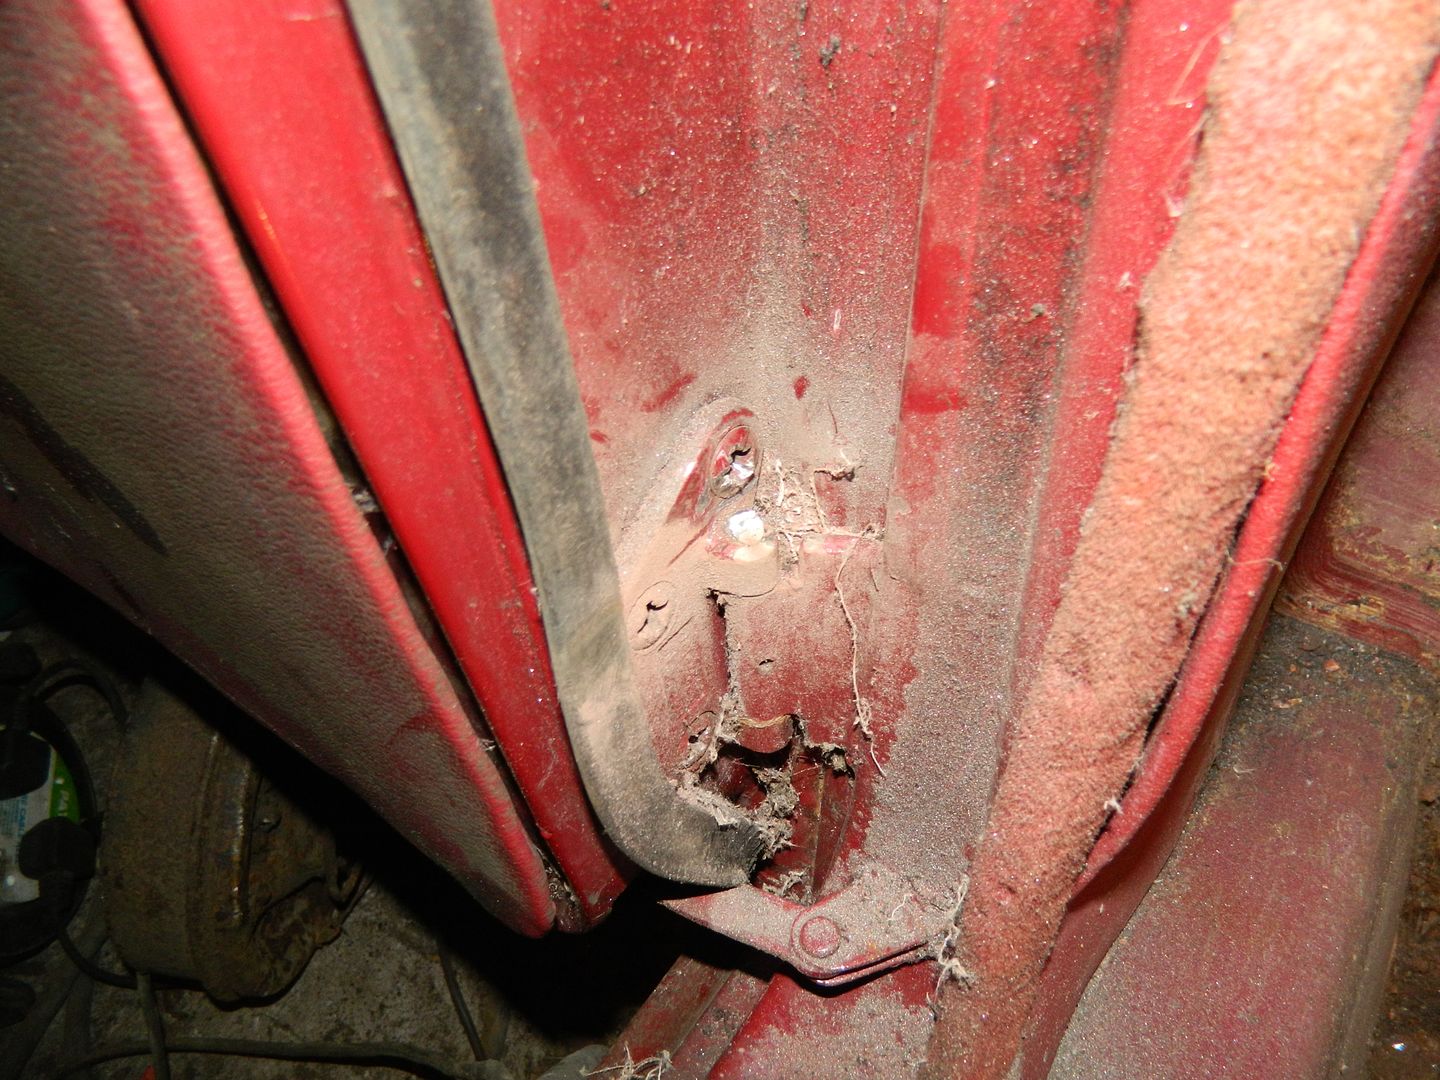 Ground down. 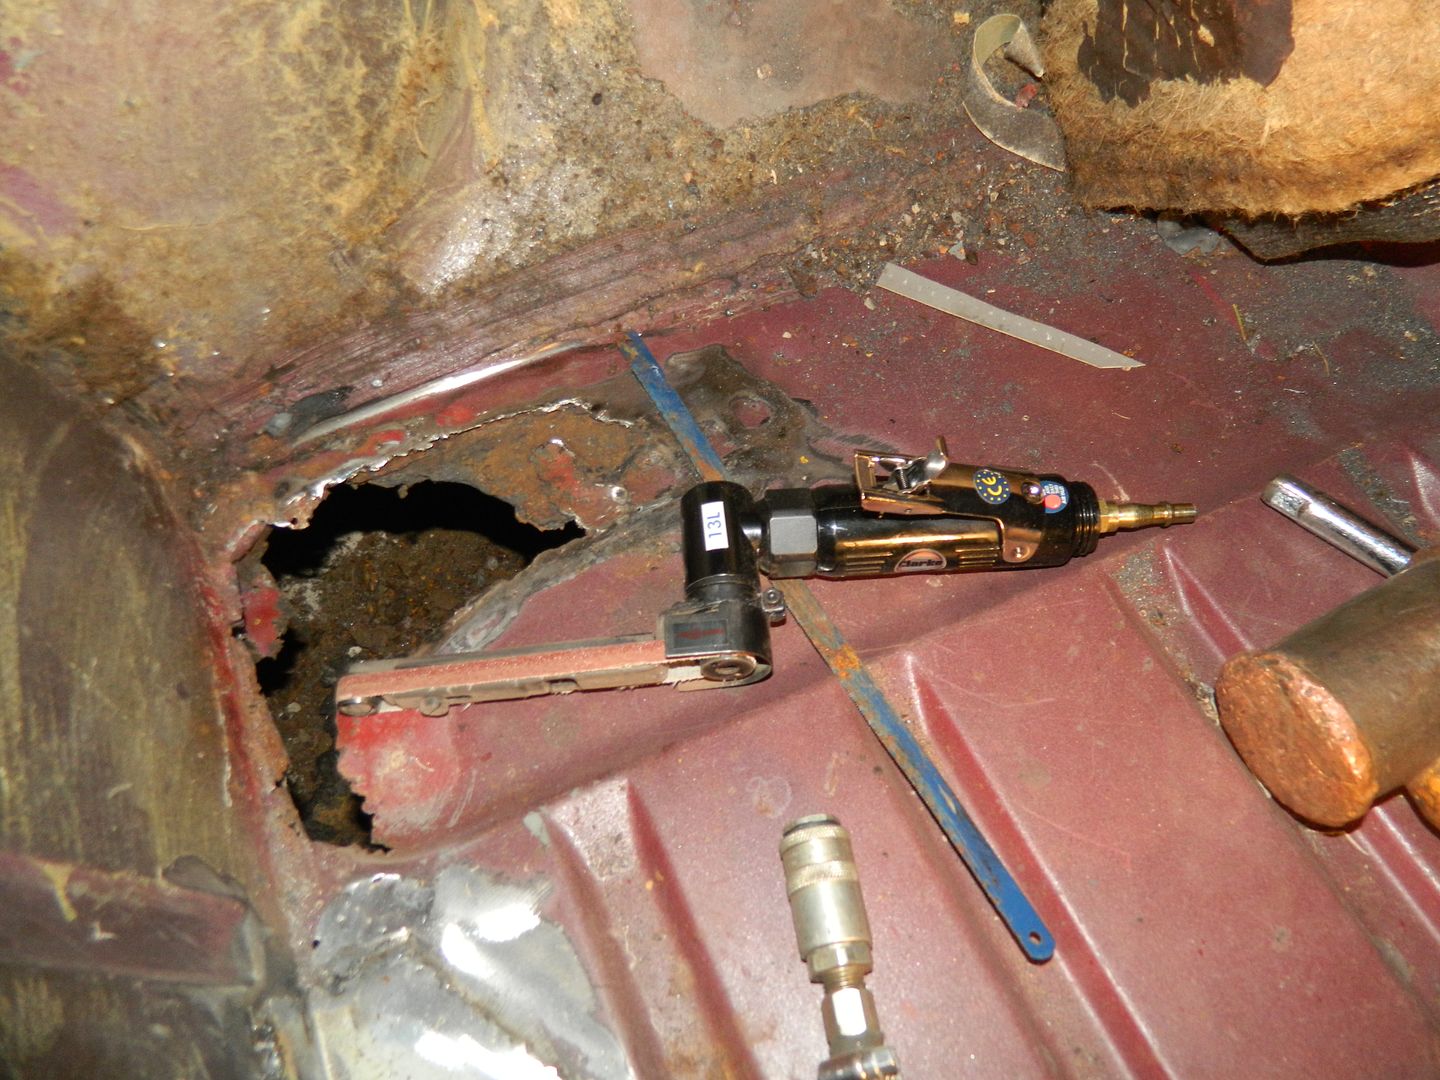 Good tool. Plenty of other uses will no doubt come to light over the next few months. Chris. |
|
|
|
Post by Penguin45 on Nov 21, 2013 20:35:04 GMT
.......And the last door screw has cracked free. I'll see if I can round up some helpers to get the doors off tomorrow, then I can get the sill off.
Chris.
|
|
|
|
Post by Nick RS on Nov 21, 2013 21:35:16 GMT
Chris,
Since you've ended up with a chunk of Maxi, does that mean that offside rear arch repair sections are no longer available?
Nick
|
|
|
|
Post by Penguin45 on Nov 22, 2013 0:51:40 GMT
Correct, both "panels" are Maxi ones, so are slightly too short anyway. The quarter panel was the same price as the arch section! Ernie said that he had lots of them. It's five years since we did Eugenie, and we had to use Maxi sections then, although I managed to find the offside arch section at that time. Hadrian were still manufacturing at that point, I think.
Chris.
|
|
|
|
Post by Penguin45 on Nov 23, 2013 21:10:58 GMT
Further to my comment that the last door screw had cracked free, returning to the car this afternoon thinking I found that two of them had completely seized up. Further efforts to get them moving simply damaged the heads, so drastic measures had to be called upon. 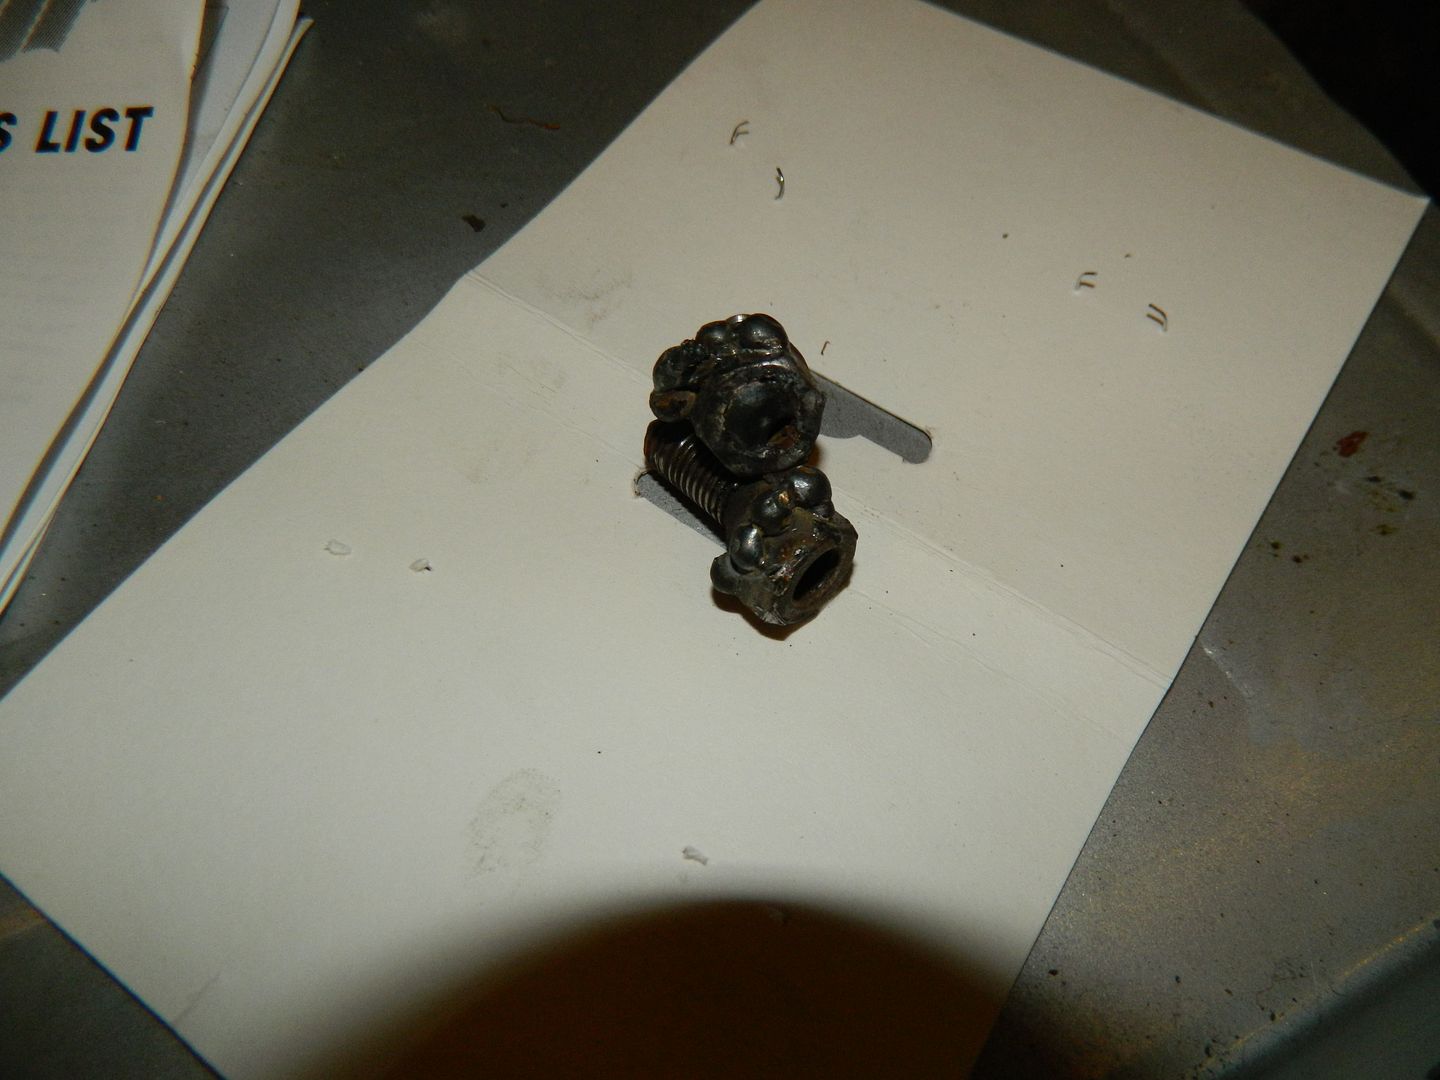 Nut welded to head of screw, then windy gun. The screws are now useless, but I have some spares stashed away. Somewhere. MrsP has participated by undoing the last screw for each door as I took the weight. In return, I have mended the vacuum cleaner..... 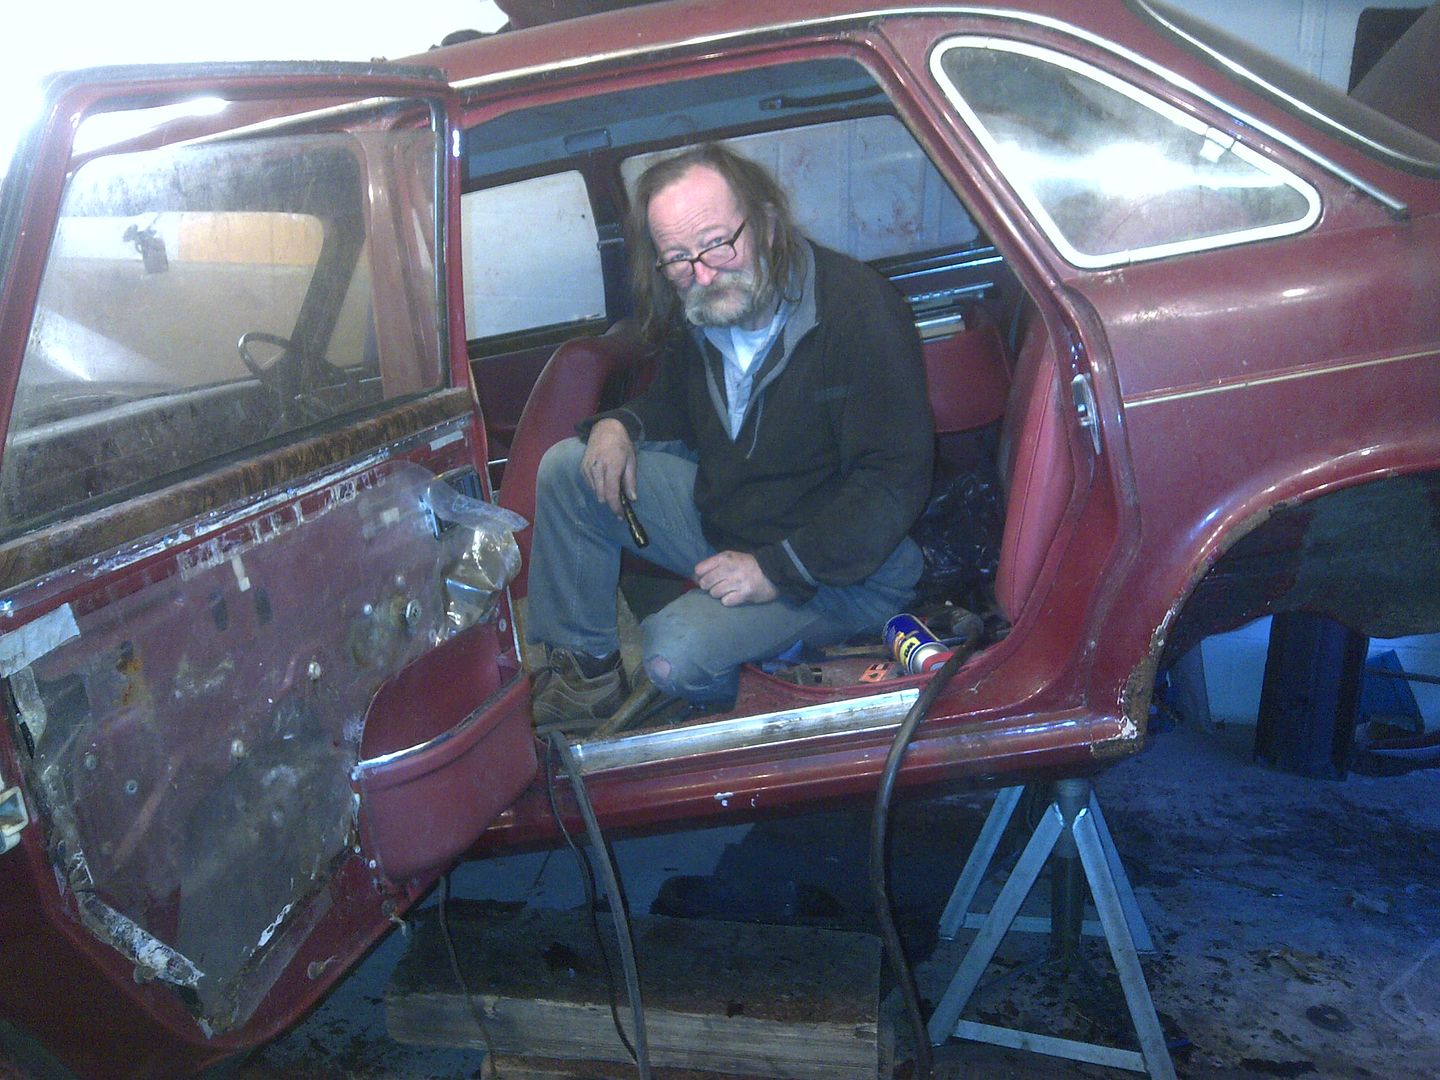 I am apparently looking very grumpy. 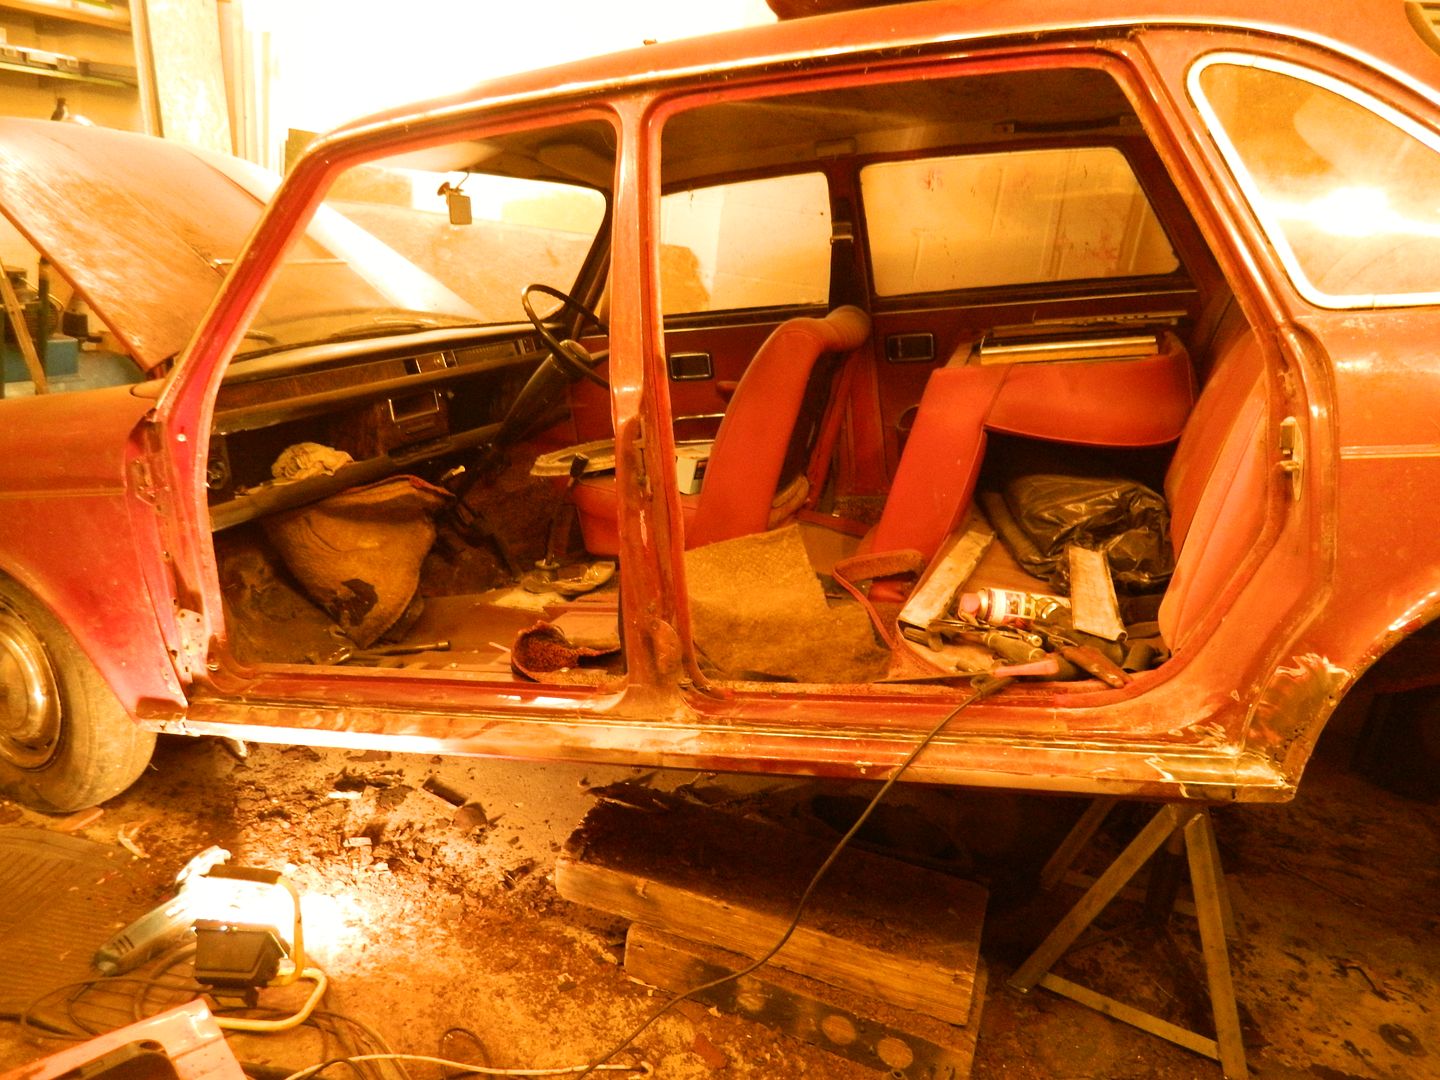 A vista without me, or the doors. 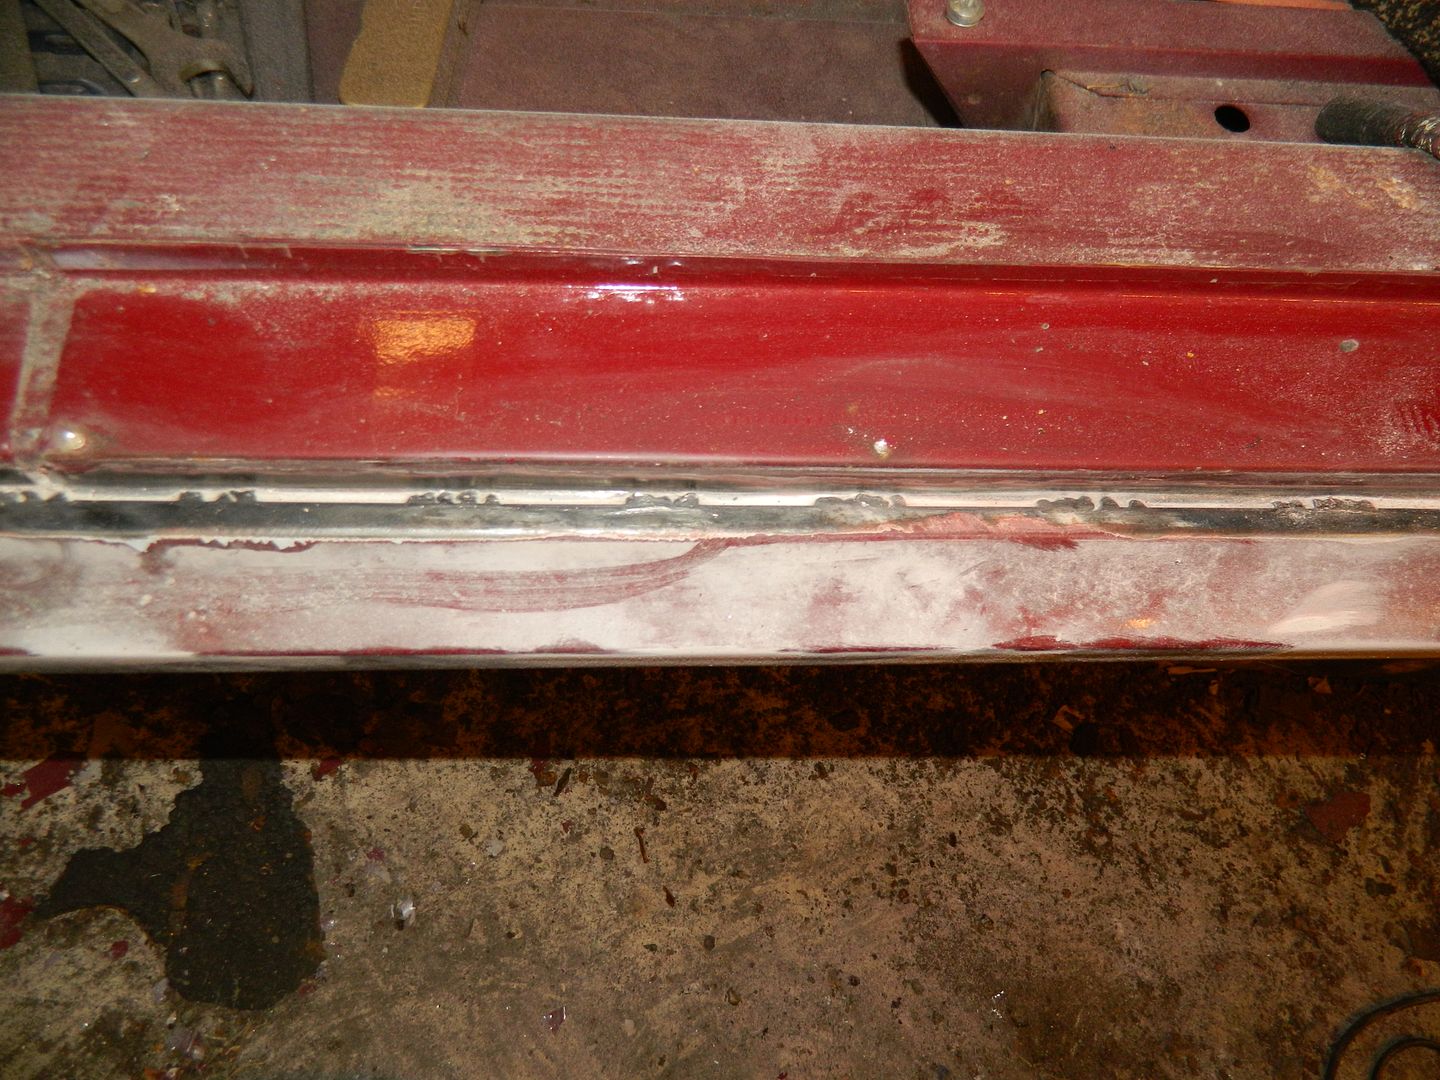 Not going to be too difficult to get the sills off - 1" blobby welding, 2" gap; 1" blobby welding, 2" gap.......... Very disappointing from a safety point of view - I think that is supposed to be a continuous weld. Big messy fun tomorrow! Chris. |
|
|
|
Post by Penguin45 on Nov 24, 2013 14:20:01 GMT
Sill off. Struggling - membrane is going to need some work as well as the jacking point, floor to inner sill joint is largely rotten. Might have to consider taking that floor patch out again.
Chris.
|
|
|
|
Post by Penguin45 on Nov 24, 2013 22:07:19 GMT
What a day - this has been a sheer slog with little to show at the end of it. The sill eventually came off. The previous repairer had in fact welded the membrane to most of the sill, and rather well at that. 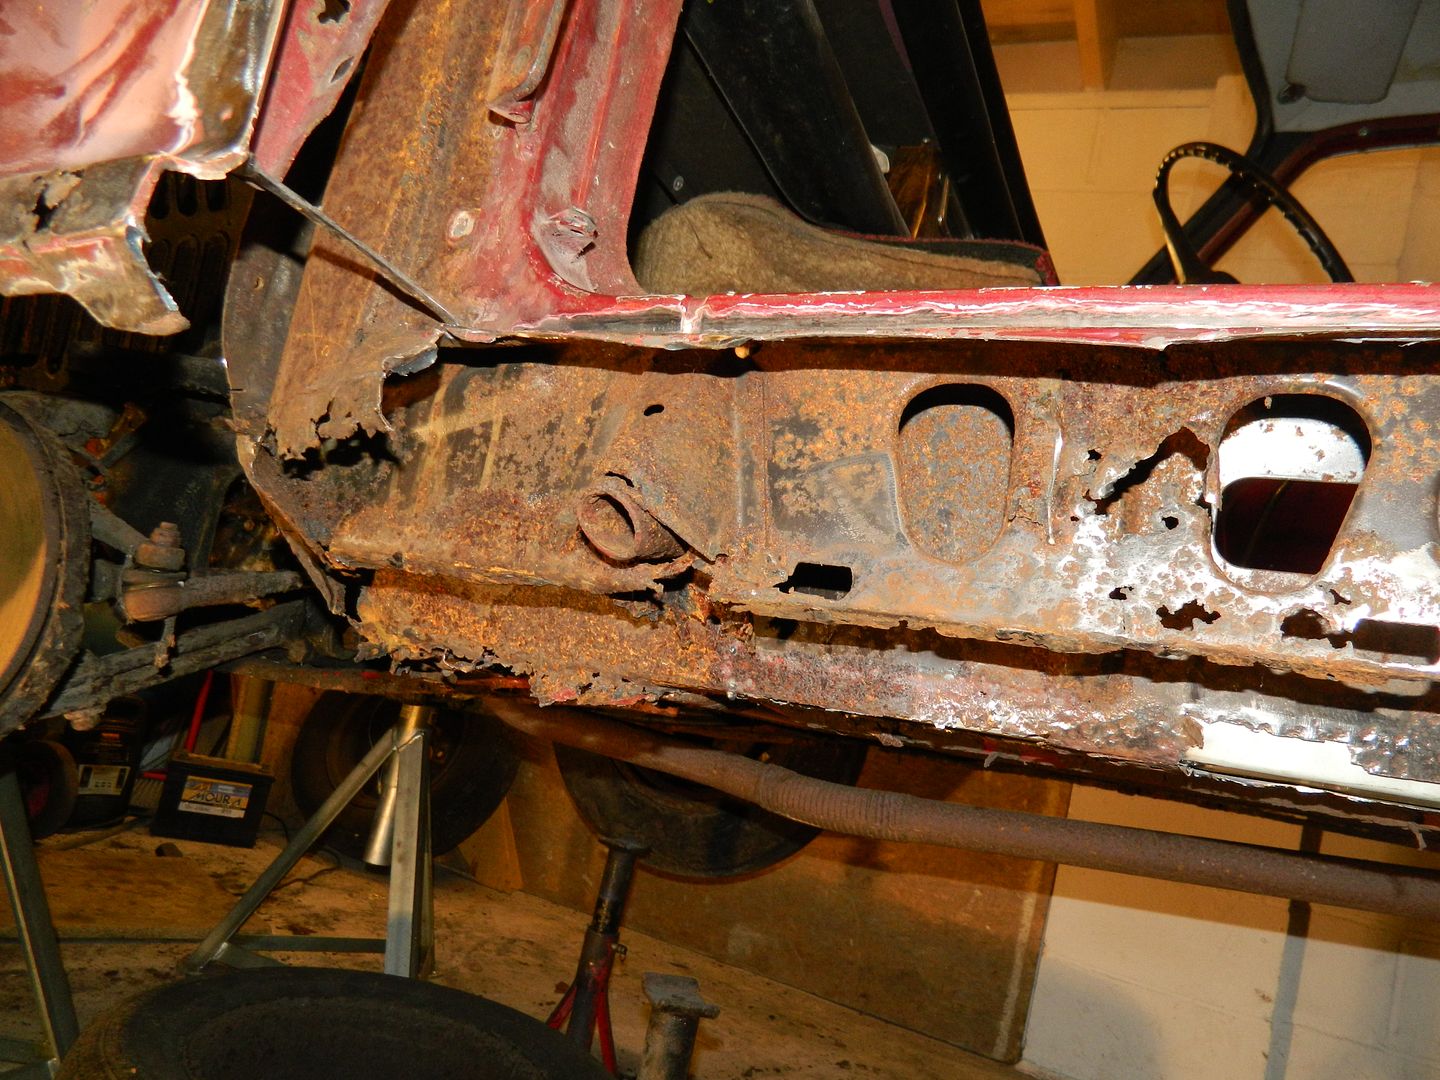 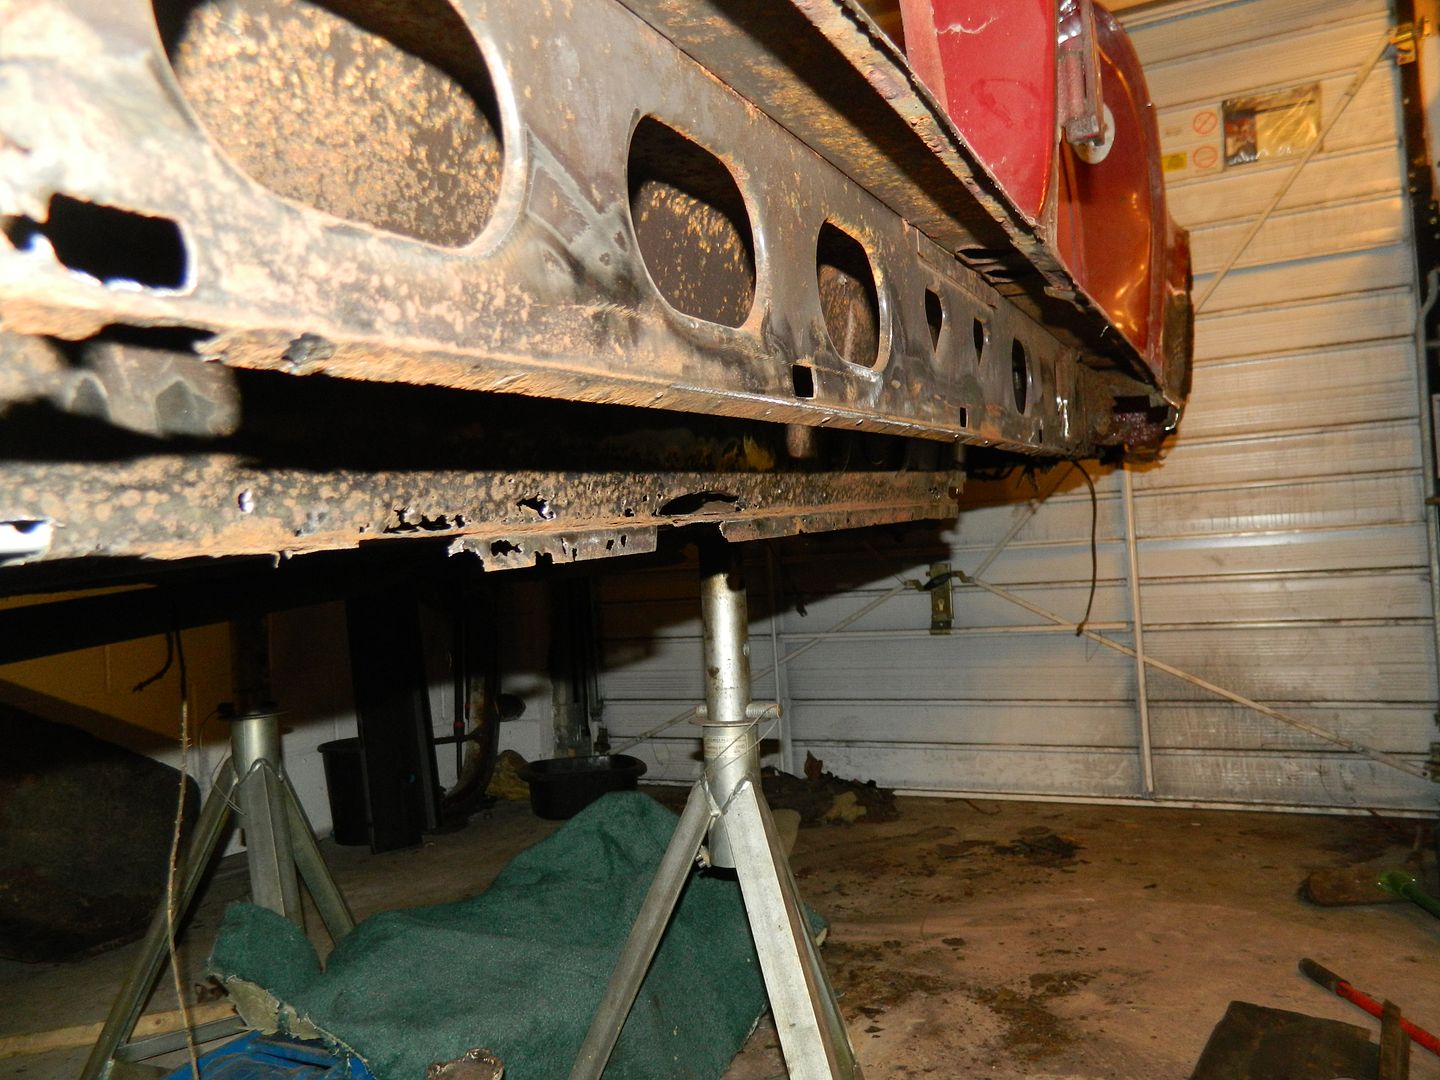 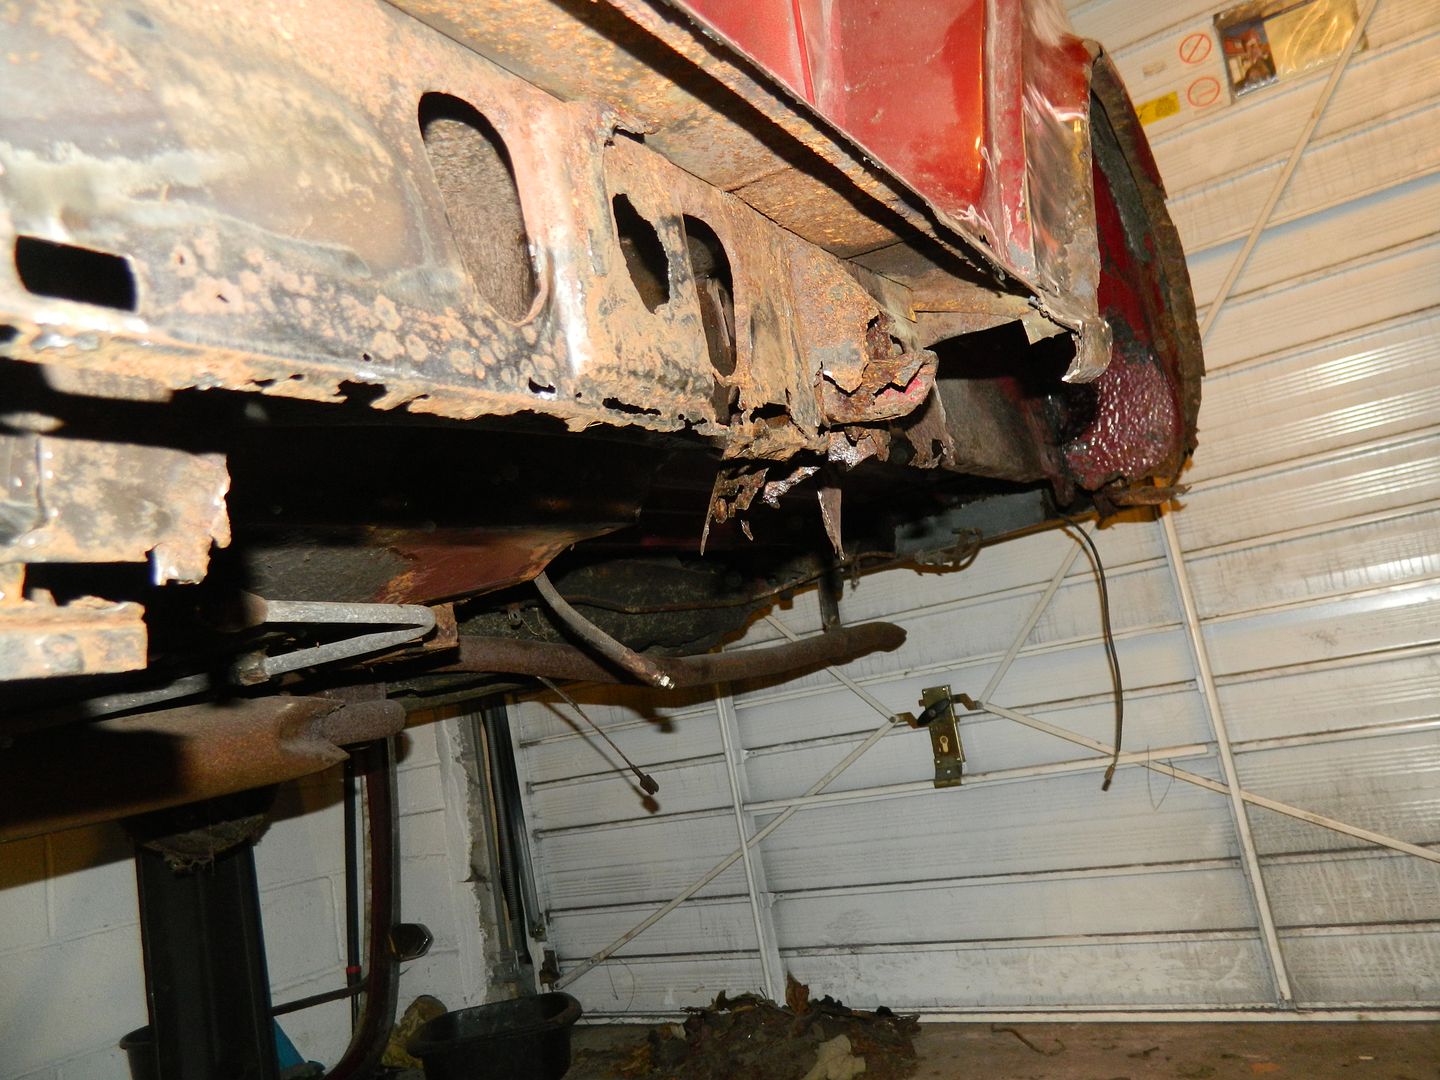 Floor to inner sill joint needs a fair bit of help. Length of "L" section may be the way to go here, followed by a drop down section for the new sill to join to. Membrane needs some help as well. I can do this with some flat panel work, as it will be concealed when the sill is in place. Jacking points will both need something a little more substantial. 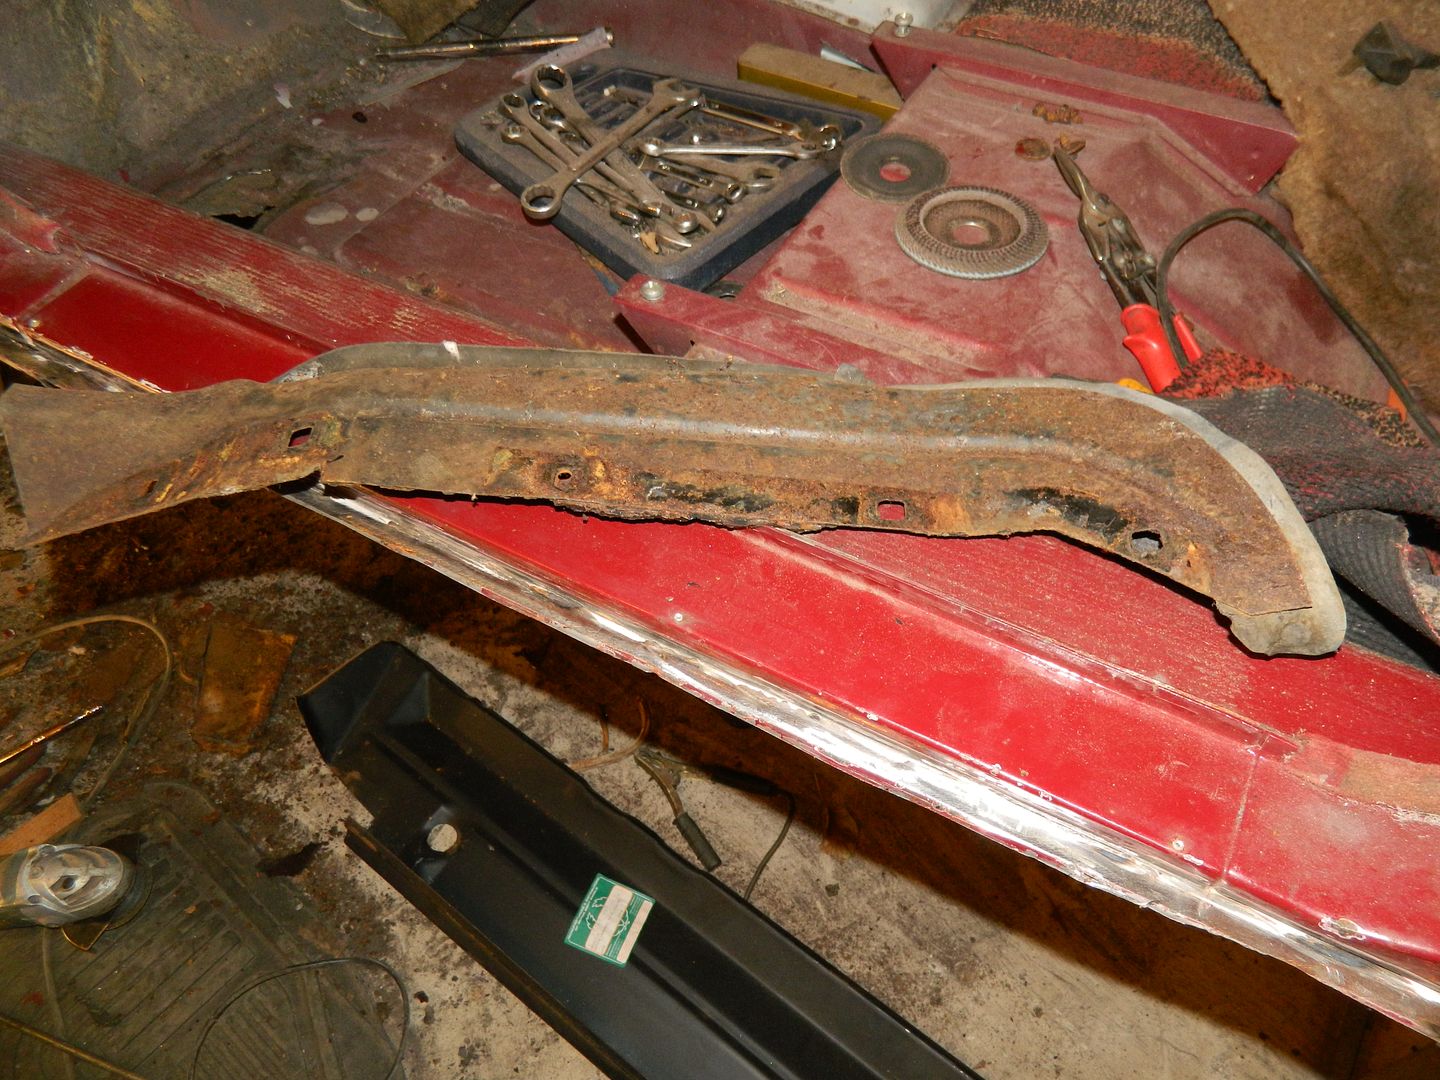 This is an inner wing splash panel. Not sure I like it, really. Note rubber seal around the outside edge. 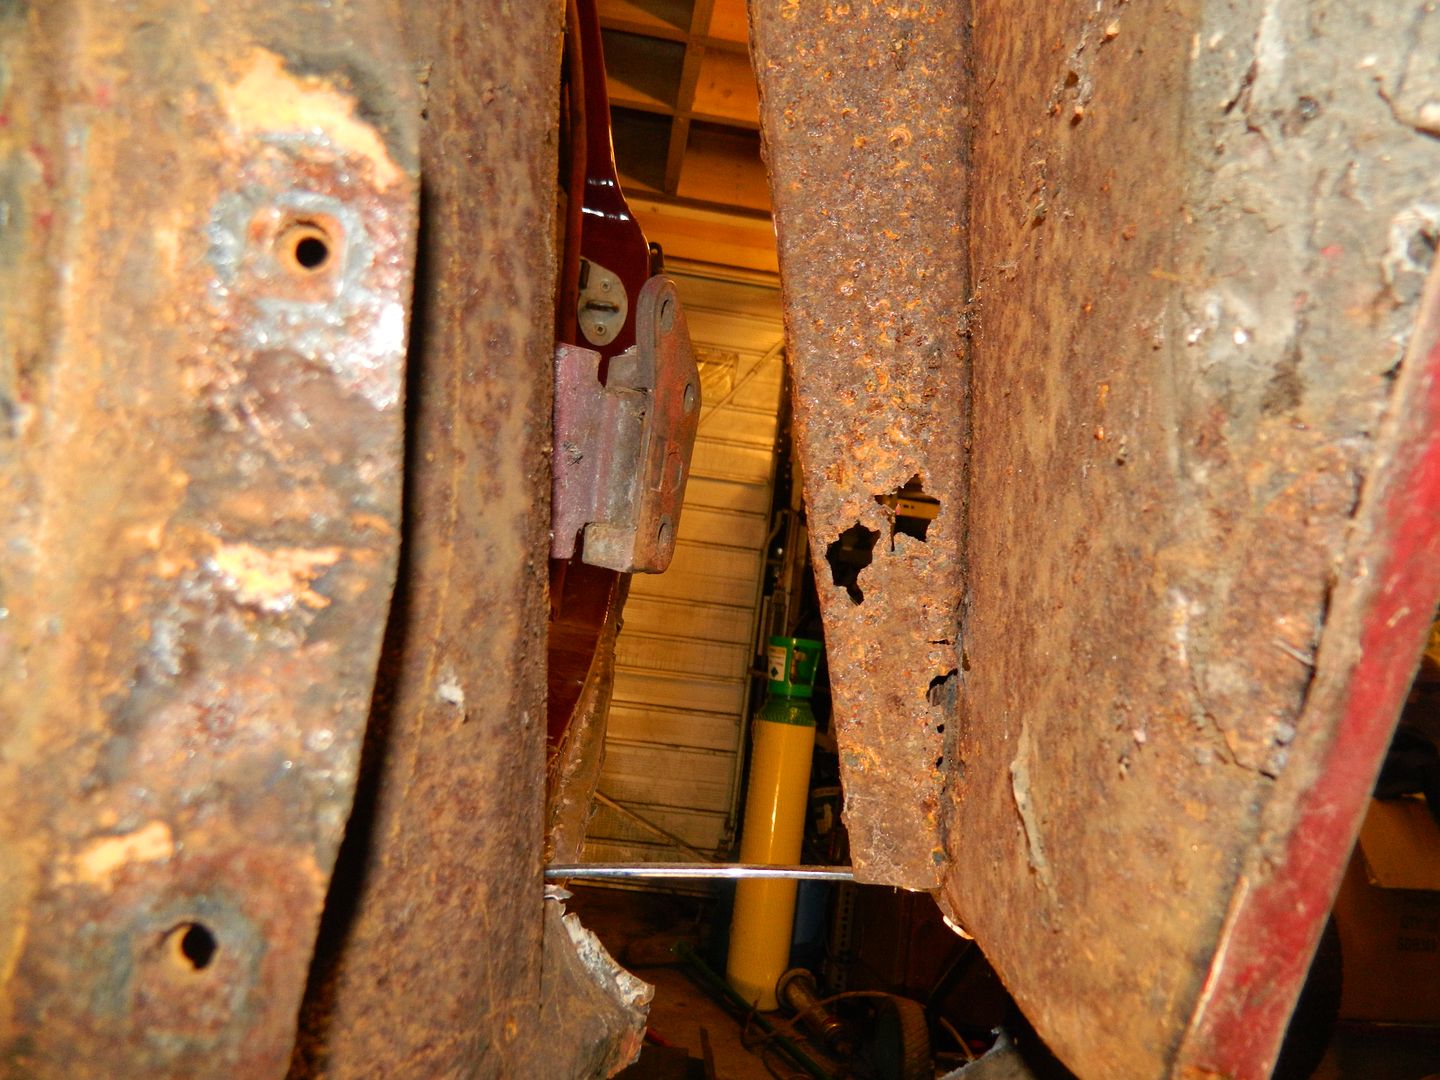 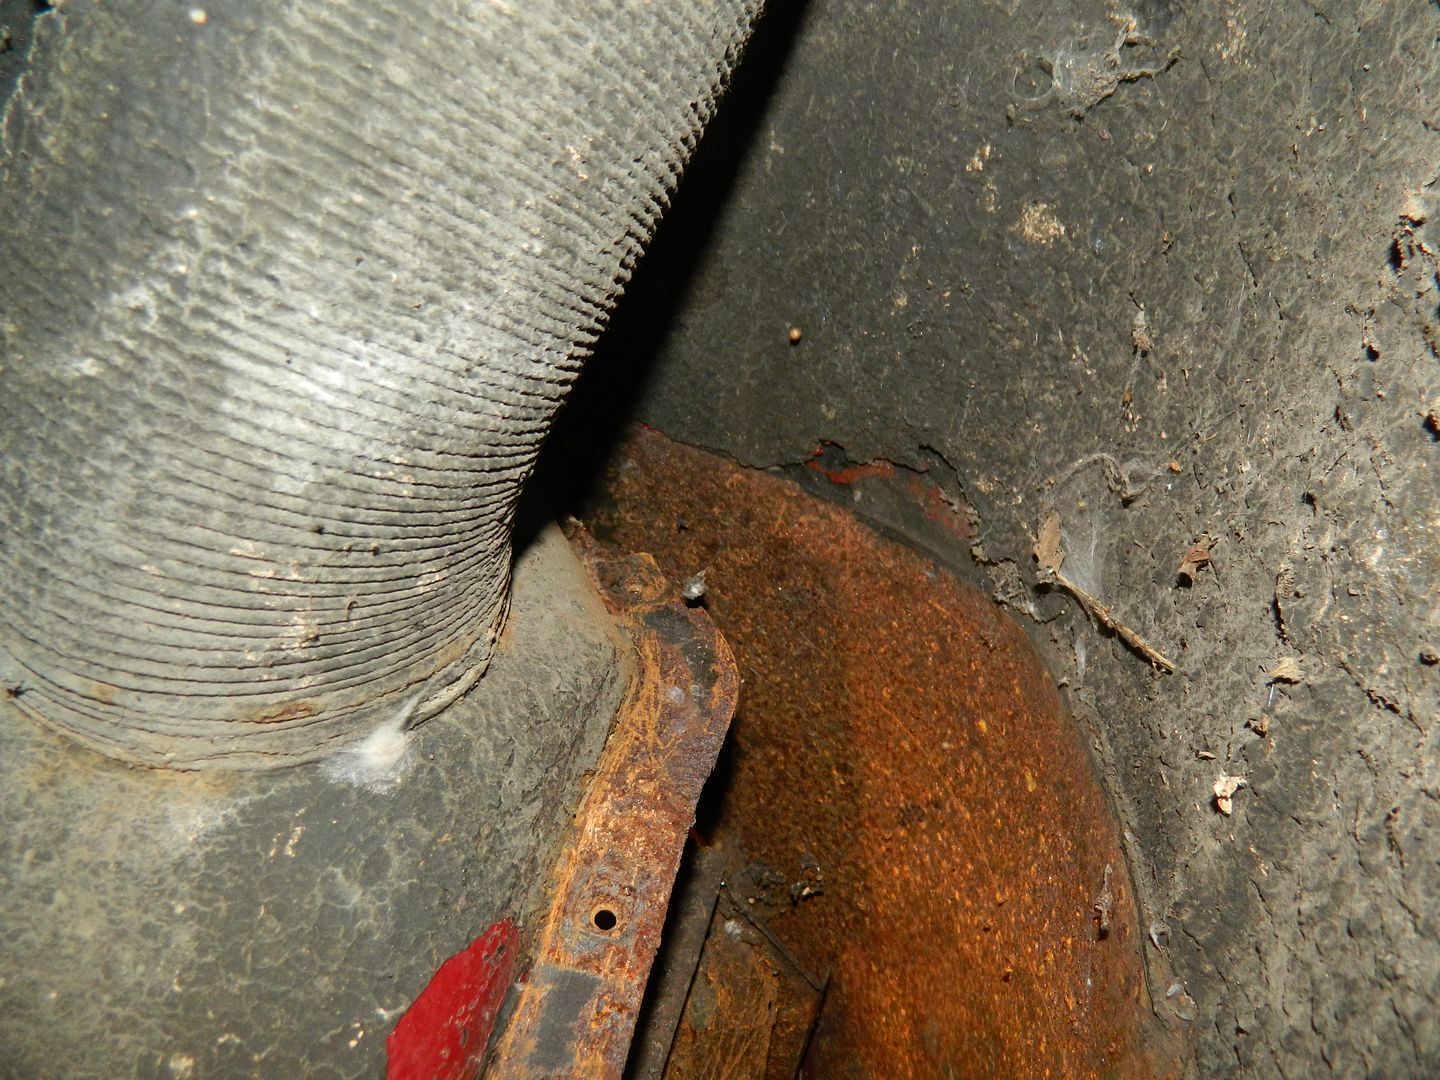 View into wing and A post. Note clearly defined line where the splash panel and under-seal stopped and the rust begins. I have spent a lot of time trying to rub off the surface rust before attacking with the rust convertor. I suspect that the splash panel has really only trapped moisture behind it. I doubt that I'll re-fit it. Chris. |
|


