|
|
Post by Penguin45 on May 26, 2014 20:17:52 GMT
Managed a few hours on Sunday and about 6 hours today. Good progress. I have to say that this isn't car restoration - it's open cast rust mining. 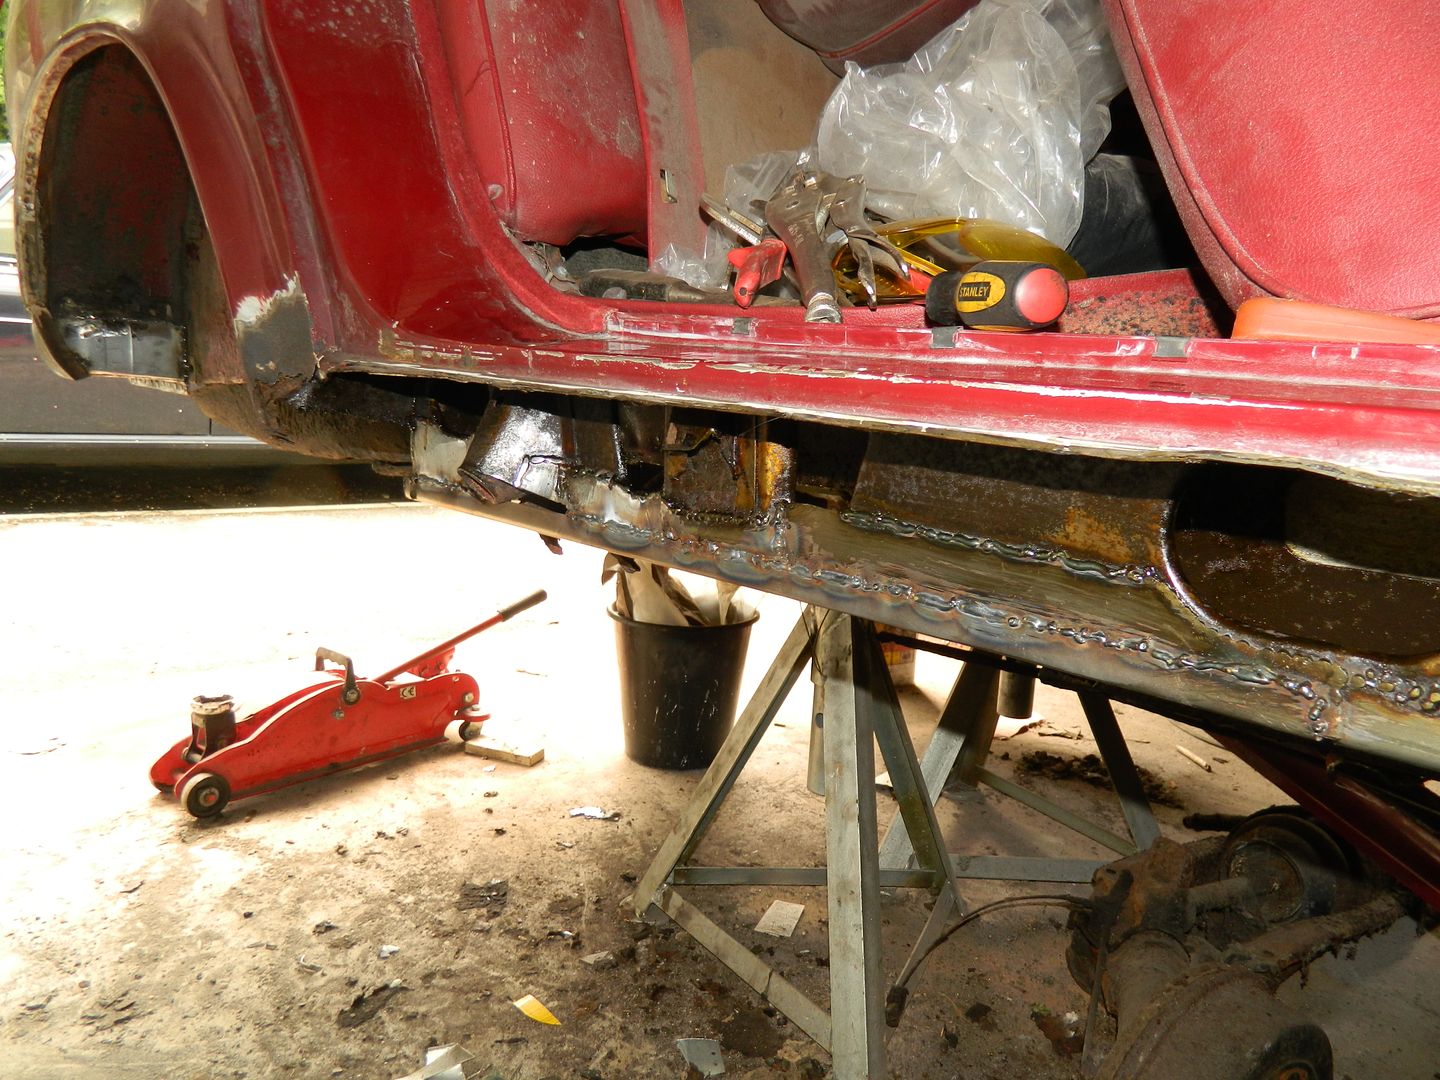 Finished off the centre sill section. Nice and solid now as there is a lot of new metal in there. 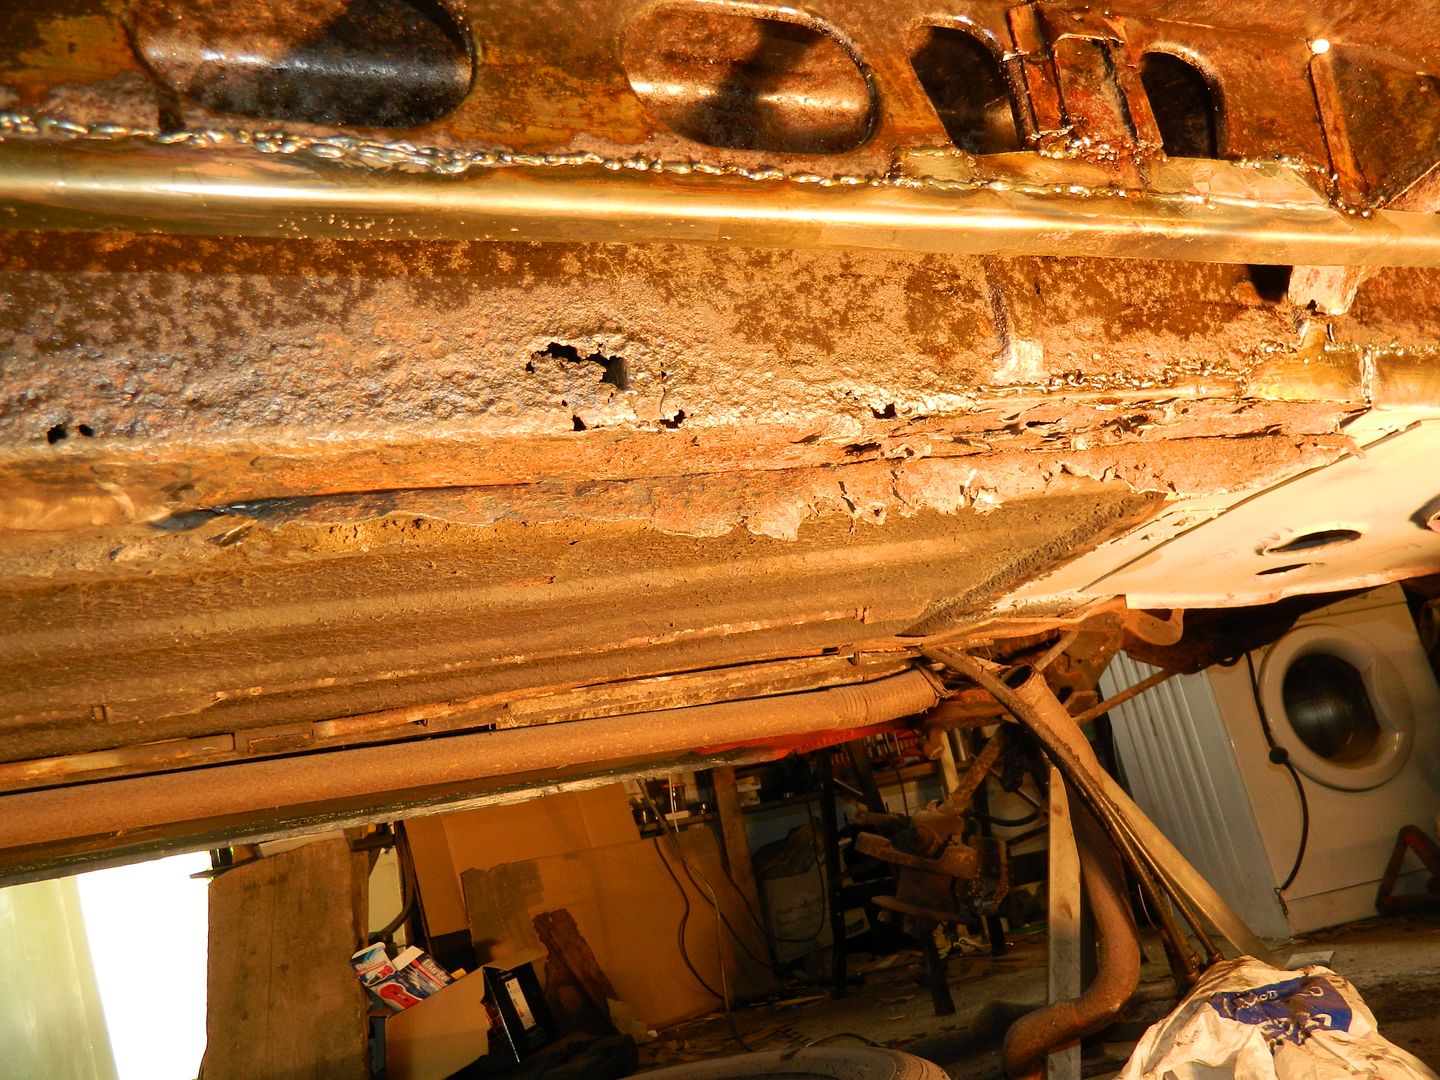 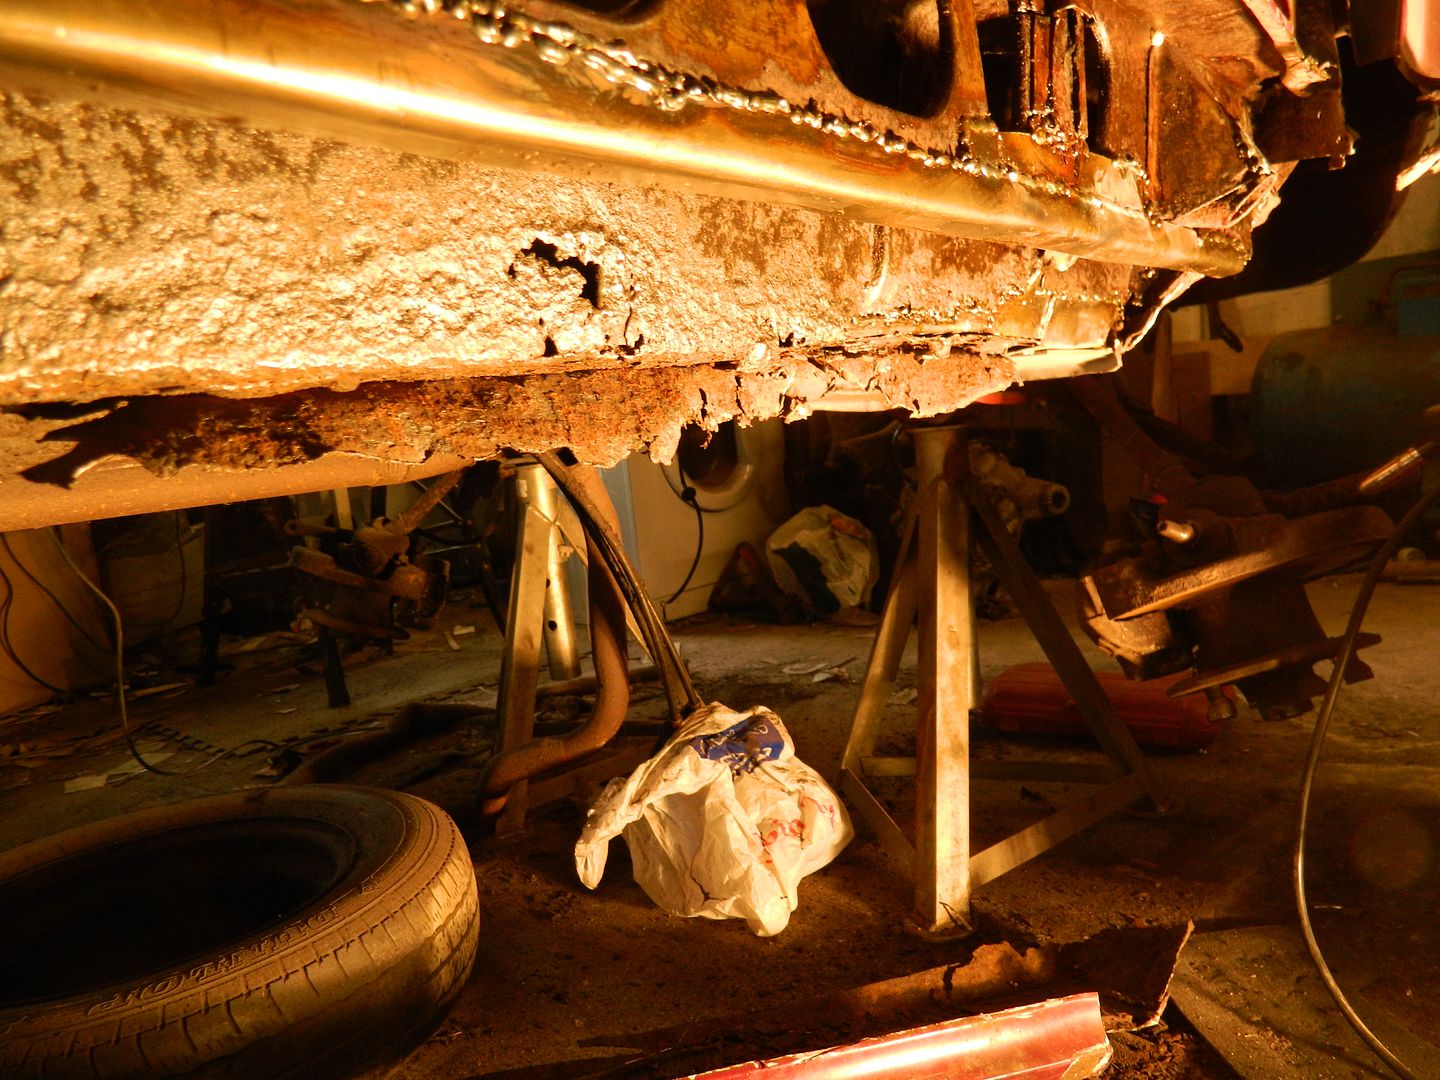 Set about trying to get this patch off the floor. Whilst completely rotten, I was shocked to find that it was solidly welded. A new first. Then, the epiphanic moment.... It's rotten, it's a patch, so it'll be covering something that's rotten......... Out with angle grinder and slitting disc and chop it all out. You know it makes sense. As can be seen, the inner sill isn't terrible happy either, so a lot of that went as well. Quite ironic, as that got rid of some of the floor and inner sill repairs carried out from inside the car. Ho, hum. 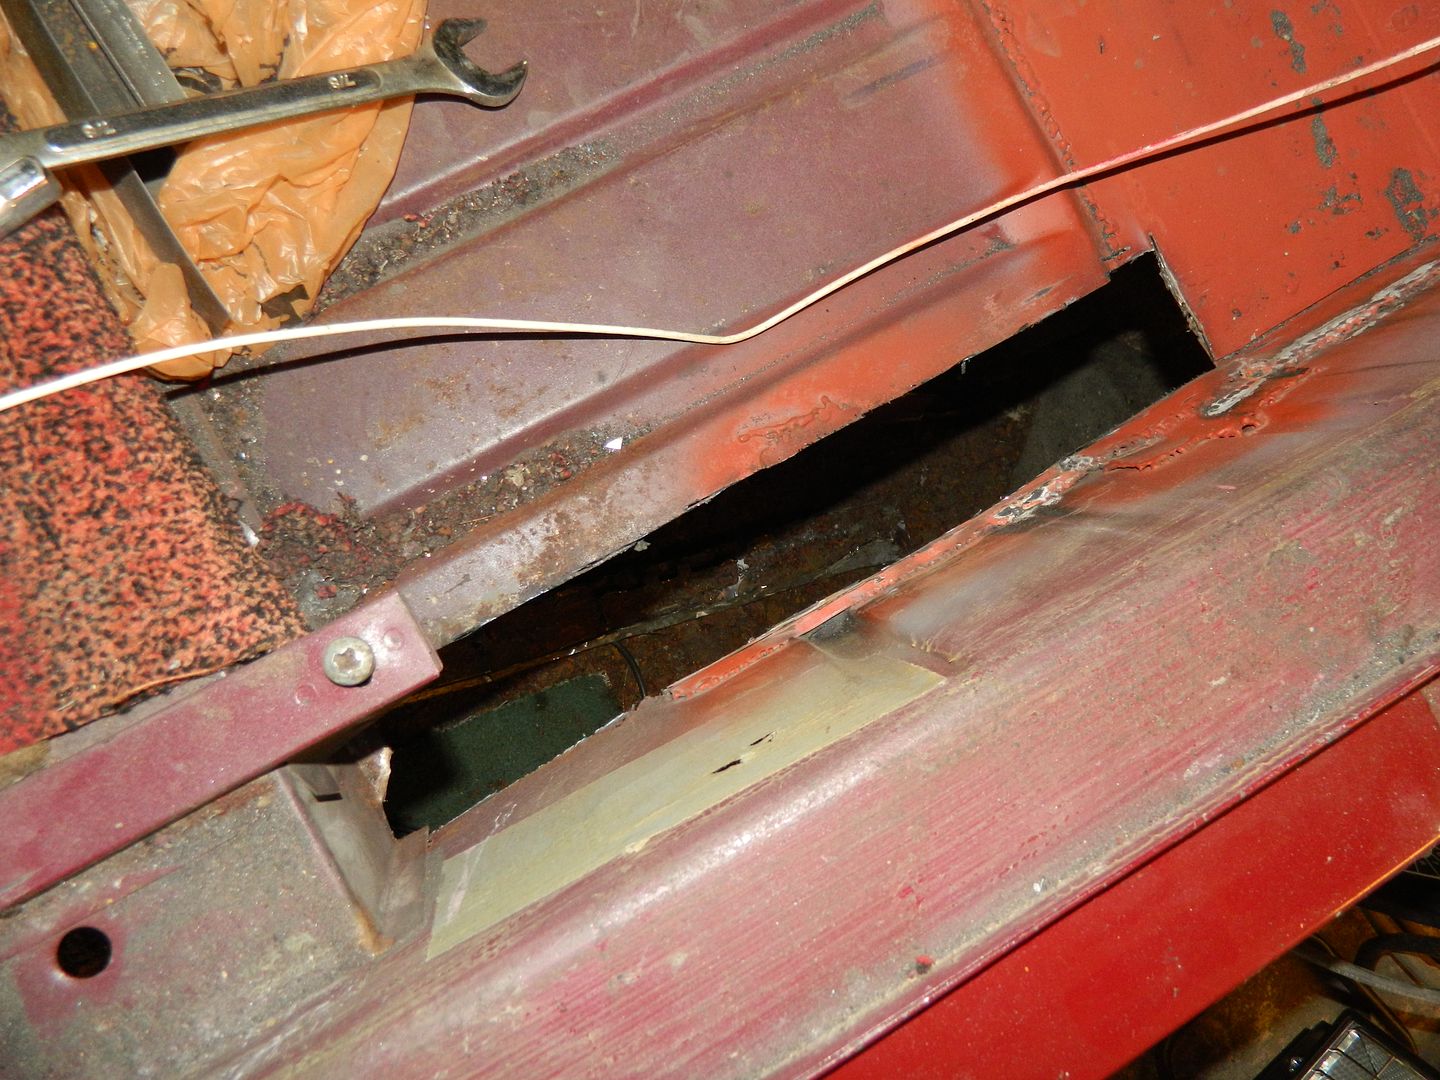 Hole - this runs back another 12" under the seat hump........ 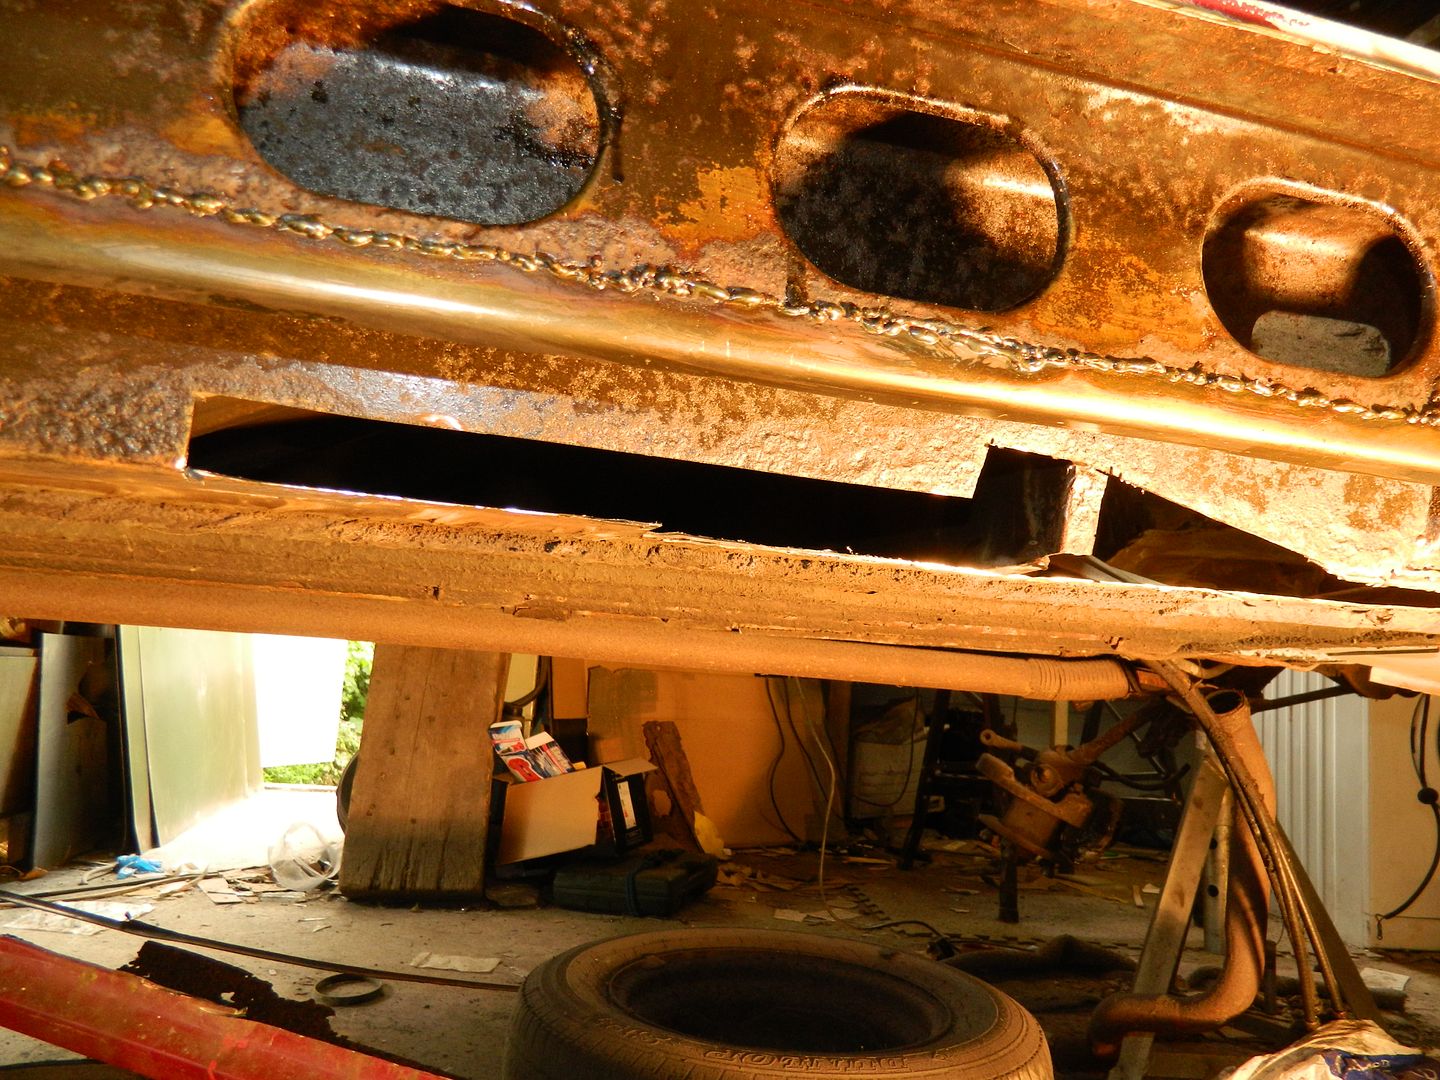 ........as can be partly seen here. 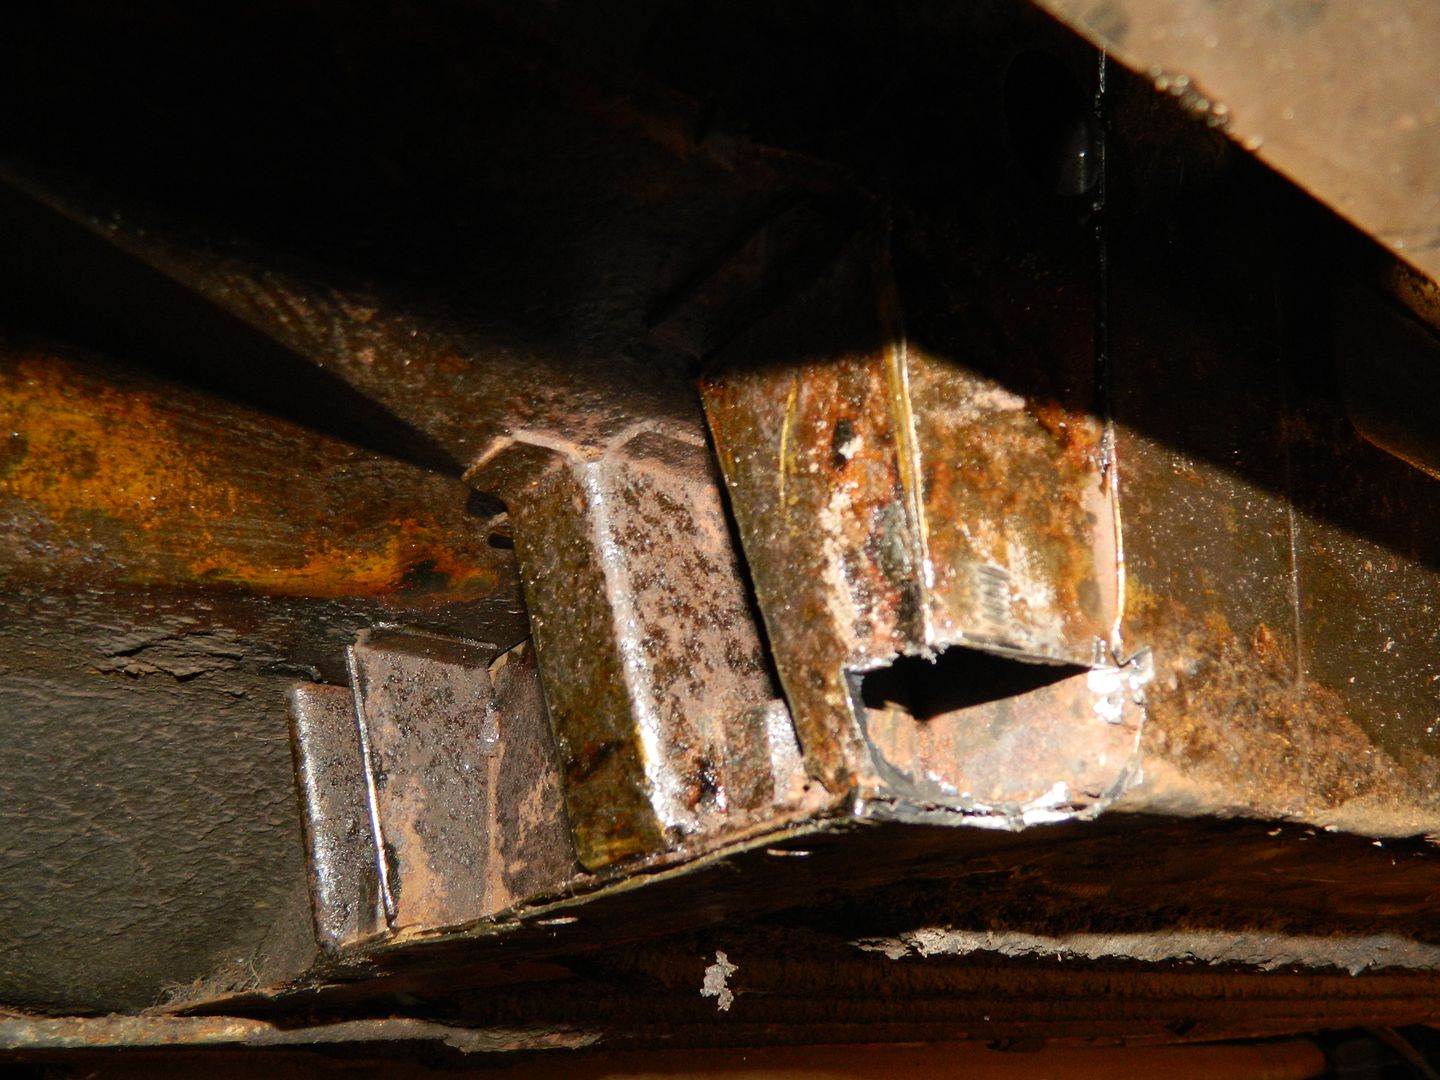 This little bit's rotten as well. 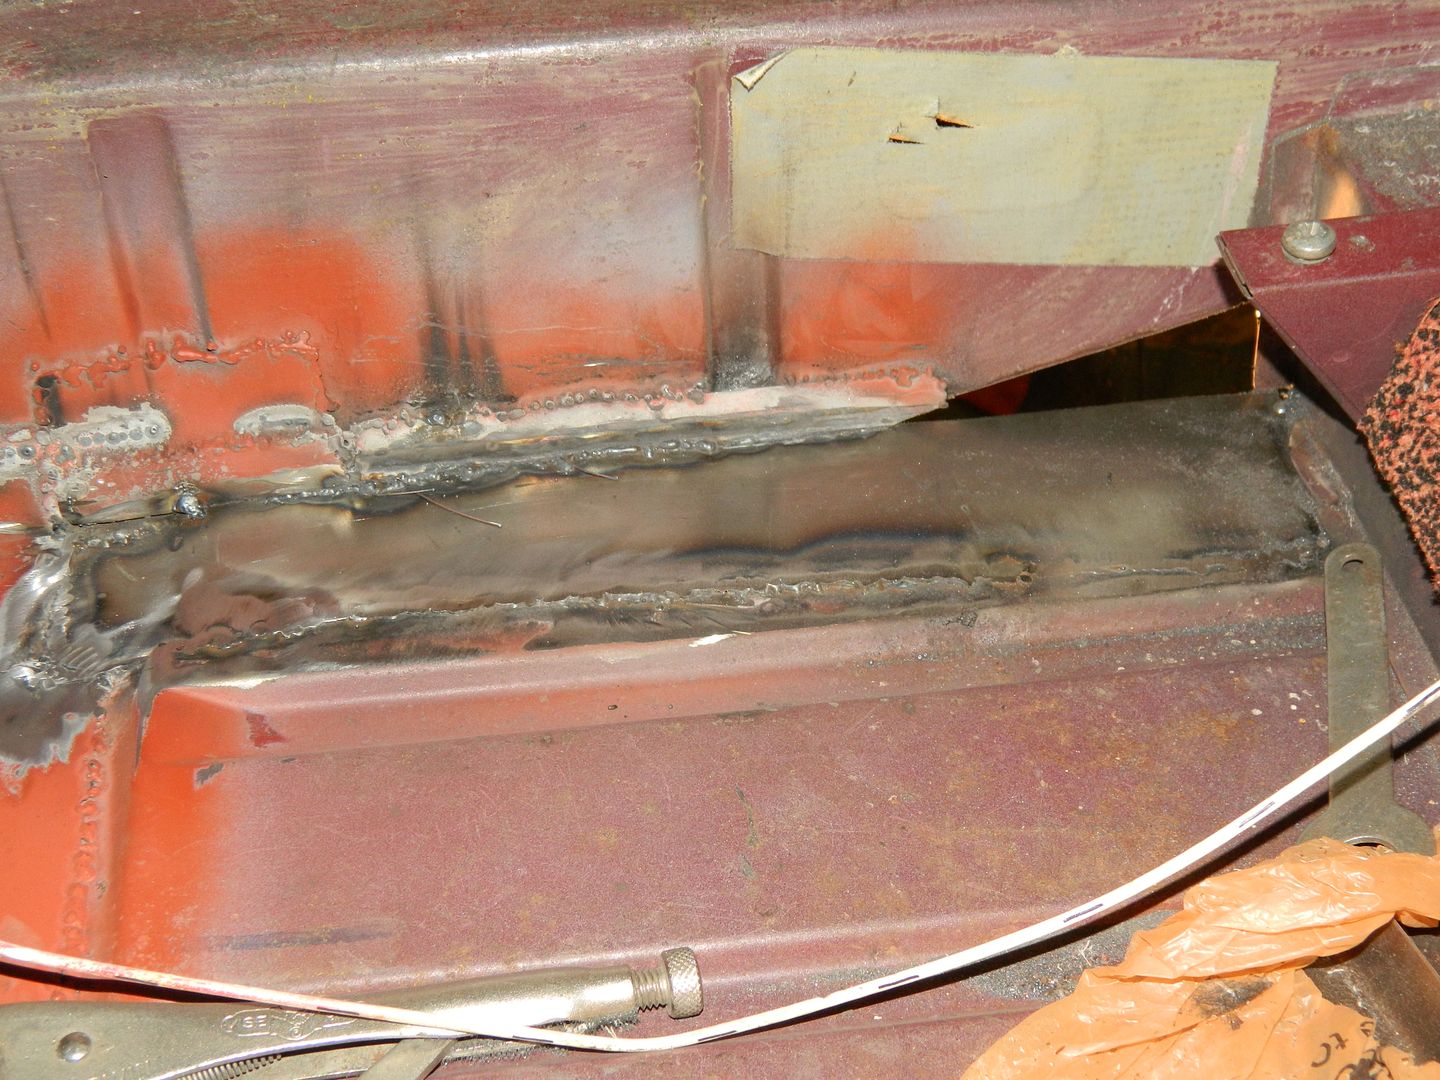 Floor panel (front section) butt welded home. I did the section under the hump separately in order to pick up the flange of the seat hump and add a bit more strength. Seems to have worked. 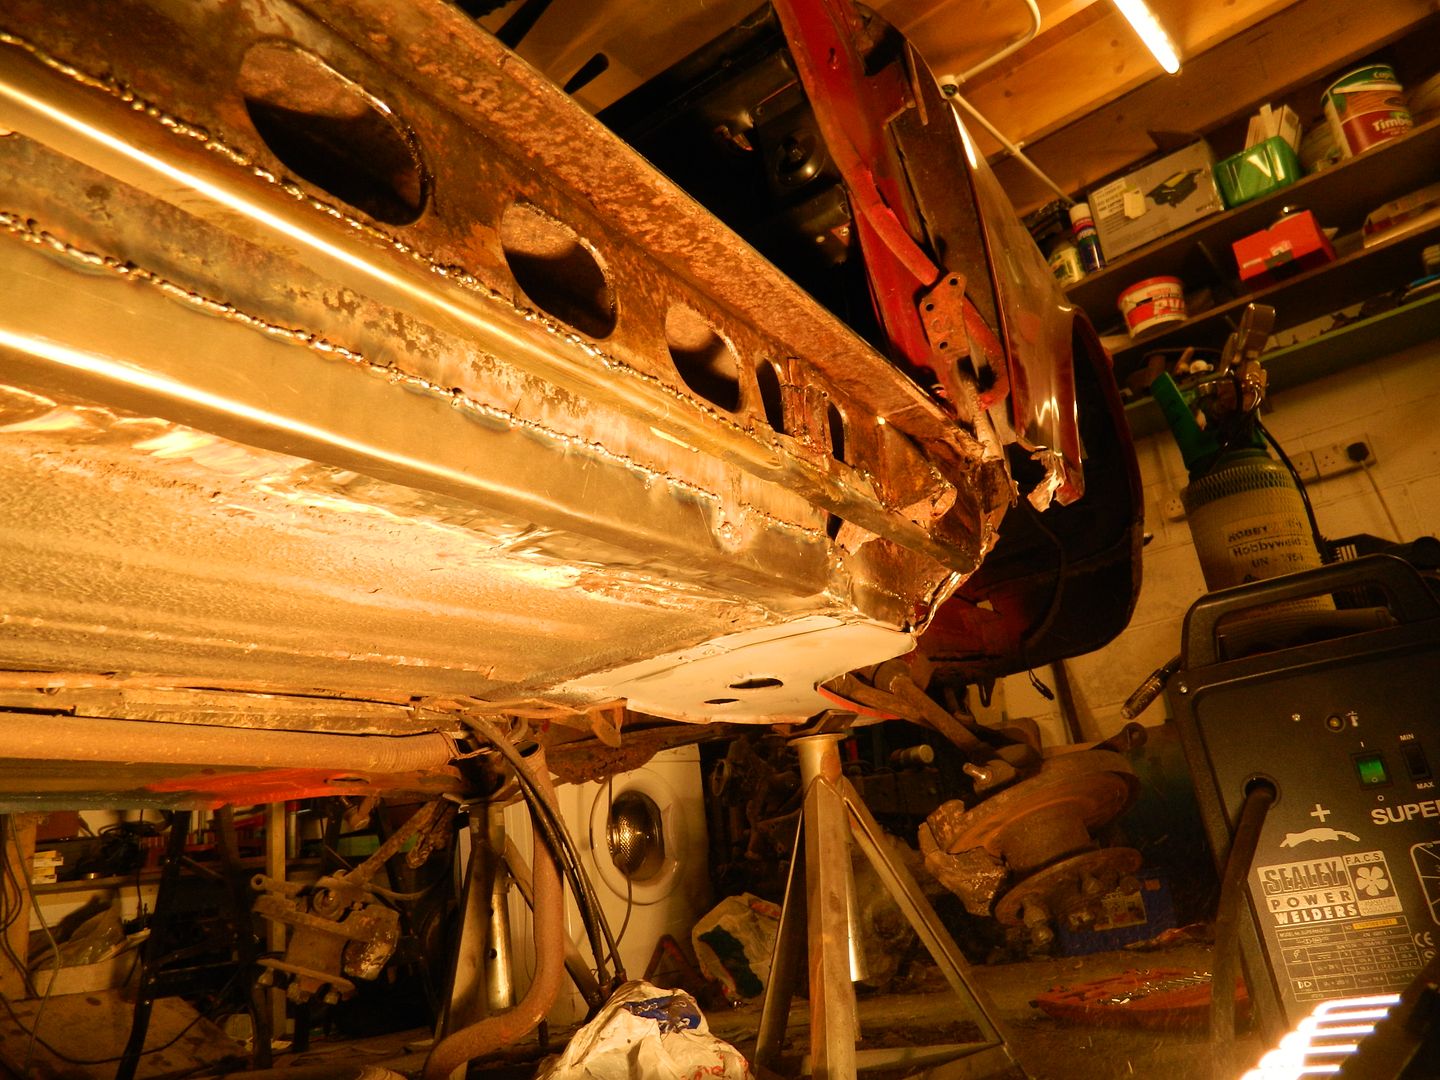 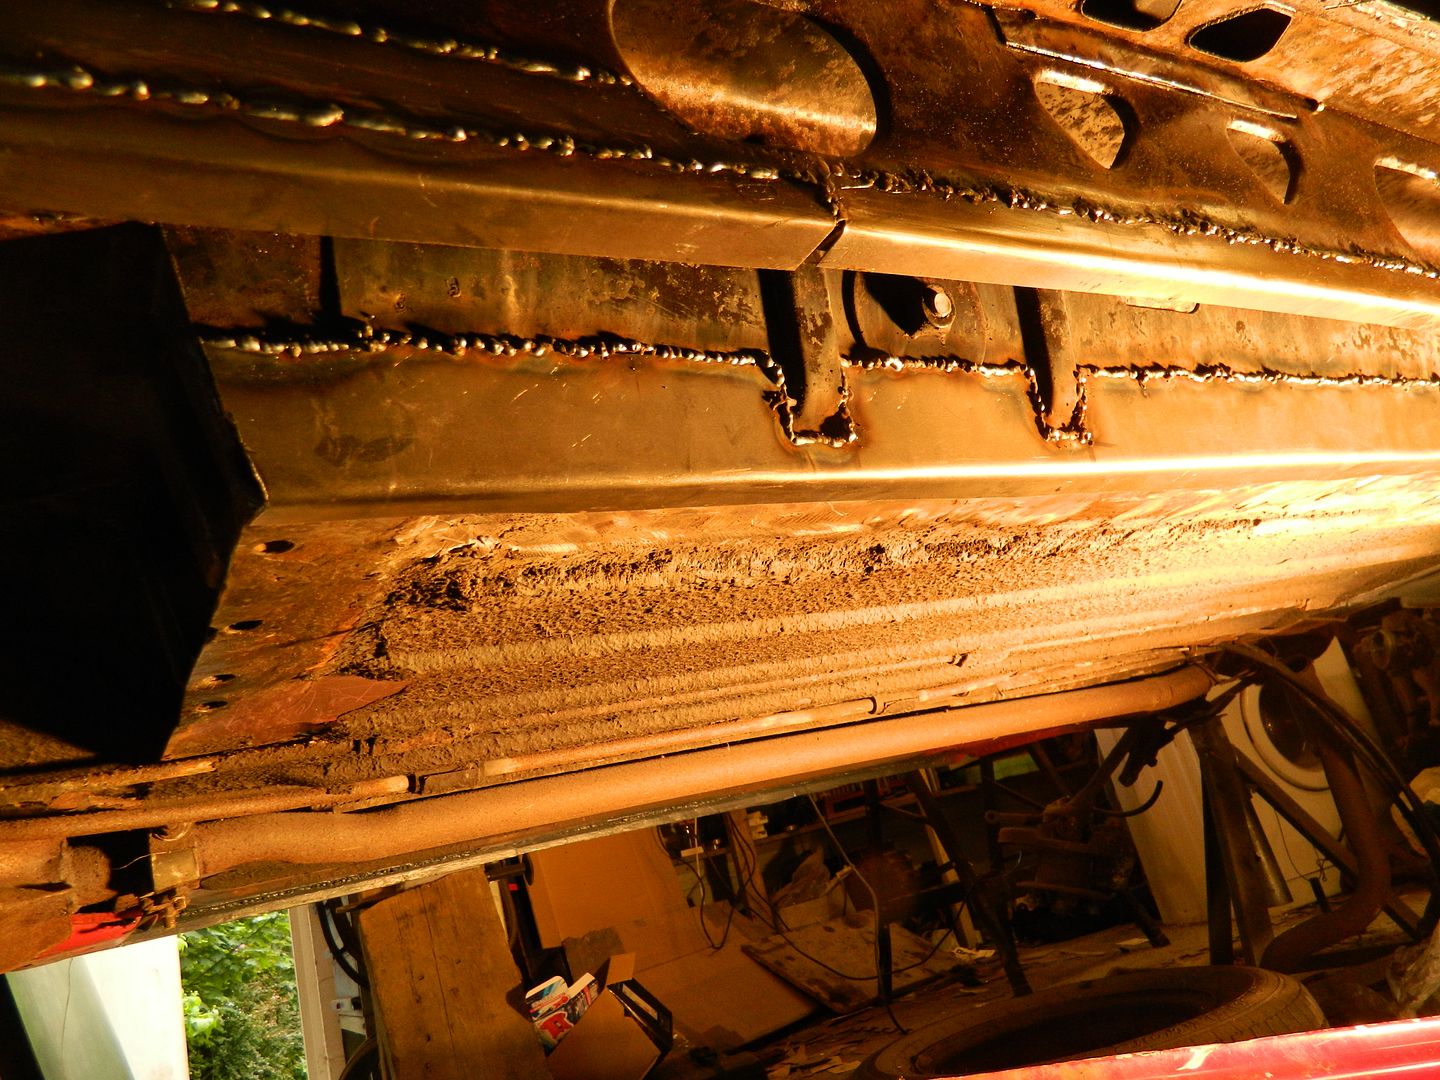 Used a big angle section to repair the inner sill. That's lap welded from one end to the other and will be lap welded to the floor when I go and get a new bottle of gas tomorrow. Small section to be added at the front end, then the joys of 70-odd plug welds to attach the drop-down flange for the sill to attach to. And the big panel back by the displacer, then the sill can go on. Happy days. Chris. |
|
|
|
Post by dave1800 on May 27, 2014 0:38:54 GMT
Very impressive again and excellent photos! David Managed a few hours on Sunday and about 6 hours today. Good progress. I have to say that this isn't car restoration - it's open cast rust mining. Happy days. Chris. |
|
|
|
Post by Penguin45 on May 28, 2014 23:33:38 GMT
The bottom edge of that angle section is now welded to the car. The simple section of the drop down panel has been plugged home and the sill offered up into place. Getting the very front 12" to fit properly looks like it might be interesting. Rather thick lumpy section of the bottom of the inner wheel arch is going to have to go. Install sill and then re-make the arch section to fit. Too many layers of repair built up there, I think.
O/s rear suspension housing has been wire brushed, rust treated and painted black on the top and red on the bottom, so that looks quite smart.
Camera batteries will have recharged in the morning, so I'll try and get some pics then.
Chris.
|
|
|
|
Post by Penguin45 on Jul 1, 2014 23:18:24 GMT
Good grief - a whole month gone by. Sorry, chaps.
Started doing a bit of work again, jammed up with a load of on-line assessment stuff to finish the Restoration Course and that ruddy Matiz getting in the way as well as quite a bit of stuff related to fostering has made June somewhat difficult.
I went out and did the extensions for the jacking point tubes this evening. As per the other side, these had been chopped off short when the sill was replaced and had to be re-extended.
Feel a bit better for having done a bit.
Chris.
|
|
|
|
Post by Penguin45 on Jul 2, 2014 18:05:18 GMT
And - a bit more today. Drop panel next to the rear displacer fitted and jacking point repaired. 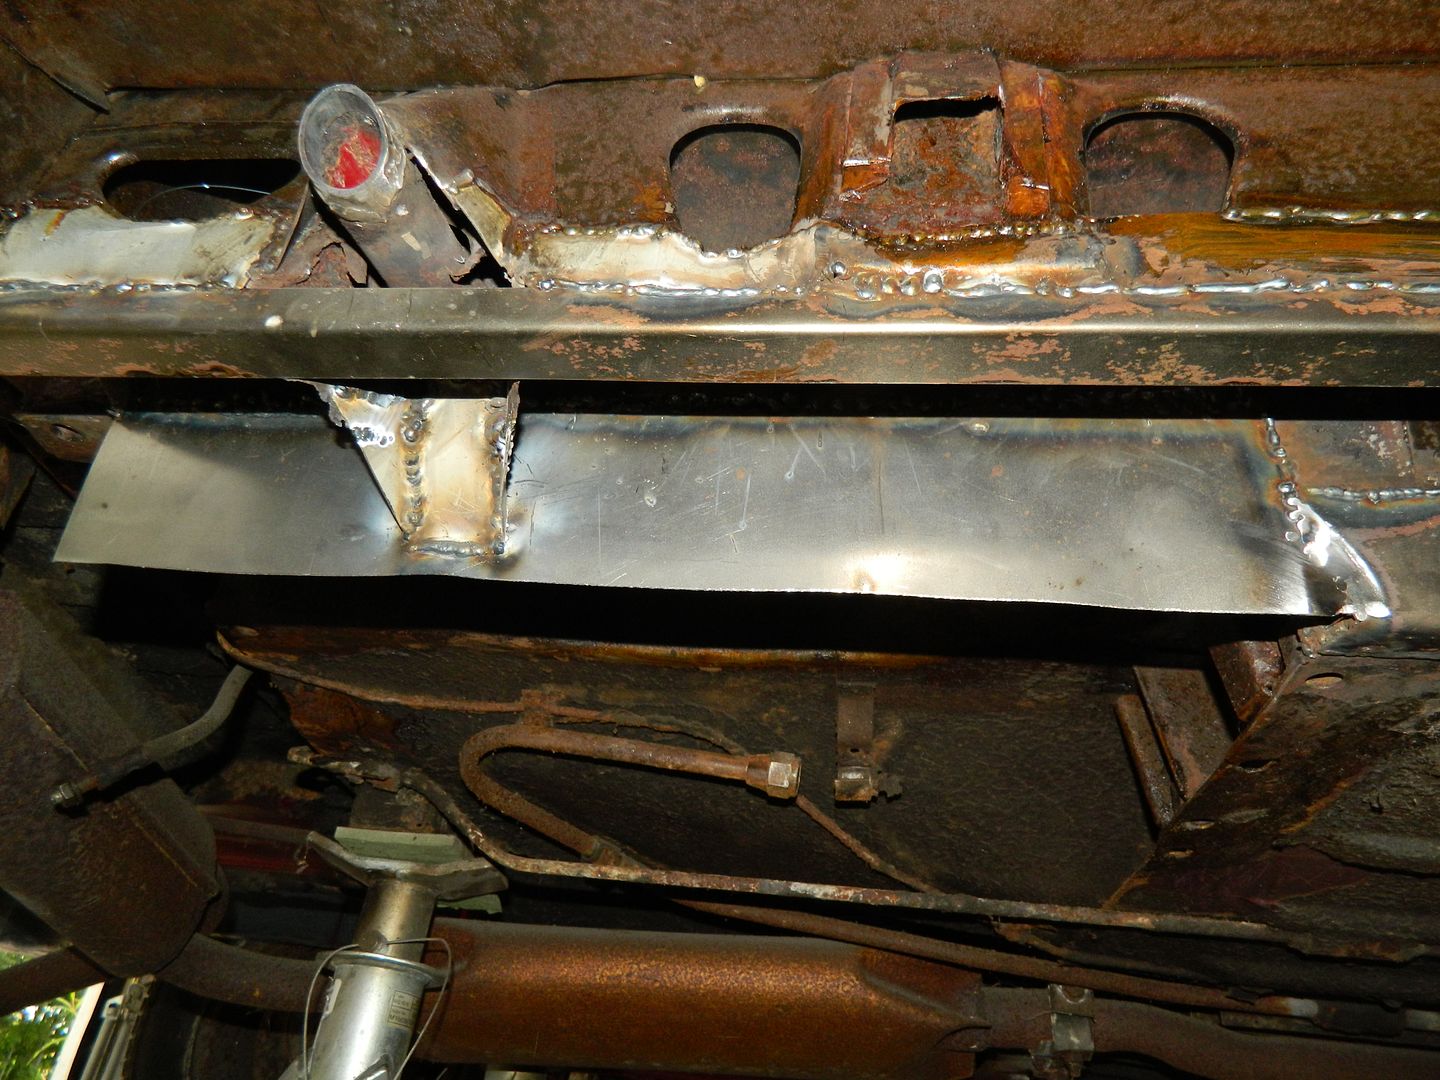 All for today - off to the semi-finals of the Pool League Team Singles Knock-out. Chris. |
|
|
|
Post by Penguin45 on Jul 3, 2014 23:53:17 GMT
To get to the semi-finals, we went 5-1, 5-1, 5-1, 5-1. Last night was 5-1 as well, just not to us. B*gger. The "1" wasn't me either.  Next year....... I started offering up the sill and bottom flange on the car this evening. There seems to be a problem. The sill doesn't quite line up with the jacking points, which suggests a problem with the sill panel as I haven't moved the jacking points. Pattern sill. Looking at the top flange of the new panel, it seems to flare outwards towards the rear. I suspect that some measuring and trimming is required. Additionally, the newly welded drop panel seems to be too short vertically. Not sure what has happened there, as I took a straight edge back along the line of the inner sill. Even allowing for the flange to be welded on the bottom, it's going to be a bit short. Not sure quite what to do. Chop it out and start again is the obvious answer, or perhaps extend the panel downward slightly with a welded strip, but that might finish up a little obvious. Probably get the jacking points sorted first, then deal with the back end. Hmm. Chris. |
|
|
|
Post by Penguin45 on Jul 16, 2014 14:00:28 GMT
A major motivational tool arrived today. 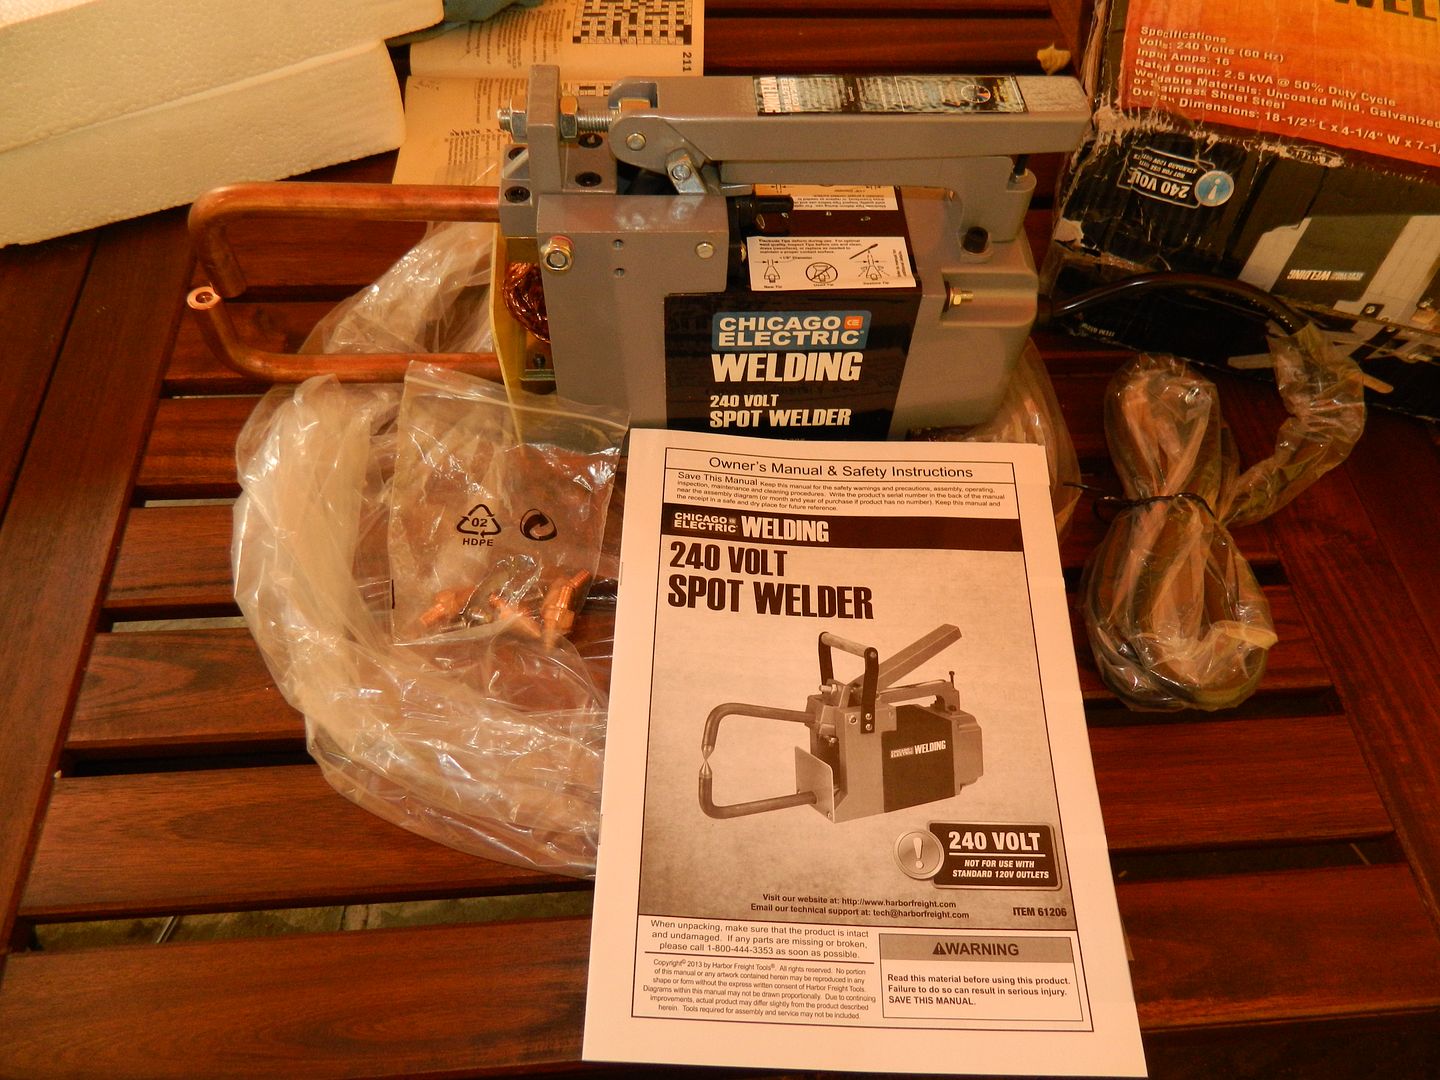 How good is that? All the way from the USA. Still half the price of a UK spotwelder. So - fix washers on the Matiz or play with welder? Fix washers on the Matiz or play with welder? Fix...... MrsP says I'm fixing the washers on the Matiz.  Chris. |
|
|
|
Post by Penguin45 on Aug 21, 2014 23:20:24 GMT
I've managed to get started again with this. Garage has been a bit of a disaster...... The new motor on the compressor and the spot welder both need a 16 amp supply, so some wiring work has been required. I have attempted to do this work myself (in the absence of my sparkie mate  ) and got it wrong somewhere. I knew that this wasn't going to plan when I found that the switch/fuse box for the garage in the cupboard under the stairs had disappeared and been replaced by the boxes for the solar panel control system which was fitted earlier this year. The garage is now on the main switch for the entire house, which is both wrong and illegal according to building regulations. Not happy. So, no compressor and no spot welder. Alan (Sparkie mate no. 2) is going to sort it. Soon. In the meantime, I have now got the flange for the bottom of the sill to attach to welded along the length of the inner sill/floor joint. The sill panel itself has minor issues with the width of the top edge being too wide. This just needs trimming back to fit properly. Slightly more worrying is that the jacking point does not quite align at the rear by about 2mm. I'm tempted to simply open the hole slightly and do some clever welding. I'll get some pics over the next couple of days and try and get things moving again. Chris. |
|
|
|
Post by Penguin45 on Aug 22, 2014 19:51:49 GMT
Chopped away the grotty bit at the bottom of the wheel arch. 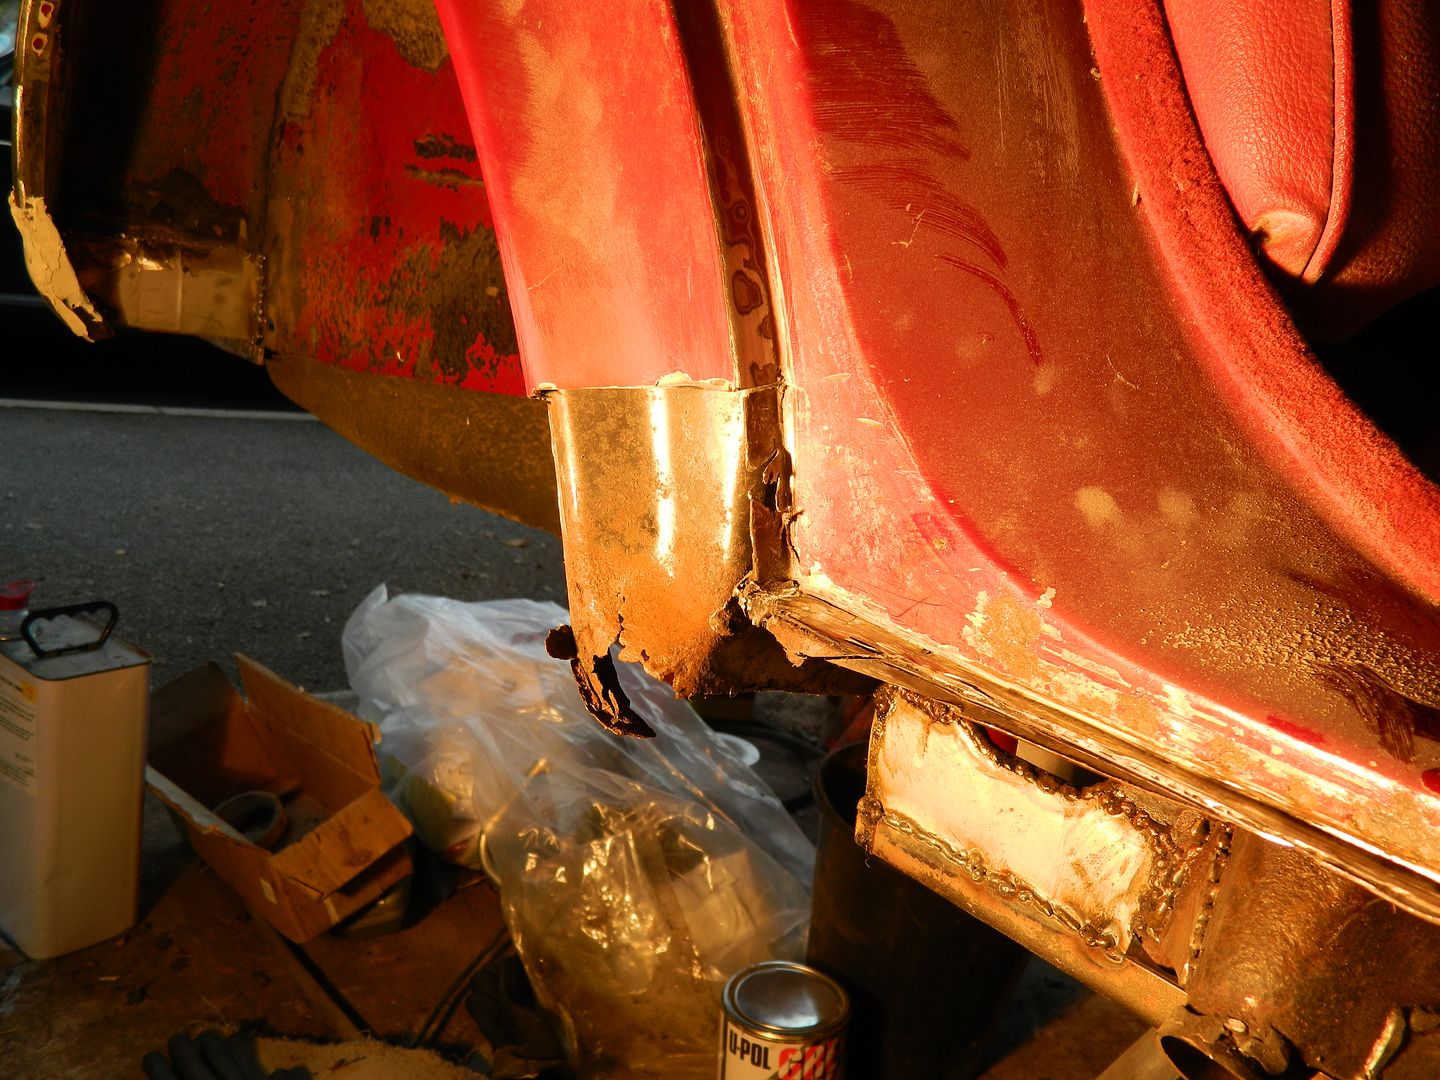 Intended repair section is too short. 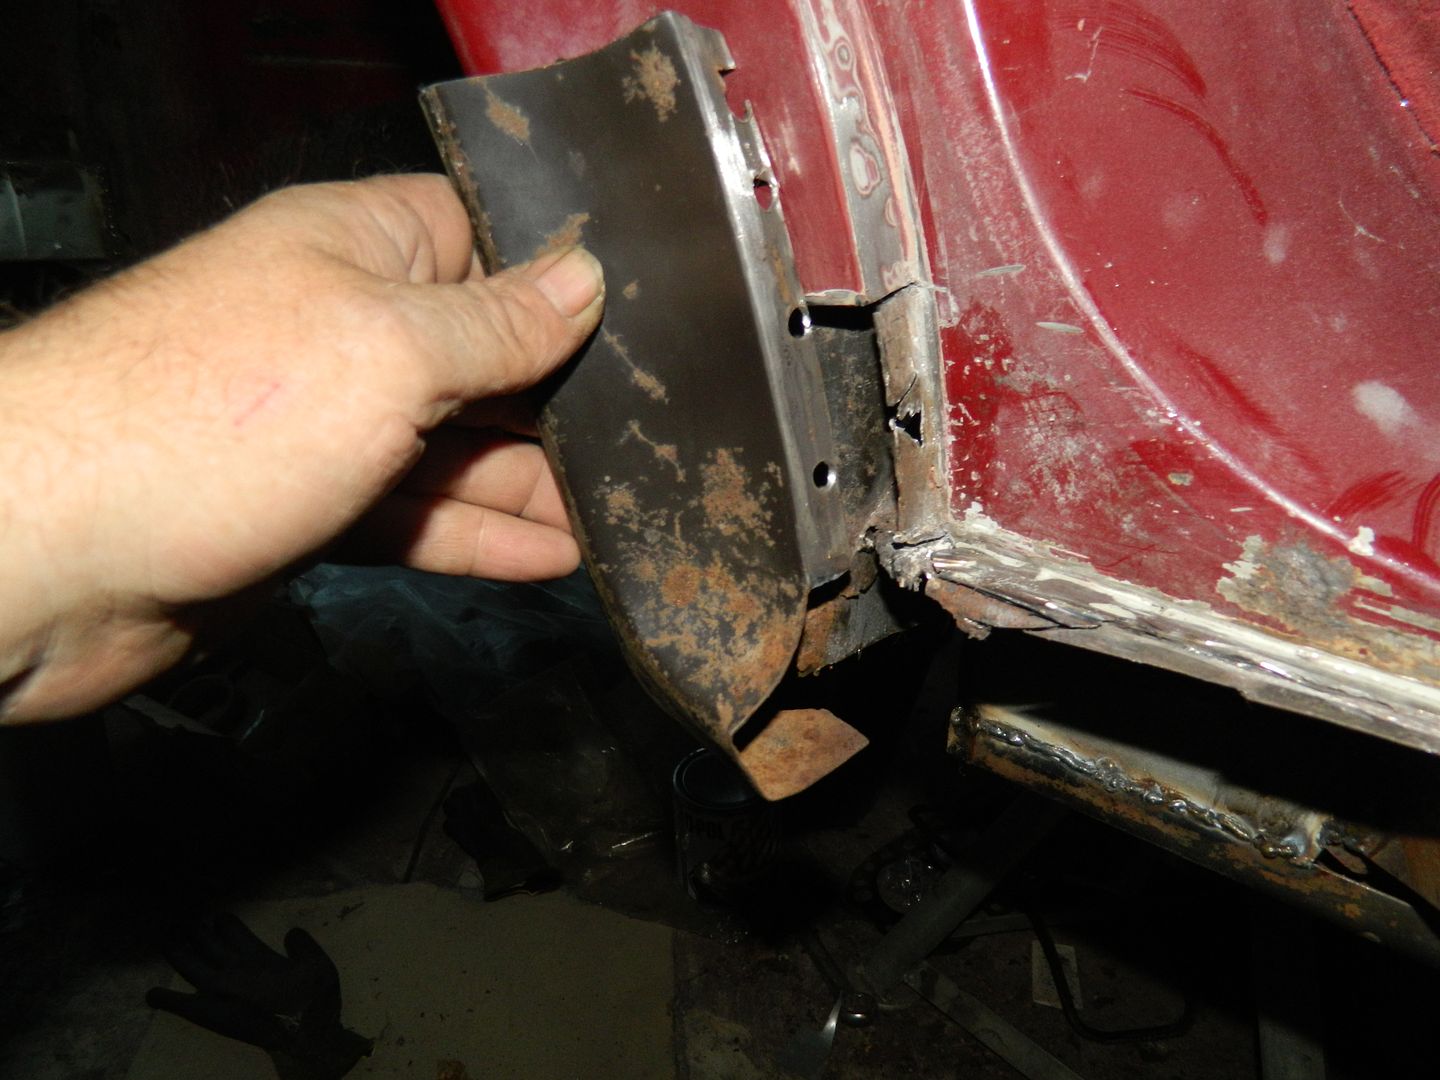 Flange will have to be cut away and the whole thing extended a bit. 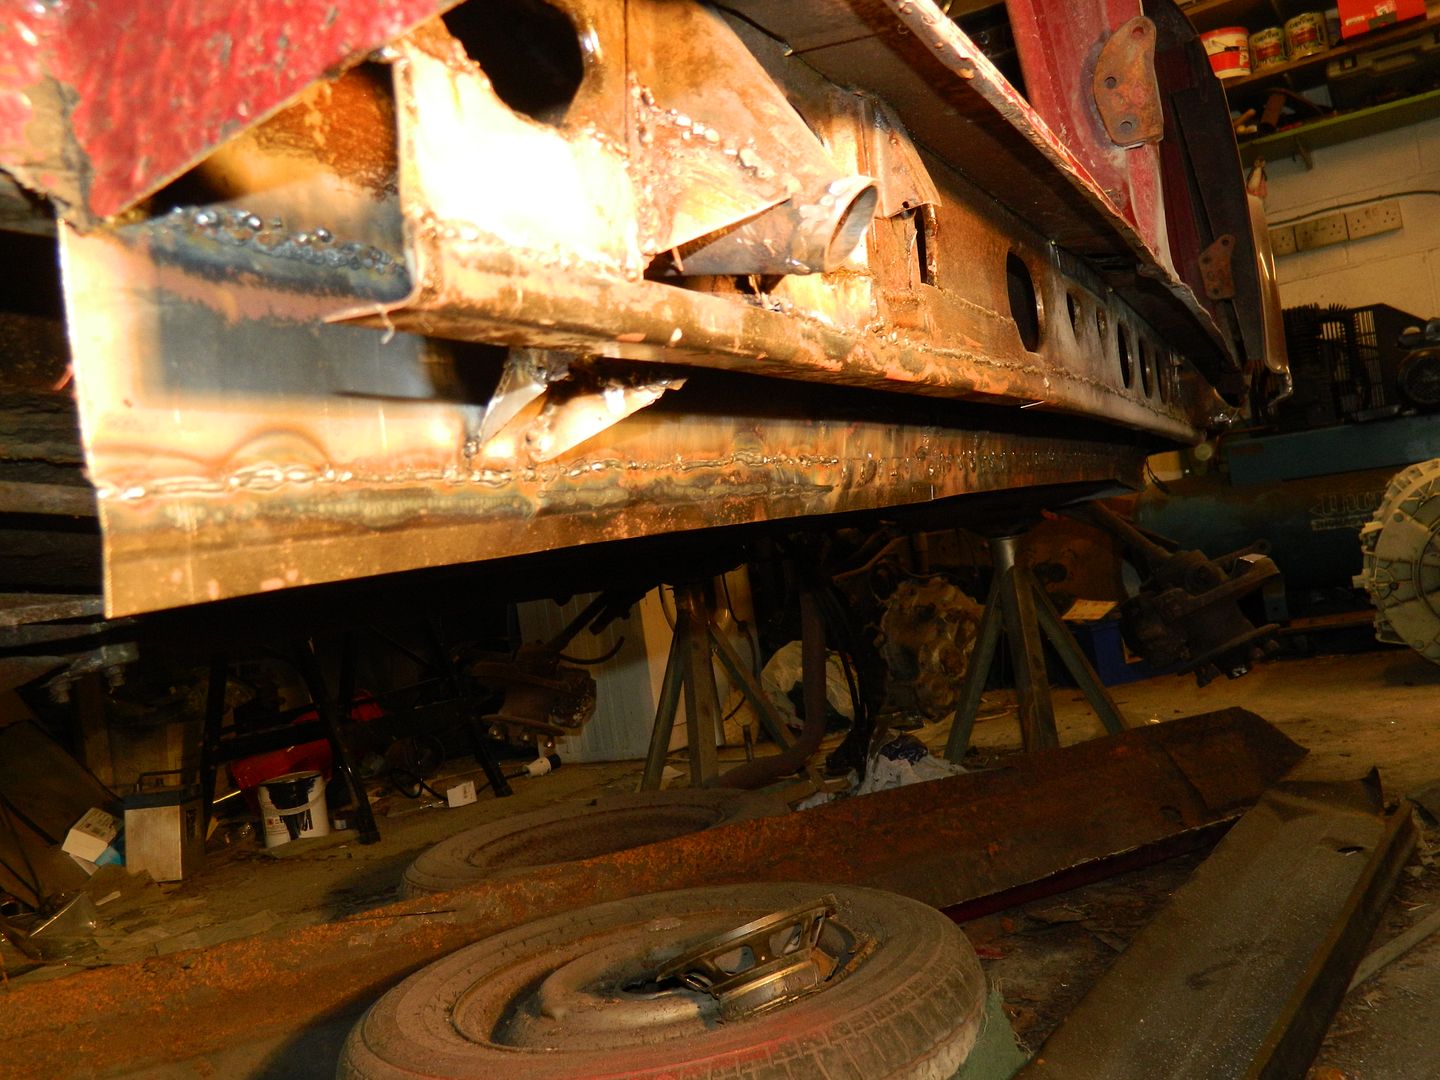 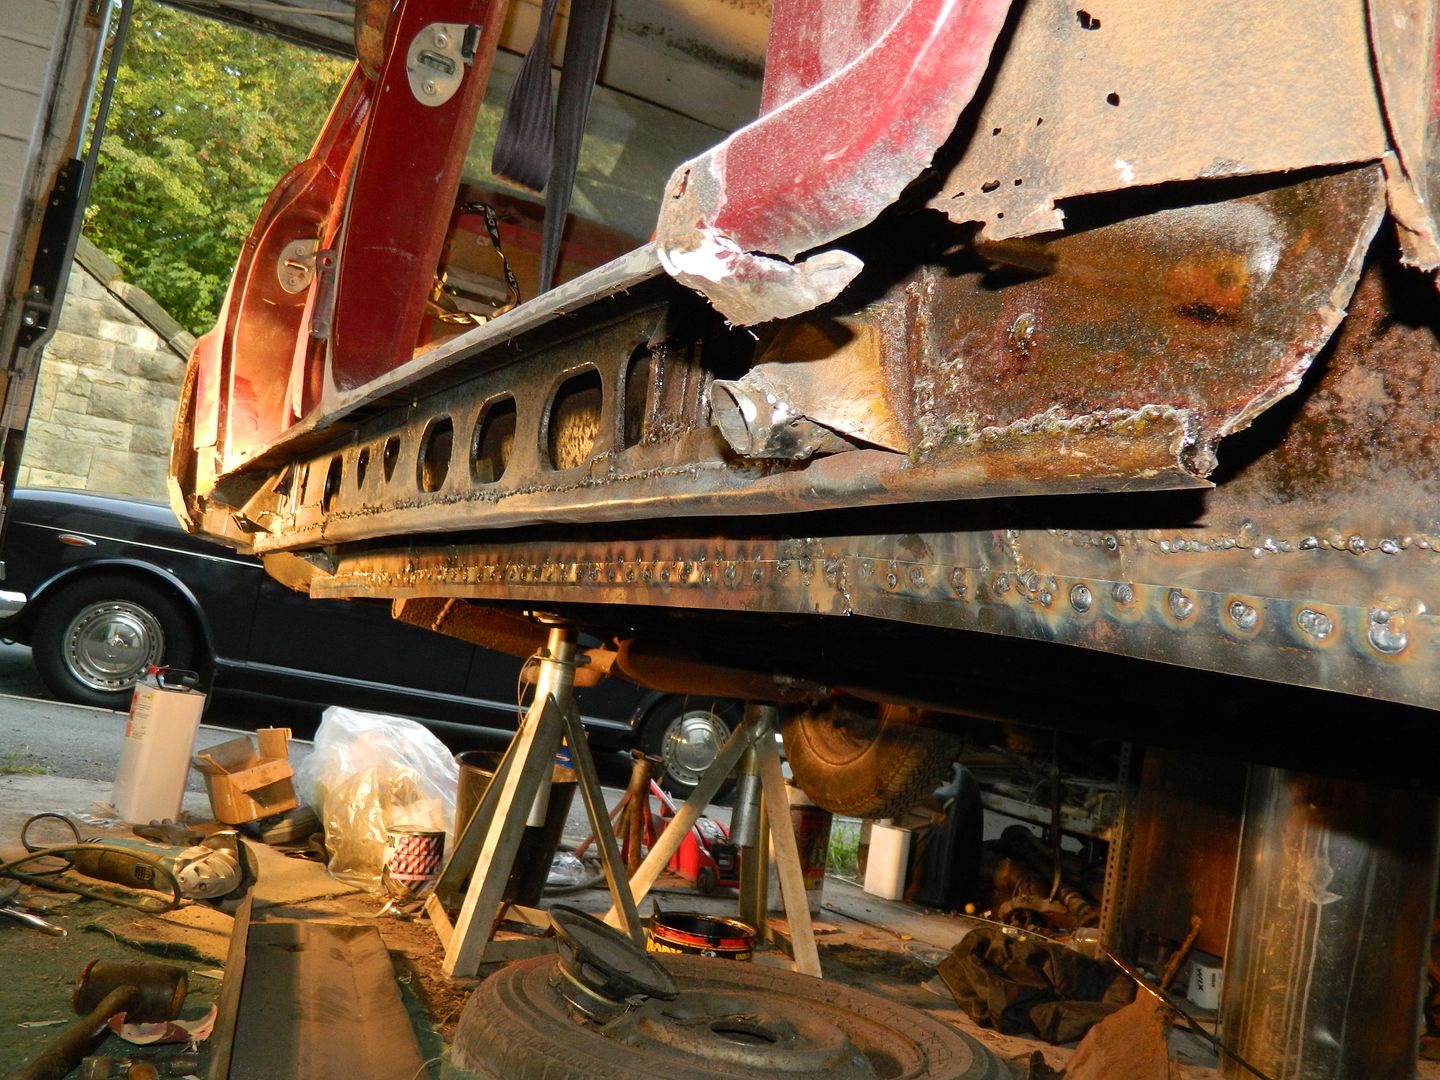 Bottom stepped flange for the sill to weld to is now in place along the full length. Been doing some work on the edge where the top of the sill welds to. There's a LOT of filler coming out. The edge is bent upwards at quite an angle for most of its length. Dressing it back down flat with a hammer and dolly is a most effective way of getting the filler out. I'm hoping that this will improve the overall fit of the sill panel before I have to start improvising. Chris. |
|
|
|
Post by dave1800 on Aug 23, 2014 1:10:35 GMT
Good to see you're back in business; what a headache that car is! I know I've been away for a while, but solar panels in Leeds is amazing. I don't remember seeing the sun there for months on end  David I knew that this wasn't going to plan when I found that the switch/fuse box for the garage in the cupboard under the stairs had disappeared and been replaced by the boxes for the solar panel control system which was fitted earlier this year. Chris. |
|
|
|
Post by Penguin45 on Aug 24, 2014 19:43:47 GMT
Now, now David, we get some quite lovely summers up here. Occasionally  . Today I managed to get started on the last bit of the arch repair. 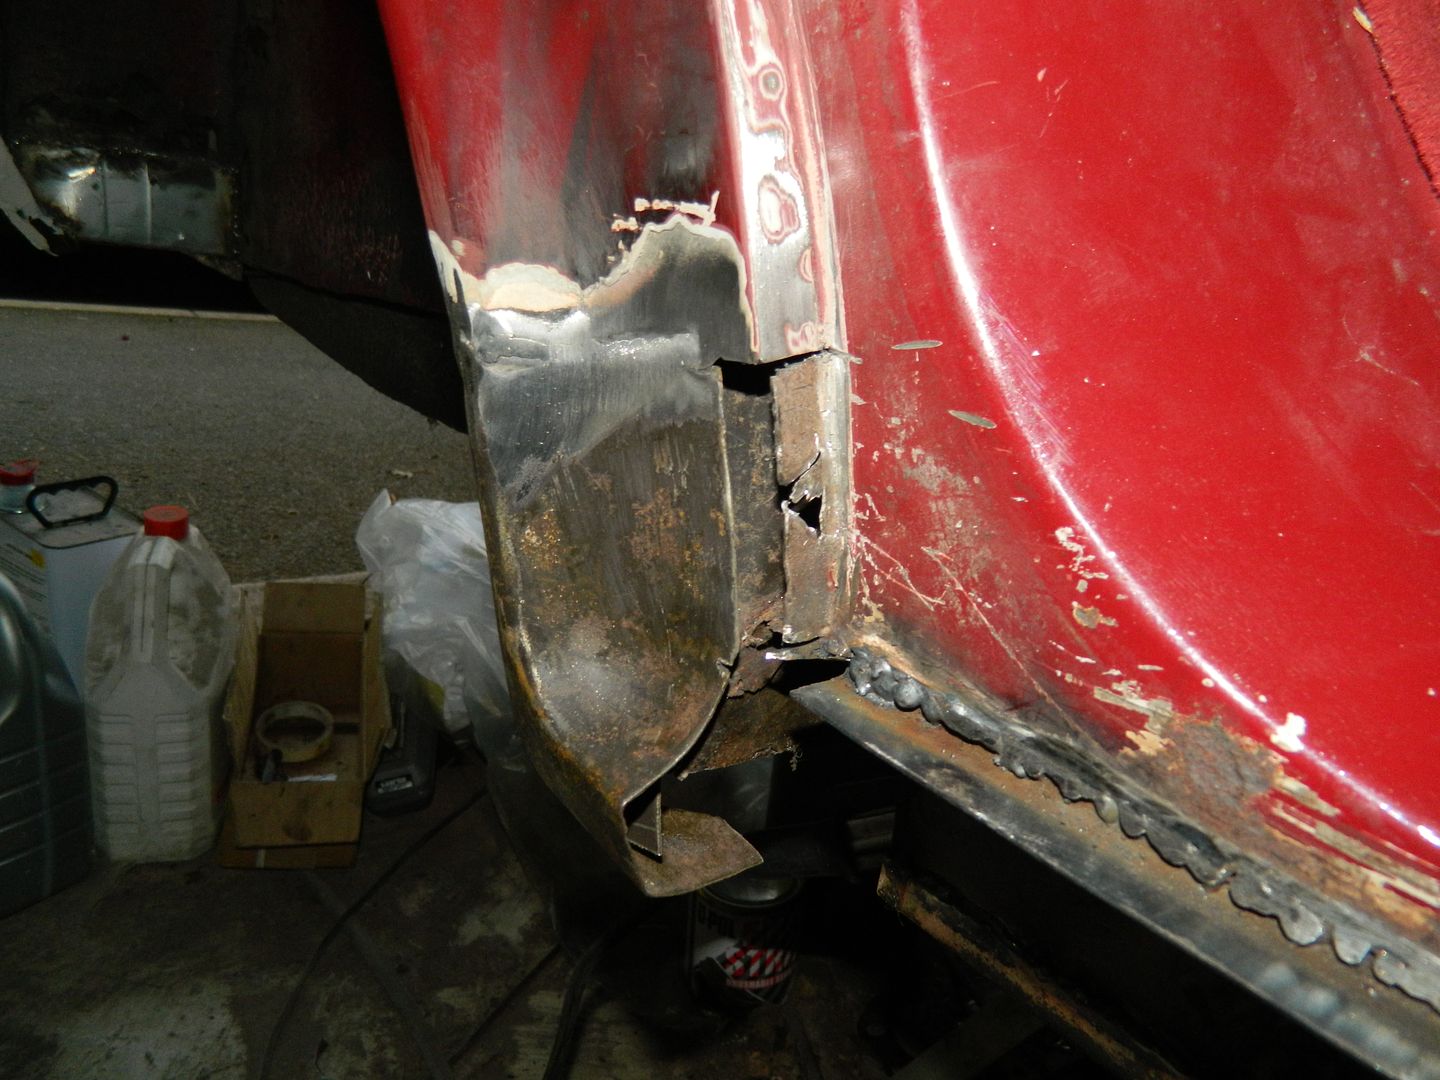 Made up a little repair panel for the inner wing part first, so that the outer part had soemthing to attach to. Couple of plug welds into the rear edge and a delicate butt weld saw it looking fairly tidy. I'll add the extension piece when the sill goes on and gives me the final datum. You can also see the top flange where the top of the sill will attach. After b@uggering about with the original for several hours yesterday whilst trying to persuade the sill panel to fit, today I chopped the whole thing off and made a new one. Fingers crossed it make senough difference. 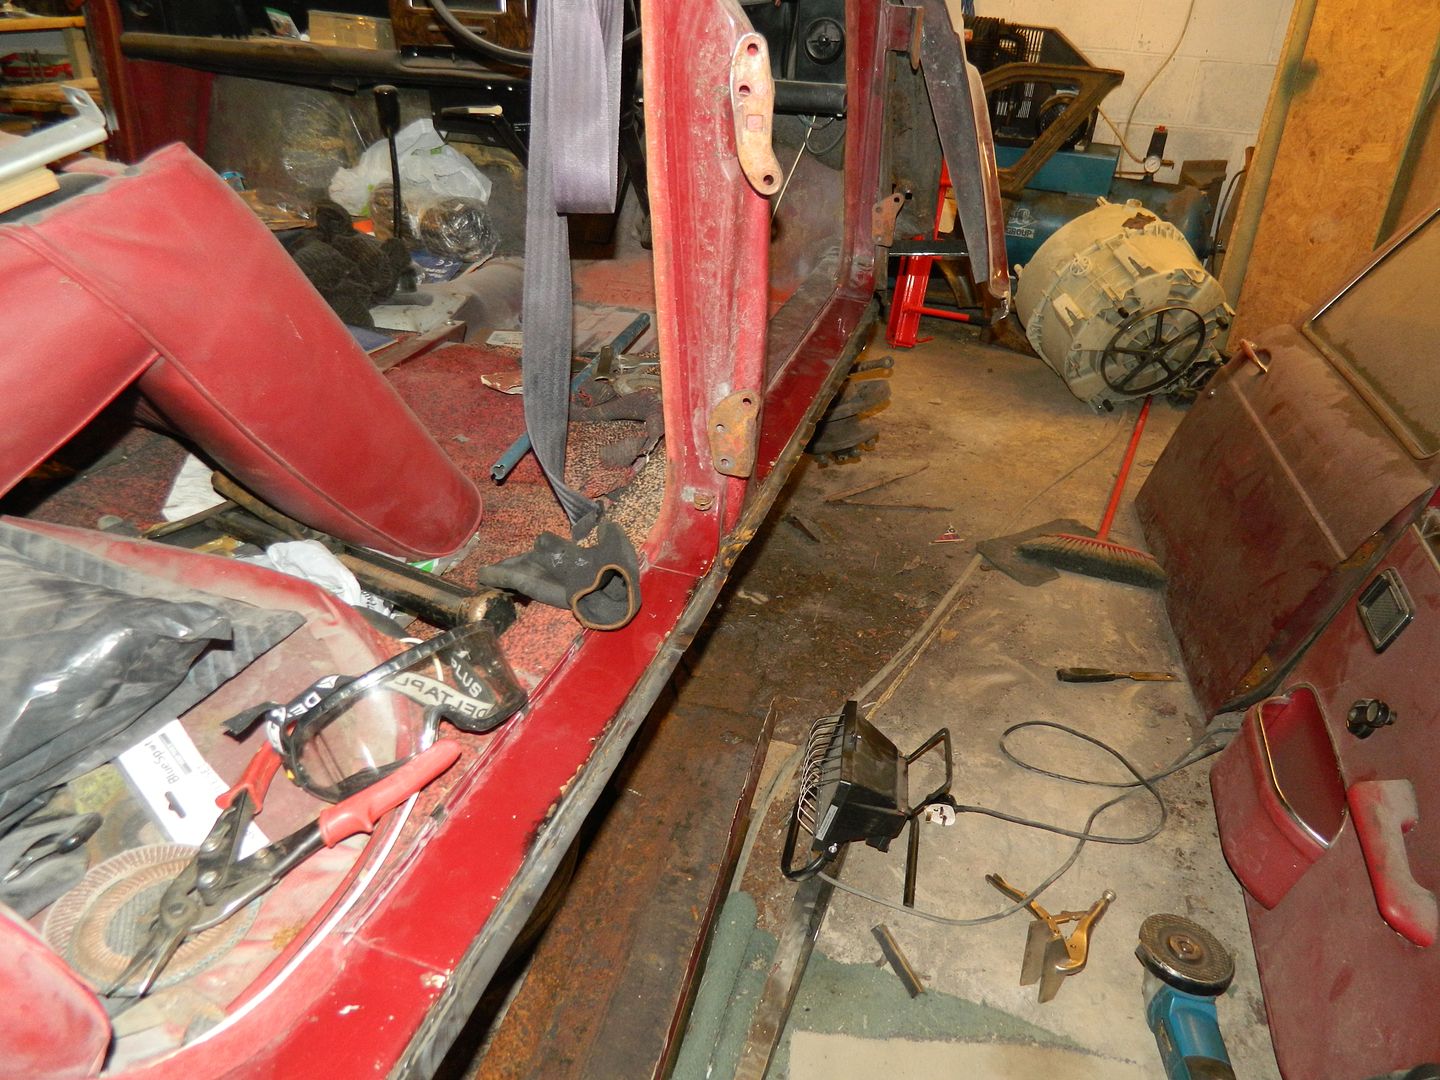 Chris. |
|
|
|
Post by Penguin45 on Aug 25, 2014 12:40:22 GMT
Gorgonzola time: 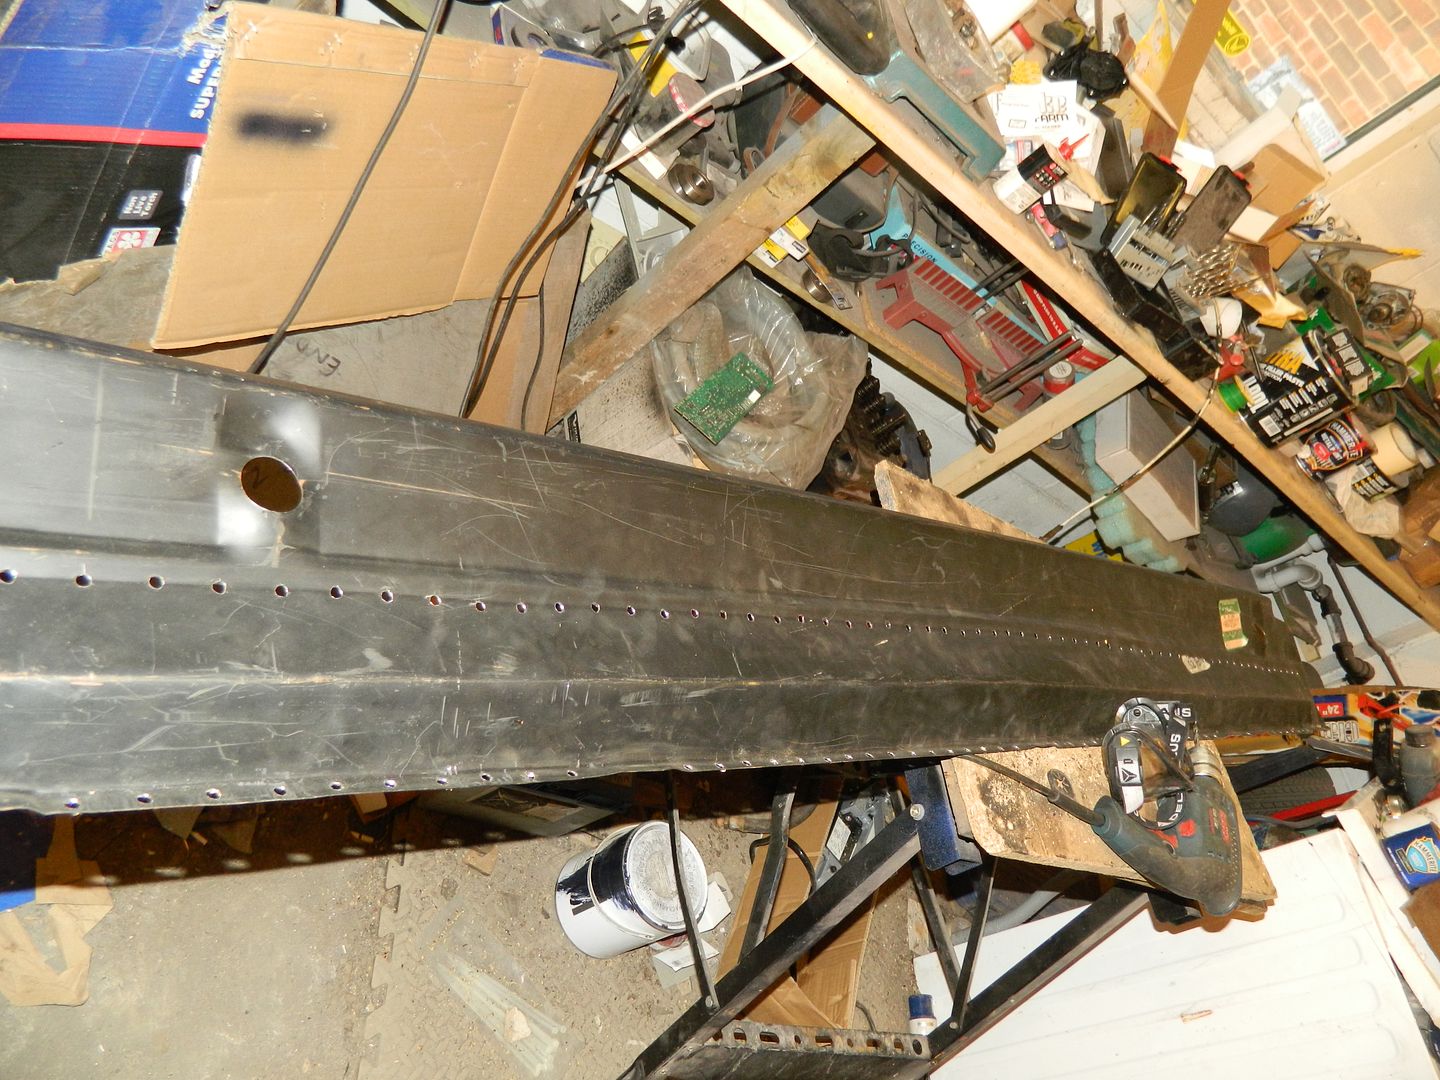 137 holes drilled. The sill will be on by this evening. 137 plug welds and a 6' seam weld - 20 minutes ought to do it.  Later, Chris. |
|
|
|
Post by Penguin45 on Aug 25, 2014 17:41:59 GMT
And - it's on. 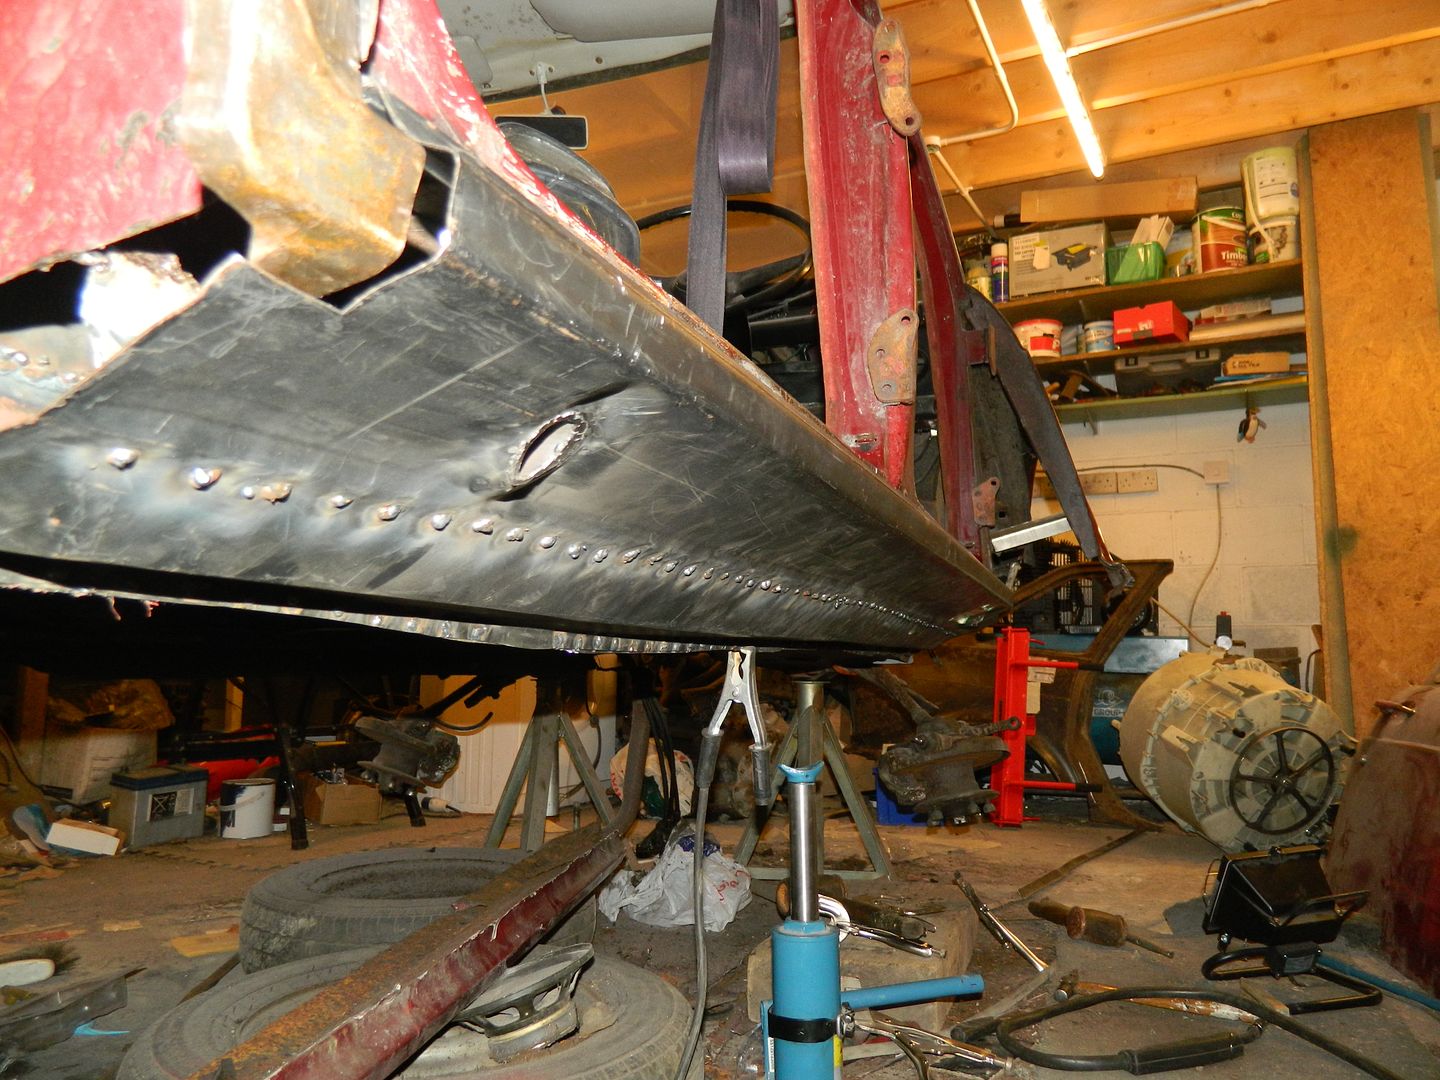 Ain't going to fall off either.  Awful lot of plug welds to flat off though. Pretty much what I wanted to get done this weekend, rather shattered now. Chris. |
|
|
|
Post by tommydp on Aug 25, 2014 20:03:22 GMT
Great work as always, Chris! I really admire your skills with the welder.
I should have invited you for a week up here to sort out my Scania lorry's cabin. That would have been great! I'll supply local beer and Aquavit (Norwegian liquor):-)
Are you about to see the end of the welding soon? What's next? Get her running?
Tommy
|
|
|
|
Post by Penguin45 on Aug 25, 2014 23:47:29 GMT
I've got to make up the closing panels at each end of the sill and weld them home and then we should have structural integrity. That will be a major landmark achieved. I had been losing a bit of confidence with the whole thing, so this is looking like a major boost. There is a bit of repair work required at the bottom of the o/s wing and the "interesting" repairs around the n/s quarter light and that should be it for the structural repairs. Doors and bonnet are going to need some love, but they can wait. Next step is to get the bottom of the car protected, paint the engine bay and then do the brake and petrol lines. I will replace the lot for safety reasons. Then I suppose I need to consider paint. Norway - I've never been to Norway and would love to at some time. It seems to be a most beautiful place. We should organise a forum visit next time David is home. With my fabrication and David's mechanical skills we could get you sorted out in no time, Tommy.  One for the future perhaps - it would be great to meet up. Chris. |
|


 Next year.......

 ) and got it wrong somewhere. I knew that this wasn't going to plan when I found that the switch/fuse box for the garage in the cupboard under the stairs had disappeared and been replaced by the boxes for the solar panel control system which was fitted earlier this year. The garage is now on the main switch for the entire house, which is both wrong and illegal according to building regulations. Not happy.


 .
.


