Hi Nick
I understand the Oz final drive units were lower geared than those fitted to the Mk11 UK cars. I imagine you are working with Australian gearboxes and wonder how difficult it would be to fit a UK spec diff?
David
Yes I am working on only Australian gearboxes David. They seem to have the alternate final drive ratio listed in the WM. I think the standard ratio would fit no problem, like the UK cars use. I don't think the gearbox casting is different between Oz unit and UK version that I can see. Well I hope not, as I need to talk Dad through replacing the gaskets. I have made up an identical set to make sure they will work when he does it! I didn't really intend to do any diff work on my Oz car. As you know the diff washer problem with the car is a bit of a surprise.
I received a couple of sets of new washers from an Australian MGB parts supplier that I ordered. They are even the same part number as the crab ones. I have a set of fiber originals and a set of brass over sized washers now.
Here is where I am up to so far.
First I made a case separator, so I could lever the diff cover off without damaging the surfaces see below
Sorry I forgot to take a photo when I actually used the separator to get the cover off!
I removed the diff, took off the gear from the original diff and fitted it to the auto diff. The auto diff is the same apart from the gear and fits the gearbox no problem. I have now cleaning it up and replaced the washers.
First job for this was to mark the parts so I had a chance to get them back where they came from and meshing in the same spot. I would advise this but it may not actually be necessary.
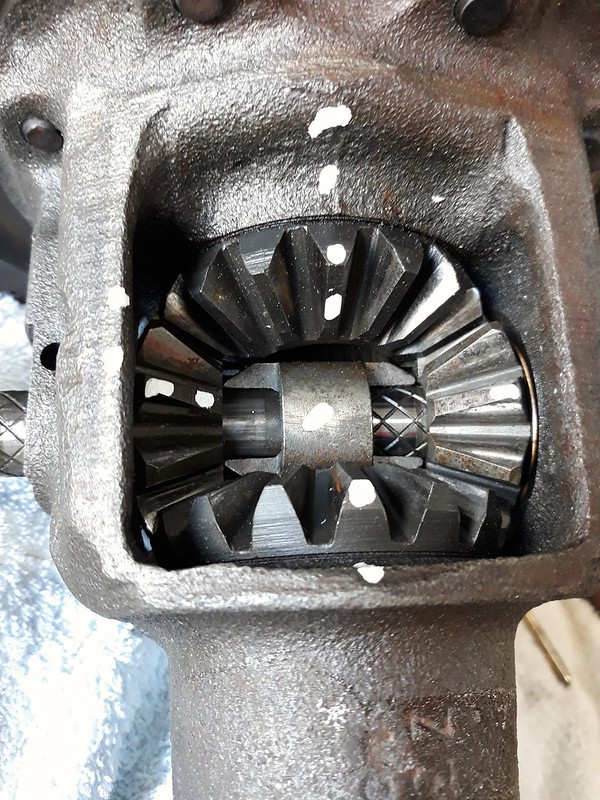
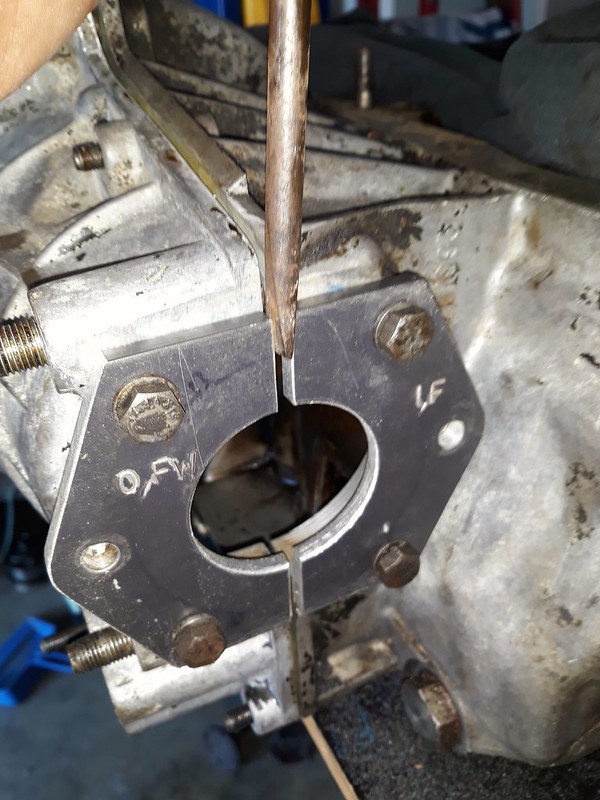
Second job with a suitable drift, knock the fixing pegs for the pinion pin out sufficiently but not all the way. see photo
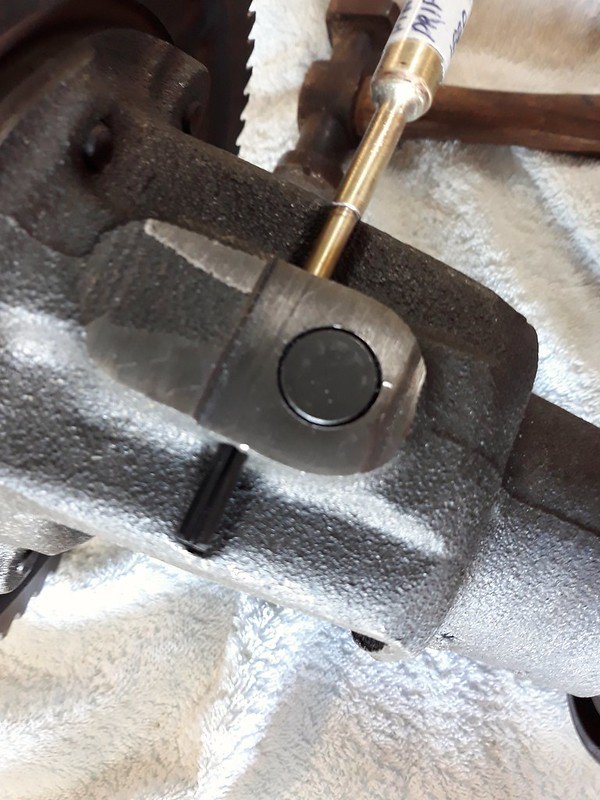
Then knock out the pinion pin
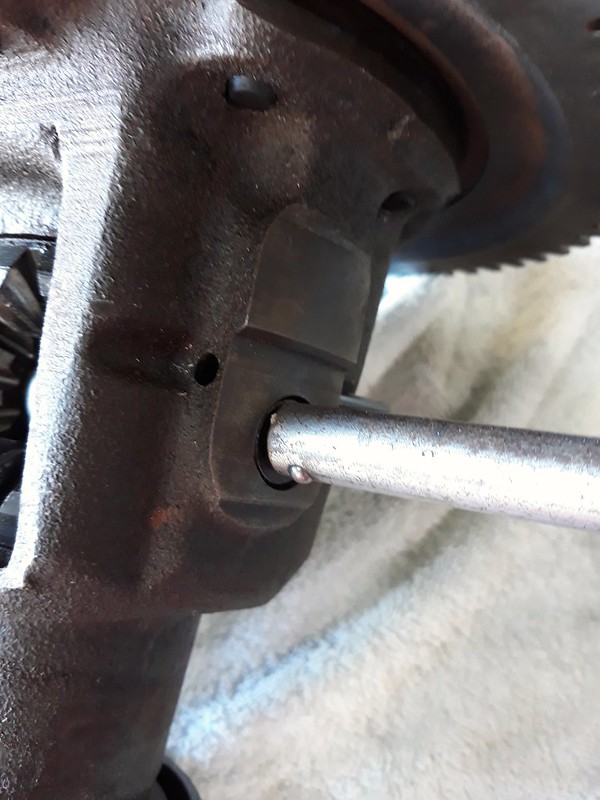
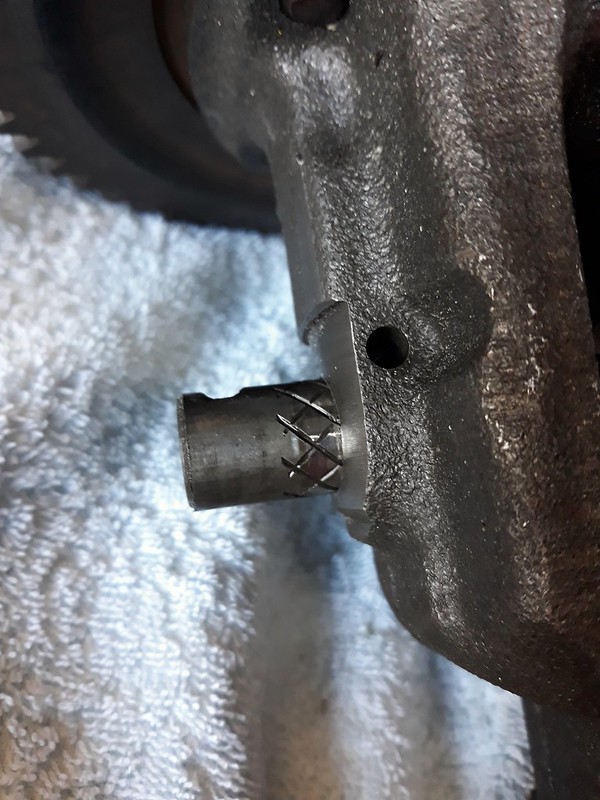
Beware that once you get the pinion pin out far enough, be ready to catch the little distance piece as it will fall out! When you mark it, instead of putting a dot like I did, its a good idea to put an arrow on it! If you drop it like I did, you may not be able to work out the original orientation! I had a photo luckily! Also mark the end of the pinion pin so it goes in the same way round. Not shown in the photo.
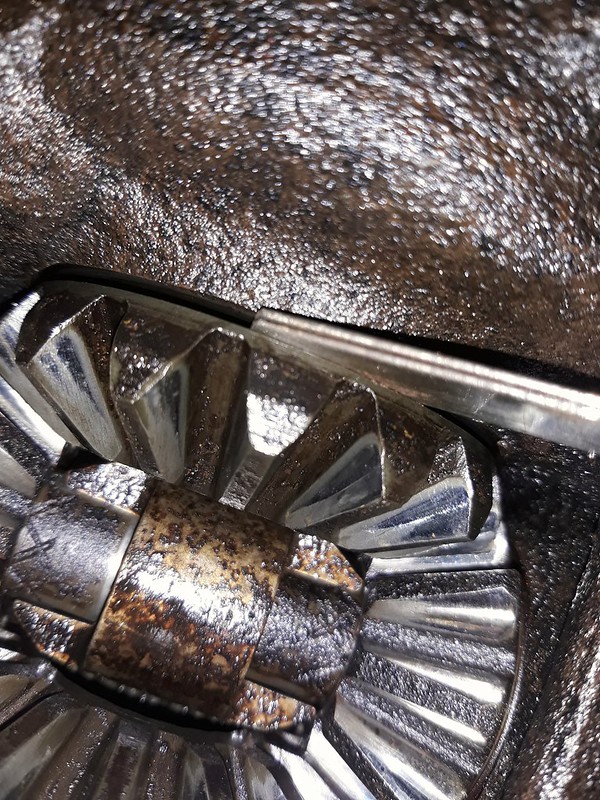
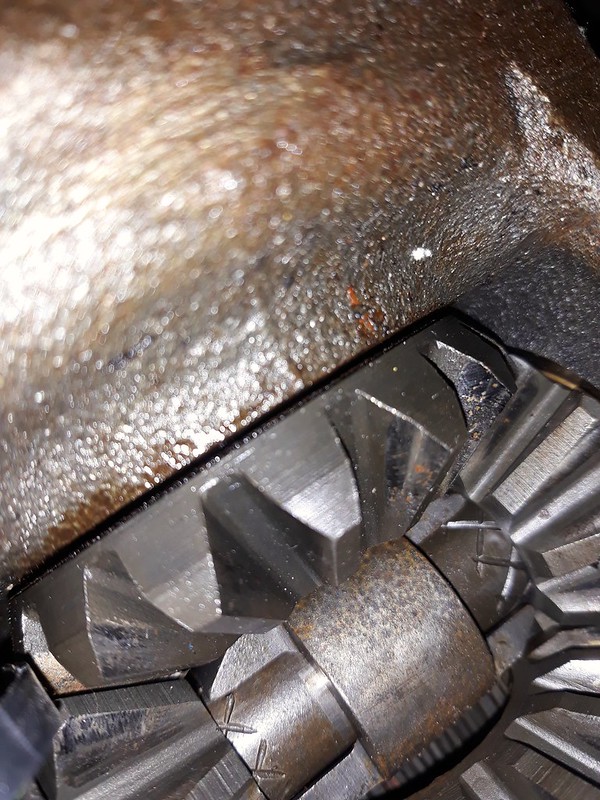
The gears come out by rotating them like this. Again take care as the bottom gear will fall out once you rotate it sufficiently.
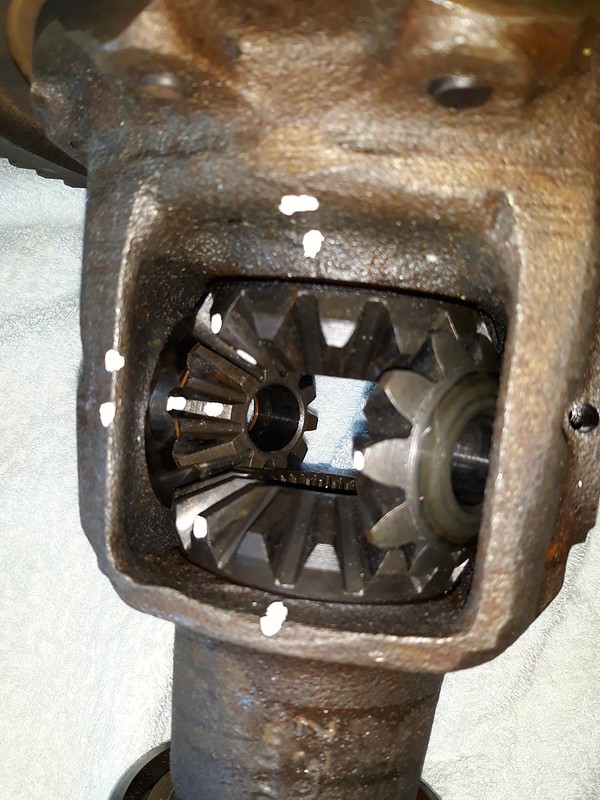
Get ready to catch the bottom gear before you get to this point!
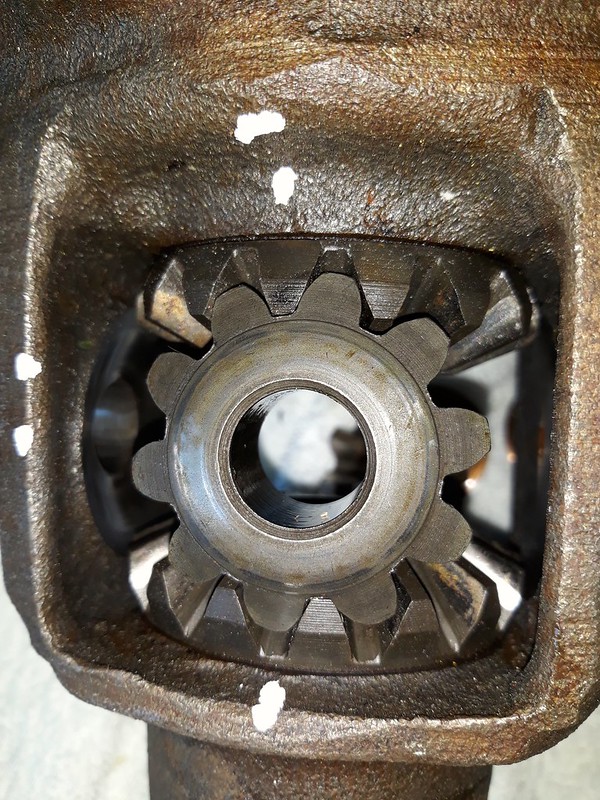
With the picture above if I do another diff, before removing the gear at this point, put some marks on the teeth with paint or something suitable, so that when you come to reassemble, you will be able return all the gears to this exact position. I didn't think of it at the time, but your first set of marks are not visible until you rotate the gears back in to position. If you mark here as well, you will only need one shot at rotating the gears back in the correct position. Which you can check with the first set of marks. Otherwise you will have to have several goes as I did to get it all to line up! Note the brass washer has stayed where it was and not rotated with the gear shown at the top. It is therefore not visible in the picture above. When reassembling you will have to help it go back round with the gear.
Now remove the other bits and replace the washers
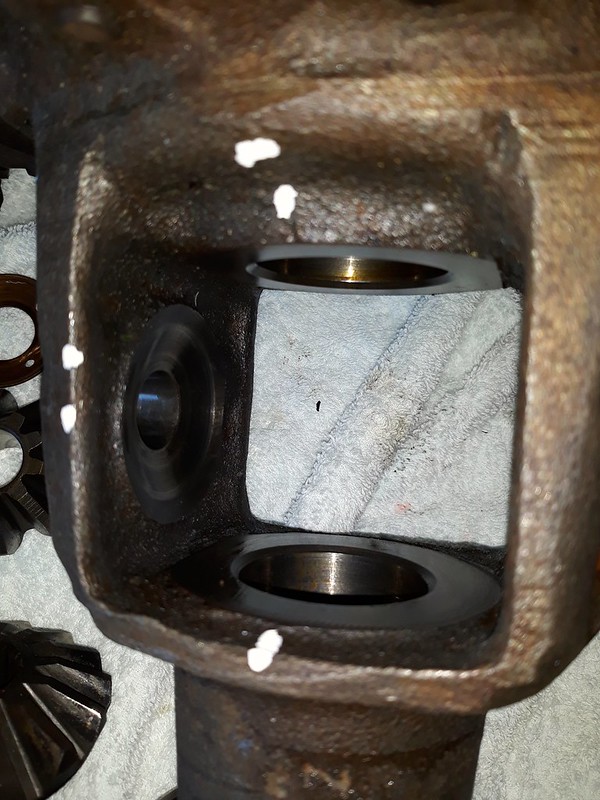
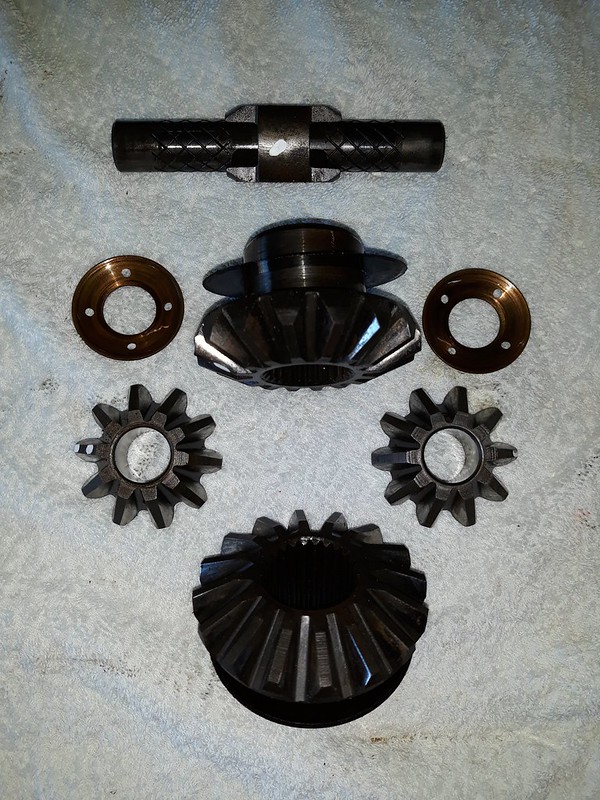
All the bits
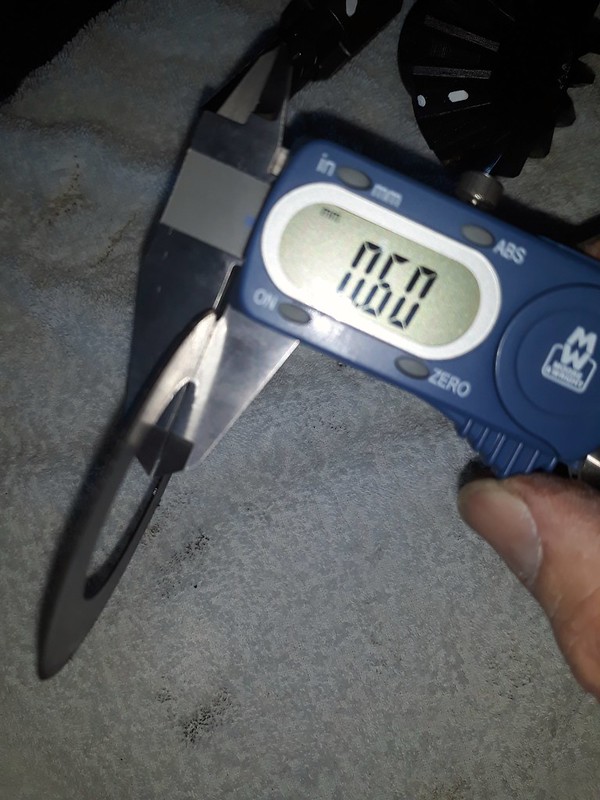
Below is the washer nearest the crown gear that was difficult to see and thinker than I thought it would be
The other end barely worn. A new washer was 0.91mm
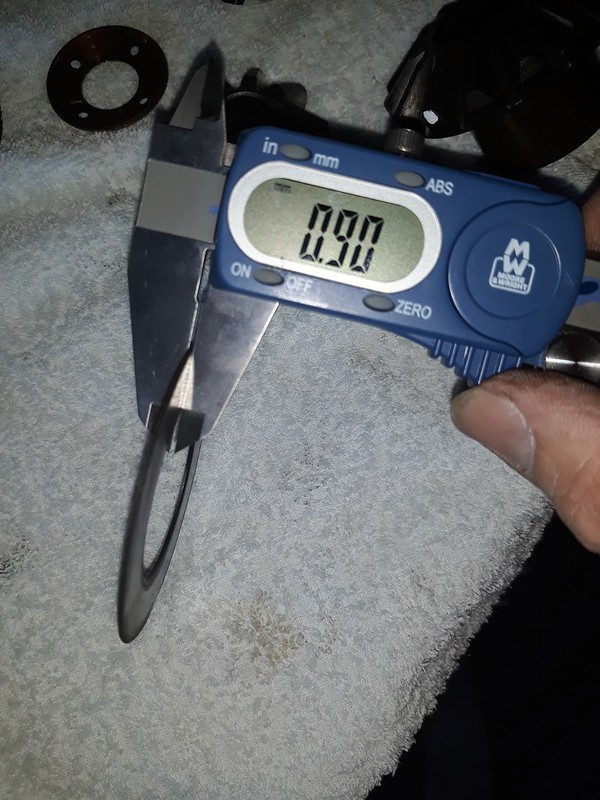
So we can see from this which end does all the work. Also the diff bearing on the gear side of the diff is more worn and has been slipping on the inner race. I will have to use some special thread lock to keep it still. That is for next time though.
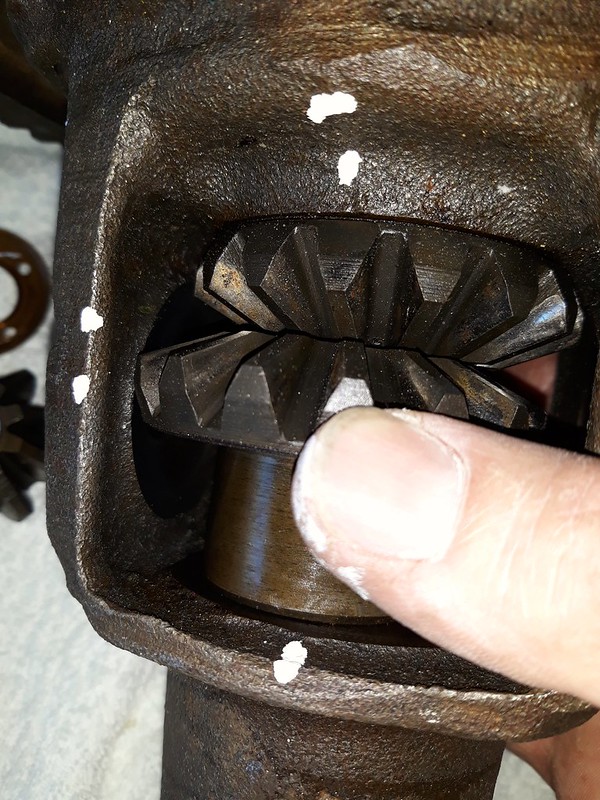
This picture is important when you come to reassemble in the reverse order. Make sure you put your finger in as shown or look to make sure the brass washer and gear line up with the hole, before you try to drift the pinion pin back into the diff housing !!! This is the washer I was saying before that you need to help go round into position. It is a curved washer to fit the curve on the back of the gear.
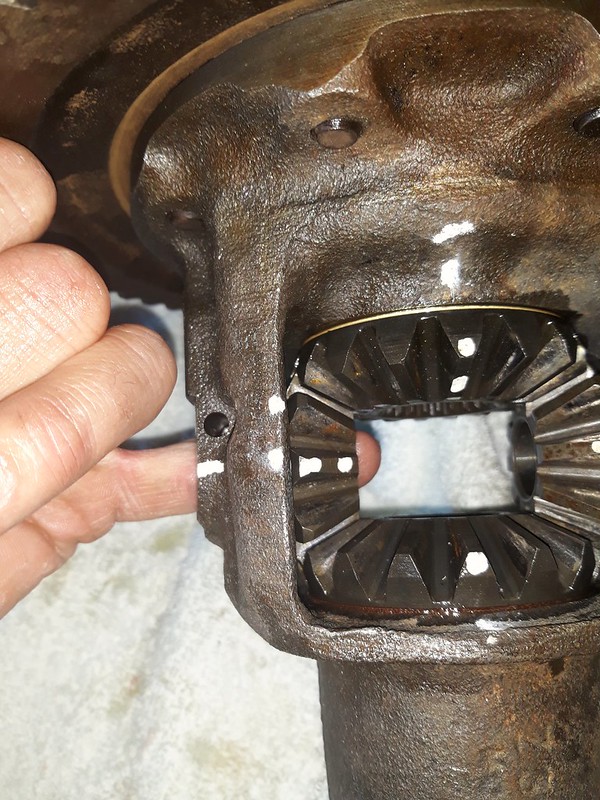
Here it is back together with hardly any play. Note that I have used one fiber washer and one thicker brass washer which is 0.99mm. I am taking a gamble with this and I would probably advise that you use two fiber washers, until such time as I can confirm it was a good idea! The thinking is the brass washer will be a bit tougher on the most worked side!!!
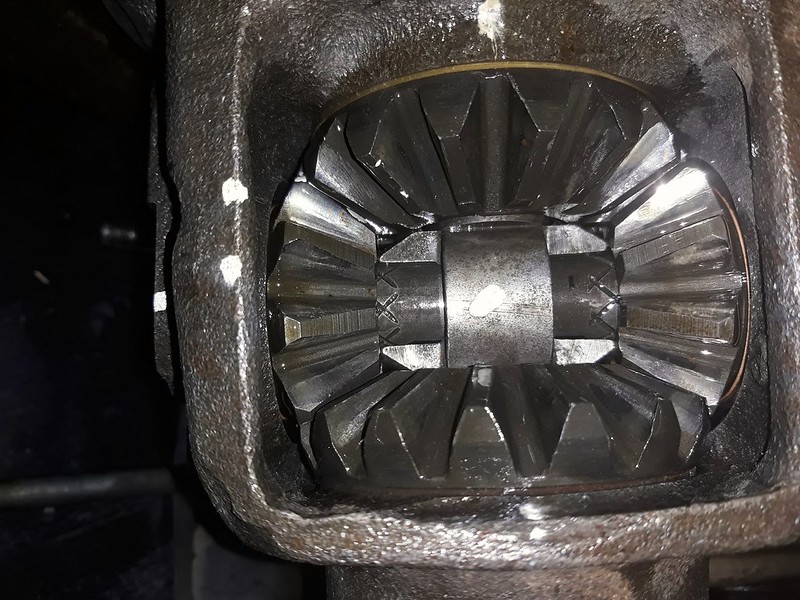
One of the little curved brass washers is just visible on the Right side in this picture above
More to follow. Wish me luck with the Diff preload!!
Nick

