|
|
Post by salcomine on Jun 4, 2017 1:23:43 GMT
I have read your threads about sill replacement. It seems pretty straightforward, atleast until I see what's underneath. Getting the new sill seems to be the hardest part for me. For yours did our fab up the new sills?
Thanks
Robyn
|
|
|
|
Post by salcomine on Jun 2, 2017 2:36:31 GMT
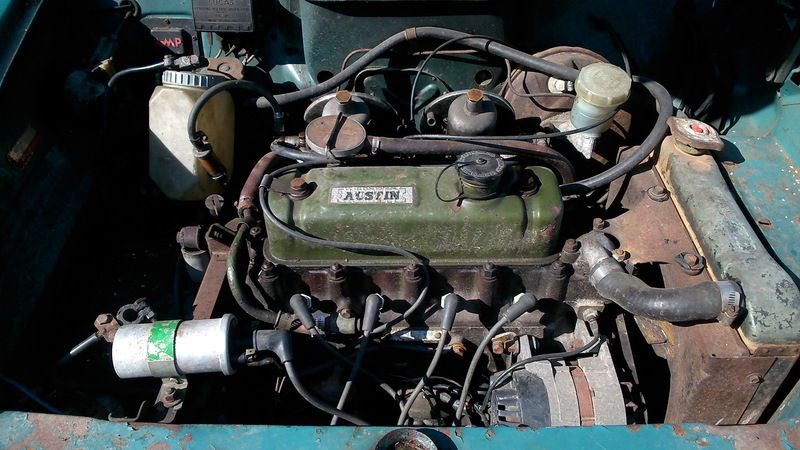 Engine bay 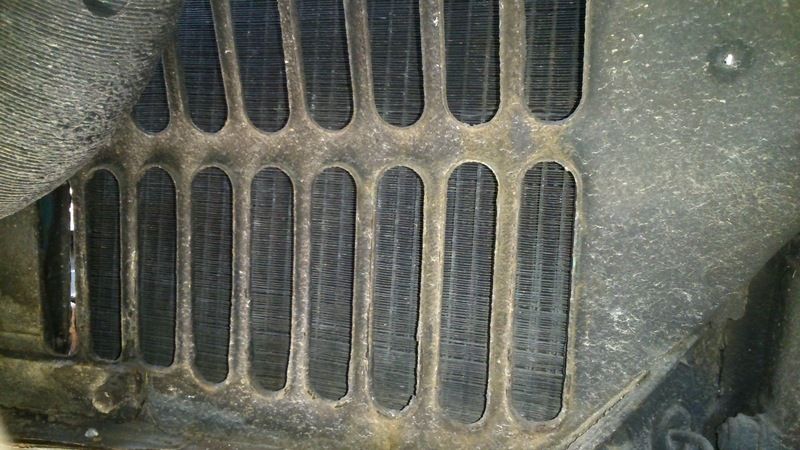 rad side wall 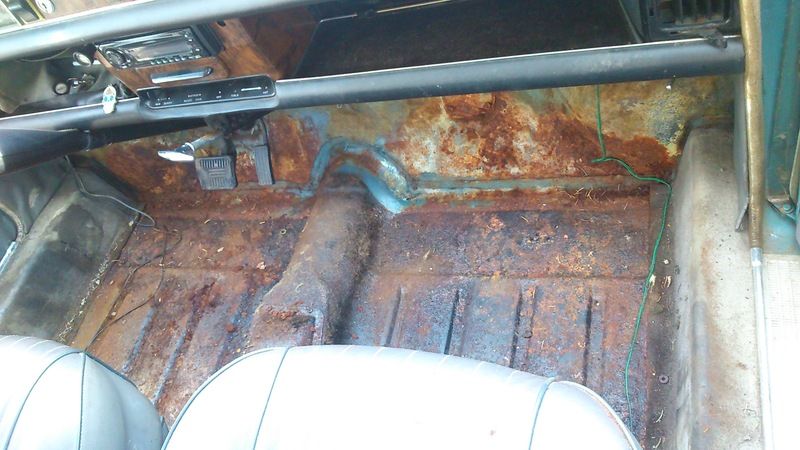 interior I removed the carpets and tried pretty hard to poke holes but couldn't find anything thin enough to break through. The carpets are pretty thoroughly rotten, basically peeled apart  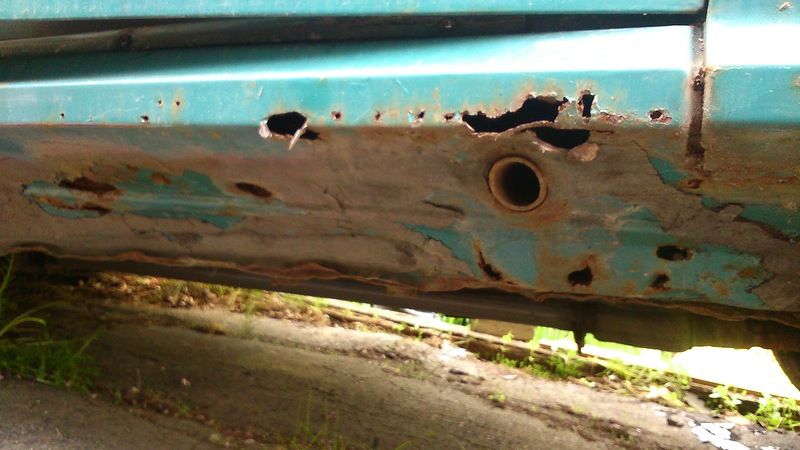 Right side bottom sill this was about as much damage as I could do with a screwdriver. Looks like there is some damage where the sill joins at the bottom 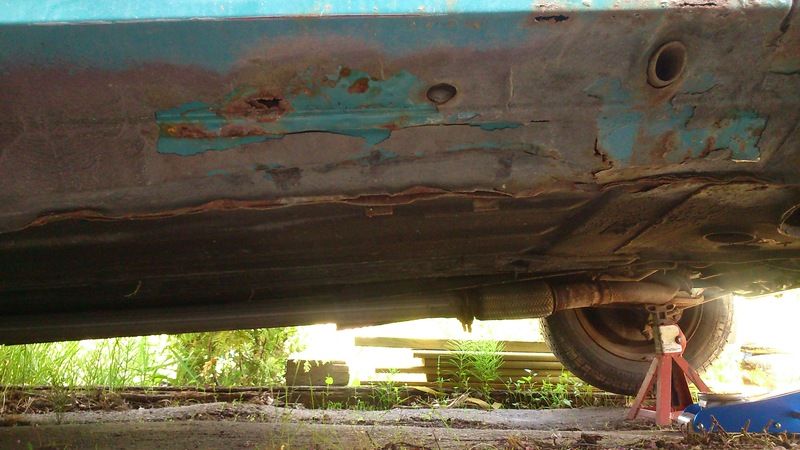 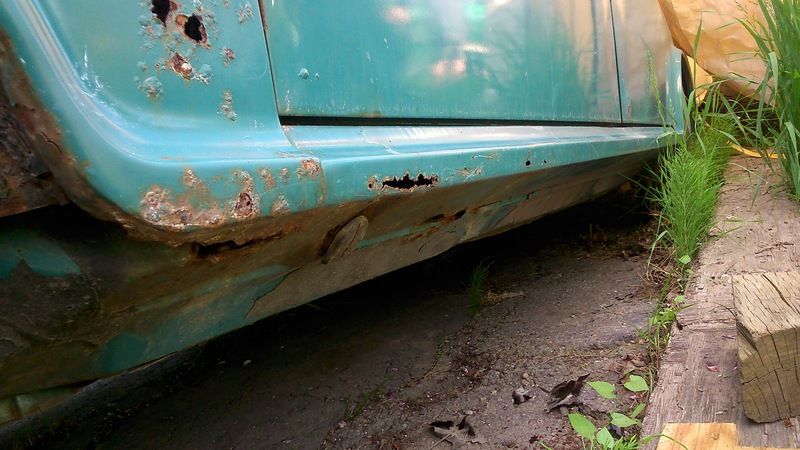 Left side bottom sill I was a little more gentle poking at this side 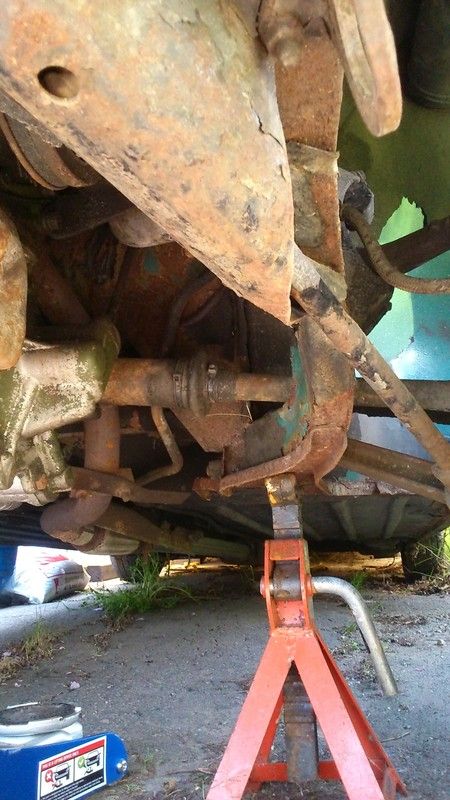 Left tie rod housing 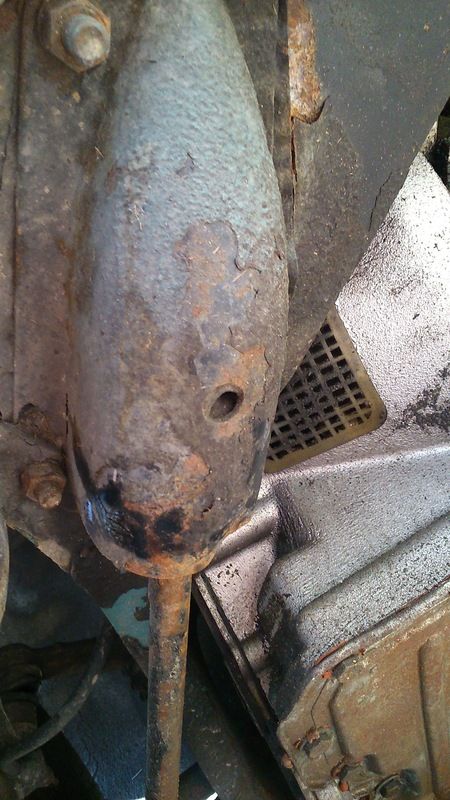 Right tie rod housing 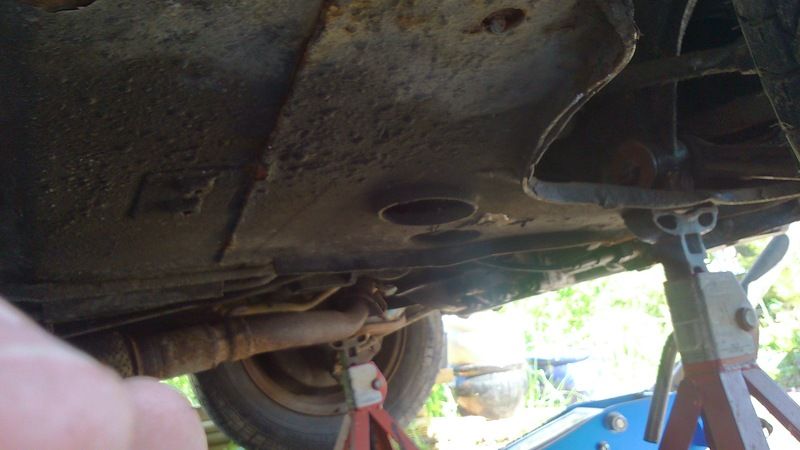 Hopefully decent place top put the jacks, seemed the meaty enough 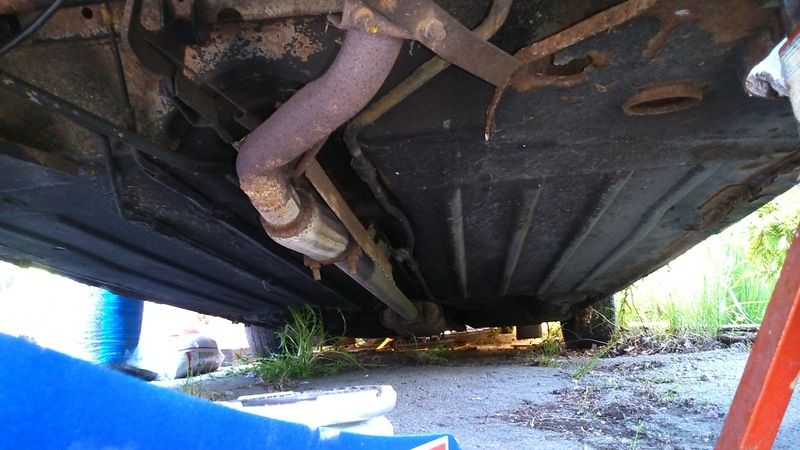 The car was undercoated and it seems to have worked as the only major rust I have found so far is where the coating was damaged. This weekend I think I'll check out the rear body work then maybe starting to clean off some of the undercoating. Thanks |
|
|
|
Post by salcomine on May 29, 2017 0:00:18 GMT
Getting time for crabs. Just got the front end of the green/blue/turquoise?? one up on Jacks to look underneath and I'm not mortified, so thats good. Pictures later.
Thanks
|
|
|
|
Post by salcomine on May 21, 2017 9:18:00 GMT
Hi, I have been lurking here for a while and its time I started getting to working on my cars. Maybe posting here will help me get on with it. My wife and I were looking for a project after my son was born. She wants to learn to paint cars and I need to get better at welding so we bought this car. 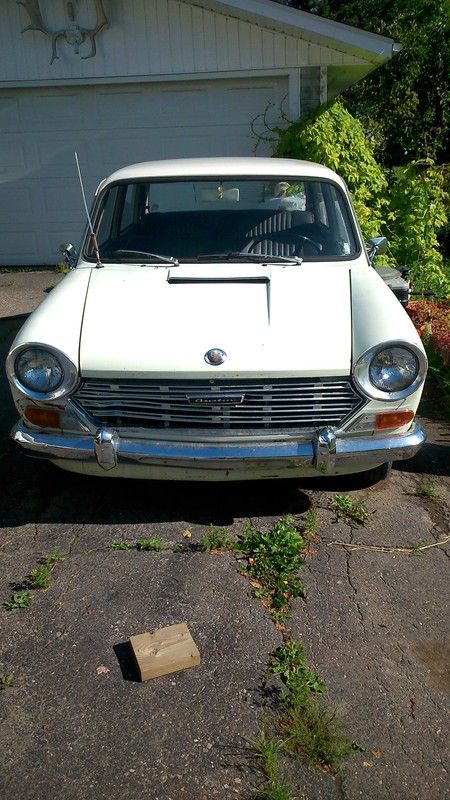 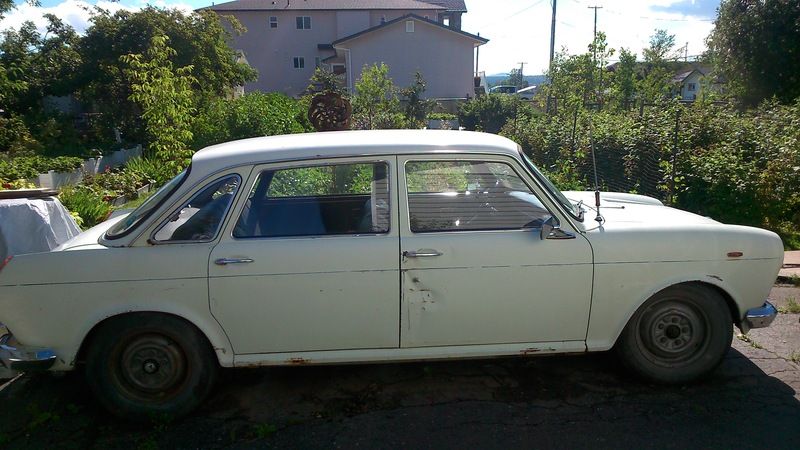 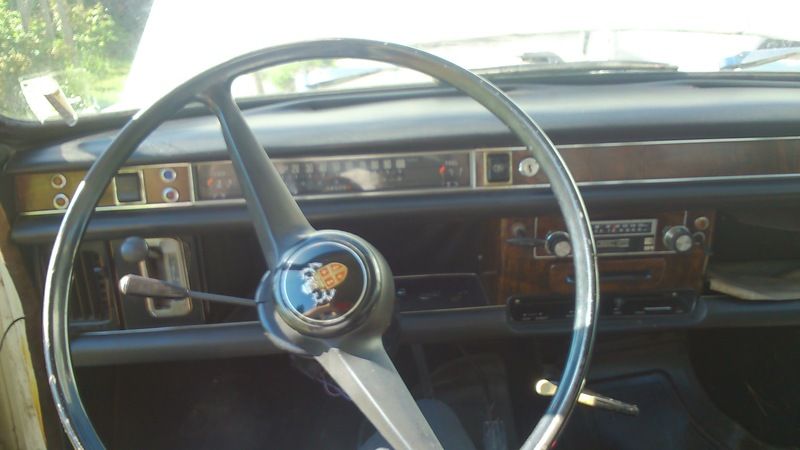 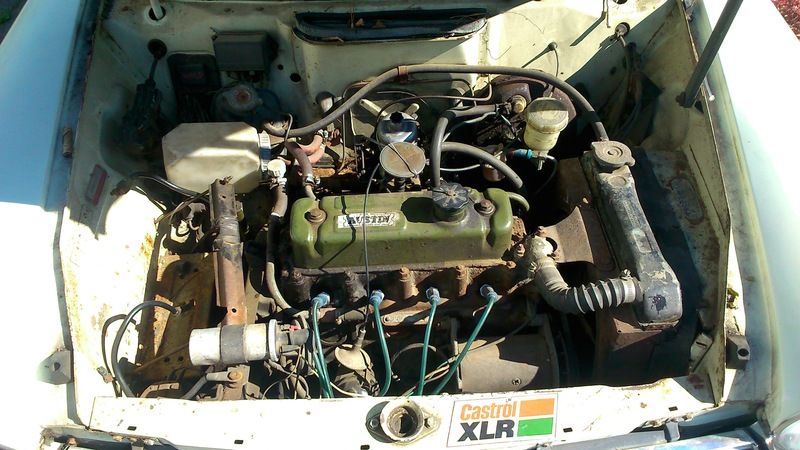 Suffice to say our son was a lot more work than we thought but this year should have more free time to work on the crabs. We went for a road trip through the Rockies last autumn to get another crab that looking in amazing condition, unfortunately the pics were several years old and it had been smashed into a few times, had some sort of animal living in it and had an unknown amount of electrical upgrades. We got it anyhow for the parts if need be. 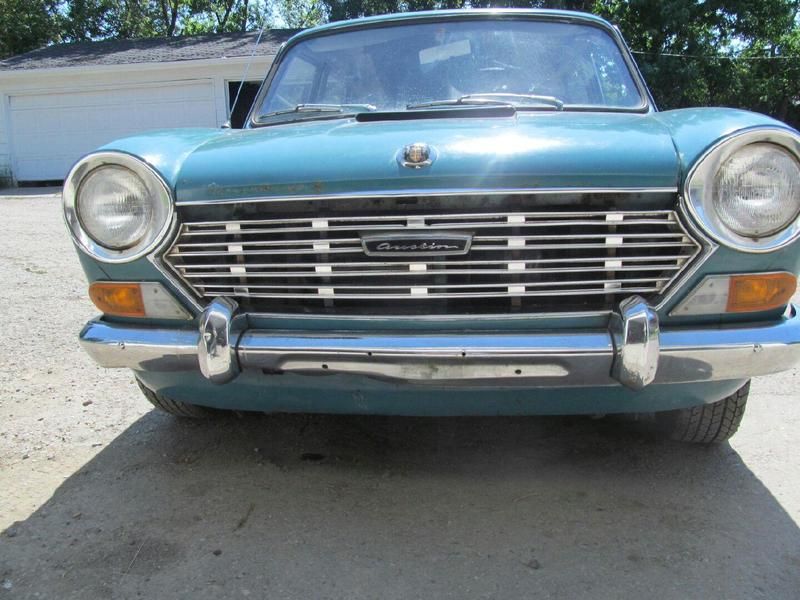 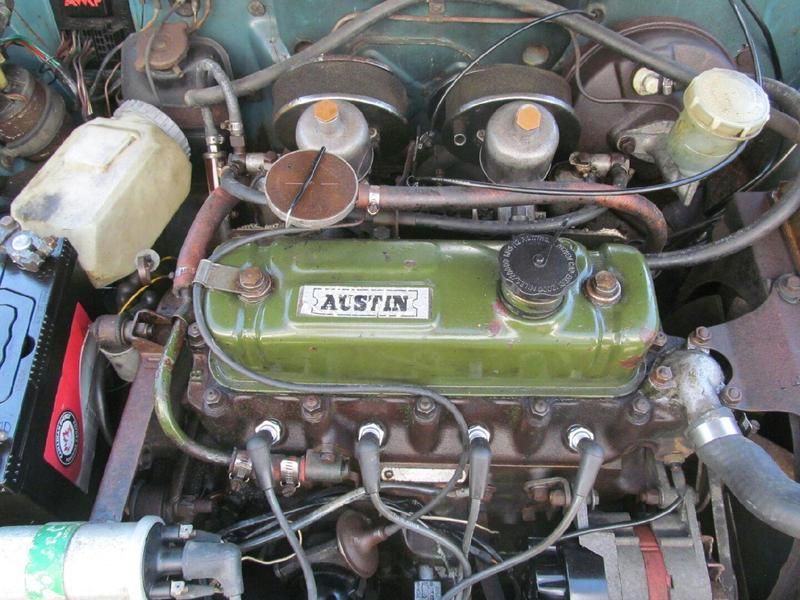 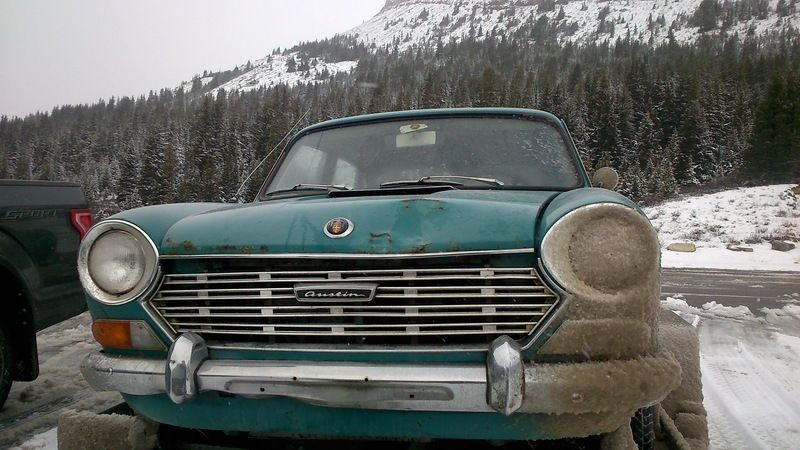 I've never really done any project like this before so a lot of my stalling on these has been not knowing where to start or go. The plan so far is to get them running with the minimum amount of major work then move onto cosmetics later. The white one will be the main focus for now as it at least has fire without smoke. The electrical "upgrades" to the blue one mean the starter starts smoking when I put a battery in. Thanks Salcomine |
|

