|
|
Post by bullyboy on Sept 2, 2016 15:24:48 GMT
Mostly looks in half decent order, brings back welding nightmares.
Looking good
Paul
|
|
|
|
Post by Penguin45 on Sept 2, 2016 19:59:37 GMT
It's not bad at all. Nothing like as bad as either off mine, anyway. 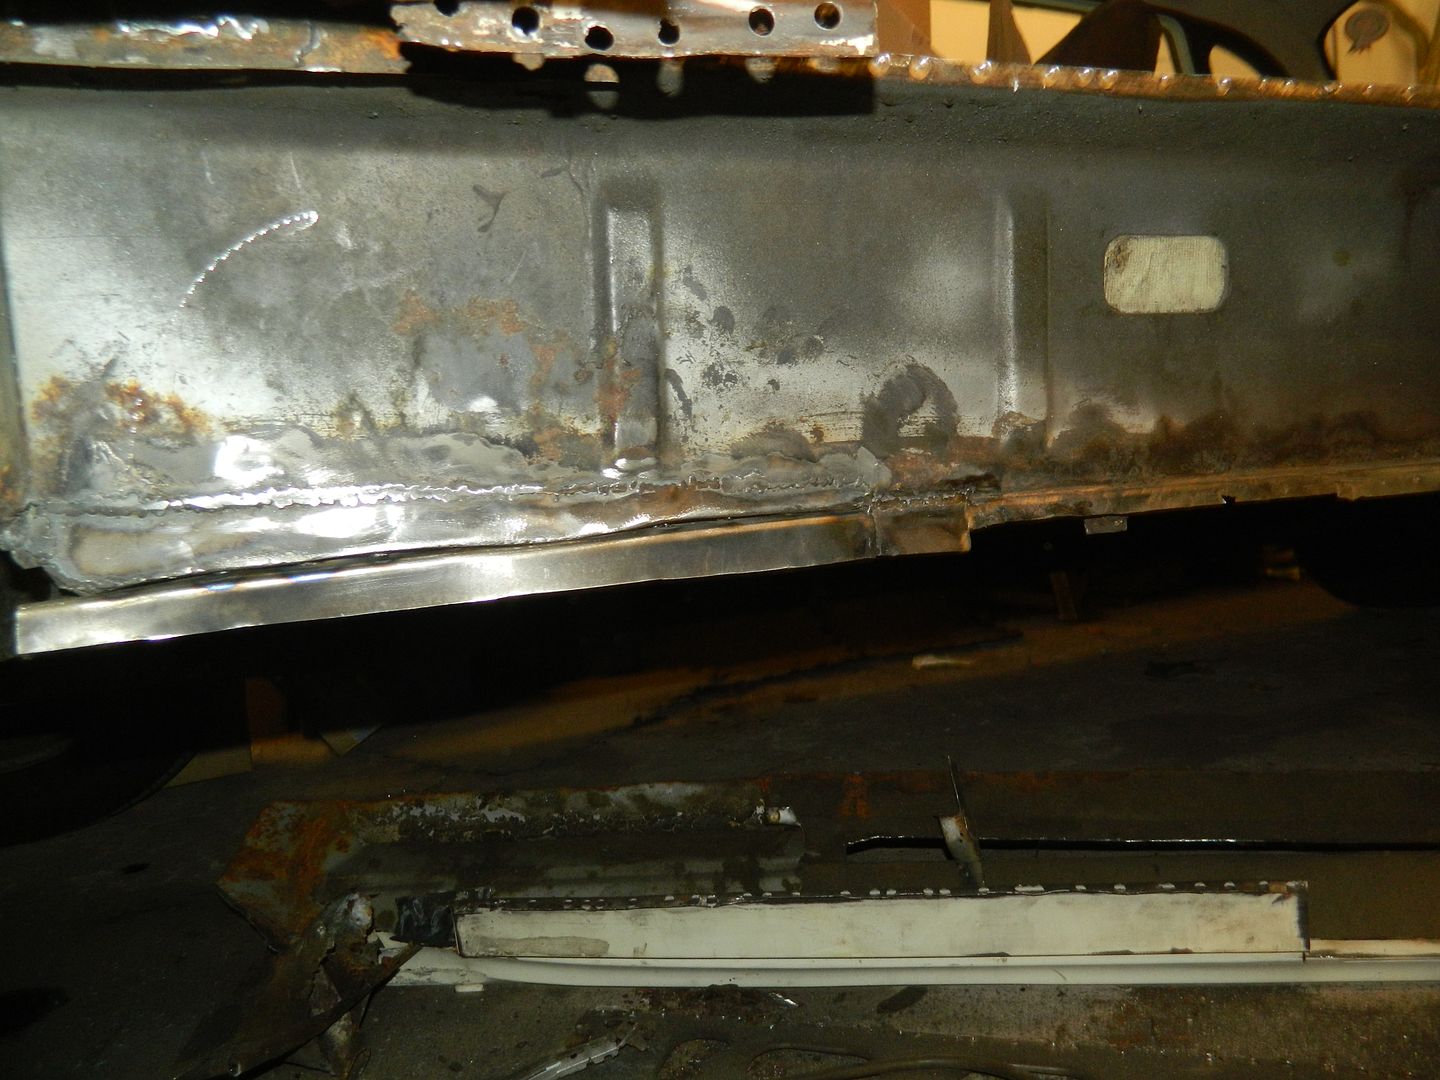 Bottom flange plug welded on at the front. 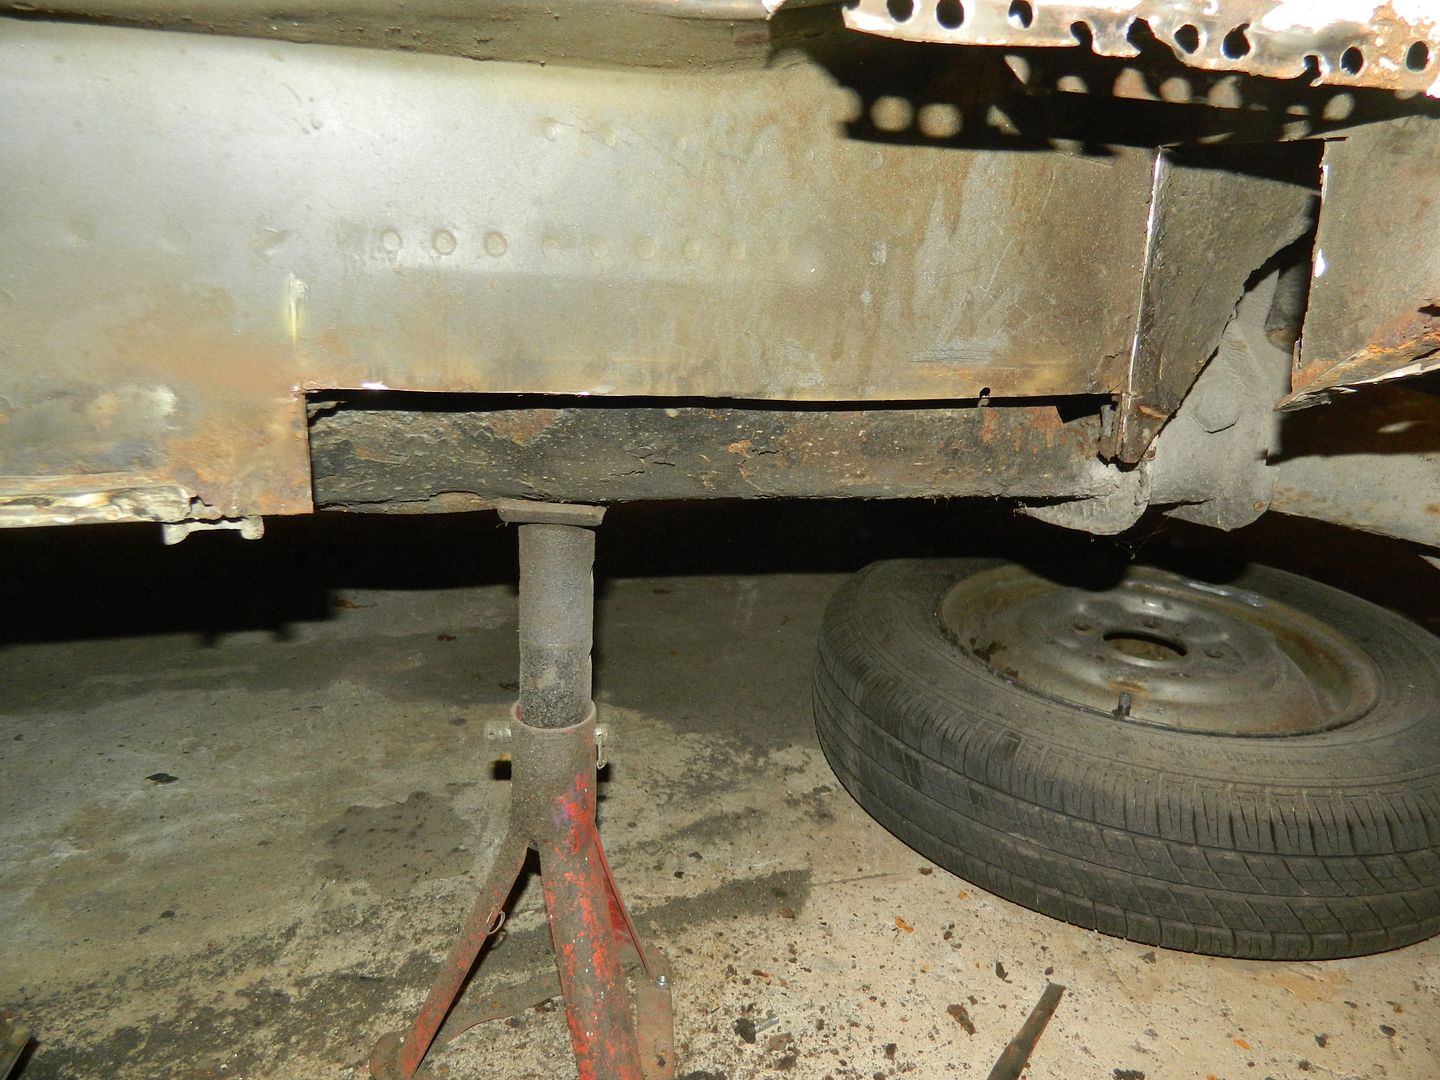 Rear panel cut away by the displacer. 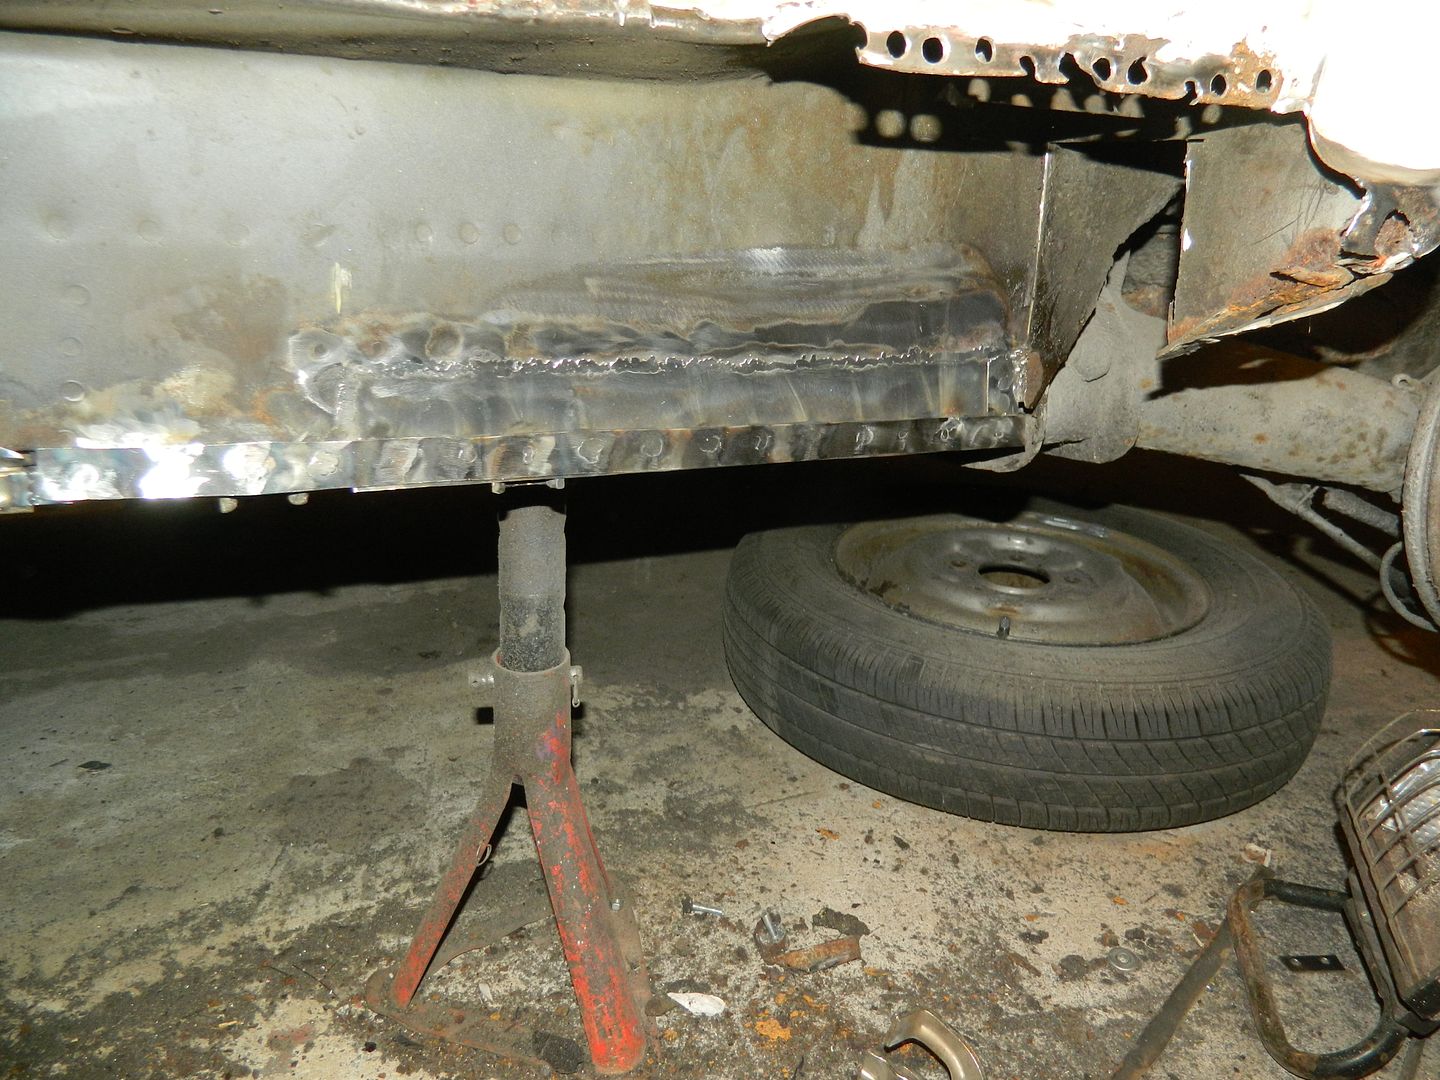 New panel butt welded home. Bottom flange doubled for extra strength. Strange brackety thing fitted up the inside. I'll see about getting the centre sill panel reversed tomorrow, then we can do some re-assembly. Getting worried - it's going to plan at the moment...... Chris. |
|
|
|
Post by landcrabman on Sept 2, 2016 21:22:29 GMT
Looking good chris she's held up well to say she lives outside , in better Nick than me , wayne.
|
|
|
|
Post by landcrabman on Sept 2, 2016 22:05:42 GMT
Mostly looks in half decent order, brings back welding nightmares. Looking good Paul It was in need of new sills still on originals been welded up at front and back for m.o.t etc but there comes a time when you have to bite the bullet ,wayne |
|
|
|
Post by Penguin45 on Sept 3, 2016 19:11:57 GMT
Saturdays are normally spent helping my chum David from the Wolseley Forum in his barn over in Preston restoring his Princess 18-22. Today, I enlisted his help in the task of converting an o/s sill membrane into a n/s one. 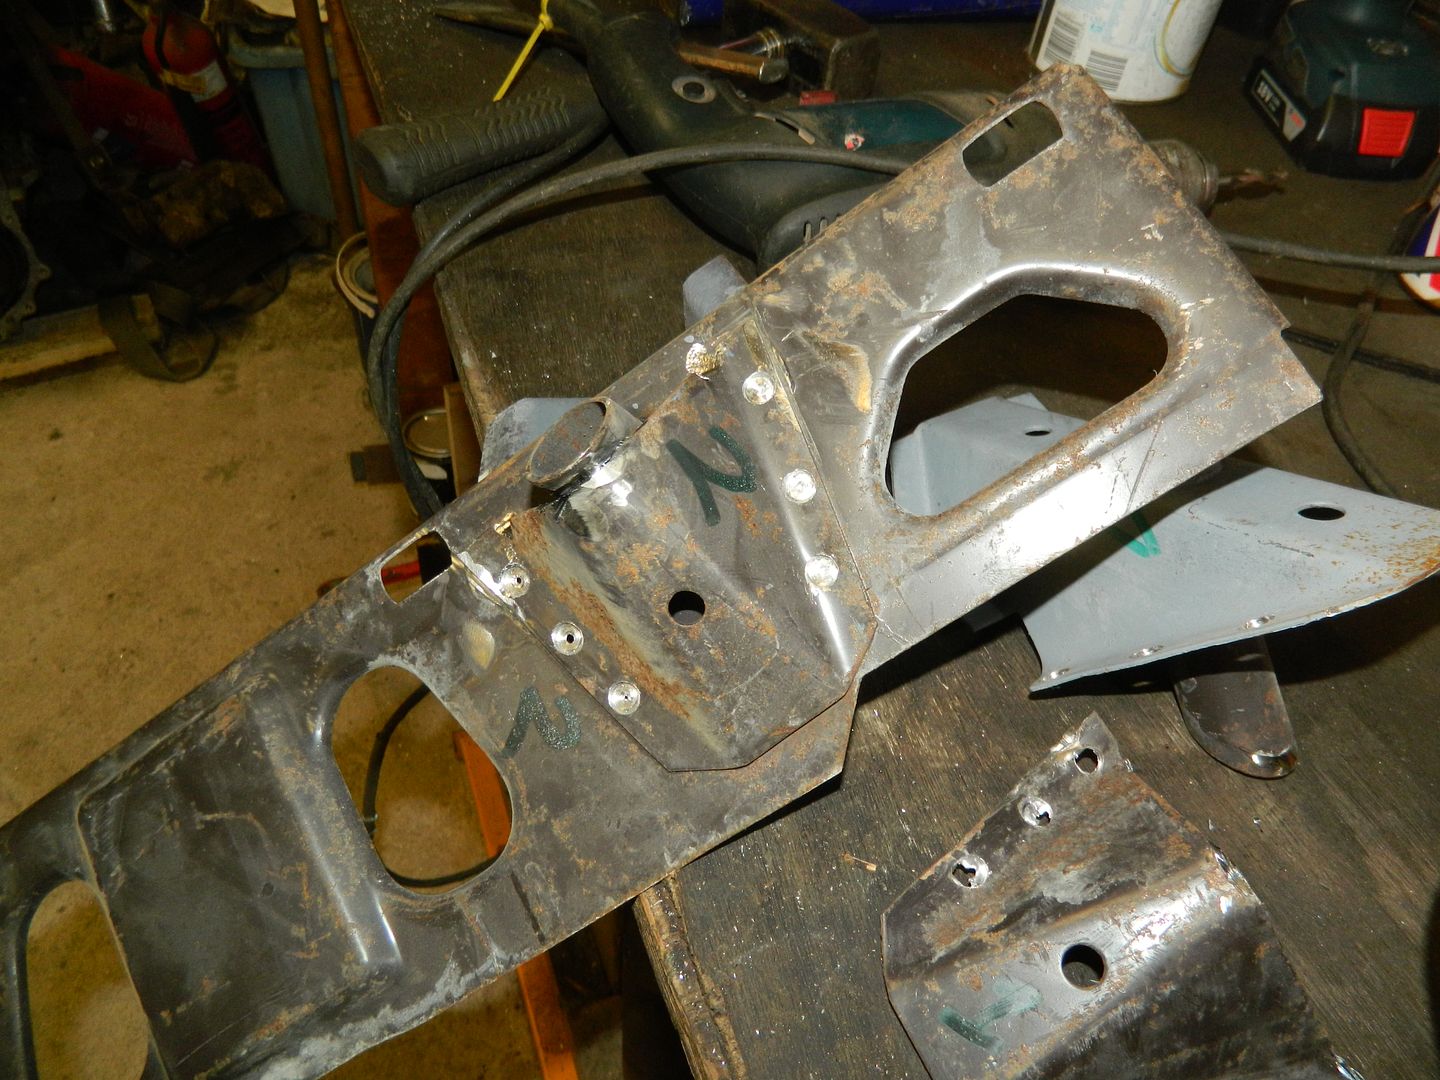 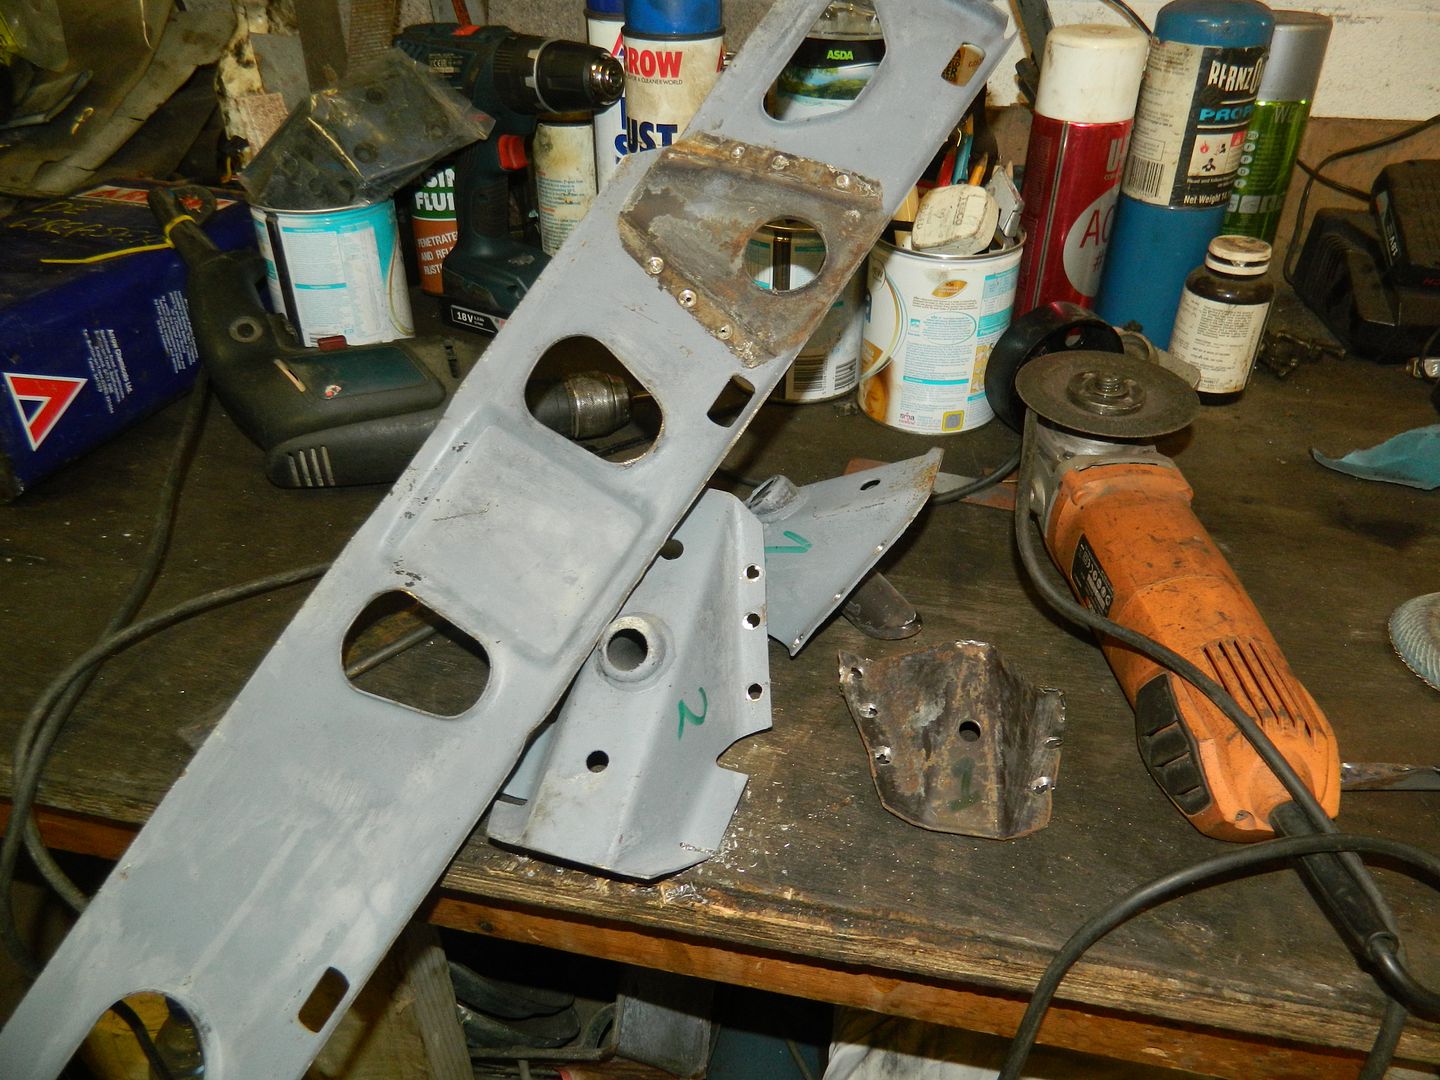 Stage one - remove jacking points. Rather worrying, attacking a brand new panel. 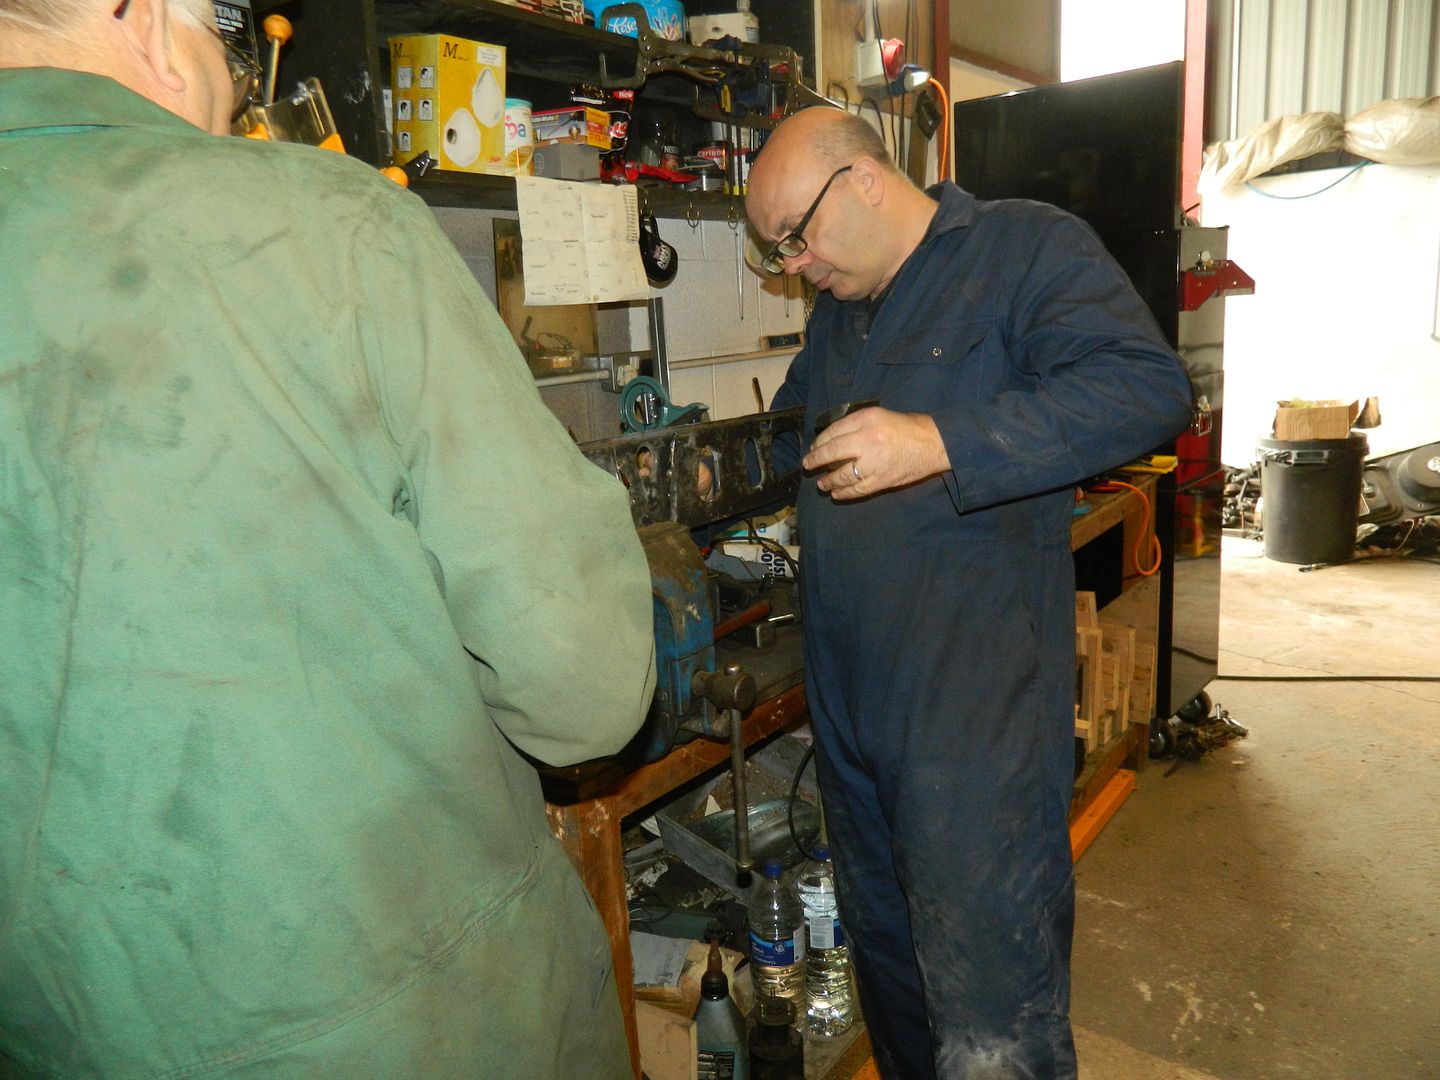 Stage two - reverse the flange. My friends David and Ron doing the big hammer thing. The flange is angled over at 68° for those who love the minutiae of these things. Again, worrying bashing a new panel. 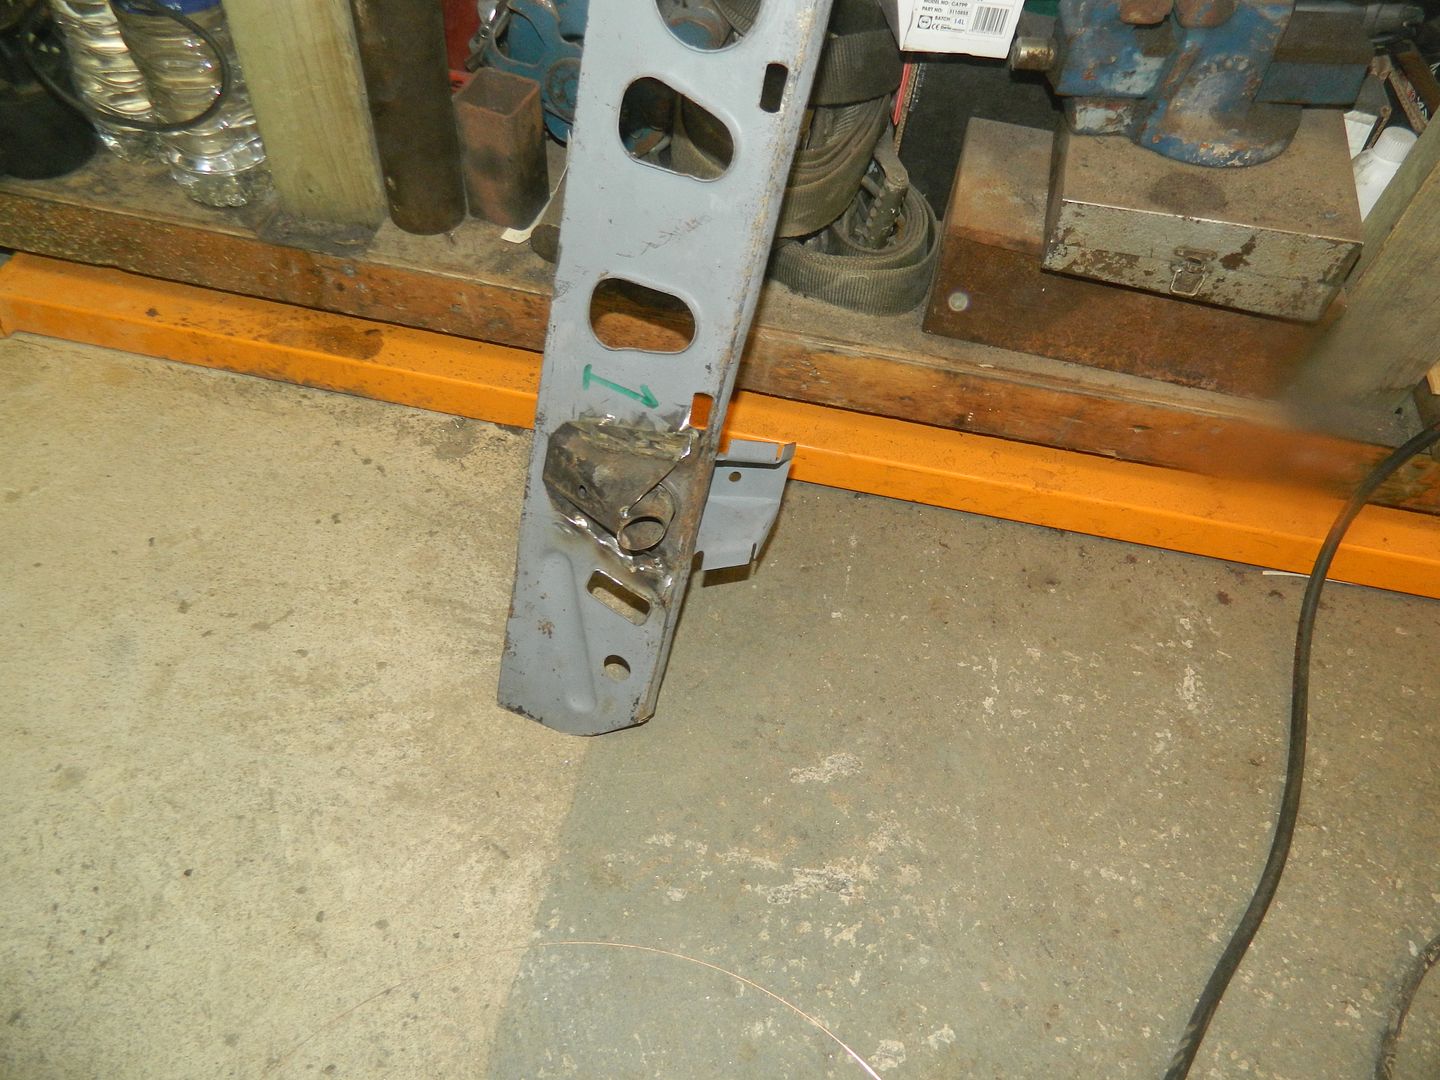 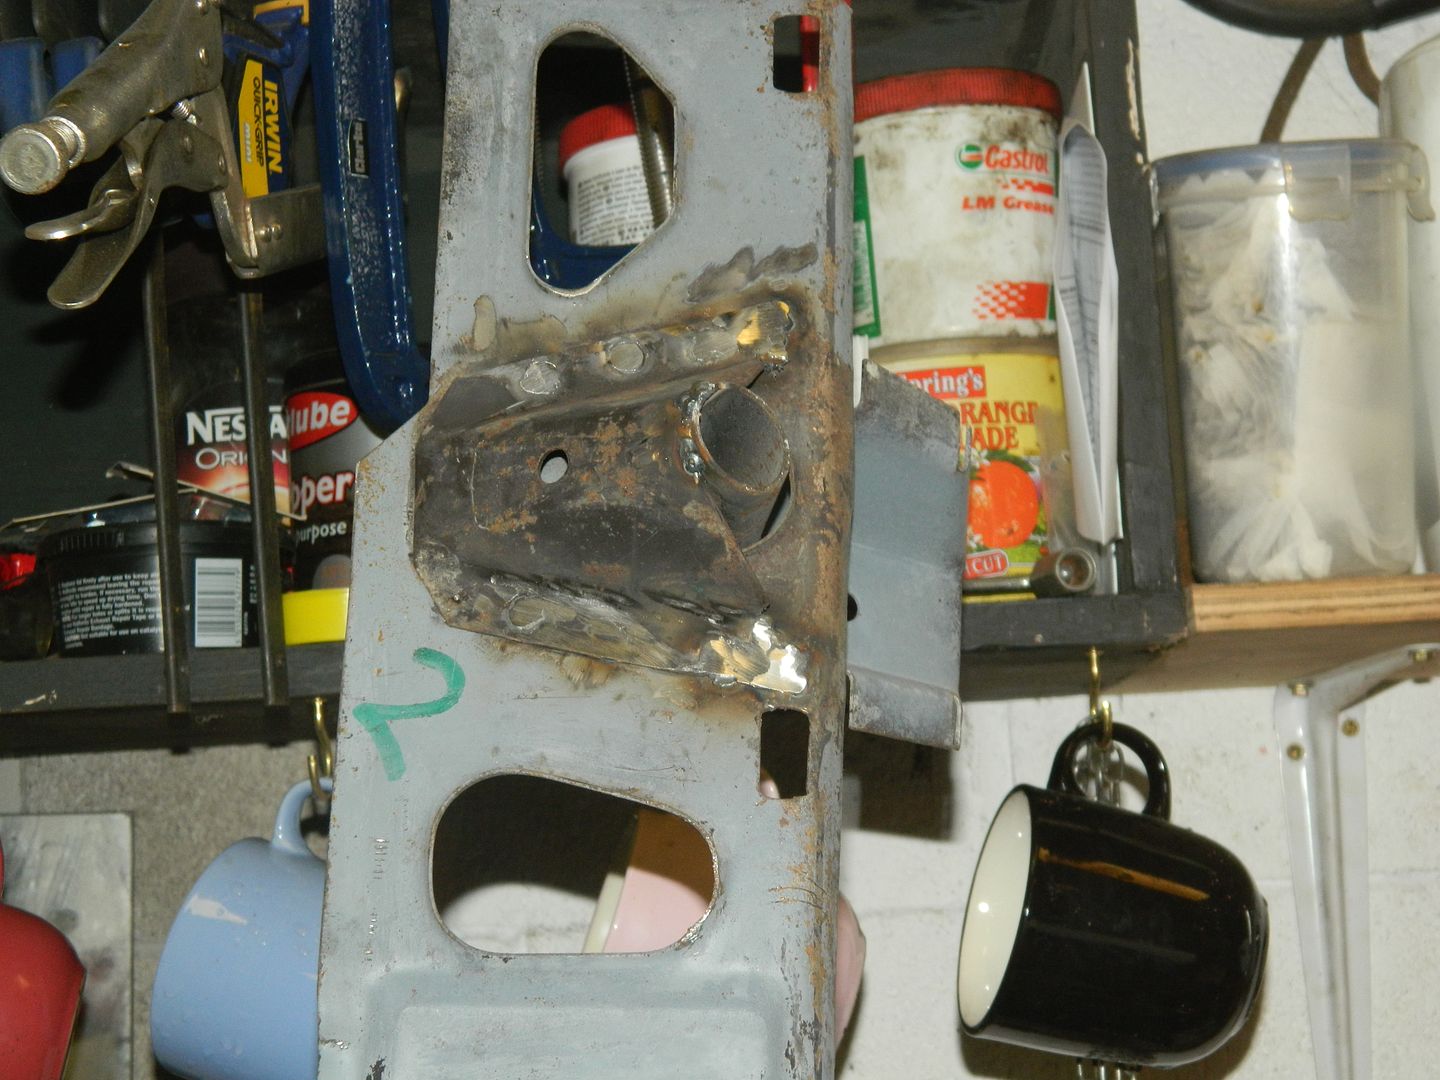 Stage three - re-attach the jacking points. Big discussion followed about which side was inside and out now that the outside was the inside. After an extended period of debate, I pointed out that the brown bits of jacking point attached to the grey side of the sill panel and vice versa. All welded home and tidied up a bit. 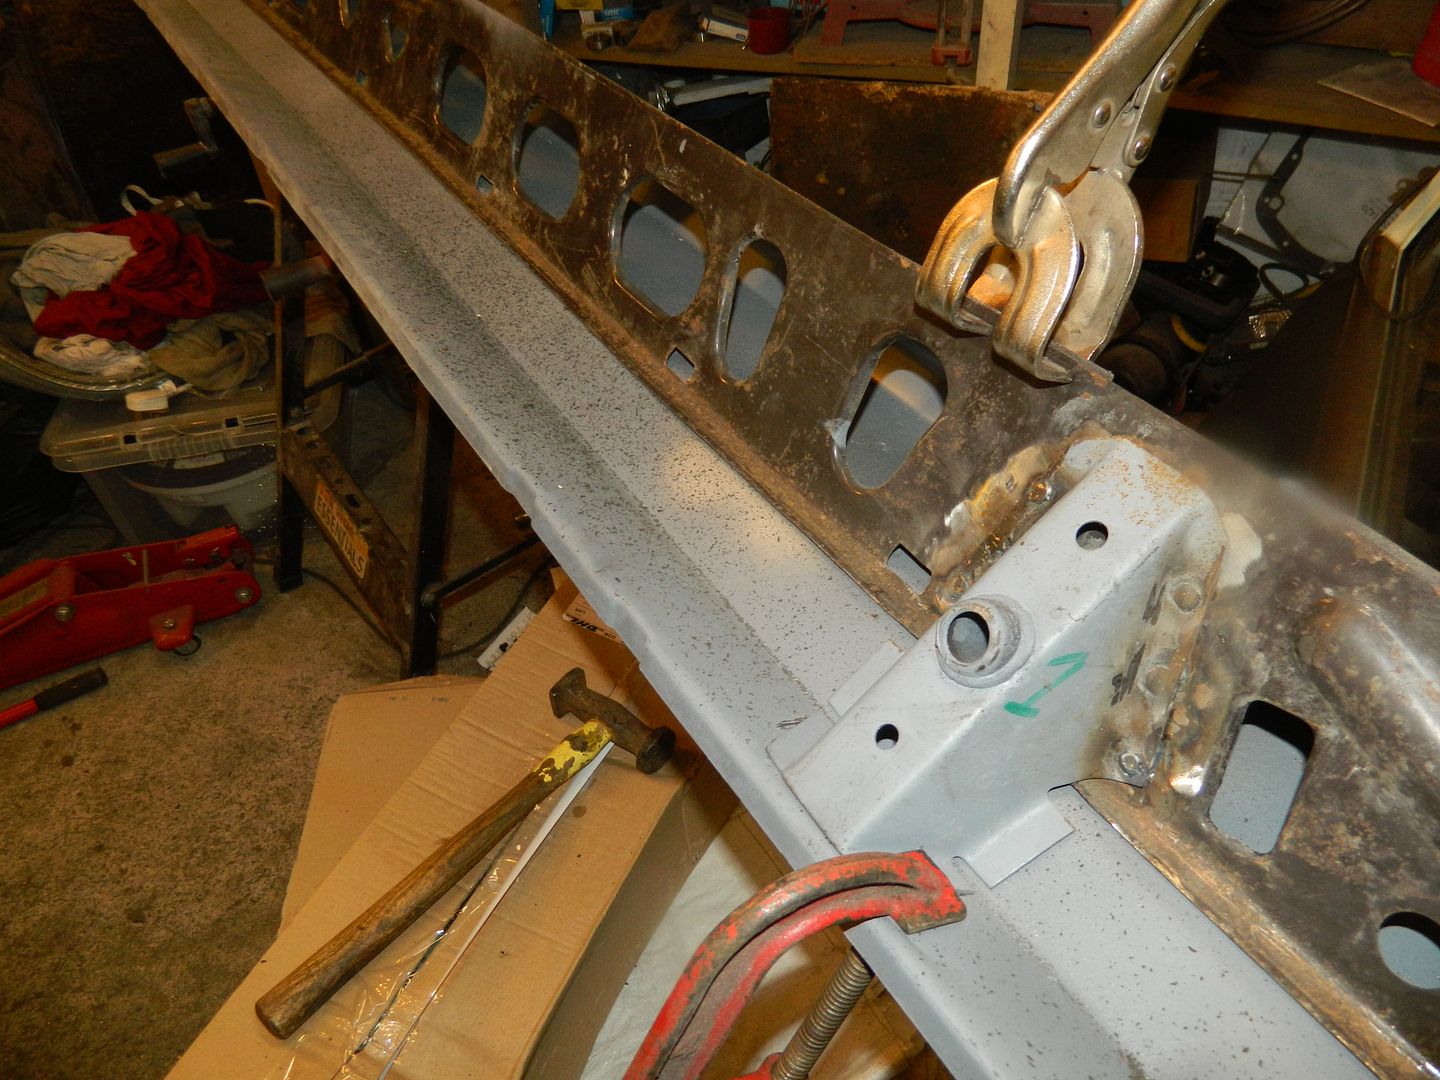 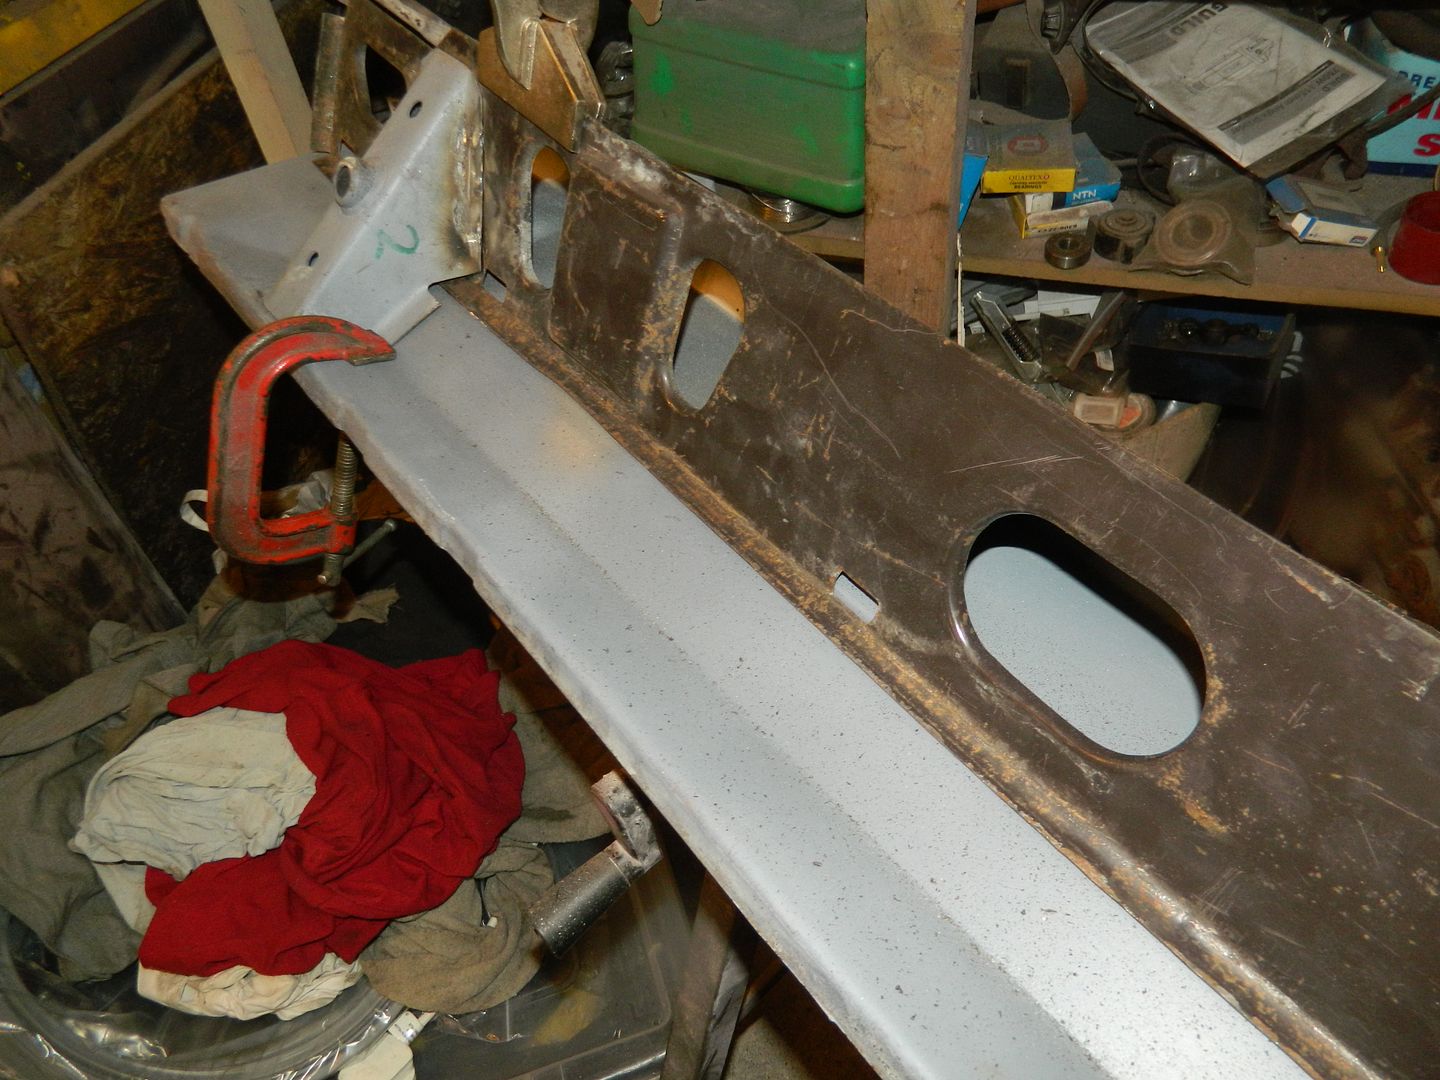 Back in my garage, I offered up the panel into the sill and was relieved to find that only minor adjustments with the hammers was required. Big thanks to David and Ron for their help today. I doubt I could have done that single handed. If this comes round again, I'd be tempted to chop the bottom flange and re-weld it in the reversed position. Chris. |
|
|
|
Post by Penguin45 on Sept 4, 2016 11:51:01 GMT
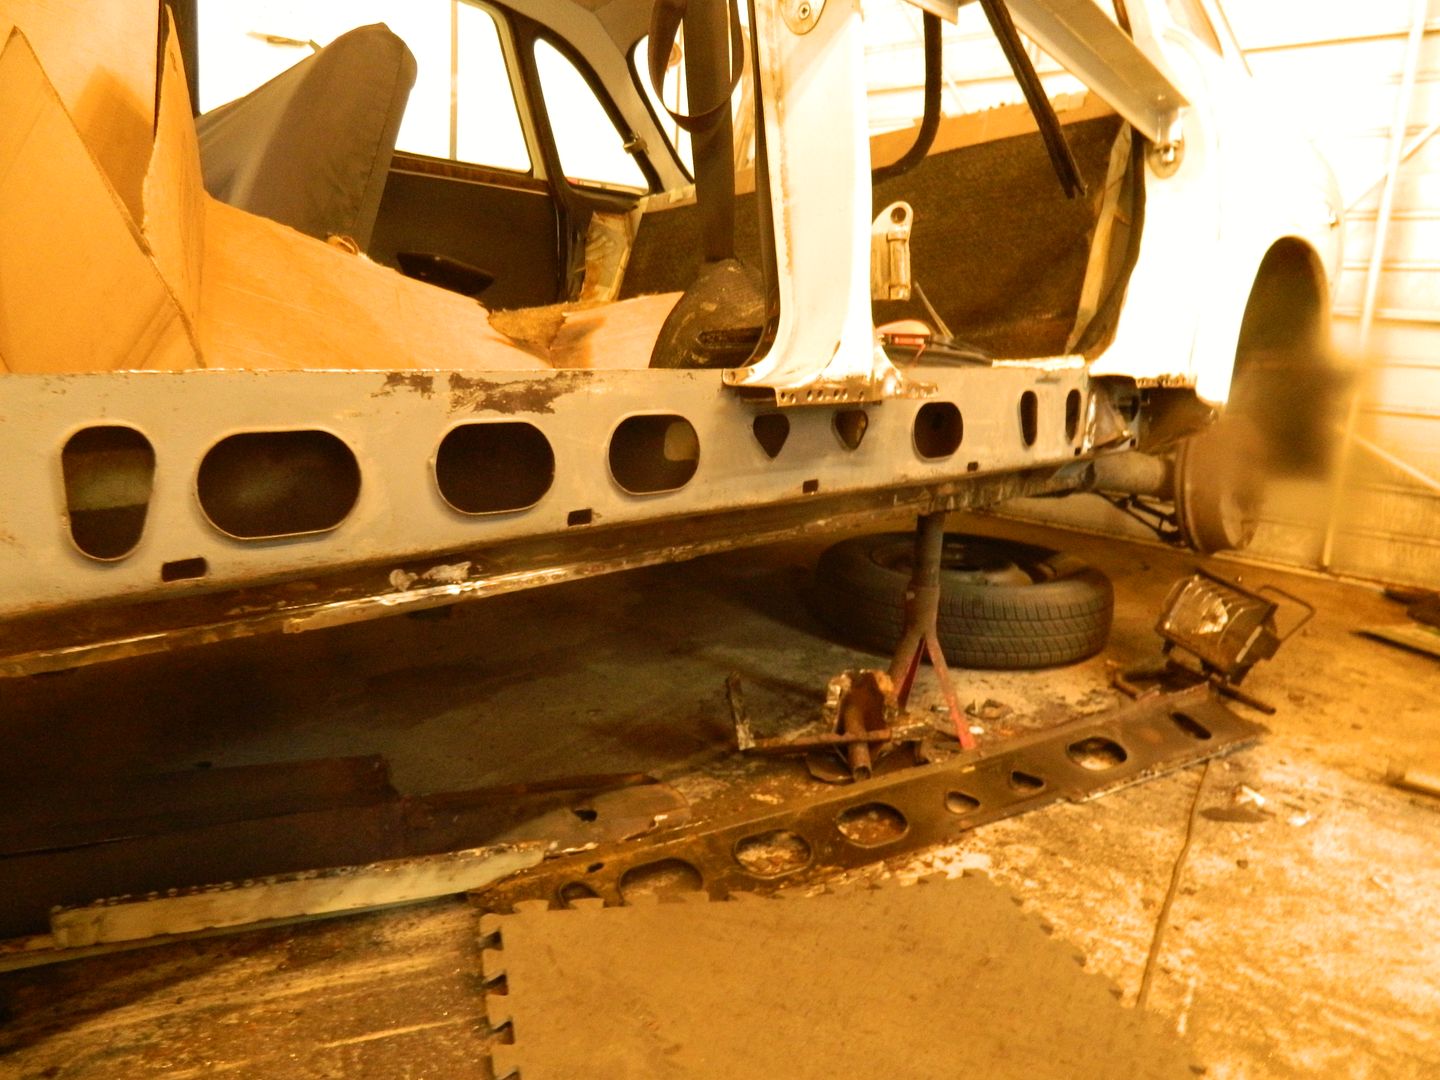 And - it's on. 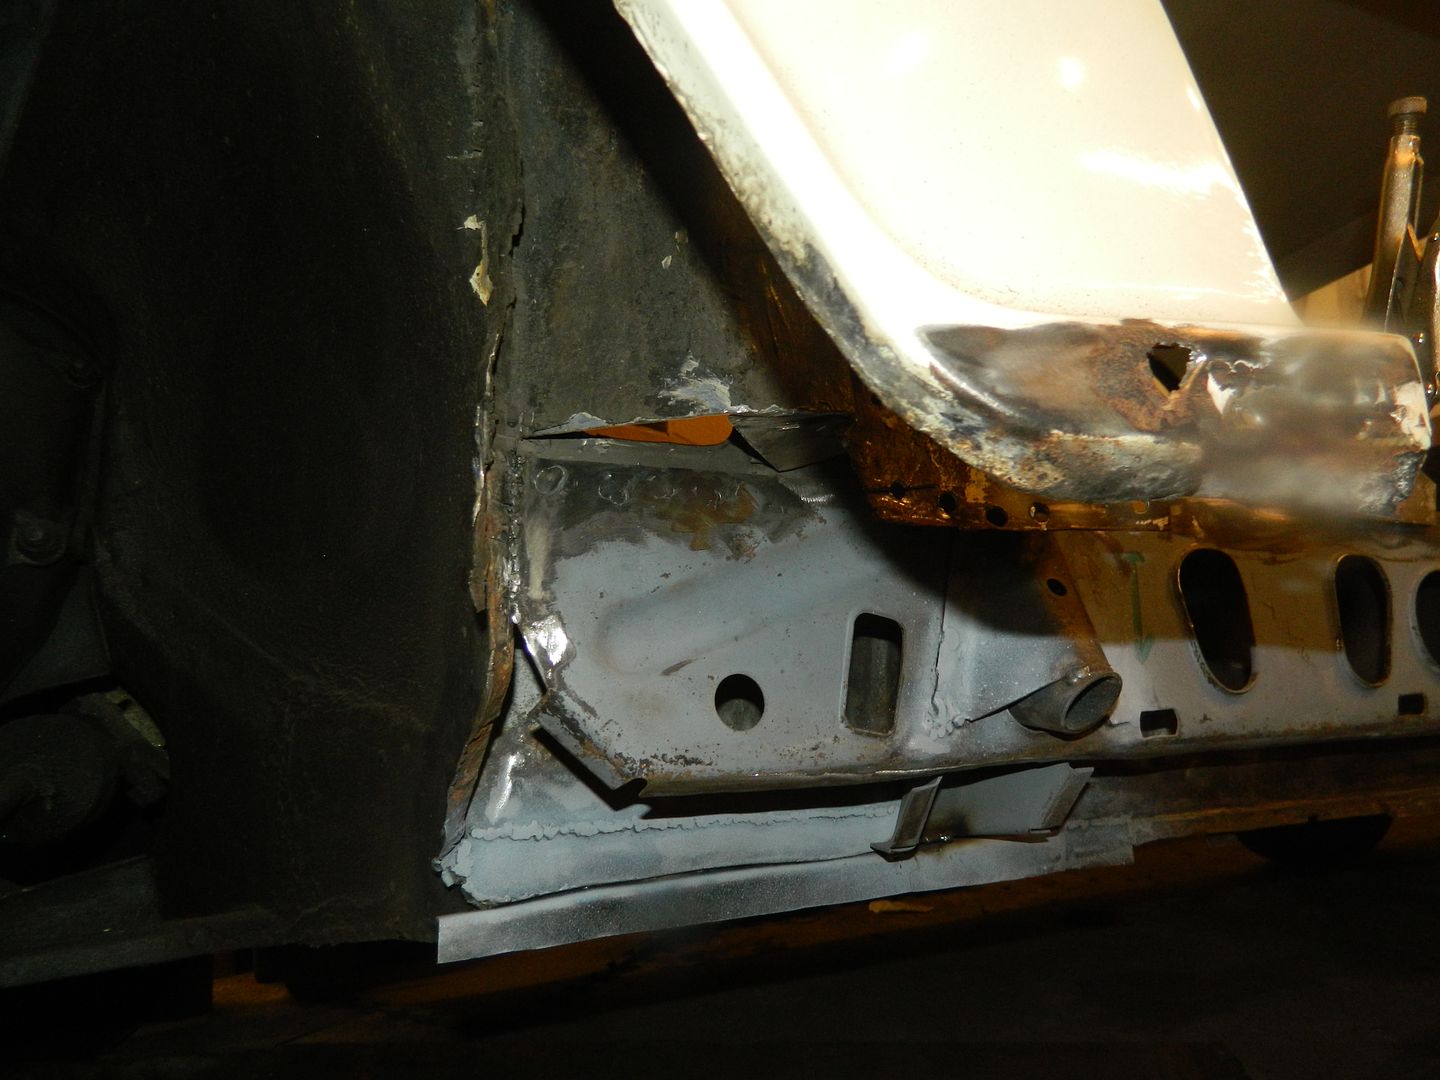 Plug welded at the base of the A post. 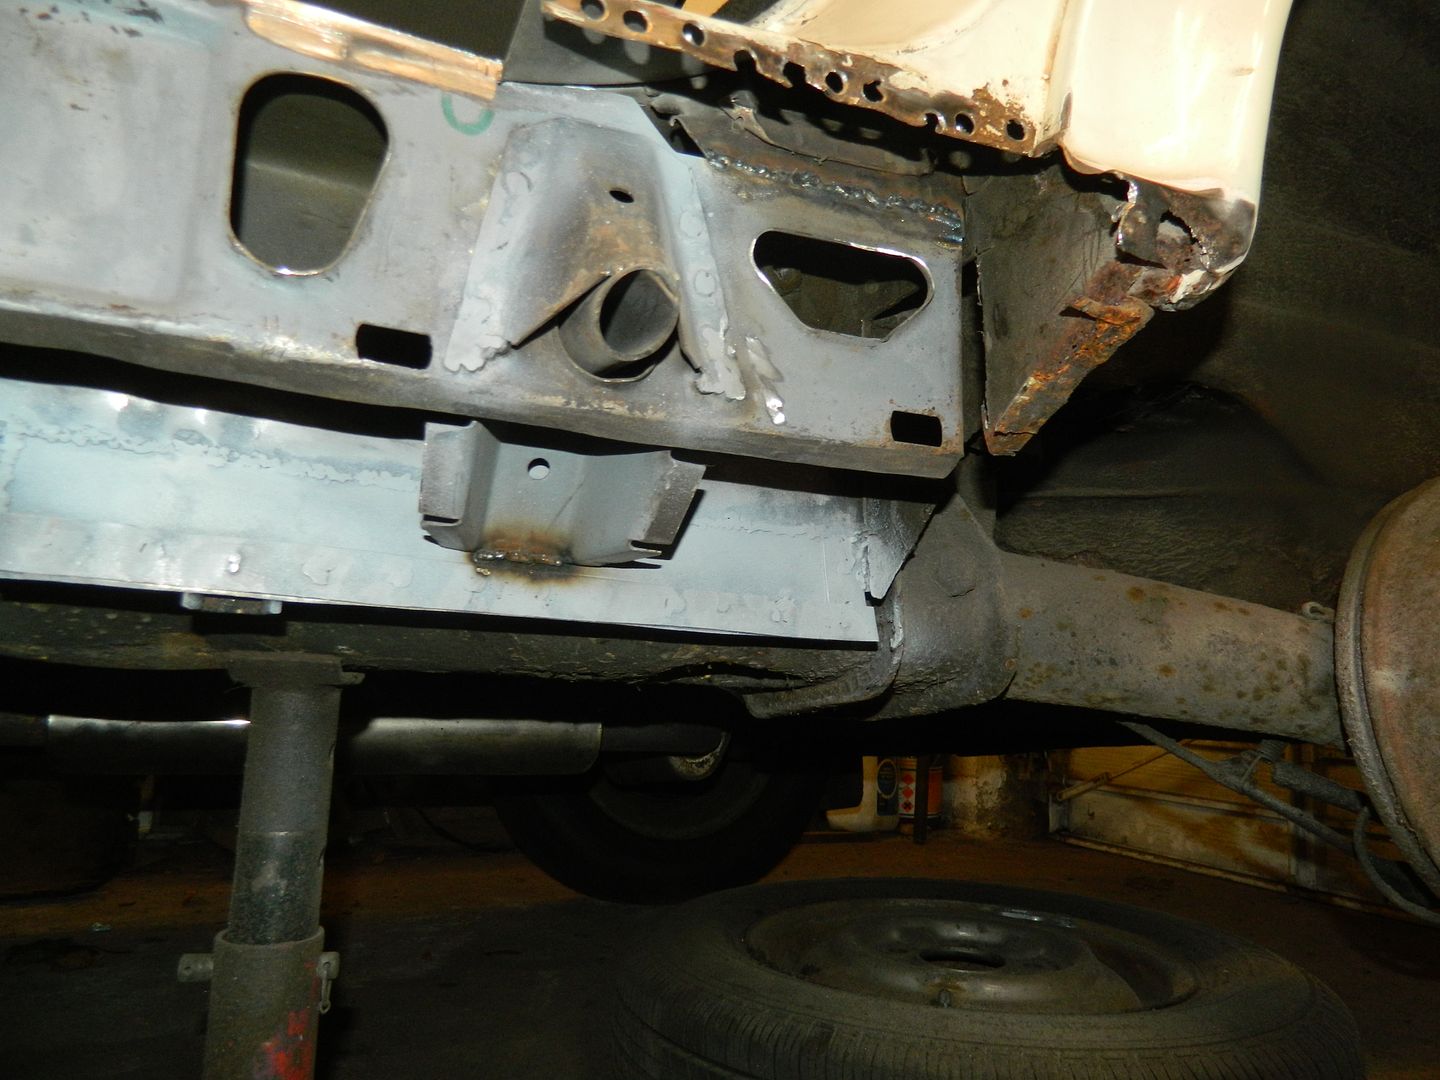 Lap welded up under the C post. These two will be the reason that you can't weld the inner to the outer and then mount it as an assembly. Oh, and the bottom of the jacking points to the inner sill as well. 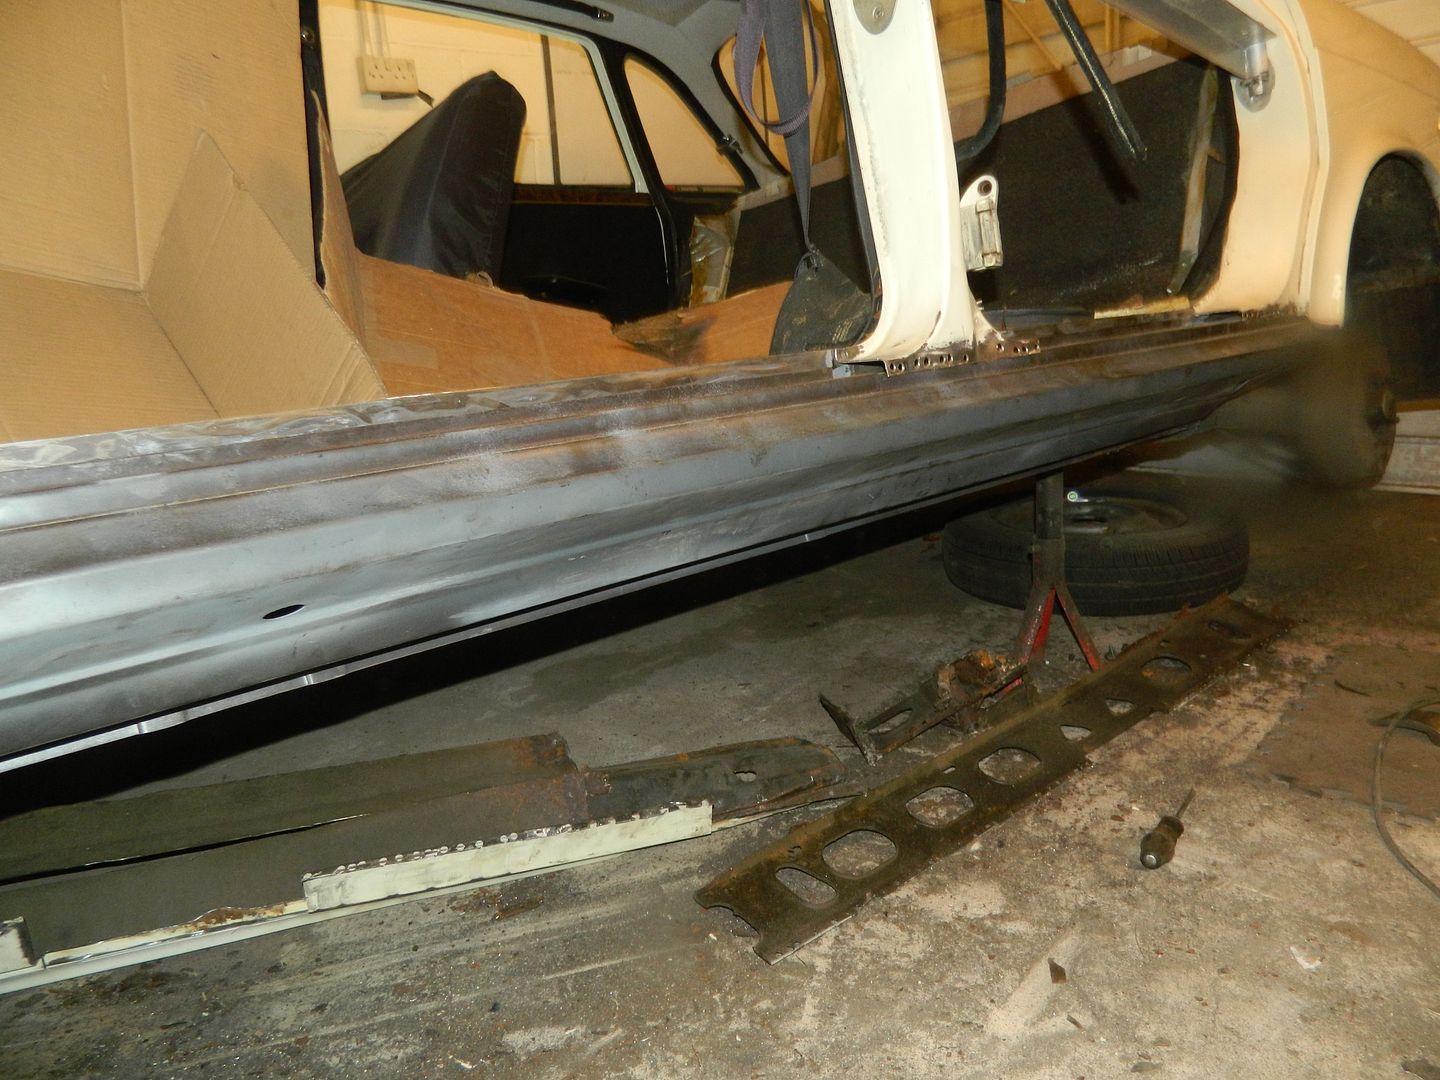 Outer offered up. Close, but not quite there yet. Might be some BFI required. Chris. |
|
|
|
Post by landcrabman on Sept 4, 2016 18:27:01 GMT
Looking good chris, be like new when it's done, been working on that second hand bonnet for the last few days, got it looking not too bad, time for a g-n.t me thinks , wayne
|
|
|
|
Post by Penguin45 on Sept 4, 2016 19:02:54 GMT
Spot welder decided that it couldn't cope with three layers of metal, so in addition to the row of holes drilled for the centre section plug welding, I have had to drill the top flanges and plug weld through. I love plug welding. 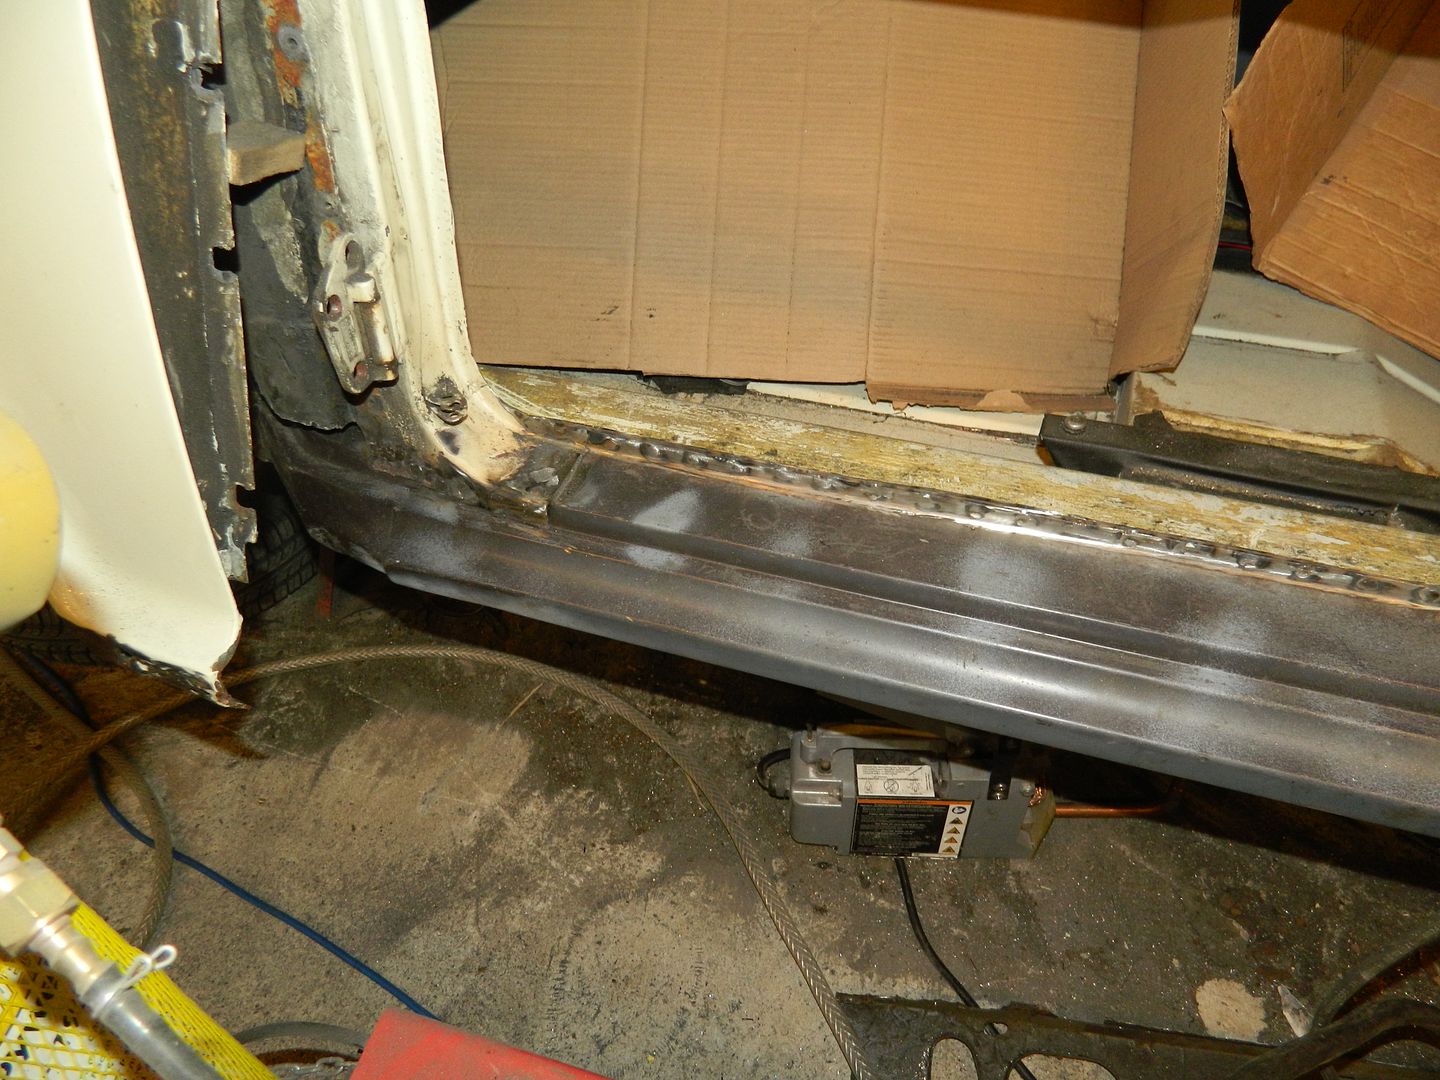 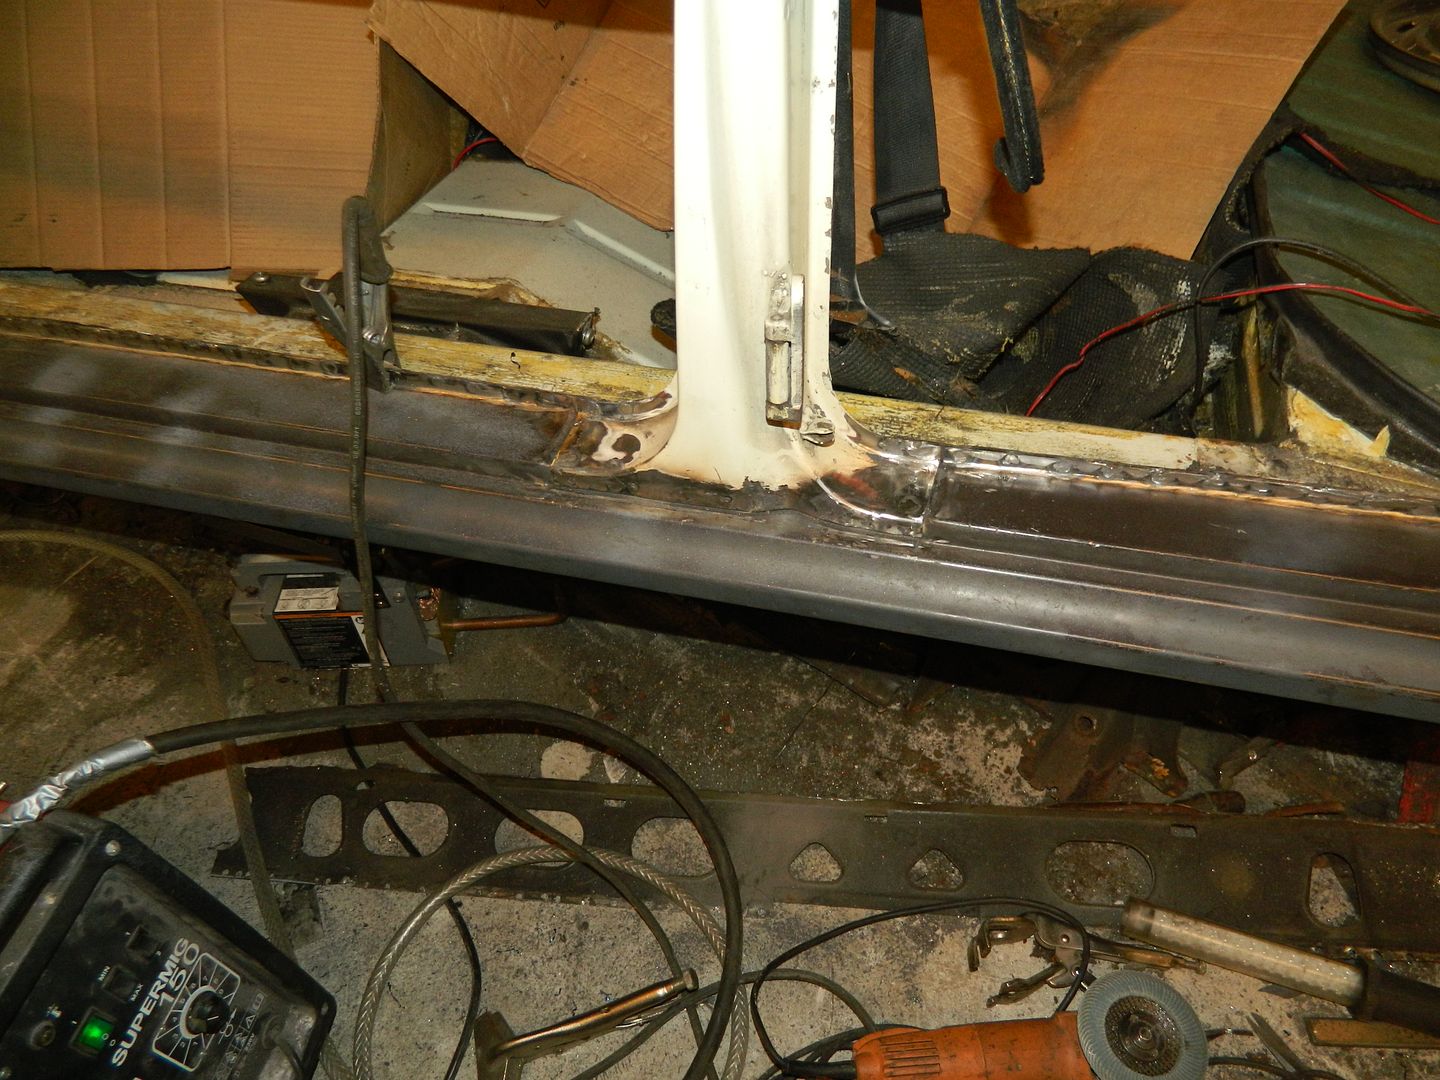 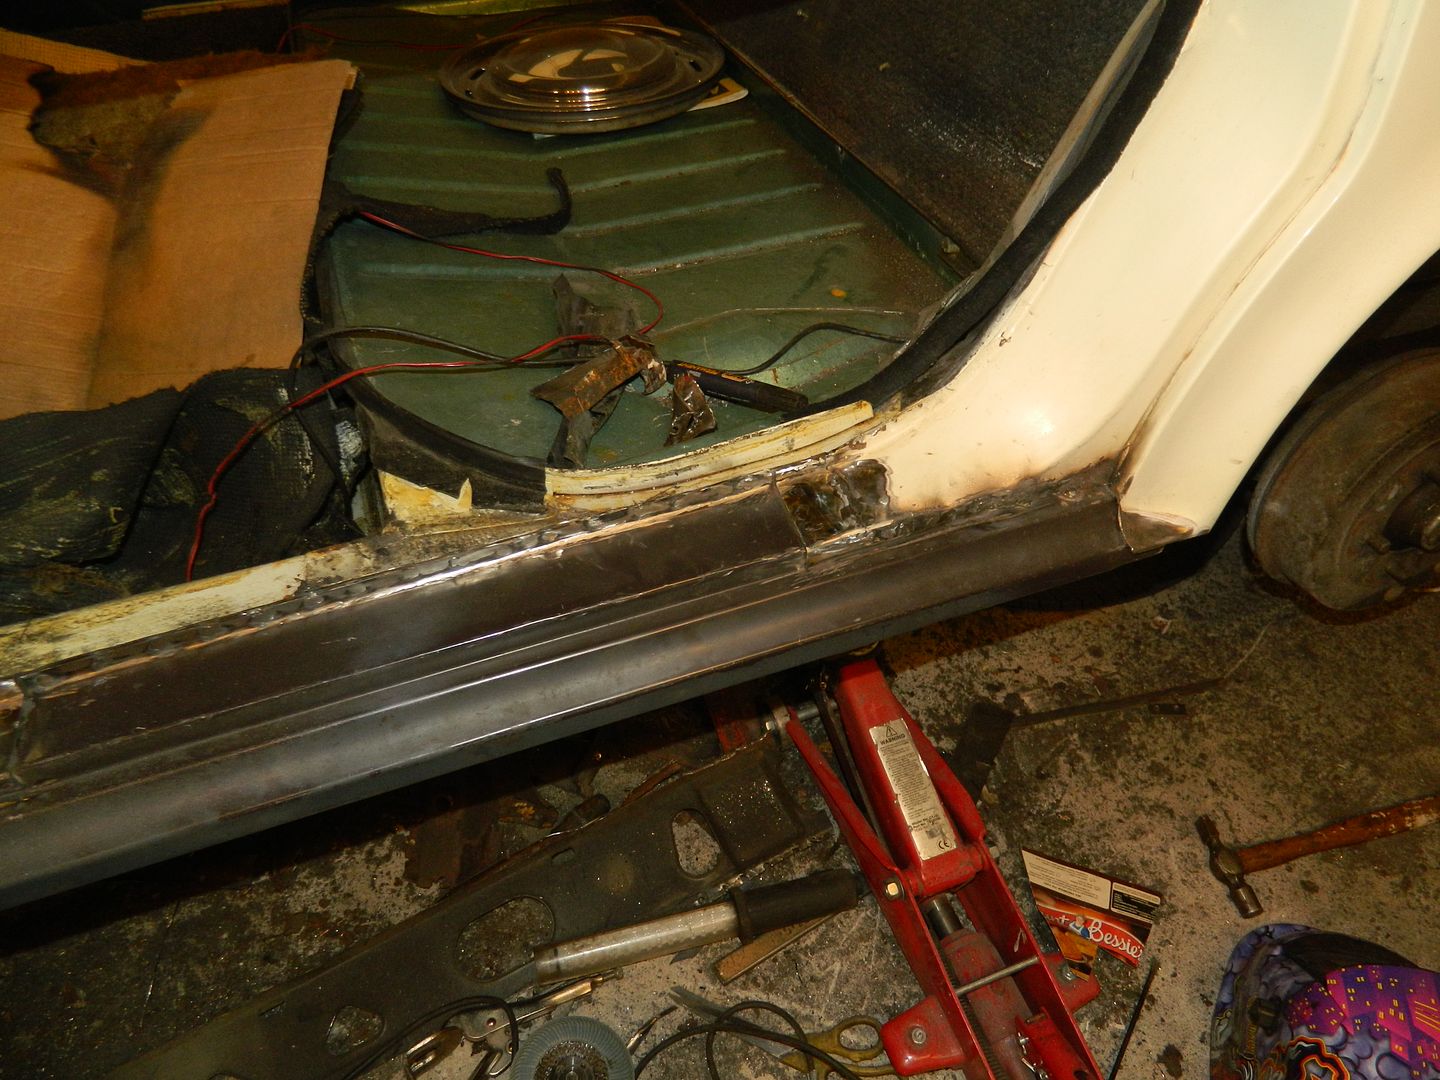 Anyway, top of the sill is now very solidly attached. Enjoy the G'n'T. Off for beer and pool later. Chris. |
|
|
|
Post by wolseley on Sept 4, 2016 22:35:34 GMT
Nice to see David in his overall looking busy
|
|
|
|
Post by Penguin45 on Sept 5, 2016 19:49:00 GMT
If I poke him with a pointed stick he's quite productive!  Sill is on: 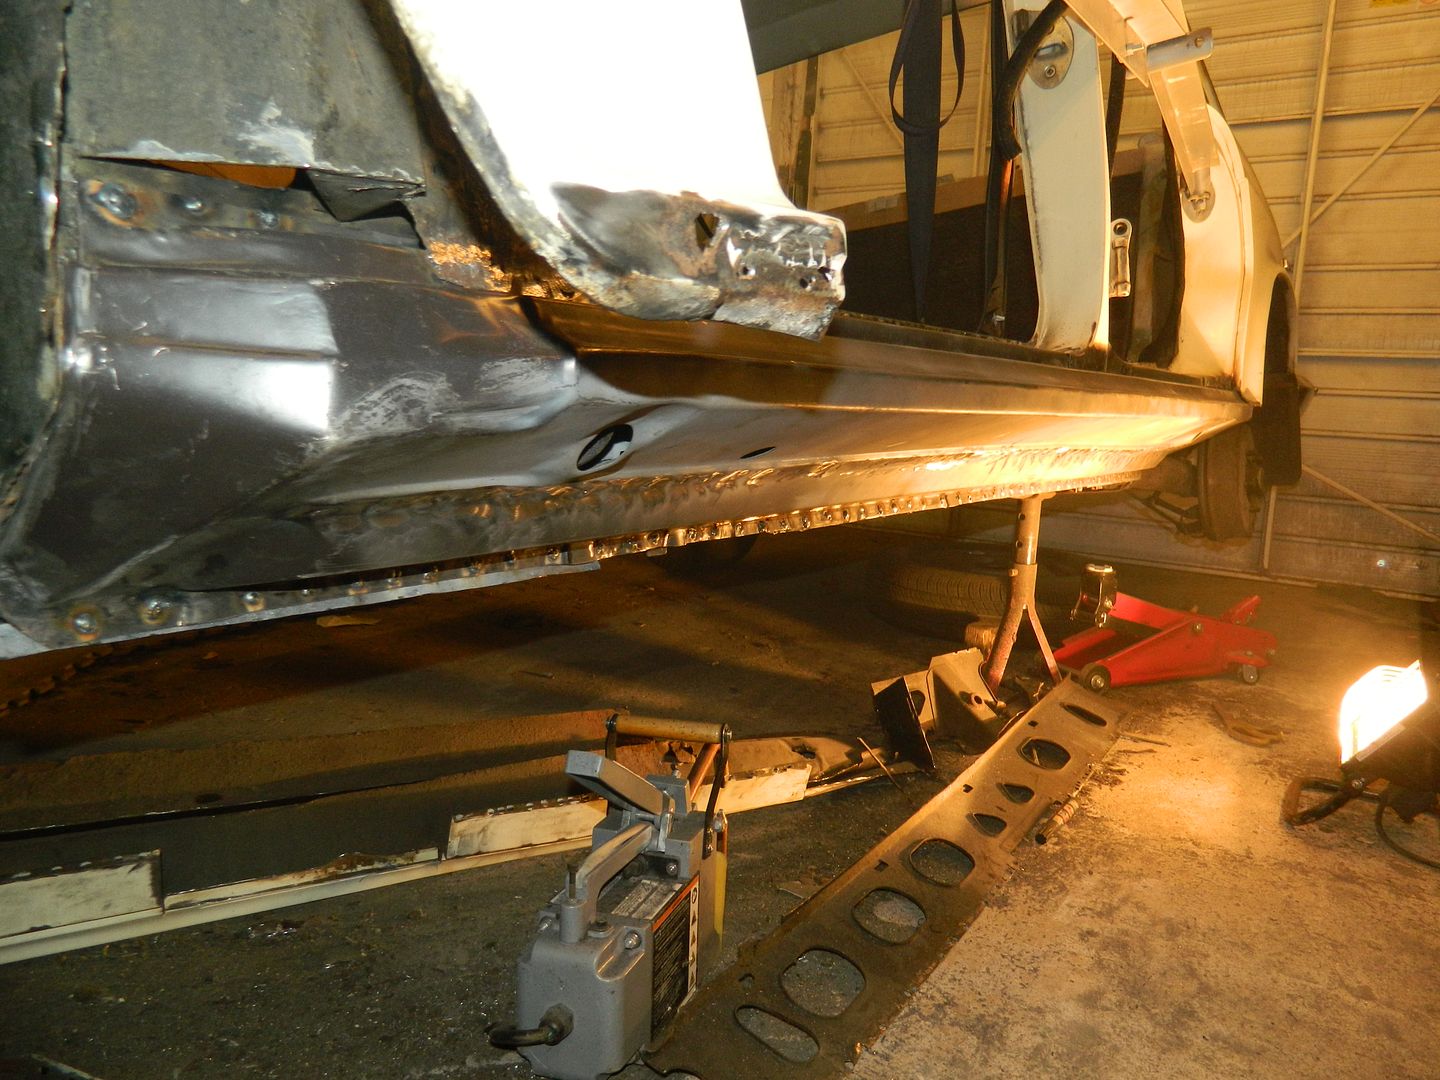 And it ain't going to come off. Note recalcitrant spot welder. Centre plug welds flatted. Bottom flange yet to be flatted. Chris. |
|
|
|
Post by landcrabman on Sept 5, 2016 21:12:23 GMT
Looking solid now chris thanks , Hope the other side goes well fingers crossed, beer earned I think.
|
|
|
|
Post by Penguin45 on Sept 6, 2016 18:13:37 GMT
Bottom flange flatted back, front of sill attached and A panel closing piece welded home.  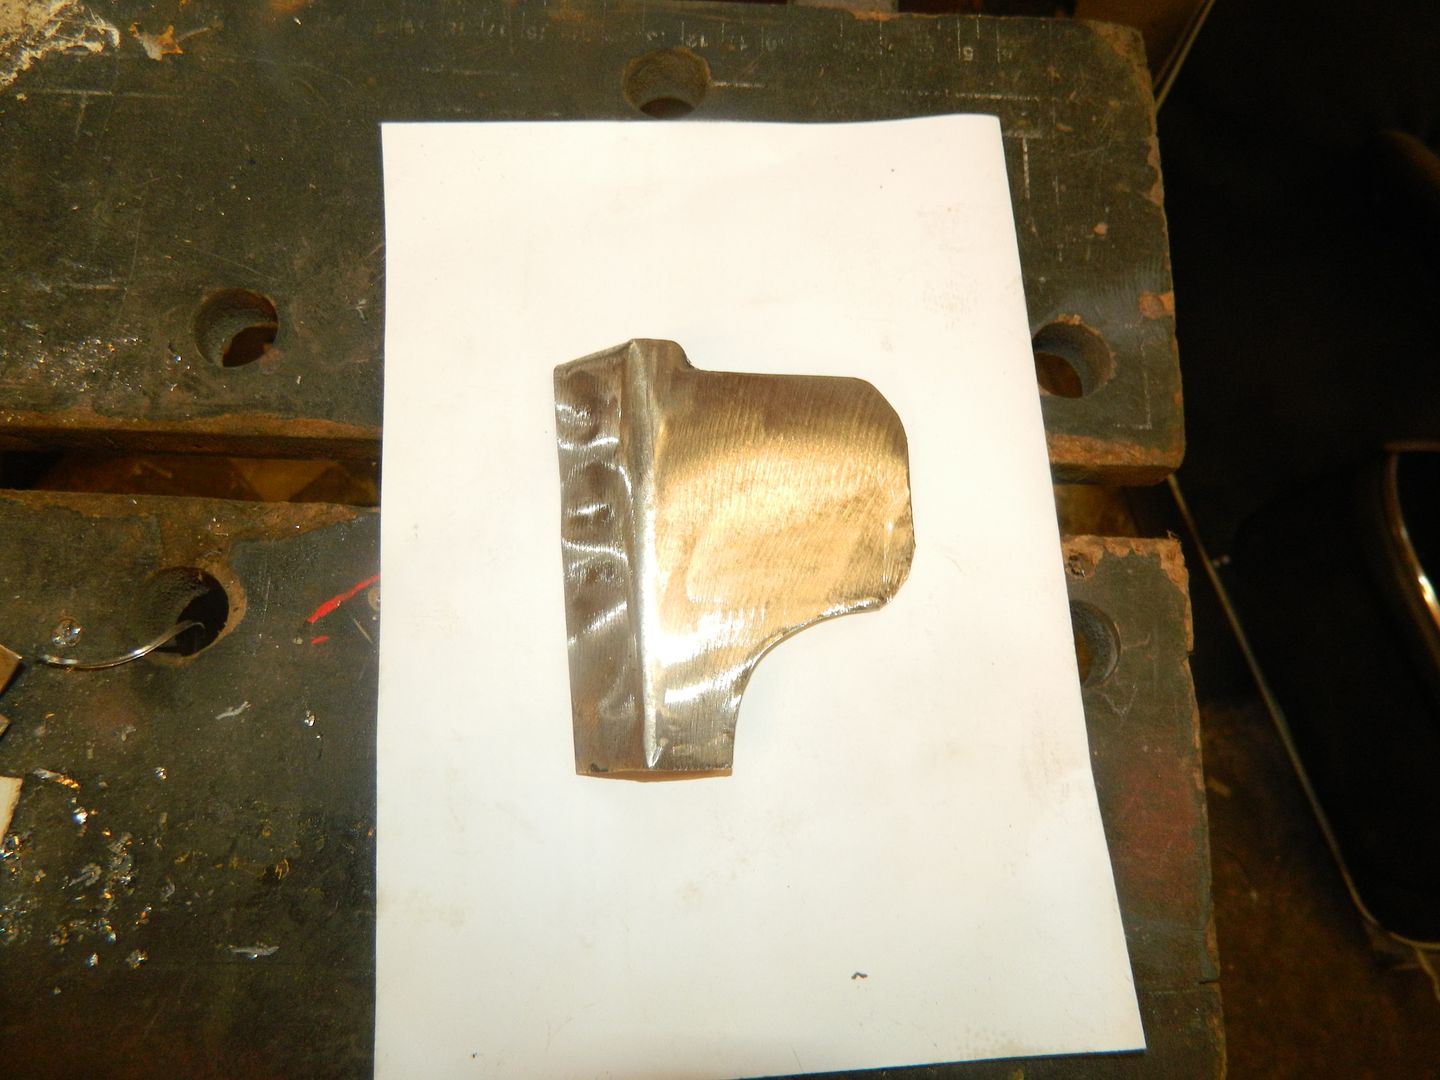 New bit to replace the frilly one at the bottom of the wing. 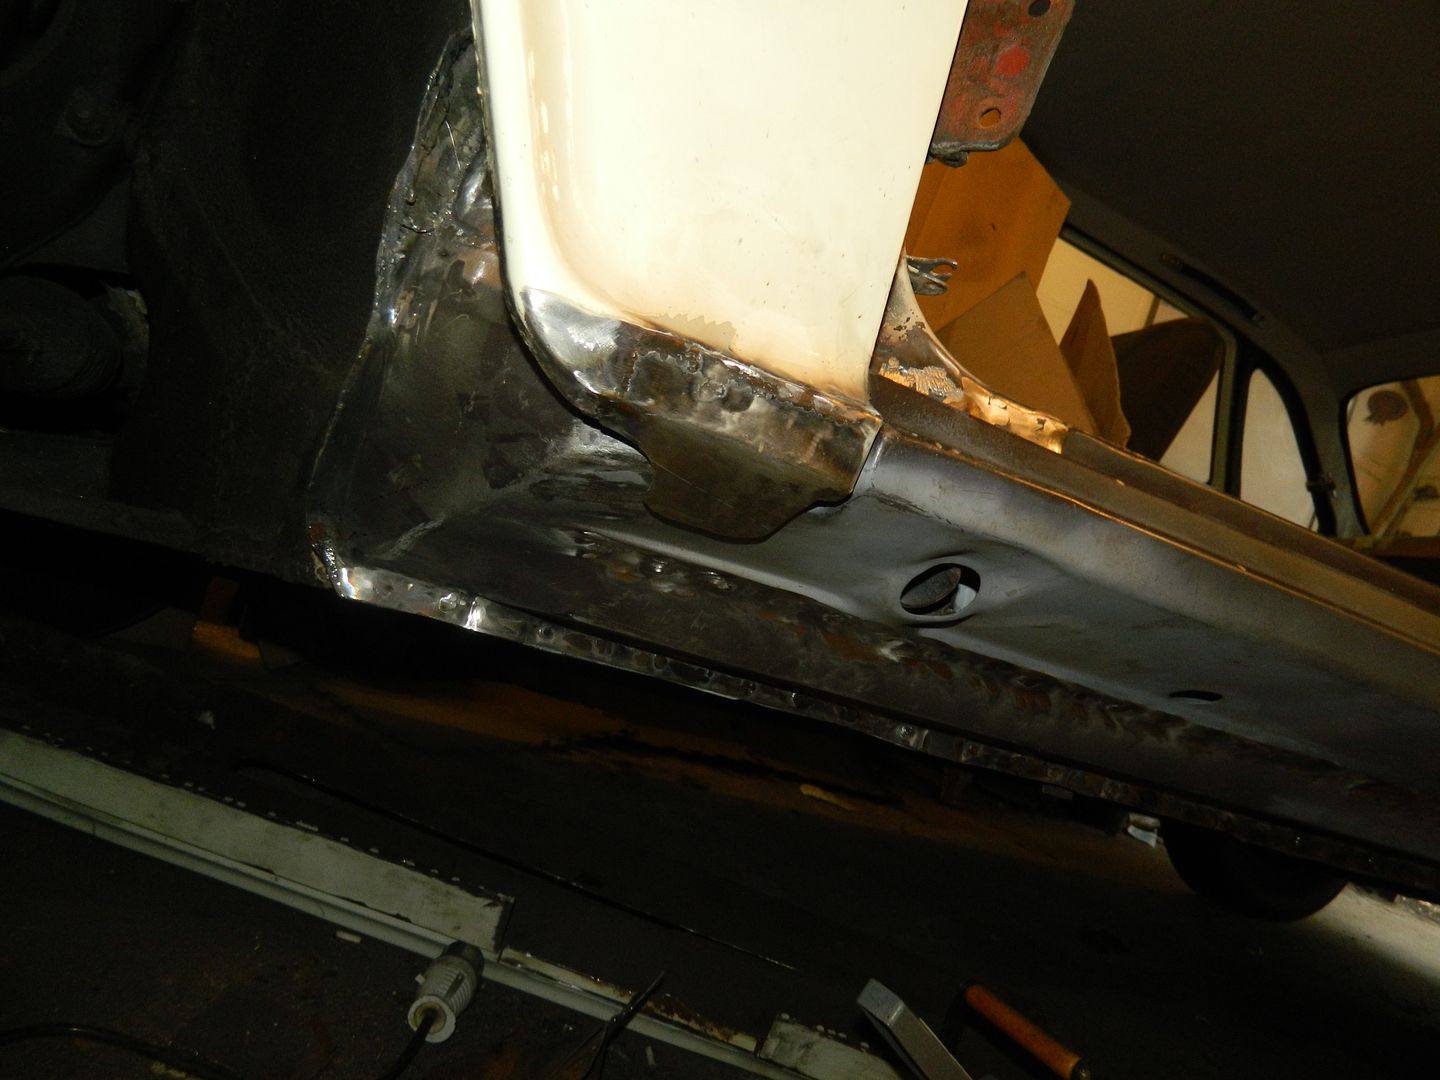 Which goes there. Front now fully finished. Closing panel at the back and a bit of construction at the botttom of the wheel arch and this side will be done. Chris. |
|
|
|
Post by indianajones on Sept 6, 2016 20:28:51 GMT
Looking brilliant mate, I don't know how you do it, but it looks awesome!
-Andrew
PS - Yup I'm still alive lol
|
|
|
|
Post by dave1800 on Sept 7, 2016 0:24:55 GMT
Who are you  Thought you must be snowed in! Talking of snow I wonder where Tommy is? David -Andrew PS - Yup I'm still alive lol |
|
|
|
Post by dave1800 on Sept 7, 2016 2:41:50 GMT
An excellent job Chris. I wonder just how many cars have had their sills replaced so professionally. Not many I would hazard a guess.
David
|
|


